For the longest time, LifeAfter players have had to choose between having a beautiful home and making space for dozens of storage cabinets. This fantastic survival game for Android and iOS devices gave players the option to design their own house, but the need to store loot often got in the way. The game will have you spending most of your time gathering materials, killing zombies, and fighting players from enemy camps. If you don’t prioritize your survival, you will find yourself unable to progress and could become an easy target for raiders.
The good news is that the developers have found a way to finally give players what they want. The new underground vault system allows players to store all their loot in a different area, giving them plenty of freedom to build their dream homes. The new system, however, comes with its own complex mechanics. So be sure to check out our LifeAfter vault guide to learn everything you need to know to get the most of out of the vault system.
1. How To Get A Vault
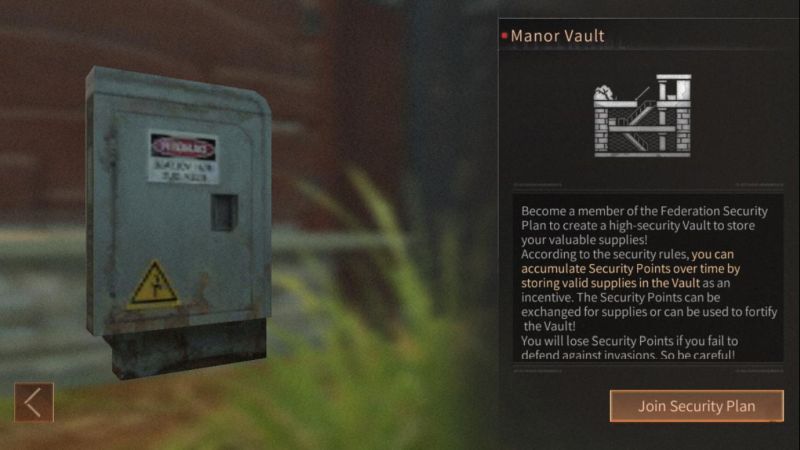
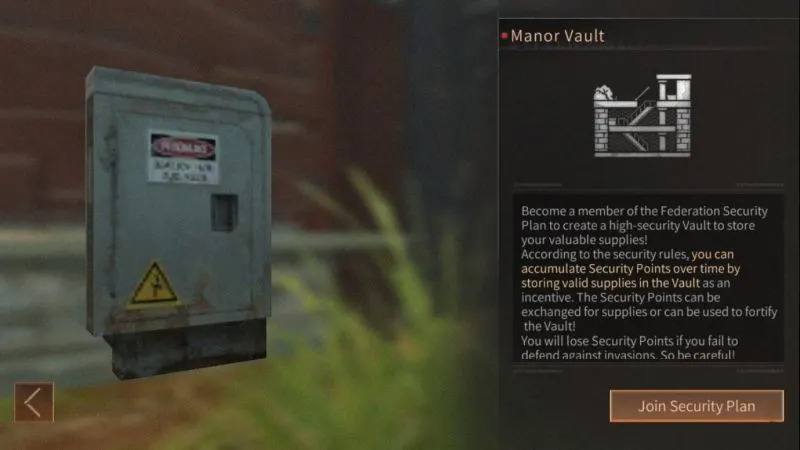
The underground vault isn’t readily available for players. If you are new to LifeAfter, you will need to reach Manor level 3 first. You might want to check out our tips and tricks for mastering the game in order to get there quickly. Once you meet the Manor level requirement, you just need to head over to the Manor Controller outside your house. Tap on the Manor Vault option then tap on the Join Security Plan button. You will be asked to pay 500 New Dollars for it, and you will receive a Vault door that you can place somewhere on your property. This is where you will be able to enter the underground area and manage your supplies.
2. Why Should You Use The Vault?
If you are not into building pretty homes, the game still gives you an incentive to use the new vault system. First of all, you get four gas ports in every floor of your vault. This is an added security measure that slowly releases poisonous gas when there is an intruder. The intruder will continuously take damage if he doesn’t leave the vault. This will help you defend your precious loot from raiders even if you don’t have a lot of defensive items in your building arsenal.

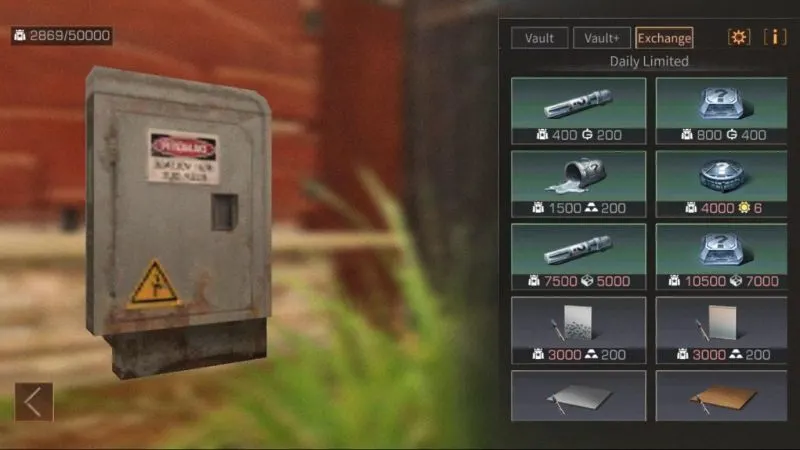
Another reason to use the vault is the Security Point system. Storing items in your vault will allow you to earn Security Points. Security Points can then be used to exchange for upgrades and items through the Manor Controller menu. The more items you store, the more points you can earn.
Finally, the vault system allows you to quickly access all of your storage cabinets by simply talking to the vault door. Just tap on the Manage Supplies button and you will be able to switch between all of your cabinets in order to store items quickly. It used to be that you had to fit all of your storage cabinets into a single floor of your Manor to be able to switch back and forth.
3. Earning More Security Points
There are two things that affect how much Security Points you earn per hour. The first one is your Safety Rating. It starts out at 1000 and you earn 25 points for every day that your vault isn’t breached. The higher your Safety Rating, the more bonus Security Points you earn. There are five security grades: S, A, B, C, and D. When you exceed 1750 rating, you will earn the S grade. That means you get a 200% bonus when earning Security Points.
Related: LifeAfter Formula+ Research Guide: Tips & Tricks for Formula+ Upgrades
The second is the value of valid supplies in your Vault. You can see this in the Manor Vault menu. The higher the value, the more points you will earn per hour. Simply having a lot of items stored will increase the value rating of your vault but keeping the right kind of items will help maximize the storage space and points earned. We have listed some of the common items below along with their respective values to help you get a better picture of how your score is computed.
Upgrade Material
• Lv 1 Reagent – 80
• Lv 1 Crystal – 80
• Lv 1 Film – 120
• Lv 2 Reagent – 150
• Lv 2 Crystal – 150
• Lv 1 Component – 150
• Lv 2 Film – 750
• Lv 2 Component – 750
Mineral Resources
• Stone – 0.6
• Iron Ore – 30
• Tin Ore – 35
• Aluminum Ore – 40
• Copper Ore – 45
• Gold Ore – 60
• Malachite – 60
• Flint – 70
• Sulfur – 75
• Potassium Nitrate – 75
• Kyanite – 90
• Galena – 100
• Rare-earth Ore – 125
• Silicon – 155
• Silver Ore – 159
• Pyrargyrite – 516
Hemp Resources
• Hemp – 5
• Plant Roots – 35
• Hemp Stem – 40
• Flax Leaf – 45
• Jute Leaf – 55
• Nettle Leaf – 70
• Hemp Bast – 90
• Hemp Seeds – 90
• Flax Petals – 105
• Kenaf Leaf – 120
• Castor Bast – 155
• Sisal Hemp Leaves – 183
• Jute Stes – 185
• Sea Hemp Leaves – 411
• Kenaf Bast – 618
Wood Resources
• Wood – 0.15
• Twigs – 25
• Resin – 30
• Old Cypress – 35
• Boxwood – 40
• Redwood – 50
• Hardwood Vines – 60
• Little Branch – 65
• Wood Core – 65
• Tree Oil – 75
• Cypress Leaf – 75
• Cracked Tough Hide – 110
• Cedar Leaf – 120
• Broadleaf – 130
• Old Oak – 138
• Birch Root – 438
Ingredient
• Berries – 10
• Mushroom – 10
• Cave Mushroom – 10
• Sea Mushroom – 10
• Rapeseed – 20
• Corn – 20
• Ice Cube – 20
• Wheat – 20
• Carrot – 30
• Watermelon – 40
• Matsutake Mushroom – 40
• Egg – 40
• Rib – 50
• Strawberry – 60
• Coconut – 60
• Pepper – 60
• Pumpkin – 60
• Crude Flour – 60
• Milk – 60
• Honey – 60
• Leg Meat – 70
• Tenderloin – 100
• Fine Flour – 100
Weapon Workables
• Titanium Alloy – 70
• Pig Iron – 195
• Gunpowder – 380
• Iron Casting – 620
• Steel – 800
• Hexagon Nails – 820
• Hard Aluminum Alloy – 1000
• Smokeless Gunpowder – 1000
• Steel Pipes – 1000
• Springs – 1000
• Engineering Plastic – 1000
• Screws – 1350
• Weapon Part – 1480
Medical Supply
• Bandage – 45
• Anti-Infection Medicine – 45
• Adrenal Injection – 60
• Rainbow Paradise – Zero – 200
• Red & Green Bottles – 200
• Portable Medkit – 400
• Advanced Antiseptic – 1000
Bait
• Vegetable Fish Bait – 15
• Metal Fish Lure – 25
• Meat Fish Bait – 32
• Shrimp Bait – 50
Gear
• Mailbox Key – 1
• Vault Key – 1
• Manor Detector Battery – 20
• Manor Battery – 20
• Climbing Rope – 400
• Lasso – 400
4. Move Your Items Quickly
If you have been playing for a while, you probably have a lot of storage cabinets and other stuff that need to be moved underground. Don’t worry because there is an easy way to do this. You won’t have to move them one by one.
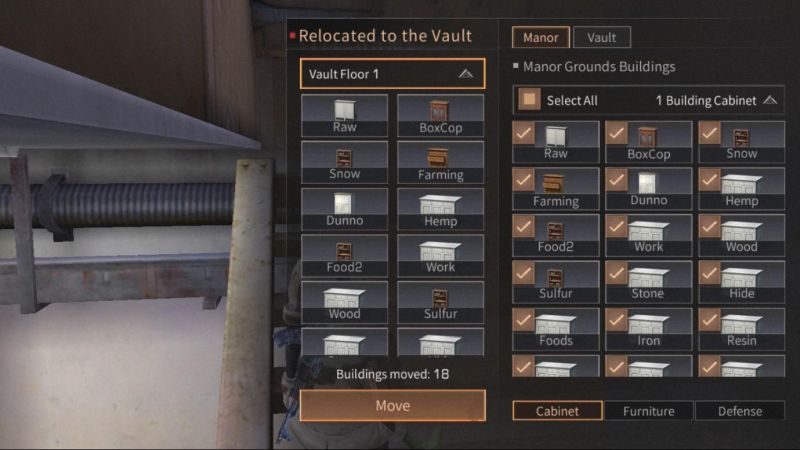

Just talk to the vault door and choose Building Movement. You will see a tab for your Manor and another for your vault. The Manor tab lists down all the moveable cabinets, furniture, and defense items that are currently in your Manor. The vault tab lists the ones that are already in your vault. You can simply put a check on all the items you want to move then tap on the Move button.
When you move your cabinets and furniture to the vault, they will all be dumped in the unpacking area. You shouldn’t leave them there because you won’t be able to build defenses around them, and intruders will be free to loot them. Instead, you will need to move them to the center area and build defenses accordingly.
Related: LifeAfter Camp Guide: 10 Tips, Cheats & Strategies Every Camp Member Should Know
You will notice that the vault has multiple floors. Once you unlock the other floors, you can use the Building Movement option to transfer your stuff to the lower floors for added security.
5. Building Up Your Vault’s Defense
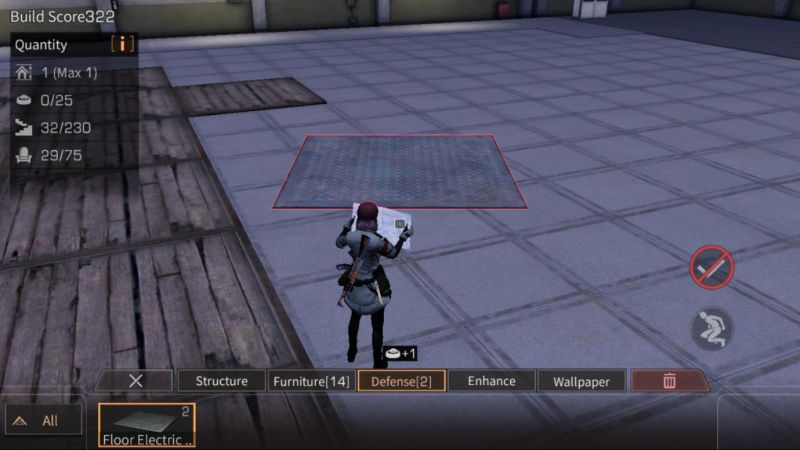

As we mentioned earlier, you need to move your cabinets to the center area in order to build defenses around them. When you first enter the vault, you will notice that you can’t just place your cabinets and furniture directly on the center area. That’s because you need to lay down floors first. Go and craft a whole lot of simple floors until you have covered all the tiles in the center area. You will now be able to place furniture on top of them.
Now that you can build on the center floor, it is time to plan your defense. Keep in mind that unlike in the Manor area, you cannot place defensive items in the Vault without laying down floors first. The best defense for your vault is to maximize the use of the poison gas. Build a maze around your cabinets. The more time intruders spend looking for your cabinets, the more likely they will succumb to the poison. If you were lucky enough to unlock electric walls and floors, you should place them around your center area to slow down any intruders, exposing them to the poison longer.
6. Don’t Forget The Upgrades
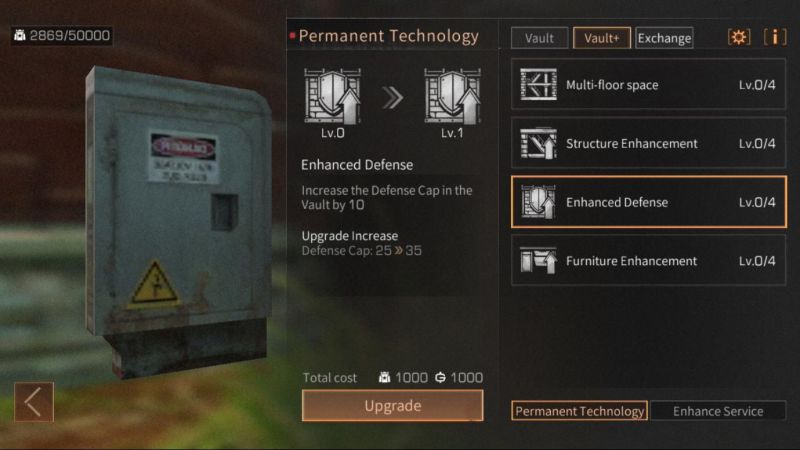

The maximum number of Security Points you can have is 50,000. Since you earn points every hour, you will eventually hit that cap if you don’t spend them. There are some nice items you can purchase from the Exchange, but you should also allot Security Points for Permanent Technology upgrades. These will allow you to unlock more vault floors and increase the capacity for defense, structure, and furniture. You can also purchase services that can boost your Manor’s HP or increase the rate of poison spread when defending.
Managing your stored items is an integral part of survival in LifeAfter. Stick to our vault guide above and you will be securing your loot without any problems.
Jeremy cox
Monday 20th of December 2021
What code is used to lock and unlock items