The concept of Snake, a subgenre of action video games, originated from the 1976 arcade video game, Blockade, where two players compete to be the last one standing. This game eventually evolved into a single-player game where the snake gets longer as it eats eggs or apples and was popularized when it was included in Nokia mobile phones in 1998.
The concept of Bullet Hell, a subgenre of shoot’em up video games, originated from the 1993 Batsugun game which was a vertically scrolling shooter. This game also eventually evolved into a higher degree of difficulty, with the Touhou Project being one of the most notable game series which was first released in 1997.
From the creators of Kinja Run, Archero, Punball, and Penguin Isle, a game combining the two concepts was formed. Developed for both iOS and Android devices, SSSnaker brings a fresh new flavor to the mobile game market. Taking various elements from Kinja Run, Habby created another fun but challenging time-killer which is sure to keep you on your phone itching to move up stage after stage!
If you’re new to the SSSnaker and are looking to find tips and tricks to excel in the game, read on as our comprehensive guide has many pointers that you’ll surely find useful!
- 1. Choose a Joystick Mode That Works for You
- 2. Apply Different Moves
- 3. Learn What Your Skills can do
- Skill Builds
- 4. Use Gems for Second Chances
- 5. Know Your Enemies
- 6. Be Aware of Obstacles
- 7. Ignore Healing Orbs at High or Full Health
- 8. Try and Try Until you Succeed
- 9. Upgrade Your Abilities
- 10. Choose and Improve Your Equipment
- 11. Play Mini Games
- 12. Collect Freebies and Rewards
1. Choose a Joystick Mode That Works for You

SSSnaker has 3 joystick modes that you can choose from: Sensitive, Following, and Standard. While it may be a small change, it can still have an impact on your gaming experience. We suggest trying the three of them out before settling on one to learn which is more comfortable to use.
Sensitive
This setting permanently places the joystick controls at the bottom of the screen. However, you are free to drag your finger anywhere and your snake will follow suit. This setting gives you a clear view of the rest of the screen without distractions.
Following
This setting makes the joystick controls follow the position of your finger. This is preferable for players who want a clear indicator of where they’re moving the snake.
Standard
This setting will place the joystick where your finger taps the screen and will stay there as you drag your snake around. It will change its position once you remove your finger and place it down again. This is a mix of the two previous joystick modes.
2. Apply Different Moves
Applying different moves in various situations can help you survive and conquer a stage, but you’ll also need to know when and where to use them:
The Line
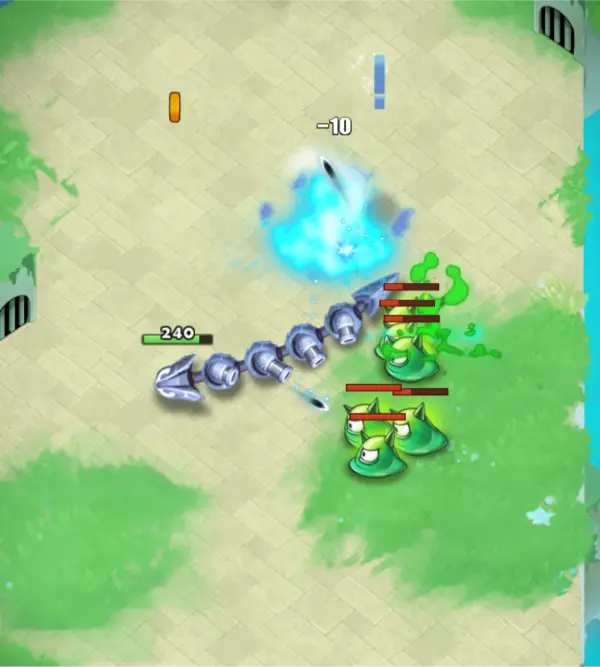
Fighting your enemies by forming a line is a good way to cover a large area and hit as many enemies as you can. The longer your snake is, the bigger your reach will be. However, since your bodies are targeting several enemies at a time, they will deal lesser damage per enemy than if they were concentrating on one.
The Choker
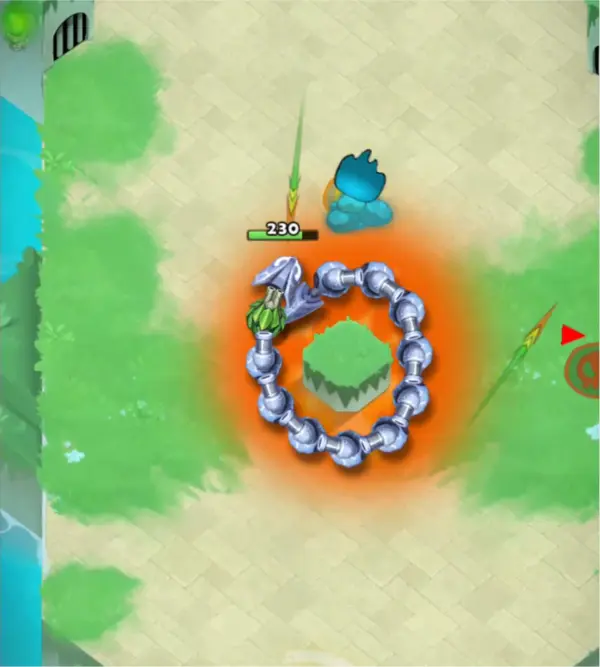
Creating a small circle to surround an enemy is a surefire way to kill them quickly, especially if they are on top of a platform where your projectiles cannot reach them. While it’s possible to do this with a short snake, the downside is how difficult it is to maneuver your snake around your enemy without taking too much damage. Only attempt this move if you have good armor or enough HP to survive.
The Hoop
The Hoop is a larger and much safer version of The Choker, forming a large circle to damage 1 or more enemies. The longer your snake is, the more enemies you can trap and the easier it is for you to pull off this move.
The Curve
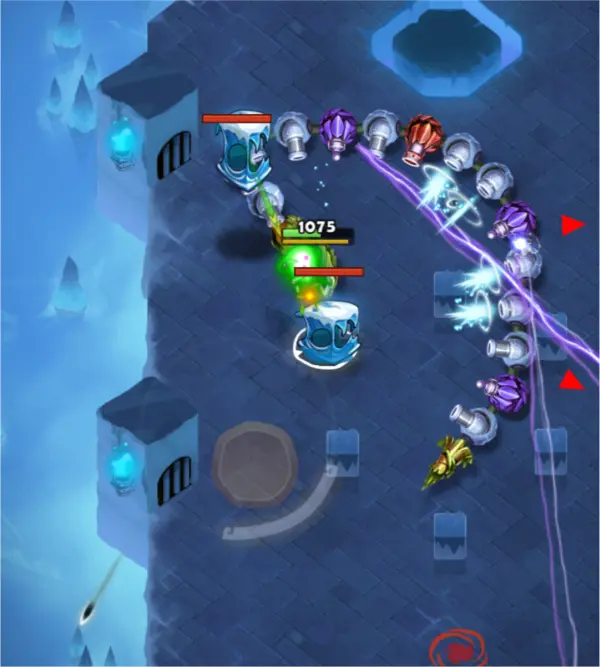
This form will allow you to focus fire on a specific area or enemy. The curve will typically target the enemies it surrounds or the closest enemy to them. Surrounding an enemy this way can also prevent them from moving away without necessarily completing a circle. If your snake is not long enough to form a circle yet or if it’s too difficult to trap an enemy, The Curve is a good alternative move.
The Machine Gun
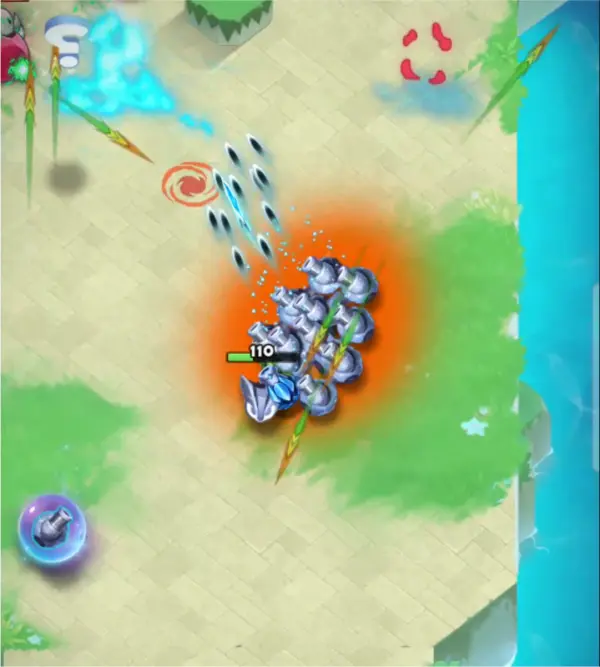
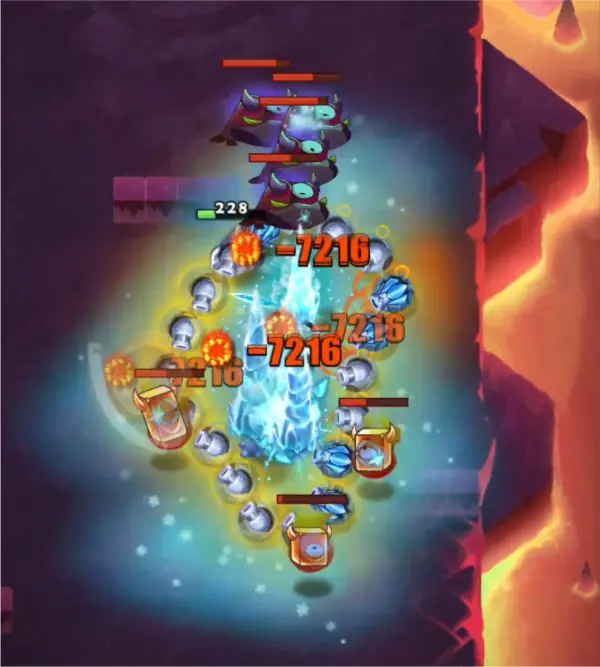
Moving your snake to and from or in concentric circles in a small area will result in your bodies firing its projectiles all at once at one enemy or location. The concentrated fire will allow you to deal large amounts of damage which could be effective toward bosses or high-health enemies. This is also a good technique to use when you are cornered or have low health.
3. Learn What Your Skills can do
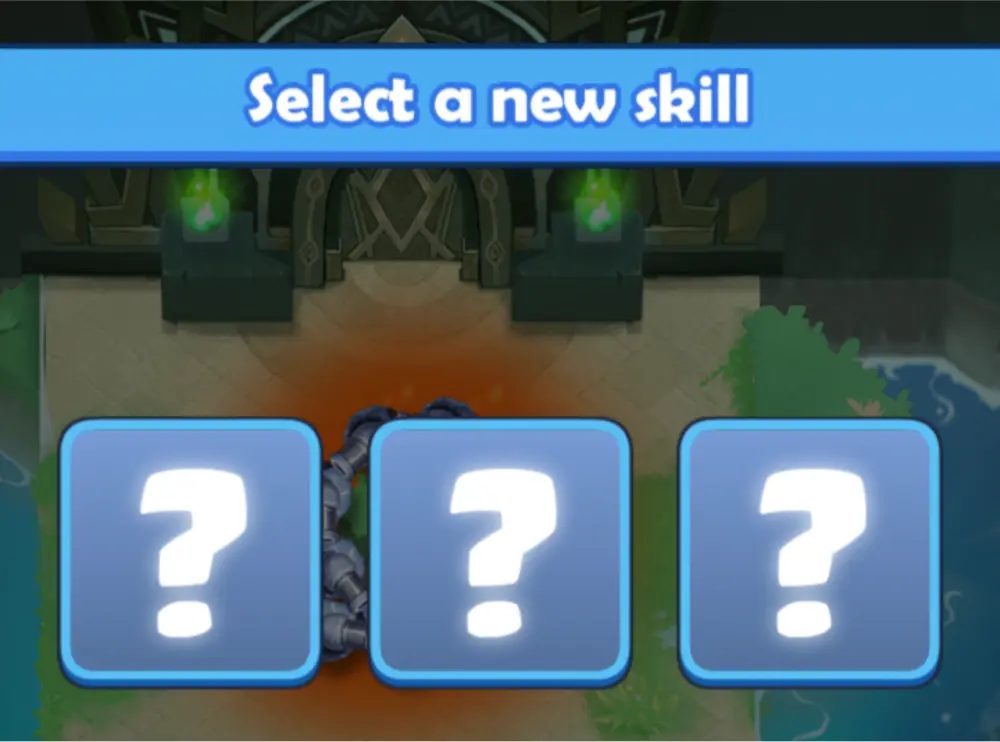
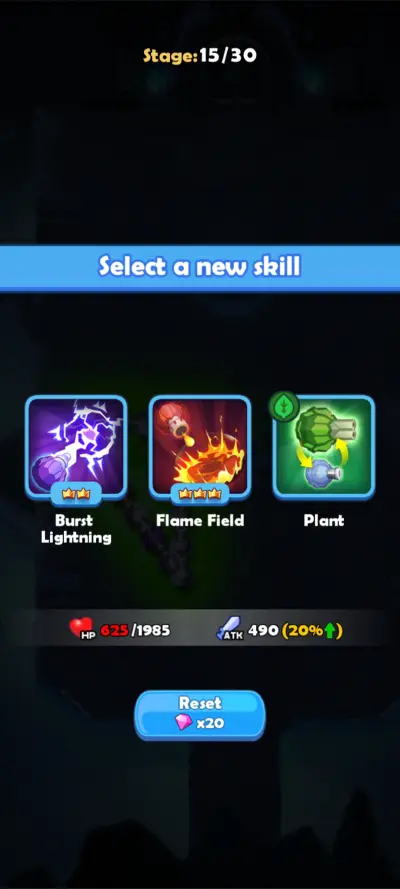
In some stages, you will encounter a blue box with a question mark on it. Destroying it will grant you a choice between 3 randomly generated skills. At first, you may just choose whichever skill seems interesting to you, but to create an effective combination, you’ll need to know what each of them does. To help you, we’ve compiled a list of skills below. Note that more skills other than the ones listed may be available to you at later levels.
Skills
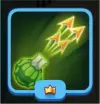
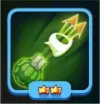
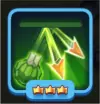
| Image | Skill | Effect | Notes |
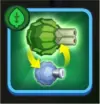 | Plant | Turns a normal body into a Plant body. You can have up to 5 at a time. | Only choose this body if you are prepared to choose all the Plant-related skills as it is the only way it will be significantly effective in the long run. Plant skills focus on increasing the number of times your attacks hit an enemy with its Double Shot and Ricochet Shot while also making it penetrate their armor with Piercing Shot. |
 | Double Shot | Plant projectiles fire twice. | Tier 1 Plant Skill. Will only appear if you have a Plant body and affects each one. |
 | Piercing Shot | Plant projectiles penetrate enemies’ defense. | Tier 2 Plant Skill. Will only appear if you have Double Shot and affects each Plant body. |
 | Ricochet Shot | Plant projectiles can ricochet. | Tier 3 Plant Skill. Will only appear if you have Piercing Shot and affects each Plant body. |
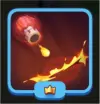
 | Fire | Turns a normal body into a Fire body. You can have up to 5 at a time. | Only choose this body if you are dedicated to picking every Fire-related skill as it will be more useful to your run that way. Fire skills focus on hitting as many enemies as they can with their large area of effect which gradually increases for every tier. |
 | Fire Line | Fire projectiles form horizontal fire on hit. | Tier 1 Fire Skill. Will only appear if you have a Fire body and affects each one. |
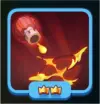 | Cross Line | Fire projectiles form cross fire on hit. | Tier 2 Fire Skill. Will only appear if you have Fire Line and affects each Fire body. |
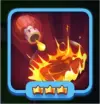 | Flame Field | Fire projectiles form fire circles on hit. | Tier 3 Fire Skill. Will only appear if you have Cross Line and affects each Fire body. |
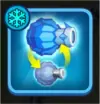 | Ice | Turns normal body into Ice body. You can have up to 5 at a time. | Only choose this body if you are planning to choose every Ice-related skill as it will only get to its full potential if you do. Ice skills focus on damaging and slowing down enemies. |
 | Ice Field | Ice projectiles leave frost areas on hit. | Tier 1 Ice Skill. Will only appear if you have an Ice body and affects each one. |
 | Ice Pillar | Ice projectiles spawn ice pillars on hit. | Tier 2 Ice Skill. Will only appear if you have Ice Field and affects each Ice body. |
 | Freeze Pillar | Ice projectiles spawn stronger ice pillars on hit. | Tier 3 Ice Skill. Will only appear if you have Ice Pillar and affects each Ice body. |
 | Lightning | Turns a normal body into a Lightning body. You can have up to 5 at a time. | Only choose this body if you are going to take every Lightning-related skill as it will only get to its full potential if you do. Lightning skills focus on targeting the nearest enemy and concentrating its attacks on them until they die or until you get closer to another enemy. These attacks can also connect itself to enemies close to the target once you get Chain Lightning |
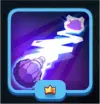 | Stronger Lightning | Increases the strength of your Lightning. | Tier 1 Lightning Skill. Will only appear if you have a Lightning body and affects each one. |
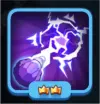 | Burst Lightning | Lightning triggers explosions when chained. | Tier 2 Lightning Skill. Will only appear if you have Stronger Lightning and affects each Lightning body. |
 | Chain Lightning | Lightning body triggers chain on hit. | Tier 3 Lightning Skill. Will only appear if you have Chain Lightning and affects each Lightning body. |
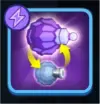
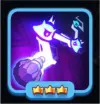
 | Circle Turret | Spawns a turret per circle kill. | Tier 1 Circle Summon Skill. This skill and its higher tiers is safer and more effective the longer your snake is and is best paired with Circle Damage and Normal Body +3. |
 | Circle Robot | Spawns a robot per circle kill. | Tier 2 Circle Summon Skill. Will only appear if you have Circle Turret. Robots you’ve spawned carry over to the next stage and can be destroyed by your enemies. |
 | More Robots | Spawns three robots per circle kill. | Tier 3 Circle Summon Skill. Will only appear if you have Circle Robot. Robots you’ve spawned carry over to the next stage and can be destroyed by your enemies. |
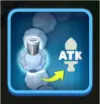
 | Circle Damage | Increases Circle Damage by 50%. | This skill is more effective the longer your snake is. |
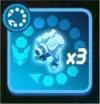
 | Normal Body + 3 | Adds 3 bodies to your snake. | Take this skill if you use the circle technique often. |
 | More is Better | The more bodies you have, the higher your attack (+2% attack per segment, excluding the segment). | Best paired with Normal Body +3. |
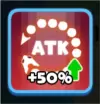
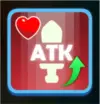
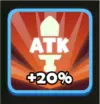 | ATK Up | Increases your attack by 20%. | Always a good choice no matter what your build is. |
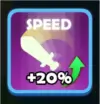 | ATK Speed Up | Increases your attack speed by 20%. | Always a good choice no matter what your build is. |
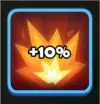 | Crit Rate Up | Increases your Crit Rate by 10%. | Always a good choice no matter what your build is. |
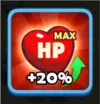 | Max HP Up | Increases your Max HP by 20%. | Always a good choice no matter what your build is. |
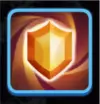 | Shield | Spawns a 1-time shield at the start of each level or snake relay | Always a good choice no matter what your build is. |
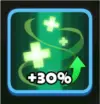 | Recovery Item | Restores 30% of your HP. | Only pick this up if you really need it and have less than 50% health. Choosing this will give up a slot that could have been a valuable skill instead. |
 | Cold Blood | At full HP, your damage is greatly increased. | Best used if your gameplay style is fighting the enemy from far away. |
 | Rage | Increases your attack as your HP lowers. Can increase up to +50%. | Best used if your gameplay style is using the circle technique to kill your enemies. |
Skill Builds
In our playthroughs, we experimented with different combinations of skills and made 3 builds that can suit different playstyles which we named The Constrictor, The Elementalist, and The Hybrid. For each one, we determined their main skills, which are important to make the build work, and their complementary skills, which are not essential but will greatly improve it.
The Constrictor
Main Skills:
| | |
| Circle Turret | Circle Robot | More Robots |
Complementary Skills:
| | | | | |
| Circle Damage | Normal Body +3 | More is Better | Max HP Up | Shield | Rage |
This build complements the playstyle that concentrates on utilizing the circle technique. Each time you kill a character with that technique, you summon a turret at tier 1, a robot at tier 2, and 3 robots at tier 3. These summons will only appear if you kill the enemy while it is inside the circle and not outside it.
For the complementary skills, we chose the combination of Circle Damage, Normal Body +3, and More is Better to increase your attack power. Normal Body +3 will also make it easier for your snake to encircle enemies while keeping a good distance to avoid their attacks. However, at its core, the constrictor build and playstyle require you to get really close to your enemies in order to destroy them with your circle of death. Because of this, you will be taking more damage than other playstyles. To increase your survivability, Max HP Up and Shield are your best friends. Rage is also worth picking up as it will increase your attack as your HP will inevitably go down.
Because of the risks involved in using this build, we only recommend this if you are well-equipped and have upgraded your stats to a degree where your HP is high enough to handle the enemies.
The Elementalist
Main Skills (Choose 1-2 among these elements):
| | | |
| Plant | Double Shot | Piercing Shot | Ricochet Shot |
| | | |
| Fire | Fire Line | Cross Line | Flame Field |
| | | |
| Ice | Ice Field | Ice Pillar | Freeze Pillar |
| | | |
| Lightning | Stronger Lightning | Burst Lightning | Chain Lightning |
Complementary Skills:
| | | | |
| ATK Up | ATK Speed Up | Crit Rate Up | More is Better | Cold Blood |
This build compliments the playstyle that prefers to fight their enemies from afar. There is no need to use the circle technique for this and it is better to avoid enemies as much as possible. This build focuses on 1 or 2 elements to maximize its effectiveness. We highly recommend concentrating on one element at a time in order to get its tier 3 skill early. Taking up more than 2 elements is possible but not practical as you will not be able to use those elements to their full potential.
For the complementary skills, focusing on options that can increase or improve your attacks such as ATK Up, ATK Speed Up, Crit Rate Up, More is Better and Cold Blood is favorable. Cold Blood works well for this build than Rage since you won’t be getting hit as often.
The Hybrid
This build mixes The Constrictor and The Elementalist together to form a balance between close-ranged circle attacks and long-ranged elemental attacks. When choosing this build, we highly recommend only concentrating on 1 element in order to maximize it and the circle-related skills.
For complementary skills, Normal Body +3 and More is Better is always a good choice. A nice balance of HP and defense-boosting skills like Max HP Up and Shield along with attack-raising skills like ATK Up, ATK Speed Up, and Crit Rate Up will shape up the build. Cold Blood and Rage may not be as effective here and can be skipped altogether.
4. Use Gems for Second Chances
As you set up your skill build, there will be times when you’re faced with options that you aren’t particularly ecstatic about. In cases like these, you can always pay 20 Gems to reset the selection!

But skill resets aren’t the only thing you can pay with gems. If you die before finishing the level, you can revive yourself with 30 Gems. Certain equipment will also give you bonuses if you revive. If you don’t have enough Gems, there is also an option to watch an ad. Keep in mind that no matter which option you choose, you can only revive once per playthrough.
5. Know Your Enemies
The best way to conquer any challenge is to learn what you are up against. For every level, there are different types of monsters you may encounter which have their own fighting style. Knowing what they are can help you choose the right move to make. To help you in your first three levels, we’ve listed down every enemy, excluding the regular monsters that have no special skills, and written down what they do and what actions are effective against them. We’ll be referring to the moves we mentioned in the section “2. Apply Different Moves”, to describe the counters against each enemy.
Tranquil Forest
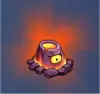
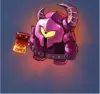
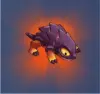
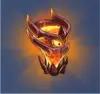
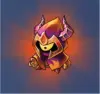
| Image | Enemy | Skills | Notes |
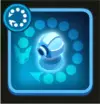
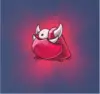
 | Sporeball | Explodes into smaller spores on death. | Sporeballs are generally easy to take care of and can be destroyed with any move. However, if your snake is long enough, using The Curve and The Hoop moves prove to be very effective, especially once they branch off to smaller spores. The Curve and The Hoop will be able to contain these spores and clear them quickly. |
 | Glowfire | Charges at target with ferocity. | With this Glowfires, you’ll need to keep your snake moving, especially when it stops as this indicates that it is about to pounce. As long as you dodge them, your projectiles will be able to take care of them effortlessly. Alternatively, you can make Hoops on one side of the stage and wait for them to come to you then killing them with your circle attack. |
 | Mud Mage | Stay away from the jewel on its head as it shoots strong projectiles. | Mud Mages typically appear on top of platforms to defend themselves from your projectiles as they shoot theirs. You’ll need to come close and kill them with a circle attack using The Choker or The Hoop moves. |
 | Mud Frog | Leaps and shoot spikes. | Mud Frogs move slowly on the ground but can avoid your attacks by leaping and will release four projectiles (up, down, left, right) as they land back on the ground. A symbol will appear on the ground to indicate the area where they are about to land. Pay attention to that symbol in order to avoid them. You can also position yourself so you surround the symbol as they land, allowing you to use a circle attack. Killing them before they have a chance to leap is often the best action. |
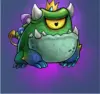 | Frogking | The king of bouncy frogs. | Frogkings are the stronger and bigger versions of Mud Frogs and can leap farther, deal more damage and release more projectiles. However, they’re also a lot slower when moving on the ground. The Curve, The Hoop and The Machine Gun are great moves to use to deal with this enemy. Just like with the Mud Frog, make sure to steer clear of their landing symbol! |
 | Furious Frog | Leaps and shoots spikes. | Furious Frogs move and attack similarly to Mud Frogs. Therefore, the technique used against Mud Frogs can also work with Furious Frogs. |
 | Frenzied Maw | Chases its target with a vengeance, jumping towards them and damaging the ground. | Frenzied Maws jump towards you, dealing damage to the ground in the process. Being too close to them while they jump can damage you so it’s best to continuously move as far away from them as possible while you let your projectiles clear them. |
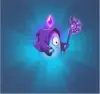 | Sinister Mage | Flails staff and fires dark matter. | Sinister Mages need time to cast their projectiles, but once they do, it will deliver great damage. Killing them off before they release their projectiles is the best way to counter them. However, if this is not possible, keep an eye out for the red line as it will tell you the direction of the projectile before they release it. You won’t have much to worry about as long as you dodge in time. |
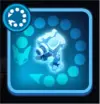
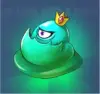 | Mudking | A huge blob with a thick hide. High defense with slow movement. Will release projectiles upon defeat. | Mudkings move slowly but have high defense. You’ll need to continuously hit them with your projectiles for a while before they are defeated. The Curve, The Machine Gun and The Hoop moves are very effective against them. Once defeated, they’ll release multiple projectiles from their mouth so be sure to move away from it to avoid them. |
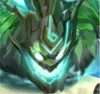 | Giant Tree Boss | An ancient giant tree with the power of nature. Occupies the edge of the stage and cannot move away from it. Typically attacks with its claws from close range but may occasionally shoot them towards you. Boss rage will make his long-range attacks happen more frequently. This boss can also summon spikes from the ground in a straight line. | Because this boss is positioned at the edge of the stage and cannot move, you have the advantage of moving away and letting your projectiles deal damage without any repercussions when he is attacking from close range. Keeping yourself at the bottom part of the stage will also give you time to move away if it starts summoning spikes or shooting its claws towards you. Using The Machine Gun move while dodging its attacks is the best way to fight it. |
Lava Cave
| Image | Enemy | Skills | Notes |
 | Fire Tornado | Incarnation of flaming wind that spins and charges towards its enemy. | Fire Tornados have a 1-2 second delay before they start spinning and charging towards you. While that happens, position yourself away from it. The best way to deal with them is to keep moving away until your projectiles eventually kill them. You may also try drawing circles in an area to try and trap them but this method is a lot more difficult, especially if your snake is not long enough to have a huge circle. |
 | Little Volcano | Releases fire in a cross area and spits molten lava towards their enemies. | Near or far, Little Volcanoes have a way of attacking you. However, unlike their fire cross attacks, their molten lava attacks are a lot easier to avoid since there are circles appearing on the ground before their attack is released. |
 | Gravel Guard | Summons gravel to spin around it. | Gravel Guards can be easily taken care of as long as you attack them from afar. Circle attacks are not recommended against this enemy. There is a few seconds of delay as they cast their gravel, giving you ample time to move away. |
 | Giant Hammer Guard | Swings sledgehammer to hit the ground, releasing lines of fire from different directions. | Giant Hammer Guards are slow but very tough and may take several hits to kill. We recommend attacking them from afar and using The Curve or The Machine Gun moves against them. |
 | Fire Mage | Summons fire missiles to attack targets. | Fire Mages release two fire projectiles, one at a time, towards your direction. Even though these projectiles move slowly, they will curve and try to follow you until they disappear off screen. They also hit very hard. The Machine Gun move may be your best bet in getting rid of these enemies as soon as possible. |
 | Lava Rat | Timid and agile lava creature. Turns itself into a ball and charges towards you. | Lava Rats take a few seconds before they start charging towards you. Use these few seconds to position yourself away and let your projectiles passively destroy them. |
 | Fire Tornado Elite | Elite incarnation of flaming wind that spins and charges towards its enemy. | The boss version of Fire Tornadoes. Functions the same way as Fire Tornadoes except it’s larger and has higher health. |
 | Fire Mage Elite | Summons fire missiles to attack targets. | Fire Mage Elites function the same as Fire Mages. Therefore, the technique used against Fire Mages can also work with Fire Mage Elites. |
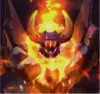 | Fire Boss | Lord of fire whose flames burn everything. It can slam and break the ground in lines, turn himself into a giant fire tornado and charge towards you, and shoot fireballs from the sky and also release them from itsbody. | Unlike the previous boss, this one does not stay in one spot and will continuously move about. If your snake is very long, circle attacks may be possible but your main focus should be to avoid its deadly attacks so you can survive long enough to defeat it. |
Harsh Tundra
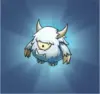
| Image | Enemy | Skills | Notes |
 | Underrat | Ware the drill from down under. They dig underground and charge towards you, letting them damage you without taking damage themselves. These enemies have three sizes: Small, Medium and Large. | Underrat are frustrating to kill since they cannot be attacked until they emerge from the ground. What you can do is to lure them to an area while they’re still underground and use The Curve or The Hoop moves to keep them from getting away as they emerge. |
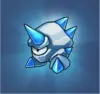
 | Snowring | Charges its target with deadly claws. | Snowrings can easily be killed by moving far away from it as your projectiles take care of it. |
 | Frostshroom | Shoots icy spikes one at a time then unleashes multiple ones when it’s dead. | Frostshrooms are recommended to be attacked from afar to avoid its icy spikes. While their spikes are easy to avoid while they’re alive, take extra care avoiding the ones they release when they die. |
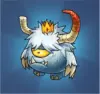 | Enraged Snowmon | An ice bully with a hot temper. | Enraged Snowmons function similarly to Snowrings except they’re much larger, tougher and faster. As long as you focus on dodging, your projectiles will be able to passively kill them. |
 | Spiral Ice | Spins at high speed and in pursuit. | Spiral Ice functions similarly to Fire Tornadoes except they’re a lot tougher and they take a long time before they start spinning and charging after you. As long as you kill it before then, you’ll be safe. |
 | Elite Avalanche Beast | It’s so destructive you can’t get near it! | Functions similarly to Avalanche Beasts but are much stronger and tougher. The same techniques used to fight Avalanche Beasts can be applied to this enemy. |
 | Glacial Guard | It’s his job to guard the ice fields. It shoots show balls in quick succession towards you or once in all directions. | Glacial Guards hit hard and fast so you must be quick enough to avoid them. Positioning your snake’s head in between the gaps where their snowballs are shot (when released in all directions) is essential to surviving it. Attacking from far away with The Machine Gun move is recommended. |
 | Avalanche Beast | Crashes through snow and splashes it all around. It may walk slowly, but it can suddenly jump towards you and release a cross of ice spikes on the ground. | Avalanche Beasts are best attacked with The Hoop when they’re slowly walking and The Line and The Curve moves when they are about to jump. |
 | Ice Pitcher | Loves snowball fights and will throw two snowballs at a time. | Ice Pitchers can easily be dealt with by circling around them to avoid their snowballs while simultaneously letting your projectiles deal with them. If your snake is long enough to do a circle attack, that’s even better. |
 | Boomy | It’s going to go boom! Will still rush towards you and detonate even after losing all of its HP. | Boomy is dedicated to blowing you up and will explode no matter what you do. The best course of action: stay as far away as possible. |
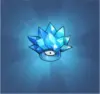
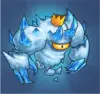
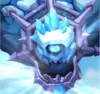 | Ice Boss | A giant snow behemoth that’s been sleeping in the harsh cold! It can breathe ice, slam the ground, throw ice crystals, and make icicles appear. | Similar to the first boss, this one also stays at the edge of the stage. This boss is far tougher than the first two and you may need to invest in some good equipment and upgrades before facing it. Fighting it from afar and using The Machine Gun strategy while avoiding its attacks is the best way to defeat it. |
6. Be Aware of Obstacles
Aside from enemies, obstacles can be found everywhere. If you don’t pay close attention to where you’re leading your snake, you might end up stuck, cornered, or heavily injured. Below are a few common obstacles you may encounter in the game:
| Image | Obstacle | Notes |
 | Blocks and Walls | Blocks and Walls can prevent you from moving through them, but they can also be used to protect yourself from enemy projectiles. |
 | Spawners | Spawners are typically found at the sides of the stage and releases monsters. Avoid them as much as possible so your snake doesn’t take damage when these enemies appear. |
 | Platforms | Platforms are blocks that are big enough for an enemy to stand on. You cannot attack enemies that stand here with your projectiles and will usually require you to do a circle attack to get rid of your enemy. |
 | Holes | Holes on the ground cannot be walked on but unlike Blocks and Walls they cannot protect you from enemy projectiles. |
 | Islands | Islands are similar to Platforms in a sense that enemies can spawn there, are isolated and cannot be approached. However, unlike Platforms, enemies are not protected from your projectiles. |
 | Spikes | Spikes disappear and appear in these areas and must be avoided at all cost. |
 | Snowball Spawners | Snowball Spawners produce giant snowballs which will typically roll downwards. However, in further levels, these snowballs will start rolling towards your direction no matter where you are. |
7. Ignore Healing Orbs at High or Full Health
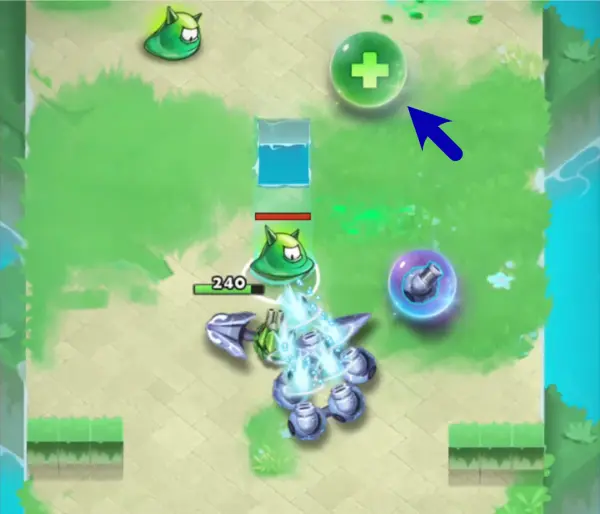
Enemies will occasionally drop healing orbs when you kill them. While your first instinct would be to rush toward it to collect it, it’s often best to leave it alone if your health is at more than 70%. This is because as the level progresses, you are sure to get hit by other enemies, lowering your health even more. If you take the orb prematurely, you might end up getting hit and not having anything to recover your health. Any orb you leave on the ground will automatically be collected when the level ends so if you leave a healing orb, you’ll still get healed later.
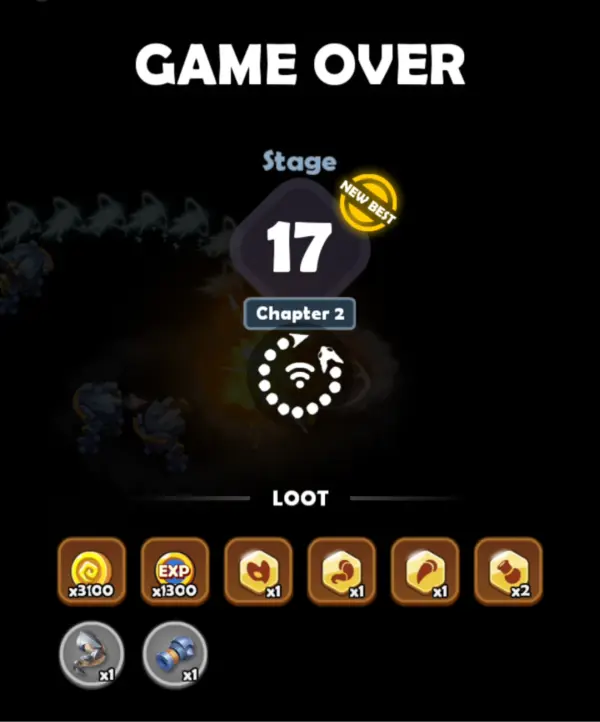
8. Try and Try Until you Succeed
It will often take several plays before you get to the next level, so don’t feel too bad about dying before you reach the final stage. Losing may be frustrating but clearing a full level in one try is often impossible, especially if you’re new and you’re still building up your stats and equipment. Take some time to upgrade your snake, play some mini-games, and collect freebies in between play sessions to get better results!
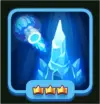
9. Upgrade Your Abilities
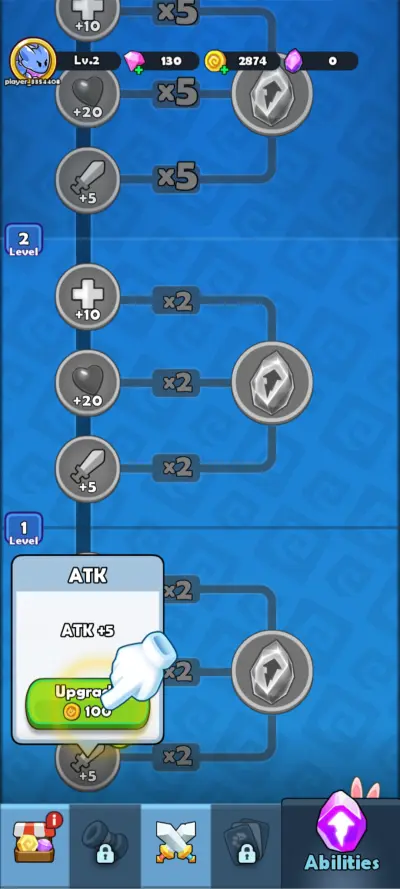
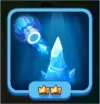
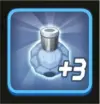
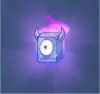
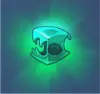
Abilities can be upgraded as you level up. However, unlike other games, you’ll have to purchase these upgrades with Gold. If you manage to obtain an Amplifier (purple crystal), the effect of these upgrades will be multiplied. These Amplifiers are typically found inside Chapter Boxes.
10. Choose and Improve Your Equipment
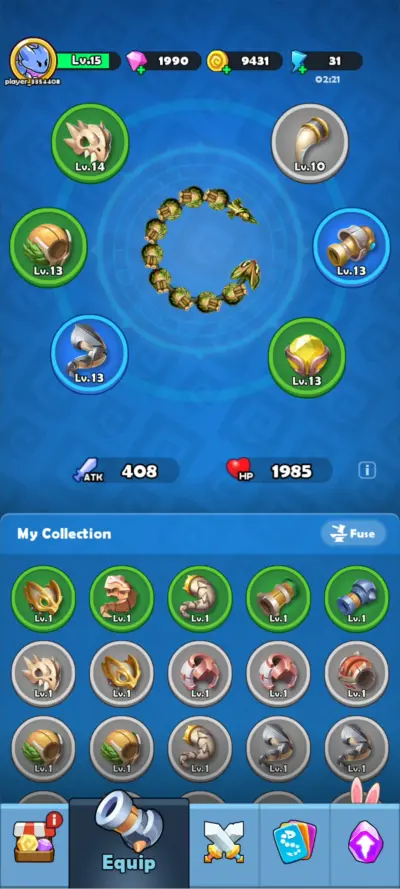
Other than ability upgrades, choosing good equipment and improving them is another way to make your snake more effective. Equipment can be randomly obtained as you go from stage to stage, from locked boxes and Idle Rewards.
Know What Each Equipment Slots Does
There are a total of six equipment slots:
| Image | Slot | Notes |
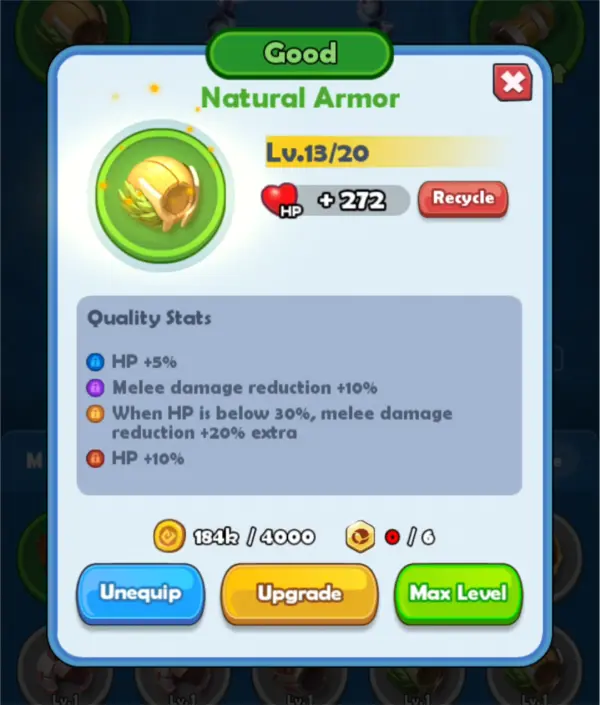
 | Head | Equipment for this slot typically has increases your HP, dodge, healing effects and healing orb drop rate and reduces damage taken from attacks. |
 | Body | Equipment for this slot typically increases your HP, reduces damage taken from attacks and may heal you upon meeting certain requirements. |
 | Tail | Equipment for this slot typically increases your HP, the amount of Gold earned, reduces damage taken from traps and may add positive effects when revived. |
 | Fang | Equipment for this slot typically increases your attack, attack speed and circle damage. |
 | Canon | Equipment for this slot typically increases your attack, damage bonus and damage dealt to certain monsters. |
 | Heart | Equipment for this slot typically increases your attack and adds special conditions that make you deal more damage. |
Upgrade Equipment
You can upgrade your equipment with Gold and a certain number of Equipment Scrolls which are earned as you play. The number of required Equipment Scrolls increases as its level increases. You can upgrade each piece of equipment up to level 20. If you can already upgrade your equipment multiple times, you can tap on “Max Level” to automatically upgrade it to the highest it currently can.
Unlock Quality Stats
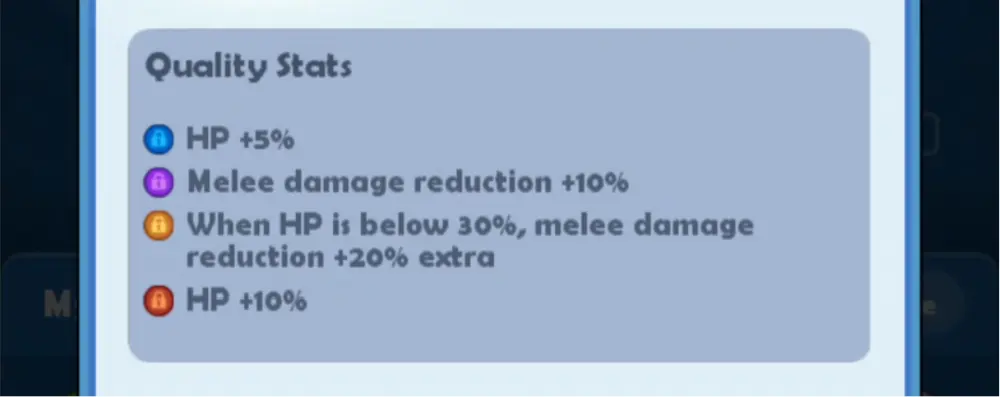
In each equipment, there are 4 stats that are unlockable upon upgrading them to a certain quality:
- Blue – Rare
- Purple – Epic
- Gold – Legend
- Red – Mythic
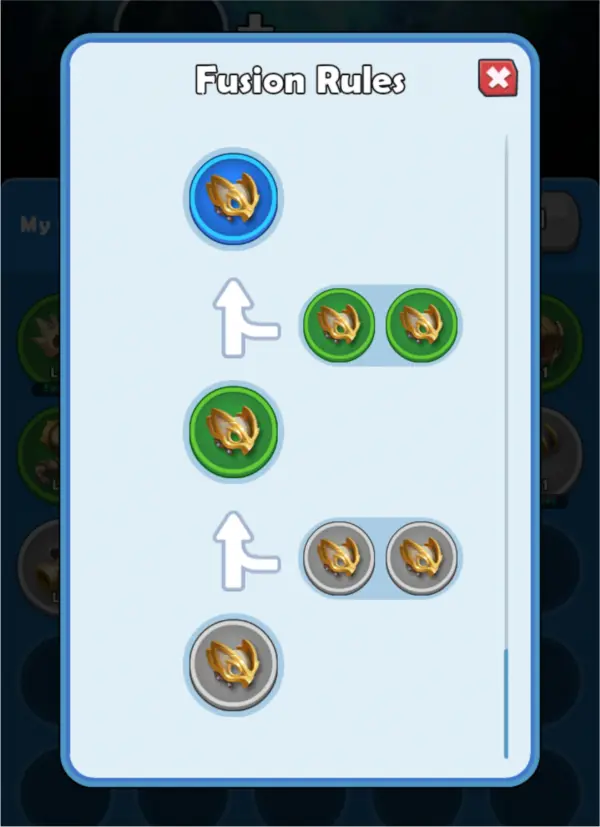
To upgrade your equipment’s quality, you’ll need to find duplicates of it and fuse them together. 3 duplicates of an item of the same quality will produce a version of it that is one tier higher in quality. You’ll need to do this multiple times until you get the highest tier.
Recycle Old and Unused Equipment

If you’ve found better equipment later down the line, you might want to switch but feel hesitant because you’ll be starting at level 1 with the new one. This is where recycling comes into play. It lets you level down or grade down your equipment so you could get a 100% refund on the materials and Gold you’ve spent on it. This way, you won’t have to think twice when it comes to upgrades or switching.
Switch Snakes
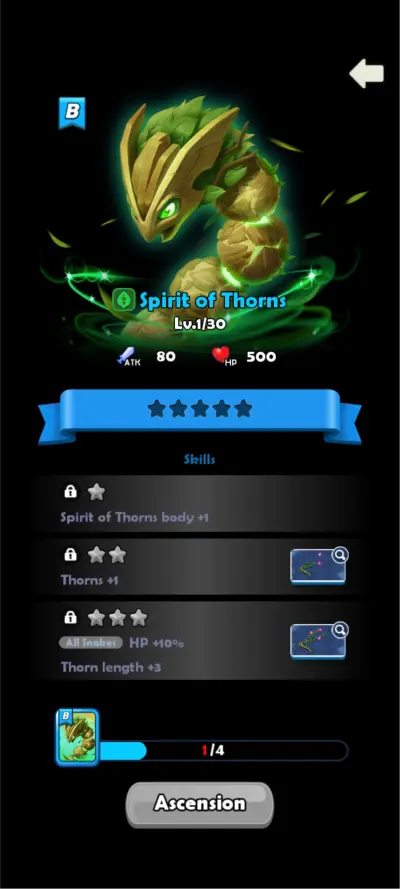
In later levels, you can change the snake you use to get better results in your playthroughs. The very first snake you may unlock (after your original one) is Spirit of Thorns which lets you start off with a plant body that will not count to the total 5 plant bodies you can usually collect. This means you can have up to 6 plant bodies with this snake.
This snake is best used when doing a Plant-based skill build. The other snakes in the gallery can be obtained from snake eggs which are only unlocked after reaching Stage 8-1. You could also get one from the Newbie Quest which is available for the first 7 days of playing the game.
11. Play Mini Games

Mini-Games are unlocked as you level up and advance through different locations. They typically have time limits and playing them will reward you with Gold and Materials. Some mini-games are only available for a certain period of time during events so make sure to play them as much as you can while it’s still around.
Gold Mine
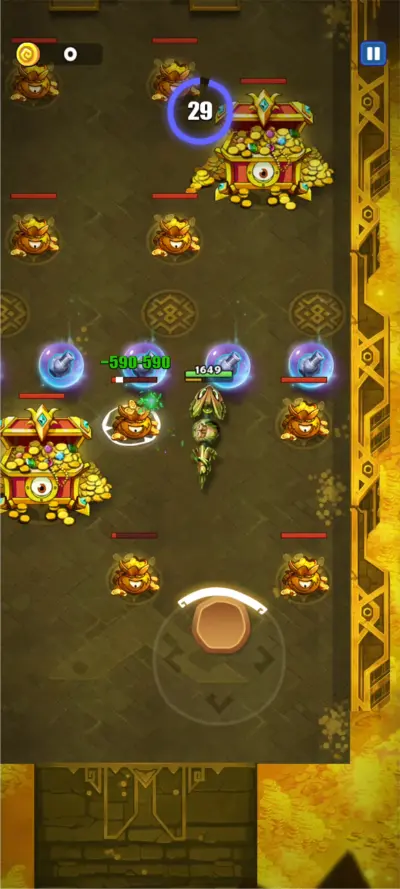
The very first Mini-Game you can unlock is Gold Mine. Playing it is one of the best ways to earn Gold quickly but it doesn’t give you any other reward other than that. You have 2 chances to play it per day and it has a time limit of 30 seconds per game. The best way to earn the most Gold in this mini-game is to grab the Body Orbs as soon as they appear and start spamming circle attacks on one of the large gold chests until the end of the game.
Easter Challenge

Easter Challenge is an example of one of the mini-games that are only available during an event. For this game, you’ll need to collect as many Easter Eggs as you can before the timer runs out. You have 3 chances to play it per day and it has a time limit of 60 seconds per game. Grab the Body Orbs as soon as possible and start going after the giant rabbits.
Don’t be afraid to get hit since it will not affect your life in this mini-game. The Easter Eggs are very large and colorful and hard to miss so dash toward them as soon as you spot them.
12. Collect Freebies and Rewards
Check Your Mail
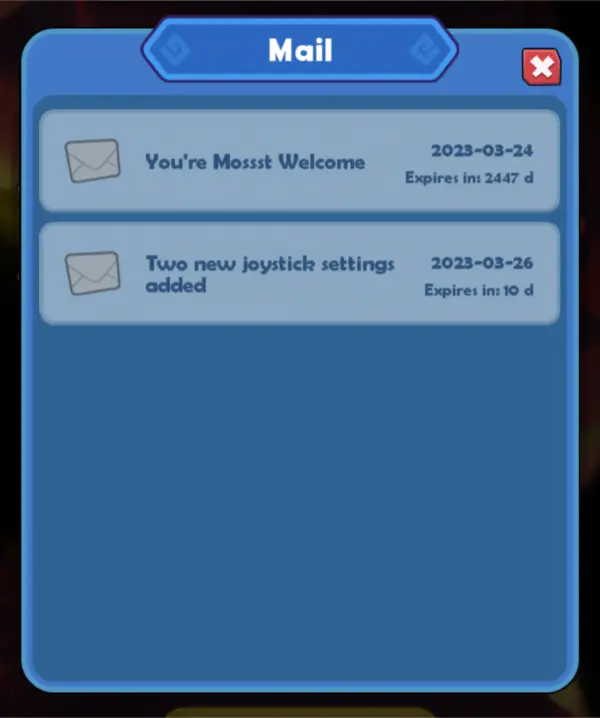
Every once in a while, the game may send you freebies through the mail so make sure to take a peek to see if there’s a notification on that mail icon!
Claim Chapter Boxes
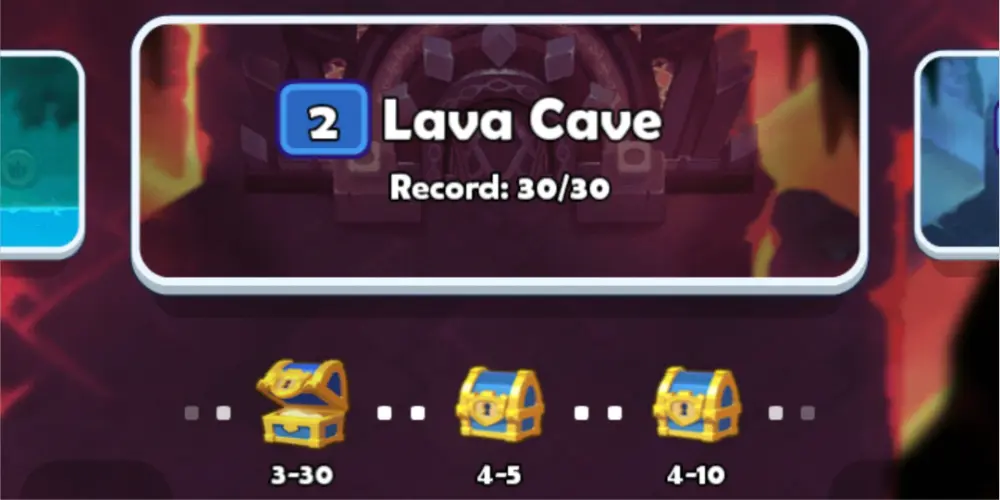
Chapter Boxes are these small chests found on the main screen underneath the level name. These are unlocked for every 5 stages you pass. Each level has 30 stages and you can unlock up to 6 chests per level.
Open Boxes

Normal Boxes can be opened using Silver Keys while Super Boxes can be opened using Golden Keys. These keys are randomly obtained by playing the game. It’s easy to forget about these keys when you’re in the heat of the moment as you play so regularly checking the boxes section in the shop is always a good idea after a playthrough.
Normal Boxes have a 10% chance of containing Good Quality items and a 90% chance of Normal Quality items. Super Boxes on the other hand have a 12% chance of containing Epic Quality items, a 32% chance of Rare Quality items, and a 56% chance of Good Quality items.
You can also open up Normal Boxes and Super Boxes for free in exchange for watching an ad. You can watch an ad for Normal Boxes every 5 hours while Super Boxes are for every 4 days.
Take Free Gems and Gold

Free Gems and Gold can be claimed in the shop. Free Gems will always require you to watch an ad first and can be claimed every 2 hours. Free Gold on the other hand can be claimed twice a day; one time with no ads and a second time with an ad.
Collect Your Idle Rewards
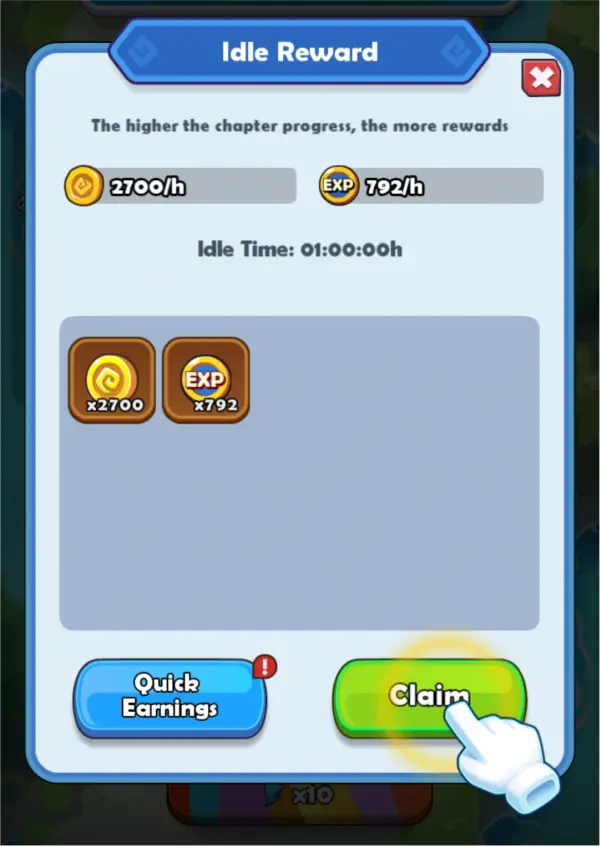
Idle Rewards passively accumulate as time passes by. You don’t need to actively play to earn these rewards, you just need to show up to collect them every 10 hours or less. These rewards come in the form of Gold, Experience Points, Equipment, and Equipment Scrolls.
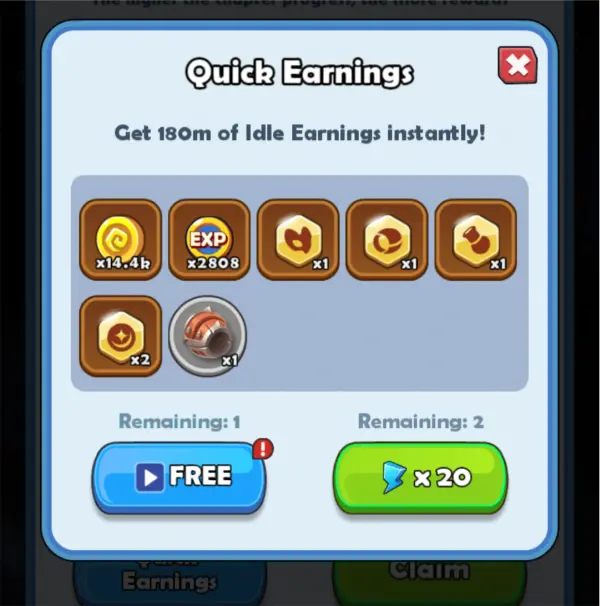
You can also use Quick Earnings to earn 10 hours’ worth of Idle Rewards instantly 3 times a day. One time can be claimed by watching an ad while two are claimed by exchanging 20 of your energy each.
Finish the Newbie Quest
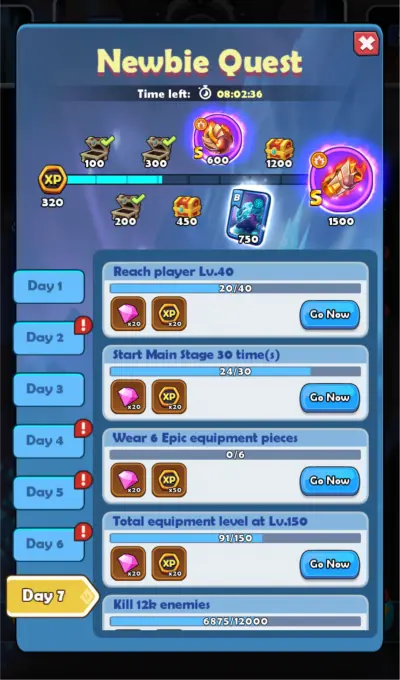
The Newbie Quest contains a list of tasks that you can do to earn extra Gems, Experience Points, and special items. You have 7 days to work on these tasks before the chance to earn these rewards disappear.
Obtain Your Growth Fund

The Growth Fund rewards you with Gems and Gold whenever you reach a certain level. You’ll be rewarded at levels 3, 5, 10, 15, 20, 25, 30, 40, 50, and 60. If you purchase the Advanced Fund, you’ll unlock the rewards on the right side of the screen.
Complete Daily Quests and Achievements

Daily Quests can only be completed within 24 hours and are reset each day. Completing them can earn you rewards like Gold, Gems, Keys, and Equipment Scrolls, and are usually very easy to do.

Achievements on the other hand have no time limit and will only reward you with Gems. These tasks will usually take you several plays and days to complete and are meant for the long term.

That’s it for now, as far as our collection of SSSnaker tips and tricks is concerned! We hope that this article aids you in empowering your snake, improving your techniques, and conquering your enemies of all shapes and sizes. Have you discovered any interesting tips and tricks that we did not cover in this guide? Let us know in the comment section!