Like its previous incarnations, Ragnarok M: Eternal Love has been expected to provide tons of contents and mechanics that often doesn’t come with much tutorial up for grabs and is often left for avid players to discover on their own through experimentation and a lot of determination. Following our Ragnarok M: Eternal Love beginner’s guide which we published a week ago, we will now pick up from where we last left off and dive deeper into more complex tips and strategies for players who may have played the game for some time and have reached sufficient levels past being a beginner. With that said, let’s move on and check out our Ragnarok M: Eternal Love advanced guide below!
1. Raise Adventurer Level And Buy Adventure Skills
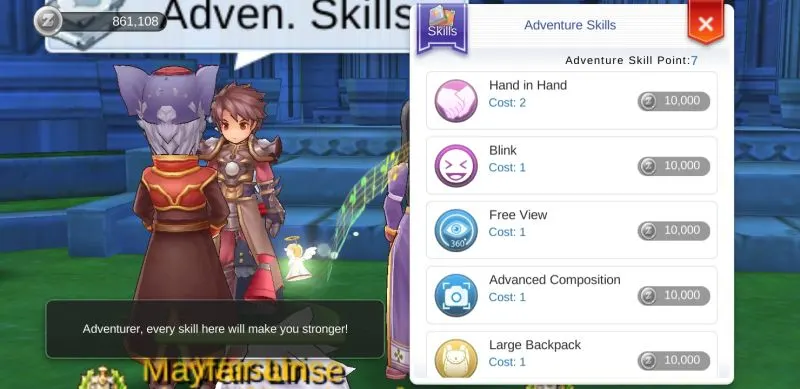
As you should know by now, your Adventurer Handbook holds a record of milestones you accomplish while playing Ragnarok M: Eternal Love. While you may regularly visit it to see what you have accomplished and claim some rewards, there are more than enough reasons for you to review it more closely and spend time to get more out of it. Raising your Adventurer Level and Rank has its own set of perquisites from getting better buffs from the Adventure Book itself to unlocking new skills to purchase from Mayfair Linse who is located at the right side of the northern area of Prontera City. As there are many skills available here that can further help you in your adventure, be sure to check for skills you want to buy. As some skills require a higher Adventurer Level, work on raising yours to level 10, then 15, and so on. To earn more points and help raise your Adventurer Level faster, one good way is taking photos of monsters you have encountered (if you still haven’t) and grinding for 2,000 kills when you are way past the 300 minute battle time cap.
2. Acquire A Pet And Raise Intimacy Levels
You can have your first pet once you hit level 30 through a quest you can get from Magnus located just at the top of Prontera South Gate. The quest is rather easy and guarantees a Poring Egg as a reward in the end. Be sure to hatch the egg and bring your new pet to your adventures so it can gain experience and intimacy levels.
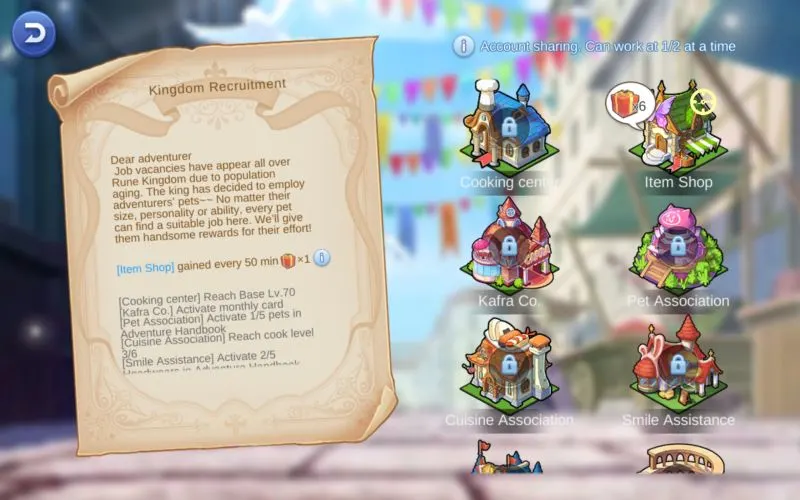
At some point soon enough, your pet will always be asking you to give it something, in the Poring’s case, it’s Green Apple. It may say it’s hungry and later on will even threaten to leave you if you don’t feed it. As Green Apples don’t drop from monsters and the Colorful Shells you need to buy pet items can only be obtained from special chests, you may have a hard time constantly following the whims of your pet if you want to provide it what it wants. Instead, make up for it by petting your pet monster from time to time. It will continue to rant and threaten to leave but it won’t if you spend time to pet it regularly.
Once your intimacy level with your pet reaches level 5 and your pet’s level reaches 45, you can send it off on its own adventure (or work rather) for you to earn great rewards every once in a while. While initially there will be some limitations on this, you can easily identify what you need to accomplish to unlock other adventure locations for your beloved pet.
3. Change To A Second Job As Soon As You Can
Once you reach Job Level 40, you can head back to the Adventurer’s League HQ and initiate the quest towards transforming to your Second Job. The series of sub-quests you need to accomplish vary from one job class to another but none of it are overly complicated for us to really break it down in detail here. There will again be question and answer portions that are pretty easy to guess the answers to. In about 10 to 30 minutes, you can start enjoying your upgraded character loaded with a new set of skills and much better stats.
Again, you should already decided on a job before creating your character and much prior to reaching this point as your stats from the first job should already be streamlined for the end class you have in mind. In case you are not familiar with second job classes at this point in time we will just be breezing through a brief description for each per group.
From Swordsman, you can either choose to be a Knight or a Crusader. Both are great tanks and both are heavily dependent on a good set of equipment. Knights are typically built for doing a little more damage and less reliant on skills while Crusaders do better at dealing Holy Damage as well as having damage reduction skills and attributes.
As a Thief banking on agility to deal damage and avoid hits from enemies, you can take it a step further with either an Assassin or a Rogue. Assassins are popular for dealing exceptional close combat damage and Rogues are known for their proficiency in farming.
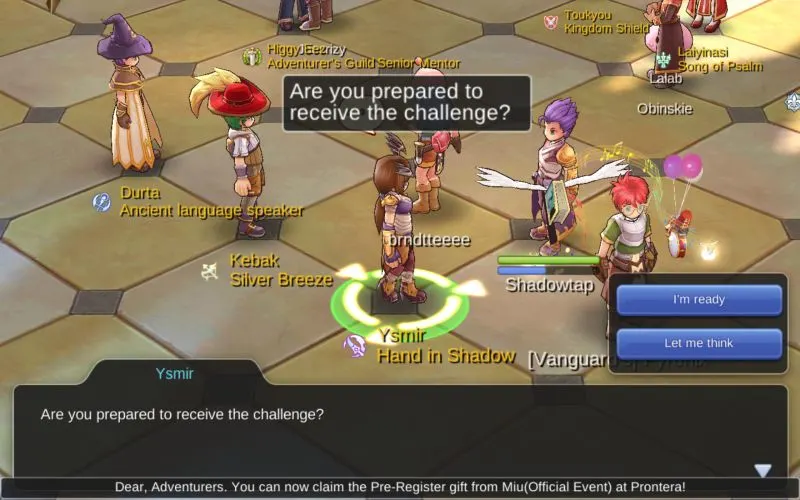
If you are an archer, you can choose to become a Hunter and deal exceptional ranged single target damage and highly efficient in hunting and levelling or a Bard and provide support skills on top of enemy-debilitating spells as well.
If you chose the Magician as your first job, then you probably already know that Wizards are the best AoE damage dealers in the game and have pretty decent single target spells as well. Their counterpart, Sages, offer neat spells as well but specialize in casting offensive buffs for the party.
Acolytes, being the basic healer and support class can become a Priest, which is a necessary full support class in parties or a Monk, more suitable for offensive plays and MVP hunts.
Last but not the least, Merchants who are faming and loot specialists can upgrade to a Blacksmith that can provide decent party buffs and all-around average melee fighter or an Alchemist who is great for farming too and can also be built to be an offensive character but takes a lot of time and effort to setup.
Even before you decide on your second job, there are build suggestions you can see when viewing stats of your characters. Keep in mind that while the builds laid out by the game are not bad at all, you can opt to distribute your stats your own way. As builds are decided not just around farming, it is important to determine early on as well what you are aiming for with your character to more appropriately distribute points to each stat.
4. Establish Optimum Party Rosters As Much As Possible
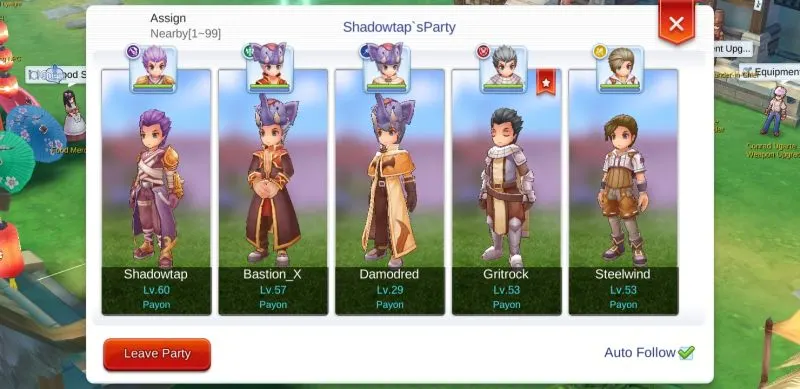
While initially in Ragnarok M: Eternal Love, you would just want to sbe part of a party nad play closely with other people. Later on, especially for more important purposes, you would want to be in a Party where everyone has a specific role and having a variety of classes involved makes the party more efficient. Although this may be occasionally difficult to achieve, having a lot of friends and being part of an active guild can make it a lot easier.
If you can’t come up with one at least be sure that someone can serve as a Tank and be sure to have a healer as well. Although Wizards are the best for AoE, you can leave the extra slots of other classes to fill in so long as there are great damage dealers for your party to not be overwhelmed by the horde of mobs. A lot of players do encounter problems here when their device is not as powerful as what the game requires. To be safe though you might want to make sure that you are going through this with people playing on powerful enough devices as your runs may end up in a mess when someone gets disconnected or kicked out of the game due to lag.
5. Identify Suitable Grinding Spots For You Or Your Party
At some point in Ragnarok M: Eternal Love, you will begin to feel the hardships of grinding to raise your base level and job level as much as hunting for the items you need to collect for a variety of reasons. As we have mentioned several ways to earn a fairly good amount of experience on our Beginner’s Guide, we will now move on to Grinding Spots which is where you should get a little more experience outside of quests.
Depending on whether you are playing alone or with a party, you can find areas where to grind suitable to your level. The key concept here is going for monsters that are 5 to 10 levels higher than you while initially verifying if they can’t kill you and if you can kill them fast enough. Although, we expect you to be at least over level 30 by this time, we will provide spots across all levels, for your subsequent characters or friends newer to the game.
Related: Ragnarok M: Eternal Love Ultimate Guide: Arena Cheats, Guild Perks and Multiple Character Advantages
For the first 10 levels, there’s no argument whatsoever that the best spot is where every character’s first spawn point, which is South Prontera. You can easily breeze through several quests here and be on your merry way to taking on you r first job in a matter of minutes.
Between levels 11-20, you can grab some quests and kill mobs at the West Prontera Area starting with Chonchons and Yoyos to Rockers and then Willows. Keep in mind that if your Archer or Mage can kill enemies before they can reach you, you can start your grind a notch higher so be sure to test out your prowess against enemies to see if you can kill them fast enough whenever you can.
While Rockers are still a good target for levels 21 through 30, Archers and Mages can already try their hands on Skeletons at the Ghost Ship. As of this point though, you may have quests taking you to the Capital Sewers, full of Familiars and Thief Bugs. Thief Bugs are fair options as well save for Archers and Mages. For Archers and Mages who may not be strong enough for Skeletons, Mandragoras in the Labyrinth Forest are a good and safe target for ranged fighters.
Thara Frogs are an excellent target for most jobs grinding between levels 31 to 40. At this point though, Mages and Archers can continue on hunting Skeletons if they still haven’t. As the Swordsman may become tough at this point as well, he can also take on Skeletons at this point.
At levels 41 through 50 most jobs can take on Goblin Steamriders at the Goblin Forest and pretty much every creature in Ant Hell. If your Archer or Mage can one-shot Hornets in Mjolnir Mountains, that is the better option. Acolytes, depending on their build can take on Floras in Mjolnir Mountains as well.
Dustinesses located at North Prontera are the best grinding targets and spots when you are between levels 51 to 60. At this point your build, skill sets, and equipment begin to matter a lot and going grinding at these spots may have varying difficulties depending on your job.
From levels 61 to 70, you can try grinding in the first floor of Payon Cave and target Eggyras if you are a Priest or a Wizard. For everyone lese Dustinesses as well as and Minorous in the 2nd floor of Pyramids are good alternative options.
Once you hit 70 though there are too many alternative choices. At this point though you may want to be always in a party whenever you grind for experience and items else it will become a huge challenge especially for tanks and support classes.
Again, these grinding locations and targets are suggested taking into consideration playing alone. In a party, and dependent on the size and strength of your party, you can always step up and go for higher level targets.
6. Working On And Around The 300-Minute Battle Time Cap
At first, you might think that you ought to spend your first minutes in the game doing quests and missions and so on and save grinding for after your daily “chores” are done. For efficiency’s sake though, the better route to take on a daily basis is to spend your 300-minute battle stamina limit on grinding at spots suggested for your level, which means 5-10 levels above your own. As time counts down regardless of how difficult each battle is, you might as well spend it on where you can get the most experience and better loots. Feel free to use at least 1 lightning chain at the start of your grind to boost experience and drops. Once done you can begin checking mission boards and accomplishing monster resistance quests as well as other quests as these will continue to give you the same amount of rewards and experience points even you suffer some penalty from exceeding your daily 300-minute stamina.
7. Seal Time Rifts 5X A Day
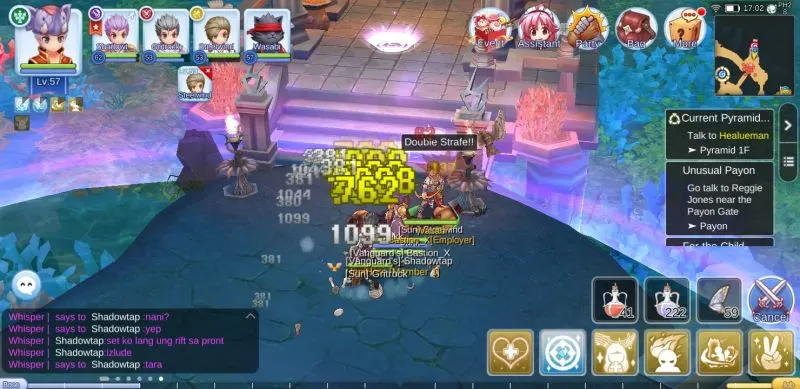
Once you seal a rift in some areas throughout your quests, you can take them on again with a party by talking to the Rift Monitor between the center and west exit of Prontera City. Keep in mind that these time rifts are much more difficult than when you first encountered them on your own and as such, you should attempt to complete one with a complete party of varying job classes, preferable with a tank, a support, and an AoE damage dealer. You can get a lot of rewards from here that are otherwise difficult to acquire anywhere else so make sure to make the most out of it by expending all 5 attempts daily.
For starters, stay within the rift during the battle as going farther will reset everything. Don,t stay close to the middle as well unless you are the tank. If you are the healer, you should focus on the tank and other damage dealers may want to try and start dealing damage when mobs aggro are on the tank just to be on the safe side.
8. Acquire Better Gear Through Crafting And Exchange
While some job classes in Ragnarok M: Eternal Love seem more heavily dependent on good gear than others, it helps a lot for you, regardless of your class, to have the best gear suitable for your level as you venture through more difficult areas and quests in the game. For one, there are various craftable equipment in the game scattered across different cities accessible through various NPCs. Be sure to check various Ugartes in each town to check craftable items for your class and start farming for the required materials for it.
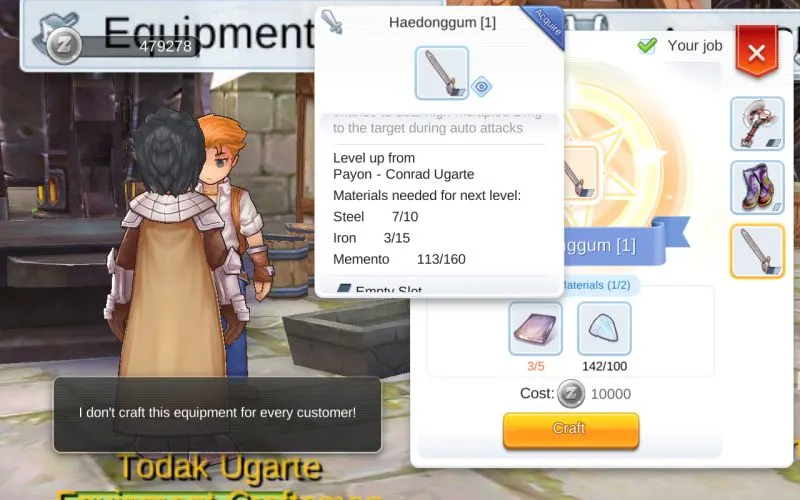
If you are having a hard time finding Ugartes, click on the minimap and tap on World. You can view each are and tap on it to reveal each NPC on it to the side of your screen. Clicking on each NPC name will take you to it.
I you are having a hard time with craftable gears, you can also visit Big Cat Man and through exchange buy equipment and items you need from other players. You can use this as well to dispose of thing you are sure you will no longer need and it can also be a venue for you to make profit off of some special items you may have.
And that’s about all we have for you now and we hope you read through each of the items we listed here. If you still find yourself struggling after going through our Ragnarok M: Eternal Love advanced guide, you may want to review an item or revisit you character’s build and corresponding stats. Hopefully, you picked up some points to consider and be able to apply them soon enough for you to farm and progress your character more proficiently moving forward. If you think we missed something or would like to add more to what we have provided in our Ragnarok M: Eternal Love strategy guide, we’re all ears and would love to hear about it so please let us know and send us a message through the comment section below!
