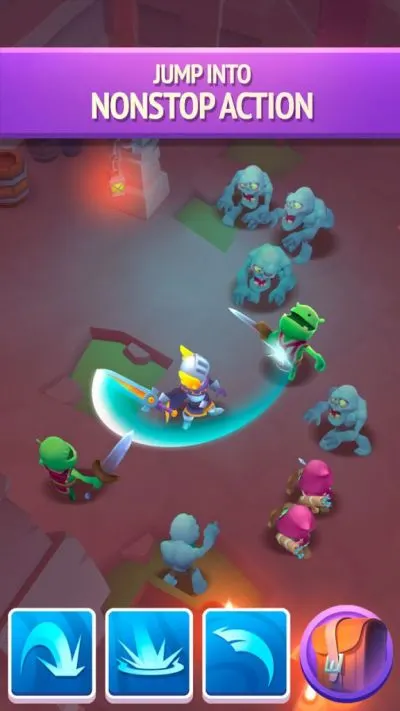
Nonstop Knight 2 is a new hack and slash mobile game developed by Flaregames, the sequel to the highly-influential idle action RPG Nonstop Knight. In this game, you play as a knight, and your objective is to clear the various dungeons from the threats that infest them, and collect the riches inside them. The knight goes forward by himself, you have to use his skills, and make sure he is as strong as possible in order to take down all the enemies he is going to face. Be sure to read on and check out our Nonstop Knight 2 beginner’s guide for some useful tips, cheats and tricks on how to clear more dungeons!
1. Boost Your Equipment
In Nonstop Knight 2 you can find additional equipment by clearing dungeons, and you also get a free chest every 8 hours. Equipment can have different rarities, and while generally higher rarity items are better, you really need to pay attention to the special perks of your equipment, sometimes certain perks on higher level gear will be worth less than perks on the lower level one. Each piece of equipment improves a specific stat: Weapons enhance damage, Gauntlets and Boots improve skill damage, hats / helmets boost your health, Armor boosts health, and finally, Capes improve health.

This is a very generic outline, and different pieces of equipment bear different bonuses. For example, weapons could also boost your attack speed or critical damage, while defensive pieces of equipment could improve your dodge or block chance, whereas offensive pieces of equipment could also give you additional Mana, Coins gained from slain enemies, and other bonuses.
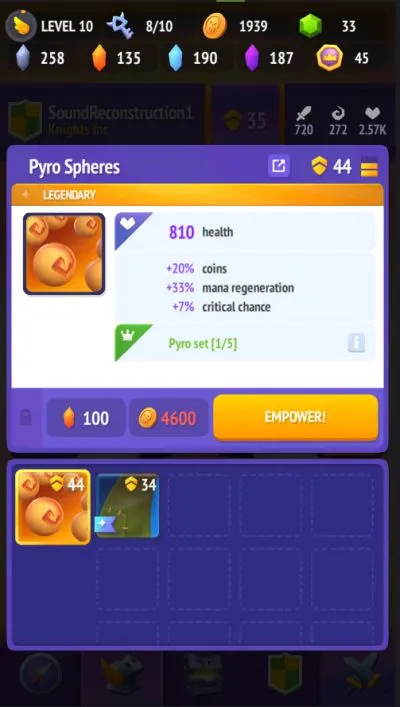
You can also Empower your equipment, which requires you to expend a certain amount of Coins and Shards of a specific type so make your weapon stronger. If you don’t have enough Shards, you can expend Gems instead. When you Empower a weapon, you raise its level by a random amount, which increases all of its stats by a certain amount, depending on how lucky you were in your roll. While sometimes you will get a little unlucky, don’t worry, if you level up your equipment smartly this won’t really stop you from progressing.
You can Empower an item up to 3 times, but that’s not the real limit. You can expend Royal Tokens to “reset” and empower your weapon 3 more times.
You can sell the Equipment you don’t need, if you need to acquire more Coins. Aside from equipment, you also need to choose which skills to bring with you, and what traits. Traits are passive bonuses that make specific aspects of your hero better, while skills are active abilities you can use in the dungeons, they cost mana, and each one has its own specific effect, and deals damage of a specific element.
Some items have a perk that gets unlocked by wearing multiple pieces with the same perk, an example is the “Tundra set”, that increases critical damage and gives the knight focus after every kill with a melee weapon.
2. Abilities And Talents
Different abilities have different effects. Some bosses resist the damage of the same element of the damage they also deal. So, picking the right ability to not waste mana and health is very important to avoid losing to bosses. You can bring up to 3 abilities with you at any time, each one of them has its own effect and deals damage of a specific element. To read up what each ability does, and its mana cost, simply enter your inventory and then tap on the “Skill” button, you will access the menu with all the abilities in the game. Here you can pick what abilities you’d like to bring for each slot. What’s cool about abilities is that a lot of them also function as mobility abilities, which means you can avoid powerful hits such as bombs and other strikes by using certain abilities. Other abilities are great because they allow you to disable the enemies they hit, giving you precious time to hit them without being hit. An example of an ability like this is the tornado.

You can level up your abilities in Nonstop Knight 2 by spending Coins, or by finding parts of them in the chests. Using your abilities right makes a huge difference in boss fights, for example Solar Sentry can earn you precious seconds when you’re in a tight spot, or you can use Flashfire when you are surrounded by enemies to get out while damaging them heavily. Always try out various combinations to see what abilities work best in what situation. Lastly, abilities can inflict a status condition to the enemies they hit, and this interacts with your talents usually, as well as adding extra bonuses, such as extra damage per second dealt to enemies that are burning.
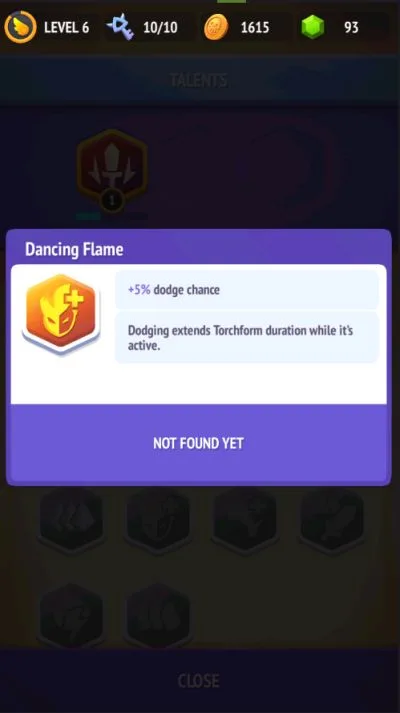
You can check Talents in your Inventory, by tapping on the “Talents” icon. Talents are passive buffs that enhance various aspects of your character, for example increased chance to Block enemy attacks, or buffing the elemental damage dealt by your abilities, or even straight out improving them. Talents can also be upgraded up to level 3 with Coins. Remember to check out your talents and shift them around accordingly when you switch weapons (specifically between Primal Tactics and Ranged Mastery, if you are switching from Melee to Ranged weapons), and abilities, to make sure you are getting the most out of what you have.
3. How To Fight Against Bosses
After you have killed a specific number of enemies, you will be able to enter into a boss fight with the boss of your current level. Unlike during regular dungeons, you do not regen health, so you will have to kill the bosses before they kill you. You can try killing bosses as many times as you please, dying just means you have to start from scratch. Alternatively, if you are dying repeatedly but feel like you can beat the boss, you can spend 20 gems to revive on the spot you died with full health. This helps beating bosses against which you are losing with their health left around 30-40%. If it’s higher than that, don’t bother. If it’s lower, try again, mixing and matching your abilities and see if you can defeat them without spending the gems. Defeating a boss earns you a Chest which you can open with Keys.

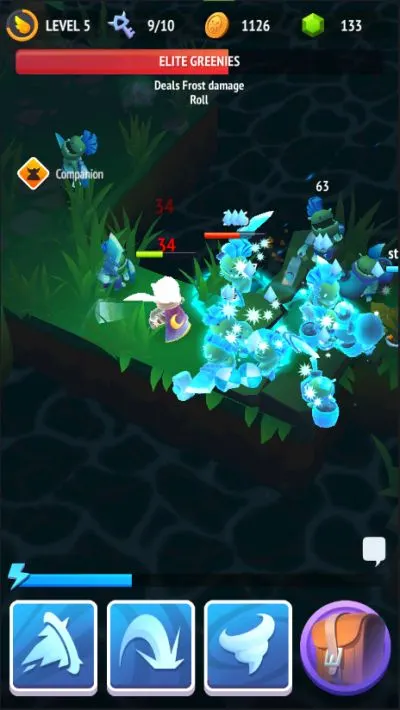
Generally, what works best vs bosses are skills like Flashfire or Leap. Bosses are big and move slowly, so dashing through them and getting behind them allows you to dodge a big chunk of their damage. Other than that, always spend as much mana as possible and try to kill them quickly. The more time passes, the smaller minions will come to help the bosses. Your objective during boss fights is to use aoe spells to kill the minions while damaging the bosses and avoiding their hits as much as possible. You won’t stand a chance if you expect to tank everything.
4. Join A Guild
Guilds are great, they motivate you with all these messages of dungeons getting cleared and whatnot, but the real benefits come when you join up your guildmates to clear dungeons. You can both get companions for regular dungeons, who help you in your quests of clearing them, or you can party up with guildmates to clear the dedicated Boss Hunts when you’re high enough level. Another benefit of having friends, is that you earn coins while your game is turned off, as your friends will most likely require help from your knight, which is very nice, as this will earn you a nice chunk of coins!
Most guilds are free for all to join, and you can always leave them if you aren’t finding mates to clear dungeons with, so don’t be afraid to join and leave guilds until you settle for one you are completely satisfied with!
5. The Tournament Mode
Once you complete the third stage, Volcanic Forge, you will be able to enter the Weekly Tournaments. Tournaments are additional dungeons you can clear to earn Tournament Chips. The amount of chips you earn is based on the achievements you manage to get during your tournament round. For example, you could get a “Fireflash expert” achievement for hitting multiple enemies at once with a single use of Flashfire, or you could get more chips because you cleared dungeons effortlessly and earned the achievement “Steamroller”, by killing multiple enemies at once (called a “Splat”), or simply for defeating bosses. You can check these achievements, and how to get them, by tapping on the small zoom lens on the corner of the “Tournament chips” section in the information menu of the Tournament.

You get a rank based on the highest level (called “node” in this mode) you have cleared. You can check the leaderboards to see where you’re standing at in the Tournament menu, the leaderboards also tell you how many Gems and Royal Tokens you will earn at the end of the weekly cycle, based on your current position.
The first 4 nodes are free to enter for anyone, while levels from 5 to 8 will require you to equip special items called minty items. You can get minty items by clearing nodes, specifically one every 4th node you clear. Alternatively, you can craft them or find them by opening chests. This adds to the difficulty of the dungeons, as you might end up needing to replace better pieces of equipment in favor of minty items, making your knight overall worse at clearing nodes. Don’t worry, this is where Tournament Chips come into play, as they allow you to “reroll” your minty items, which means you will reroll the perks attached to them. It is quite helpful when you get perks you don’t care about.
6. Get All The Freebies
You get a free Goodie Chest every 8 hours, which is pretty nice, as it contains either talents, abilities, or additional equipment, so you always get the chance to upgrade your knight with more power.
Additionally, there are daily quests that allow you to unlock a Daily Epic Chest once you have done 5 of them. These quests are all about killing enemies, both the smaller minions and the bigger bosses. Daily Epic Chests contain Epic pieces of equipment, and Coins. Clearing the quests also gives you extra bonuses, so make sure to clear them every day!
Every now and then, the game will offer you a way to earn Gems freely, by watching a short video Ad. This lets you gain some Gems which you can then spend in the shop to purchase additional Keys, Shards, Coins, or even Skills and Equipment in the rotating shop. Alternatively, you can use Gems to revive during a boss fight, ensuring you actually get past that annoying boss who keeps slaying you.
Finally, you can get additional Gems and Royal Coins for free by reaching a high enough spot on the Weekly Tournament’s leaderboards.
Another tip is to check the shop periodically, as the goods in it rotate periodically every day, sometimes you will want to spend your gems on some specific item that is in the store, and since they might not show up ever again, you will want to grab them. We don’t suggest spending gems on your talents or skills, as they are barely enough to level up from level 1 to 2, and the skill packs are too expensive.
This wraps up our beginner’s guide for Nonstop Knights 2. The game is super fun, and does not require particular time investment to get going, so we definitely recommend trying it out! Let us know in the comments if you have found out about any other special tips or tricks for your fellow knight!
