Wells—the givers of life and bringers of death.
For many a civilization, the well has been a symbol of life—granting all those who partake from it water needed for cooking, to quench their thirst, and to cleanse themselves of filth. Otherwise, wells can also be perilous death traps wherein falling into one could mean certain death without any rescue. A poisoned well could also mean the death of everyone in the entire town since replenishing its waters was once an extremely difficult task.
In modern times, a well is usually associated with eerie stories. One famous one would be of an evil spirit rising up from out of it, typically through the footage from a videotape, cursing the viewer of said footage with death. Thank goodness VCRs and similar tape players have become obsolete.
But what if we told you that there’s something down a particular well—something that you feel calls out to you? You don’t know what it is, but it’s there. Your only companion apart from the occasional drone is your pair of Gunboots. So take a deep breath and take a leap of faith. Put yourself in the shoes of a boy named Welltaro, it’s time to head Downwell.
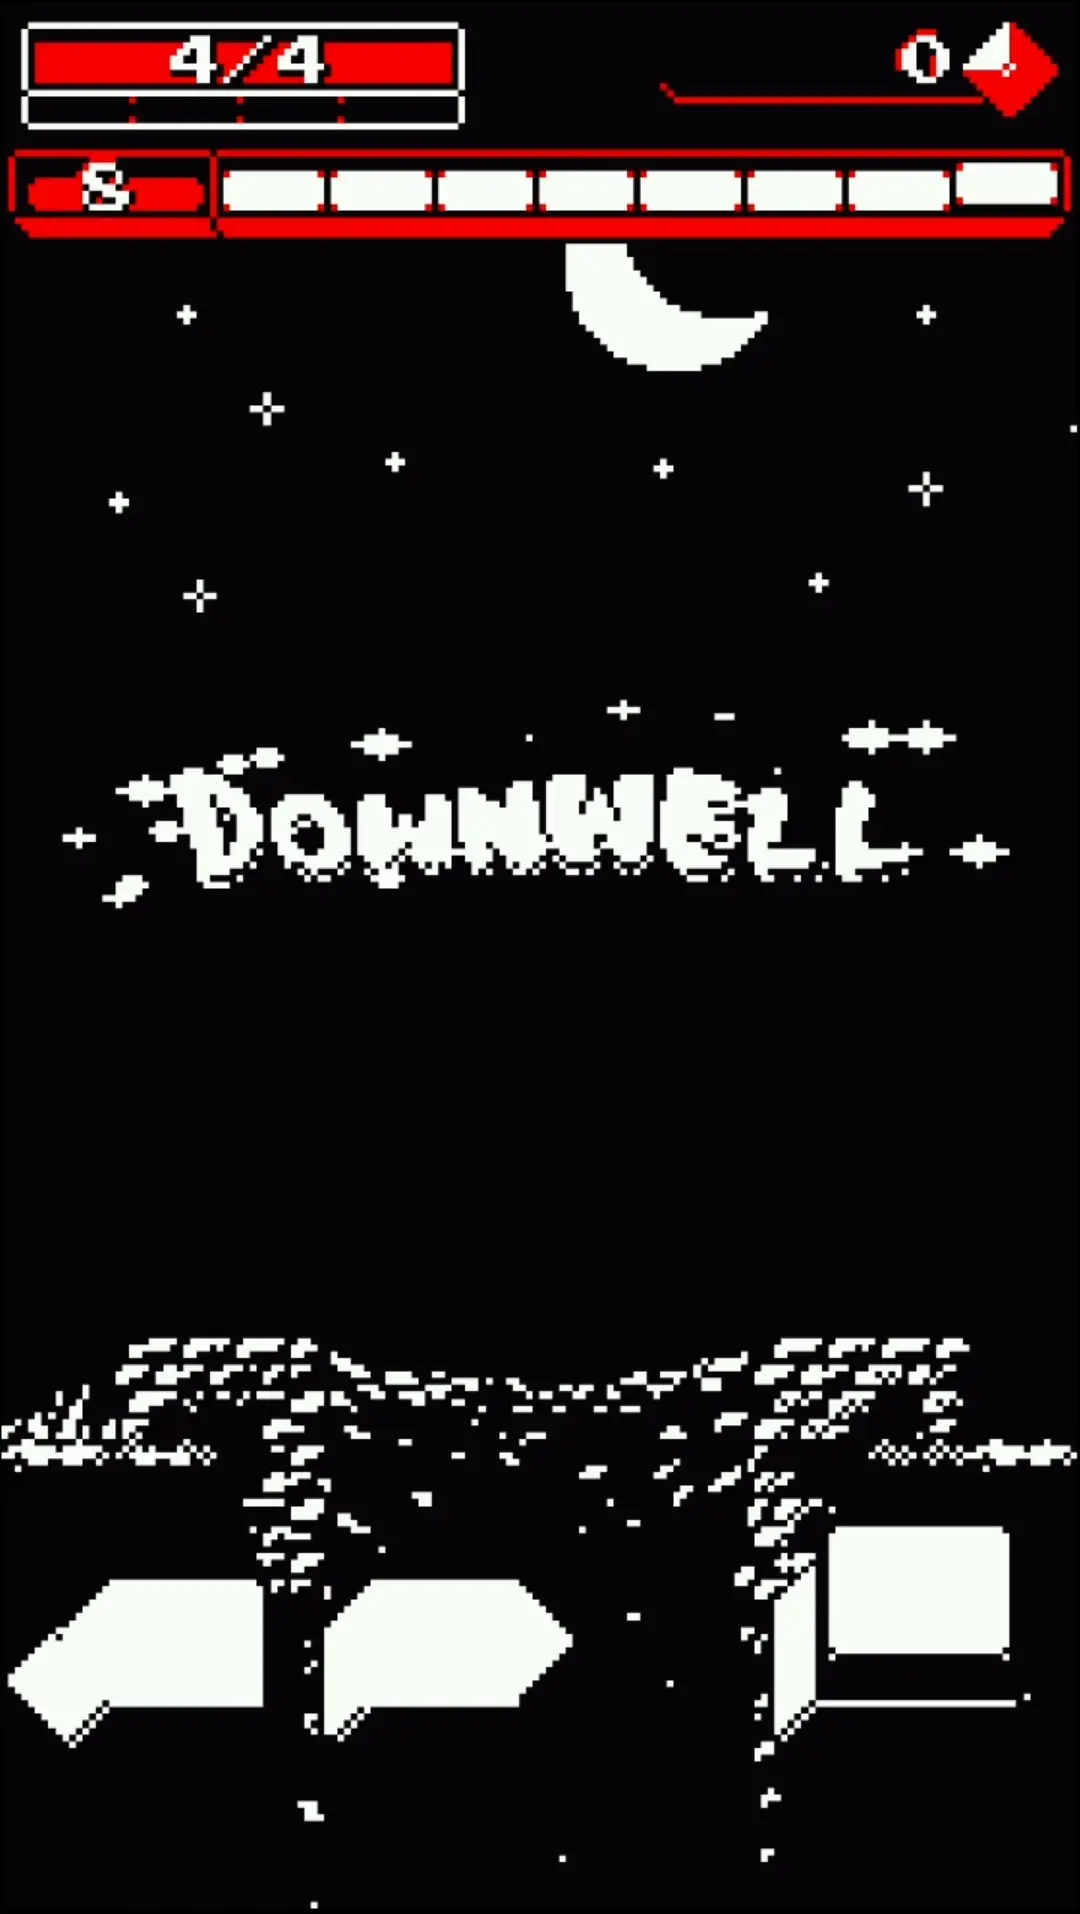
From the makers of GRIS, My Friend Pedro: Ripe for Revenge, Return to Monkey Island , and McPixel 3, Devolver Digital brings to the gaming landscape a run and gun shooter with a twist! Enter Downwell, a shooter that has you jumping into a massive and mysterious well filled with beasts, monsters, the undead, and eldritch horrors beyond your comprehension.
The fall below is deep and the darkness is quite daunting. Are you here to uncover what lurks beneath and put it to rest? Do you have difficulty overcoming the first level alone? Read our Downwell beginner’s guide below and get ready for a plunge you won’t ever forget!
Downwell for Dummies
So, what is Downwell exactly?
If you’re familiar with run-and-gun games like Cuphead, Metal Slug, Contra, MegaMan, Autogun Heroes, Fireball Wizard, and to an extent, Scourgebringer, you’ll be right at home with Downwell. The only big difference that Downwell has a completely different behavior. Instead of run-and-gun, we’d like to call it “fall-and-gun”.
What do we mean exactly? The orientation at which Welltaro, your character, moves isn’t from side to side, it’s just down. Welltaro needs to go all the way down and there’s no other way. The other way out is death. But surely you wouldn’t wanna go that route, right? In order to survive, you’ll need quick reflexes coupled with a healthy dose of caution (especially if you’re new to this game).
Welltaro can be moved using the arrow buttons on the bottom left portion of the screen and you can make him jump using the jump button on the bottom right portion. If you press the jump button again while in midair, he will fire bullets from their Gunboots provided that he has ammunition. If you don’t, Welltaro will puff air from the Gunboots, slightly slowing his fall.
Welltaro has two stats:
- HP — Which denotes the amount of health that your character has. You will die if you run out of this.
- Charge — Which denotes the amount of ammo your character has. You cannot fire if you run out of this. Landing on the ground will reload your Gunboots.
You may quickly notice that this game is already quite difficult since you’d usually start with 4 HP. This means getting hit 4 times in total will ultimately end your run, and this game is quite the behemoth to complete. Downwell boasts a whopping 5 worlds and a total of 13 levels all in all. Each level is quite brutal with a changing environment and enemy sets.
Most importantly, each level’s layout changes every time you start a new run. This means that while each world follows a pattern, but every level is randomly generated. Just when you thought that you’ve mastered the way a certain level works, a new level will come around and give you an even bigger challenge. But don’t worry—that’s why we’ve written this guide!
Just like Downwell, keep going downward through this guide and we’ll teach you a couple of tricks!
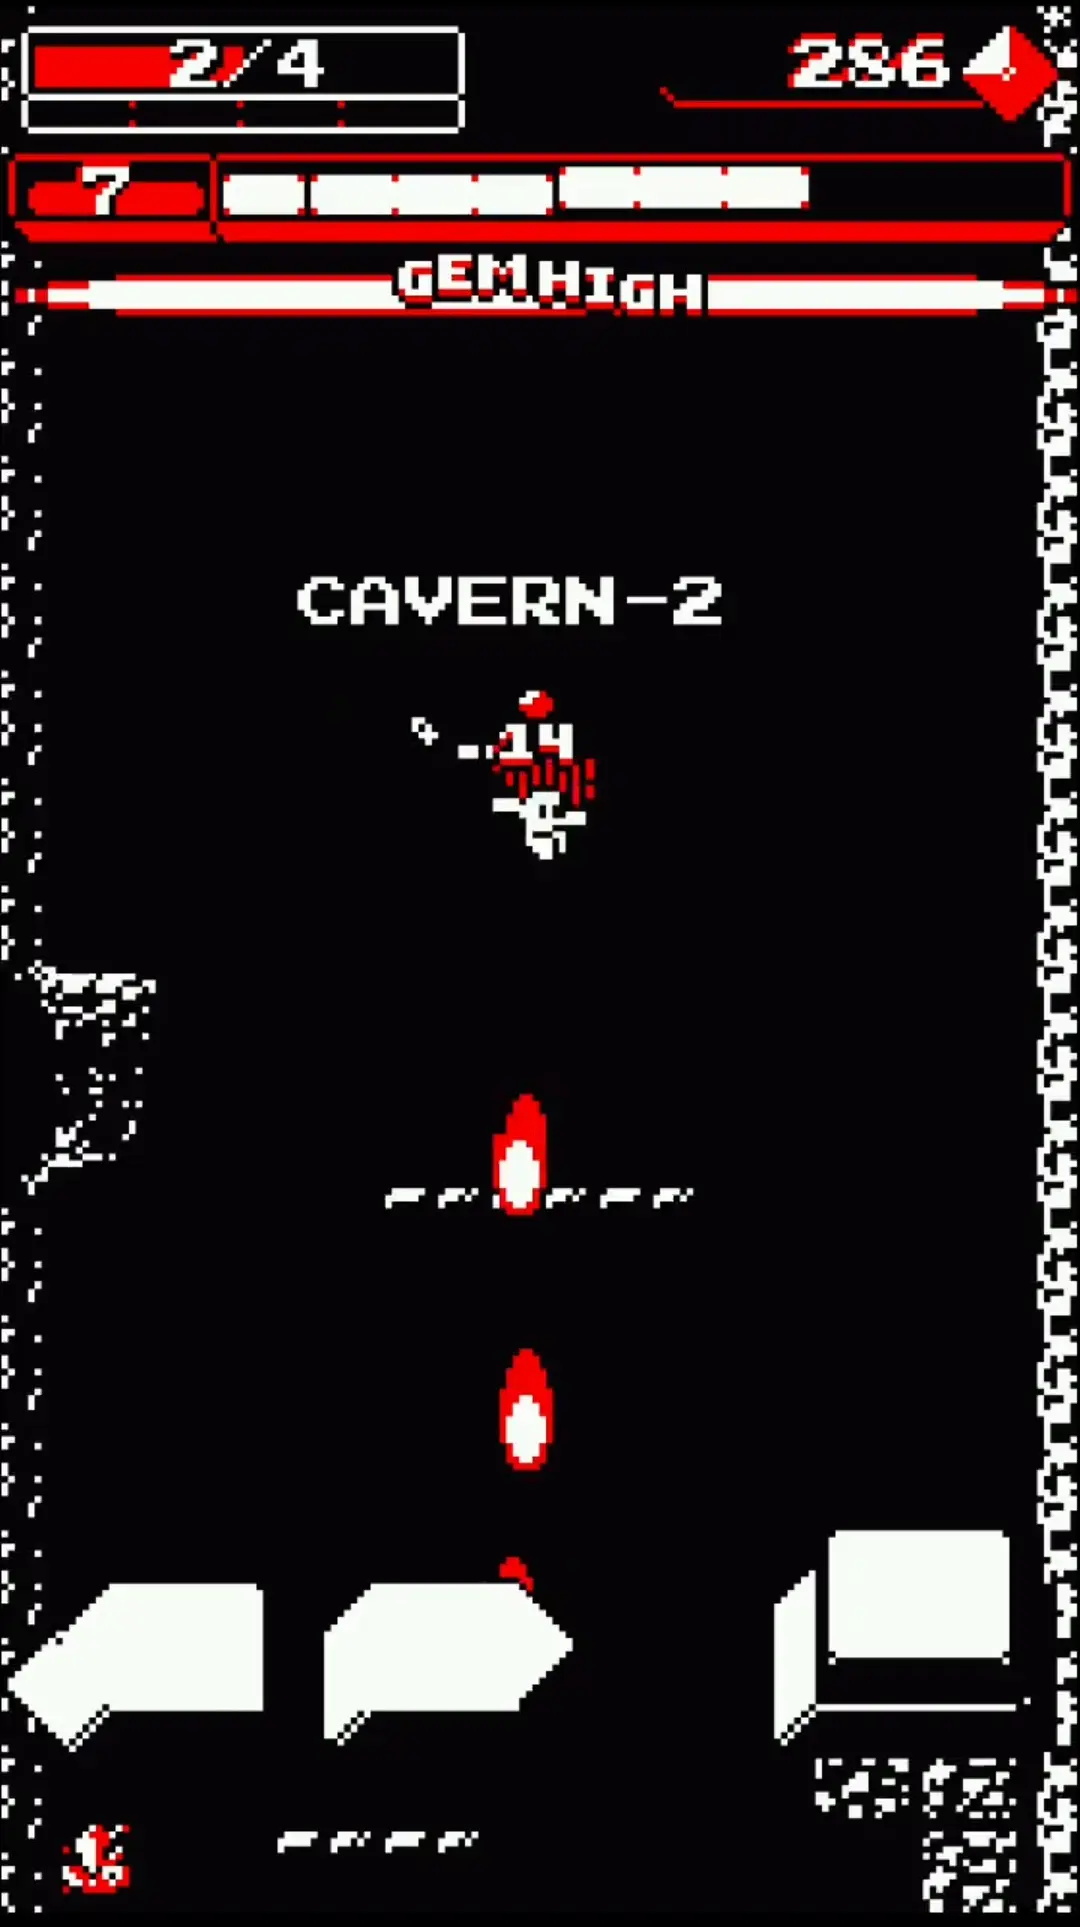
DISCLAIMER: Because this is solely a beginner’s guide, most of the content and references here will be derived only from the first world of the game—the Caverns. We will not cover the subsequent levels (Catacombs, Aquifer, Limbo, Abyss) as we would like the player to discover these levels on their own.
How to Survive the Well
The well is indeed a mysterious and perilous trip down. Because it’s teeming with life and creatures of indistinct origin, death could come from any and every floor you find yourself in. If you wish to know how to survive or get as far as you possibly could, then feast your eyes on our list of headers below!
1. Slow Your Falls
You’ve got guns in your boots but don’t let this fact of awesomeness distract you.
Your goal in Downwell isn’t to kill anything and everything you see—it’s actually to get to the bottom as safely as possible. Sure, you can slow yourself down by jumping on platforms and doodads (a game term describing torches, rocks, statues, etc. that can be jumped on), and you can cautiously drop down from ledge to ledge whilst getting past enemies. What you should be doing to get around in style is to slow your falls.
How do you do that, exactly? The easy answer is to periodically fire your guns as you plummet. Think of it like a BANG-BANG… BANG-BANG… kind of motion wherein the ellipses are where you allow Welltaro to fall. Each time you slow your fall using your Gunboots, you’ll be able to assess your surroundings more easily.
This will keep you from getting hit by any enemies you encounter as well as allow you to react more appropriately when things get tough. This will also keep you from missing important spots like Safe Zones which we’ll tackle very soon in this guide.
We’ve mentioned previously something about gem veins. Upon destroying these, you’ll…
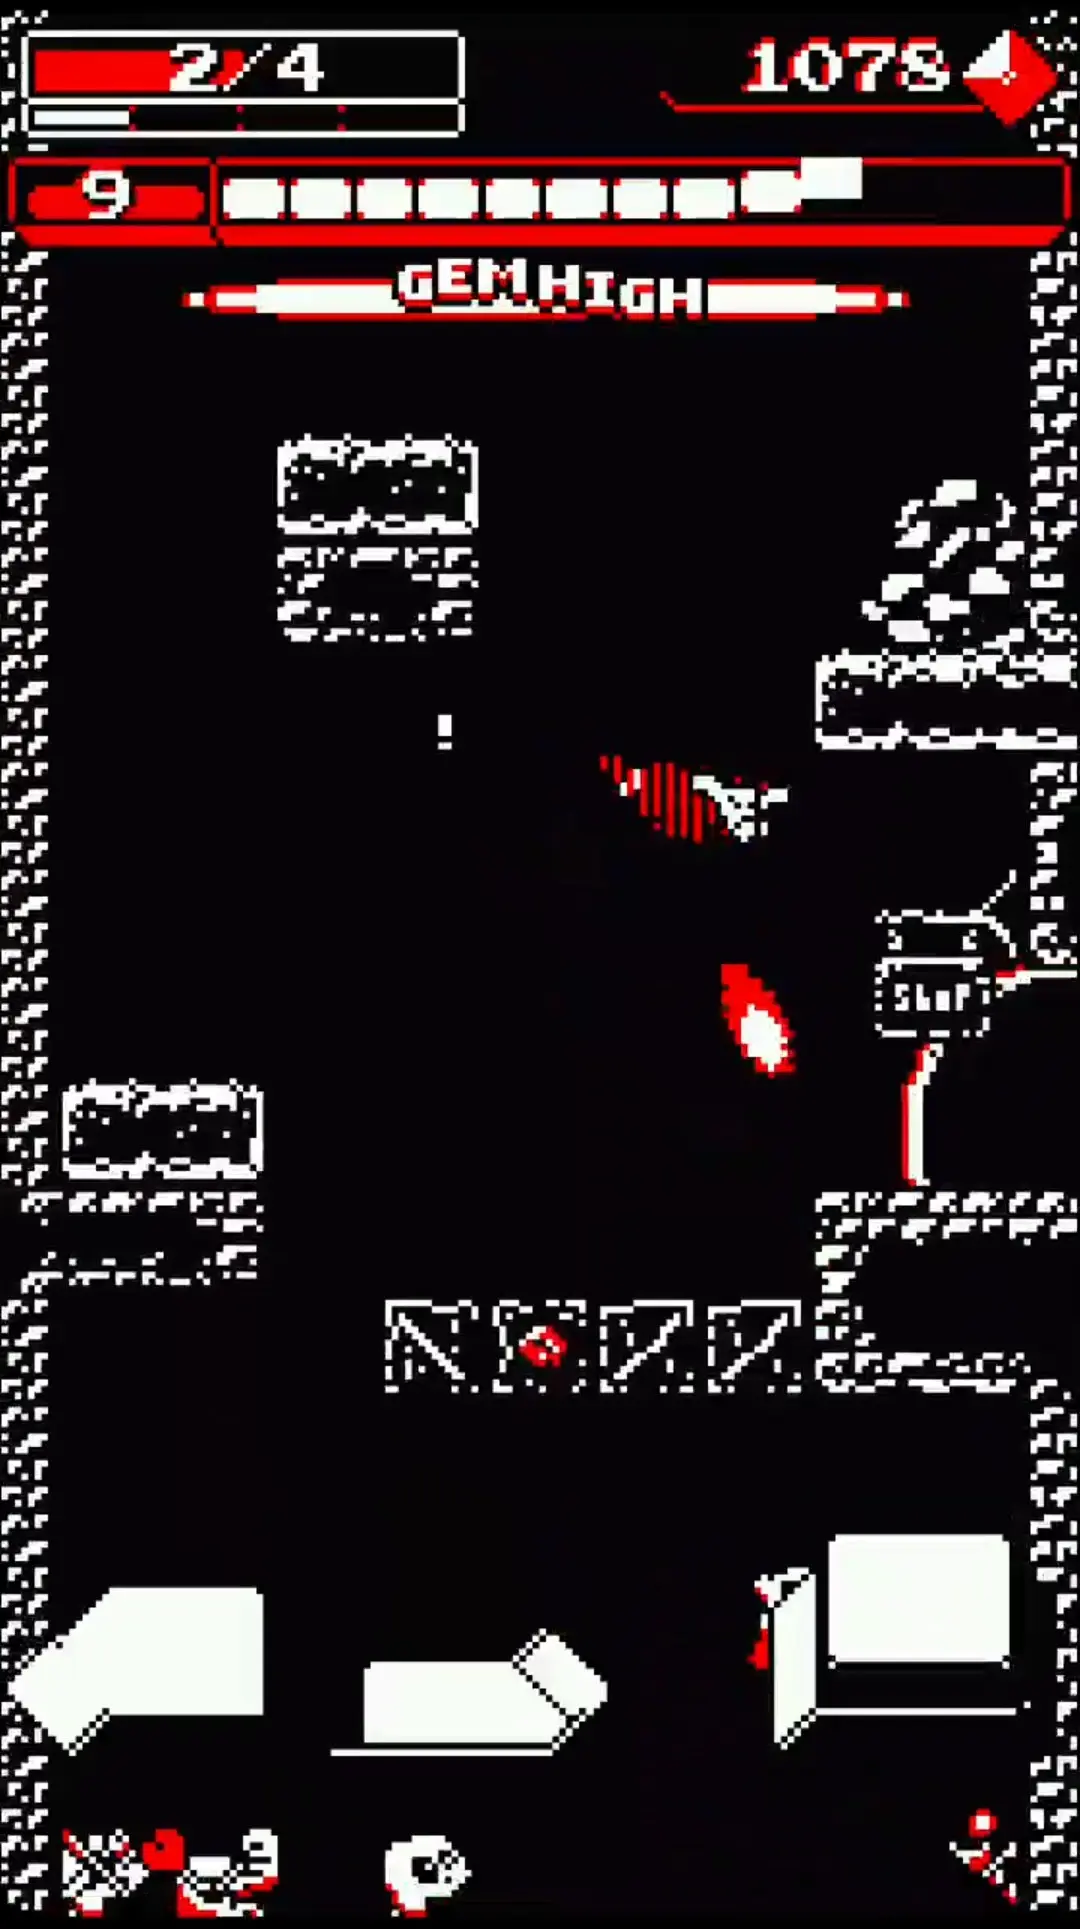
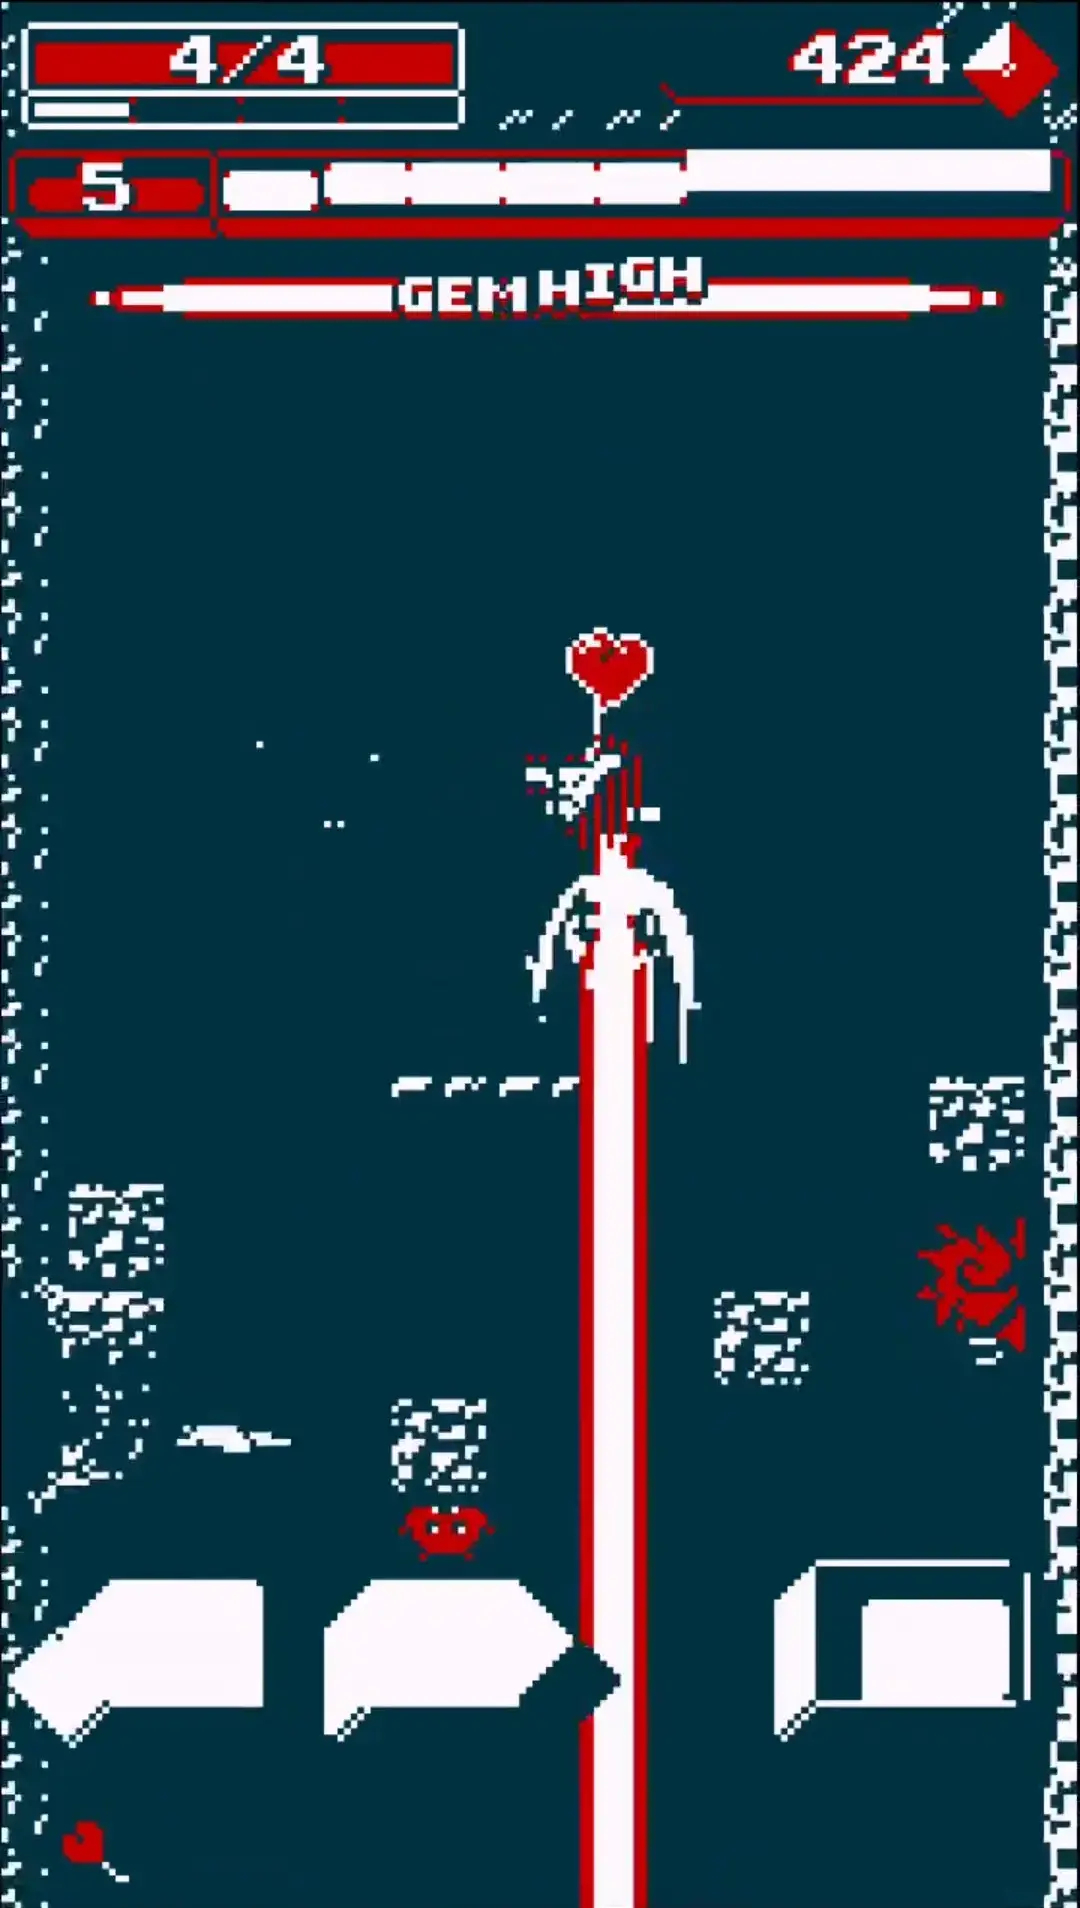
2. Get a Gem High
Contrary to what the mobile gaming market had made them out to be, gems in Downwell are not premium currency.
In fact, gems disappear if you’ve concluded your run with death! This means that when you choose to jump into the well once again, your gem count will always start at 0. Collecting these, however, will fill up a bar at the very top of the screen. Maxing this bar out will cause Welltaro to glow and put him in what’s called a Gem High.
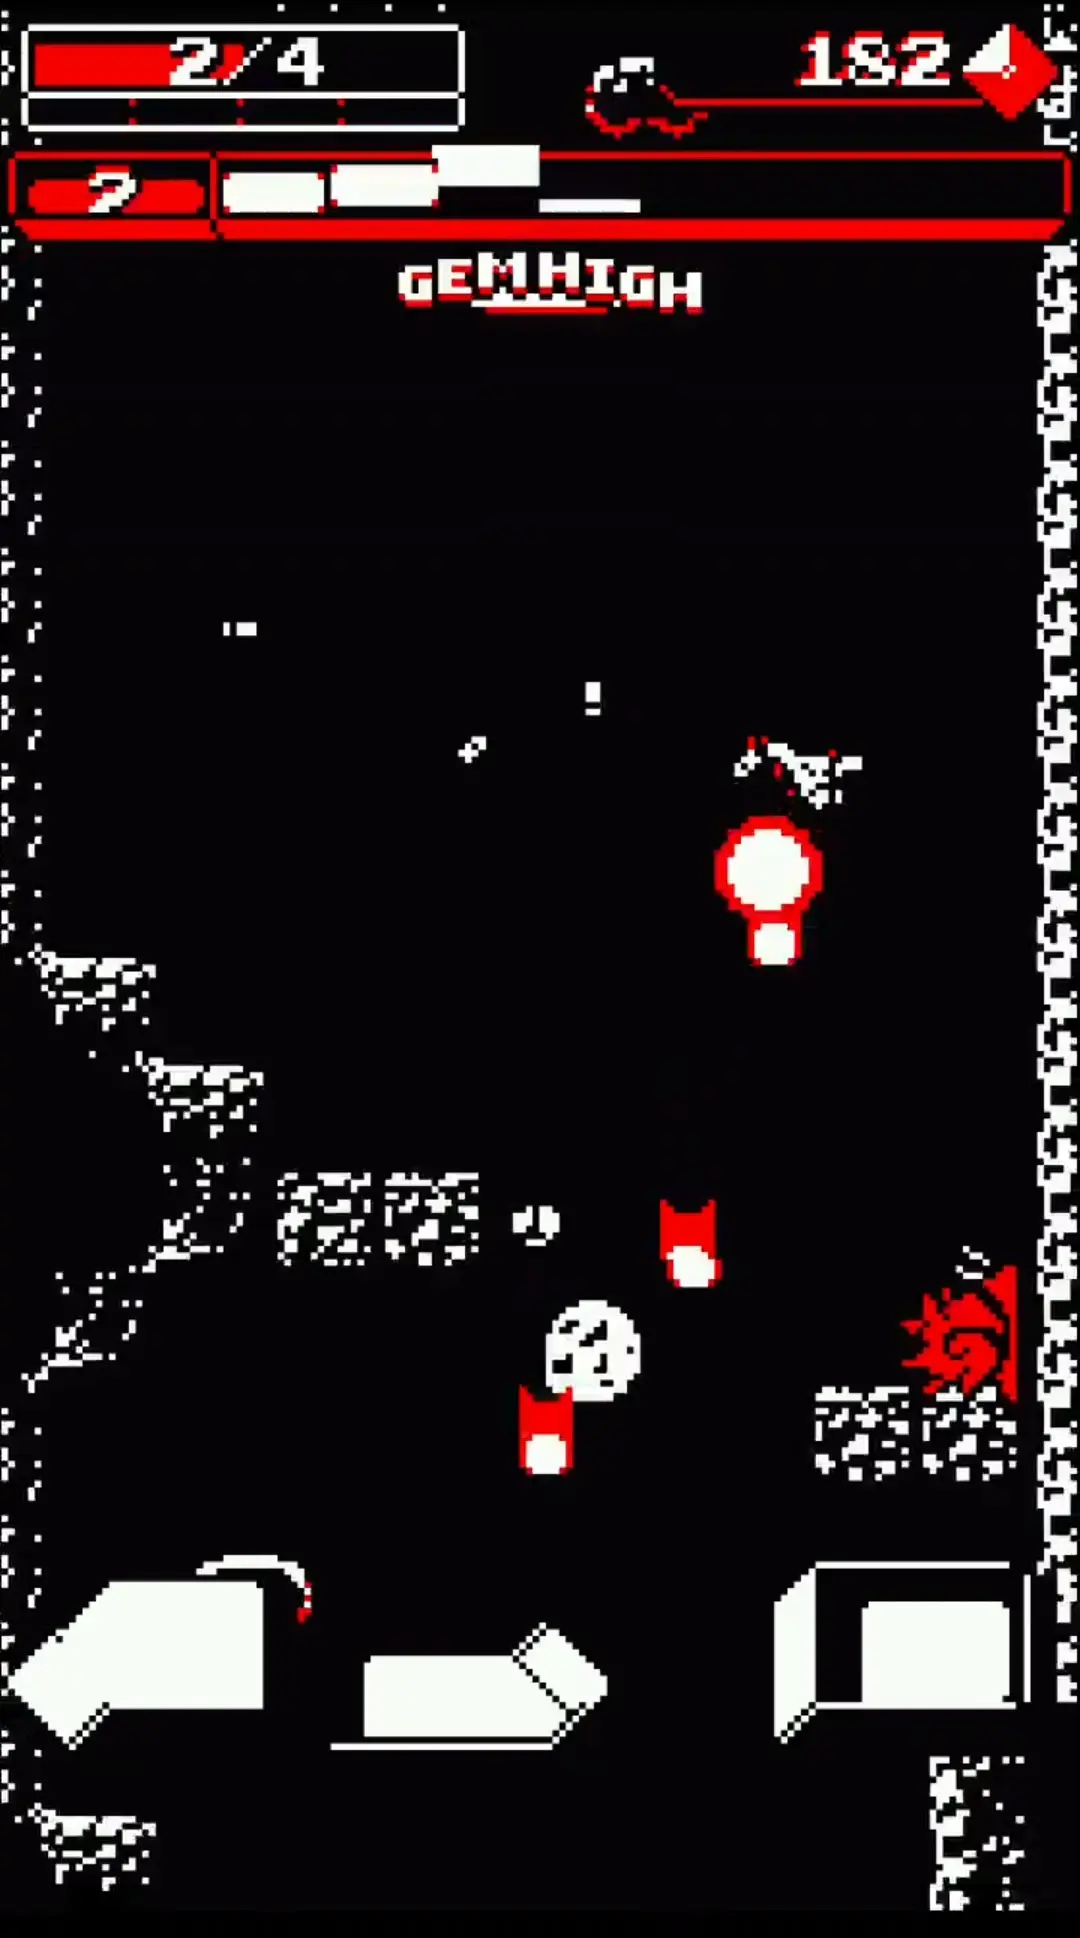
While Welltaro is in a Gem High, the Gunboots will fire more powerful bullets at farther ranges, allowing you to plow through many enemies in an instant. Not only is this helpful in keeping Welltaro safe from potential injury, this will also raise your score at the end of each run since more kills means more points. While we did say that depopulating the well isn’t your ultimate goal, it just helps that you do this to raise your score every now and then.
Achieving a Gem High is as simple as collecting 100 gems in succession. However, do note that a Gem High is only temporary. Breaking the Gem High will require you to collect another 100 in order to trigger it. Otherwise, there is also the Gem Sick upgrade which will increase the duration of your Gem High.
Another way you can amass gems without actually getting them is to perform combos. But that’s easier said than done!
3. Aim for Combos
Combos are a very essential part of Downwell.
Firstly, how do you achieve combos? Is it through how many times you hit enemies with your bullets? How many platforms you land on in one sitting? Actually, both answers here are quite close. A combo happens in Downwell when you kill multiple enemies in quick succession while jumping on doodads as well.
It’s tough because landing on any single platform will stop a combo. That’s right, getting hit won’t stop a combo from going. It’ll hurt, sure, but you can still rack up those sweet, sweet combo points.
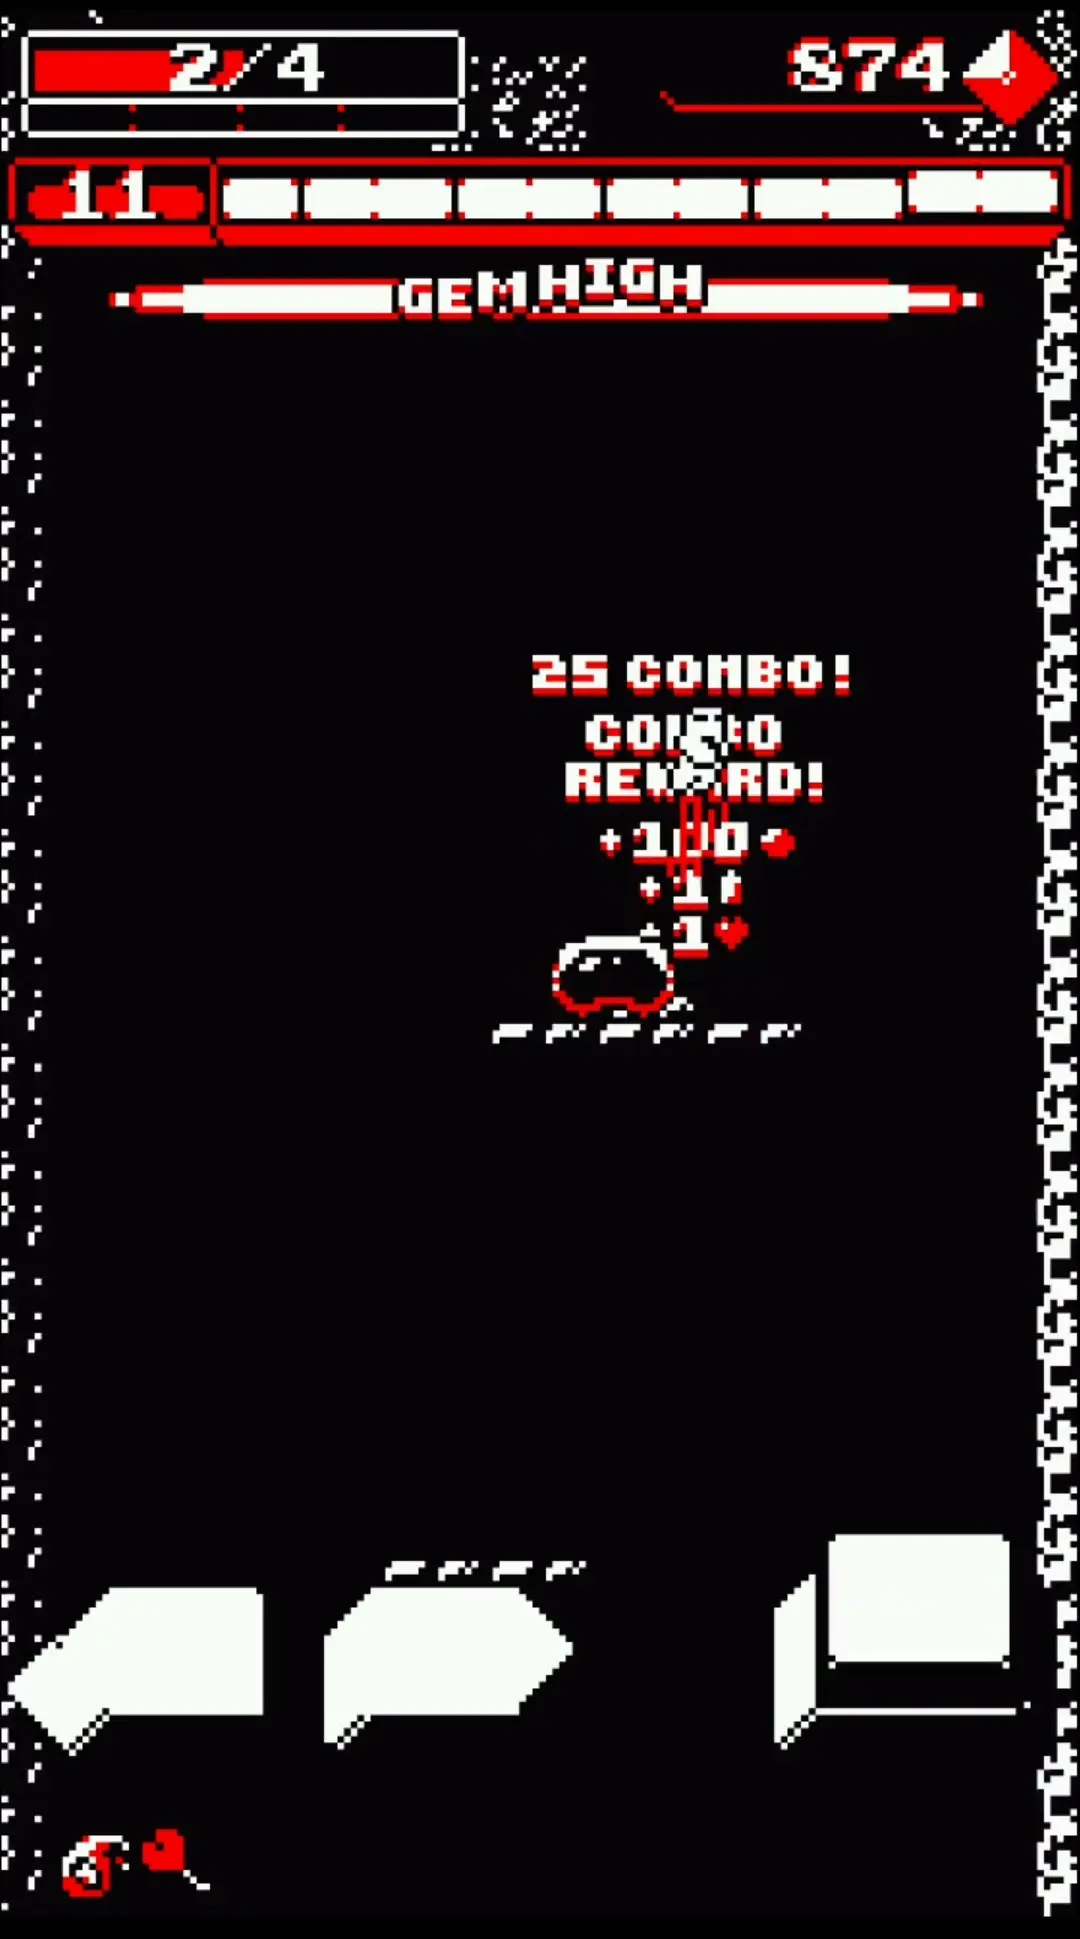
The signal that starts a combo is basically destroying or stomping on anything. As soon as you’ve successfully destroyed a combination of 5 enemies and doodads, a small number 5 should pop up right above Welltaro’s head. The number will rise in value with each new thing that Welltaro has successfully destroyed. This number won’t disappear until the combo is broken and the game will tell you how high your combo went.
Here’s a small table illustrating what you can get by achieving certain combo counts:
| COMBO COUNT | REWARDS |
| 8-14 | 100 gems |
| 15-24 | 100 gems and +1 to Charge |
| 25 and above | 100 gems, +1 to Charge, heal 1 HP |
As you can see, performing combos will reward you if you pull them off at really high levels. In the later parts of the game, your ability to perform combos will be in great demand.
Not being able to pull them off will mean certain death, so be sure to practice these whenever you can. There are some tricks here and there that will allow you to perform combos more easily, but we’ll get to that later. Be sure to look out for them, though!
Take your time learning how to combo. Comboing in Downwell isn’t easy and it certainly has a steep learning curve. If you feel like you’ve made a mistake somewhere and the combo stopped, don’t stop trying to make new combos. This will most certainly make you a better player in the long run. There’s no harm trying this out very early on since it will become a valuable skill later on.
One hint we can give you in this game is to observe the strong colors of your current palette.
4. Watch Out for the Strong Colors of an Enemy
We’ll keep this bullet short and sweet.
Downwell’s standard palettes are white, black, and red. Black predominantly colors the background, white colors Welltaro and anything you can land on, and red would belong to most enemies as well as gems. Unless you’re picking gems up, it’s best to look out for the stronger colors of the palette. In this case, the red of the default palette of Downwell is its strongest color. Usually, you should avoid anything of this color.
This means that anything that you collide with that has a red underbelly will cause damage to Welltaro whereas landing on their white parts will allow you to stomp on them. If a monster is completely red, then don’t even bother trying to stomp on it. Keep your eyes peeled and look before you leap! Literally!
The next bullet will be a handy guide to the enemies you’re likely to encounter.
5. Know Your Enemies
As we’ve mentioned earlier, this guide for Downwell will only cover the first world of the game—the Caverns.
This level will get you used to simply jumping around and practicing with your Gunboots. This is also the perfect place for you to practice executing combos since the later levels will have more difficult environments that will put your platforming abilities to the test. That said, each of the enemies here in the Caverns are all quite easy to understand even if they each behave differently.
Below is a table that briefly describes each enemy you may encounter in the Caverns as well as an assessment as to which of them can be shot down and/or stomped on:
| ENEMY | APPEARANCE | BEHAVIOR | SHOOT/STOMP? | LEAVES CORPSE? |
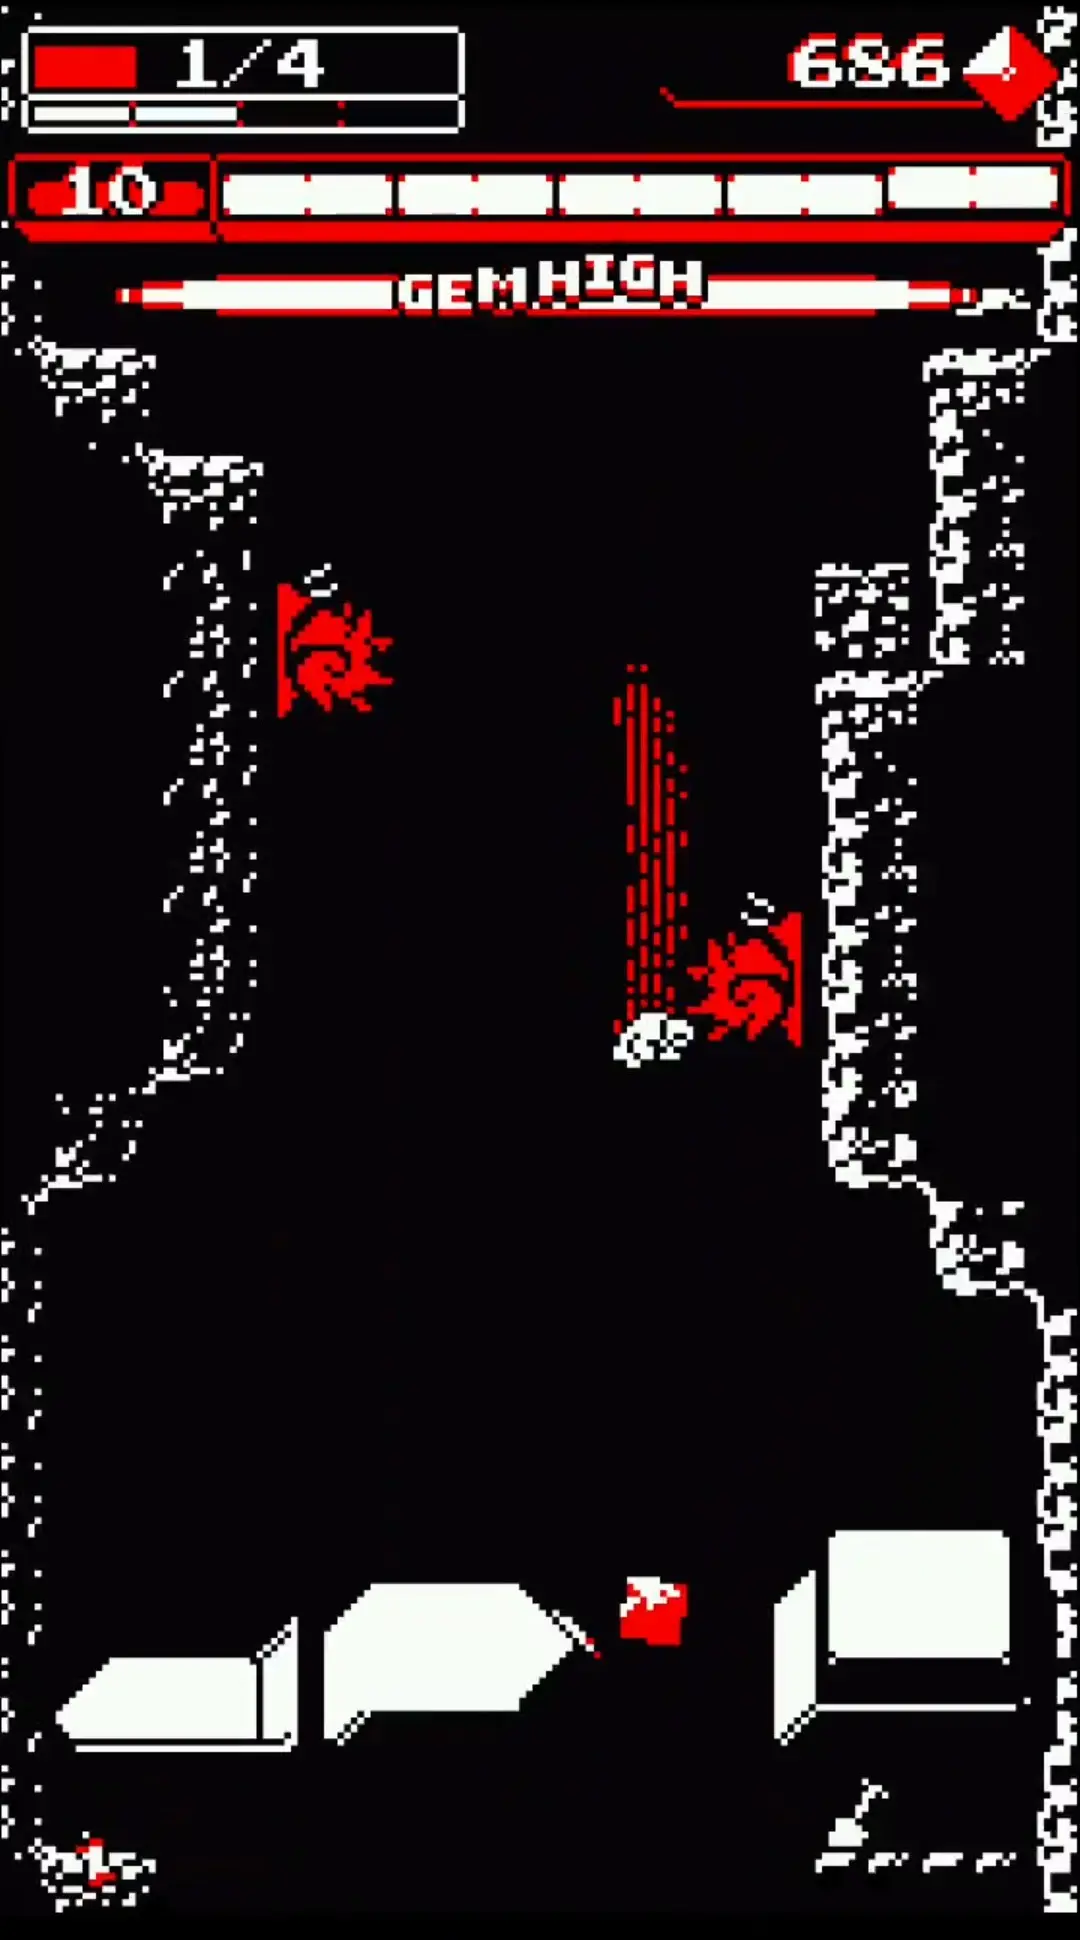
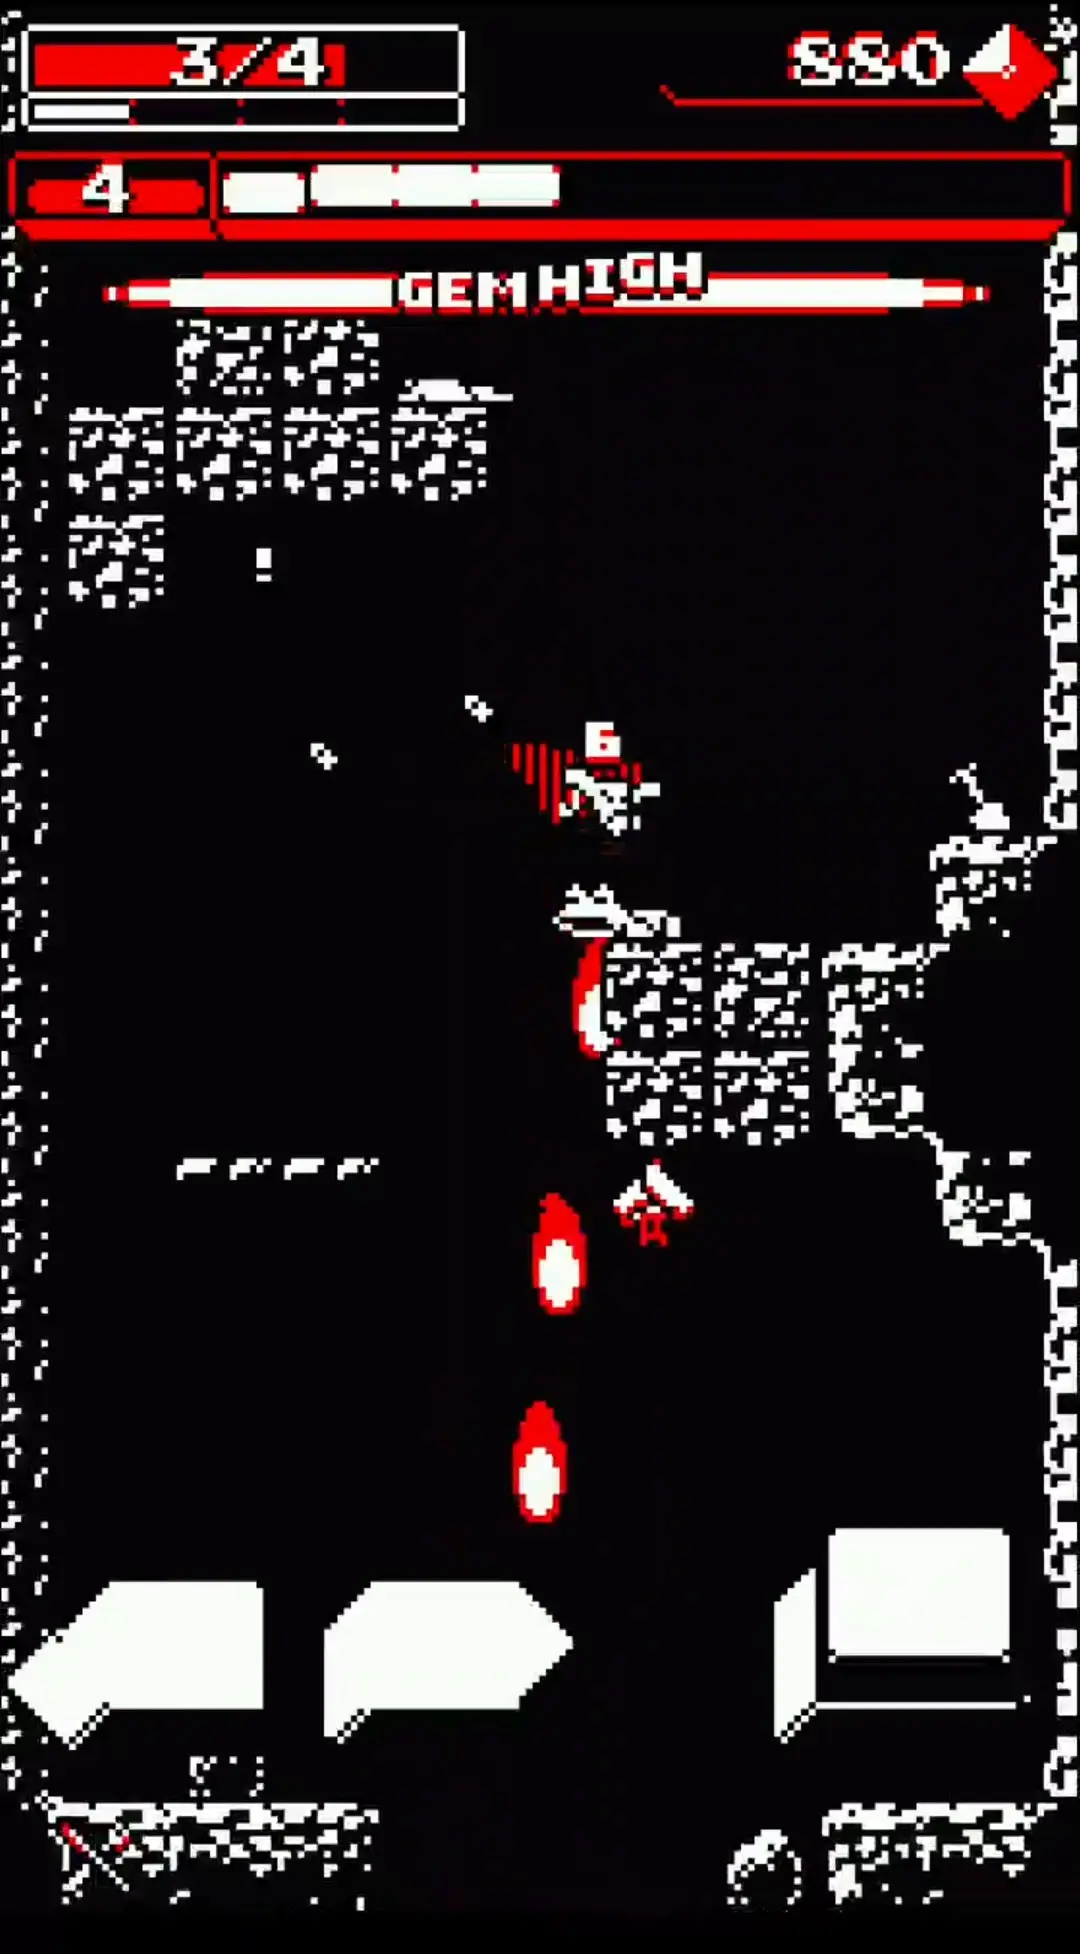
| Bad Bubble | A transparent, floating, bubble-like creature that’s shaped like a bean. | Slowly hovers toward the player. | Both | No |
| Bat | A bat. Usually seen hanging upside down on some platforms, ledges, or walls. | Hangs upside down first and then flies towards the player from a certain distance. | Both | Yes |
| Crawler | A creature that strongly clings to and crawls along walls. | Crawls on a wall. If on a floating block, will crawl around it repeatedly. | Shoot | Yes |
| Frog | A large frog. | Poises itself first when it sees the player and then leaps at them to attack. | Both | Yes |
| Eye | An eerie, flaming, eyeball creature. Quite dangerous when spotted. | Aggressively and accurately approaches the player. | Shoot | No |
| Snail | A snail with a spiky shell. | Very slowly crawls along walls. | Shoot | Yes |
| Turtle | A slow-moving reptile with a shell. | Very slowly crawls along the ground. | Stomp | Yes |
| Worm | A small, elongated creature. Can be walked on. | Slithers along the ground. | Both | Yes |
You’ll soon notice that some of these enemies can only be shot at—that’s because they’re coated entirely in a strong color! Don’t attempt stomping on them if they’re, in the default palette at least, coated completely in red. You’ll be sure to hurt yourself if you attempt this. With the “Leaves Corpse” column above, we’ll talk about this soon enough. Trust us, it’s quite important if you wish to ensure your survival.
Speaking of survival, there are moments of respite in this difficult game. They come in the form of Safe Zones.
6. Take Advantage of Safe Zones
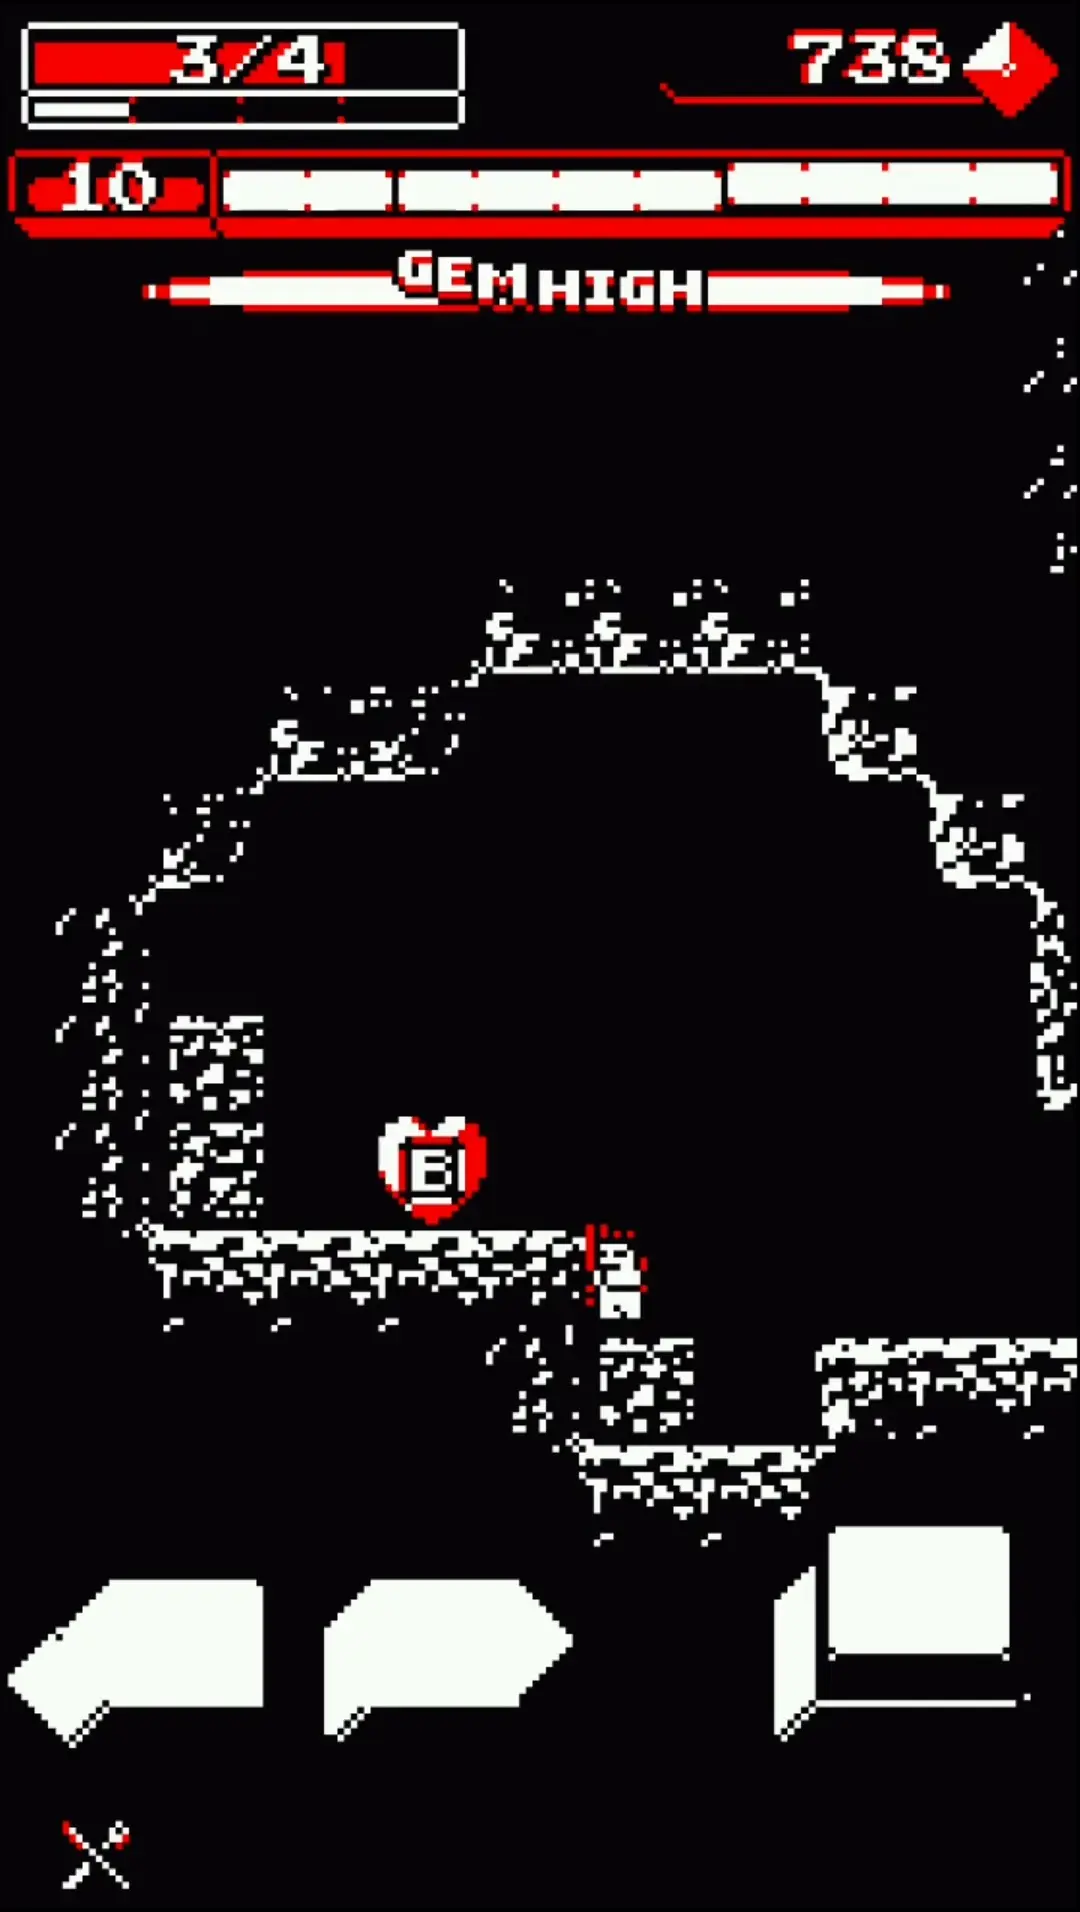
As you fall, you’ll quickly notice that some ledges to the side are trapped within some sort of bubble.
While these bubbles are covered in strong colors, they are not designed to hurt Welltaro. In fact, they’re quite the opposite. What you’re about to enter is called a Time Void and within that Time Void is what’s called a Safe Zone.
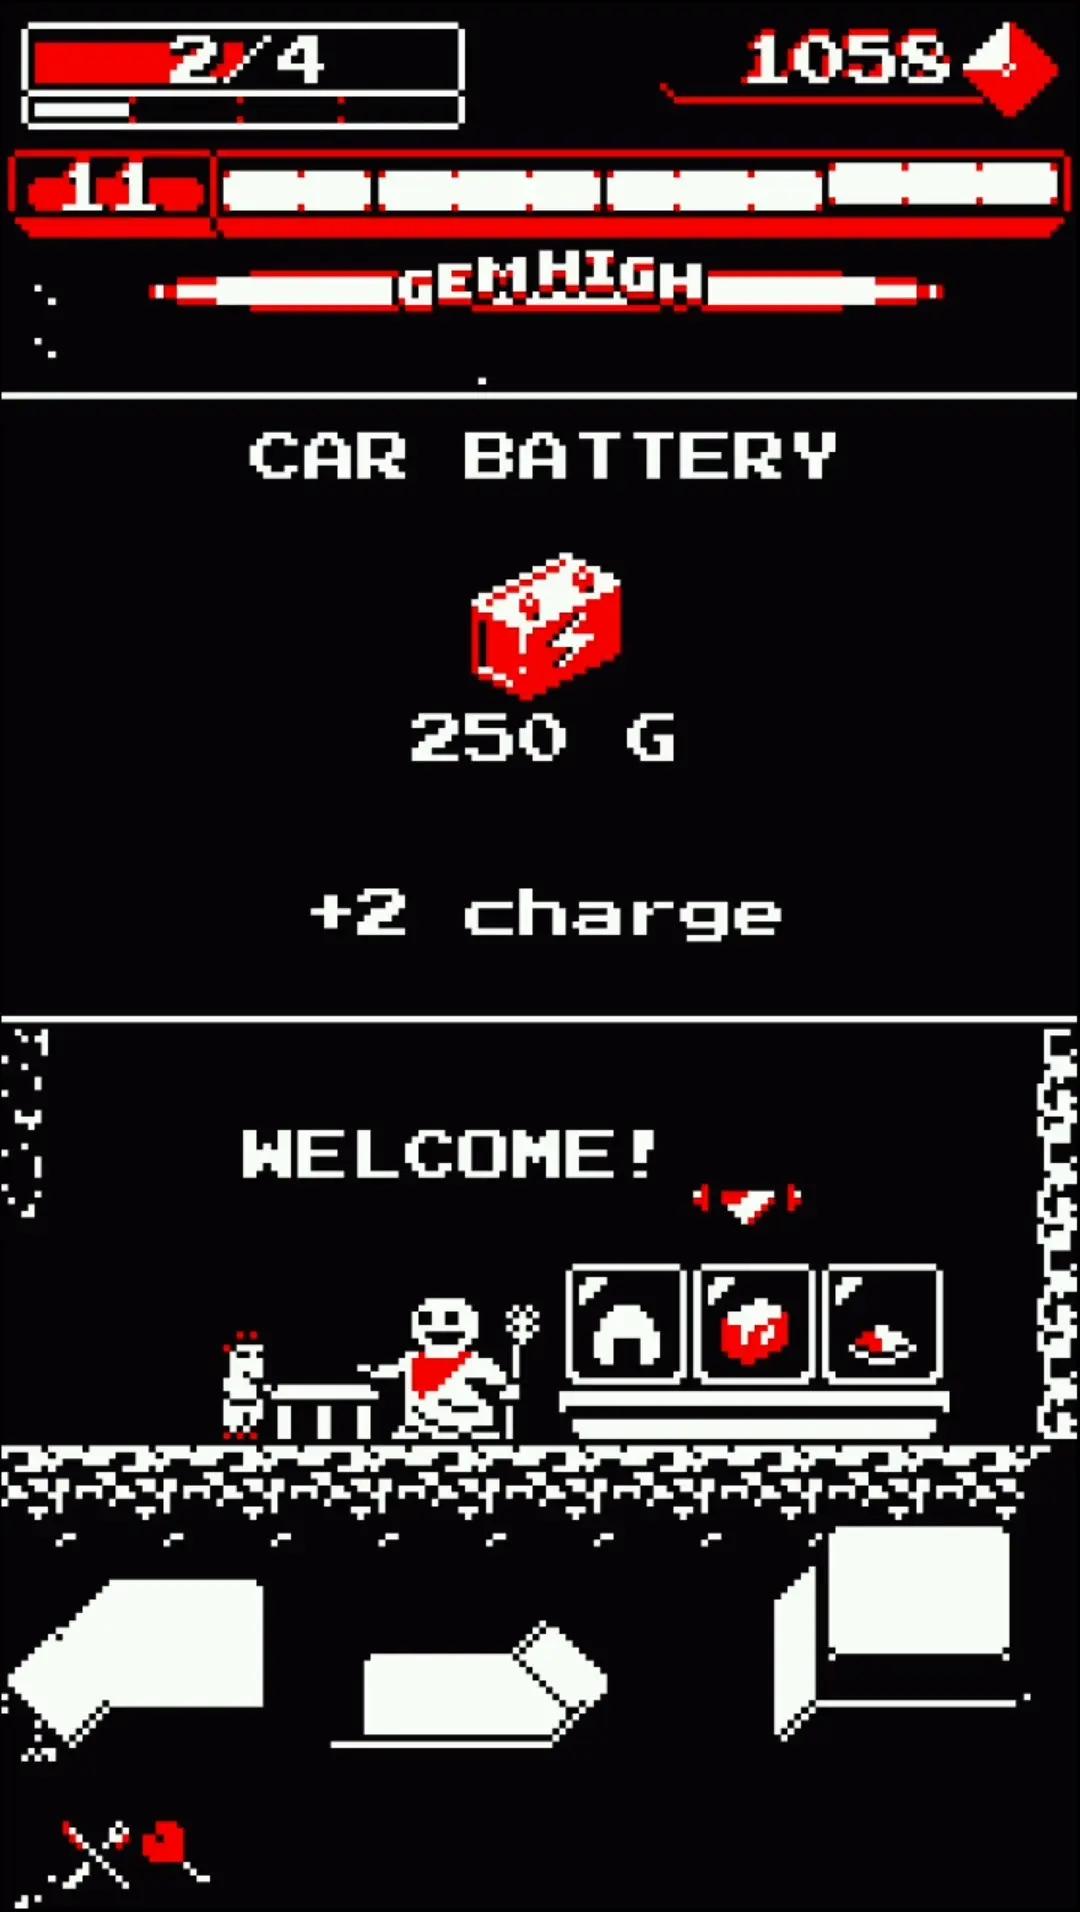
Safe Zones are areas which are shops, places that hide gun modules, or even gem veins. The Time Void will keep enemies from chasing you and some enemies that happen to come in contact with these unusual barriers will disintegrate completely. Crawlers are the occasional victims of a Time Void. Fortunately for you, Safe Zones will truly keep you safe. This momentary reprieve should help you catch your breath and plan your next move.
Once you step out of the area within the Safe Zone and find yourself in the well again, but not outside of the Time Void yet, this moment should give you a chance to study your surroundings and decide on what you need to do next. Naturally, jumping out of the Time Void will cause everything to start moving again.
That said, if you currently have a combo that hasn’t been broken yet, the Time Void will protect your combo count from going down. Stepping out of the Time Void will instantly end your combo, but jumping out of it and onto the enemy waiting right outside should resume it. If you’re working on your combos, never leave the Time Void walking!
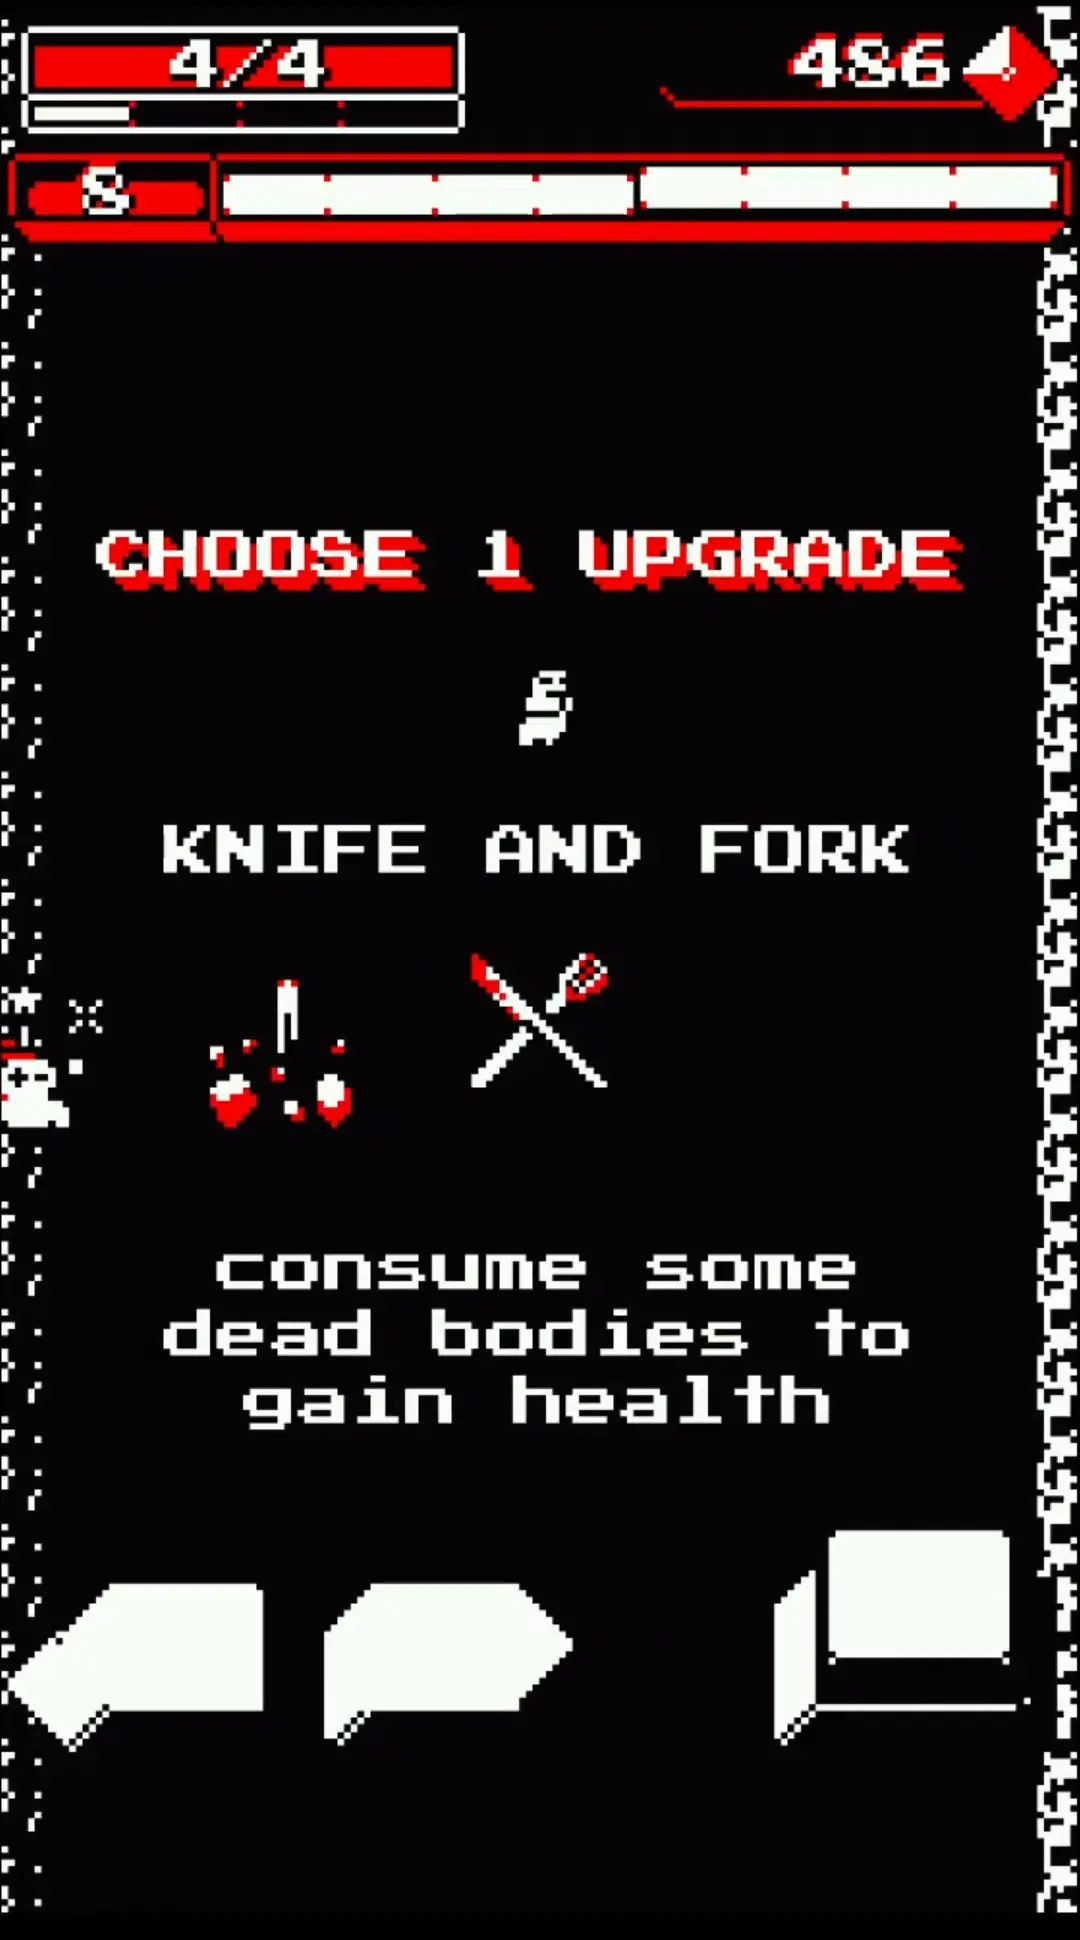
The only other area where a Time Void exists is at the end of each level. This is where you get to choose your upgrades, but don’t just pick any of these!
7. Pick Your Upgrades Wisely
Downwell is similar to many roguelite-style games.
A roguelite is a game wherein death is permanent but you’re always given a fighting chance (emphasis on the fighting). This could come in the form of powerups, items that are equippable or otherwise, and even upgrades.
If you’d like to know more examples of games that fall under the roguelite genre, then take a look at titles like Soul Knight, Pocket Rogues: Ultimate, ScourgeBringer, Otherworld Legends, Swordash, Brotato, and Downwell. Though, Downwell is seemingly more difficult since the only things that are truly permanent are styles (which we’ll cover soon), and your player skill. No other thing can be kept permanently.
That said, you’ll need to make the most out of a run by picking upgrades that you could take with you as you plunge the depths of the well. Downwell has an extensive list of upgrades, but not all upgrades are made equal. Below is a list briefly describing each upgrade available to the player each time they pass a level:
- Apple — Instantly recovers 4 HP. This is great to have if you’re almost dead. Take it only when you need to.
- Blast Module — Each time you stomp on an enemy, an explosion shoots out from your Gunboots. This is very useful for keeping combos up as well as clearing out a room.
- Candle — Whenever Welltaro takes a hit, he will flicker. In this state, he is impervious to any other incoming attack. With the Candle, the flickering will last slightly longer. This is useful for beginners who are just getting used to the game’s controls and mechanics.
- Drone — A drone sidekick that shoots things when you shoot. Useful for killing off lots of enemies, but don’t get this if you’re gunning for combos. Pun intended.
- Gem Attractor — This powerup allows you to suck in nearby gems. Very useful, especially if paired with Gem Powered.
- Gem Powered — The gems reload your Gunboots! Definitely useful if you’re trying to get a combo build.
- Gem Sick — Remember that Gem High we were talking about earlier? This one allows it to last much longer. Better guns, better range for a longer time. What more could you ask for?
- Gunpowder Blocks — Each time you shoot a destructible block, the other blocks nearby get destroyed and shoot bullets upward. Perfect for dispatching pesky enemies that are coming toward you from above. Just be careful where you land next!
- Heart Balloon — Don’t trust what the game says—it’s more than just a pretty balloon! This thing slows your fall slightly, making it easier to perform combos with… until it pops. This thing can pop in a fiery explosion should it come in contact with an enemy. The enemies caught within will be killed instantly, but you’ll only get a new balloon if you clear the level.
- Hot Casing — The casings from the bullets you fire now cause damage! This is useful if you’re not used to fighting enemies that you’ve missed and are coming for you from the sides (we’re looking at you, bats). Otherwise, it doesn’t stand out as much as other upgrades on this list.
- Knife and Fork — A must have—prioritize its acquisition each time you see it! This upgrade ensures your survival since it allows you to devour the corpses of your enemies. After eating 10 corpses, you will regain 1 HP.
- Laser Sight — This will give your Gunboots a laser sight which will allow you to see where your bullets will fly. Additionally, it will also improve the range of the bullets slightly (except for the Laser).
- Member’s Card — Getting this upgrade will give you a discount at the shop. Not as useful if you’re using the Arm Spin Style, but can be quite useful otherwise, especially after you’ve racked up a ton of gems via combos or Gem Attractor.
- Popping Gems — Very similar to Gunpowder Blocks, except gems shoot bullets each time you pick them up. This is possibly safer since you’ll be able to control where you fall better as opposed to destroying each possible block you can land on. However, getting both this and Gunpowder Blocks will mean certain safety from groundward attacks.
- Rest in Pieces — Do not get this if you have/want Knife and Fork. Shooting enemy corpses will cause them to explode similarly to the Heart Balloon. This is only useful if you’re trying to clear an area of enemies, though we don’t generally recommend getting this one.
- Reverse Engineering — Don’t like a Gun Module you’ve come across? You may change it once by shooting at it.
- Rocket Jump — A rough counterpart to the Blast Module. The Rocket Jump will allow Welltaro to destroy nearby enemies simply by jumping off of the ground as he causes a small explosion. However, with the explosions happening each time you jump, it may slightly disorient you if you’re trying to perform combos.
- Safety Jetpack — Want to keep your combos consistent? Try this upgrade. As soon as you run out of bullets, Welltaro will be able to hover for a short while which drastically slows his fall down. You can use this alongside the Heart Balloon if you wish to practice your combos.
- Timeout — Each time you get hurt, you create a mini Time Void. Naturally, entering this will allow you to study your surroundings… provided that this Time Void is on the ground. It’s otherwise difficult to use if the Time Void is suspended in midair.
- Youth — A great upgrade to have for any occasion and for every style. Taking it will allow you to heal 1 HP as well as have even more upgrades to choose from. Get it as soon as you see it!
Picking the upgrades that suit your current run will help you tremendously. For example, the aforementioned Gem Powered and Gem Attractor pair could become a powerful trio if put together with Popping Gems as all of them are gem-related. Likewise, a combo-centric build would involve getting Blast Module, Heart Balloon, Laser Sight, and Safety Jetpack. There are plenty of ways to put different upgrades together, so don’t be afraid to experiment.
Upgrades aside, there is one very important aspect in the game that it’s time we’ve addressed…
8. Master the Different Guns
Perhaps one of Downwell’s shining traits is that it’s a shooter—a downward shooter, but a shooter nonetheless.
Shooters usually have a variety of weapons to pick up and wield much like in the Contra and Metal Slug franchises. That said, Downwell boasts a total of 7 guns that are available for you to tote at your enemies. Keep in mind that picking up a Gun Module will replace the current gun you have on your person.
Below is a list of all the guns that you can obtain from Safe Zones in Downwell. Pay attention to the first letter of their name so as to know what Gun Module it is before picking it up:
- Burst — A rapid-fire module that fires in intervals. While its damage isn’t as powerful as that of the Machine Gun, it’s versatile enough to carry you through any situation.
- Laser — A powerful, single-shot laser beam that pierces through all enemies caught in its range. Be warned that this mighty gun uses a lot of Charge. Adding to its frightening firepower, it also has recoil, so it may carry Welltaro up a few pixels whenever it’s fired.
- Machine Gun — Your starter gun. A very well-balanced weapon capable of firing several rounds in a row. Can carry you across different gaps.
- Noppy — The Machine Gun’s more adventurous cousin. The Noppy behaves similarly to the Machine Gun except that it fires faster and it can be aimed. Wherever you direct Welltaro, the Noppy will aim in that direction. However, it doesn’t carry the same amount of damage that the Machine Gun does and instead shares its only shortcoming with the Burst.
- Puncher — A strong gun that fires in condensed triplet shots. The Puncher is ideal for taking out enemies more quickly than the Machine Gun, albeit at an increased Charge cost.
- Shotgun — Another mighty weapon at the tier of the Laser’s strength. The Shotgun fires a cone-shaped spread of bullets, tearing through anything that’s caught in its blast. Much like the Laser, it, too, has recoil and a huge Charge requirement per shot. Use it wisely.
- Triple — An amalgamation of the Shotgun and the Puncher, the Triple fires a rapid fire spread of triple shots in a cone-shaped pattern. While its rate of fire is akin to the Machine Gun or the Puncher, it has a slight increase in Charge requirement per shot. That said, it’s great for killing off multiple enemies at once.
You’ll also notice that Gun Modules come in different shapes. The heart-shaped Gun Modules will heal you by 1 HP and the ones shaped like batteries will give you +1 Charge. Picking these up at any time is a great idea, especially if you’ve recently gotten hurt. Though, it’s always rewarding to remember that each Gun Module plays differently from another. For instance, if you happen to have a Shotgun or the Laser on you, you’d best make sure that each of your shots count—whether they’re used for combo purposes or otherwise.
In the end, the game will push you to keep on playing. You will die several times, but there is plenty of reason for you to play on.
9. Keep Playing the Game to Unlock Stuff
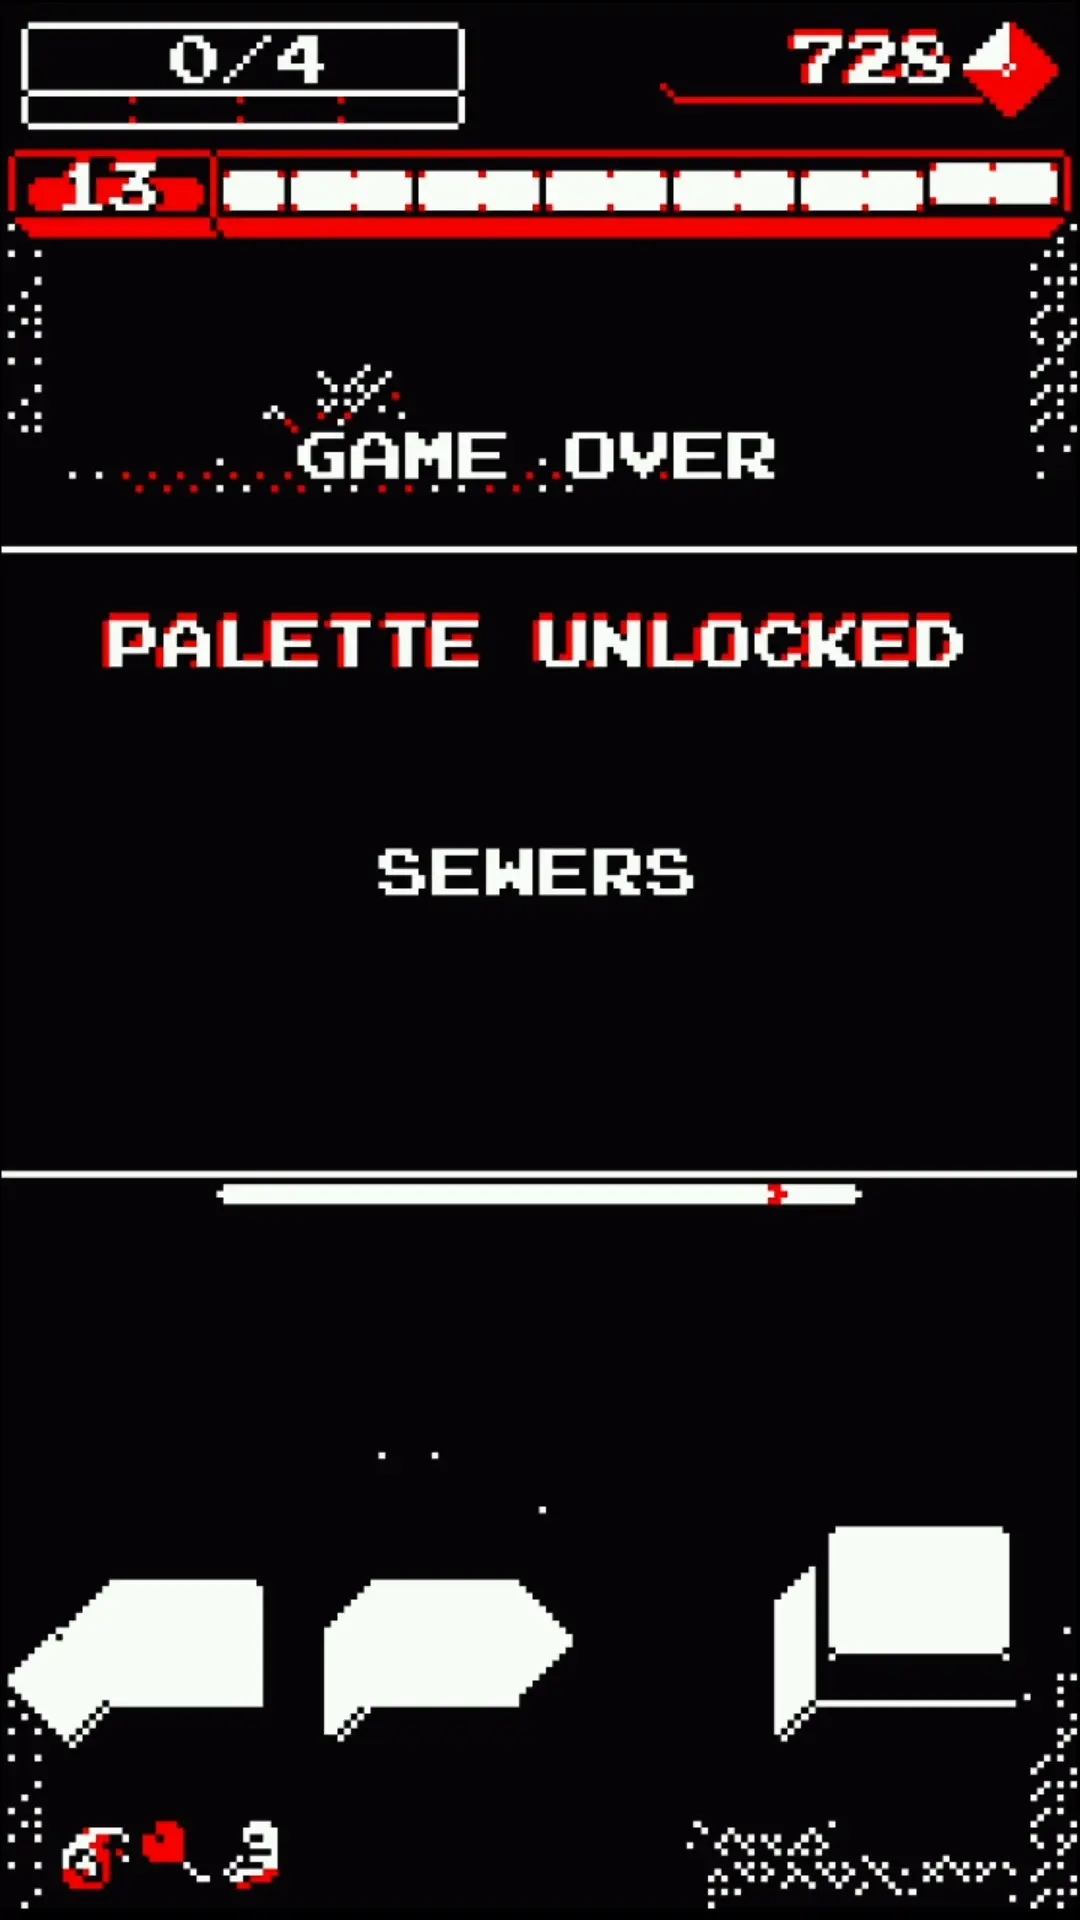
Despite its intense difficulty, Downwell will reward you for doing your best.
As soon as you die from your first plunge, you will notice that a small score bar will fill. Once this is filled, you will unlock something new. The size of the score bar has increments and reaching these high scores will open you up to new palettes as well as styles (which we’ll tackle right after this).
Why change palette? Aside from giving the game a fresh new look, each of these palettes may appeal to different players since some of them are easier on the eyes or maybe more intense so the colors pop out even more.
One of our favorites would be the Vivid palette which you unlock after scoring a total of 55000 points. The reason why we like this palette is because it’s just like the regular palette only a little bit easier to look at since the colors aren’t as stark as they appear.
There is also the Sleepy palette if you truly want a more muted version of the game’s colors. You’ll unlock the Sleepy palette after hitting 110000. Of course, if you’re looking for more intense colors, we recommend trying out the VBoy, Glow, Zennyan, and Hell palettes which are unlocked after hitting 5000, 70000, 120000, and 500000, respectively.
The Hell palette is the final unlock in the entire game. Once again, a palette change does nothing to improve the game—only to change the aesthetics based on the player’s whim. We all like our colors, of course, but if you’re just starting out, we still recommend just using the default Downwell palette.
Away with aesthetics—let’s now talk about the unlocks that truly change the game up.
10. Change Up Your Style
One thing that Downwell does to make things more interesting is that you get to give Welltaro a different style each time you play the game.
What is a style, you ask? Well (pun intended), a style is something that changes the way that Welltaro fights. Equipping one at the start of your session will mean that Welltaro will be using that style the whole time—it cannot be changed and you will only be given the option to change this after you’ve died. Just remember: to unlock all the styles, just keep playing the game and don’t give up!
Below is a list of all the styles available in Downwell:
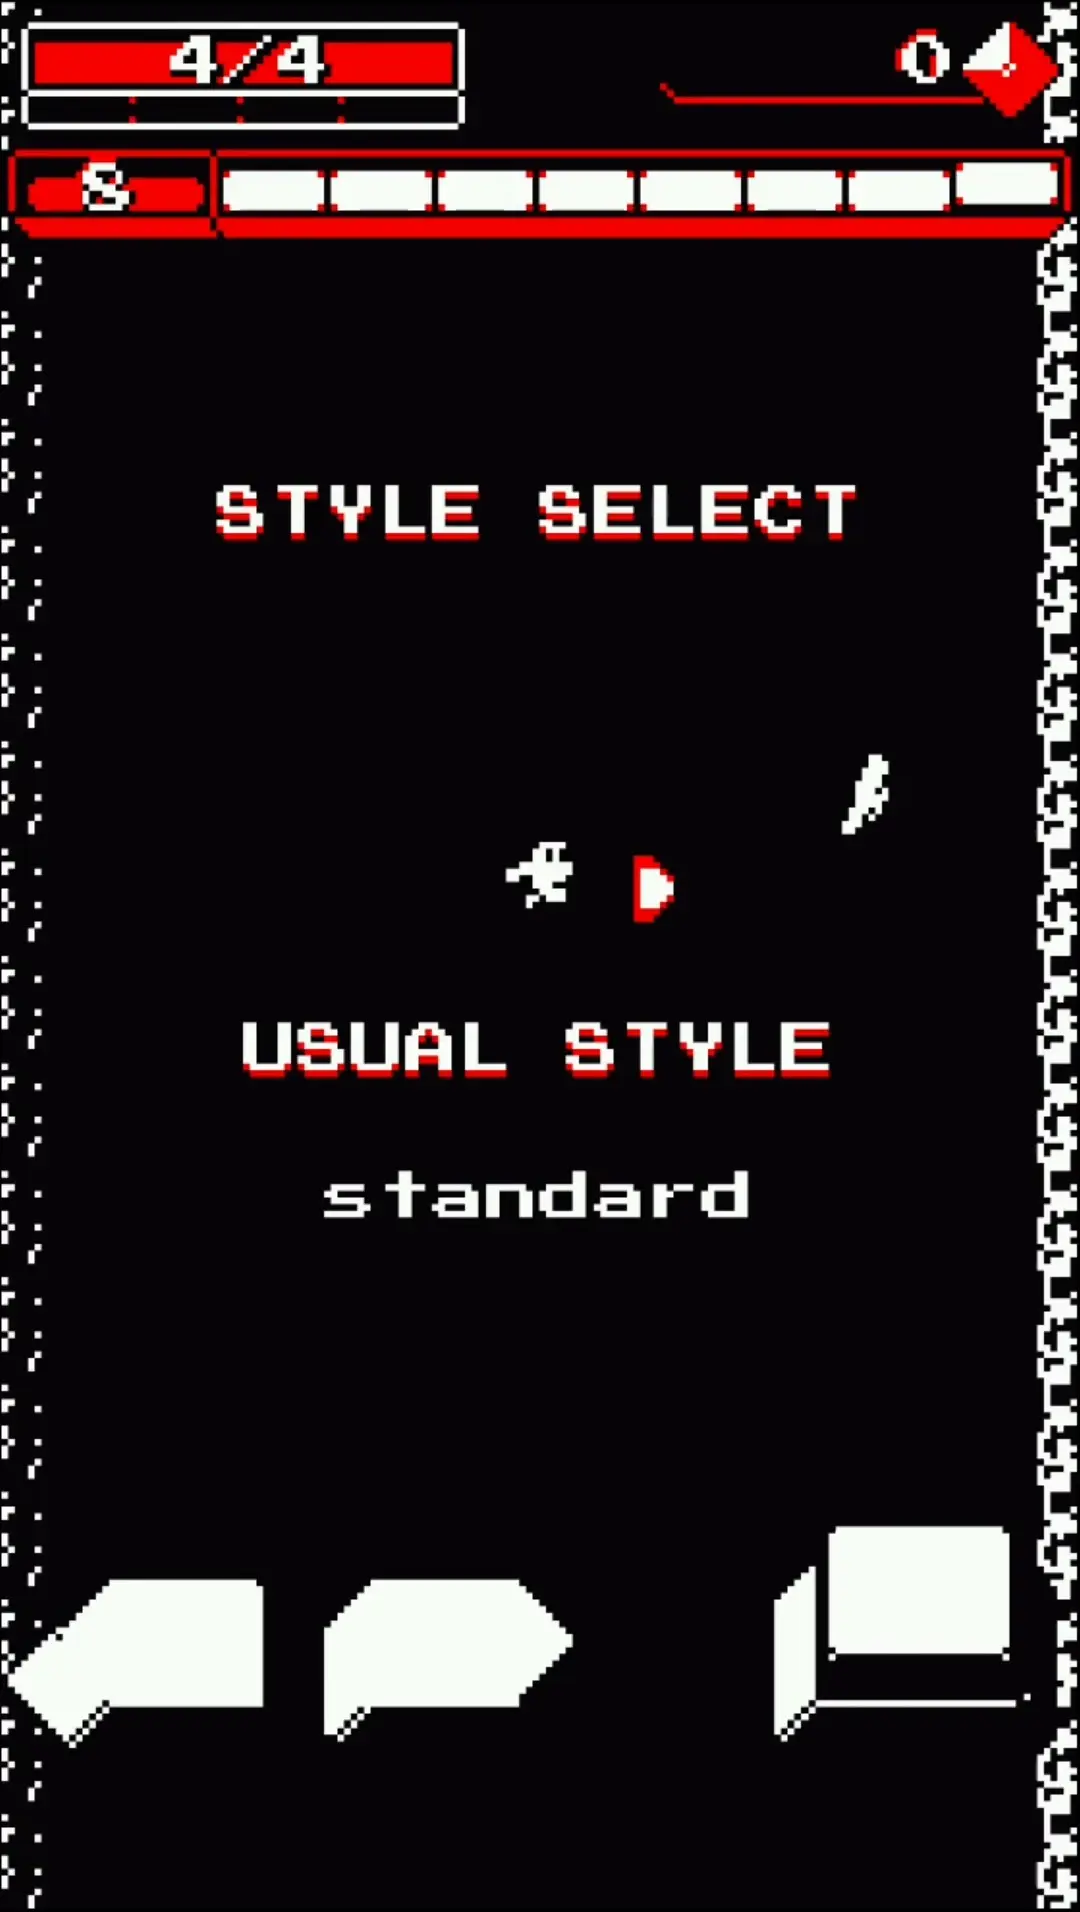
- Usual Style —- This is Welltaro’s default style. You don’t need to do anything to unlock it. It offers neither advantage nor disadvantage and is a jack-of-all-trades.
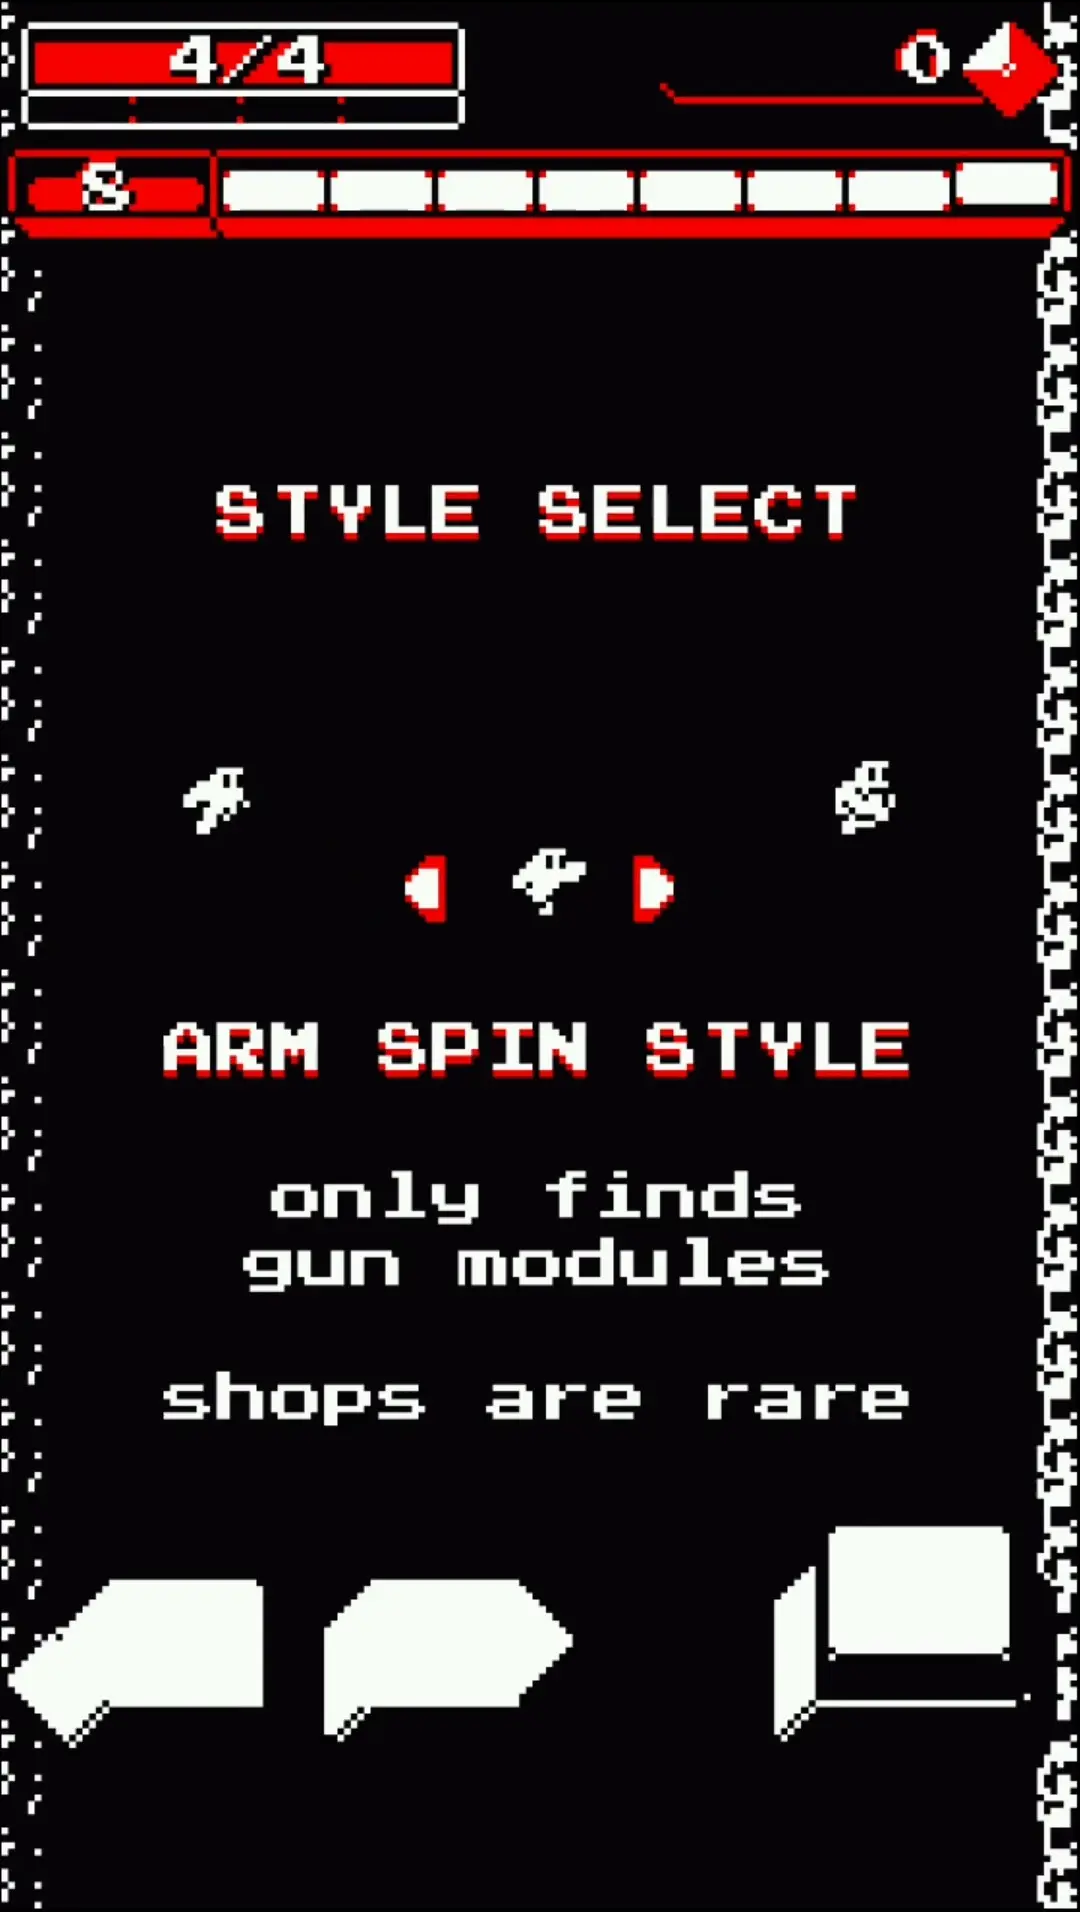
- Arm Spin Style — This is the first style that you can unlock after reaching a certain number of points. This style will make Safe Zone shops much rarer in exchange for more frequent Gun Modules. Additionally, gem veins will no longer appear during your session while using this style.
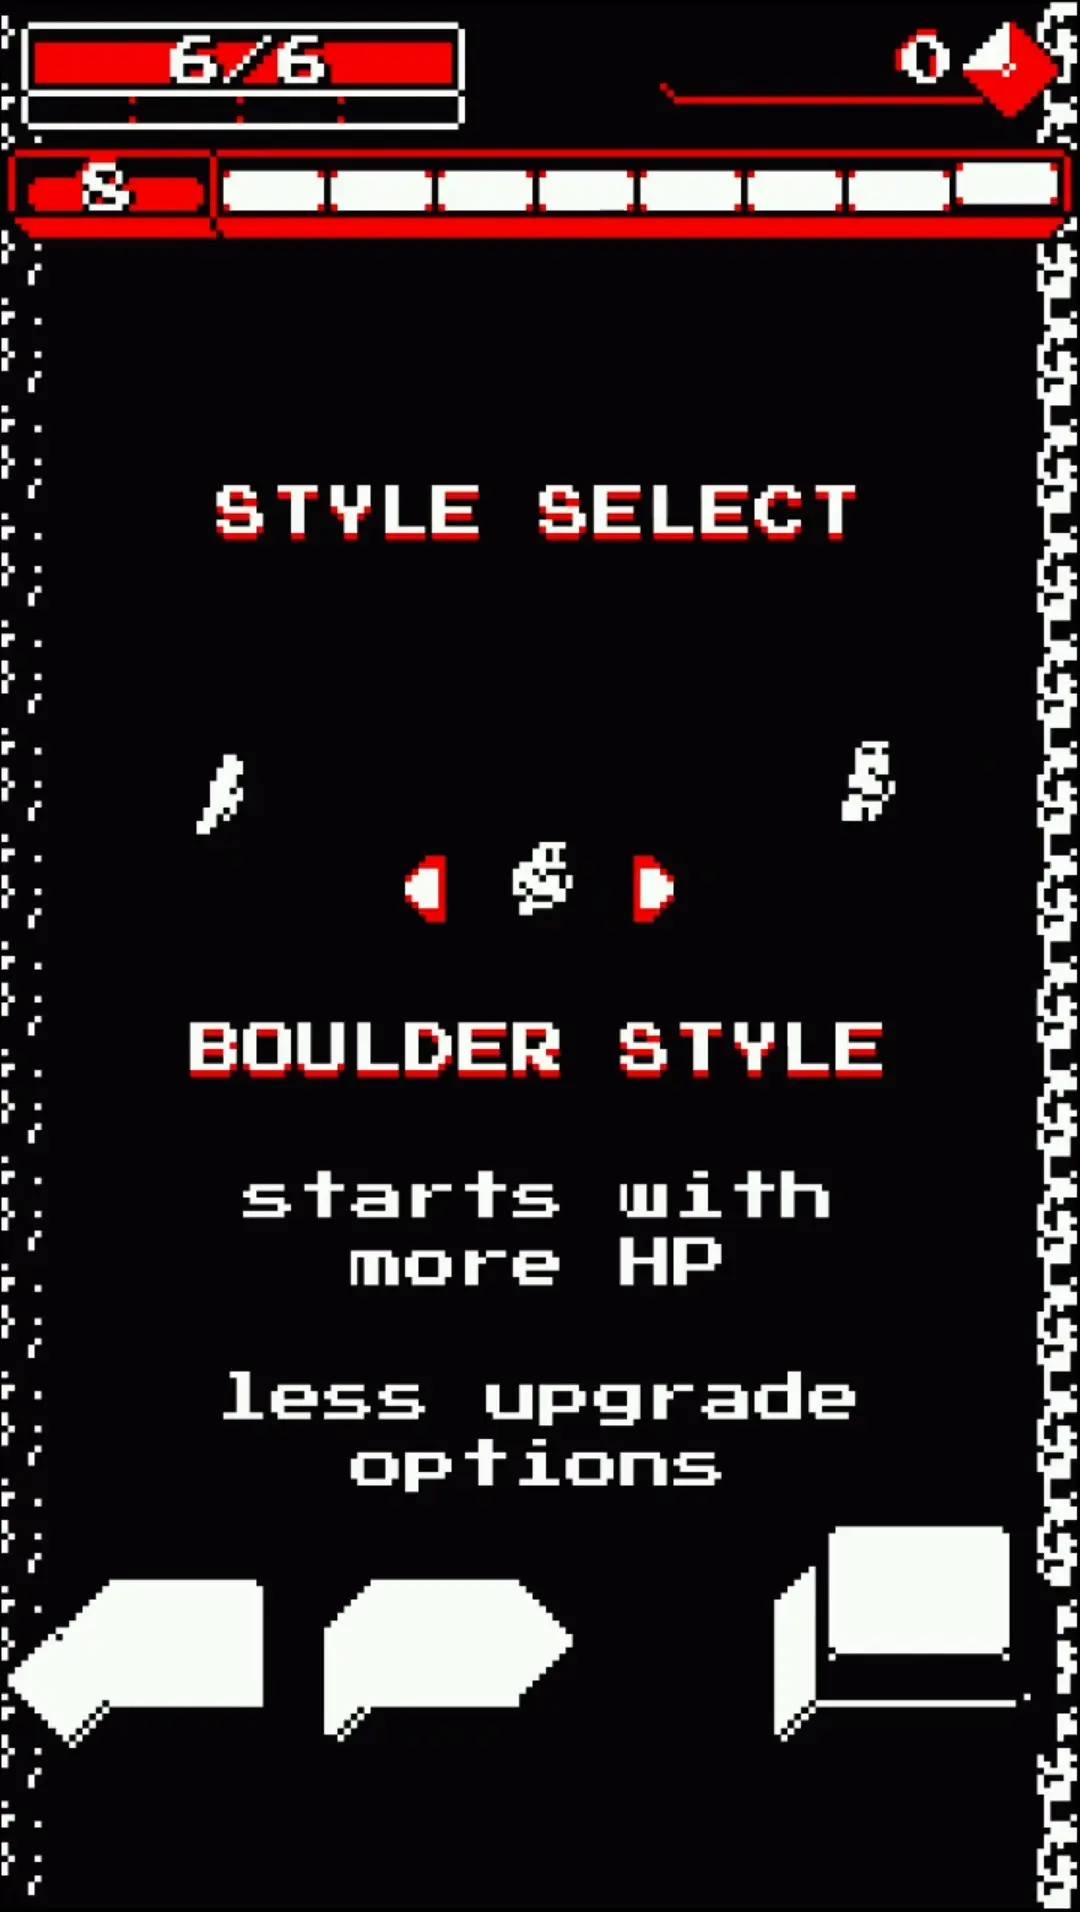
- Boulder Style — A style that you’ll unlock after the Arm Spin Style. It adds 2 more Max HP to Welltaro at the start (giving you 6 HP instead of 4 HP), but less upgrades to choose from (2 upgrades instead of 3). This style also makes Welltaro slightly heavier, so you may find it somewhat more difficult to execute combos with this.
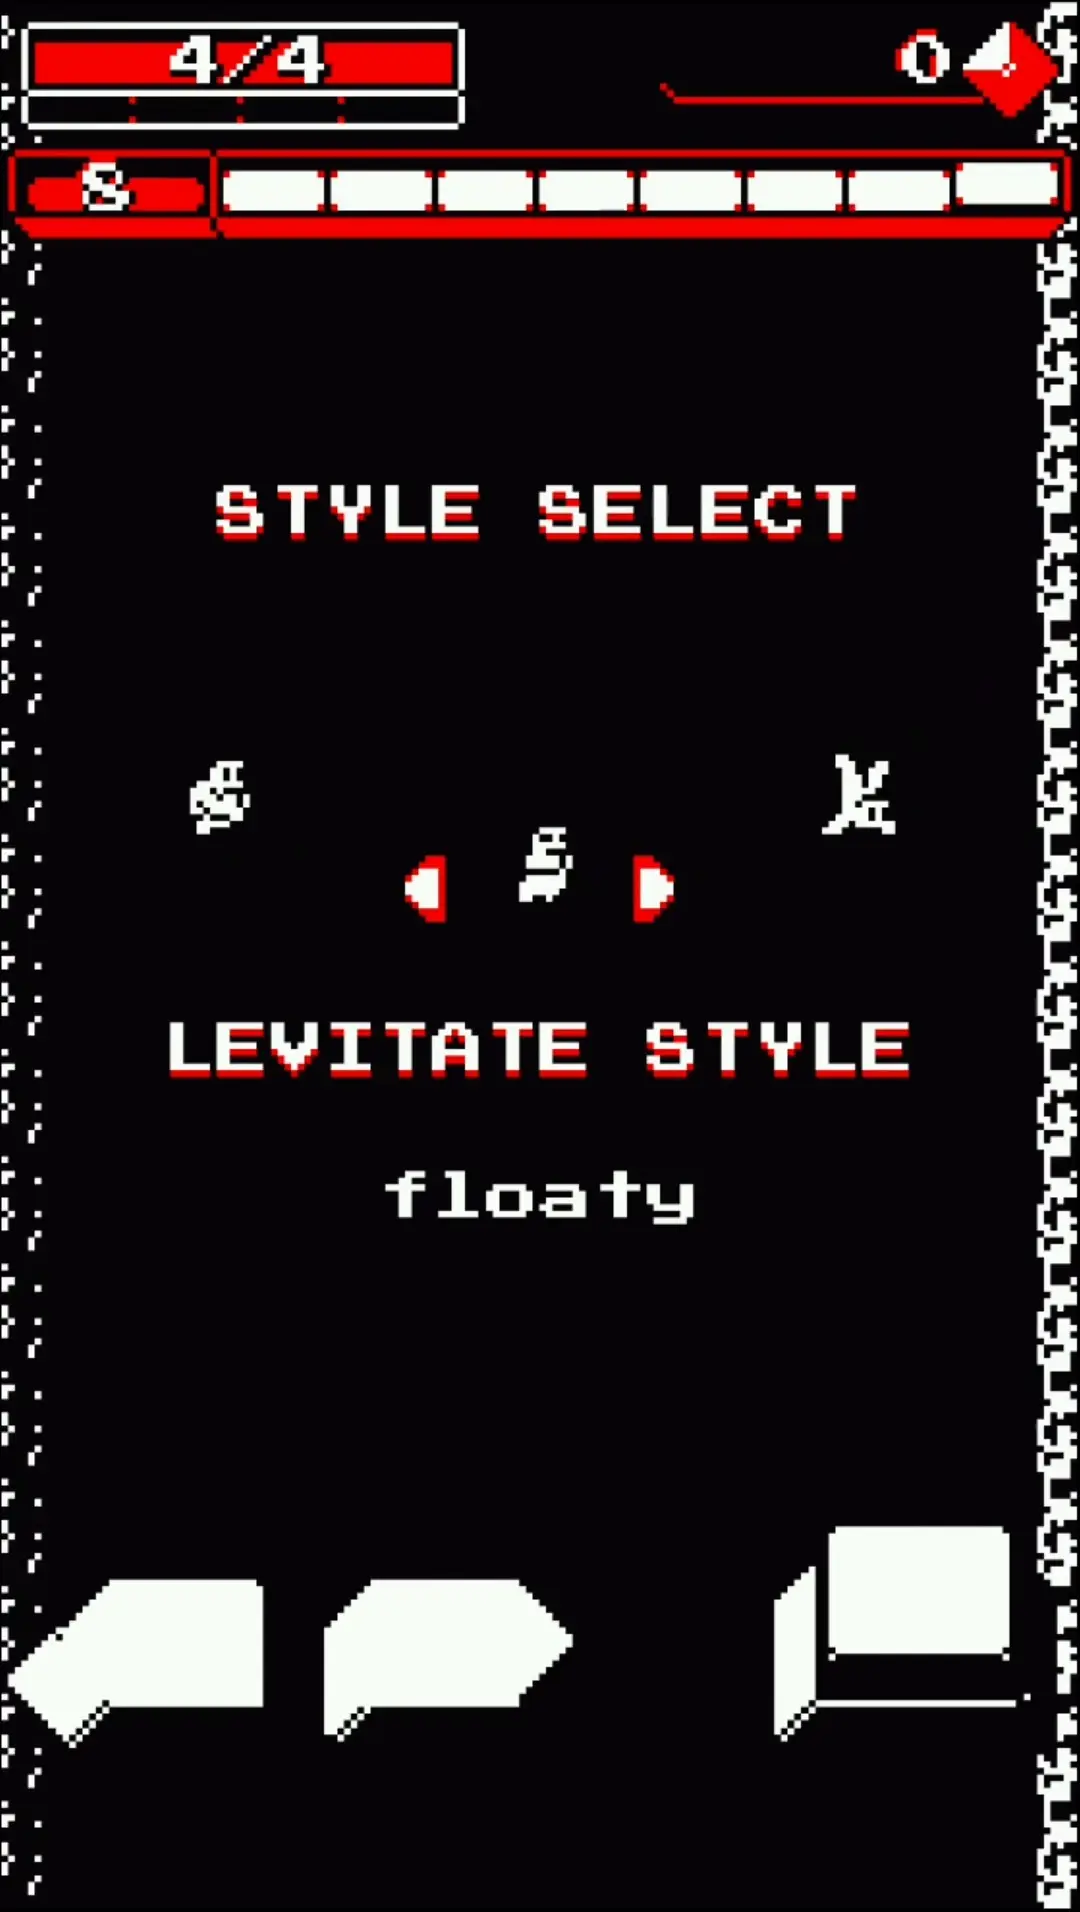
- Levitate Style — After the Boulder Style comes the Levitate Style which allows Welltaro to achieve a zen-like state. While he is lifted off the ground while he runs, his lift while stomping on enemies has been increased while his fall speed has decreased. This is a similar mechanic to when he is carrying the Heart Balloon, however this is permanent throughout your session. If you’re starting out and wish to practice combos, this style is perfect for you.
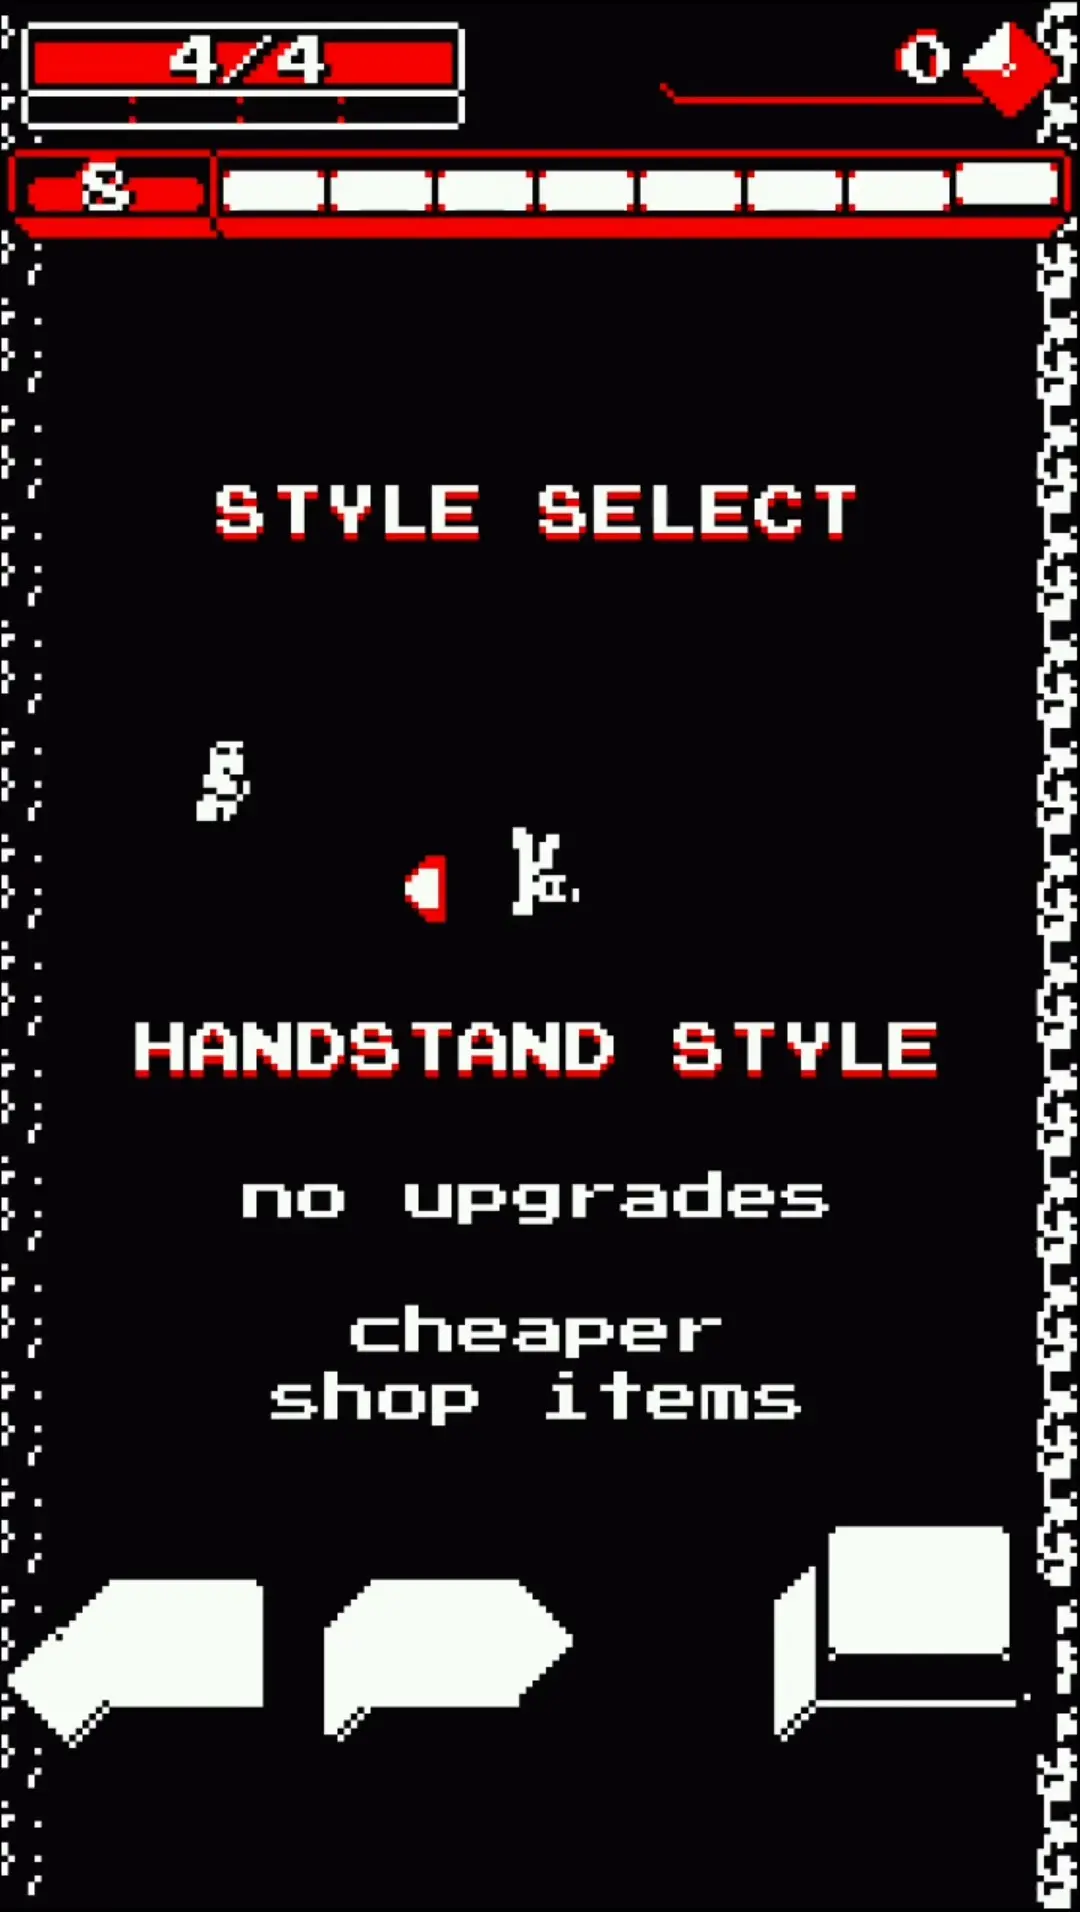
- Handstand Style — The final style to unlock, the Handstand Style will allow for a 30% discount at all shops albeit at the cost of getting any upgrades at all. This style is not for beginners since Welltaro will remain vanilla all throughout the entire run. However, if you can upgrade your gun by buying items that give Charge or Curry which adds to Welltaro’s Max HP, you may need to maximize your gem gain by utilizing combos.
Overall, Downwell is quite difficult as it’s simple in nature. Practice makes perfect in this brutal 8-bit game, but only those who persevere can get really, really far into the game. All you need to do is remember the things that you’ve learned from reading this guide:
- Slow your falls. Don’t fire brazenly, try to get to stomping on your next enemy so you can reload midair.
- Gem Highs will make your guns hit harder. In case of any emergency, these stronger bullets that shoot farther should save your life.
- Combos are the way to go. Master them early so later levels (especially Limbo) will become a breeze for you.
- Observe the enemy and try not to get hit by any part of them that’s the “strong” color of the palette. If they’re completely colored in that strong palette, don’t try to stomp on them!
- Understand who and what your enemies are. Once you’ve figured them out properly, you’ll be able to counter their attacks accordingly.
- Safe Zones are quite literally safe zones. They’ll keep you from harm and before exiting any of them, you’ll get a quick glimpse of the outside world before making your next move.
- Pick out your upgrades well. Mismatched upgrades could break your session. Psst… Get the Knife and Fork!
- You’re bound to find different guns everywhere. Mastering them is the trick to getting far. Try to familiarize yourself with each and every one of them.
- Don’t stop playing the game. You’ll unlock stuff as you go. Even if you lose, the points that you gain from your session will rack up for your next unlock. You’ll even unlock styles.
- Styles are the different flavors of the game. These open up a variety of different playstyles for you to experiment with and see what suits you.
This wraps up our beginner’s guide for Downwell. Keep those Gunboots on tight and prepare to take the plunge. Show that well who’s boss!
Have you gone through all 5 worlds and beat the boss at the very end? Are you a Gun Module connoisseur? Have you unlocked everything in the game? Are you a veteran Downwell player? Toss your thoughts and suggestions into the comment section beneath this article. Look out below!