This is the 2nd part of our Castlevania: Symphony of the Night walkthrough.
In our previous article, the following bullets should have already happened to you. You would have:
- Defeated Dracula with your desired outcome for Alucard
- Had Death take your stuff at the Entrance
- Obtained the Cube of Zoe from the Entrance
- Vanquished Slogra and Gaibon at the Alchemy Laboratory
- Obtained the Spirit Orb from the Marble Gallery
- Met Maria Renard in the Marble Gallery
- Vanquished the Doppelganger 10 at the Outer Wall
- Obtained the Soul of Wolf from the Outer Wall
- Obtained the Jewel of Open by buying it from the Master Librarian in the Long Library
- Met Maria Renard in the Alchemy Laboratory
- Vanquished the Hippogryph and met Maria Renard in the Royal Chapel
- Obtained the Leap Stone from the Castle Keep
- Obtained the Alucart Set (maybe) from the Marble Gallery
- Met Richter Belmont in the Colosseum and vanquished the Werewolf and the Minotaur
- Obtained the Form of Mist from the Colosseum
We’ve stopped in the story where Richter Belmont had revealed to Alucard that he is now the lord of Castlevania. Could this be a mistake? Could he have lost all control? Here’s where things get messy.
Alucard’s journey for truth and redemption continues!
- Long Library Revisit 1
- Lesser Demon
- Long Library Revisit 1 Cont.
- Entrance Revisit 1
- Clock Tower
- Karasuman
- Castle Keep Revisit 1
- Marble Gallery Revisit 1
- Olrox’s Quarters Revisit 1
- Olrox
- Marble Gallery Revisit 2
- Underground Caverns
- Succubus
- Underground Caverns Continuation 1
- Scylla Wyrm
- Scylla
- Underground Caverns Continuation 2
- Abandoned Pit to the Catacomb
- Cerberus
- Abandoned Pit Continuation
- Catacombs
- Granfaloon
- Entrance Revisit 2
- Marble Gallery Revisit 3
- Maria Renard
- Outer Wall Revisit 2
- Richter Belmont
- Summary of Part 2
Long Library Revisit 1
After making your way back to the Long Library from the Colosseum, find your way to the forked area where the Dhurons guard the long stairway downward leading to the Librarian.
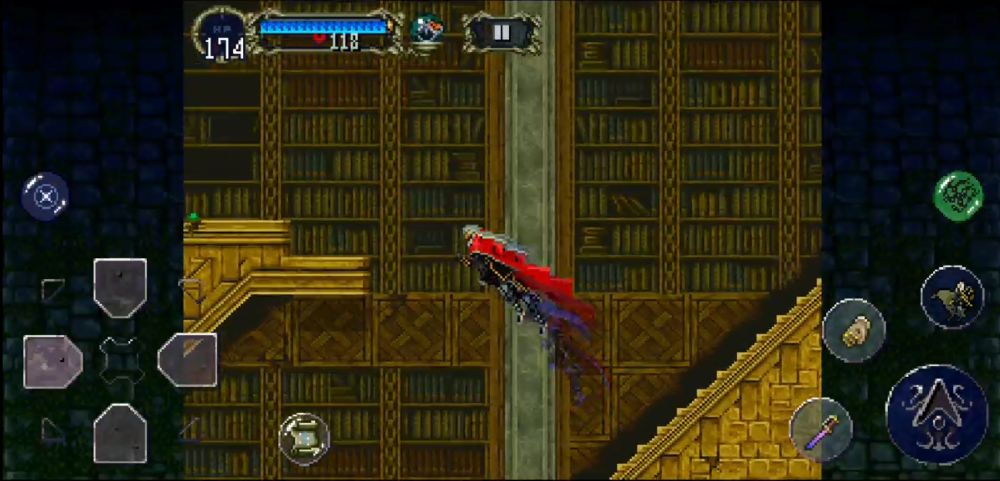
There are two ledges: one lower and the other higher. The higher one can be reached by performing a flying kick on the Spellbook and using the double jump to get to it. To perform a flying kick, simply double jump into the air and press the jump button again while holding down, down-right, or down-left. The direction matters since this is where you’ll direct Alucard to land. If done correctly, he will be able to “hop” off the enemy as another platform. He will be able to jump again in midair that way. Observe the GIF below:
If you cannot pull this off at this time, you may come back here when you have either the Gravity Boots or the Soul of Bat.
The lower ledge, on the other hand, is where your path should lead you. Kill the Thornweed that sprouts there immediately (or it will turn into a Corpseweed), and then proceed left. You’ll find a Save Point that bridges two rooms together.
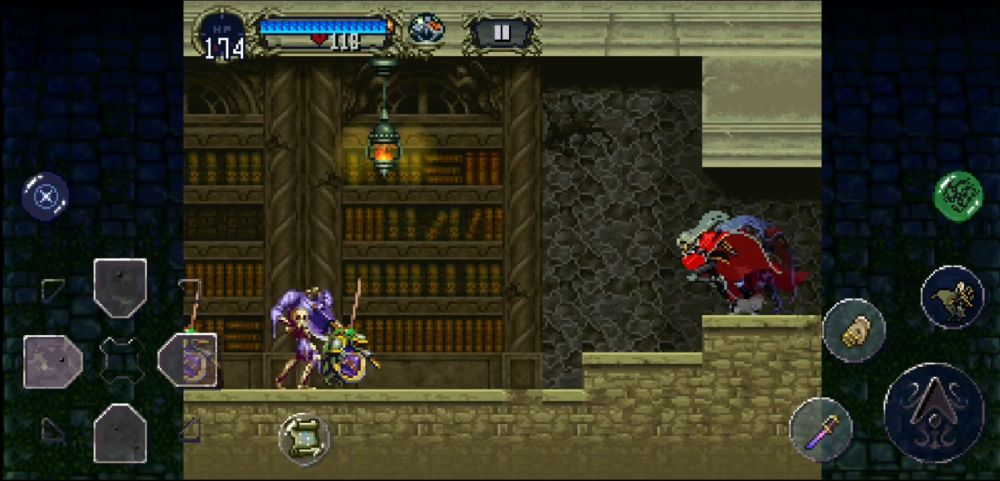
Walking past that, you’ll be greeted by Dhurons and a new type of enemy: the more annoying Flea Armor. Apart from being somewhat more violent than their regular counterparts, Flea Armors also deal more damage when they swing their axes at Alucard, so be careful. They also die in two hits regardless of how much damage you deal. Quash their advance and you’ll find yourself in a large room with different passages. Do not go down yet.
First make your way to the upper level and head left. You’ll fight a couple of Flea Armors along the way. After heading up a short flight of stairs and jumping over the gap to the right, you’ll find a passage to a reading nook with comfortable chairs that can be sat on (most chairs can be sat on by pressing up).

On the table between them is a glowing, green flame that you can extinguish. It should give you a Stone Mask (headgear).

There is also a bookshelf blocking the way at the opposite end of the room. Thankfully, you can push this and turn it around by continuously running against it — it should turn eventually. Behind it is a room containing the Topaz Circlet and one of the most useful weapons in the game: the Holy Rod.
If you’re a beginner or just want to be practical in general, we recommend wielding the Holy Rod since a lot of the monsters in Castlevania are weak against holy damage. It’s fast, it has range, and it has the Holy Explosion skill (refer to our Beginner’s Guide for the command of that skill). Exit the nook.
Return to the entrance of the large room and head down instead. After reaching the bottom, go left and the music will go quiet. Boss time!
Lesser Demon
This boss isn’t that much of a challenge.
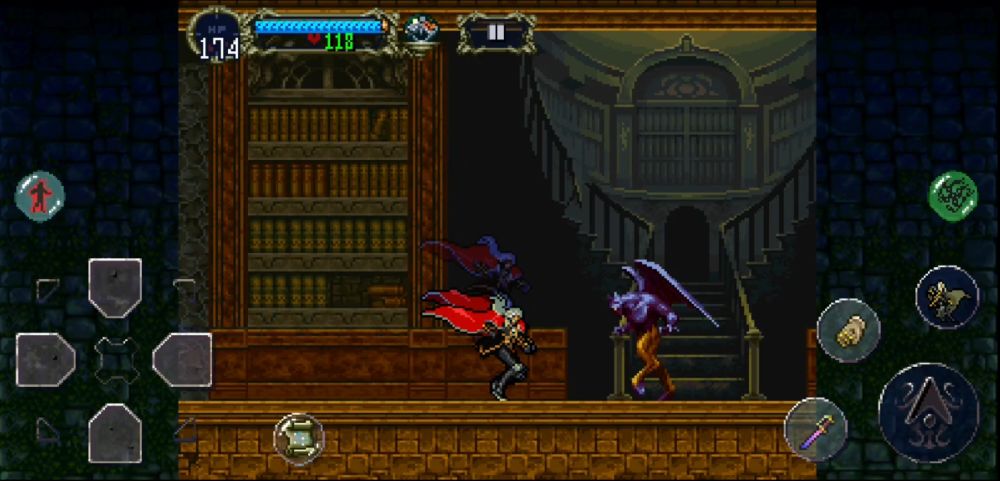
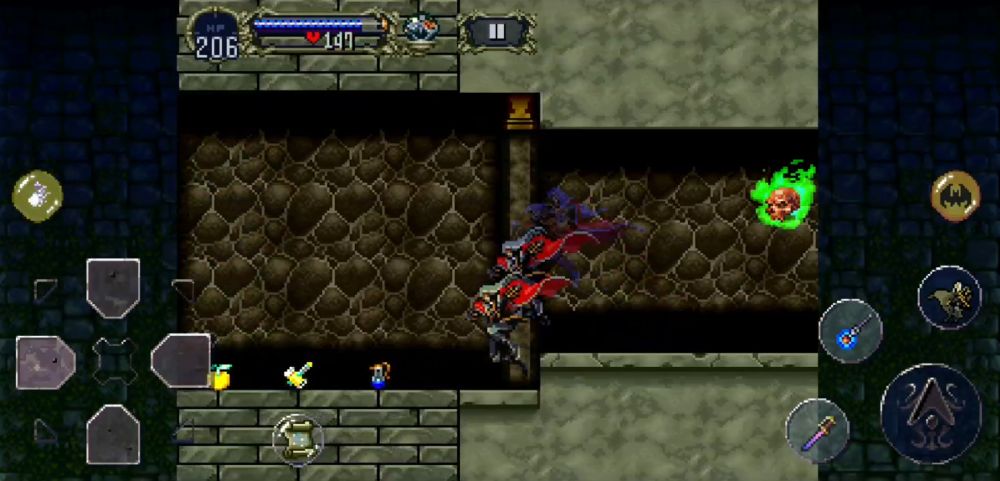
At most, the Lesser Demon will spam his main attack: a blue energy bolt that he will try to throw at Alucard. This can be ducked under or jumped over because it only travels in a straight line. If you get too close, he will swipe at you with his claws.
At some point in the fight, he will begin to fly upward and summon Mudmen, Skeletons or Ectoplasm. Of all the three, the Mudmen might be the most dangerous if you keep them alive for too long since their attack has a fair range. Otherwise, if you are out of the range of his summons, he might spew an explosive, green acid ball. These are all of his attacks.
First and foremost, equipping Alucard with the Axe will certainly make this fight easier since you can hurt him while he flies. If you don’t have that, then cast Summon Spirit or Tetra Spirit for consistent damage. Hurting him with your melee weapon is also no big deal. Just walk up to him and give him a spanking.
When the Lesser Demon erupts in flames, you have won the fight. Take the Life Max Up and go left.
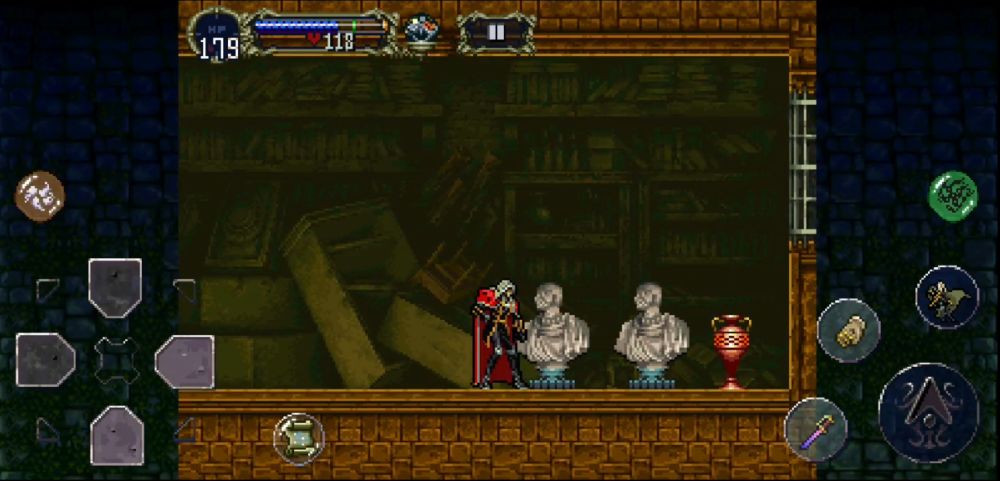
Long Library Revisit 1 Cont.
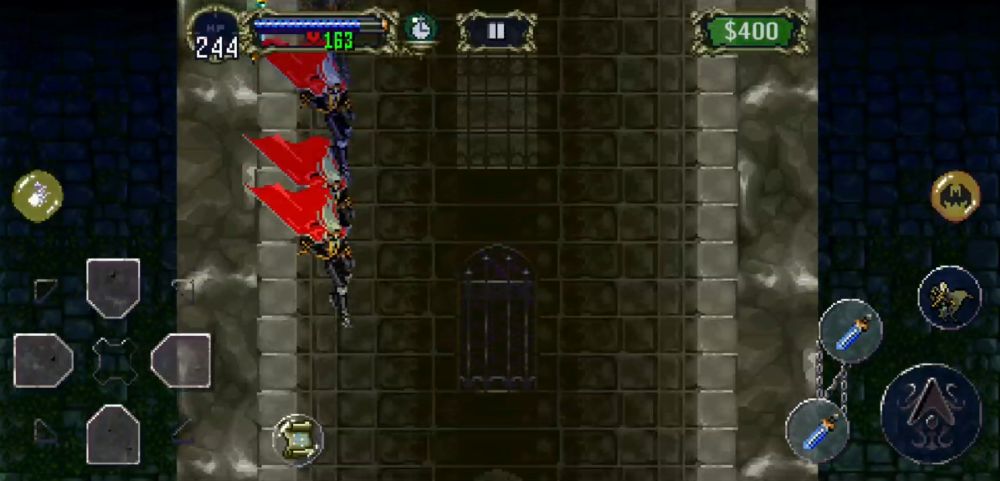
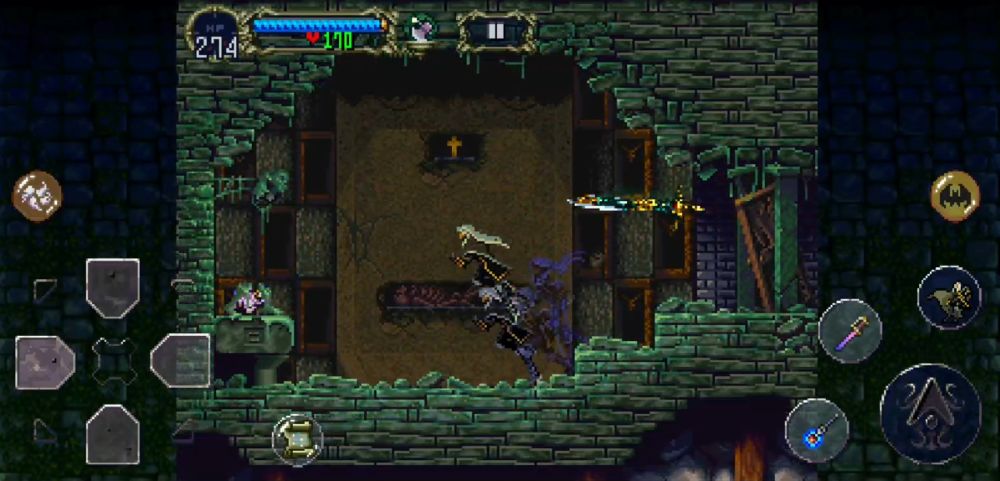
Follow the path downward and you’ll find your way to the right which looks like an old storeroom with a pair of busts and an urn. Upon breaking them, you will get a Takemitsu, an Onyx, and a Frankfurter in that order. On the upper right, you’ll find a grate that you can pass through using the Mist form. Be sure that you are pressing Alucard against the grate so that he will phase through it in his Mist form, otherwise he will keep going back.
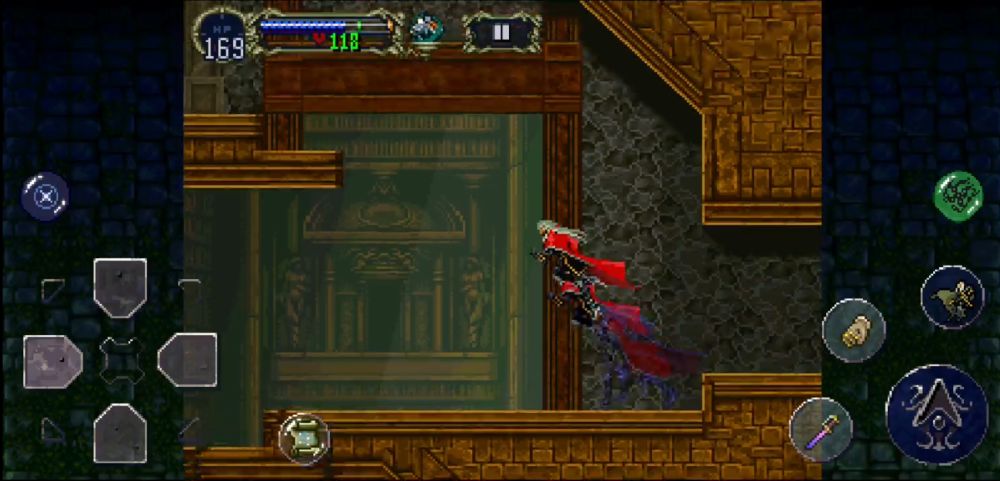
Entering this hidden room, you will at long last find the Soul of Bat Relic.
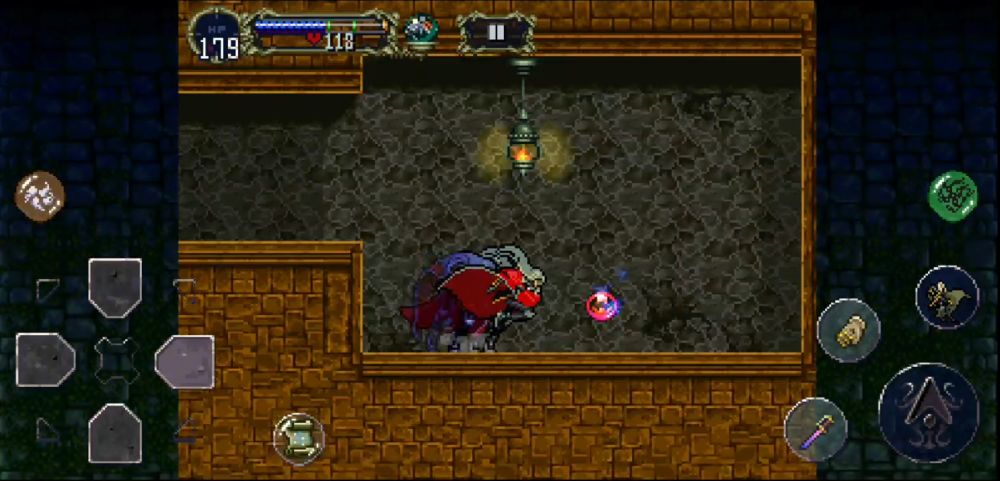
You can now fly. Isn’t this exciting? Let’s test it out at the Entrance first for some easy exploration!
Entrance Revisit 1
Travel from the Library to the Outer Wall and find the Warp Room. Your destination is the Entrance. Coming from the Warp Room (Horse), bring Alucard all the way to the Merman area.
Remember the rock you tunneled through? Go to the right-most part of the rock and turn into a wolf. Walk through the rock. When you reach the end of the rock, don’t go all the way out, turn into a bat and fly back the opposite direction. Reach the other end of the rock as a bat and then turn Alucard back into his human form. Have him walk through the rock in this form and go all the way down the stairs.
This has to be done in that order — you cannot turn Alucard back into his human form between transformations otherwise it will not work. You should see an opening that wasn’t there before. This opening has a Life Apple on a pedestal and a Jewel Sword in the water. If you’re looking to grind for money, the Jewel Sword has you covered as it has a high chance to turn any enemy slain into a salable jewel. To dispel any confusion, we have a GIF of what to do below:
Now, proceed to the entrance of the Merman area but don’t leave it.
You should see a small gap in the ceiling. Use your new bat powers to fly upward.
You should find yourself in a small room. Turn left and you’ll find yourself in a long hallway with two giant brothers: Blade and Ghurka (Hammer is probably on vacation). Try not to get them all together as they may quickly kill your Alucard off (if his HP and DEF aren’t high enough).
After getting past the hallway, you’ll find yourself in a small room with broken staircases. The door immediately in front of you is a Save Point. Instead, go up the staircases and you’ll find an exit to the left. Go there and retrieve the Holy Mail perched on a shelf above. This armor will be quite important soon. Leave this area and drop back down to where the Merman spawn.

Dropping from the ceiling, go left and fight through the Zombie horde. You would be making your way to the castle’s drawbridge. Instead of being greeted by a Warg, you’ll be greeted by an Owl Knight — the same ones you met at the Colosseum.
After killing him, fly upward and you’ll see a small turret with a Life Max Up and a Relic in it: the Power of Wolf. Take it and immediately drop or fly down.
If you choose to fly down, there are three candles to the lower left of the turret. You may also try reverting back to human form while cutting these down. One of them contains $500 and a Cross. If you’ve had enough of this, try turning into a wolf and run. You’ll now notice that Alucard’s speed increases as he runs which can be handy for getting around the castle even easier!
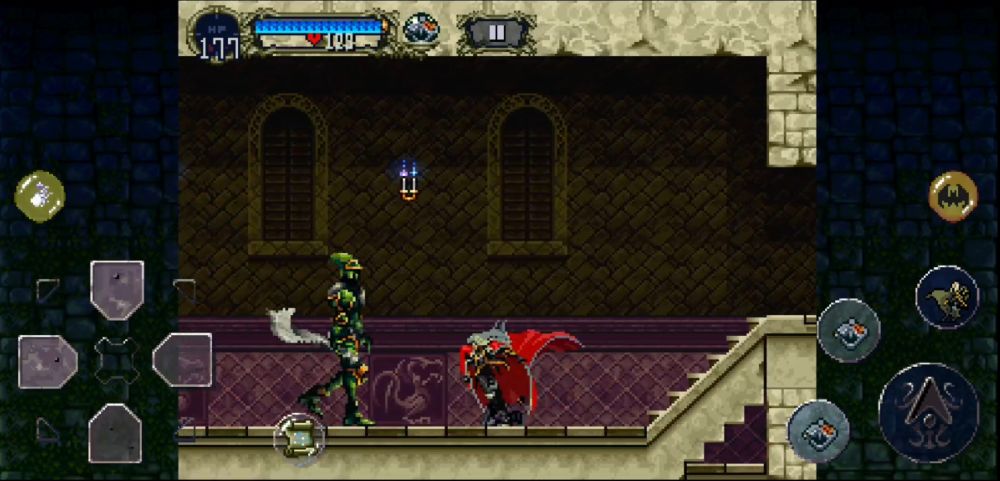
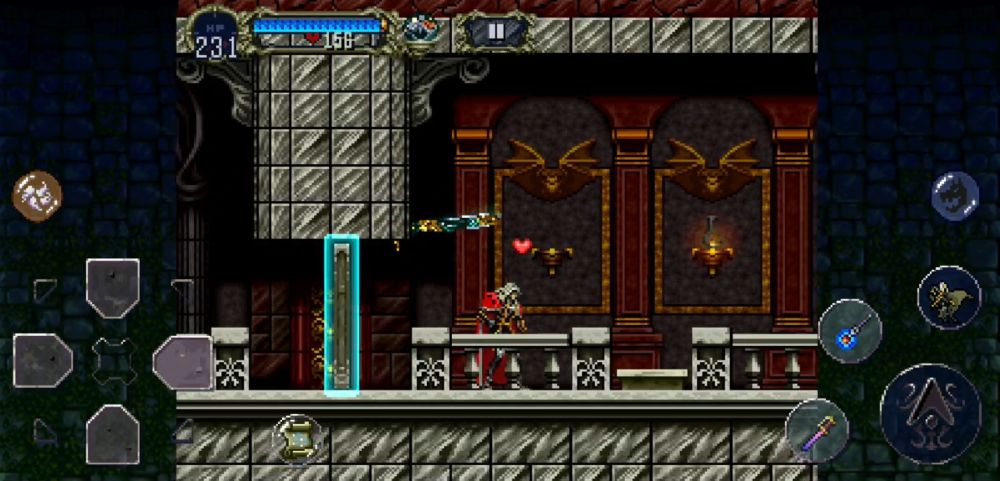
Return to the Warp Room of the Entrance, and teleport to the Outer Wall (Scorpion). Make your way past the Sword Lord while dodging the Medusa Heads and climb all the way upward. The room directly above has a red door and the room above that is a Save Point with a nearby torch that drops the Bible Sub-Weapon. Save if you wish and then head to the red door.
Ding dong, time for another level!
Clock Tower

The winds of the night howl with frigidity, and only more challenges stand before our hero. Go forth, o tragic prince — redeem thyself and fulfill thy destiny.
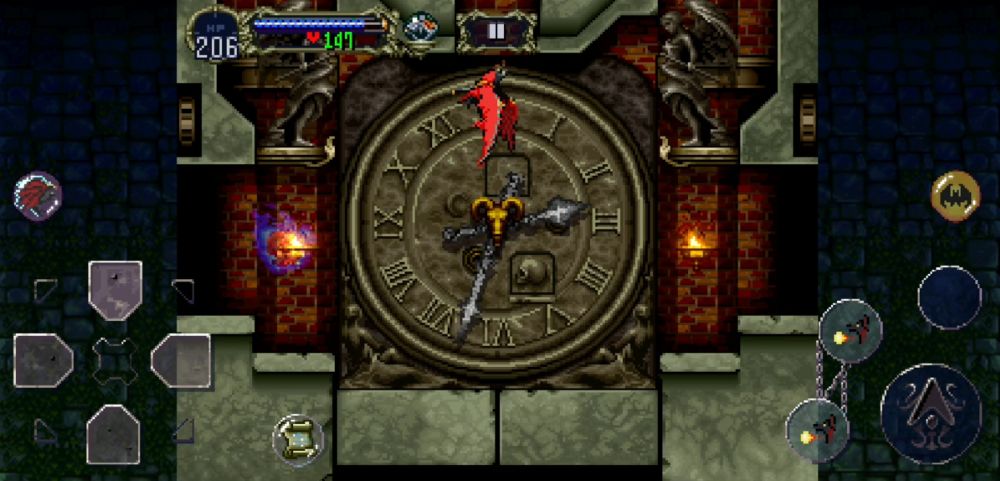
You’ll first find yourself in a two-level room. Heading to the lower left will bring you to an area under the main bridge of the Clock Tower. Just be warned that it’s filled with Skull Lords, so get ready to fight. As imposing as they are, they are easily killed off with the Holy Rod. If you’d like to proceed, you may fly up from the very end of the bottom area or go to the upper area.
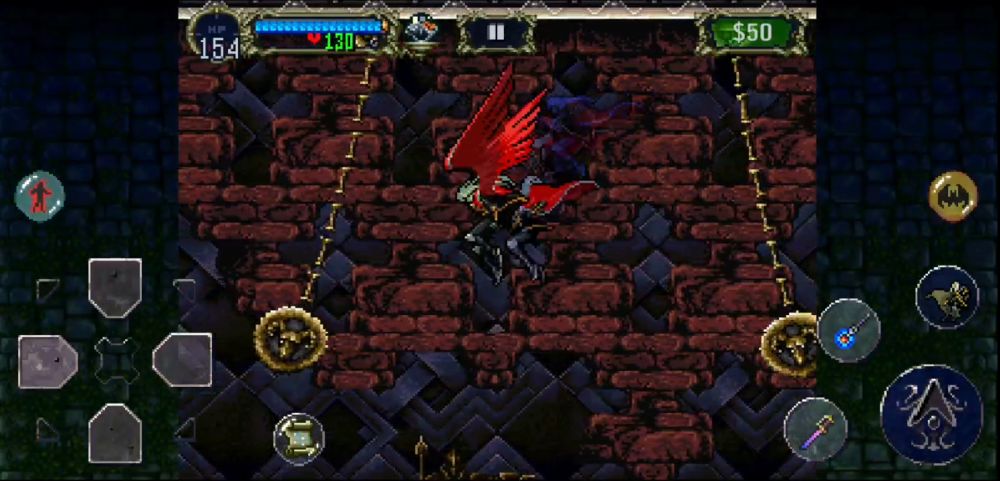
After stepping out to the upper left, fly upward to find a secret door along a tall pillar. Accessing this secret area will get you the Fire of Bat Relic which you might need later on.
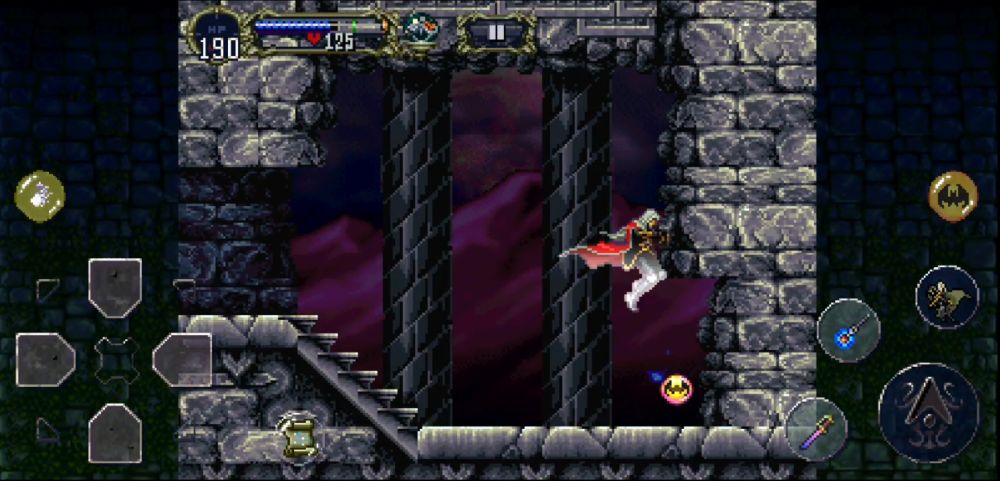
Continue on leftward and cross the broken bridge that leads to the Clock Tower itself. Be careful, some of the platforms are unstable and will break. Thankfully, because you would have at least the Leap Stone by now, you’ll be able to hop onto ledges that are otherwise unreachable. Keep going left until you enter the Tower itself. Equip the Mirror Cuirass that you got from Part 1 of this walkthrough — you’re going to need it.
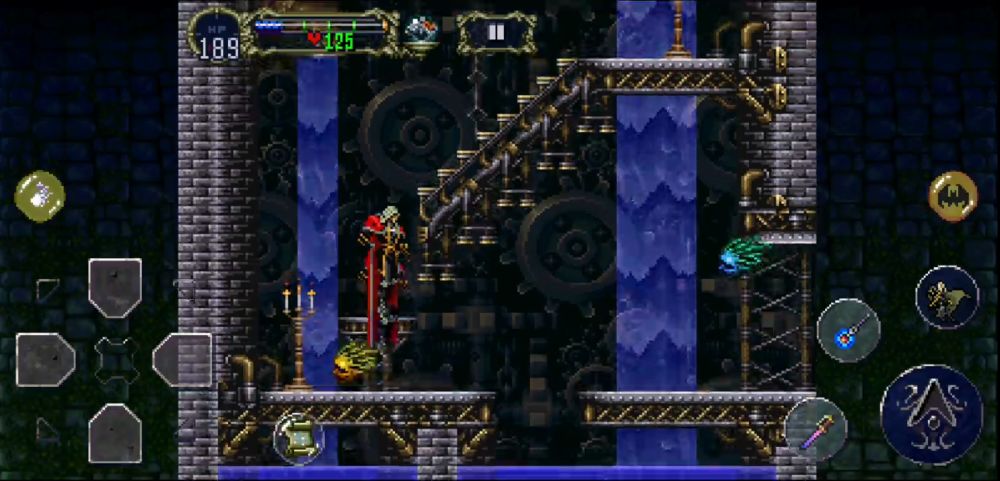
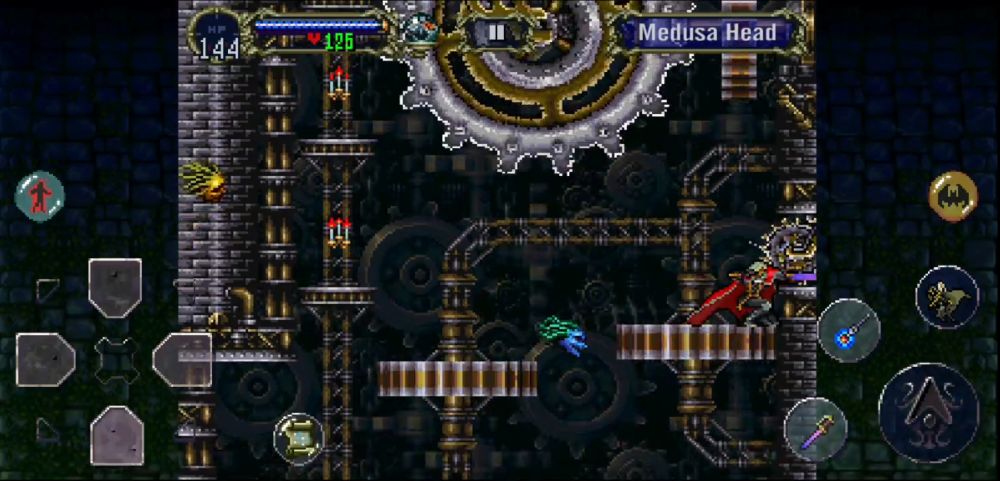
You’ll find yourself in one of the Tower’s tall rooms: it’s full of water, gears that grind about (they won’t kill you, but you’ll move if you stand on them), and a lot of Medusa Heads. Thanks to your Mirror Cuirass, you’ll be protected by the yellow Medusa Heads that would normally petrify you on contact, so equip this item immediately. Continue on upward and head left.
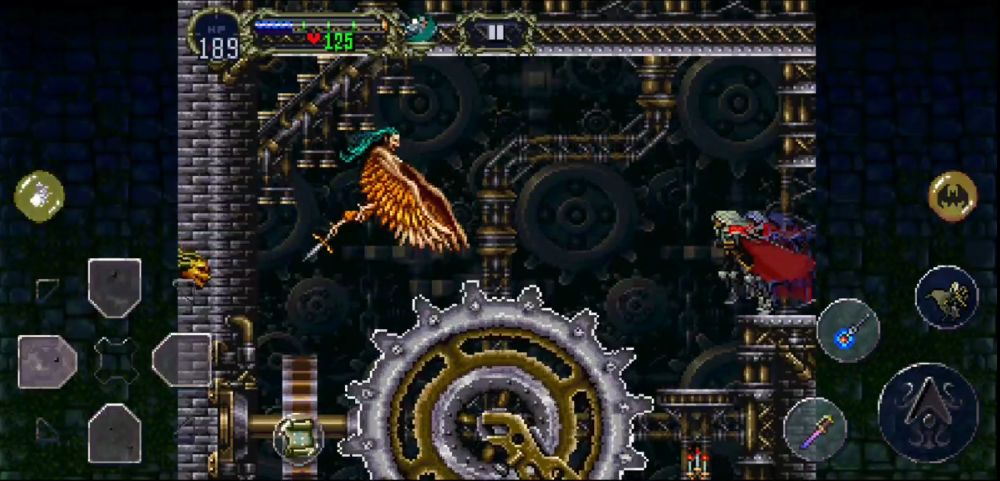
More gears grind about in this room. To make things more annoying, you have Harpies now that will first try to throw their daggers at you. If they miss, they’ll try to shoot Alucard down with blasts of energy from their wings — a triple salvo that fires in three directions at once, so be careful! If Alucard has incurred too much damage, try casting Dark Metamorphosis and equip a bladed weapon so you can heal from the Medusa Heads. Head down this room and exit left and be careful of the spikes and water pit on the lower right.
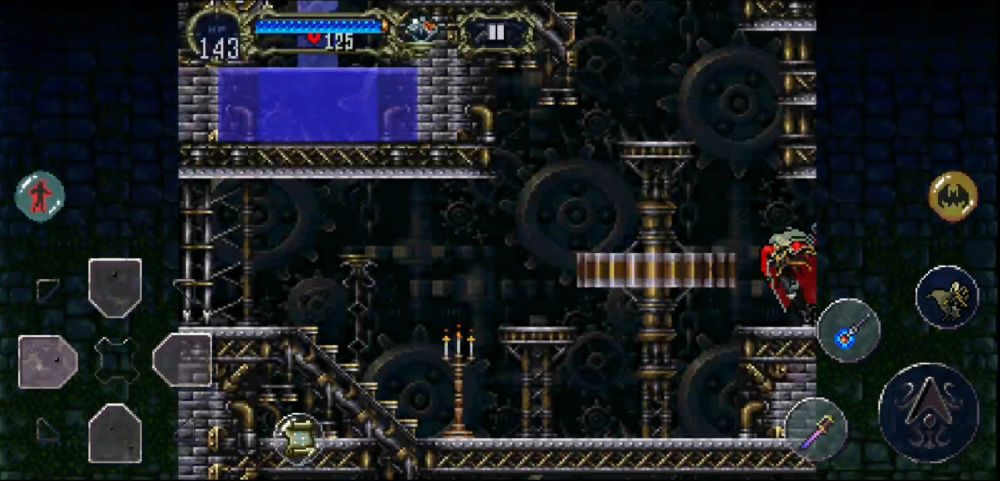
This room goes upward again. Follow the gears and the ledges until you reach the top. This room might be a tad bit more difficult than the last one because some of the gears are spinning so quickly. Exit to the upper left.
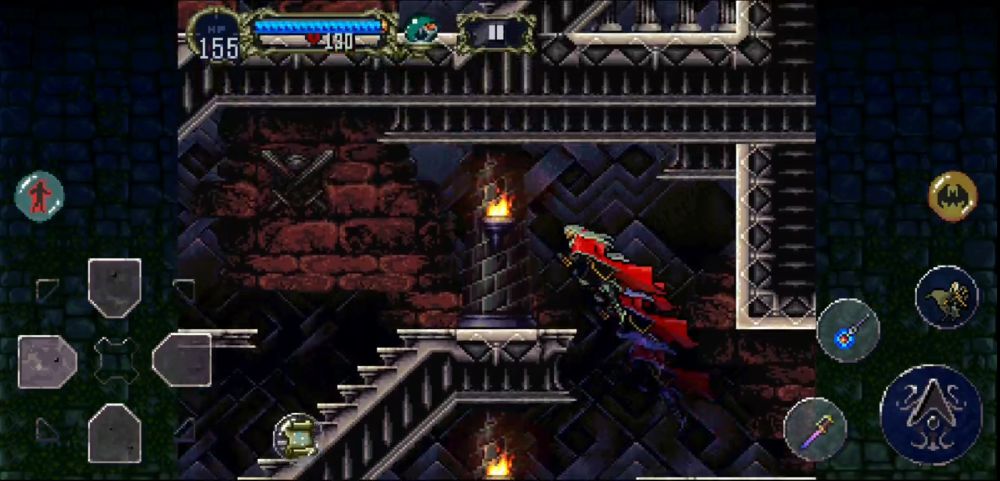
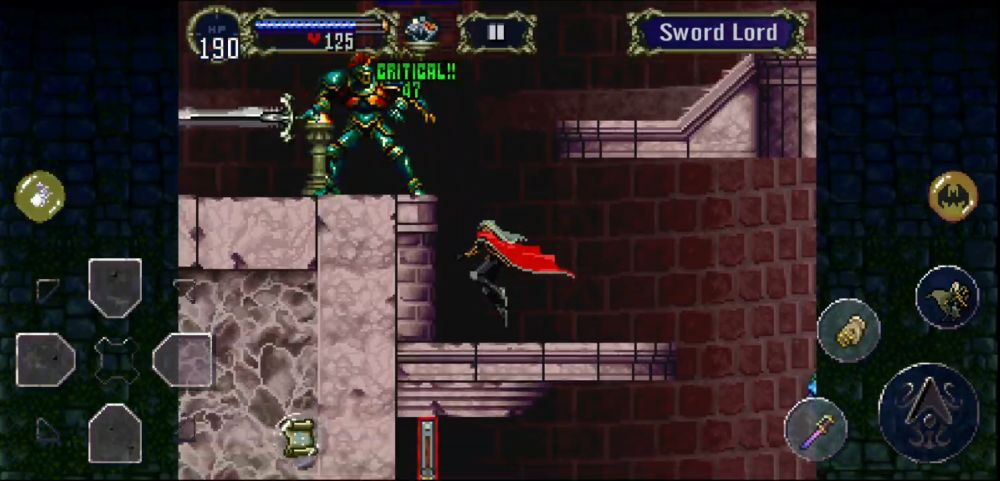
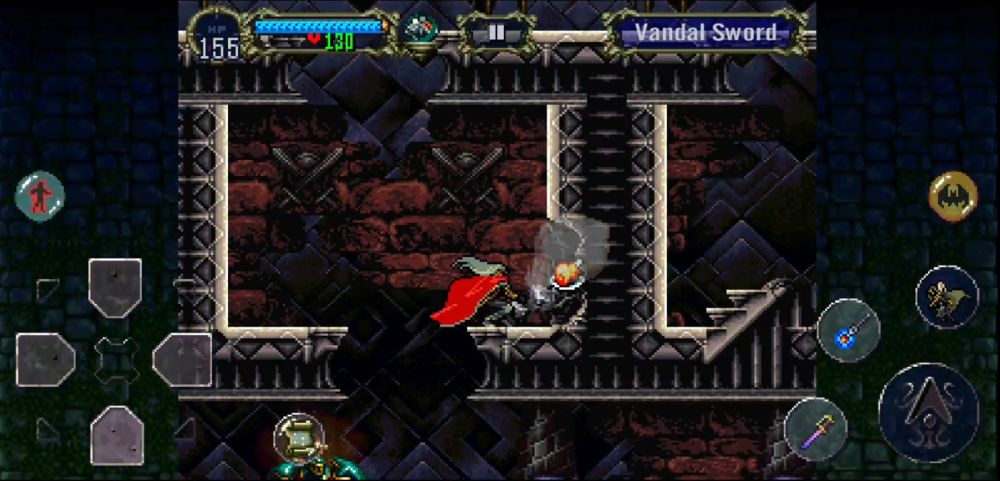
You will now find yourself in a dimly-lit corridor full of steps and ledges. The grounds are also prowling with Sword Lords. Beware that these Sword Lords aren’t ordinary Sword Lords; after striking any of them down, their soul leaves their body to wield their broken blades, now called Vandal Swords. Thankfully, their HP is low enough that they’ll go down in a few hits.
Continue to explore this maze-like room. You’ll also find that some of the pillars can be broken, revealing useful items like food.
At the very top of the room, you should find a pair of pendulums with ram faces engraved on them. Hop across these and you’ll find yourself immediately in a boss battle!
OPTIONAL: In any of the rooms with the gears, you will find some stagnant gears on the walls. Hitting them will cause them to move with a loud turning sound. If you hit any of them enough, they should make a soft clicking sound. This will open up a locked door in one of the clockwork rooms. We will leave you to discover its location. Good luck!
Karasuman

A boss? In this cramped room? Hoo boy. But don’t fret, this boss, like the Lesser Demon, is quite the pushover. Much so that you won’t need your Sub-Weapons. Let’s kill the Karasuman (or Malphas in some installments of the game).
The Karasuman is a very simple boss. It has grand total of 3 attacks:
- It summons shadow crows into its body and it shoots them out after flying upward at an angle. This can be avoided by bringing Alucard directly under it. Be careful when it lands.
- It will hover upward and charge up some energy, then release the energy in the form of a quadruple dark orb salvo. This is hard to dodge, but it thankfully doesn’t deal that much damage.
- It will rise slightly into the air and fire feathers at both its left and its right. You won’t be hit by this unless you’re jumping.
Whenever you hit the Karasuman, it will flinch backwards. If you do this enough times, you’ll kill it in a corner.
Pick up the Life Max Up and go left to revisit the Castle Keep.
Castle Keep Revisit 1
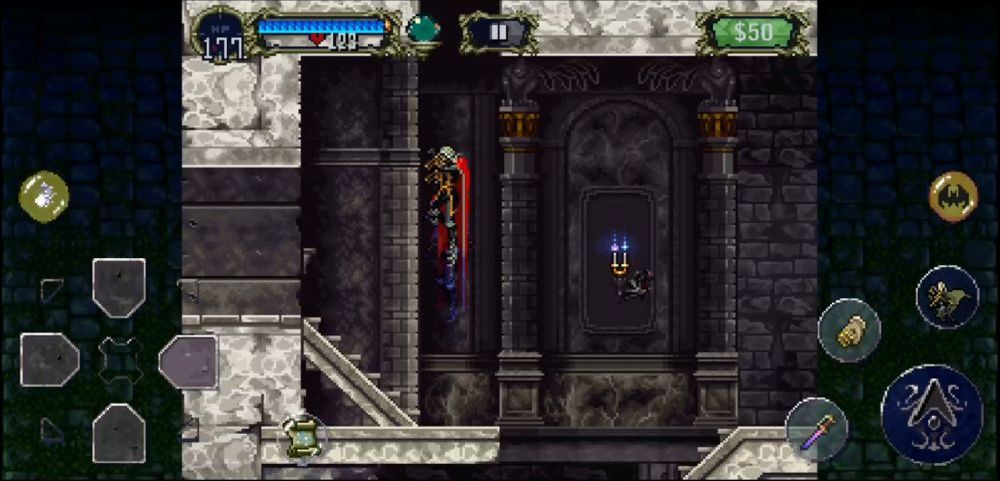
You’ll find yourself in a dark room with lion-headed lamps and an almost alien-like elevator in the middle. Hop on and it’ll carry you upward.
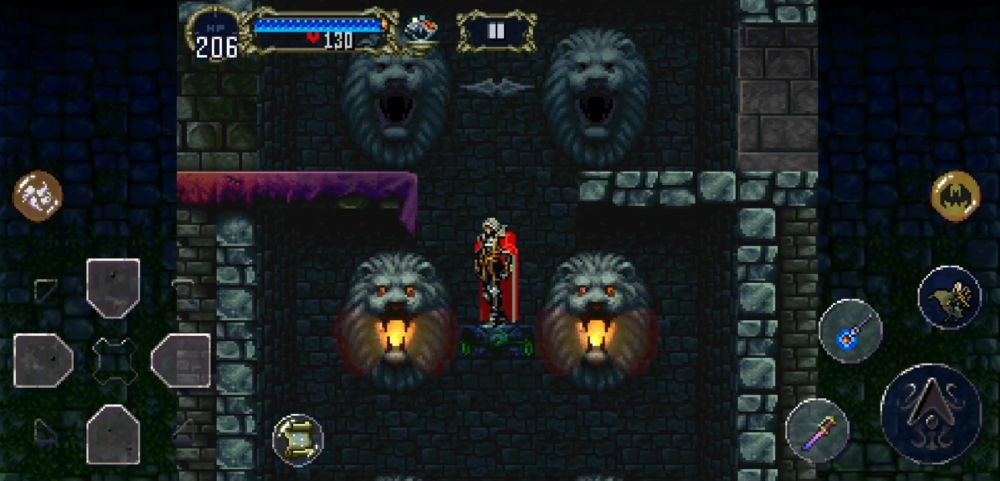
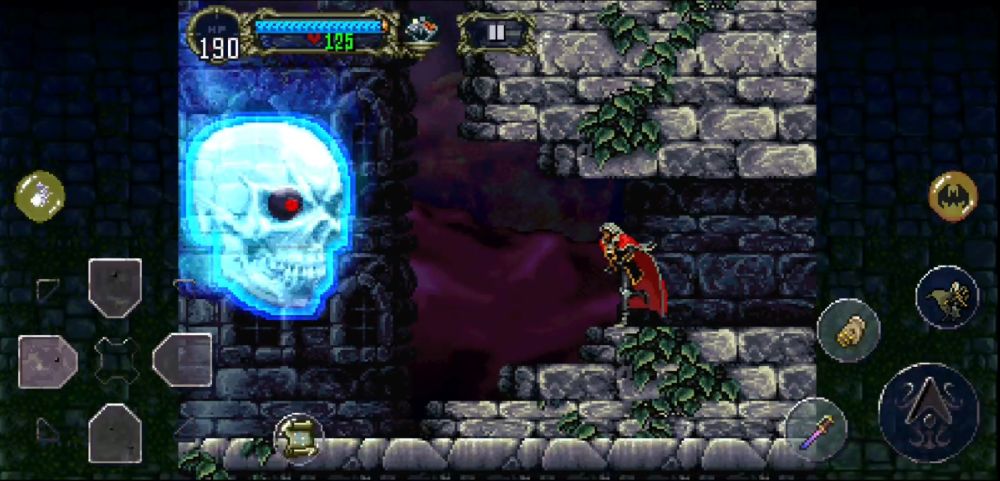
To the left, you should see a familiar-looking red carpet, and to the right is a Save Point. Save if you wish and proceed out left. It’s the Prologue area! … Except the stairs have crumbled to the area beneath. There is a secret door to the upper right of this area if you assume your Bat form and fly there.
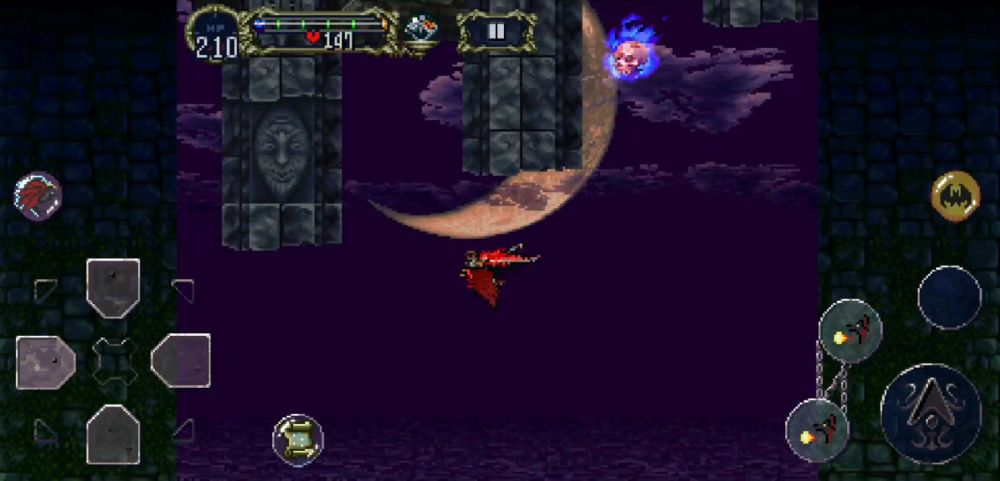
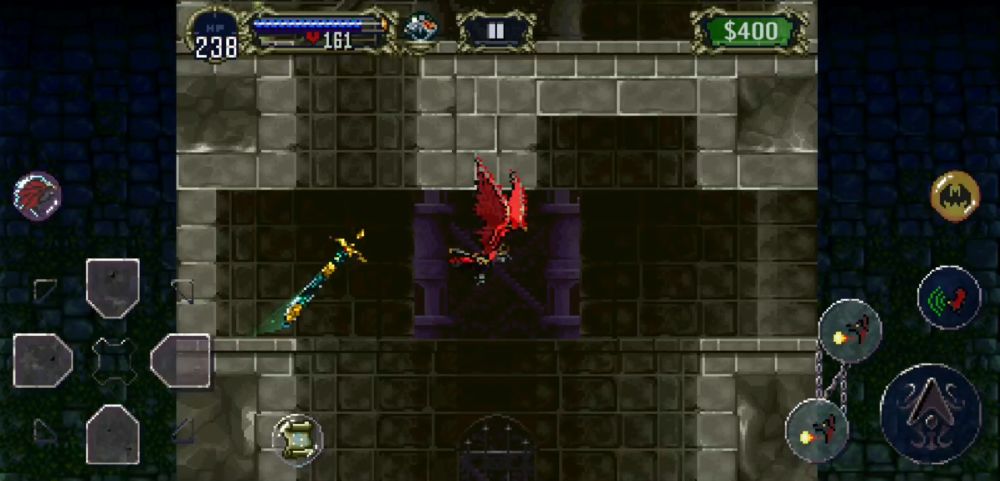
Proceed to fly left directly under the upper half of the broken stairs. Just be careful of the Flea Riders — they will force Alucard back into his original form if they hit him! You can try shooting them down with the Bat’s fireballs. If you happen to run out of mana, there is a platform in a pillar marked with an eerie-looking face that you can stay at.
If you’re finally able to transform into your Bat form again, continue to fly left and you should encounter your next important Relic: the Power of Mist. This will allow Alucard to stay in Mist form for prolonged periods of time. Return to the room with the lion heads and fall down the ledge on the lower left or drop from Dracula’s steps to find yourself at the ruined courtyard with the Flea Riders (this is where you found the Leap Stone).
Exit by hopping up the pillars and the courtyard’s ruined floors. You’ll be at the two elevators again with the door to the Warp Room. Enter the Warp Room and go to the Outer Wall (Scorpion) again. Make your way to the Outer Wall’s exit to the Marble Gallery.
It’s time to revisit this area.
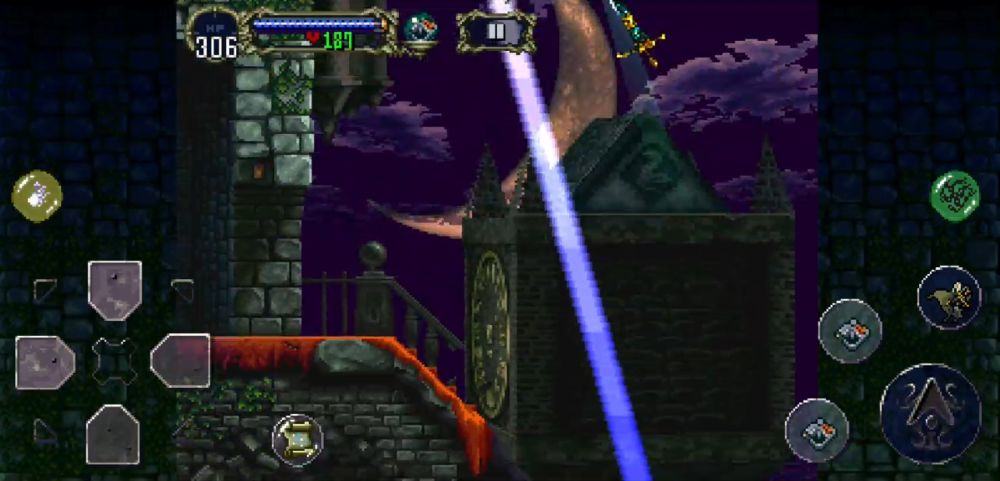
OPTIONAL: At this point, you should be able to fight Richter by flying up and directly to the throne room. If you manage to kill him at this chapter of the story, you will earn one of the game’s possible endings.
Marble Gallery Revisit 1
Upon reaching the Marble Gallery, immediately make the Clock Room your destination.
Stand in the middle of the Clock Room and immediately fly upward. You’ll find yourself in a wide room. Go immediately to the right and obtain your new Relic, the Gravity Boots. These will allow you to Super Jump by pressing down, up, and jump in quick succession.

To the left of this wide room is an assortment of useful items, mainly for the Faerie. Go back down.
Wait for the left angel statue to slide away and re-enter Olrox’s Quarters.
Olrox’s Quarters Revisit 1

Coming from the room with the Spectral Sword, make your way through the long hallway to the right where Hammer and Blade are stationed. To easily get past them (unless you’re trying to grind them for drops), we recommend using the Wolf form’s dash. You’ll make it to the end of the hallway in no time.
After reaching the end of the hall where the Warp Room is, fly upward through the narrow passage in the ceiling and make your way to the top. You’ll find yourself in an even higher level of Olrox’s Quarters which looks like a prison.

While there are prisoners in the background, you cannot, unfortunately, interact with them in any way. Make your way through the long prison, cutting down any Bloody Zombie you see. At the end of the hall, you will drop down and find yourself in the outdoor areas of Olrox’s Quarters.

This outdoor section is quite large and it has a number of exits here and there.
If you access the one directly below the bridge you land on when you enter, you’ll find a Save Point.
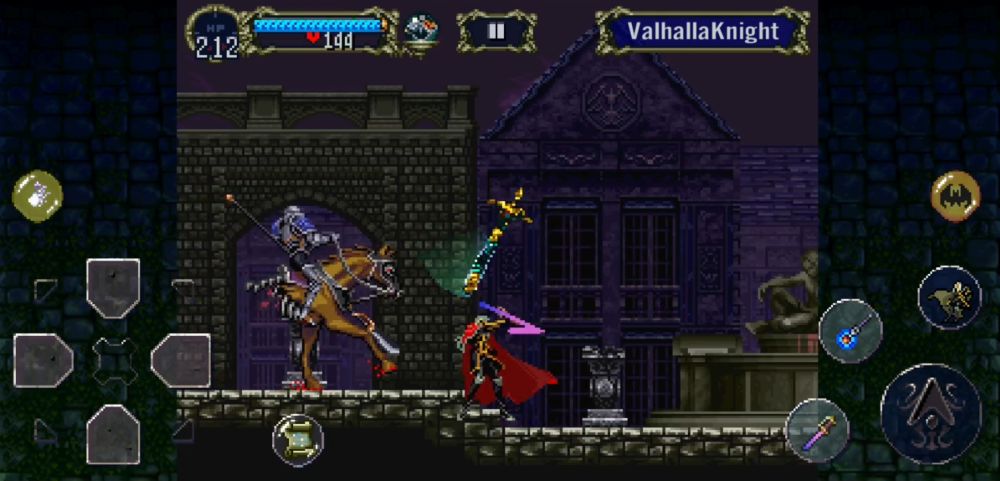
The bottom portion of this area is running with Valhalla Knights, so tread here with caution.
If you make it all the way to the left, you’ll find that this area is linked to the Chapel. If you feel like revisiting the Chapel to explore, you may take this path anytime. To open it, simply destroy the small statue blocking the larger one.
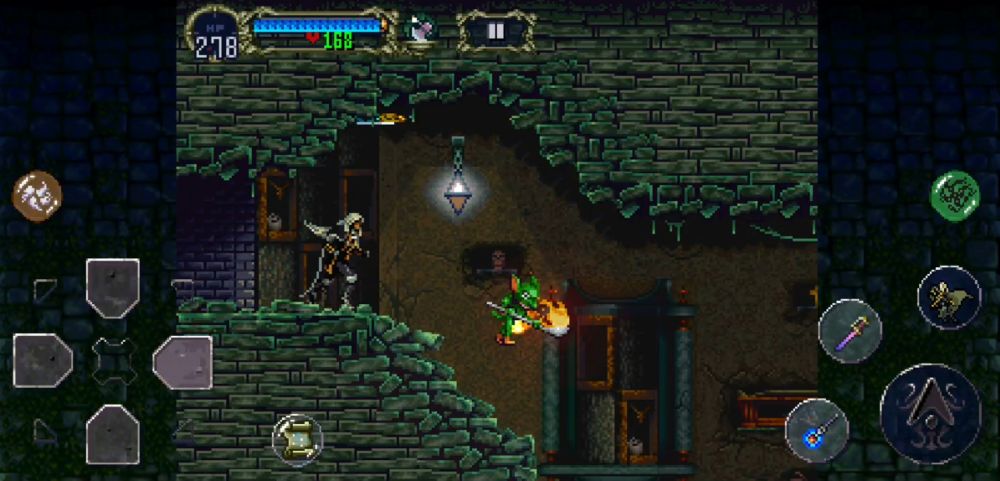
Make your way back up on the bridge and head left. You’ll immediately find yourself in a dour passageway. At the very end, you may need to turn yourself into something that fits through the hole. We recommend the Mist form since you’ll need it very soon. Funnily enough, if you revert back into Alucard’s human form, he will cry out in discomfort for being stuck.
The funny stuff ends at the yellow door at the end of the hallway, though. It’s time for a boss — a difficult boss!
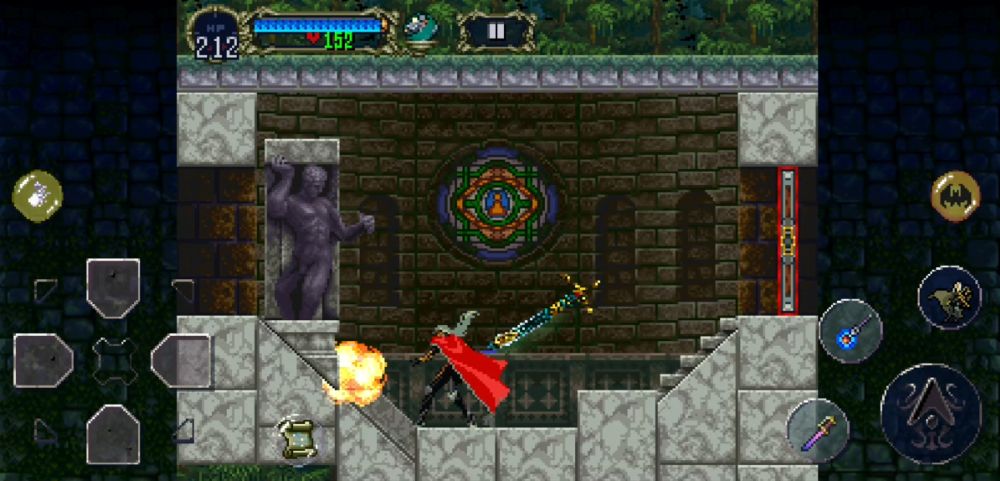
Olrox
Dropping from a height, you’ll find yourself in a large room with a beautiful stained glass piece at the back. In the middle of the hall is a long banquet table with… a strange-looking fellow at the opposite end. He offers you a seat at first.
It would seem that sitting down would have him and Alucard discuss a few things. Not long into the silent conversation, you will hear the boss music play and it’s time for you to fight Count Olrox — a vampire associated with Dracula (of course if you want to take the barbaric route, you can always hit him as soon as you see him to start the fight straight away).
Olrox is a powerful vampire that wields the dark arts against you. He has an assortment of attacks and two forms; his first form being this one, a well-dressed vampire with a chrome dome and pale purple skin. Let’s address this form first.
Let’s assume you hit him first and didn’t take his offer to speak to him. He may leap backward. If he happens to reach the end of his own arena, he will float over Alucard and travel a considerable distance, usually cornering himself. If you do try to hit him while he’s backed into a corner, he will teleport behind Alucard.
Then he will try to attack in different ways. One such way would be him summoning a swarm of bats that he will command to buffet Alucard. The bats can be destroyed with Spells or your weapons.
Another projectile-type attack he does is to call forth the spirits of the damned to slowly fly at Alucard and hurt him. Much like the bats, they can also be destroyed with either Spells or your weapons.
Occasionally, he will call dark energies from the floor. Dodging them is easy: observe the red, telltale signs where the energies will erupt. These are where you certainly shouldn’t step.
If you notice him crossing his arms with his claws stretched out, duck immediately. He will proceed to slice the air with a fast-moving air blade that deals a great deal of damage. If you’re close enough to him, you should be able to hit him while ducking.
Most of the time, he will be doing these attacks simultaneously. You may have to rely on Spells like Tetra Spirit or Soul Steal. The latter being immensely more powerful in this fight since it will clear the room of any bats or spirits Olrox has summoned. After hurting him enough, he will crouch and begin to transform into something more vile: a bipedal fire-breathing lizard creature.
This form is a little bit less complex but just as dangerous. If you get too close, he may swipe at you with his claws. But that aside, he can also heat the floor and cause it to explode. The beam that comes from his mouth is completely harmless, but the explosion that follows will hurt. If you’re backed into a corner and you have nowhere to escape from the blast, turn Alucard to Mist and find an opening when you can revert back.
Another more dangerous attack of his is where he will spit fireballs at you. The worst part about this is, if his health is low, he will spit them so fast that it’s akin to a machine gun. It’s virtually impossible to get close to him while he does this, so blocking the fireballs with your shield or turning to Mist again is your safest bet.
The second form has one glaring weakness, however: Olrox is now huge and has a ton of spots for you to attack. You can attack his head, his body, his arms, his legs, everything. If you have a weapon that strikes quickly like the Werebane or Rapier or a weapon that has a wide-damaging attack like the Holy Rod, use those to your advantage. Otherwise, Spells like the aforementioned Tetra Spirit and Soul Steal should do the trick.
After taking enough damage, this (possibly) long and grueling battle should come to an end. Heal any wounds you might’ve incurred with the Life Max Up and proceed to the upper left. You’ll find a very important Relic that you will need for the game’s golden ending: the Echo of Bat.

Retrieve it and leave Olrox’s Quarters for the Marble Gallery once again.
Marble Gallery Revisit 2
After dropping down from the Clock Room, make your way to the Scowling Room that we mentioned earlier and make your way to the upper right stairway.
Here, keep going right until you see the blue door. You should see a flat switch on the ground. Stand on it until it becomes flush with the floor. This will cause the room to shake with a loud click. This will have opened up two different floors in the Marble Gallery: one before the long corridor with the Diplocephalus enemies and one before the Scowling Room. Let’s head to the one before the Scowling Room. You’ll easily find it with a hooded statue that’s bowing toward the screen.

Buckle up! It’s time for a new level (if you haven’t gone here yet)!
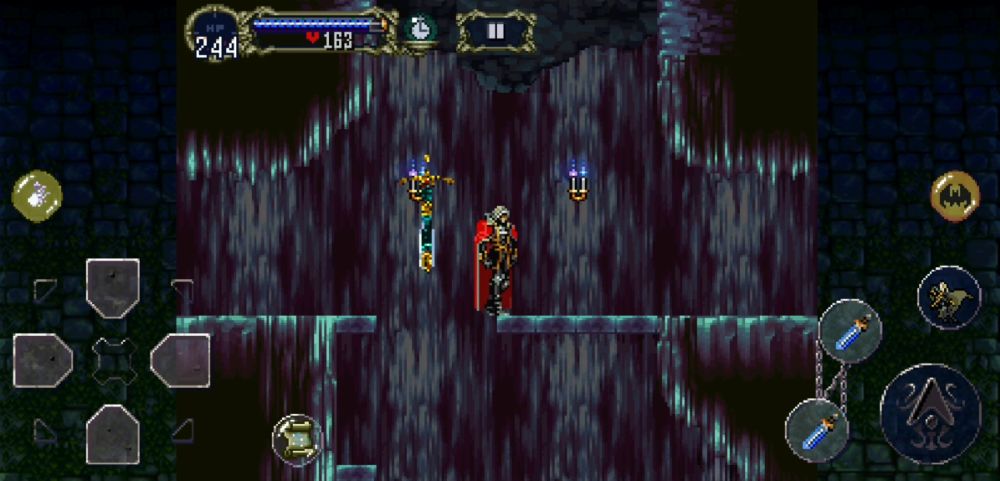
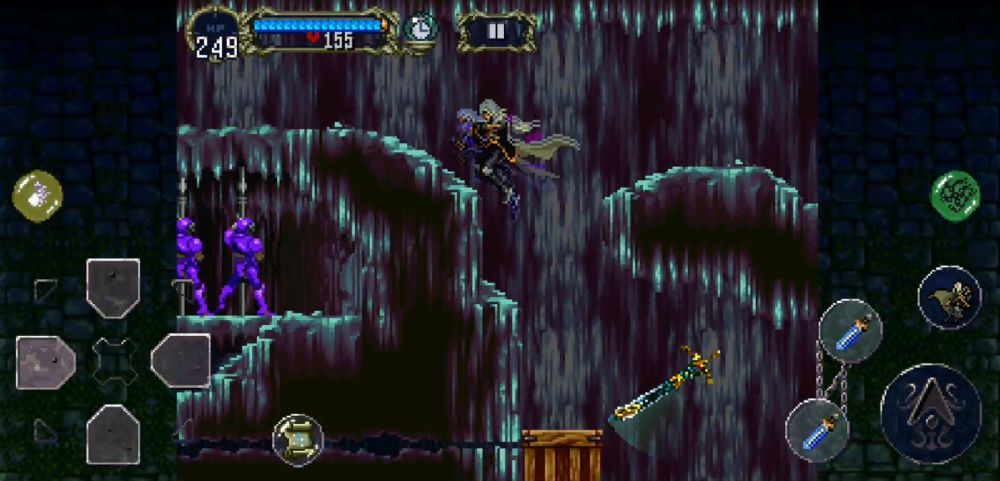
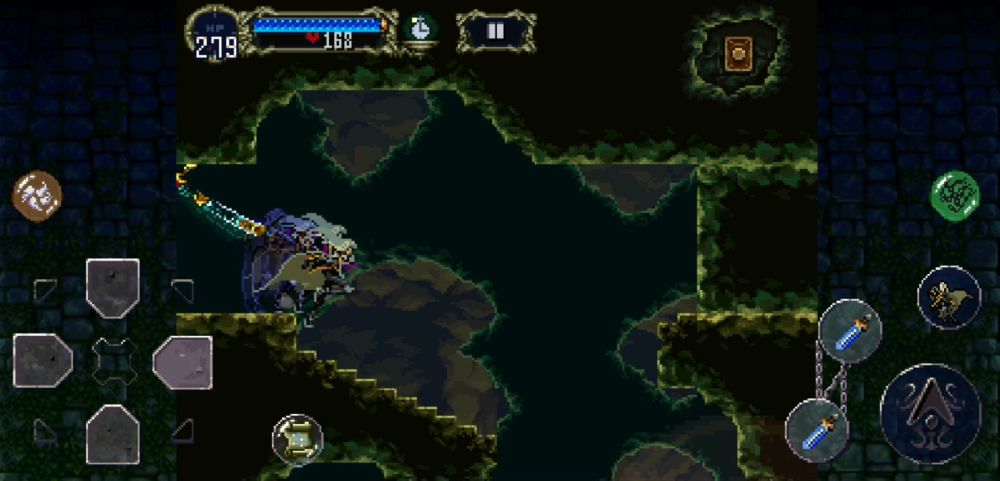
Underground Caverns
In these caverns, how lonely would it sound when a crystal teardrop touches the water?
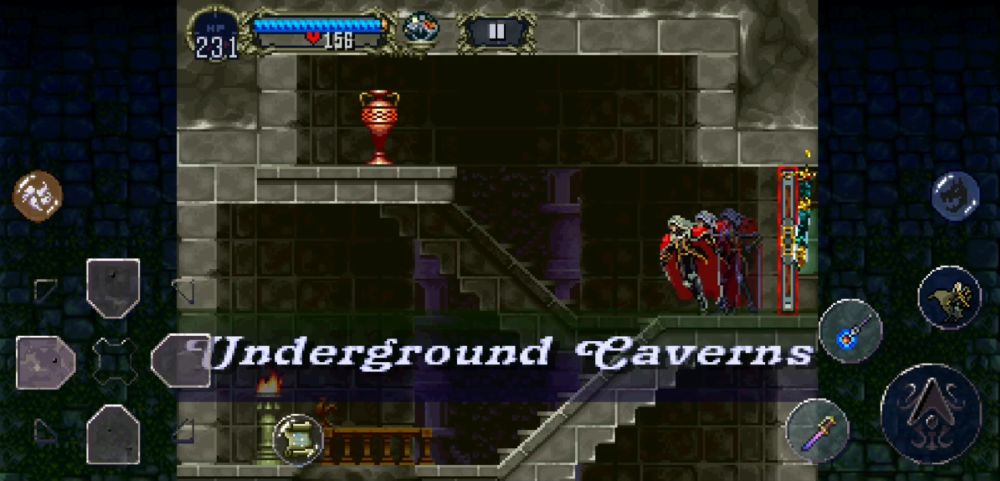
Head down whilst fighting some Spear Guards until you see two exits on opposing sides. If you wanna save your progress, go to the right exit — a Save Point. Otherwise, you may explore the left exit for some cool stuff. After that, keep going down this main shaft. Be careful as there is a drop all the way down!
Fly across the drop and proceed right. You’ll find yourself in a longish corridor here. At the end of the corridor, you’ll be in a shaft with an urn across the first drop.
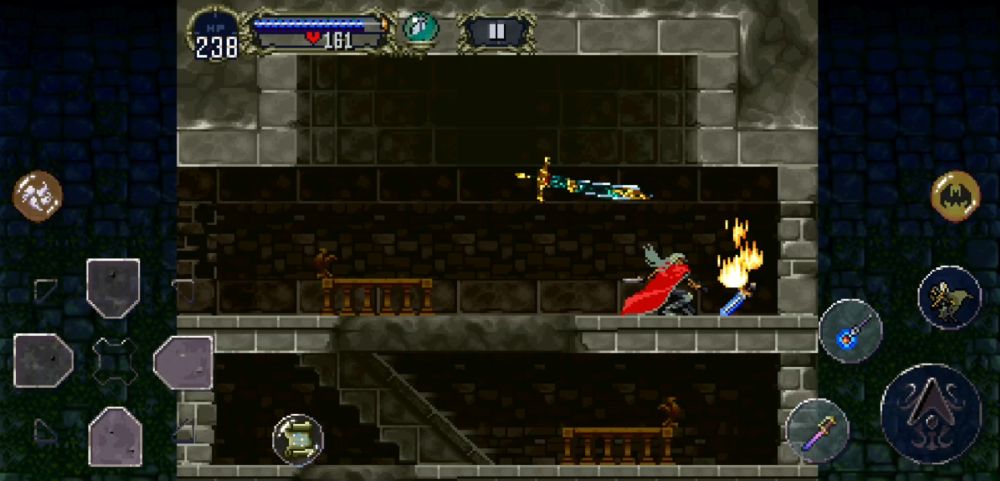
Break urn to get a Claymore, a two-handed sword with decent range and a thrust attack (left, right, attack or right, left, attack). Continue on downward and you will exit right. You’ll immediately find yourself in a room full of urns. Breaking some of them will give Alucard some Meal Tickets. These spawn random food items when used. The last urn on the bottom right drops a Moonstone. At the bottom of the room, you’ll reach two more exits opposite of each other.
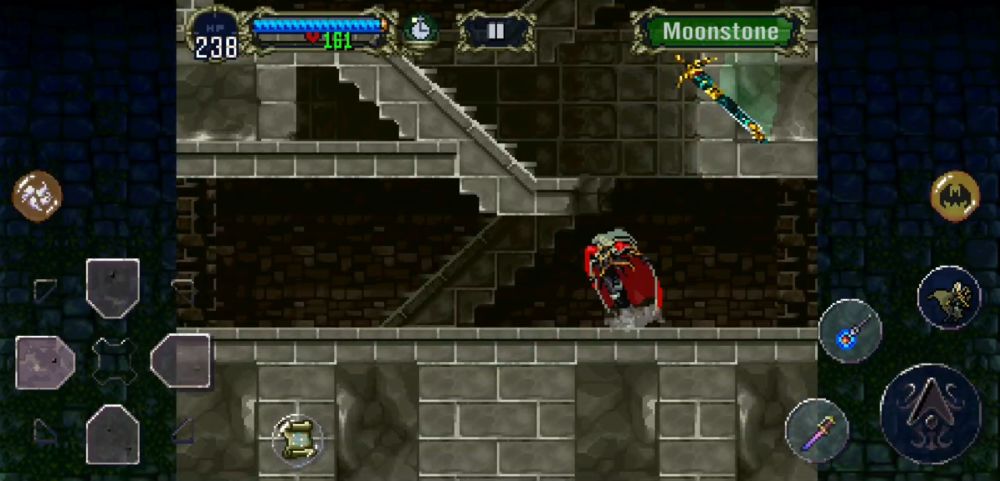
Go left if you want to save. Go right to find yourself in an eerie Save Point with a purple coffin. If you sleep in this one, you’ll fight a boss!
Succubus
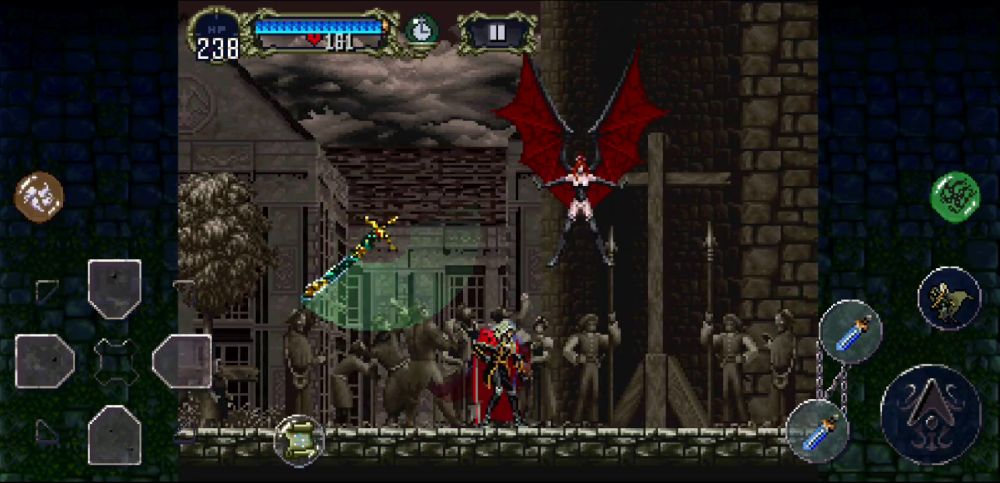
In Alucard’s slumber, he awakens to a scene he painfully recalls — his mother, Lisa, suffering at the hands of mankind. While it would seem he is experiencing yet another nightmare of his, a change in her tone reveals to him the truth. A Succubus has invaded his dream, and now, Alucard is the main course of an enchanted banquet.
The battle against the succubus is a relatively negligible battle. Her attack patterns are quite simple and her tactics are just as easy. First, let’s talk about what she can do:
- She flies up and sprouts sharp spikes from the bones of her wings. This can be easily avoided by being directly under her.
- Just like the previous attack, she will start by flying upward. This time, she will try to create duplicates of herself. If you don’t hit the real Succubus in time, she will shoot two homing pink projectiles on opposite sides to hurt Alucard. Dodge these by jumping over them.
- In a rare occasion, she will fly upward and then blow rose petals at Alucard, casting CURSE on him. Additionally, she will swoop down on him and kiss him, causing damage.
This boss fight is quite simple as all of her attacks are avoidable and her HP pool is rather low. Using spells like Soul Steal and Tetra Spirit work wonders on her duplicates, stopping her from performing the projectile attack.
Weapons with longer ranges (like the Claymore) are favored as you prevent her from performing most of her attacks. Upon being hit, she will occasionally flinch and this will cancel whichever attack she was planning to use. After enough strikes or Spells, she will succumb to defeat and Alucard will set her soul wandering for eternity.
Upon leaving the boss battle, you should find a Gold Ring to the right of the room. Pick it up and leave this room.
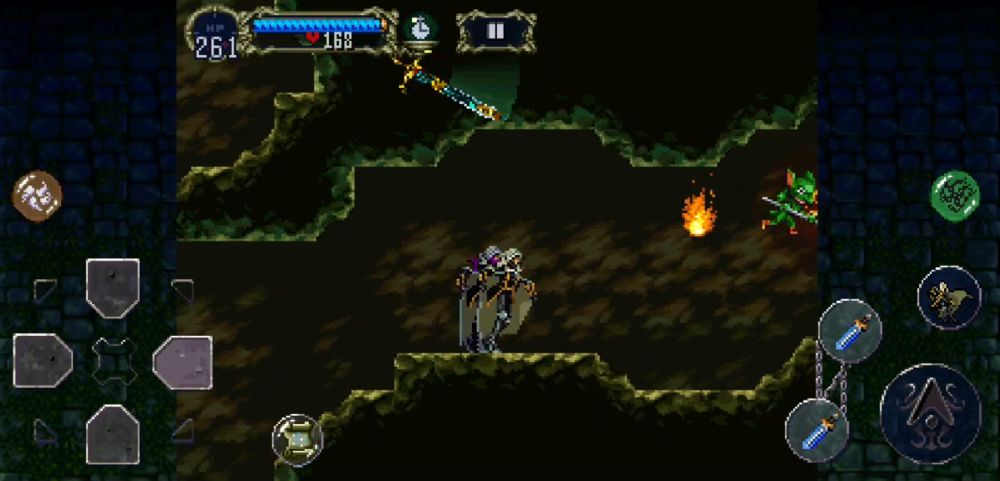
Underground Caverns Continuation 1
After defeating the Succubus, make your way back to the chasm near the entrance of the Underground Caverns. Drop down.
At the bottom of the chasm, you should find yourself in the caverns themselves. Here, you have at least three exits: one to your left, another to your right, and one last one on the lower right. Head to your immediate right if you wish to save, it’s a Save Point. Meanwhile, let’s go on ahead and go to the one on the lower-right.
Whoopie! Another boss!
DISCLAIMER: For the purposes of the next two sections of the article, we took screenshots from a separate file where you fight the boss early. This is to be able to gather information on the boss’ attacks. If you’ve followed this guide from the other route earlier, this boss should be quite easy to defeat, especially with all the items you have gathered thus far.
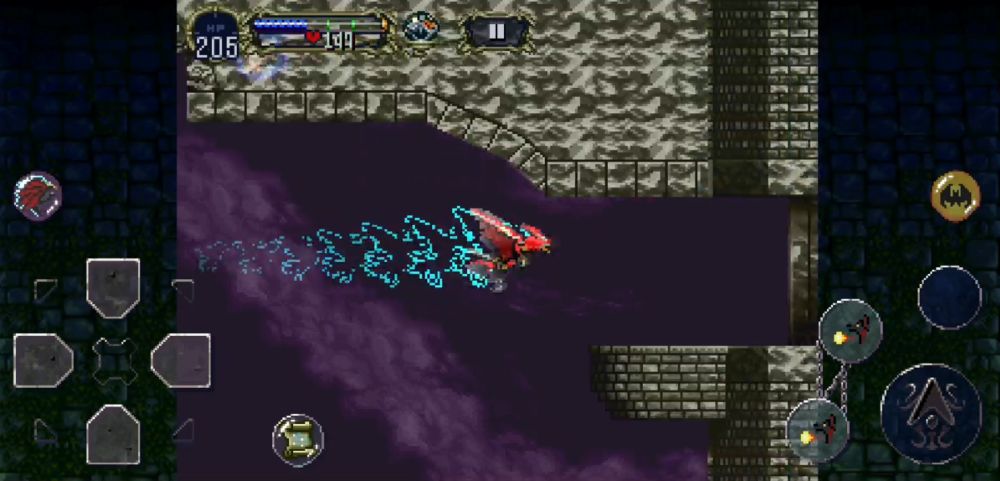
Scylla Wyrm
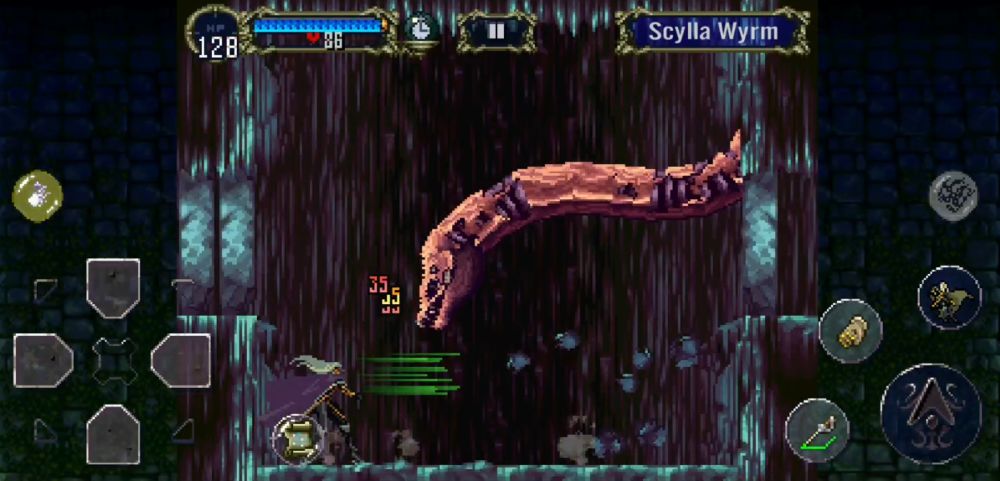
It’s a snake!
This boss is hardly a boss at all. It simply moves in at a length to try and bite Alucard, but if you stay at the lower left corner, you’ll have enough room to not get bitten. You can strike it when it gets close enough or as it pulls back. Do this until it dies and then proceed right.
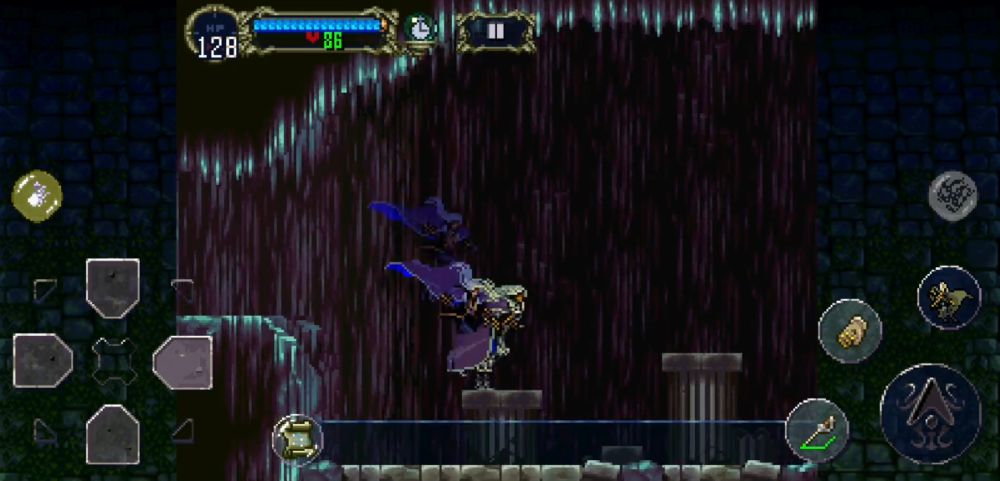
You will have to be swift in this next room. The water will slowly rise and try to kill Alucard, so you will have to hop onto the ledges of the pillars with increasing heights. You’ll also notice some passages and things that need to be picked up along the way. Do not pick these up; you’ll come back for them later.
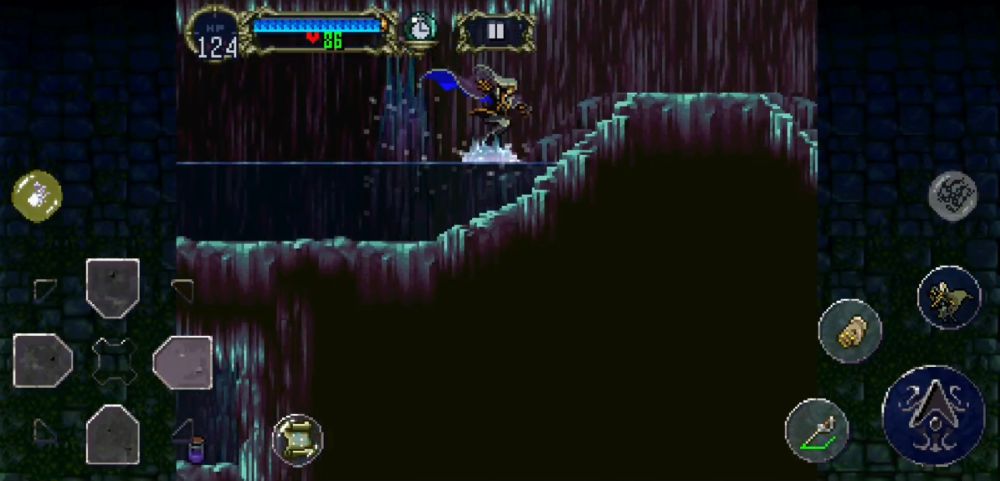
When you see a small incline, this is where you have to jump upward and into the next room.
Making it above the water death trap, you’ll find yourself in a long room with two areas: the left and the right. Go right first and break the urn there to get a Pot Roast. You might need it (especially if you took this route earlier on in the game).
Now, head left and you’ll see what owned the nasty serpent from earlier.
Scylla

She really knows how to turn some heads. Her name is Scylla and she’s pretty mad.
At first, Scylla looks like quite the imposing boss. She has an army of wyrm heads, a trio of wolf heads, and a mastery over aquamancy. Here are her attacks:
- Scylla will call her wyrms forth to bite Alucard. The wyrms can be attacked and killing them all will allow you to get closer to her.
- If you see water being drawn to her person, she is going to fling a bigger, faster-moving bubble at Alucard. Destroying this before it launches is key.
- She can also call up some bubbles that she will conjure into projectiles (that look like skulls) to fling at Alucard. Sometimes, she will pair this with a bladed wisp that she will also shoot at him. The bladed wisp cannot be destroyed, so you’ll have to jump over this one.
- Her wolves can start howling, causing loose rocks from the ceiling to come crashing down in front of her. Staying under the pillar closer to her will keep Alucard from being crushed.
As far as Sub-Weapons are concerned, the Stopwatch can help as it slows her down drastically. You’ll be able to read her movements more effectively this way. Otherwise, bring some Holy Water and continuously drop it on the top of the lower pillar. You’ll rapidly burn the wyrms when their heads reach there. The flames will also shield you from the skull projectiles. Otherwise, the skull projectiles can be destroyed with regular weapon attacks as well like in the GIF above. You may also jump over these, if you prefer it.
Summon/Tetra Spirits will be your best friends in this fight. The spirits will be able to reduce the number of incoming projectiles as well as damage the Scylla and her wyrms repeatedly. Once her wyrms have been destroyed, get in close and start hacking away at her by jumping and striking her body or the wolf heads. Just be careful with the rocks. If you see any of the projectiles come up again, cast Summon Spirit or Tetra Spirit and keep your damage up. She’ll meet her demise shortly after.
Take the Life Max Up and the Crystal Cloak in the next room (this is one of the prettiest cloaks in the game). Return to the bottom of the chasm once again.
Underground Caverns Continuation 2
After emerging from the boss room, jump up the ledges and proceed left instead. Here, you will be able to explore the rest of the caverns.
Proceed down a slope and push the box to clog up the tiny cave where the Spear Guards are poking out of. These Spear Guards cannot be killed off for good and they will respawn when they’re offscreen. By having Alucard run against the box, he will clog it and drown them — the path should be clear after that. Continue on leftward.
You’ll be at some small bodies of water with floating rock platforms that you can hop across. Be careful not to submerge Alucard here since there are strong monsters underwater that could kill him off easily. At the same time, be careful of the Frogs and Toads that you’ll encounter here since they can knock Alucard into the water.

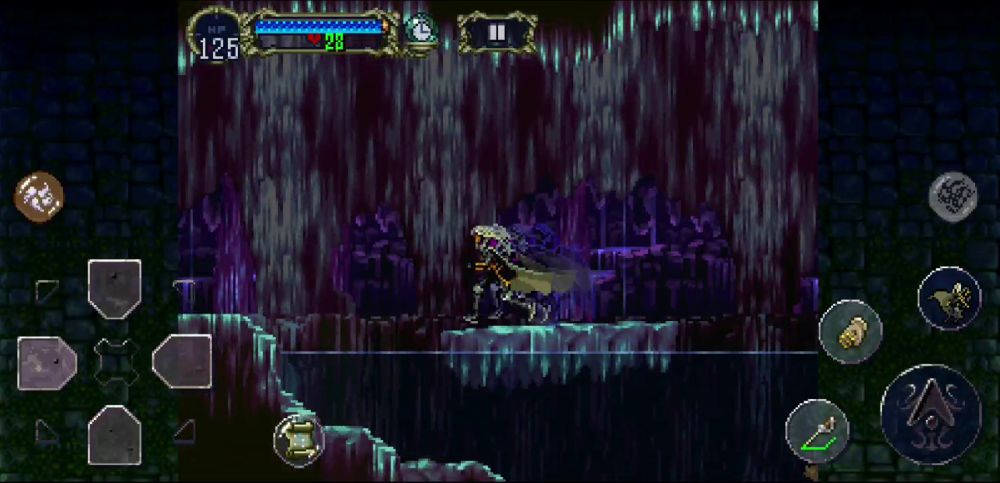
In the next room, you’ll encounter a wooden bridge with a Life Max Up and a Heart Max Up underneath. This part of the Caverns is important, but keep going left whilst fighting off more Frogs and Toads. You should also start hearing the sound of a waterfall getting louder and louder.
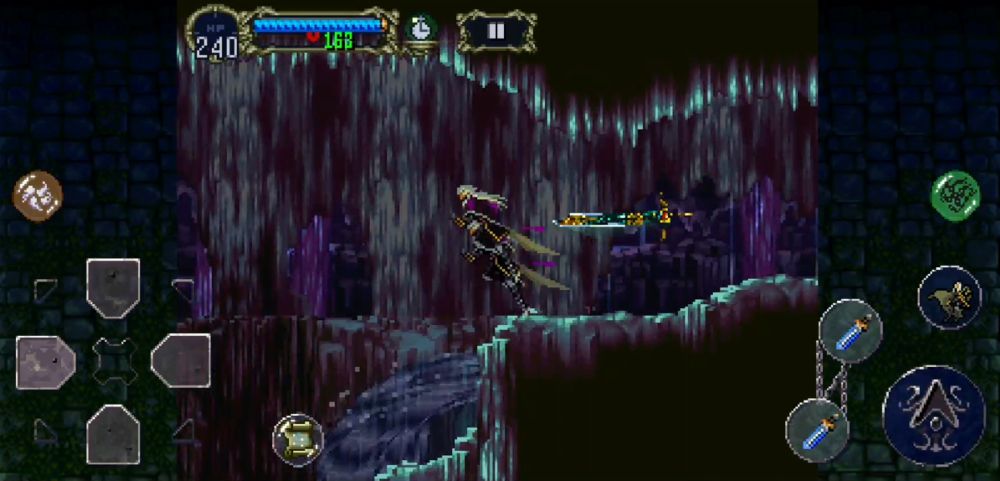
If you keep going left, you’ll eventually encounter said waterfall. Don’t immediately jump off, take to your Bat Form and fly into the room across the waterfall.
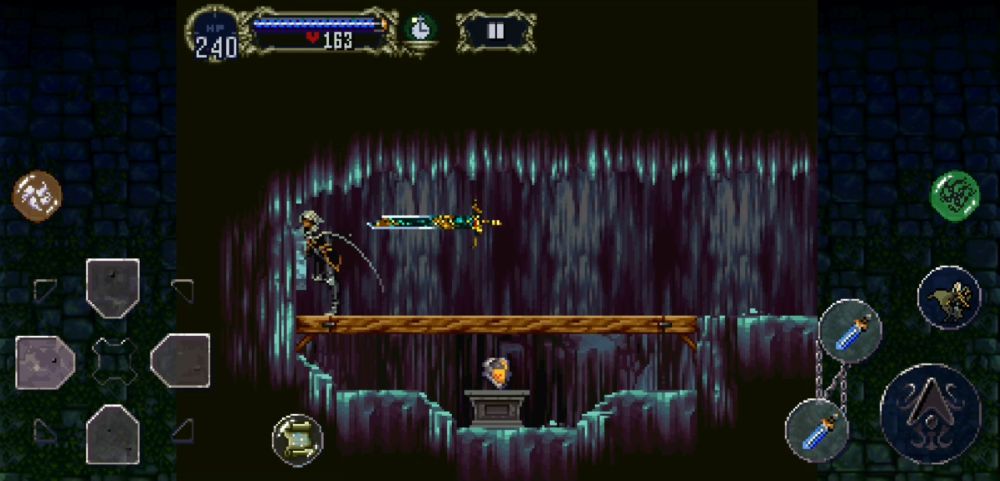
In this odd room, you’ll see yet another wooden bridge with a Herald Shield underneath. Even odder, there is a switch at the very end of the room. Push it and a Skeleton Ape will drop from the ceiling to throw its barrel at you. The barrel should destroy the wooden bridge.
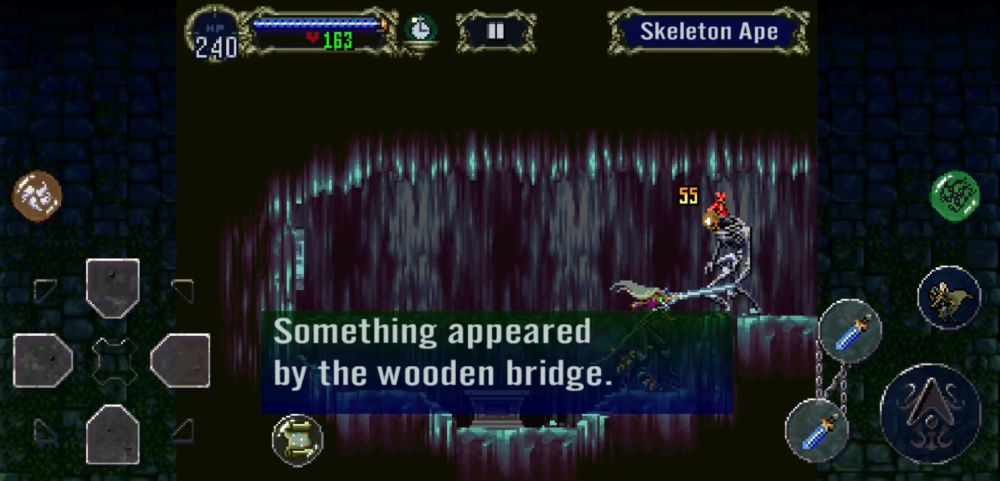
A message telling you that something appeared by the wooden bridge from earlier should appear. Return there.
Once you’ve returned to the wooden bridge, you’ll see that a Skeleton Ape has appeared… but it’s facing the wrong direction! Kill it and its army of Frogs and Toads, then leave the room to the right. After doing this, come back to the room with the wooden bridge and the Skeleton Ape should be facing the bridge this time.
Be very cautious when you move forward; your goal here is to lure the Skeleton Ape to the wooden bridge and have it throw its barrel. Too close and the Skeleton Ape will throw it too soon, and you’ll have to re-enter the same room from the right for it to respawn. Backdashing as it comes into frame will allow it to inch forward, barrel still at the ready. When you feel that it’s close enough, bring Alucard forward and let it throw the barrel. The bridge should be in shambles.
After picking up the Life Max Up and the Heart Max Up, it’s time to head down the small pit. You should find a red door below.
New level, baby! New level!
Abandoned Pit to the Catacomb
Dour, dire, and dreadful, will this sense of hopelessness cease within such an abandoned pit?

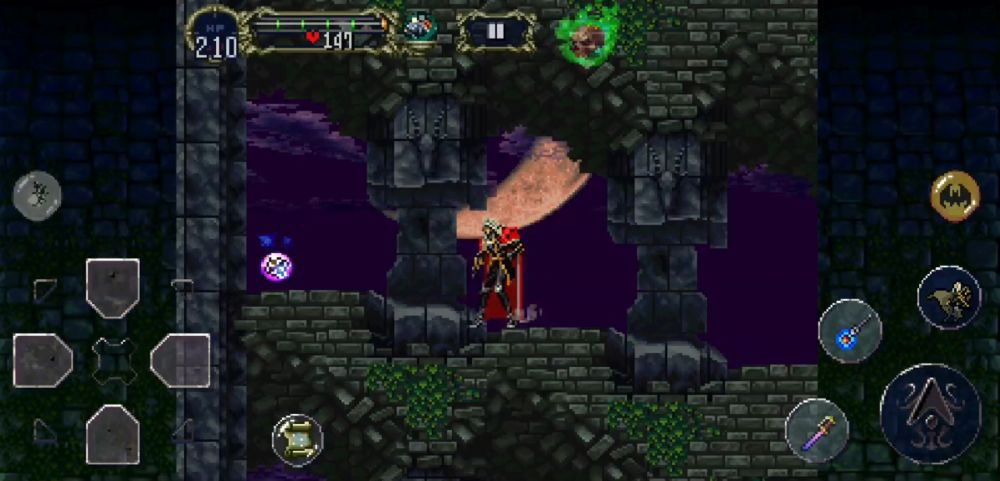
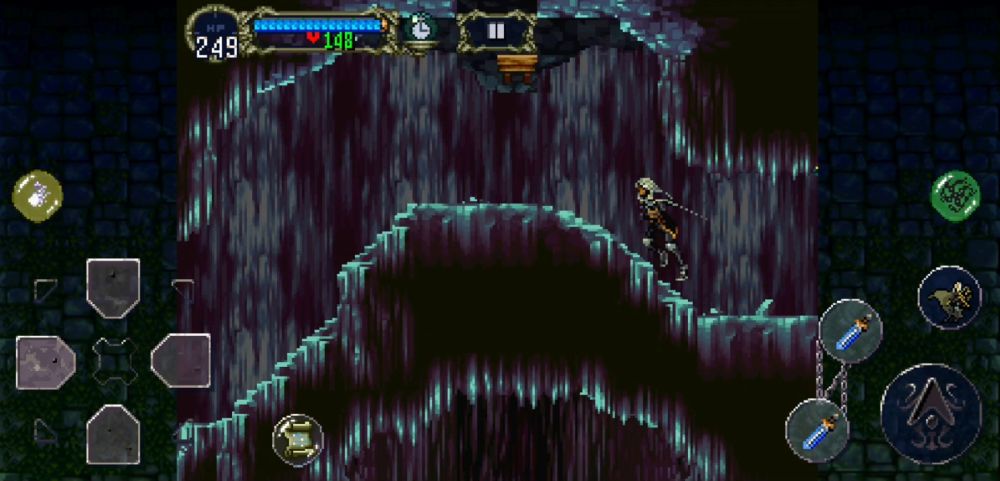
With the lonely, dark music ushering you in, you know you’re brought into a place unlike any other in the castle. Perhaps many have perished here, and you might be the next… but not with this guide you won’t be. Head downward and you should find the giant carved head of a wolf with its mouth agape. If you wish to save before entering the jaws of the beast, so to speak, you can head to the bottom of this entrance and find a door to the right.
Continuing on through the wolf’s jaws, you’ll find tunnels that are only lit by dark-colored torches. If you continue on, however, get ready.
It’s bossin’ time!
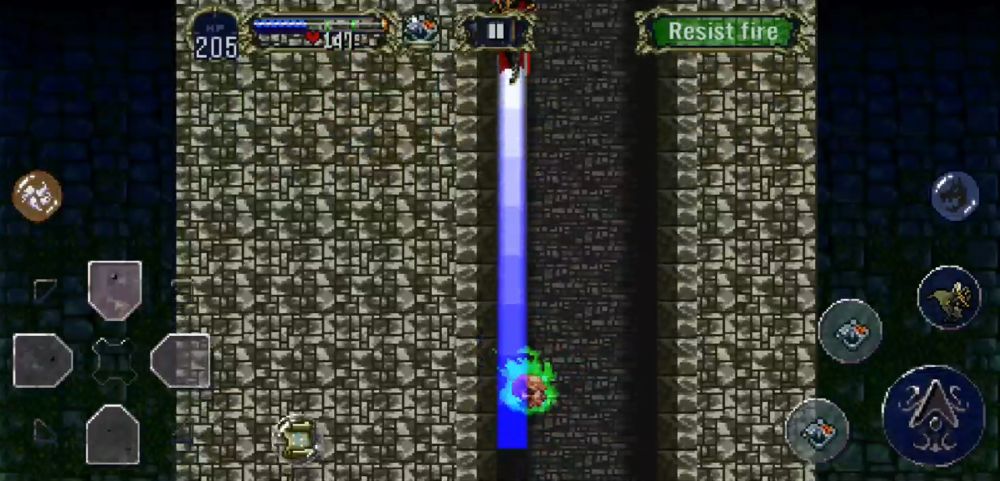
Cerberus
The one, the only, the guardian dog of Hell — it’s Cerberus and it’s got all three of its heads! Oh and it looks quite hungry, so it’s settling for some Dhampir barbecue.
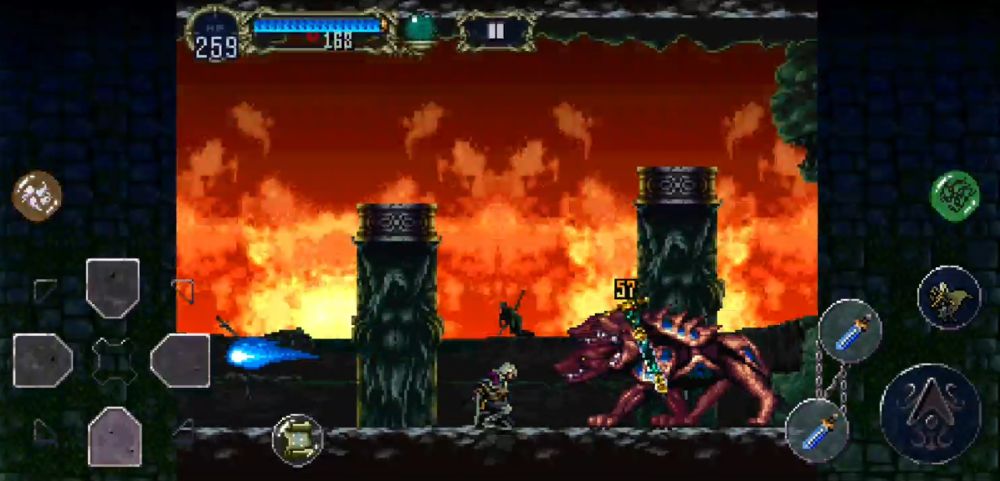
Cerberus is a boss with a very simple attack pattern. It will:
- Shoot one fireball at a time whilst backing away from Alucard. These can be ducked under or jumped over. Just be careful not to be hit by any of them as they punch quite hard.
- After spewing a couple of fireballs, Cerberus will stay in place and shoot several in succession with its heads rotating about like the barrels on a minigun. This is preferably ducked under.
- If you back it enough into a corner, it will leap over Alucard and repeat its fireball-spewing attack. Be careful not to get flattened!

- Jumping on one of the ledges in the room will cause it to open all three of its mouths and fire a steady stream of fireballs angled at Alucard. You can avoid this by jumping down from the ledges.
Killing Cerberus is as simple as its mode of attack. Get in close enough and duck under its fireballs. While you’re ducking, swing your melee weapon as much as you can and you’ll be able to kill it easily. To further improve your DPS output, you may also cast Summon Spirit or Tetra Spirit so it will be damaged while shooting fireballs at you. When it receives enough damage, it will howl its last.
Pick up the Life Max Up and proceed right.
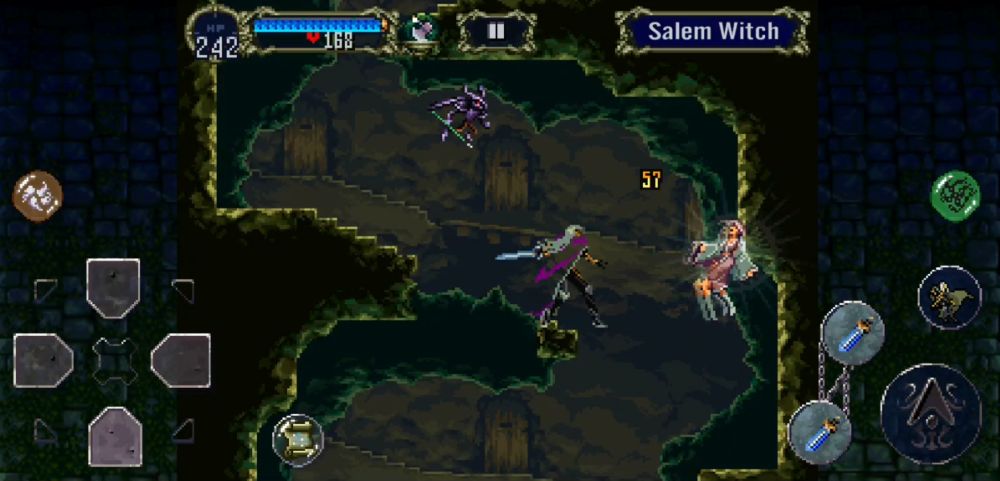
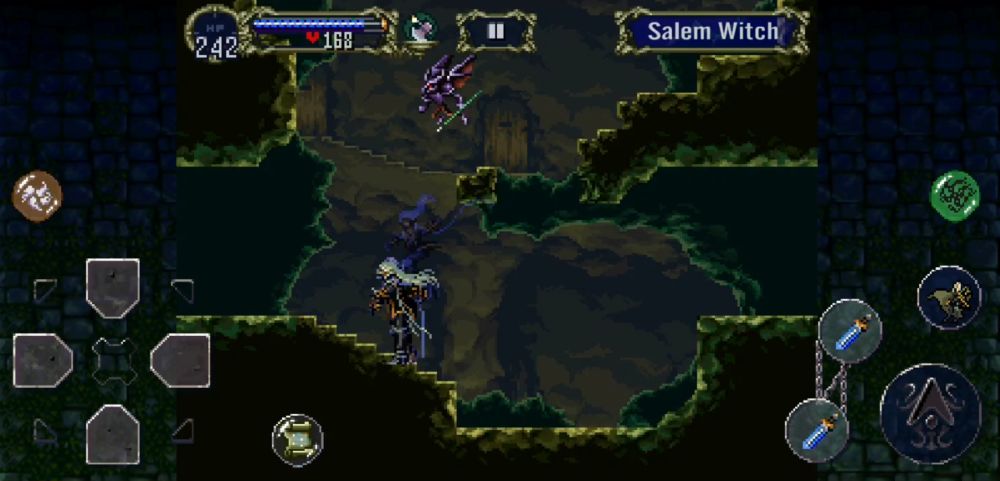
Abandoned Pit Continuation
You’ll now proceed downward through a shaft filled with Salem Witches. Beware their magic as it may cause you lots of damage if you aren’t careful.
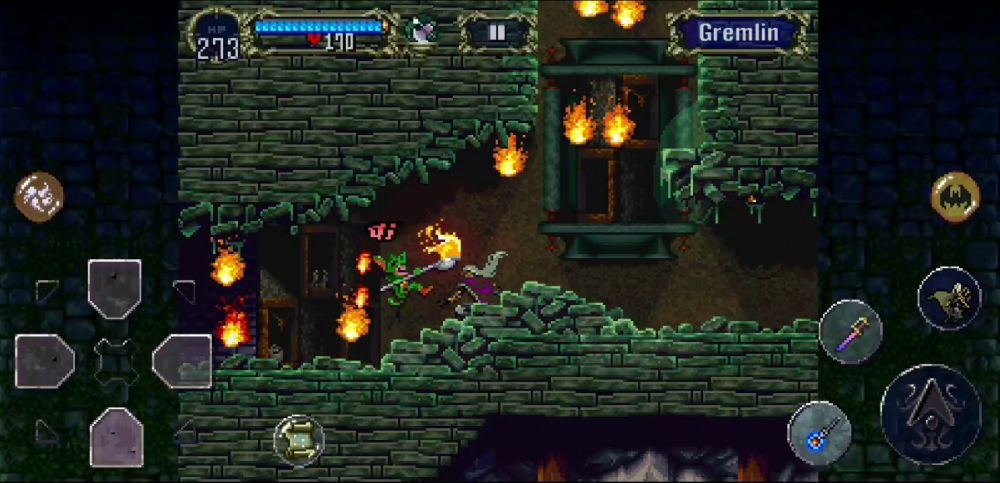
When you reach the bottom of this section, a dark intersection full of Gremlins (their flames can be extinguished by holding your shield up to them or destroying them with your weapon), proceed right to find a Warp Room. The Abandoned Pit’s crest is a Snake. In this intersection, you may continue on deeper by heading down the middle passage where you’re forced downward again.
This shaft is identical to the one above.
Unlike the shaft above, however, this is as deep as it goes… or is it?
Proceed right and enter the red door below. New level ahoy!
Catacombs
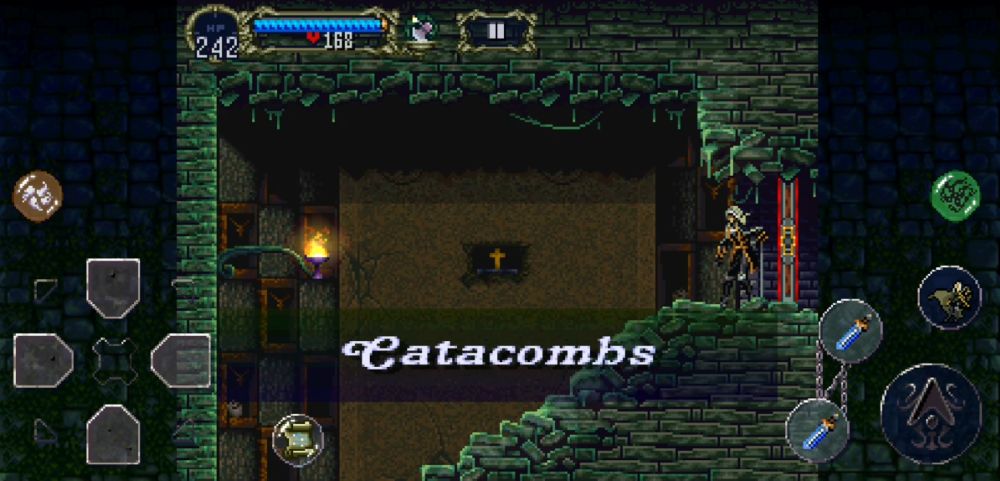
As grandiose in death as they were in life, many nobles have been laid to rest here in this rainbow cemetery.
Continue on downward and head left if you wish to save your game. To the left of the Save Point is a Bloodstone; an item that increases the healing you receive from drinking the blood of your enemies via Dark Metamorphosis or Muramasa. Otherwise, go right if you’d like to progress with your quest.
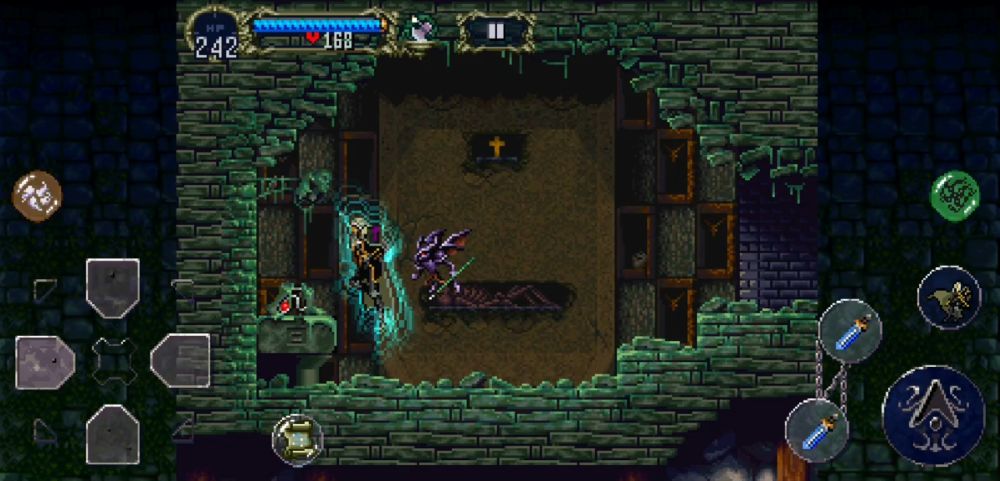
Most of your enemies here are undead, so get that Holy Rod ready because you’ll be bringing it to town… er… to the grave… you get the idea. Keep going right whilst laying souls to rest with holy power.
You should come across another room full of pesky Gremlins. While these little twerps aren’t undead, you might as well kill them off so you don’t get burned. This room will have three exits, including the one you came in from with the other two being on the lower left and right. Let’s go to the lower right first.
This room abounds with slimes and platforms galore. While they’re immune to cutting damage, you should be lucky that your Holy Rod also deals hit damage. Smacking them should solve your problems. Explore the room thoroughly, and you should encounter an exit on the upper right. This is a very important room.
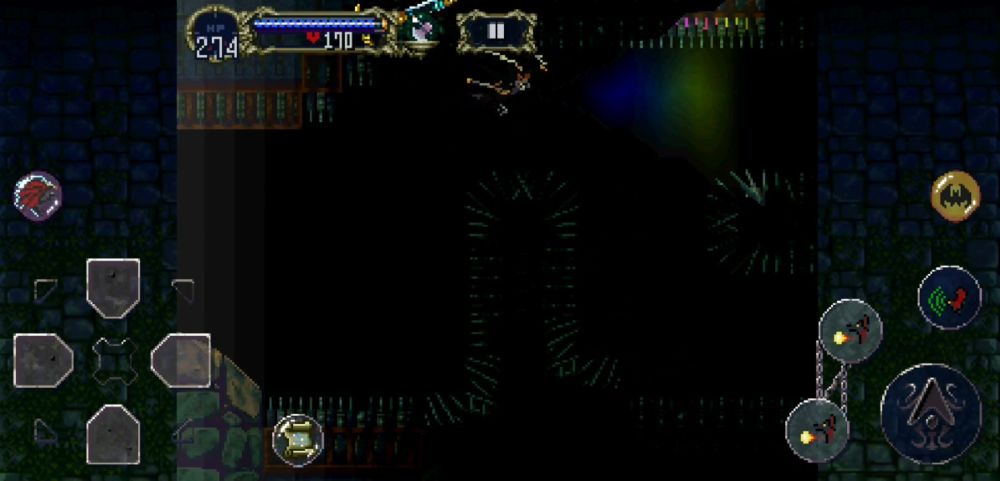
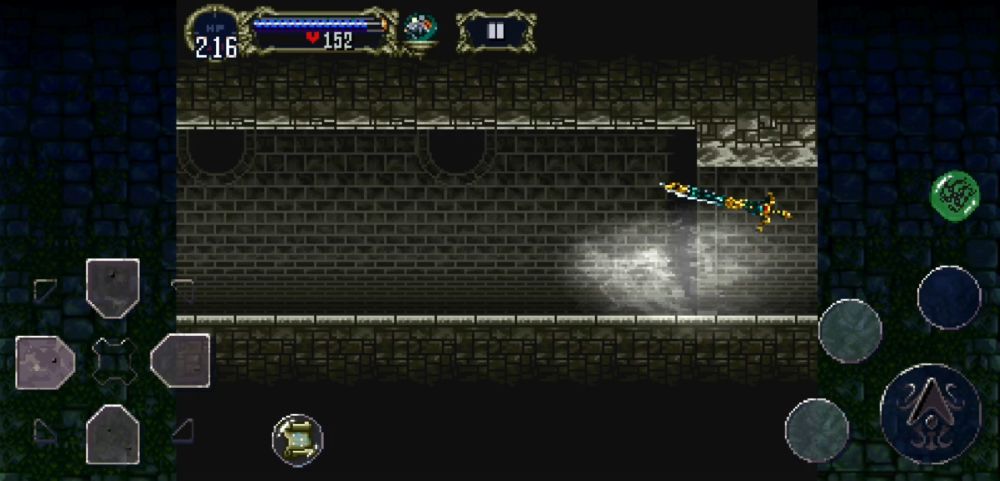
Who turned out the lights?! Good thing you have that Echo of Bat. Assume your Bat Form and press the echo button to bounce some sonar off the walls. You’ll find yourself in a dark room full of deadly spikes. Be careful while you navigate the maze as one small mistake will most certainly put Alucard to death with very little ways to reverse it.
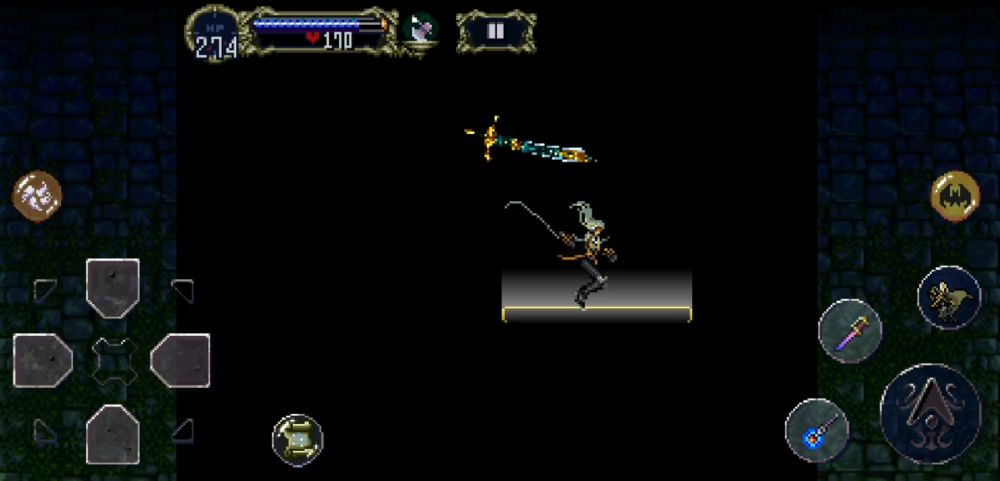
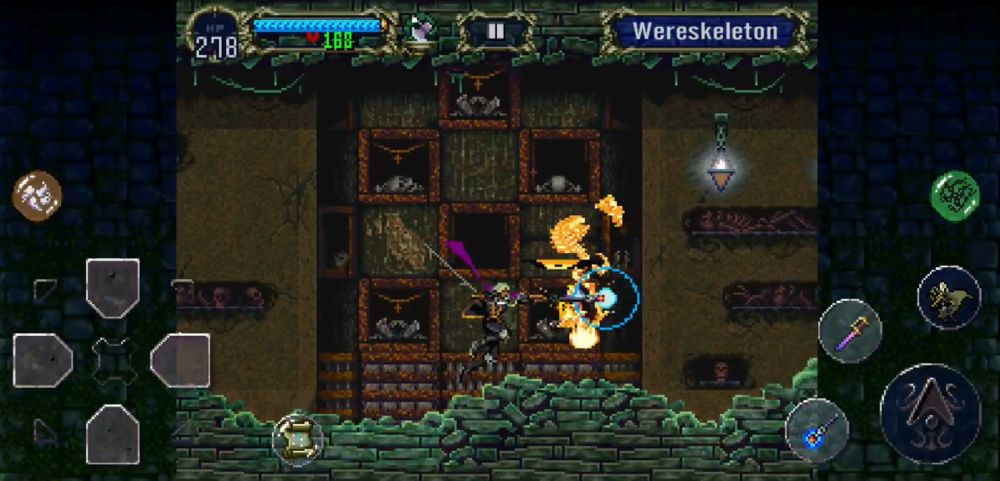
You know you’ve reached the end if you find a platform with a glowing rim. Doing this will light up the whole room. Proceed right after you marvel at what fate you would’ve faced this moment. Dispatching some Wereskeletons along the way, you should find yourself at the edge of a small ledge with two other ledges adorned with urns across from you. Proceed downward after breaking the urns open.
Head all the way left and clobber every single undead in your way. You’ll find yourself in a small room with a curious armor piece at the end: the Spike Breaker armor. While wearing it, you can break any spike in the castle! Now return to the now lit-up spiky room from earlier and give it a try (be sure you’re wearing it first before you do).
Exit the slime room and return to the room with the Gremlins from earlier. This time, we proceed left.
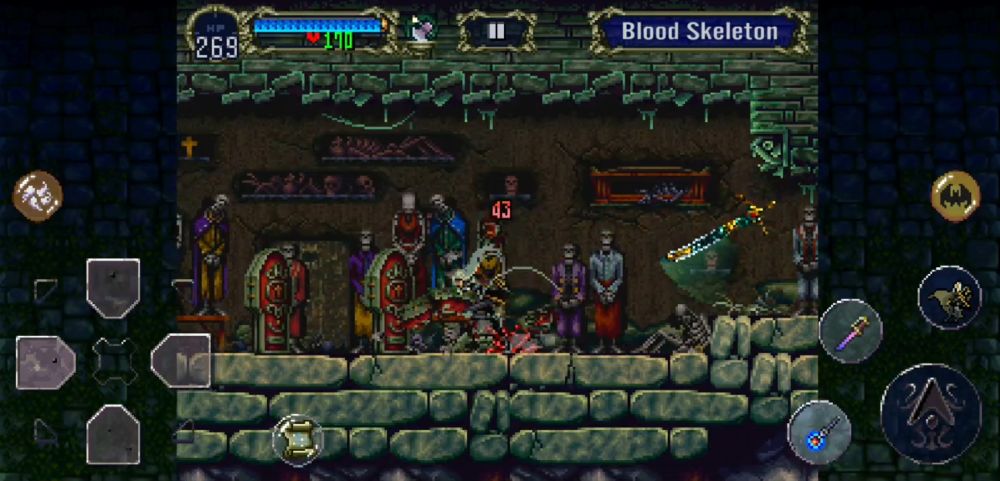
You’ll be fighting through a room full of coffins containing Bloody Skeletons as well as a Hellfire Demon and its Gravekeeper bodyguards in the neighboring room. Press onto the left until everything gets all warm and toasty.
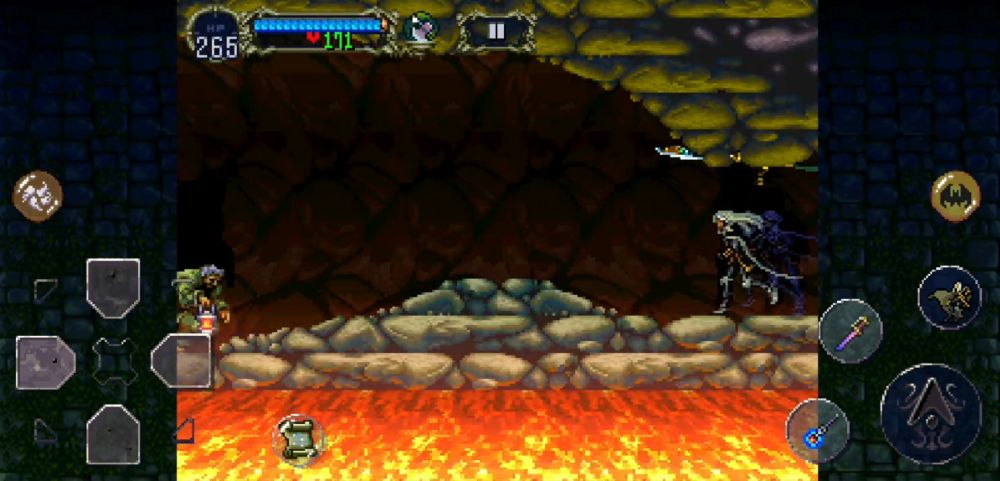
In this next corridor, you’ll be in a long cobblestone corridor full of lava in the background guarded by Lossoths and a Discus Lord in the middle. If the Catacombs have you weary, cast Dark Metamorphosis and feed off of the Lossoths. Just be careful not to get burned by them.
At the end, you’ll be in a medium-sized room with four exits. The upper right contains a Save Point and the Walk Armor on the other side. Head on to the upper left and prepare yourself…
Because it’s a boss, and one of the more disturbing ones!
Granfaloon
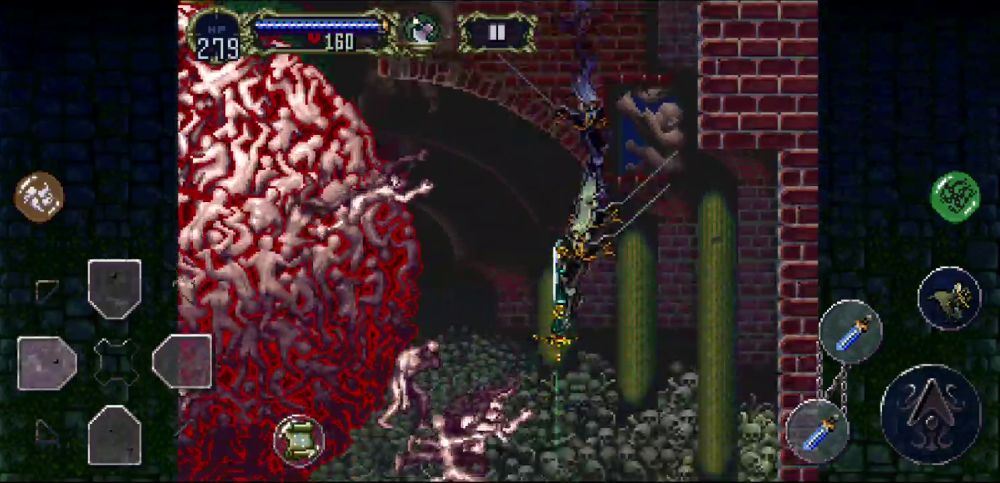
There is no image more nightmarish than a mass of faceless, naked corpses being the protective shell of a tentacled demon within. This is the Granfaloon.
The Granfaloon is easily one of the most unnerving bosses in the game (other than another boss that we will soon tackle here in the walkthrough). Although its attacks can be quite simplistic in pattern, it’s still very dangerous and will overwhelm the unprepared.
The Granfaloon’s attacks are as follows:
- It sheds corpses from its shell which is divided into 6 parts: three on top, three at the bottom. The falling corpses hurt Alucard on impact and will rise from the ground to shamble towards our hero if they miss. The zombies can be slain by striking them.
- If you happen to hear collective screaming, the amount of corpses falling will drastically increase. Fighting all the zombies head on is suicide, so de-spawn them by performing a Super Jump on the side of the boss arena.
- After striking enough of the shell, you will see one of its tentacles pop out. Be careful as the exposed tentacle will sometimes open up its tip and fire a powerful energy beam at Alucard. This can be dodged by having Alucard turn to Mist.
- (Not Pictured) When all of its corpse shells have fallen off, it can fire a barrage of homing lasers at Alucard that can only be dodged by turning to Mist. This is something you should prevent as dragging the fight along will only make this more difficult.
The tactics here are easier said than done. It’ll take some dodging the beams and falling bodies to pull off, but your priority is to remove some parts of the Granfaloon’s shells until its grotesque, pulsating center is exposed. This is its weakspot.
Continuously provide damage onto the Granfaloon’s center with your weapons, the Axe Sub-Weapon or Tetra Spirit. If you sustain some damage while fighting, cast Soul Steal to absorb the souls of the zombies as well as parts of the Granfaloon’s shells. Just keep an eye on your MP and don’t consume all of it; you’ll need it for your Mist Form and the Super Jump.
Using a long weapon like the Claymore will help you strike it at a distance. Conversely, using the Holy Rod will help you deal lots of damage to it per strike because it’s an undead creature, though this is shorter than the Claymore and could be riskier. Regardless, smite its center until it dies.
We hope you came out on top. Refill your HP with the Life Max Up and head left.
After passing a small corridor, you’ll be greeted by a room full of Thornweeds. Follow the upward nature of this room and take the Mormegil at the small nook at the top right. This sword will be important in the very next boss battle.
Leave the Catacombs completely — find your way back to the Abandoned Pit’s Warp Room and warp to the Entrance (Horse).
Entrance Revisit 2
From the Entrance’s Warp Room, make your way to the Alchemy Laboratory.
In the tall room before Slogra and Gaibon’s chamber filled with Spittle Bones, proceed to the Royal Chapel and go through its usual obstacle courses.
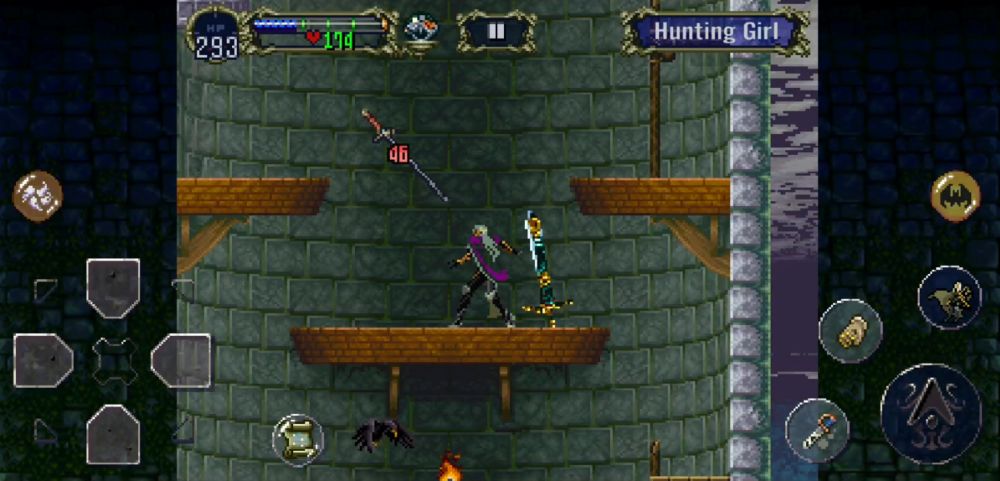
Arrive at the bell towers and proceed to the room left of the Hunting Girl. You’ll be greeted by the spike corridor once again. Luckily for you, you’ll be able to traverse it safely with your trusty Spike Breaker armor. Wear it and smash through the spikes.
There is a mist grate in the middle of the corridor and a blue door at the very end. Open the door and proceed.
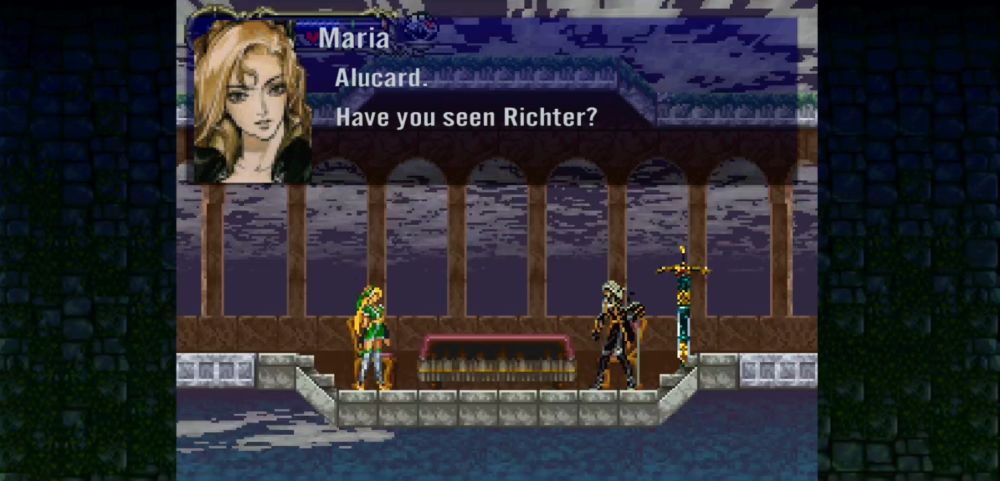
Maria will ask Alucard if he has seen Richter. Oh, he’s seen him, alright. After hearing what happened to Richter, Maria runs off in a hurry to find him.
After the conversation, proceed to the left of this room and claim the Silver Ring on the floor. If you go to your equipment section in the Pause Menu and look at the inscriptions of both the Gold Ring (from the Succubus) and the Silver Ring, you’ll notice that they say “Wear… Clock…” and “in… Room…” respectively.
You know what this means. Head to the Marble Gallery’s Clock Room where you first met Maria
Marble Gallery Revisit 3
After crossing the Alchemy Lab, make your way through the Marble Gallery and to its Clock Room.
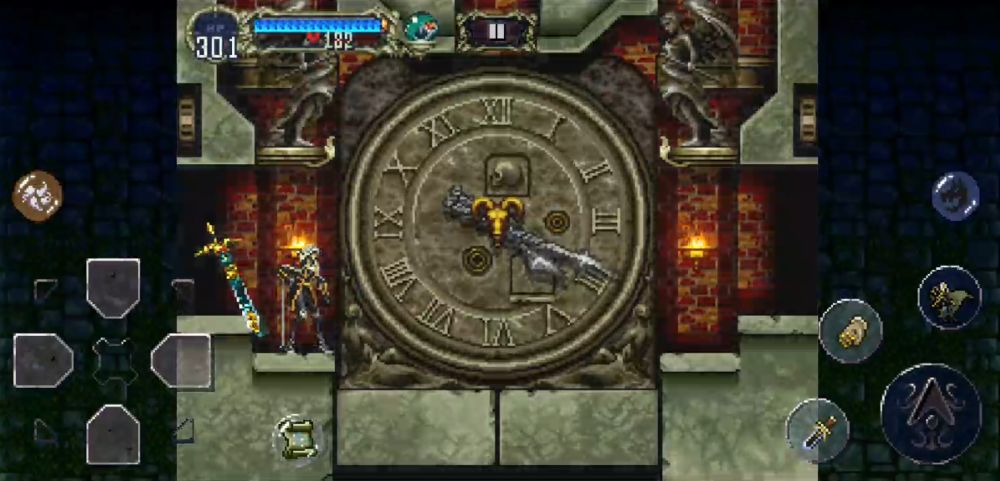
Stand in the middle of the room and equip both the Gold Ring and Silver Ring. Both angel statues should shut, the arms of the clock should point at the 6 o’clock position, and its face should have two skulls instead of one. The bell will toll 13 times and the ground will open up.
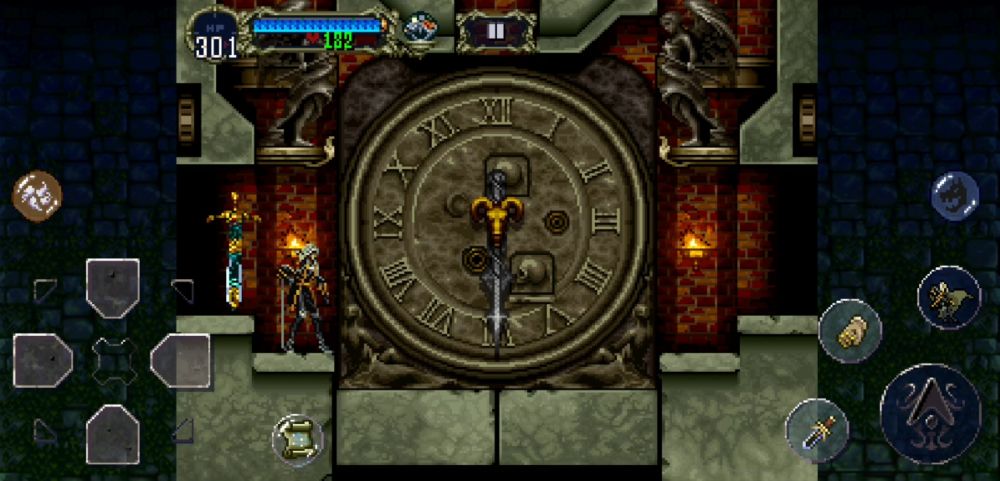
Below, you will see an elevator and two exits. Take the left for a Save Point. The other room has some stuff you can pick up. If you’re ready to proceed, enter the elevator and press down to activate it.
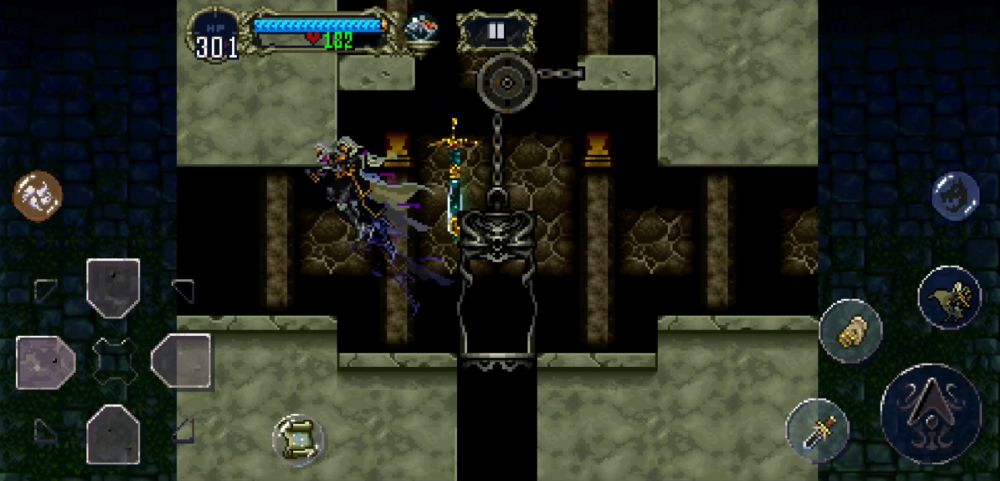
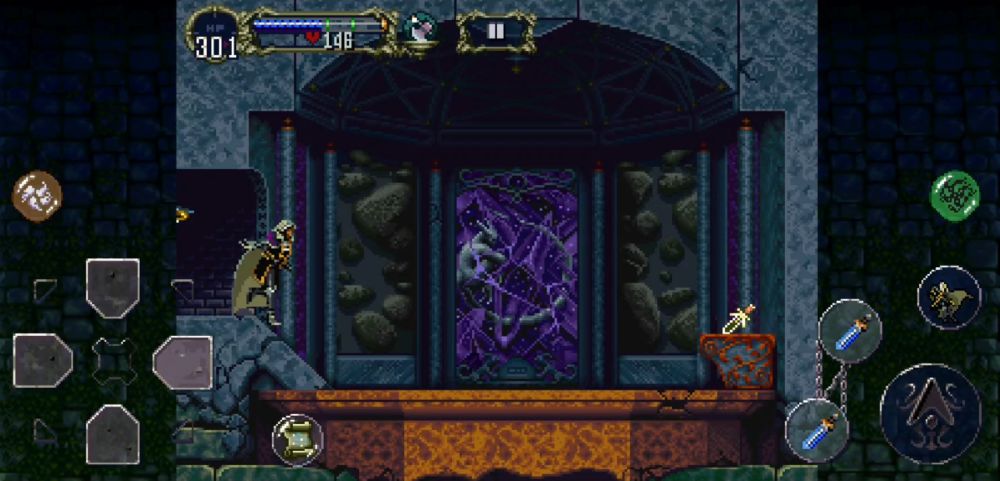
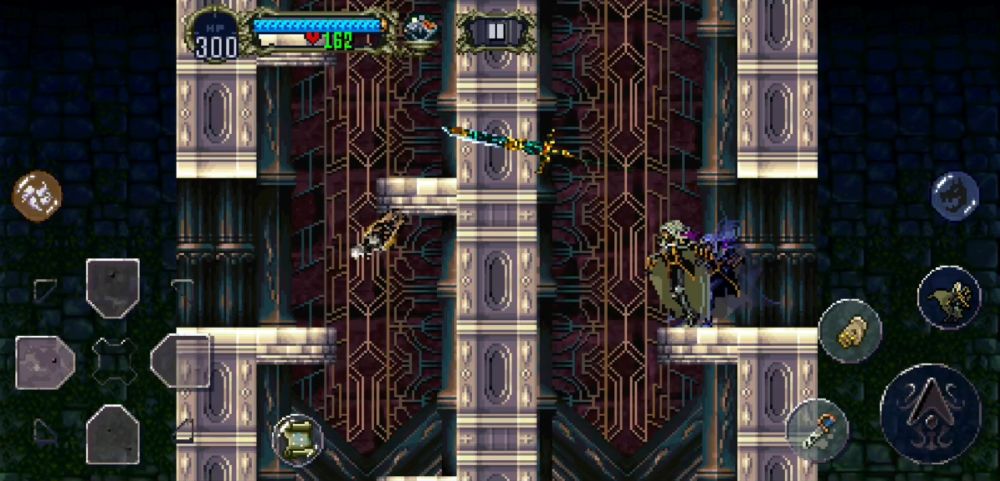
Proceed down the pit and you’ll land on a massive, eldritch structure in this door to the abyss. Go left or right, and find your way to the center bottom and you’ll ride up an elevator.
Get ready for a fight!
TRIVIA: When a clock’s bell rings thirteen times, it could mean that a person’s life will be taken or will be spared according to old legend.
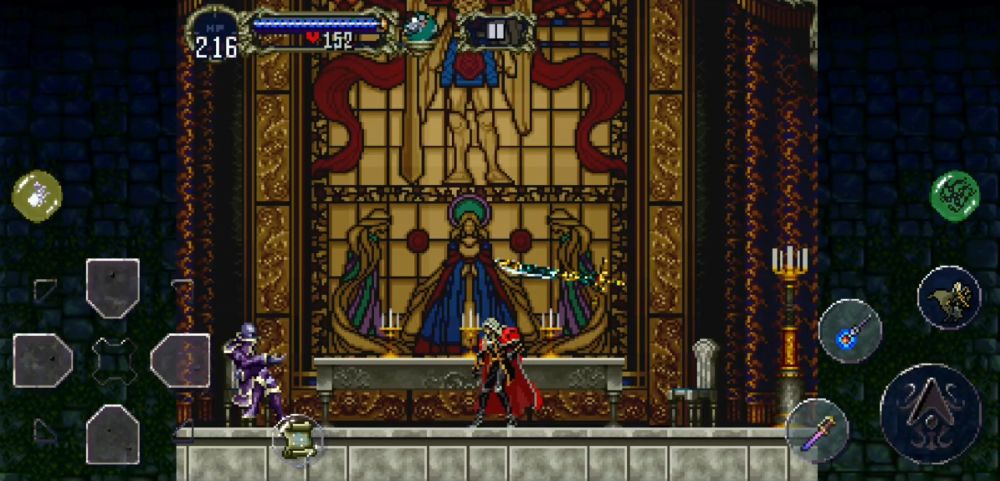
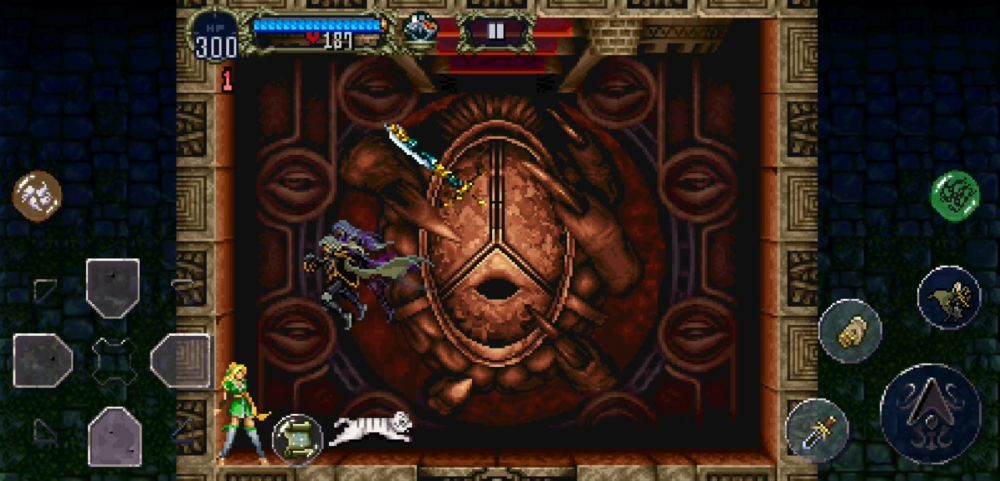
Maria Renard
Maria decides to test Alucard and see if he is a worthy opponent to Richter. She requests him to show her how strong he has become and there’s no other way around it. Either you help her, or she does it completely in her own hesitation. Let’s live up to her expectations.
Before the fight starts, let’s first make sure that you have these things equipped:
- Main Weapon — Mormegil
- Body — Holy Mail
- Accessories — Anything but the Gold/Silver Rings
The first two bullets are important: Maria primarily deals holy damage, and is weak against dark damage. Equipping both is essential to winning this fight. As for the accessories, make sure that the Gold and Silver Rings are unequipped as they do nothing.
With these, and as soon as the fight starts, you’ll easily notice that her attacks bear no telegraph, all of them being difficult to dodge. Imagine what would’ve happened if you didn’t have the Holy Mail on!
Just for fun, you may even fight her the same way Dracula fought Richter by casting Hellfire on her repeatedly. Of course, this isn’t as efficient, but it’s just really fun to do.
Strike her a few times with the Mormegil and she will yield. Upon her defeat, she will give you the Holy Glasses, an essential item for your next fight.
Leave the Marble Gallery and make your way to the Outer Wall.
Outer Wall Revisit 2
Upon reaching the Outer Wall, take the Warp Room (Scorpion) to the Castle Keep (Lion).
When you reach the Castle Keep, proceed to the upper left of this elevator room and Super Jump or fly up the tiny entrance above.
In the room full of lion lamps, you may choose to save first before proceeding up the ruined staircase to Dracula’s throne room. Please pay attention to this next equipment set because you will get an ending that isn’t that great if you do. Mainly, you should have:
- Main Weapon — Holy Rod or Holy Sword (if you have this)
- Body — Holy Mail
- Headgear — Holy Glasses
Additionally, make sure that none of your Familiars are active currently as they might accidentally end the fight. However, if you do wish to explore that other ending, disregard what’s said here.
It’s time to meet your destiny, Alucard. Fly across the gap between the ruined staircase, and prepare for the big fight.
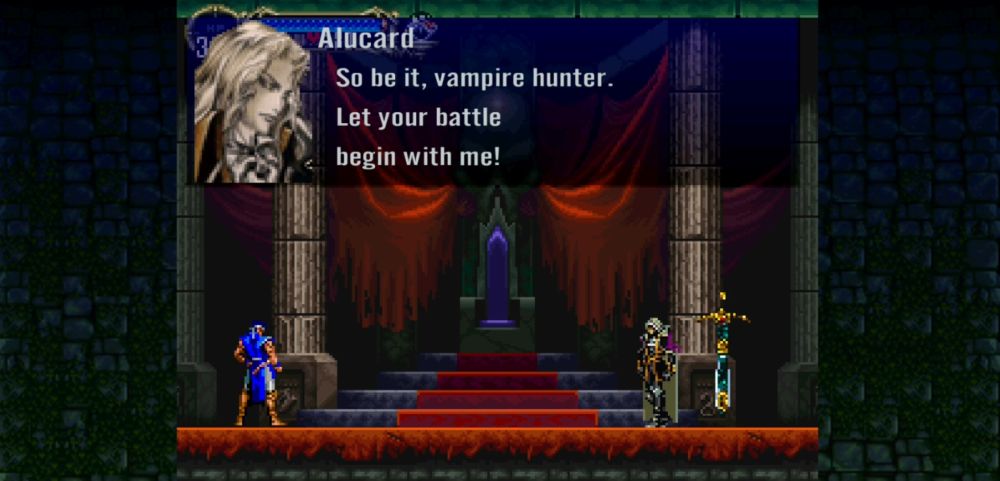
Richter Belmont
Richter tells Alucard of his intentions — his fears and insecurities have been realized that once Dracula has been defeated, he will have to pass on his torch to the next Belmont. It’s time to snap him out of his insanity.
Thanks to your Holy Mail, you will largely be protected throughout the fight. But more importantly, you will find out that there is this green, floating orb that’s above Richter at all times.
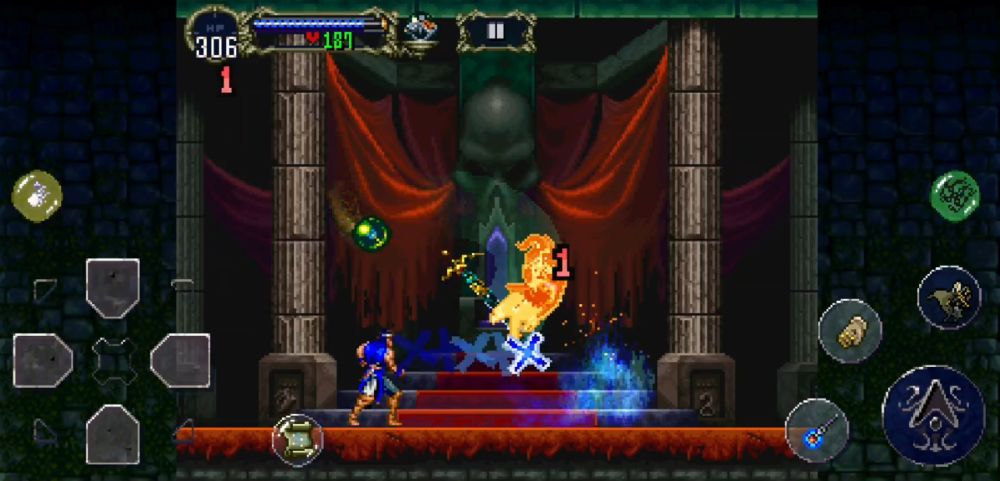
Smash this orb using your holy weapons (these weapons won’t damage Richter at all), and another cutscene should ensue. Richter was being controlled all along!
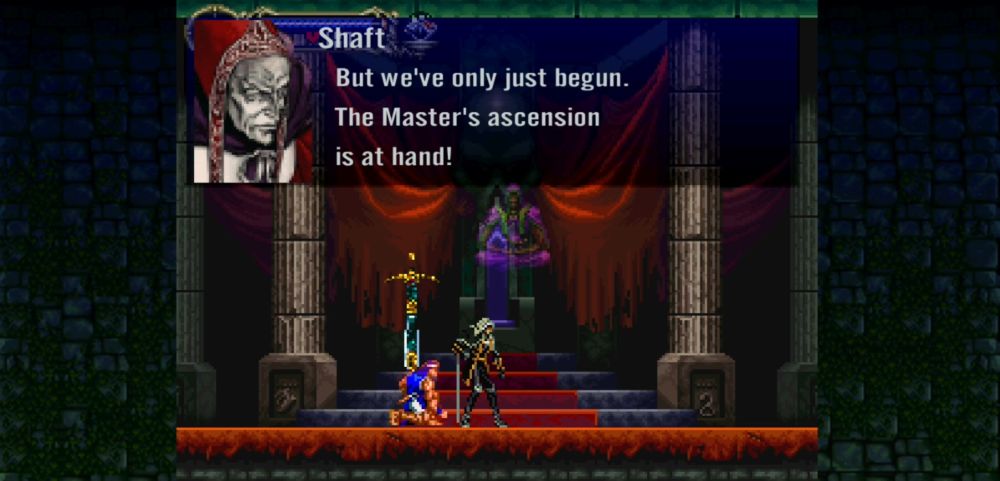
The Dark Priest named Shaft intends to constantly resurrect Dracula to cleanse the world of humans and at this point, with Richter weakened, it appears that only Alucard can stop him.
We’re sorry, Alucard, but your true ending is in… ANOTHER CASTLE! (insert your favorite dramatic sting here)
Summary of Part 2
And the plot thickens yet again! It appears that there is yet another castle that hovers above Castlevania, half of its whole entity perfectly mirrored. Do you dare explore it? Yes, yes you do! Be warned though, at this next point in the game, powerful enemies will be ever present and the bosses here will be even more challenging than what you’ve faced thus far. On the bright side, you’ll encounter rare and powerful equipment along the way, so get your exploration game on!
By the end of this walkthrough, you would’ve:
- Obtained the Holy Rod from the Long Library
- Vanquished the Lesser Demon in the Long Library
- Obtained the Soul of Bat from the Long Library
- Obtained the Holy Mail from the Entrance
- Obtained the Power of Wolf from the Entrance
- Obtained the Fire of Bat from the Clock Tower
- Vanquished the Karasuman in the Clock Tower
- Obtained the Power of Mist from the Castle Keep
- Vanquished Olrox in his Quarters
- Obtained the Echo of Bat from Olrox’s Quarters
- Vanquished the Succubus and obtained the Gold Ring from the Underground Caverns
- Vanquished Scylla in the Underground Caverns
- Destroyed the wooden bridge using the Skeleton Ape’s exploding barrel
- Vanquished Cerberus in the Abandoned Pit to the Catacomb
- Used the Echo of Bat to obtain the Spike Breaker armor from the Catacombs
- Vanquished the Granfaloon and obtained the Mormegil from the Catacombs
- Spoken to Maria through the spiked corridor in the Royal Chapel and obtained the Silver Ring in the same room
- Defeated Maria in the Marble Gallery and received the Holy Glasses from her
- Defeated Richter in the Castle Keep without killing him
This concludes the second part of our Castlevania: Symphony of the Night walkthrough! Please click the link below this article to proceed to the next part. Do you know the location of an item that we didn’t point out? Is there a more efficient way of finding one’s way through the castle that only you know how? How about the Familiar cards that we’ve deliberately skipped through to leave you to find for yourself? Leave your thoughts and tips in the comment section below!
John
Wednesday 31st of December 2025
Do you not fight Maria in the original PS1 version of the game? When I met her underneath the clock room, all she did was give me the holy glasses...