This is the 3rd and final part of our Castlevania: Symphony of the Night walkthrough.
Part 2 was a doozy, but now things are going to be topsy-turvy. Here’s what you would’ve done since the previous part:
- Obtained the Holy Rod from the Long Library
- Vanquished the Lesser Demon in the Long Library
- Obtained the Soul of Bat from the Long Library
- Obtained the Holy Mail from the Entrance
- Obtained the Power of Wolf from the Entrance
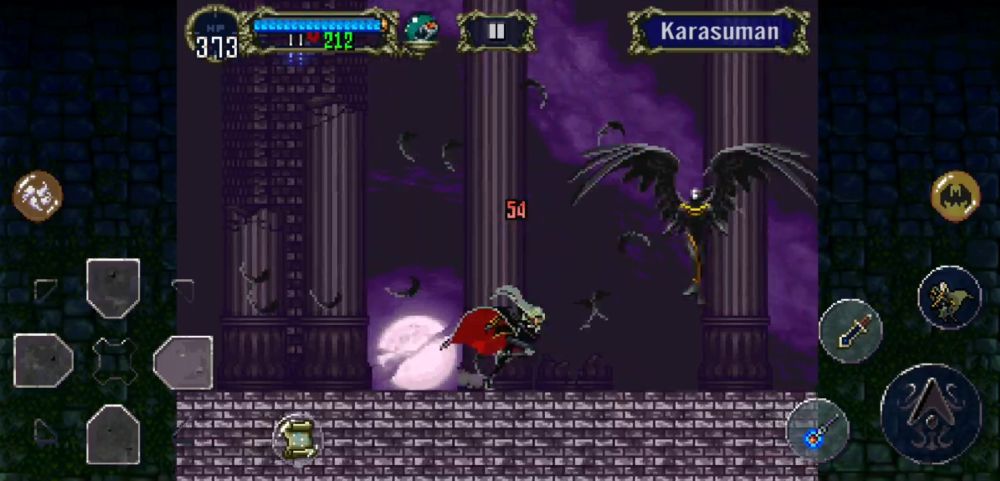
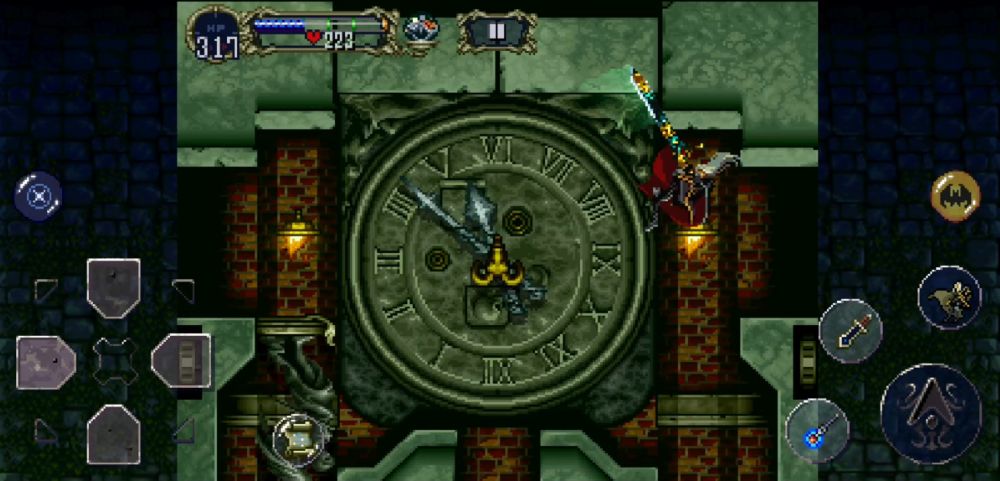
- Obtained the Fire of Bat from the Clock Tower
- Vanquished the Karasuman in the Clock Tower
- Obtained the Power of Mist from the Castle Keep
- Vanquished Olrox in his Quarters
- Obtained the Echo of Bat from Olrox’s Quarters
- Vanquished the Succubus and obtained the Gold Ring from the Underground Caverns
- Vanquished Scylla in the Underground Caverns
- Destroyed the wooden bridge using the Skeleton Ape’s exploding barrel
- Vanquished Cerberus in the Abandoned Pit to the Catacomb
- Used the Echo of Bat to obtain the Spike Breaker armor from the Catacombs
- Vanquished the Granfaloon and obtained the Mormegil from the Catacombs
- Spoken to Maria through the spiked corridor in the Royal Chapel and obtained the Silver Ring in the same room
- Defeated Maria in the Marble Gallery and received the Holy Glasses from her
- Defeated Richter in the Castle Keep without killing him
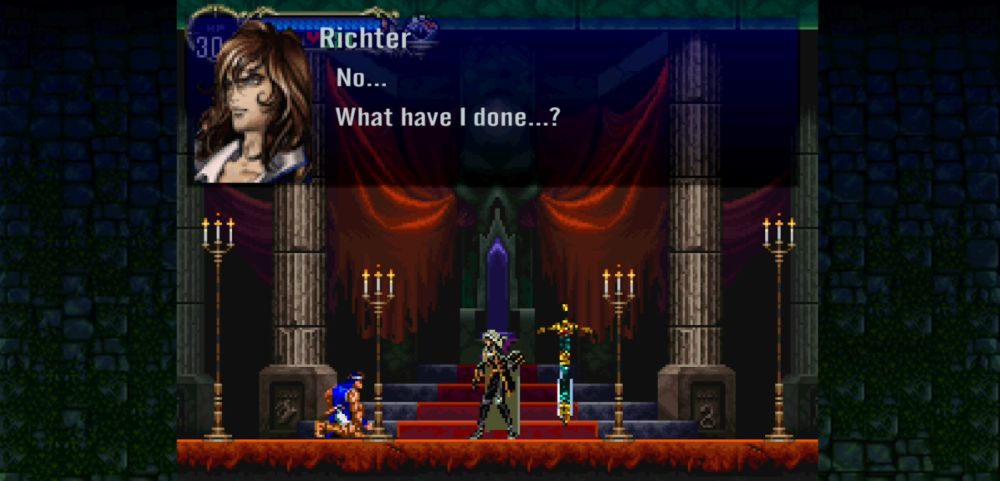
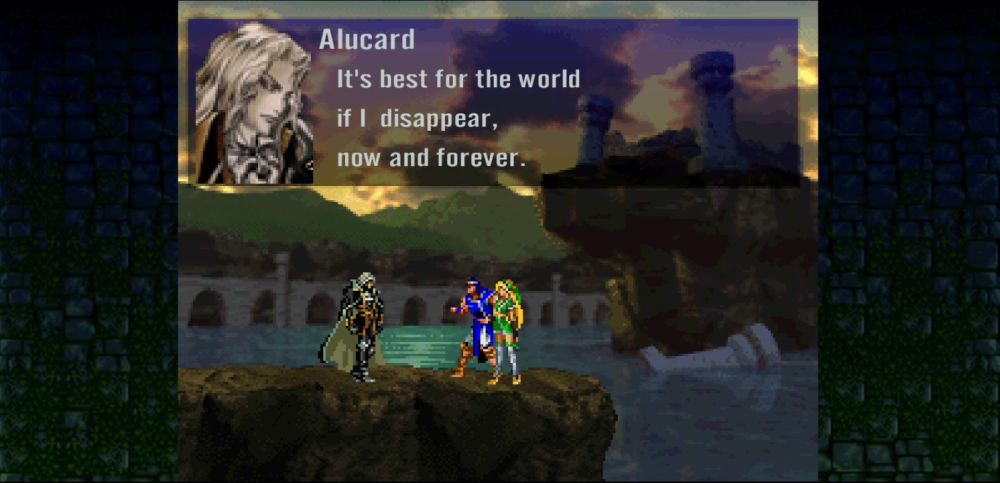
We’ve stopped thus far where Richter has realized the horror of his actions. Maria arrives to thank Alucard for rescuing her friend and at the same time helps Richter escape at Alucard’s request. This time, it’s personal. Alucard knows how dark the path is before him. He will find his peace, but that peace will come after the grueling task of conquering the Reverse Castle. But will peace truly ever come to Alucard?
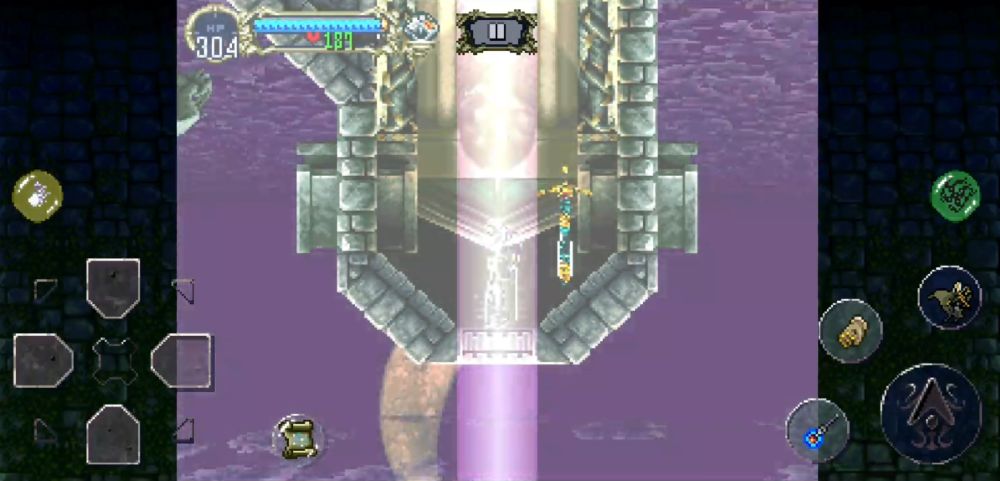
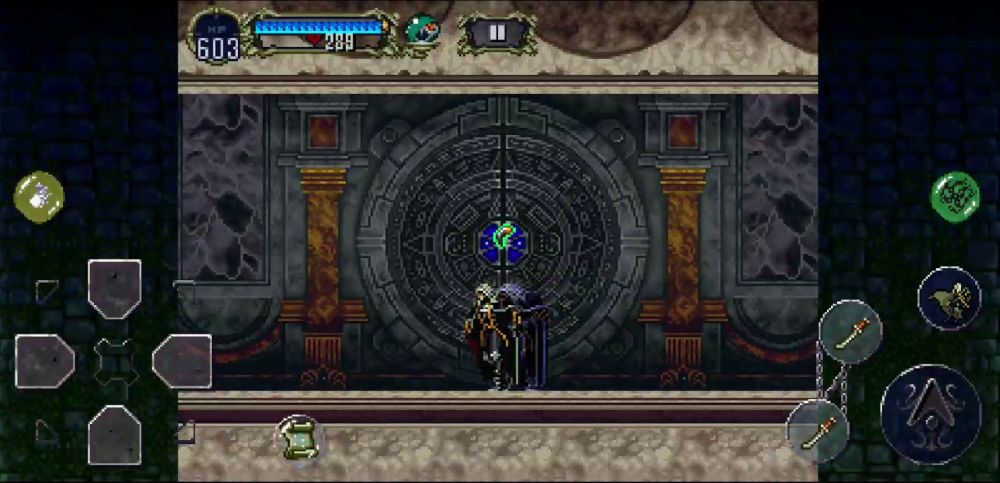
He steps onto a small room that links the two castles together and warps himself through. What was once up is now down and what was once right is now left. True evil resides in this creature of chaos and it’s time to get to the bottom of all this.
Onto the walkthrough!
NOTE: While we are aware that the Reverse Castle is completely upside down and that it may seem like Alucard is going “down” the castle, all the directions in this walkthrough should be treated as is. When we say “go up” or “drop down”, these are to be followed plainly. The term “floor” will be whatever Alucard firmly has his feet on and the “ceiling” will be what’s directly above him.
- Reverse Keep
- Anti-Chapel
- Medusa
- Anti-Chapel Continuation
- Death Wing’s Lair
- Akmodan II
- Death Wing’s Lair Continuation
- Black Marble Gallery
- Necromancy Laboratory
- Beelzebub
- Black Marble Gallery Revisit 1
- Reverse Outer Wall
- The Creature
- Reverse Outer Wall Continued
- Reverse Clock Tower
- Darkwing Bat
- Reverse Caverns
- Cave
- Death
- Shaft
- Dracula
- Extra Challenges
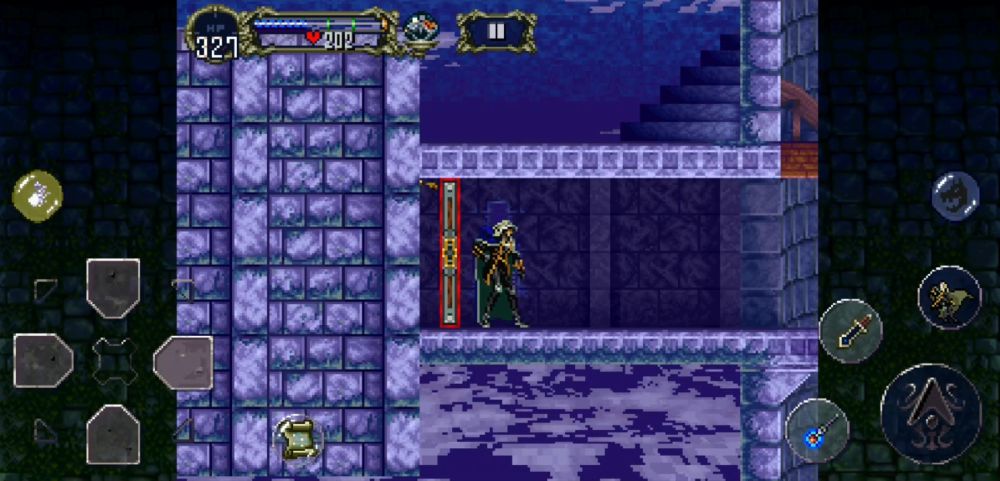
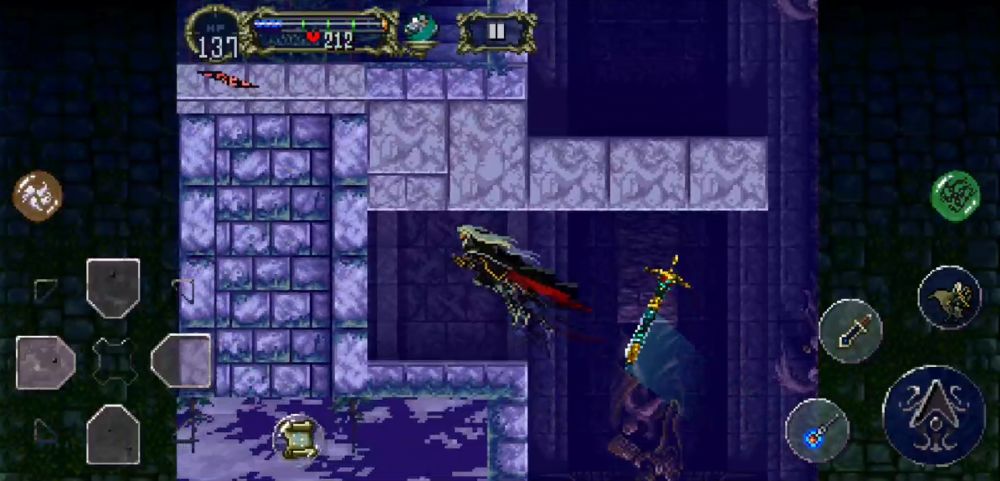
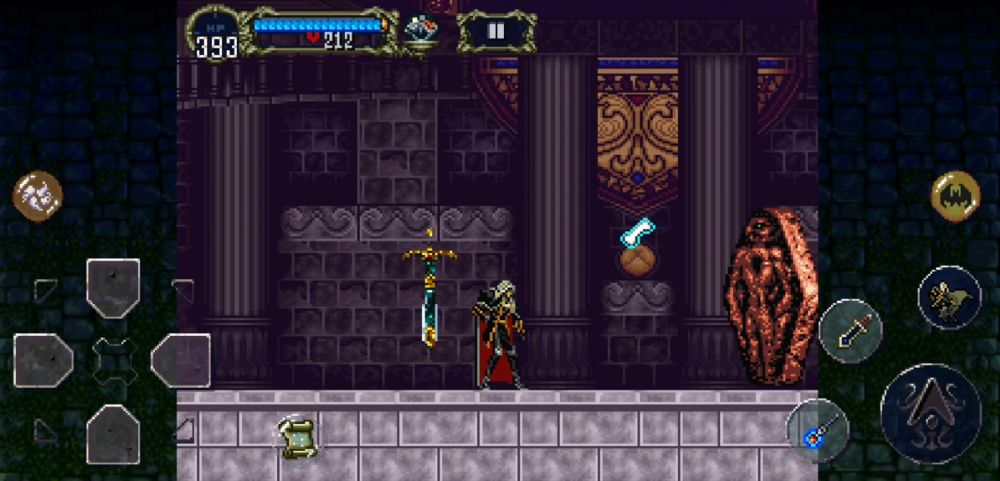
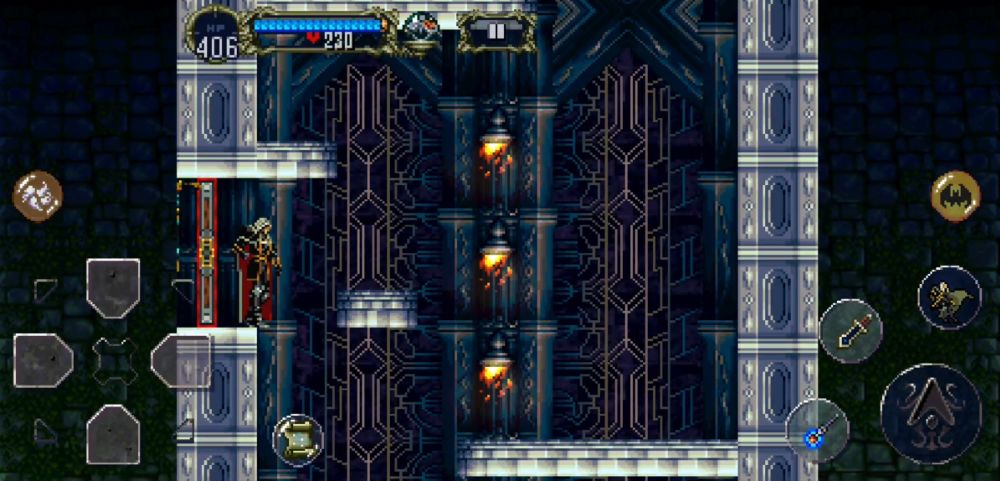
Reverse Keep
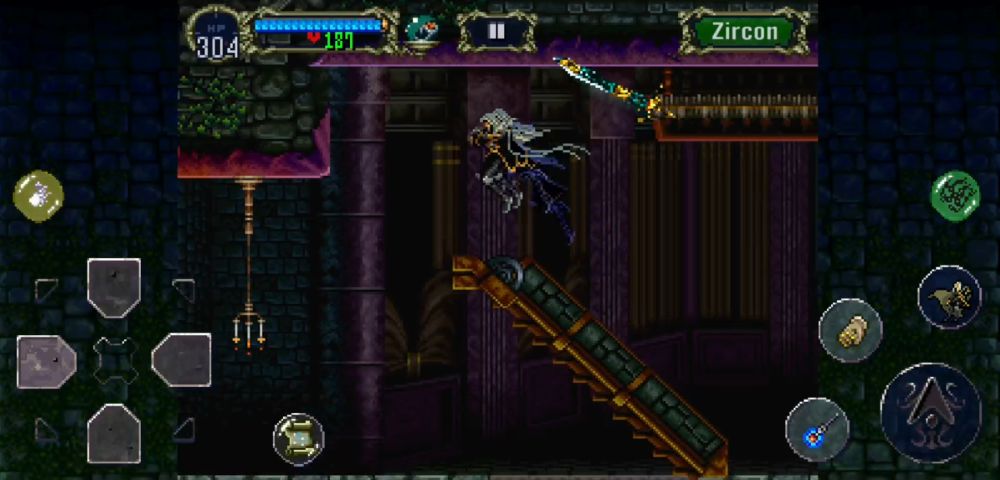
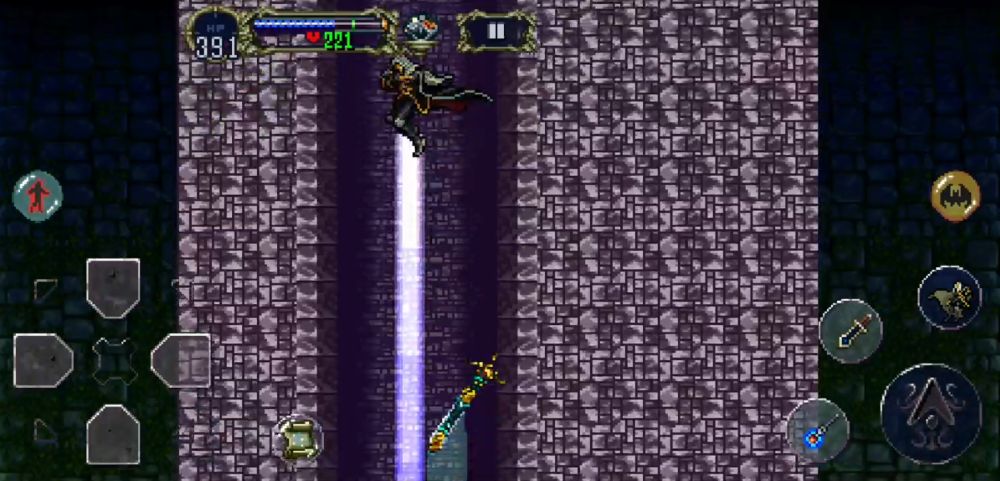
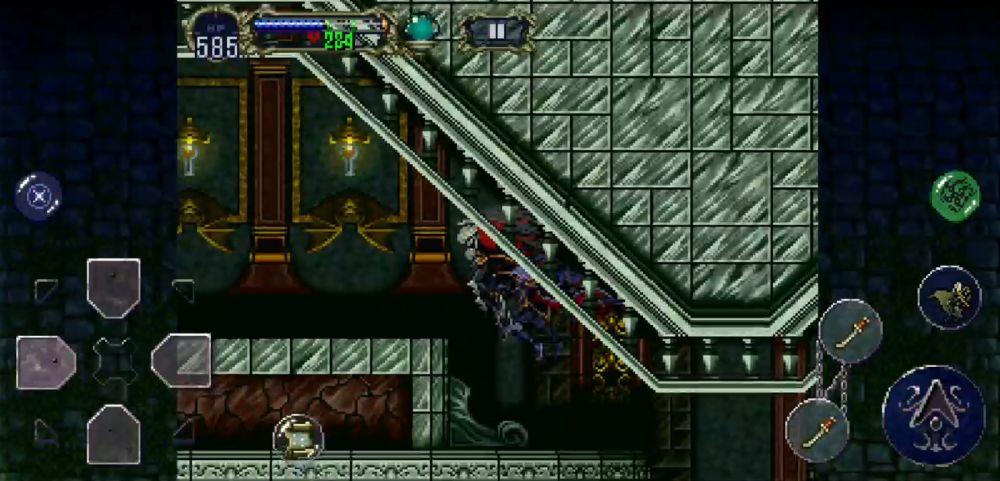
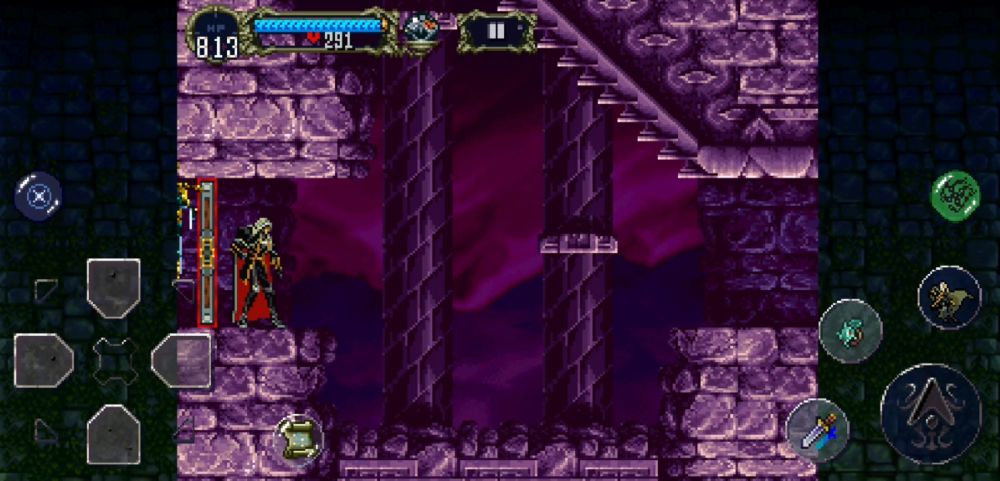
Before you continue, make sure you’re no longer wearing the Holy Glasses as they don’t give too many bonuses to your stats; wear something else. Proceed left and go past the throne room. Make your way to the passage through the floor near the candelabra and the inverted ruined way.
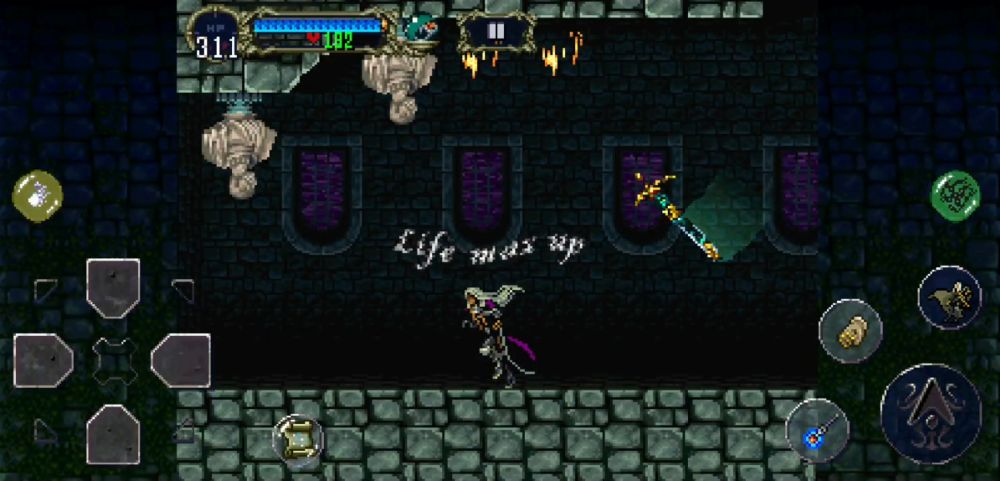
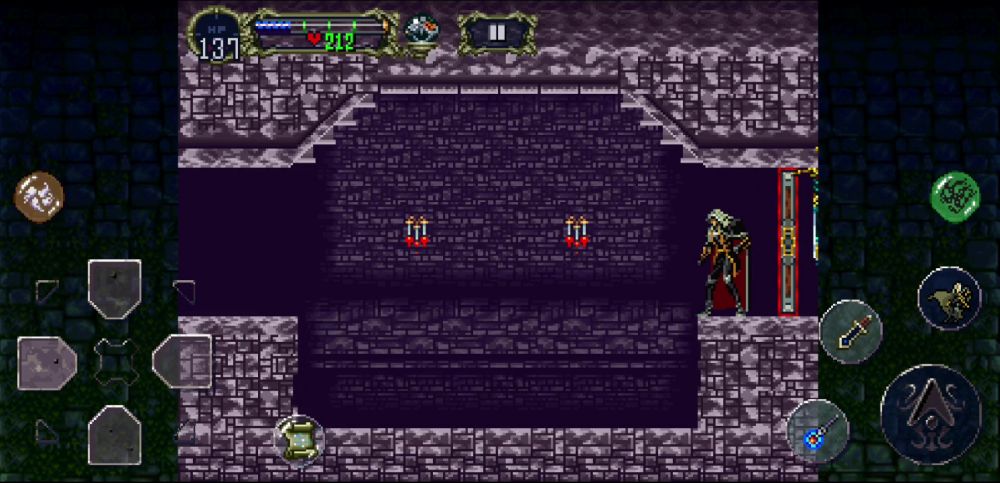
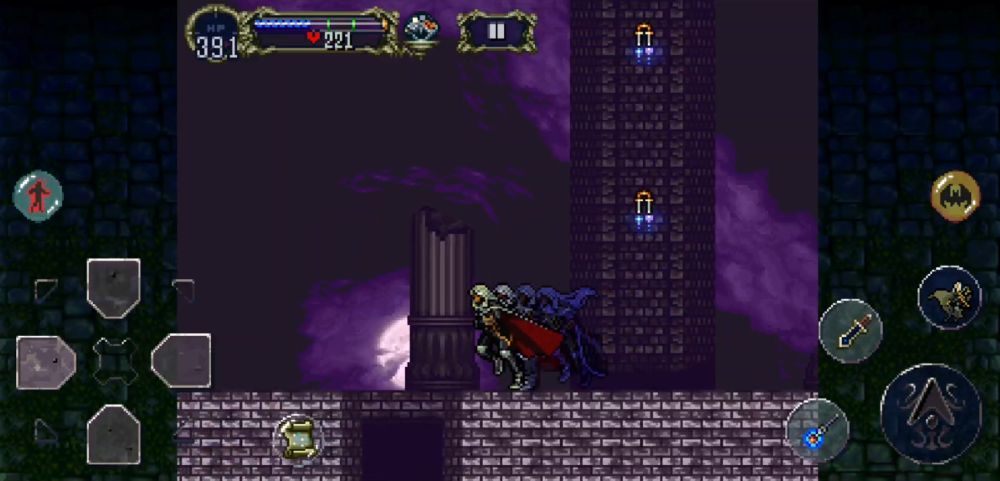
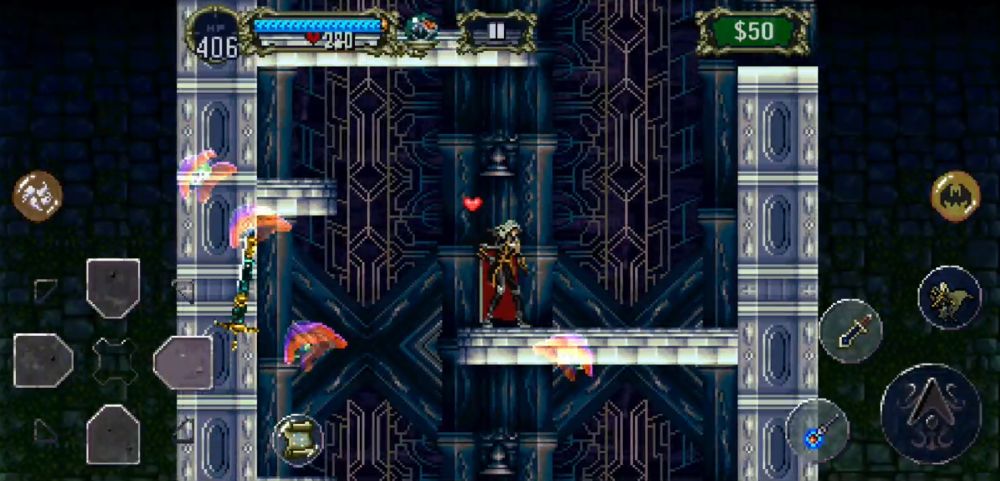
Navigate the passage and you’ll find some breakable objects hanging from the ceiling. Destroy these to get a slew of bonuses like Life Max Ups and Heart Max Ups as well as a new cloak. Get used to this — by this point, the game will be throwing upgrades and rare equipment a lot at you because the Reverse Castle itself is a very dangerous place. After clearing this area, go up once more.
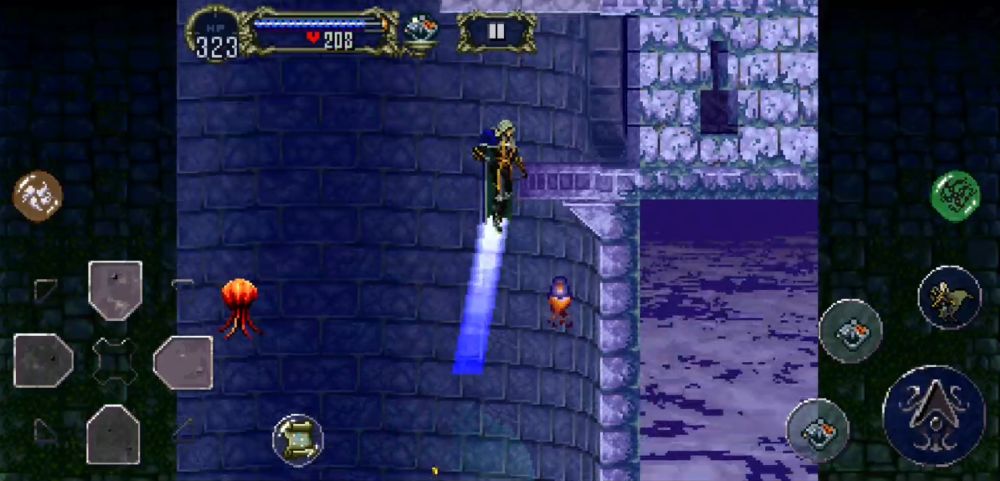
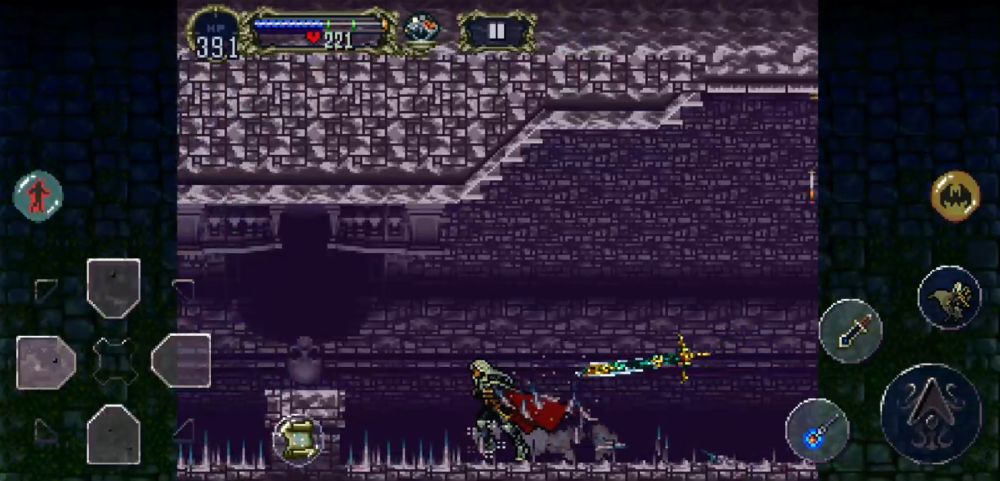
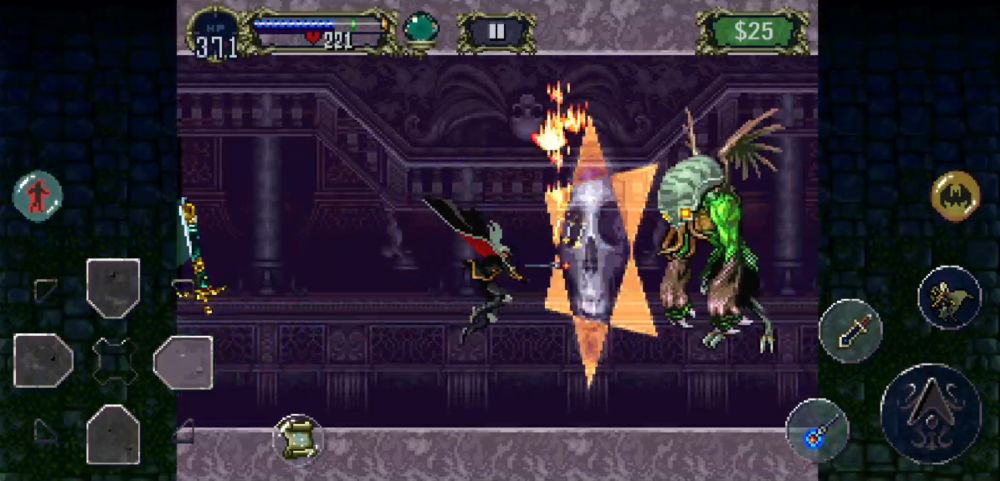
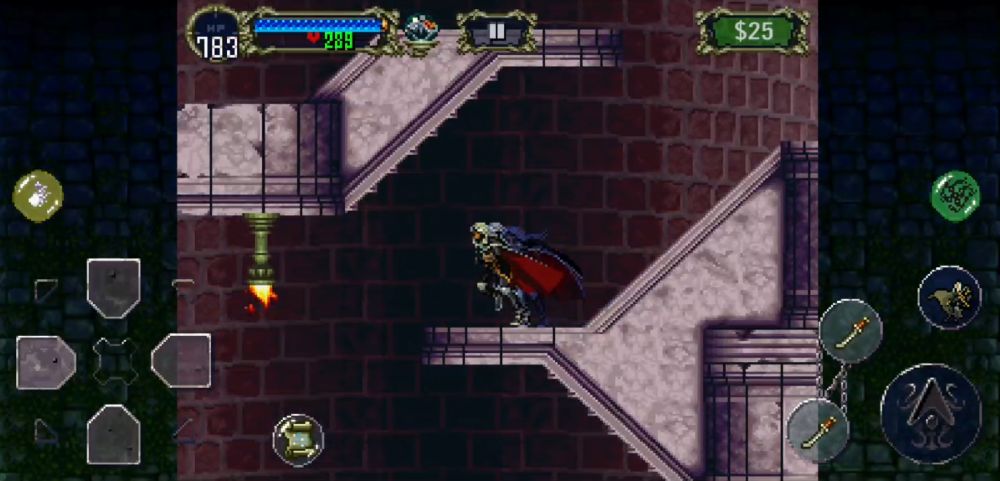
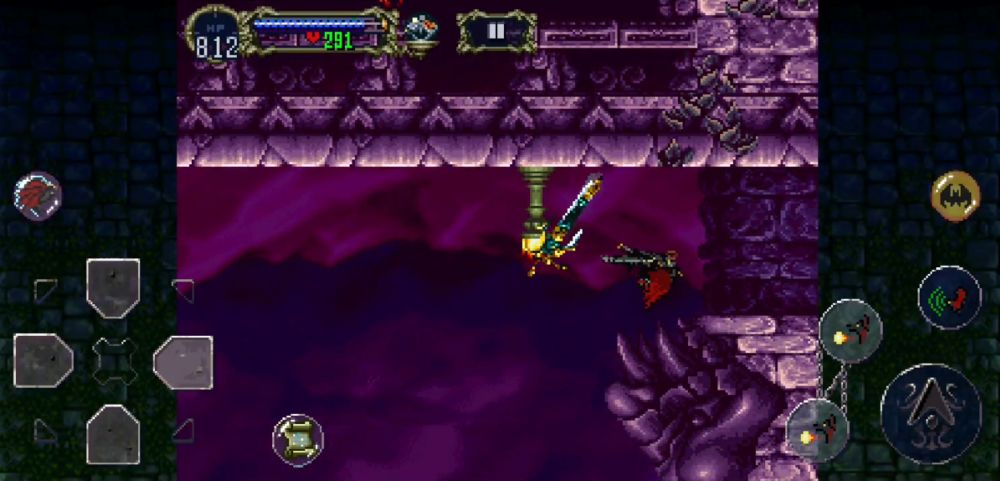
Jump off the steep ledge and you’ll find yourself on the ground with a Yorick, a headless skeleton that eternally chases its own skull. Be careful not to be hit by the skull as it may deal considerable amounts of damage. If you proceed leftward, you should find a large room with several ledges that contain various potions of resistance. After gathering all of these, proceed back out right.

Now it may seem perfectly logical to immediately go through the entrance right beneath the inverted stairway. But let’s not go this way. Instead, let’s head elsewhere and find an alternate route that may be more rewarding.
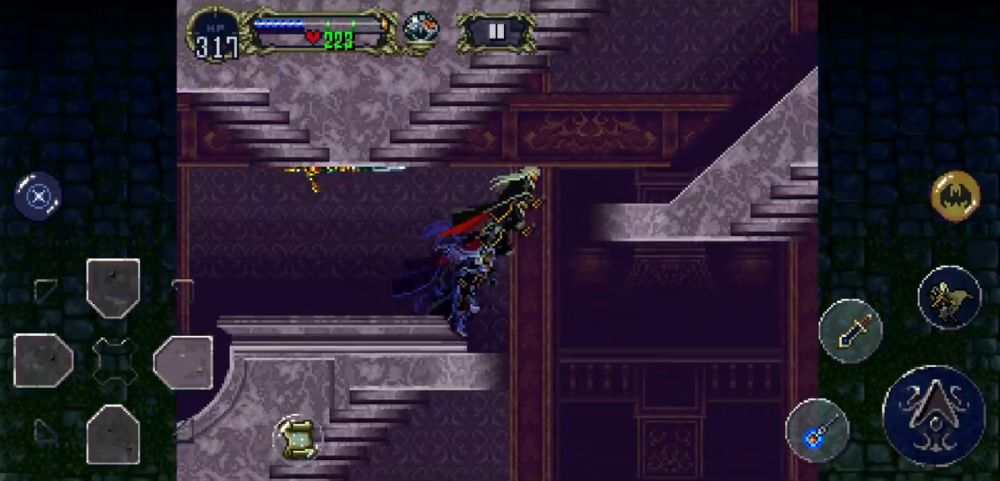
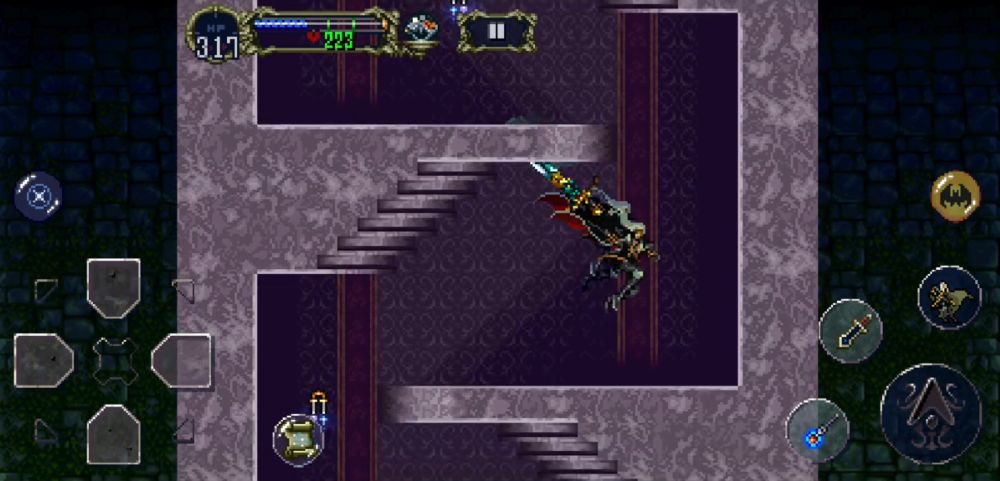
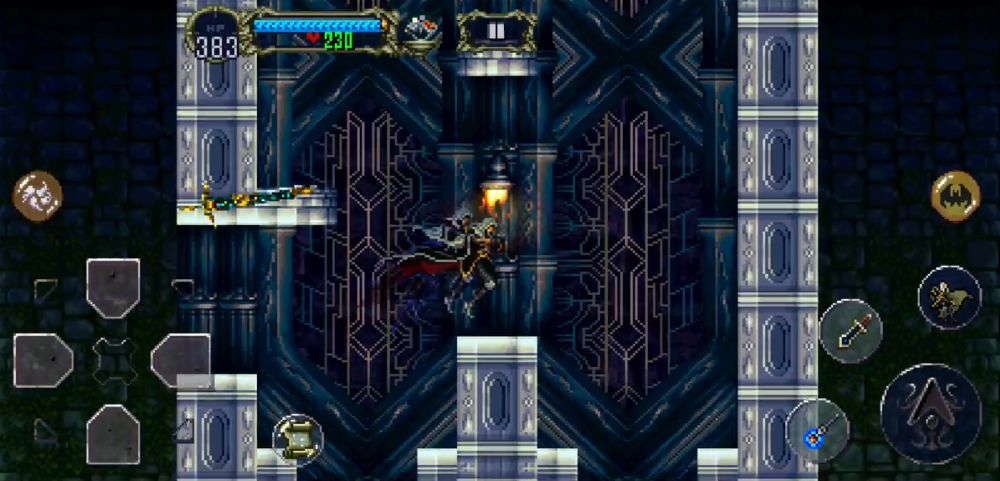
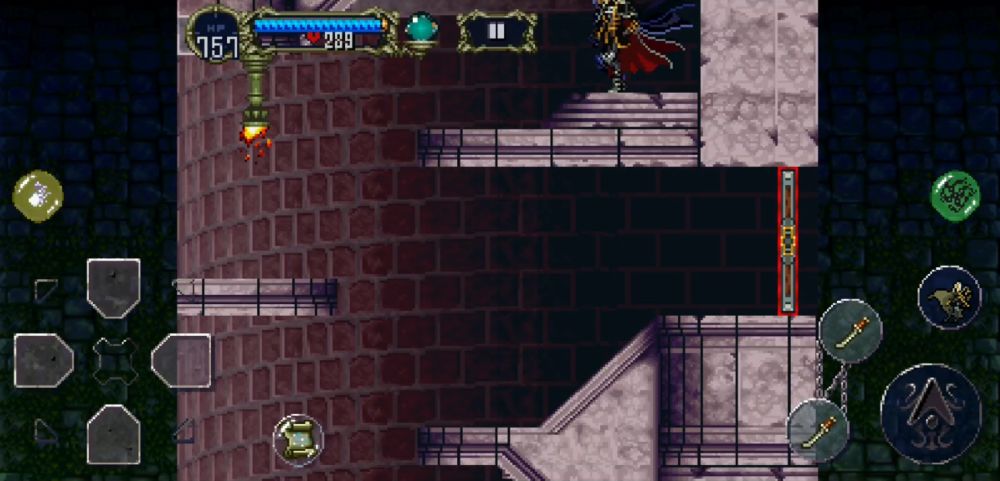
Fly upward instead until you find an upside-down statue-adorned courtyard. Navigate the path until you find a small opening to the left. This is directly above the inverted stairway.
You should be in a room with elevators. Make your way to the top. The red door to the left is a Warp Room with the Inverse Keep bearing the crest of an inverted Lion. Head to the right if you would like to proceed.
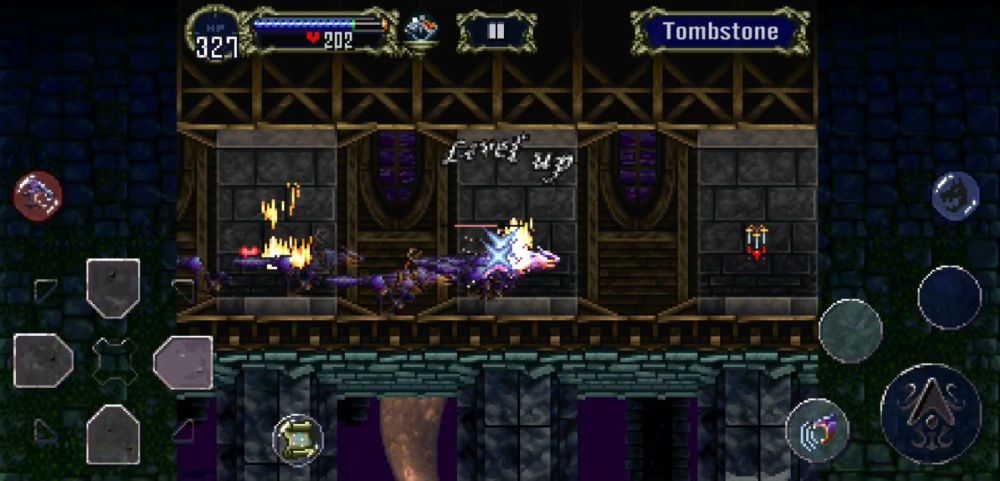
Here, you’ll be in a long corridor with Tombstones as enemies. Don’t touch them, they’ll inflict CURSE on Alucard. If you prefer it, you can easily dash through them all using your Power of Wolf. Eventually you’ll hit a red door.
Open it up, time for your first real inverse level!
Anti-Chapel
What an eerie, yet lonely place this is. For how this chapel hangs upside down is akin to that of a dreary and dreamy lost painting.

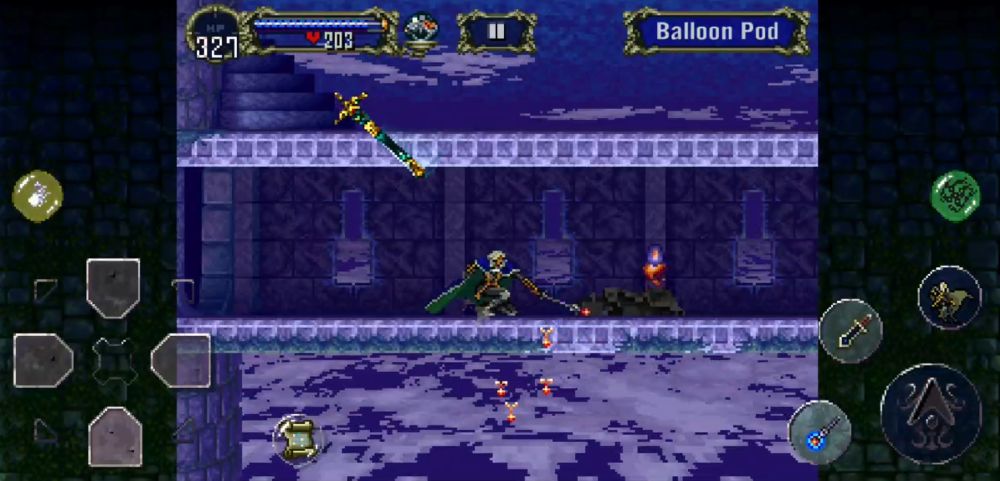
You will be immediately greeted by a new type of enemy: the Balloon Pod. If you hit it, it will explode into a small cloud of spores that can poison Alucard. Unless you’re wearing the Topaz Circlet (which you can find in the Long Library), they’re not safe at all to touch.
Make your way up this small tower. At the very top, you will find two exits opposite of each other. Go left if you wish to save. Go right to traverse a longish hallway with more Balloon Pods.
Beware this hallway as a new enemy, the Black Panther, may be a challenge for you. These pesky cats are quite hard to hit. They can, however, be easily killed by performing a flying kick within the tight corridor, or casting Summon/Tetra Spirit. If you make it to the very end of this corridor, put on your Mirror Cuirass before leaving for the next room.
You’ll need it for the boss!
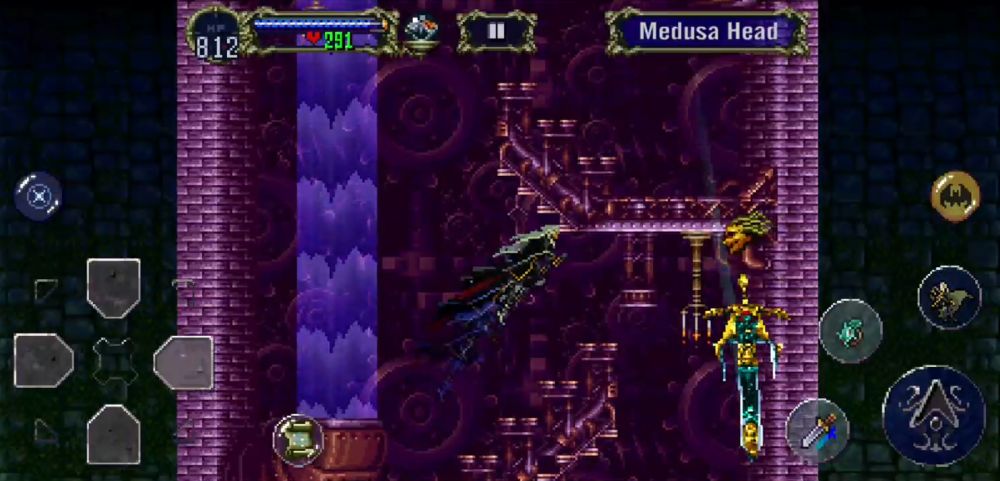
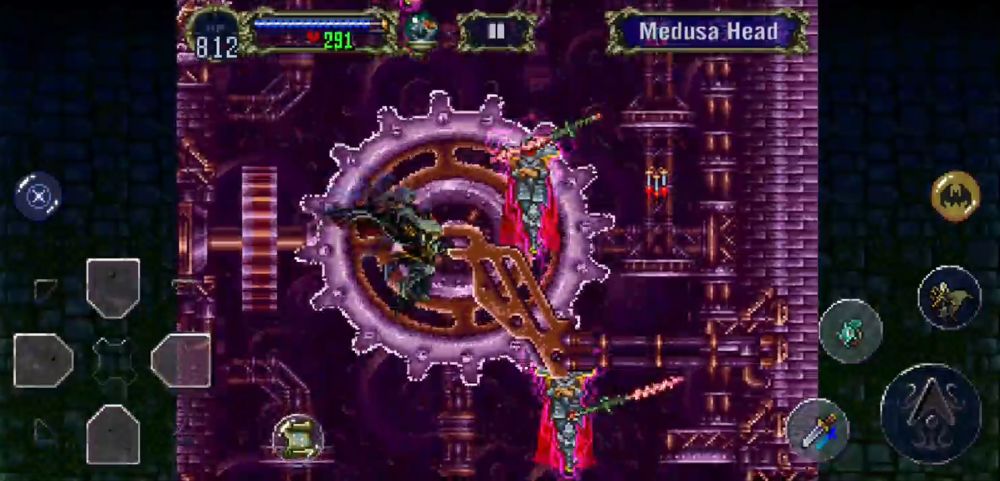
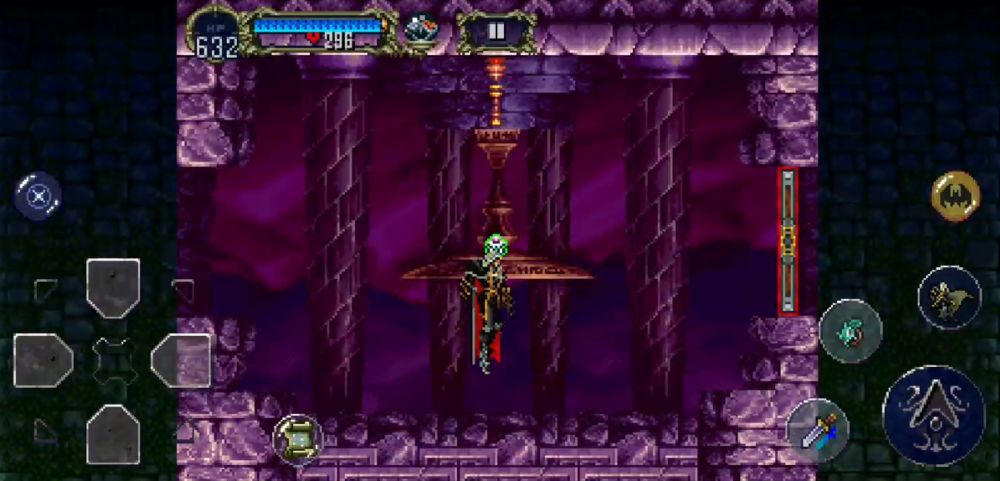
Medusa
Ever thought you’d want to get to the source of those annoying Medusa Heads? Welp, here she is, Medusa herself. Unfortunately, killing her off won’t stop all the Medusa Heads from popping up, but you’ll need to kill her anyway. We’ll explain why.

Medusa’s fight isn’t all that difficult (if you’re wearing the Mirror Cuirass) and you won’t need any Spells or Sub-Weapons at all. The best way to take her down is to strike low and keep striking because her shield blocks all of your strikes up high. However, keep your distance from her as she will slash you with her sword if you get too close. If you’re at a good enough distance, her gaze should not hit you. If it does, you won’t be turned to stone.
After enough attack spam, Medusa will die. Upon her death, she doesn’t drop a Life Max Up, but a new kind of Relic: the Heart of Vlad. To those who have played Castlevania 2: Simon’s Quest, you’ll know what this is for. To those unfamiliar with the franchise, Dracula’s resurrection requires a few of his belongings to bring to fruition: his Heart, his Rib, his Eye, his Tooth, and his Ring. Having these Relics here in Symphony of the Night will greatly boost Alucard’s stats and other bosses in the Reverse Castle guard the rest. It’s time to go hunting!
Leave at the exit to the right.
Anti-Chapel Continuation
You’ll find yourself in another long corridor with more Black Panthers and Balloon Pods.
After exiting the corridor, you’ll be in yet another bell tower. Go up top and exit at the top-right ledge.
This final long corridor connected to a very tall bell tower stands in your way before you make it to the Anti-Chapel’s main halls. Don’t forget to find the Life Max Up hidden in one of the urns at the bottom of this tall bell tower.
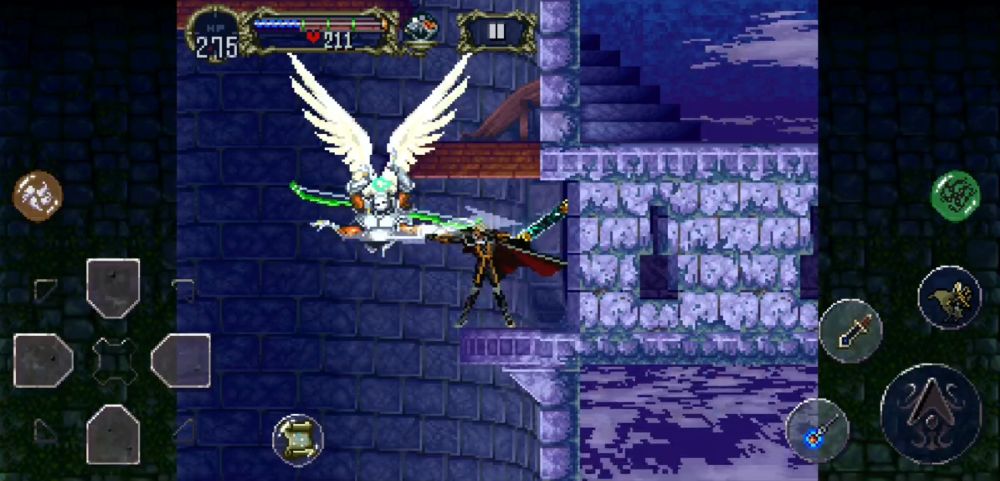
Make your way up the bell tower whilst being careful with the Snipers of Goth. These bow-wielding angels are resistant to holy damage, so arm yourself accordingly.
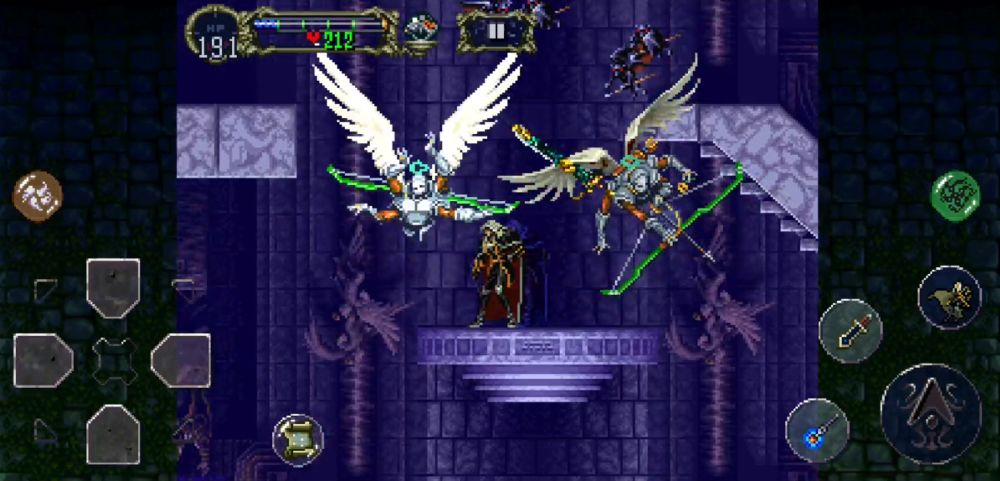
As you climb the tower higher, you will encounter Imps alongside the Snipers of Goth. These annoying little fiends will try to take control of Alucard’s mind, making him swing his weapons around recklessly — you won’t be able to control him. If you rub the d-pad in different directions while tapping the jump button or any of the attack buttons, the mind control will cease.
After reaching the first layered ledge, take an exit to the left through a very square doorway. Through the adorned hall, you’ll see a red door.
You know what this means!
Death Wing’s Lair
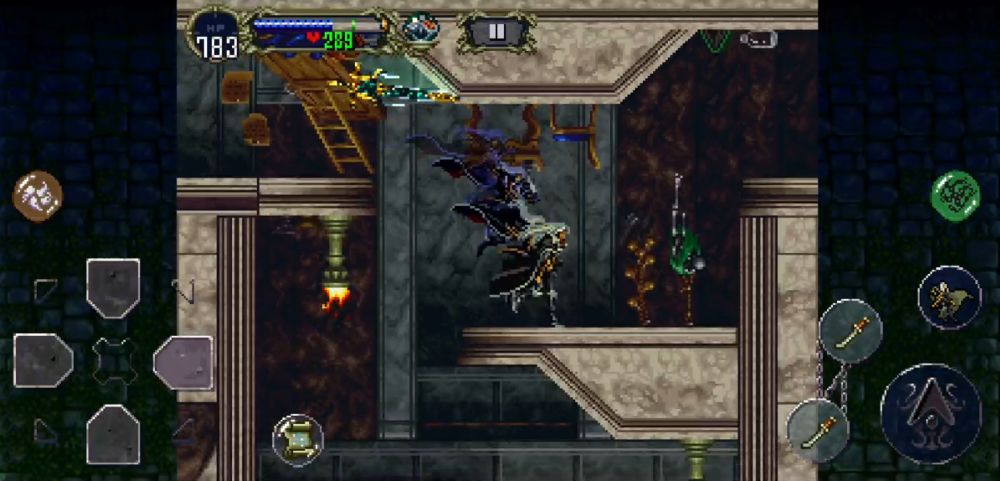
You will have arrived at Death Wing’s Lair — a dire dungeon in the sky. Through its twisted halls echo the final toccata of this symphony.
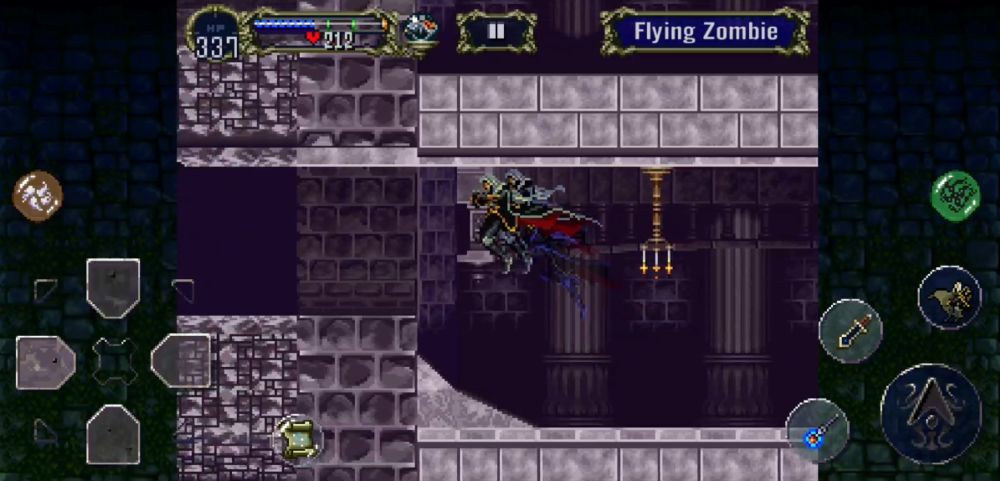
Move all the way to the left through this long corridor and smite some Flying Zombies and their Cthulhu guardians. The Flying Zombies are an interesting enemy since destroying their legs first will separate their torsos and make them aptly fly at Alucard.
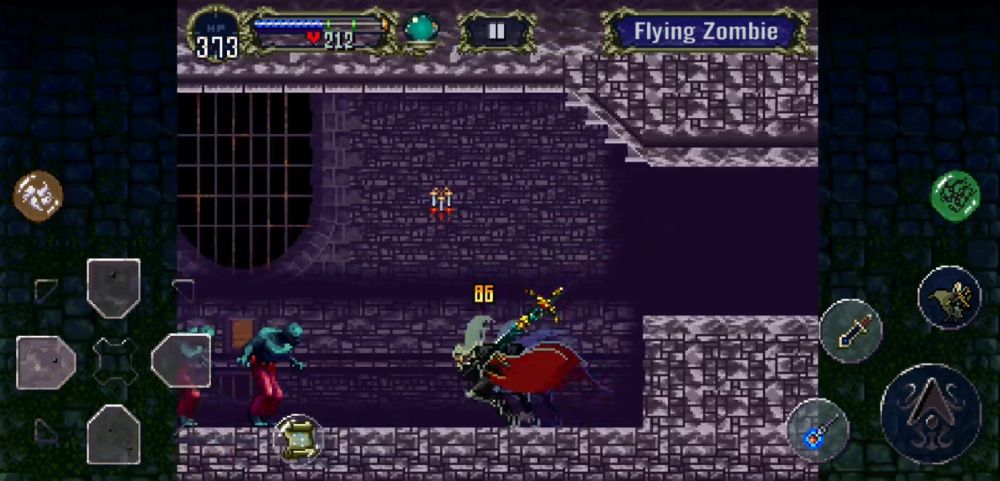
If you choose to destroy their torsos first instead, they’ll be nothing but shamblers that can be more easily dispatched. Prepare to wear your Mirror Cuirass again.
You’ll be out in the open this time. Yellow Medusa Heads will be flying about and these will turn you to stone if you make contact with them. To make matters worse, the floor has Karasumen as enemies. Fight your way through, if you must.

Above the Karasumen is a ruined bridge. If you go all the way to the left of it, you’ll find a Save Point. Proceed right instead after coming here.
Fight through the Karasumen and you’ll be in a poorly-lit hallway. At the end of said poorly-lit hallway, you’ll find a familiar-looking yellow door. What awaits you behind it is not another vampire, but still undead.
Exit right, enter fight.
Akmodan II
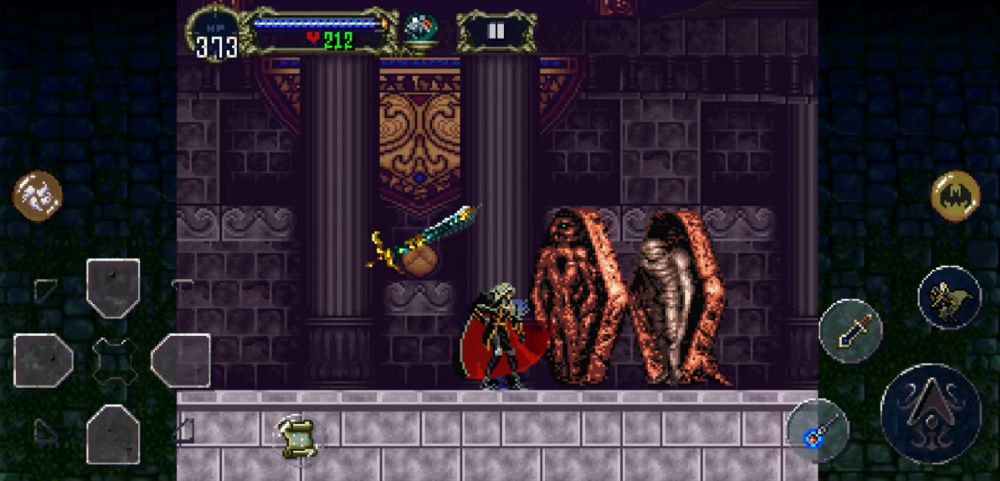
This mummy isn’t that much of a threat if you’re wearing the Topaz Circlet.
Akmodan II has only a few attacks:

- He spews a poison mist when struck. This can be avoided by jumping over it or waiting for it to dissipate with distance. You may strike him again after. Be careful as he may give chase while you keep away from him.
- He will try to punch you. This can be dodged by ducking under him.
- If he gets too close, he will grab Alucard and toss him across the room. The spinning and wall impact from the throw have damage. Talk about a mighty yeet.
First thing you do is equip your favorite holy weapon (Holy Rod and/or Holy Sword). Getting close and ducking under his punches is key. If he gets too close to you, back away and press the attack. As you continuously hit him with holy damage, he will verily die soon and you won’t need to use any Sub-Weapons or Spells.
Take the Rib of Vlad and head right for a Heart Max Up. Exit the boss area.
Death Wing’s Lair Continuation
In the area where you fight the Karasumen, head all the way left and you should see a hole you can drop in.
After dropping down, you might want to equip your Spike Breaker armor for safety in this corridor with a spiked floor. Otherwise you may assume your Mist Form at the cost of a lot of MP. Your Bat Form might be the most practical, but the Ghost Dancers may pose a problem to you. Keep going left.
At the end of the hall, there should be a tall upward shaft. Fly up this passage and then follow the hallway to the right. Otherwise, open the red door to the left for a Warp Room.
You will be in a long hallway adorned with upside-down skulls in the background. It is also sprawling with Ghost Dancers and a few Malachi enemies. Thankfully, your trusty Holy Rod should make short work of them. Keep going right until you reach the main receiving hall of Death Wing’s Lair.
The receiving hall has one powerful enemy: an Azaghal. This phantom wields a greatsword with precision and frightening strength, so challenge him at your own risk. Otherwise, Mist Form your way out and fly to the top of the receiving hall. You should find a small exit up top.
Enter the exit and proceed left. Then follow the path upward to find a red door.
This is your next level!
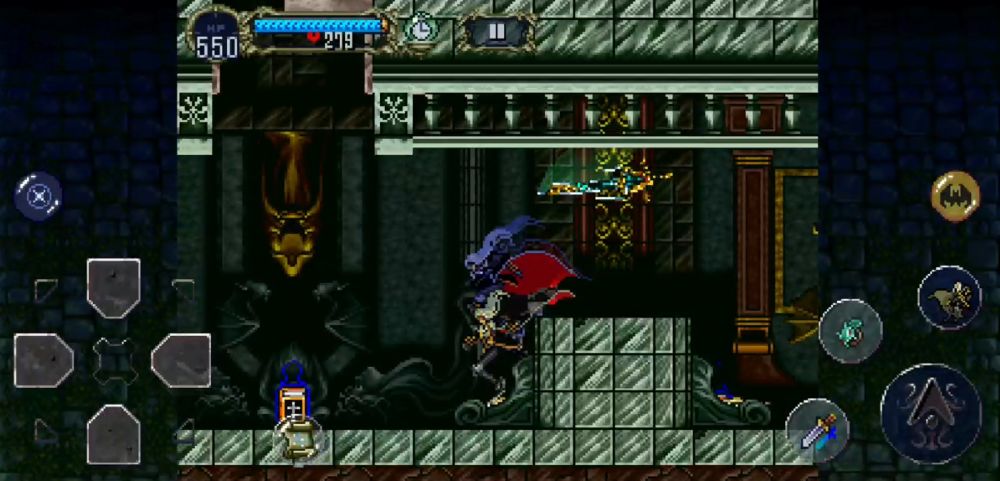
Black Marble Gallery
This is the Black Marble Gallery — a devilishly artistic area of the Reverse Castle where art imitates not life, but death. The strongest enemies prowl here and you will come back here often.
Move left through the small hallway and immediately make your way upward. You should be in a reversed version of the Marble Gallery’s Clock Room. Head right, if you wish to proceed, and down the central exit if you want to change your Sub-Weapon (they’re all there). On opposite sides of this middle room, you’ll also find a Heart Max Up and a Life Max Up. Anyway, moving right…
When we say that the strongest enemies are present in this very level, we mean it and you’ll be meeting them right away. These warriors in golden armor with blue plumes are Guardians. Their swords can easily cleave Alucard in a few swings and their armor has a variety of resistances. Challenge them at your peril, but we recommend you fly over them using your Bat Form for now. Proceed right.
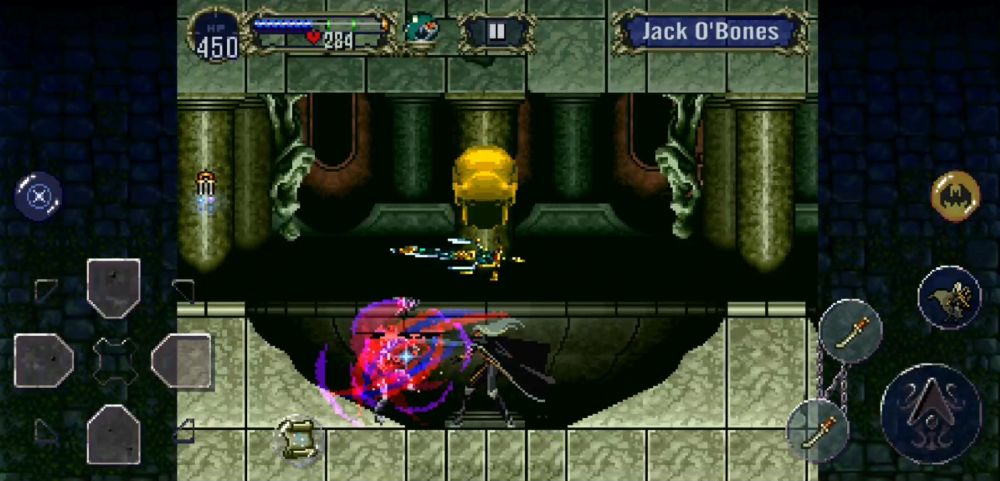
The next room is a large room with new enemies: a Gorgon and its horde of Jack O’Bones. The Jack O’Bones are annoying in that they throw pointy, bouncing crossbones rapidly. The Gorgon, on the other hand, has a tough hide that resists most damage but a weak head. To kill it, strike its head repeatedly. The exit on the upper left is a Save Point. Continue on right after saving.
This last hall has Stone Skulls that are unkillable. Dodge them as they deal lots of damage. Reach the end of the hall for a red door.
Another new level. Let’s go!
OPTIONAL: This next level and the next boss fight in particular can be skipped, but we’re giving you the chance to defeat this boss because of a powerful item he protects. You’ll need it if you want to get strong in this part of the game. Jump to this section if you wish to skip it.
Necromancy Laboratory
This place is a dark reflection of what was supposed to be the Alchemy Laboratory. What once was in pursuit of changing one object into another the Necromancy Laboratory is dedicated to finding ways in resurrecting the dead using unspeakable and horrific arts.
You’ll be in a large room with two sections. You can choose to go under to the right section of the room, or platform up the left side. Be warned that getting to the other section via the left side will require you to navigate through some very narrow and winding passages. To make things more difficult, you’ll be encountering another new enemy: the Bitterfly.
These annoying phantom bugs are invisible for the most part, so we recommend traversing this area slowly while swinging your holy weapon at them. You should find an exit in the middle part of the right section. Said exit leads to a longish, narrow pathway with a pair of Gremlins.
You’ll soon find yourself in a medium-sized room with two exits: one to the top-left and one to the top-right. Go top-left if you wish to save. Head to the top-right to proceed down a short hallway for the exit.
Before we begin this next part, we do hope you’re not squeamish about giant insects or rotting flesh and innards, because through this exit is possibly the most disturbing boss in Symphony of the Night, if not, in all of Castlevania. Get ready!
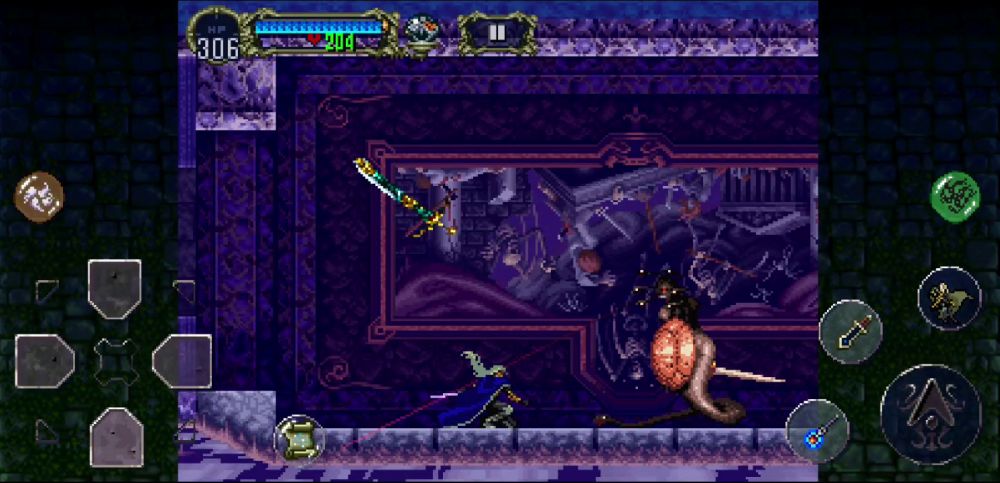
Beelzebub
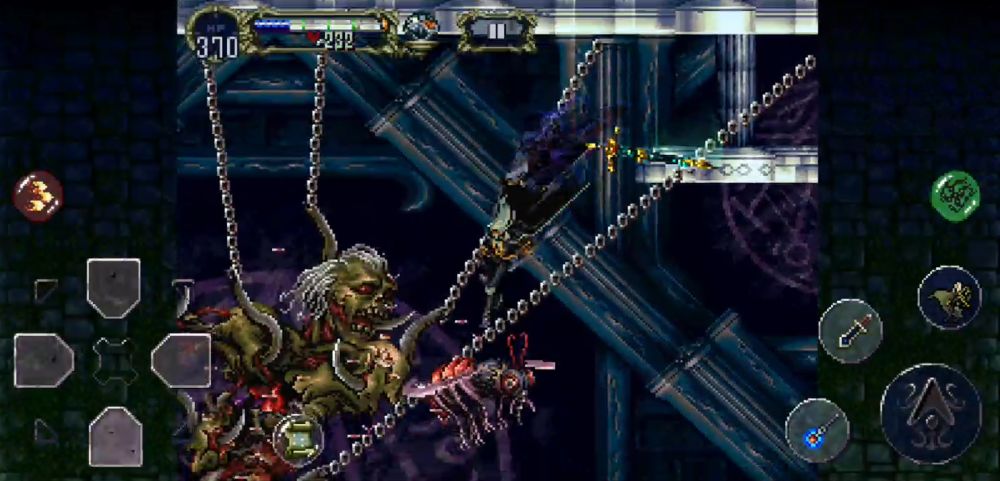
Kill the boss! Cut his throat! Spill his guts!
We say this because the boss is none other than Beelzebub: the Lord of the Flies. As horrifying as he looks, a giant, mangled, rotting corpse suspended by meat hooks, being eaten by swarms of flies and hordes of maggots, he seems to be a bit more challenging than he looks. Concerning his attack patterns, he barely does much, but what he does increases greatly in degree.
Firstly, he has plenty to attack: all of his bodyparts with his torso being his main weakspot. Surprisingly, he can survive without a head, but attacking his torso will bring the boss fight closer to an end.
Secondly, his attacks are quite simple: he summons giant demon flies to circle around him and they swoop in to attack Alucard. Additionally, maggots fall from his bodyparts. When you come in contact with these maggots, they poison you unless you’re wearing the Topaz Circlet.
Thirdly, his attacks only change very slightly the more of his parts you destroy. Though, they will most certainly change to a degree in which it makes the fight more difficult. For instance, once his legs are gone, he will no longer drop maggots, but the number of flies he will summon will increase. This will increase even further once his arms are gone.
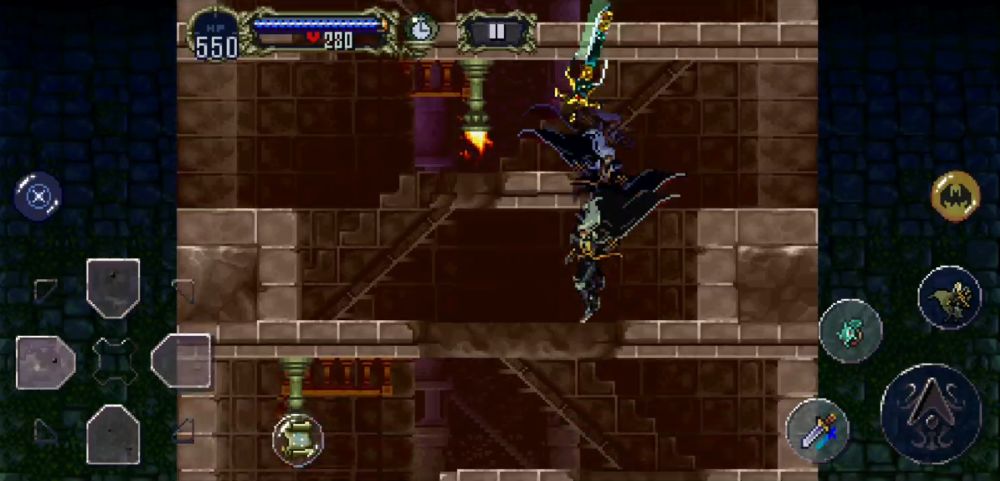
Dealing damage to Beelzebub is easy if you have holy weapons like the Holy Rod or Holy Sword. Strike at his limbs until they fall off and wait for the flies to get summoned. Once the flies are present, you may thin their numbers by casting Soul Steal or Tetra Spirit. His torso will get damaged in the process if it is visible. You may also climb the ledges to the right to get a better view. Just be careful of the flies.
The best way to actually damage him is to wait for him to summon flies. Let them spin for roughly a second and a half, then Super Jump when they start zeroing in on Alucard. There should be at least one fly left for you to destroy, but you’ll be hitting Beelzebub’s torso as well, if you swing your weapon while falling. This may take some trial and error, so don’t give up yet.
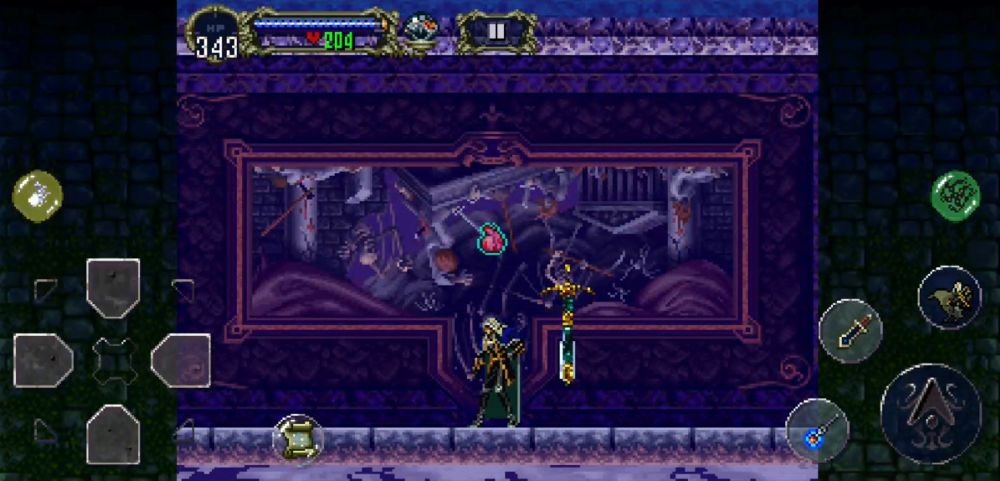
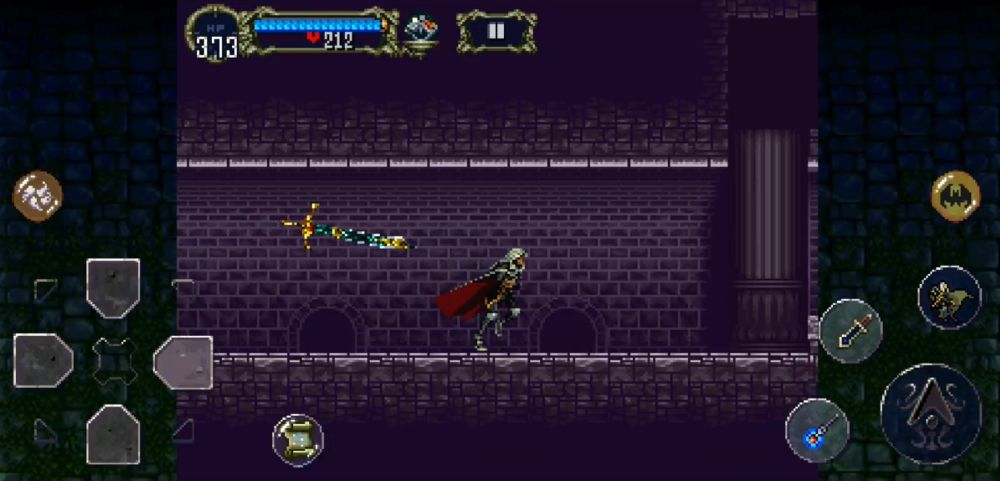
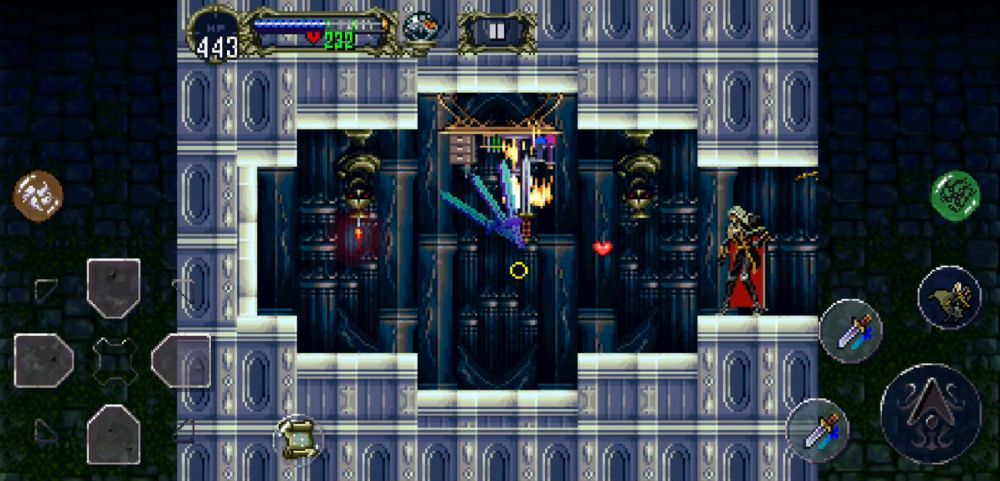
An alternate way you can do this is by using thrown weapons like the Chakram you can get from the Discus Lord in the Catacombs, or the Heaven Sword (our Alucard got lucky and managed to farm 2 of them, pictured in this section), a very rare drop from the Cloaked Knight in the Clock Tower. Throwing these at Beelzebub after a Super Jump will hit him once and then hit him again on the way down.
Beelzebub should perish after he sustained enough damage. Take the Life Max Up and proceed to the lower left exit of the arena.
Here, you’ll find a shining glass globe. If you destroy it, you will obtain the Ring of Arcana, a special accessory that you will need in both castles if you wish to get all of the rare and powerful items in the game. It greatly increases the chance for rare items to drop. This effect also stacks if you’re currently wearing the Alucart Set and the Lapis Lazuli, another ring that helps increase the chances of rare drops.
Leave the boss area and find your way back to the Black Marble Gallery’s Clock Room. You can do this by heading leftward at every exit you see.
Black Marble Gallery Revisit 1
Arriving at the Black Marble Gallery, go all the way left past the hallway with the Stone Skulls, past the room with the Gorgon and the Jack O’Bones, and past the dark hallway with the Guardians. You should be in the Clock Room once again. Go to the Clock Room’s left exit.
Here, you will be navigating a very dangerous room. The Black Marble Gallery is full of floor traps, so be on the lookout as most of these hide behind the carvings on the floor. If Alucard gets caught in any of them, it can deal significant amounts of damage. They can be stepped on safely, however. If you aren’t confident, you can always try navigating using your Bat or Mist Forms.
Navigate through this winding room downward and beware the Nova Skeletons. If the floor traps can’t kill you, the Nova Skeletons might. Their beam attacks hit absurdly hard regardless of your level, so be very, very careful. Along the way, you may pass an upside-down hooded statue with a candle that carries the Bible Sub-Weapon. This statue is going to be an important landmark for later, so keep its location in mind. At the very bottom left of the room, you should see an exit. Go here.
More floor traps abound. Your destination in this oddly familiar room should be the upper left.
You’ll now be in a long, long corridor full of dips in the floor and Stone Skulls that float about. Accompanying them are Jack O’Bones and the occasional Thornweed. Go all the way left and you’ll find a red door.
Let’s go to a new level!
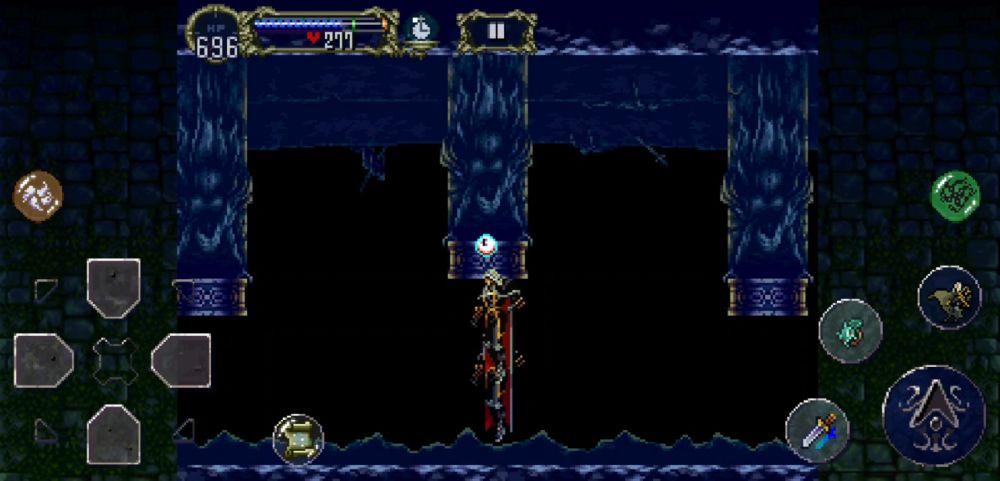
Reverse Outer Wall
You’re now in the Reverse Outer Wall. Its elevator no longer functions but this opens up more different areas to the Reverse Castle.
First, break the urn immediately in front of you for a Life Max Up. Then drop down from the ledge.

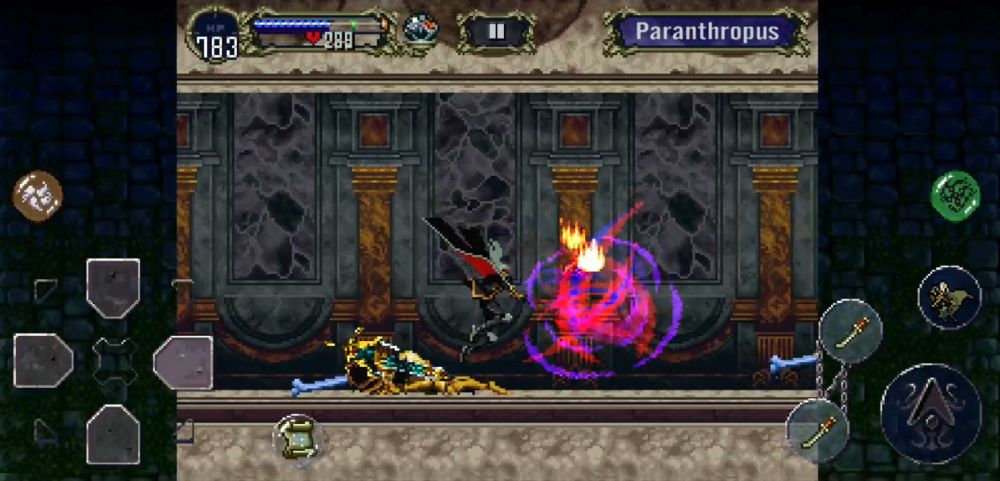
You’ll find a small room with a gap in the floor connected to a long hallway to the right full of Paranthropus enemies. Jump over the gap and go all the way right whilst slaying said Paranthropus.
You’ll be in a small room with two exits: one immediately to the right and another to the lower left. Head to the right for a Save Point…
… and head to the lower left for a boss battle!
The Creature
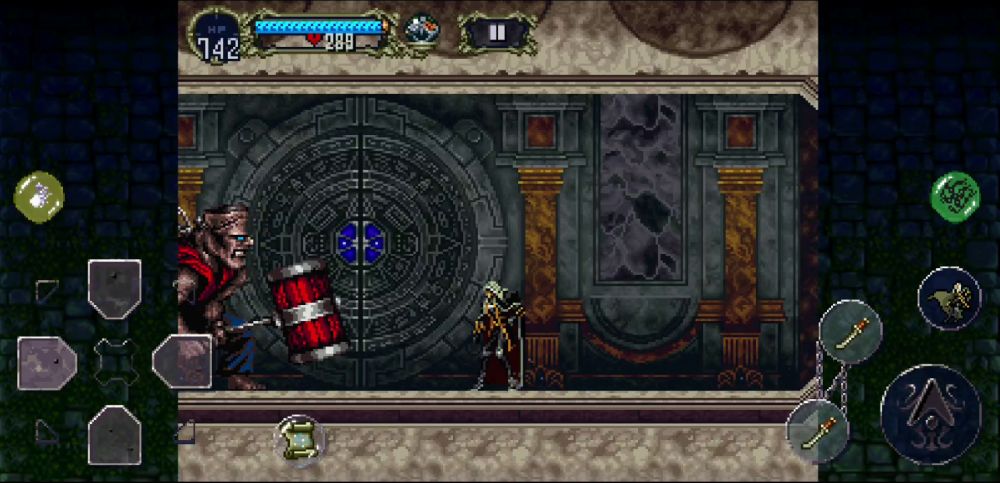
It’s Frankenstein’s Monster with a hammer! … Okay, it’s the Creature.
This boss is much easier than he seems. He only has two attacks:
- He will roll back and forth twice. You can dodge this by jumping over him.
- If you get close enough, he will try to flatten you with his hammer.
As he rolls, wait for him to stop; don’t get greedy as he deals some nasty damage with this attack. You may smite him with some spells like Soul Steal or Tetra/Summon Spirit while he does this. Just be sure to get out of the way while you’re not casting any spells.
If you want to get up close after he rolls, strike him with your favorite weapon. You don’t have to worry about taking damage when you touch his hammer while it’s lowered — you can’t collide with it. When he lifts his hammer, however, a good backdash will save you from being hit at all. Either way, these simple tactics should easily kill him off.
Take the Tooth of Vlad and leave through the left exit when you’re done.
Reverse Outer Wall Continued
After traversing the small room with the Shield Potion in it, you’ll be in a very tall tower with more Stone Skulls and two red doors both on the right side. The first red door is the Forbidden Library which contains a powerful weapon you can obtain by killing Schmoos (*wink wink*). The second red door is further down this tower, a Warp Room. Go beyond the Warp Room and proceed lower.
In this lower section of the tower, you’ll find a lone red door to the right and an area even further below it. If you go to the area below, you’ll find a single exit that leads to a Save Point.
If you’ve decided to save, head back up to the lonely red door and open it up for a new level!
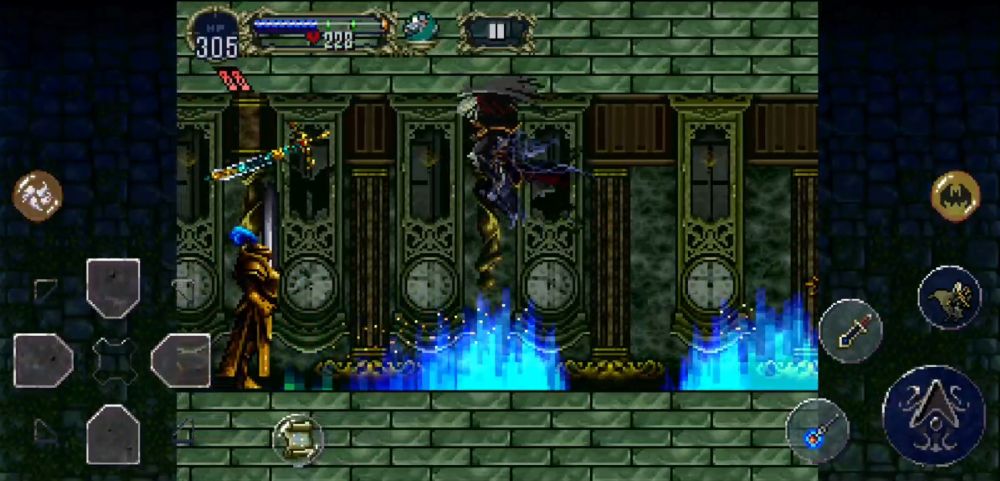
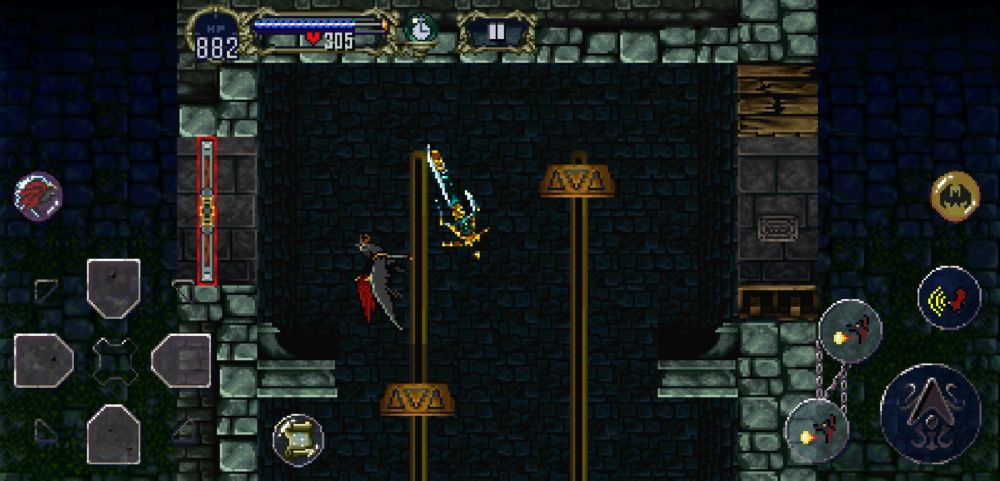
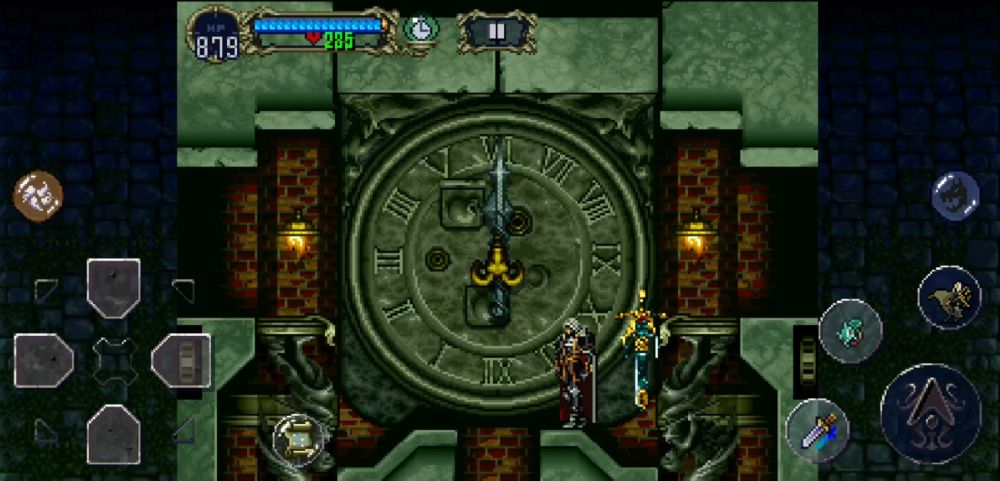
Reverse Clock Tower
The Reverse Clock Tower now stands before you. Just like its regular counterpart, it greets you with howling winds as well. The only difference here is that it has a more sinister aura to it. Your first room should have an exit upward and one directly to the right. Head right.
You’ll be immediately hurled into a large area with Valhalla Knights galloping across the floor. After exploring this area thoroughly, you may proceed to the entrance on the upper-right area which is marked by an upside-down monster’s face. Enter here. You might also want to put on your Mirror Cuirass.
There will be nothing but Yellow Medusa Heads here in this tower, so proceed through it with caution. Make your way downward and you’ll find a forked exit. Take the right with this one.
The next room is full of spinning gears and Cloaked Knights. Fight through them while ascending the tower. If you happen to be wearing the Mirror Cuirass, be very careful with how it doesn’t protect you so much against the Cloaked Knights themselves. At the top of this room, you should see an exit to the right.
This time, you’ll be in a room where you’re required to descend. There will be more gears, more Yellow Medusa Heads, and more Cloaked Knights. Keep up the fight and proceed to the lower right.

You’ll have arrived at a crimson-tinted room with lots of stairways and passages. At the very bottom are pulverizers and Bomb Armors. The Bomb Armors themselves aren’t too much of a problem, but their bombs deal substantial amounts of damage, so be careful with these. You can stand on the pulverizers, but don’t stand directly under them. You wouldn’t want to be caught in the machinery.
Keep heading to the lower right and you’ll be in a medium-sized area with some ledges to jump over. Continue on rightward.
Whoops! Look at that, it’s a boss. But it shouldn’t be that much of a problem.
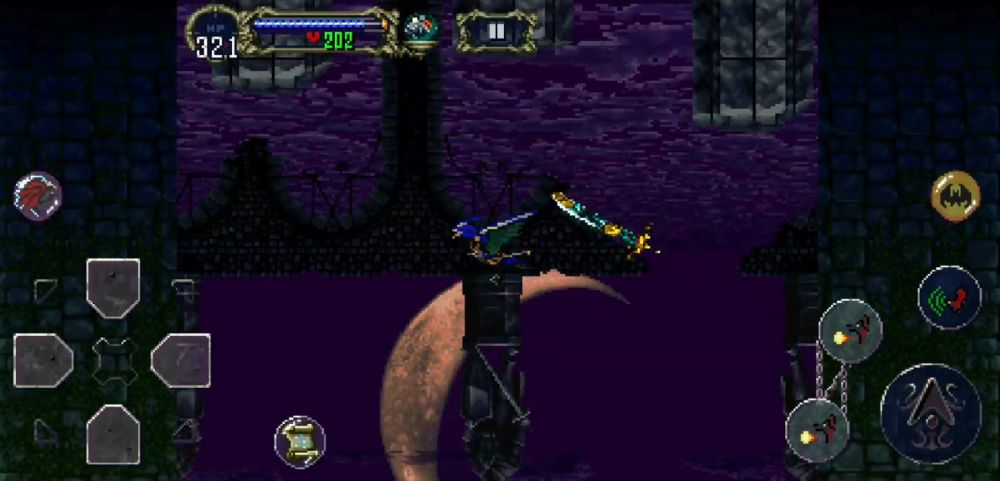
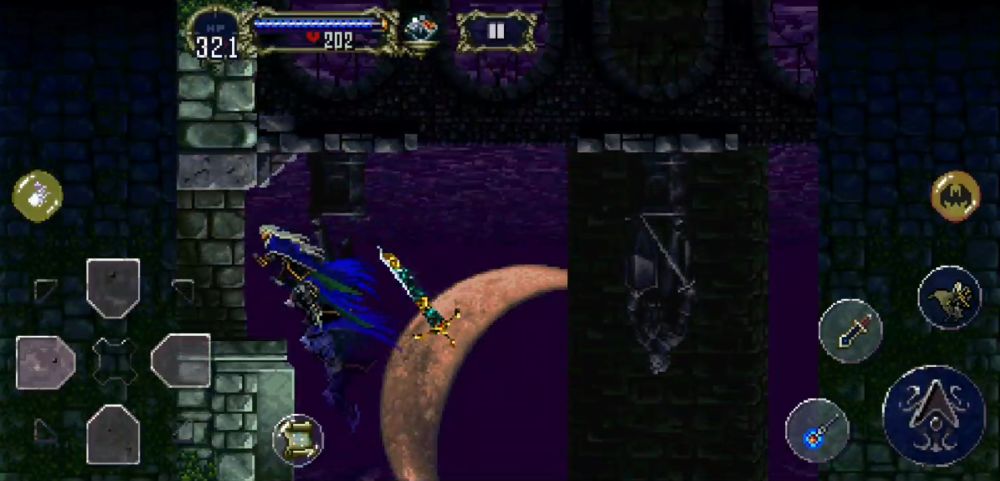
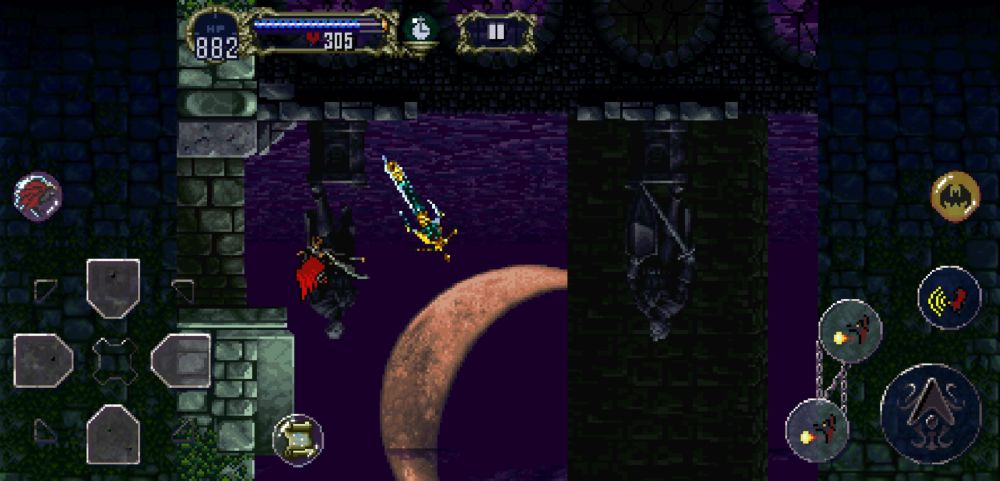
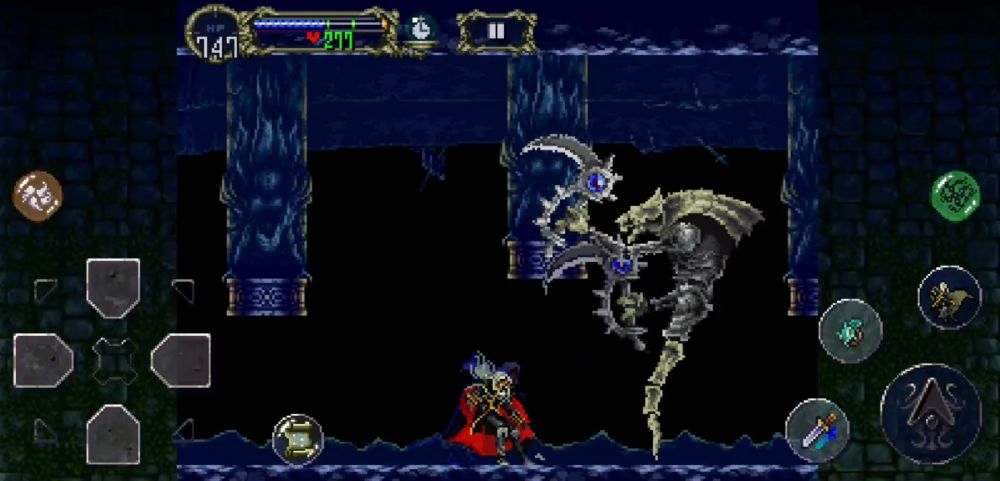
Darkwing Bat
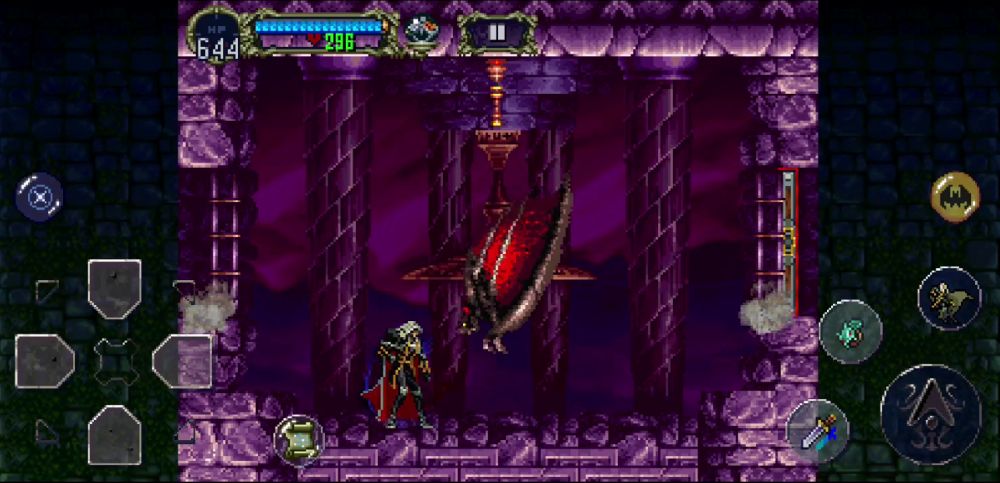
Surprisingly enough, Darkwing Bat should’ve been the first boss you were to fight in the Reverse Castle, but we took a different route and Alucard came back to fight it stronger.
If you aren’t going to give it a real beatdown with whatever weapons you’ve got on you right now, here’s what it can do.
- It can flap its wings and generate a wind that will throw Alucard against the wall.
- It will pause in the air and quickly swoop at Alucard, biting him.
- It may fly low and “drill” through the air.
It’s completely open when it isn’t doing any of these things. Hit it while it goofily flies about. When you’re done putting it out of its misery, take the Ring of Vlad and leave through the red door to the left.
You will have arrived at the Reverse Keep again. Now, return to the Black Marble Gallery via Deathwing’s Lair or via the Reverse Outer Wall. Your closest Warp Room from here is nearby.
Fly out of this eerie room with upside-down lion faces and over the reversed red carpeted staircase. You should find that other entrance to the room with the two alternating elevators.
The red door here is a Warp Room.
Pick either the inverted Scorpion crest for the Reverse Outer Wall or the inverted Goat crest for Death Wing’s Lair, and find your way to the upside-down hooded statue with the candle carrying a Bible Sub-Weapon. This statue is some ways to the right of the long hallway with the Stone Skulls, if you took the Reverse Outer Wall route, and some ways to the left of the Clock Room if you took the Death Wing’s Lair route. Once again, beware the floor traps in the area.
Follow the path upward, and you’ll find yourself at a new level again!
Reverse Caverns
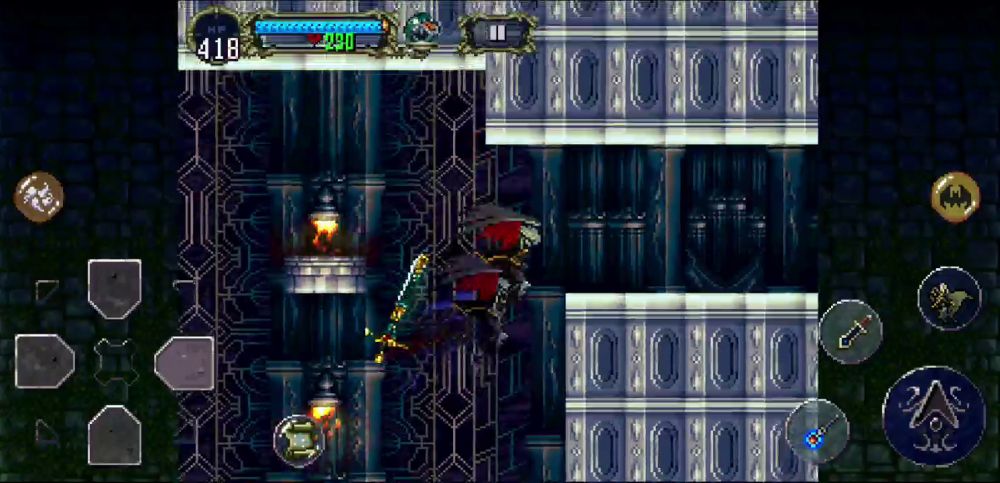
The Reverse Caverns is chock full of nasty enemies like Blue Venus Weeds, Balloon Pods, and Trolls. Time to put your game face on, because this is where things get serious.
Immediately after heading upward, you will find two exits in the middle of this tall shaft: one on the left and one on the right. Head left if you want to save your game. Otherwise, continue ascending the shaft.
Keep heading upward until you find yourself in the caverns proper.
There are more exits here: another Save Point to the left, a room above that, and your continuation to the right. That’s right, you know where we’re going (pun intended).
After picking the exit to the right, you’ll immediately be greeted by a Jack O’Bones. Press on rightward whilst fighting through these expert bone throwers, but beware the Blue Venus Weeds that lurk about. Taking them out with Spells or fire weapons like the Firebrand or Marsil should make short work of them. Usually accompanying Blue Venus Weeds are Rock Knights who throw large boulders at Alucard, so they can be a nuisance, too. There should be an exit to the right.
Straight away after entering the new area, you’ll see a gap in the ceiling. Fly up there and follow the path.
The red door should bring you to yet another new level.
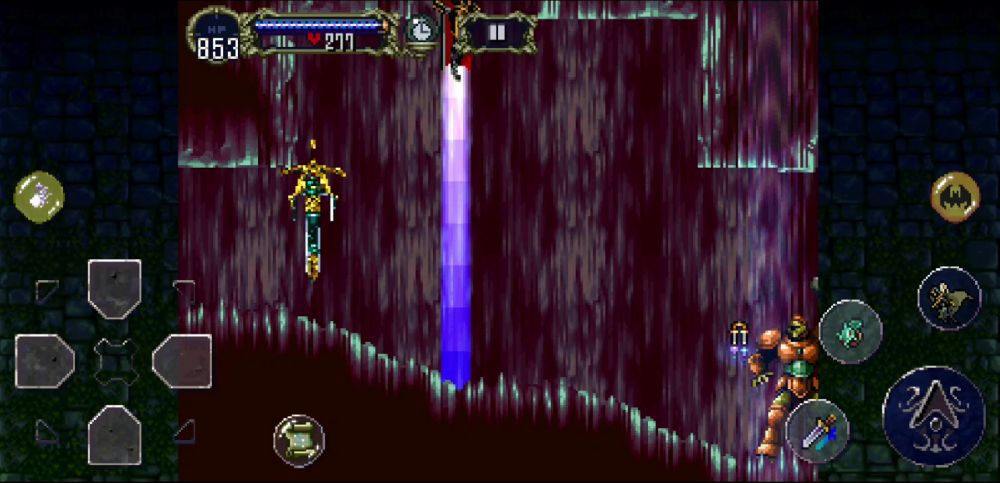
Cave
Slogras and Gaibons? Here?! Oh, but don’t worry, you’re much stronger now so they aren’t that big of a deal. Ascend this shaft and you should see an upside-down wolf’s maw. If you go further up and proceed to the left exit of this room, you may save. Enter the wolf’s maw if you wish to continue.
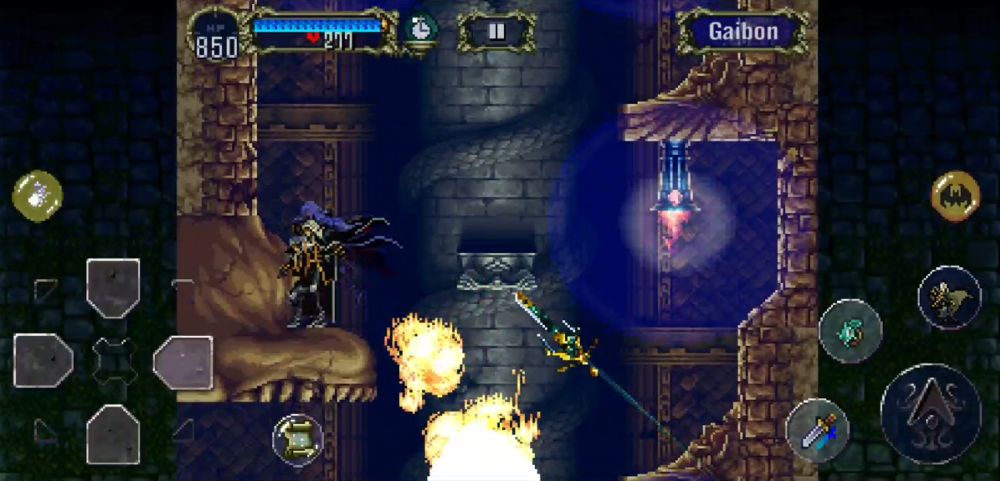
After fighting through a short corridor of Slogras, it’s time to fight someone whom you have a score to settle with…
Death
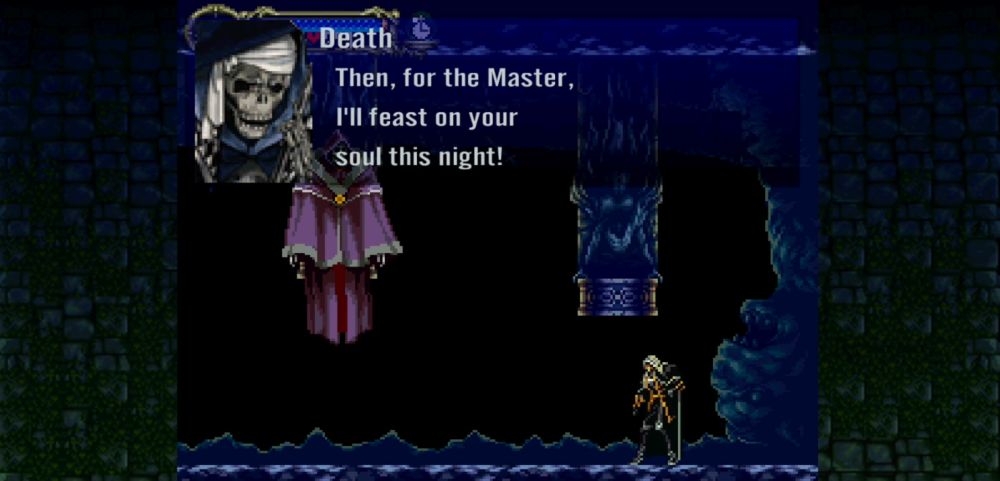
He’s the guy who took your stuff, it’s time to take your anger out on his butt.
Death has two forms in this fight. His first form has two attacks:
- He will summon flurries of flying sickles that will try to cut Alucard to pieces. You can dispel the sickles by attacking them.
- He will stretch his arms out and conjure two dark orbs of energy that will very slowly fly at Alucard. Keeping your distance from these will make them dissipate over time. Unlike the sickles, they cannot be dispelled.
- When he has reached a certain threshold of HP, he will spam some flying skulls at Alucard that deal a fair amount of damage per hit. You can dodge these by timing your jumps over them or assume the Mist Form and then cast Tetra Spirit at him from underneath then reverting to Mist again.
To defeat his first form, don’t stop attacking him and his sickles. The moment he starts spamming the flying skulls, get on one of the platforms and try to strike him from there. Otherwise, cast some Spells and have him succumb to the damage. His weakness is holy damage, so using any holy weapon at your disposal (this includes the Bible Subweapon which does wonders for the flying sickles), he will eventually lose to you in this form.
After his first form is defeated, he assumes his true form: a dual-sickle wielding god of death. This one has only two attacks:
- He raises both sickles and goes for a downward strike. You can get behind him by backdashing under him — his body cannot be collided with.
- He raises one sickle and tosses it, causing it to fly forward and back to him like a boomerang. You will most likely be under the initial throw, but you can also jump over the boomerang when it comes back. If you are low enough, you can just duck under the sickle as it returns.
His second form, while more intimidating than the first, is actually much easier to defeat. Simply strike him while he isn’t trying to attack you and you’ll be fine.
After his defeat, he will not drop your Alucard Set, but instead the Eye of Vlad — the final Relic you’ll need to pursue the true ending. Pick this up and return to the Black Marble Gallery’s Clock Room.
Much like its right-side up counterpart, the bell will toll 13 times before opening up a passageway through the ceiling. Go through this opening.
Here, go right if you’d like to save immediately. Otherwise, take the elevator to a room in the heart of the Reverse Castle. From the elevator, ascend this tall room and you’ll find yourself in a large room with an eerie geometrical structure.
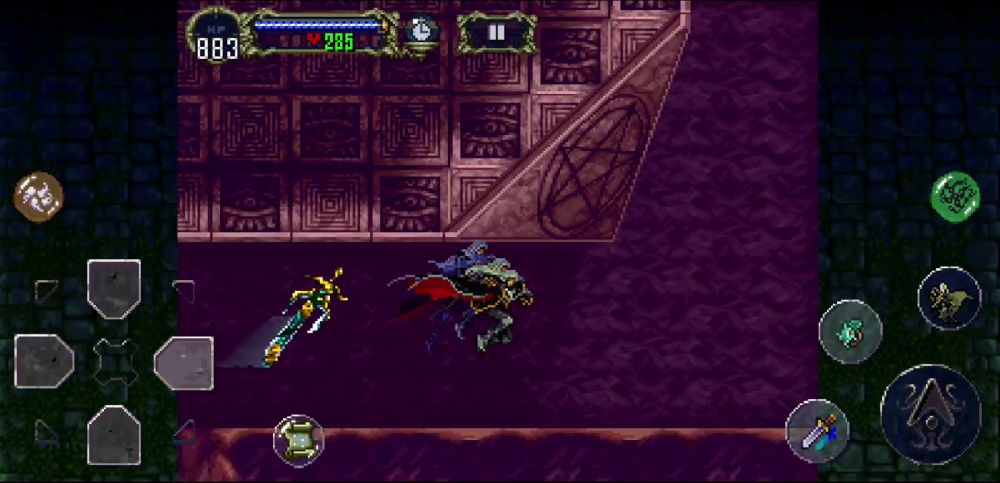
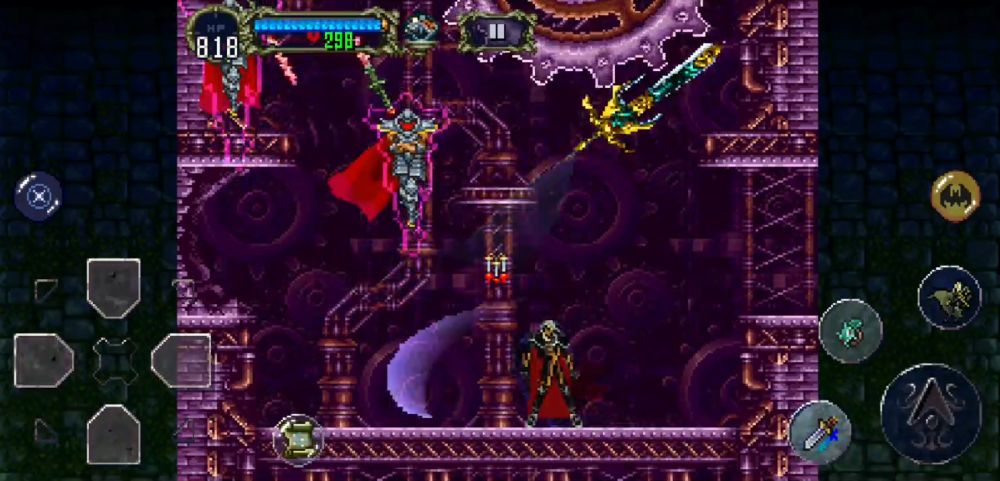
Make your way up said eerie geometrical structure and you will fight the second-to-the-last boss. Get ready, because both this guy and the final boss are fought back to back.
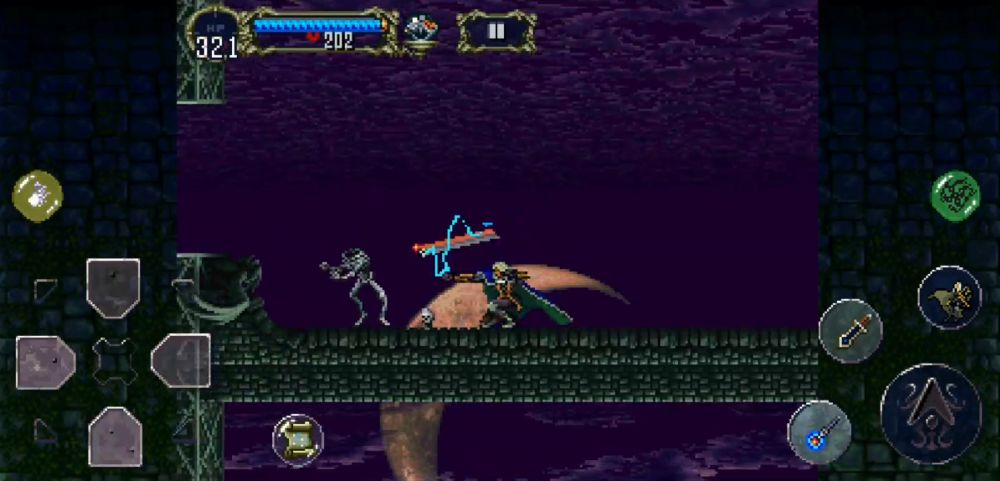
Shaft
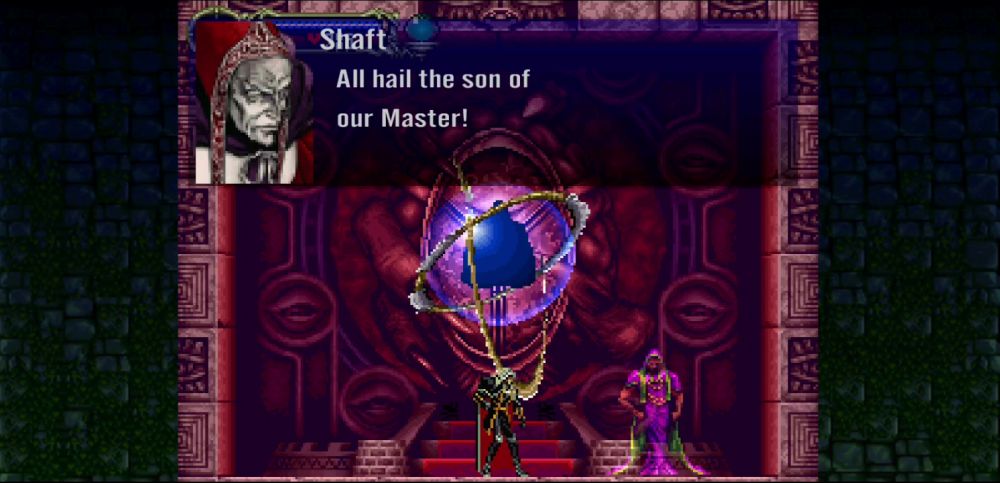
So, as the puppetmaster behind Dracula’s resurrection is confronted at last, has Shaft’s plan failed indeed now that Alucard is here and because he saved Richter? Only your victory over him will decide that.
Shaft’s attacks are all quite easy to dodge if you abuse the Mist Form and they involve the orbs that he controls around him. These are:
- Orbs that shoot fire from the walls they attach themselves to.
- Orbs that ricochet off the wall a few times.
- Orbs that link themselves with a powerful lightning current opposite to one another.
After any of these attacks have been done, Shaft, himself, will be open for a smiting. Hit him with whatever you’ve got. His attacks are all temporary, thus using the Mist Form should easily help you wait for an opening. Likewise, you can up your damage output by throwing a few Spells at him.
Giving him enough damage will kill him… and awaken Alucard’s father from his slumber, starting the final battle.
Prepare!
Dracula
Dracula’s gotten enough beauty sleep and now he’s ready to terrorize the world from his throne! Literally!
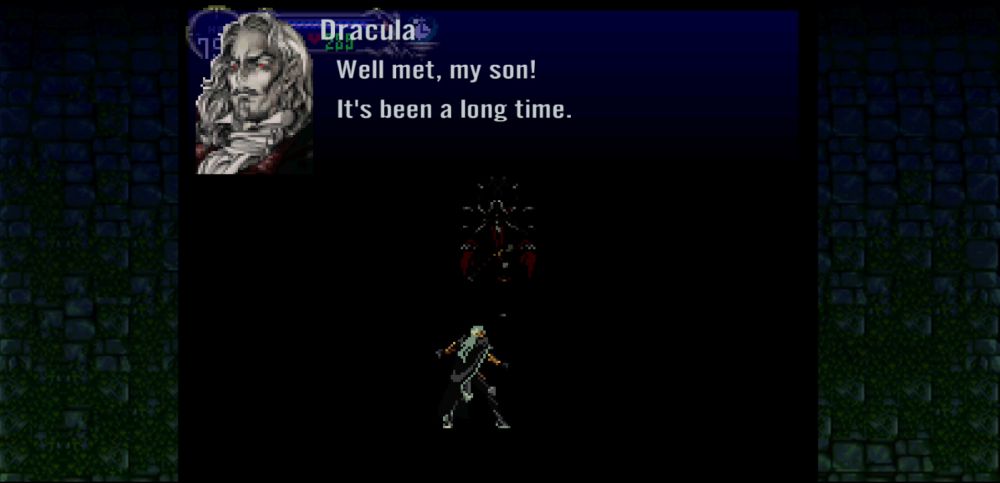
Dracula has a slew of attacks that happen in this particular order:
- He will try to swipe at you with his massive claws depending on which one you’re closer to. These can be jumped over and their telegraph is when they twitch.
- Afterwards, he will summon a minor boss like the Karasuman or the Succubus and crush it with his claws. The blood that they shed (ironic since the Karasuman doesn’t shed blood when you fight it) will replenish some of his health.
- Then, he will fly to the background and fire a large orb at Alucard. This can be avoided by moving away or by turning to Mist.
- The three dragon heads on his throne will stretch out right after the large orb attack attempting to bite Alucard. They will first stretch out one at a time, tracking his movement, and then stretch out altogether, to fire triangle-shaped energy at him. Just like the orb attack, turning to Mist until the attack is over will help.
With Dracula being a huge target, you can bet that he will take tons of damage from all over. Using Tetra Spirit, Soul Steal, and rapid striking weapons will do him in very quickly. Additionally, just like Shaft, abusing the Mist Form here is a valid strategy since it’ll allow you to observe his otherwise predictable attack pattern before you find yourself an opening. At this point in the game, your Alucard should be strong enough to take him down with no problem.
With Dracula put to rest, Alucard has finally fulfilled his purpose. Castlevania will now be in shambles and Maria has saved Richter with Alucard’s help. But with the blood of the Belmonts tainted, will there ever be a time where they will return? Who will now take up the mantle of defeating Dracula should he rise once more? All that we know right now is that Alucard shall fall back to slumber with nobody left by his side. As bittersweet as this may be, it may be for the best.
Congratulations. You have finished the game.
But wait! Did you know that there are other things that are still worth exploring before actually finishing the game?
Extra Challenges
That’s correct! There are still yet other bosses and other areas of the castle that this walkthrough hasn’t covered and you can tackle them all before finishing the game! If you’re interested in fully completing the game, here is a list of challenges you might want to try out yourself if you think you have what it takes:
- Obtain all the Familiars in the game
- Obtain these extremely rare items:
- Muramasa
- Heaven Sword
- Sword of Dawn
- Lapis Lazuli
- Crissaegrim
- Rune Sword
- Yasutsuna
- Masamune
- Fist of Tulkas
- Mourneblade
- Mablung Sword
- Brilliant Mail
- Mojo Mail
- God’s Garb
- Ring of Varda
- Beryl Circlet
- Obtain all Shields in the game
- Complete Alucard’s starting inventory:
- Dragon Helm
- Alucard Mail
- Alucard Sword
- Alucard Shield
- Twilight Cloak
- Necklace of J
- Obtain optional Relics:
- Holy Symbol
- Skill of Wolf
- Gas Cloud
- Force of Echo
- Obtain the Duplicator from the Master Librarian
- Cast all Spells
- Cast all Shield Spells
- Vanquish the other optional bosses:
- Doppelganger 40
- Fake Trevor, Sypha, and Grant
- Galamoth
- Find all the breakable walls using the Faerie Familiar
- Earn the Golden Ending where Maria decides that she cannot be without Alucard
We leave the rest up to you!
This concludes this multi-part walkthrough of Castlevania: Symphony of the Night! If there is something we forgot to point out or if there might be something you’d like to add to this guide, please leave your thoughts in the comment area!
jen
Wednesday 15th of October 2025
you totally should've included the rest of the game in the guide!
willim
Friday 4th of April 2025
This guide was great for completing my game, thanks to those involved