Welcome back, o brave soul. It seems that the castle’s gates and passages have crooned out to you after all.
This castle, Castlevania, is a creature of chaos that takes new incarnations with every resurrection of Count Dracula. His presence has made itself known once more and it appears that Alucard, his son, has come to put an end to all this. Will you aid him on his quest or succumb to the forces of darkness? Lend your senses once more to the Symphony of the Night.
Here at Level Winner, we have previously covered Castlevania: Symphony of the Night as a guide for beginners. It showed various tips and tricks to ensure your survival in the castle, as well as items and Relics you should look out for.
In this article, we’ll go one step further and help you uncover the truth behind Dracula’s resurrection and help Alucard fulfill his mother’s final wishes in this multi-part walkthrough. Fill thyself with a heart of fire and hold thine crucifix to thy heart, we venture forth into the lair of darkness. Read our in-depth walkthrough below!
DISCLAIMER: This walkthrough only intends to guide the reader on getting a good ending to the game, not the best one. Symphony of the Night is regarded as one of the greatest masterpieces in gaming history and to explore it on one’s own volition in itself is rewarding. The walkthrough below serves as a roadmap with signposts with only a few secrets revealed to the reader, leaving them to uncover the rest for their enjoyment.
- Beginner’s Guide Recap
- Final Battle Bloodlines
- Dracula
- Entrance
- Alchemy Laboratory
- Slogra and Gaibon
- Alchemy Laboratory Continuation
- Marble Gallery
- Outer Wall
- Doppelganger 10
- Outer Wall Cont.
- Long Library
- Royal Chapel
- Hippogryph
- Royal Chapel Cont.
- Castle Keep
- Olrox’s Quarters
- Colosseum
- Werewolf and Minotaur
- Colosseum Cont.
- Summary of Part 1
Beginner’s Guide Recap
As we’ve stated in our previous guide, Castlevania is a franchise that’s always full of surprises and Symphony of the Night is no exception.
The game itself boasts of hours upon hours of gameplay and that’s solely due to the exploration factor of the game alone. That said, we will leave it up to you, the reader, to explore the game on your own, at least the majority of it. The walkthrough below will at least point you where to find certain Relics, especially the essential ones.
To briefly recap our Castlevania: Symphony of the Night beginner’s guide, here are a few things that we can point out before we get on with the walkthrough:
- Exploration is a key point in this game. You will be coming back to different areas of the castle to see what you missed.
- Cast spells and use Sub-Weapons to defeat all your enemies and the bosses more easily.
- If an enemy is carrying a weapon, they might drop it when slain.
- Retreat to the closest Save Point when injured or when you don’t have healing items.
- Defeating Dracula as Richter with certain conditions fulfilled will affect Alucard’s stats when he starts out.
To read our beginner’s guide that covers controls, special tips about the game in general, and more, click here. We will discuss this last bullet in-depth very soon. Now, let’s get your feet first put in the shoes of the man who caused the fall of his clan: Richter Belmont.
Final Battle Bloodlines
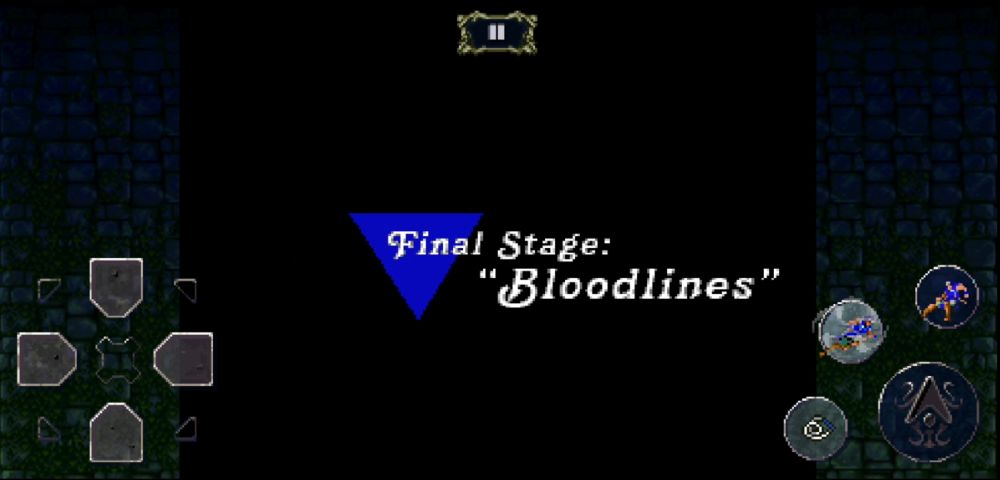
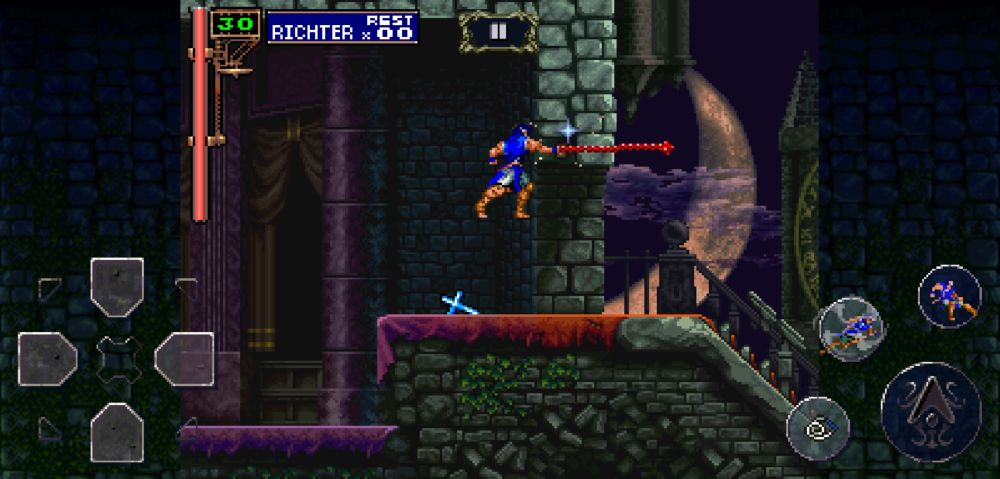
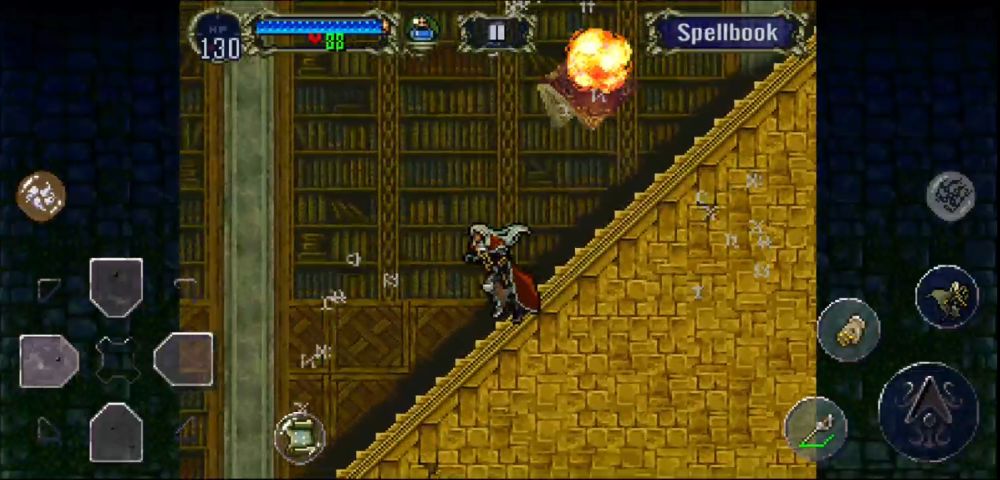
The prologue begins as dark clouds billow past Richter. He now bravely ascends Castlevania’s blood-red staircase and his destiny sits in the throne room beyond. Is he prepared to fulfill the mission of his clan?
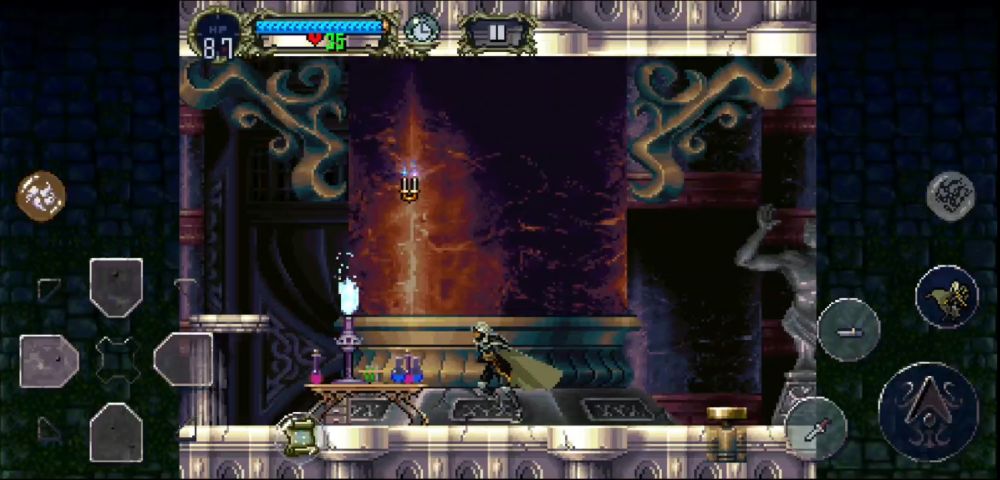
First head up the staircase. At the very top, you should find a candelabra and the ceiling of the doorway. Taking out the candelabra should give you the Cross Sub-Weapon.
Go left, and you’ll find yourself in a large dining hall. The candelabras, as well as the urn on the table, will only drop hearts. Walk into the menacing doorway, and you’ll find yourself fighting your mortal enemy.
OPTIONAL: After reaching the top of the staircase, if you decide to destroy the corner brick of the doorway’s ceiling, you’ll reveal a secret passage to a room above. Up there, you will find another candelabra with a heart in it, as well as a ramp going upward. Entering the room above, you’ll find a collection of items that can otherwise be found in Alucard’s game.
Picking these up will have no effect on Richter, but they were left here for Easter Egg purposes, according to the game’s developers. It’s a nice thing to keep in mind once you start playing as Alucard since the Shield Rod is among these items — a weapon so very useful once you collect all sorts of shields. You won’t find it in this room, surprisingly enough.
Dracula
There he is — the man, the myth, the monster that doesn’t belong in this world. Time to give him a beating as you waltz through this dance of illusions.
There are four candelabras before Dracula, the first three from the right contain hearts while the very last one contains the Holy Water Sub-Weapon. Just like the Cross, this can come into play if you’re looking to defeat Dracula creatively and safely (emphasis on the creatively since there’s a lot you can do with Sub-Weapons).
As we’ve discussed in our previous article, there are a couple of conditions wherein defeating Dracula dictates how powerful Alucard’s starting stats will be. Below is a table from our beginner’s guide illustrating the possible scenarios that could happen in the beginning.
| Condition | Effect on Alucard |
| Defeat Dracula without taking any damage. | Alucard starts with +5 to his HP max. |
| Defeat Dracula without any Sub-Weapons picked up and without using the Flame Whip. | Alucard starts with +5 to his HP max, +1 to his STR, CON, INT, and +5 to his LCK. |
| Complete the entire Prologue within 1 minute. | Alucard gains +5 to his HP, Hearts max, STR, CON, INT, and LCK. |
| Defeat Dracula with the Holy Water equipped. | Alucard starts with +5 to his MP max and Heart max. |
| Defeat Dracula with the Cross equipped. | Alucard starts with +10 to his MP max and +5 to his Heart max. |
| Collect more than 40 Hearts in the Prologue. | Alucard will start with a Neutron Bomb in his inventory. |
| Consume all of Richter’s Hearts. | Alucard starts with a Heart Refresh in his inventory. |
| Richter loses all his HP and Maria arrives to revive him. | Alucard starts with a Potion in his inventory. |
The best way to get a strong Alucard is to aim for at least one of the first three. Let’s go through the possible ways you can achieve these.
1. Defeat Dracula without Taking Damage
Beating Dracula and taking no damage while doing it is simpler than it looks. You will only need Richter’s Vampire Killer at most since he can twirl it about and destroy the three small fireballs he launches. This won’t work on the pair of big fireballs, but that’s what your Tackle button is for. Using that to dash through his head should get you out of harm’s way immediately. Repeating this until he reaches his second form shouldn’t be a problem.
During the second phase of the boss fight, tackling Dracula while positioned a little bit close to his foot, should make the Tackle hit him twice. This will cause greater amounts of damage. If you do this properly and keep yourself away from him when he tries to attack you, you’ll complete the battle without getting hurt.
Conversely, if you’ve picked up the Holy Water before the fight started (or replaced the Cross with it), you can use its Item Crash to stop Dracula from spitting fireballs. The Hydro Storm should whittle his HP down considerably whilst rendering Richter invulnerable as he casts it.
2. Defeat Dracula without Any Sub-Weapons Picked Up and without Using the Flame Whip
This one can be achieved by spamming the Tackle button every time he appears. Not only will you be safe from the fireballs, you’ll also deal great amounts of damage to him in his first form.
The second phase will require you to do the same, but only if you diligently Tackle through his foot. Never attempt to Tackle him in midair as he will hurt you when he lands. The fireballs he spits may pose a problem as well since Tackling at the wrong time will cause you to get hit by any of them. Though you may sustain some hits doing this, having Richter lose his HP will at least give Alucard a Potion when you start as him.
3. Complete the Entire Prologue within 1 Minute
The method here will require some Sub-Weapon juggling and Tackling.
Using the Cross, you will be able to hit Dracula’s head twice since it flies like a boomerang. Combine this with a Tackle, and you will have hit him three times with the third hit damaging him heavily.
If you’re skillful enough, you might want to catch the Cross before it hits the last candelabra in the room. The juggling part comes in when you need to cast Hydro Storm after hitting him with the Cross a few times or vice versa. Remember that the Sub-Weapons disappear if they haven’t been picked up in a while!

Once he reaches his second form, take the Holy Water and cast Hydro Storm on him. If you’ve done this as soon as you replaced the Cross with it, the Cross should still be there after Richter casts the Item Crash. Pick up the Cross and start throwing it like crazy whilst whipping him and or Tackling him. He should die rather quickly.
4. The Best Three
This one requires the most skill to perform as it will combine the first three tips we have given you here. It’s also been made more attainable on mobile as doing it with traditional controls is quite difficult.
Perform a Super Jump from the foot of the staircase and spam the Tackle button until you arrive at the throne room. Be sure that Richter is not grounded while he does the Tackle otherwise it will not work. If the Tackle method doesn’t work for you, try slide-jumping past the Cross candelabra and into the throne room. Skip the dialogue.
As soon as the fight begins, destroy all the candelabras and do not pick up the Holy Water. When Dracula appears, jump and then Tackle his head. As soon as Richter loses momentum, hold the arrow of the d-pad in the opposite direction and then Tackle the other way.
If you’re quick enough, you can chain 4 Tackles in one go, cutting Dracula’s life down to half. Be warned that doing this while he is in a corner is dangerous as colliding with him will hurt Richter, removing your No Damage bonus.
The moment that he reaches his second form, perform the same foot Tackle technique we mentioned. If he happens to transform in the corner of the throne room, run to the other side of the screen and hope that he jumps toward you. That way, you’ll be able to double-Tackle him in peace. If all of these line up, you’ll have a Super Alucard to start with.
After the opening narration finishes, it’s time to usher in the star of the game.
Entrance
Welcome to Dracula’s castle!
Depending on your stats, you might want to practice casting the Spells you are able to while there are no enemies around in this courtyard. Simple ones like Summon Spirit, Tetra Spirit, Dark Metamorphosis, and Hellfire should help you along the way. You may view how to cast these Spells in our previous guide here. Otherwise, proceed right and kill your first enemy; a giant wolf called a Warg.
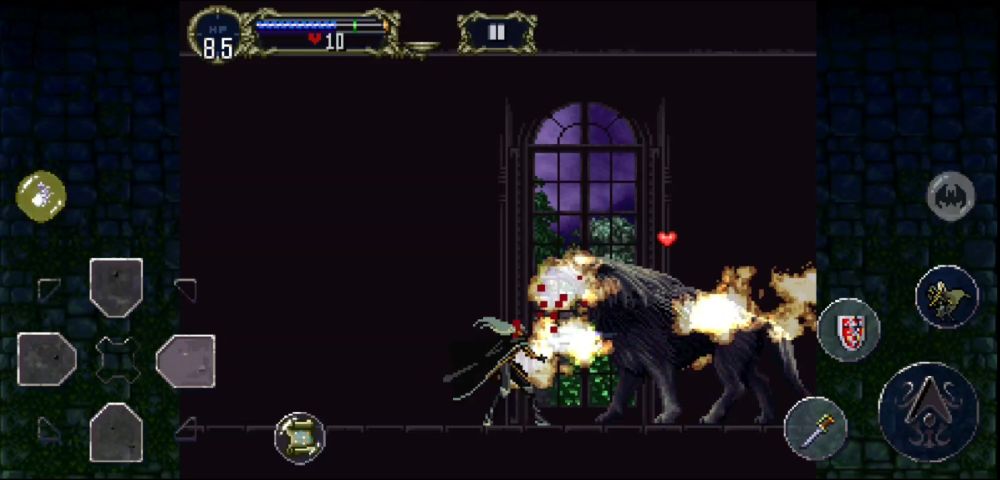
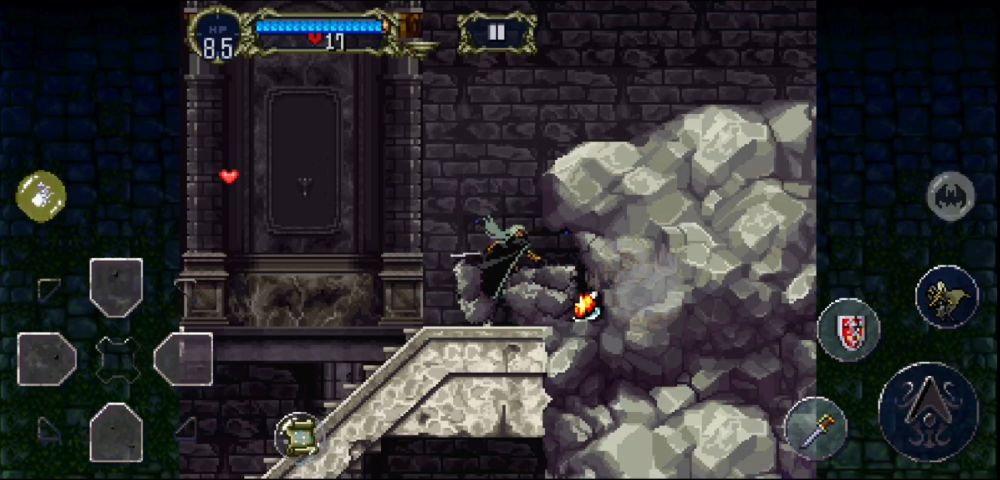
Continue down the dark hallway whilst killing the Wargs. When the lights come on, Zombies will begin to pop up, and they’ll try to hinder you from proceeding. The Zombies spawn endlessly, so don’t bother trying to kill them all. Move into the next room, and you should see a broken staircase with a large rock on the other side.
Above you, a small group of Bats will attempt to attack you. Jump across the broken staircase and slash at the rock to reveal a Pot Roast as well as a hidden tunnel to the other side. The other end of the rock has to be slashed open as well.
If you choose to descend the broken staircase, you will be assailed by a never-ending school of Mermen. This will be a good place for you to grind up until you at least reach Lv3. You may also explore the two rooms on the bottom left and the right.
The bottom left room has an Life Max Up in it while the bottom right room has a purple torch with a door that leads to another area. Both are inaccessible as of the time you find these. Finding your way to the other side of this room will lead you down another long hallway with Wargs in it.
Before you reach the end, you’ll notice that the steps are elevated by a platform. Destroy the foot of the platform to reveal a Turkey, then proceed into the next room.
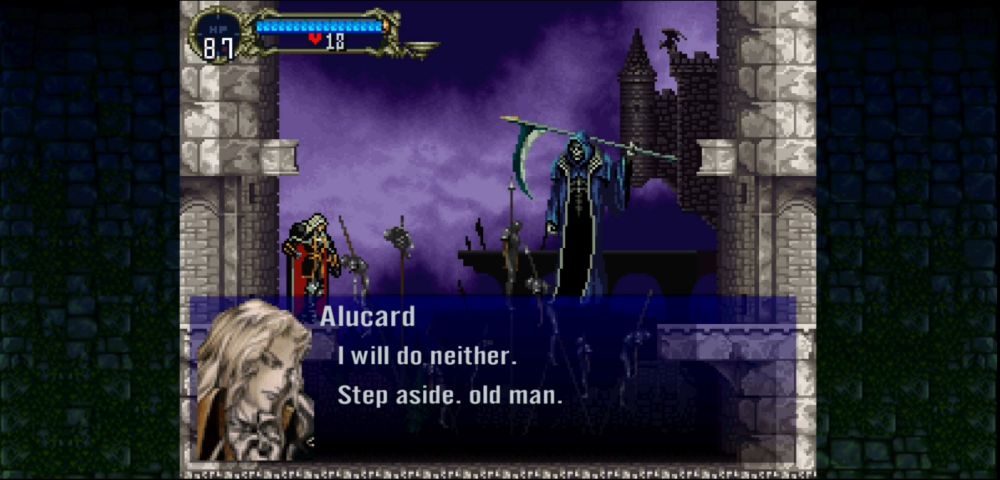
Alas, Death will take your stuff. After his conversation with Alucard, he will scatter all of your precious equipment across the castle for you to find, leaving Alucard rather powerless right now. But that’s not what your spells are for! Trudge on and reclaim your strength.
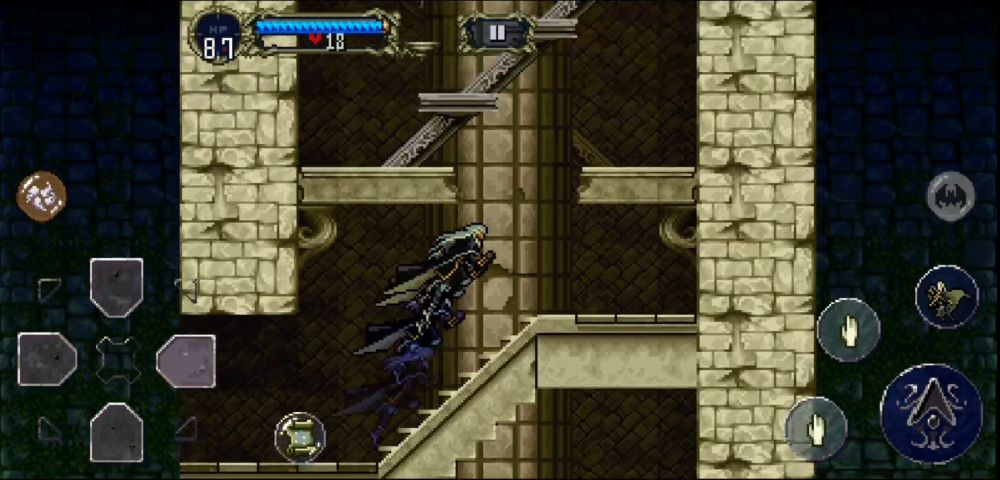
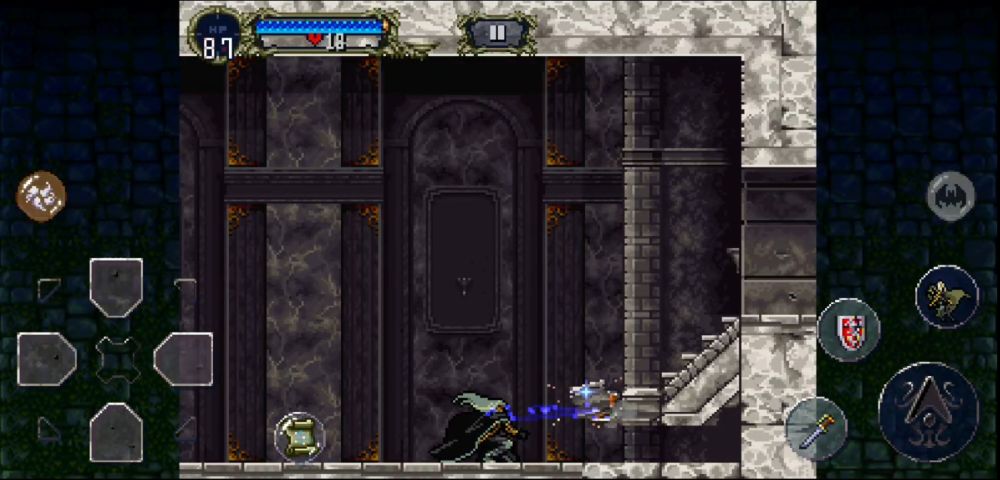
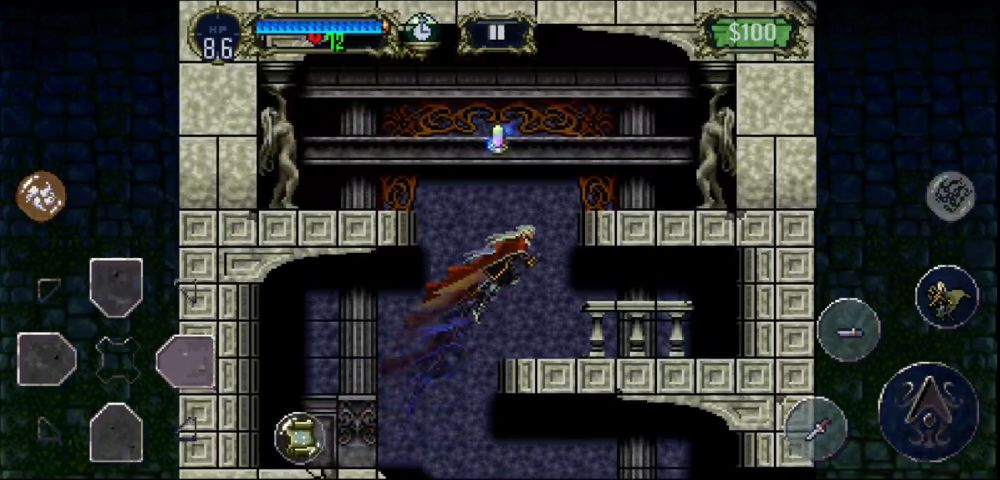
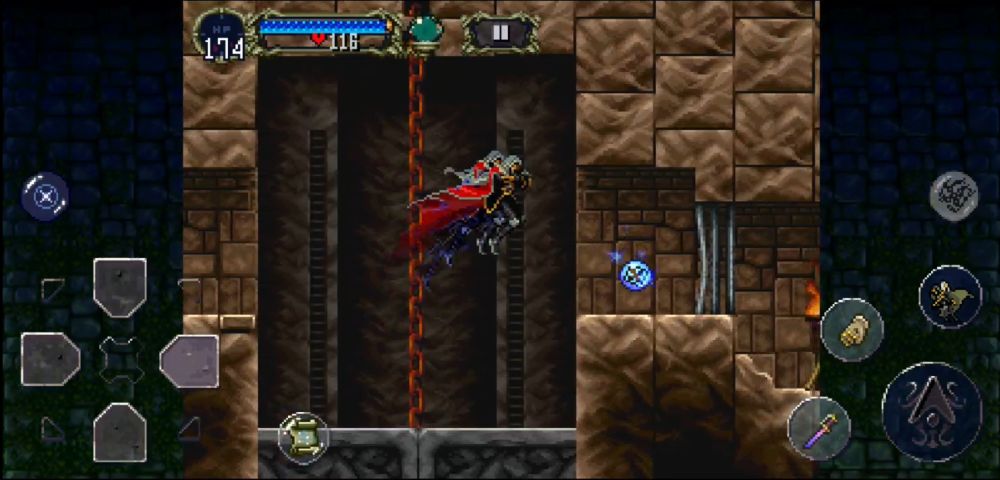
Jump across the gap of this grisly-looking room (Dracula’s favorite decor is impaled corpses, shocker), and you will find yourself at a stairway on the right. Hop up the steps and go left. There should be a bridge with a pair of gargoyles sitting on it.
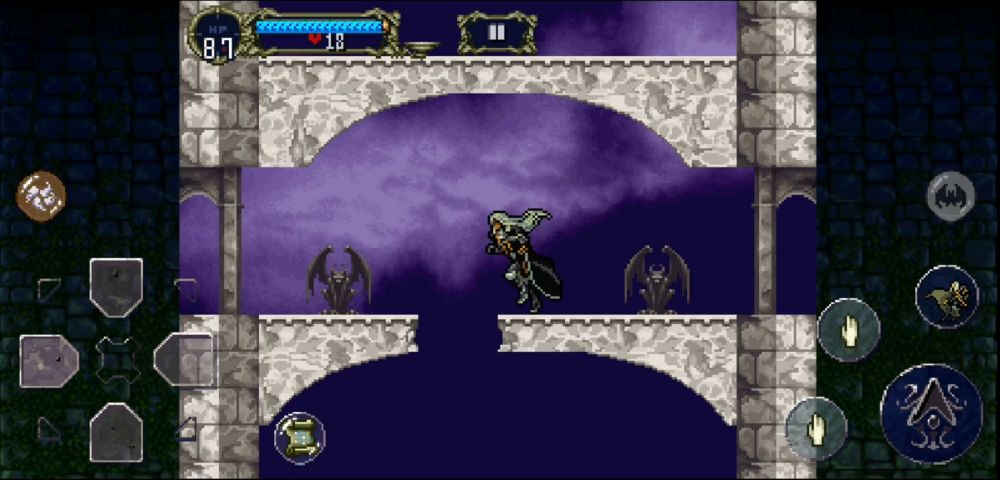
The bridge has a crack — falling through it will bring you to the place where Death took your things (but you will also notice a small entrance to another room there in the middle). Jump across the crack.
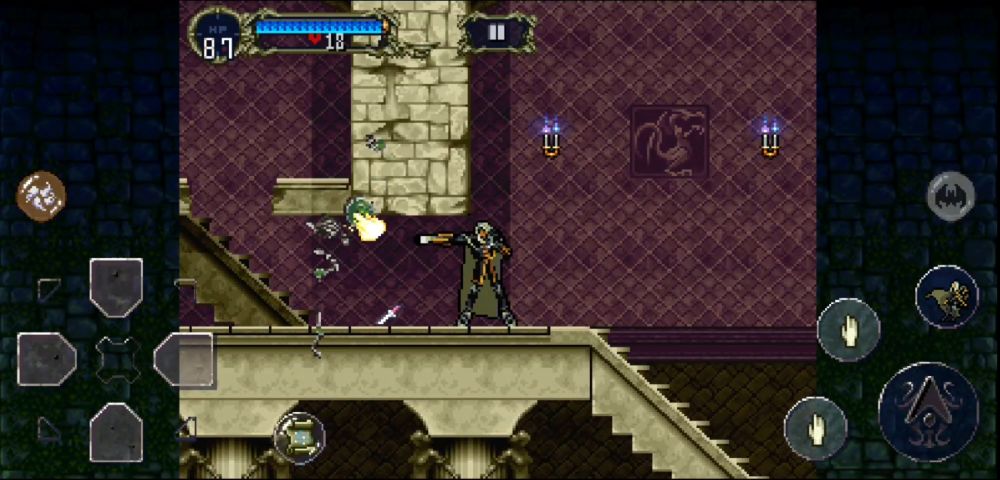
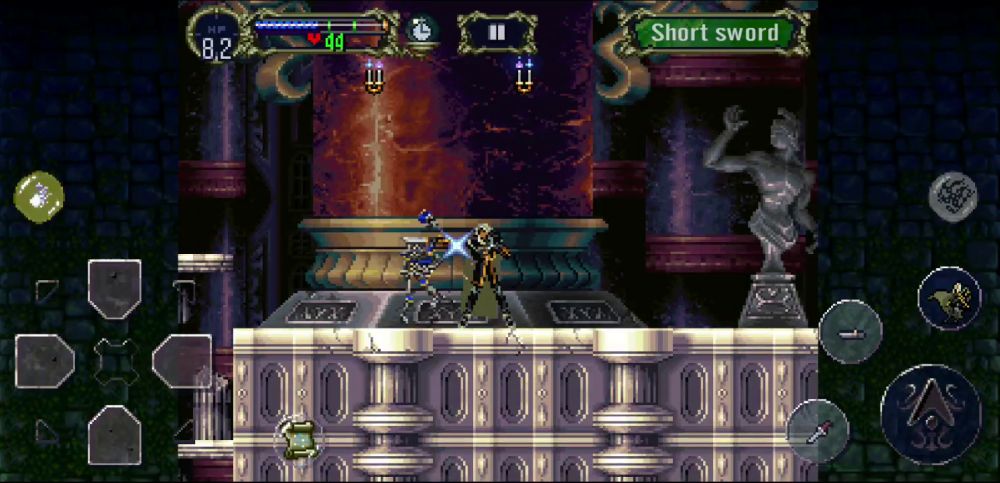
You should arrive at a grand hall with five doorways, including the one you came from. Run up the steps and kill the Bone Scimitar enemy; it should drop a Short Sword. Proceeding to the doorway at the lower left should have a room with a Heart Max Up in it stuck behind a wooden gate.
Hopping up the ledges of the grand hall, you’ll find a reddish Bone Scimitar. Killing this one will drop the Red Rust. The room to the left of the red Bone Scimitar is a Save Point. Save here or interact with the crystal to replenish any health or MP you might’ve lost along the way.
At the top of the grand hall, you’ll find your first Relic: the Cube of Zoe. This Relic will cause Hearts and Sub-Weapons to drop from candles and lanterns that you destroy.
If you want a powerful Sub-Weapon right off the bat, go back to the Merman pool and you should see a candle under the right side of the rock on top. Destroying that candle using Summon Spirit or Tetra Spirit will drop a Stopwatch. It will come in handy for the first boss. Be warned that it consumes a lot of hearts when used! But let’s go back to the grand hall.
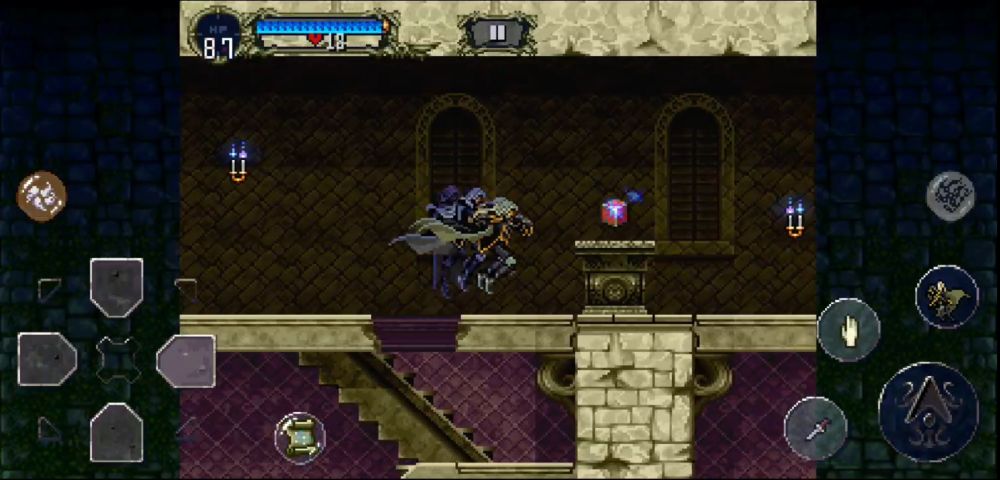
On the right of where you obtained the Cube of Zoe, you’ll see a small stone weight held down by a larger stone weight and a doorway that leads somewhere. You won’t be able to access this right now. Instead, touch the red door on the left and walk through an angel statue-adorned transition hallway for your first real level.
OPTIONAL: If you choose to return from the new level through the transition hallway, the grand hall will spawn new enemies — Bloody Zombies. There will be at least three of these guys in the grand hall. Grinding them should get you the Basilard, a faster, stronger, but shorter sword than the Short Sword.
They may also bring Alucard up a level or two. Making it back to the area where Death took Alucard’s stuff will surprise you with the first boss. They can be fought normally but they won’t be slain there as they will retreat after reaching a certain HP threshold.
Alchemy Laboratory
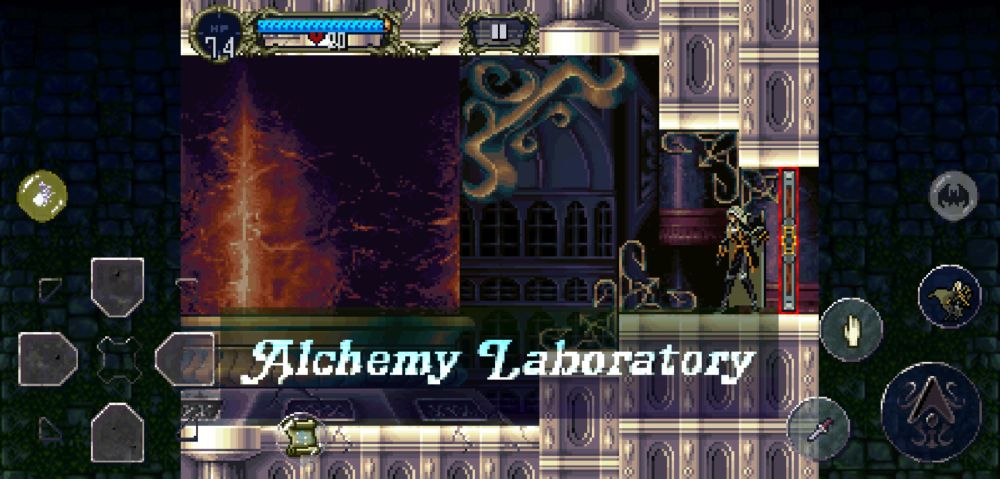
Dark science is afoot as Alucard listens to the instruments’ ominous whirring whilst Skeletons prance about with pure unlife. Might this be a dance of gold or a dance of the dead?
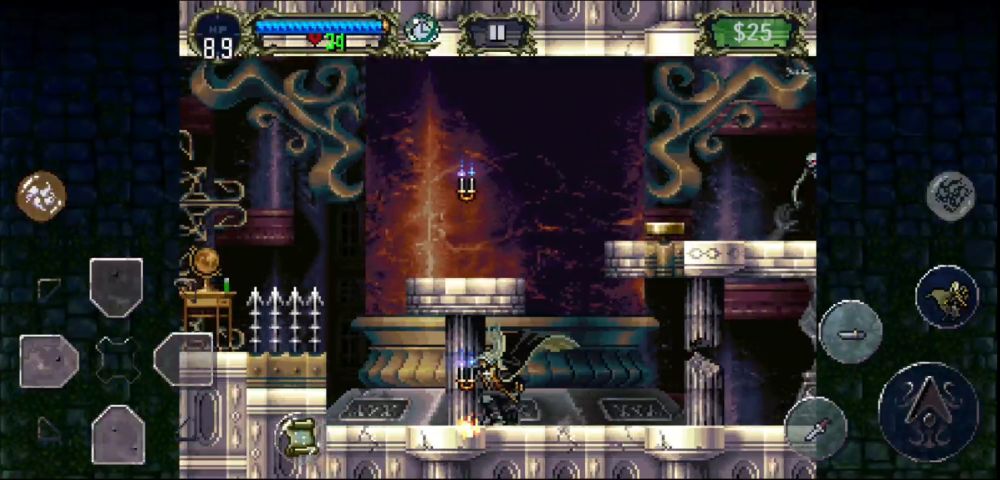
The Alchemy Lab greets you with a large hall with a couple of Skeleton enemies, including one just called Skeleton that prances above you, chucking bones at Alucard. Avoid the falling bones as much as possible and make your way to the end of the hall. You should see a spike trap guarding a brass globe. The trap can be disengaged by a switch atop one of the ledges to the right.
Otherwise, if you are accurate enough, you may instantly jump over the spike trap and break the globe to obtain a Hide Cuirass. Equip this to increase Alucard’s DEF. After dispatching all of the enemies in the room (except for the Blood Skeleton; these dudes are immortal), enter the next room above.
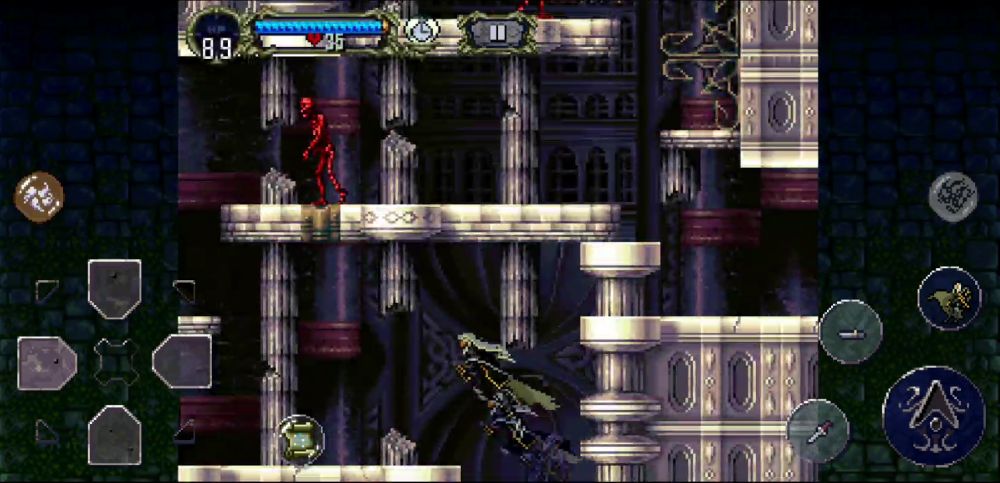
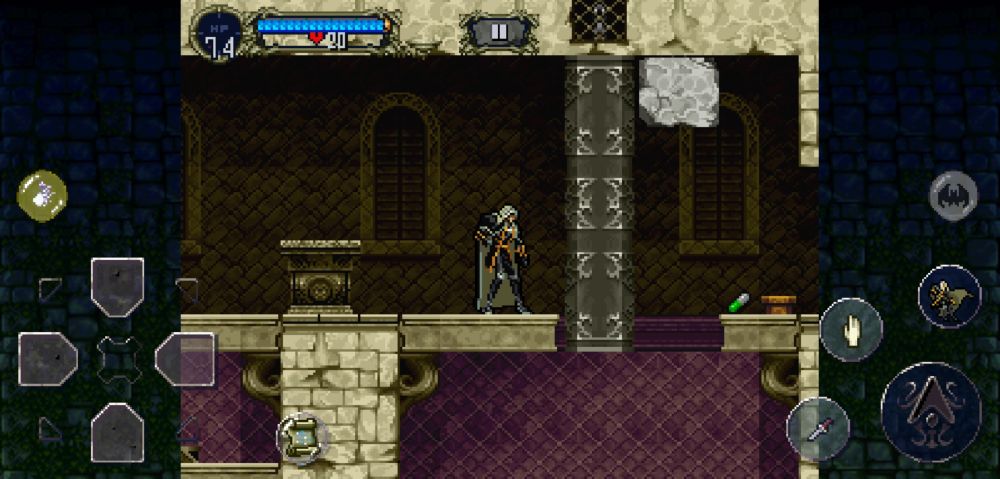
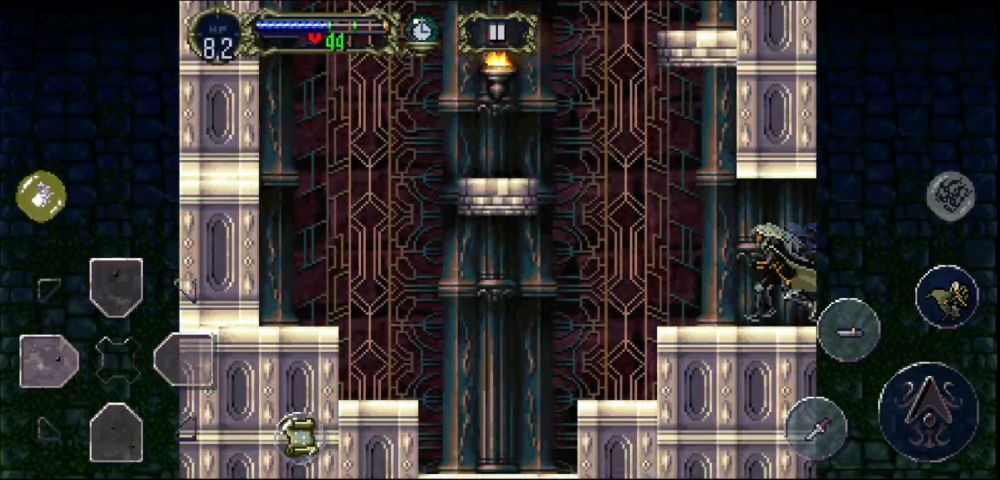
Exactly above, you should see a small entrance to the right after hopping up some ledges. This is a Save Point. Above the Save Point is an elevator with a Blood Skeleton roaming about. Below the elevator, at the level of the Save Point is another Blood Skeleton that steps on the elevator’s switch as it passes.
We’re sure you’re curious to know what might be in the room atop the elevator. Don’t worry, we’ll tell you. But first, you have to get that elevator to work somehow. You may skip the next two paragraphs if you have no desire to see what is in that room.
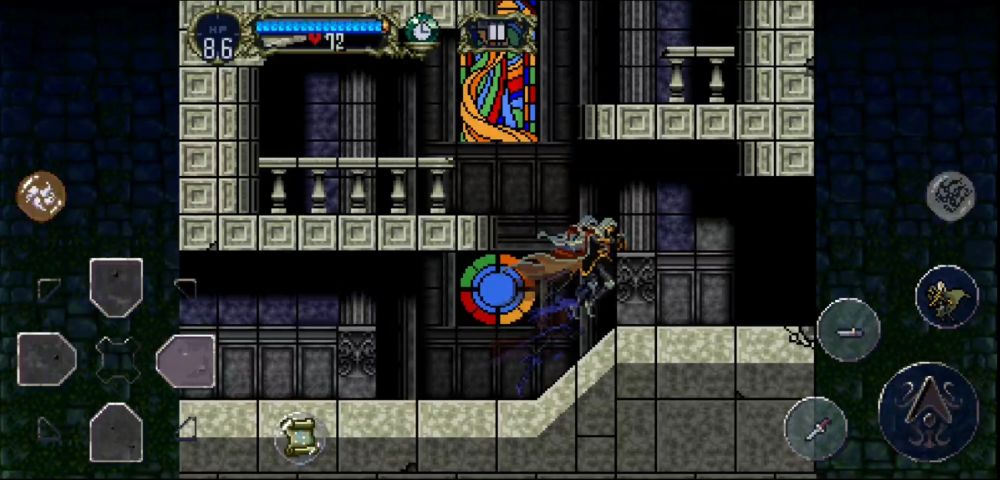
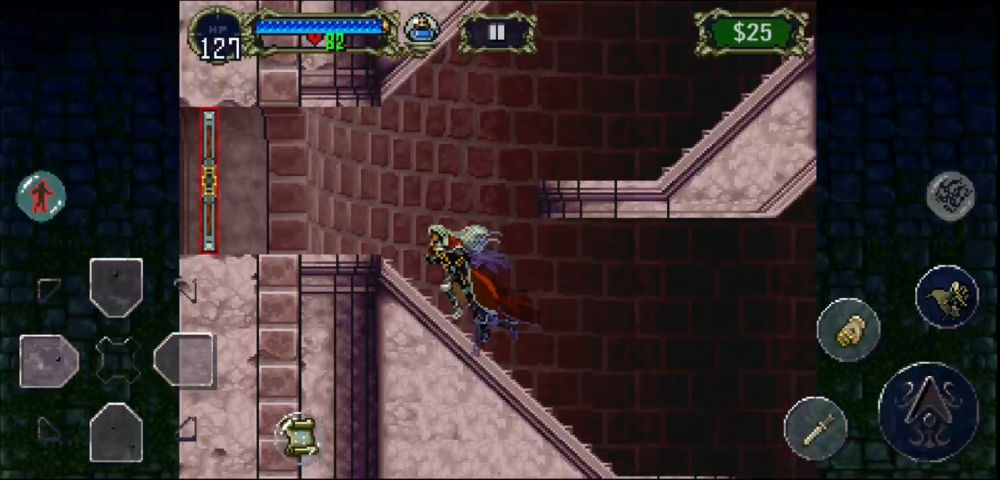
To do that, first get on the elevator and take out the Blood Skeleton guarding it. Ensure it stays dead, so keep hitting it when it keeps coming back. To make the elevator go up, you will have to cast Summon Spirit or Tetra Spirit on the Blood Skeleton that steps on the switch so it dies there and Alucard will be carried up the elevator. This requires timing.
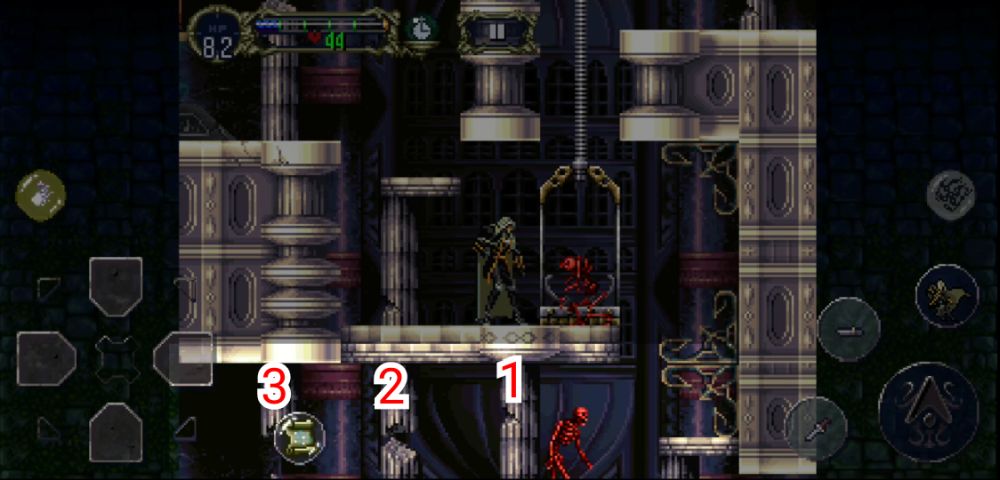
Keep your eye on the three pillars as numbered in the screenshot above. As soon as the Blood Skeleton makes contact with the 2nd pillar, cast Summon Spirit or Tetra Spirit to kill it on the switch. The elevator should carry you up to a room with a Basilard in it.
The opposite end has a cannon in it that you can use to destroy the wall it’s facing. You may use this tactic to get the Basilard early if you don’t want to grind on the Bloody Zombies in the grand hall of the Entrance. Below is a GIF demonstrating how to do it:
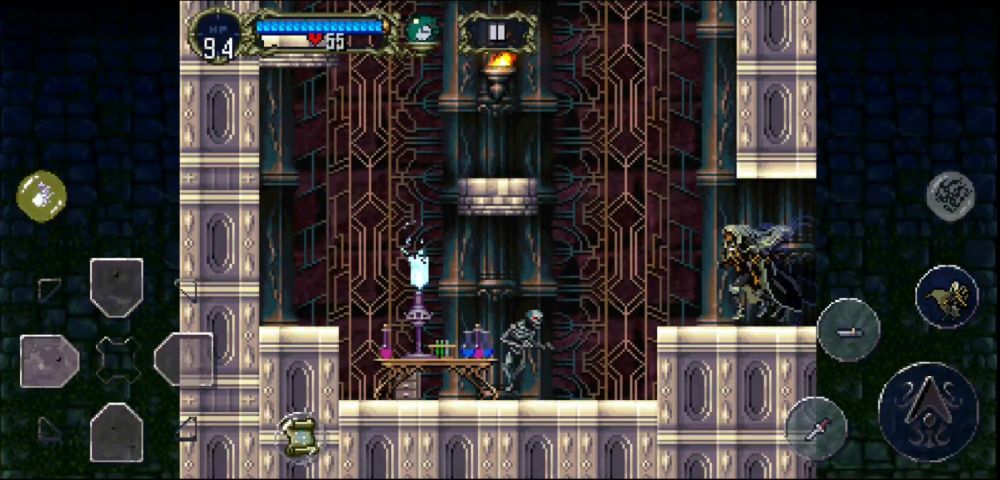
Near the elevator are two hallways that lead to an upper left exit and a doorway to the ceiling only accessible by flight or Super Jump. Going for the lower left path will require you to kill a Bone Scimitar in front of a spike trap. Jump over the spike trap (or disengage it by stepping on the switch) and you will find a table full of experiments and a burner.
Snuff out the flame of the burner to obtain a Leather Shield. Hop up the ledges to explore the second level, the other hallway, which has a pair of Bone Scimitars and an Axe Armor that will challenge you to a fight. Making your way to the right of this hallway will bring you back to the elevator section as well as the Save Point.
Go left instead, if you wish to proceed to the next room.
You will find yourself in a tall room with ledges. Extinguishing the flame of the first torch you see here will give you the Knife Sub-Weapon. Continue on upward and you’ll find an exit to the left.
In the next room, you’ll see another table with a burner on it. Putting the flame out will drop a Resist Thunder. Continue upward and you’ll exit to a large room on the left.
In this large room, you will see a Spittle Bone that scurries on and upside-down a ledge. Do not touch the liquid it drips as it will poison Alucard and cut his damage down to half. Kill it to make the room slightly safer. The floor here has two spike traps and a box in the middle.
Deactivate the right spike trap first by stepping on the switch below the Spittle Bone’s ledge.

Jump over the left spike trap and deactivate it using the switch on the far left side of the room.

Push the box over the right spike trap’s holes and reactivate the right spike trap to elevate the box.
Hop onto the Spittle Bone’s ledge and make your way upward while dodging, blocking, or destroying any axes the Axe Armors might throw at you. Exit right.
You’ll be in another tall room. Make your way to the top and enter the alcove on the left. The alcove has two eerie-looking lamps and a brass globe in the middle. Break the brass globe to obtain a Cloth Cape (finally something remotely fashionable). Return to the large room.
Descend to the Spittle Bone’s platform (but be careful with it), and leap over the right spike trap since the left one will stay deactivated, and make your way up to the top left. Don’t forget to kill the Axe Armors that block your path. Exit left.
This next room is a very tall room with two, large platformed pillars: one at the bottom half which is crawled on by two Spittle Bones and one at the top half. Make your way around the bottom pillar (while trying not to get poisoned) and access the room you will immediately find to the middle left of the bottom pillar. This is a Save Point, save if you wish. Continue on upward the bottom pillar and you will find that the top pillar’s ledges are on the right side.
At the top of the top pillar is a torch that, when extinguished, drops the Axe Sub-Weapon.
If you fall off the left side of the top pillar and land on the ledge above the Save Point, you’ll find a hallway with a mysterious Blue Door that is sealed with magic. You’ll access this later.
The exit to the right of the torch that bears the Axe is your first boss. Get ready!
Slogra and Gaibon
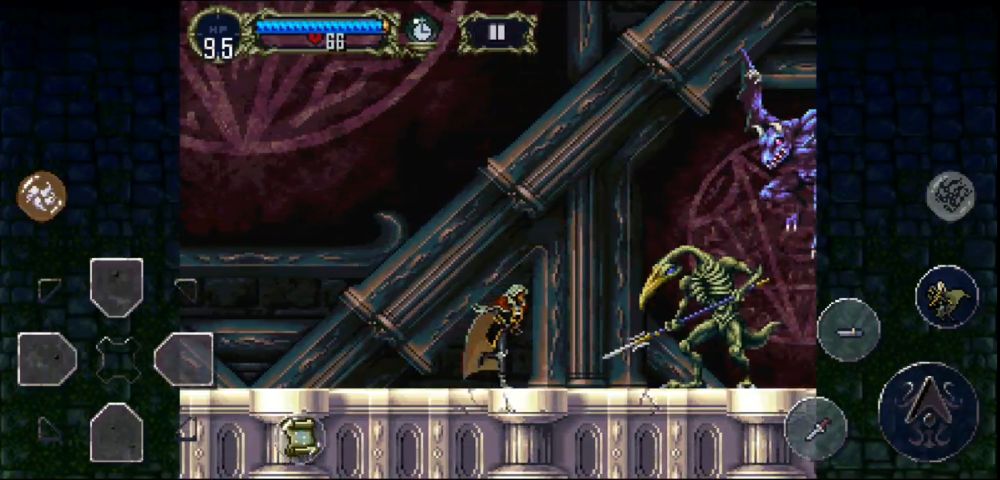
You walk into a massive room and a stone slab slides behind you, closing your exit. Jumping a few ledges down and moving a little to the right, you’ll encounter your first boss fight: Slogra and Gaibon, the servants of Death. Let there not be a festival of the servants!
Slogra is a beak-faced demon armed with a spear that can shoot energy orbs while Gaibon resembles a tailless wyvern who spews fireballs at his prey. Together, they are a formidable pair but only you can stop them.
If you’ve kept the Axe from the previous room, be ready to throw it. First hit Slogra and let Gaibon catch him. Throw the Axe while they’re up in the air. This should damage them both. You can throw two for more damage, if you like. Gaibon will attempt to drop Slogra on you while Slogra falls with his spear pointed downward.
Move out of the way and hit Slogra again to repeat this cycle. Slogra will grow weak and he will lose grip of his spear. Without it, and when he will get dropped by Gaibon midair, he will extend his beak at Alucard instead. Avoid this attack and repeat the same strategy as above until Slogra dies. Gaibon should be the only one left.
Gaibon will begin by firing a salvo of fireballs at you while gaining altitude. After reaching a certain height, he will fall and open his mouth to fire more while grounded. You can duck underneath him when he does this and slice at his belly.
He will roar when he takes enough damage and turn red — back away immediately! He will fire an even faster salvo of fireballs whilst flying upward, capping it with a high-speed fireball that’s bigger than the others.
Don’t fret; you can block all of his fireballs with your shield or destroy them with your weapon (including the big ones). Same strategy applies when he lands. Get in close and duck. Slice at his belly while he spits his fireballs and he should die very soon, concluding the boss fight.
If you kept the Stopwatch instead from the Merman pool at the Entrance, well, we’ll let you see its power for yourself.
After picking up the Life Max Up, proceed to the right side of the boss arena for the exit.
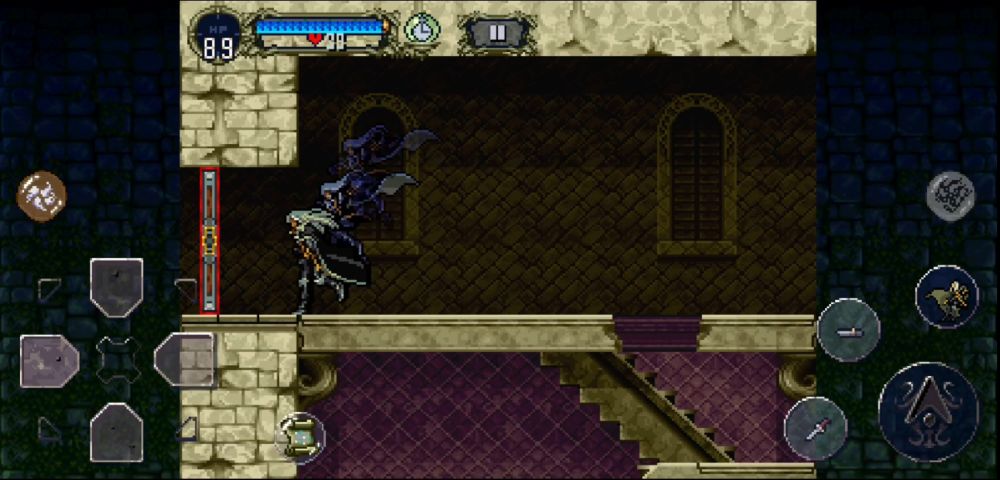
Alchemy Laboratory Continuation
You’ll find yourself in a small hall connected to a tall room with two Bone Scimitars you’ll encounter immediately. Hop up the ledges and make your way to the first elevated entrance to the right. This is a Save Point. Continue up the ledges after saving your progress and exit at the highest doorway to the right. Pass this long hallway filled with Bloody Zombies.
After emerging from the hall, you will find yourself in another tall room. Proceed up the ledges and make your way to the right while cutting down any Axe Armor in your way. This one has a winding platform on the right side that crawls with Spittle Bones (be careful of the poison!). Reaching the bottom of the winding platforms, you’ll see a red door marked by three torches.
Time for another level!
Marble Gallery
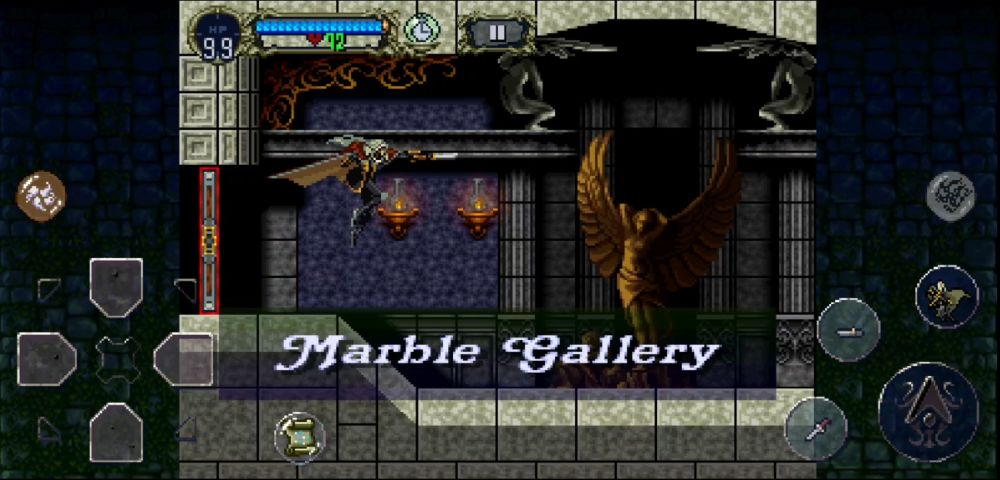
Statues, clocks, and other antiques — you have arrived at the Marble Gallery.
Make your way through the first corridor guarded by Axe Armors and exit it. You will find a ledge guarded by yet another Axe Armor — slay it and fall off the ledge. After falling, you’ll be at an area with three rightward pathways: one atop a nearby ledge, one in the middle, and one that goes downward. Take the middle one for a Save Point but beware the Ouija Table that guards it. Let’s talk about the bottom path first.
Head downward to go through a series of rooms and follow the path. Along the way, you will encounter several Bone Slingers and Marionettes. Press on until you see an exit to the right. When you do, do not enter the exit yet and proceed left instead.
You will find your next Relic here: the Spirit Orb. This one is located in a secluded area guarded by two Marionettes.
Going through the aforementioned right exit will bring you down a shaft that leads to the Marble Gallery’s “Red Section”. If you follow the Red Section all the way through, you will find yourself back at the Castle Entrance. You will need to come if you wish to link the two rooms together. Be warned that you will encounter powerful enemies here at your level, so proceed with caution.
After taking the Spirit Orb, make your way back to the Save Point, killing Bone Slingers and Marionettes along the way. From the Save Point, jump up the left ledge and then up the right ledge to proceed rightward.
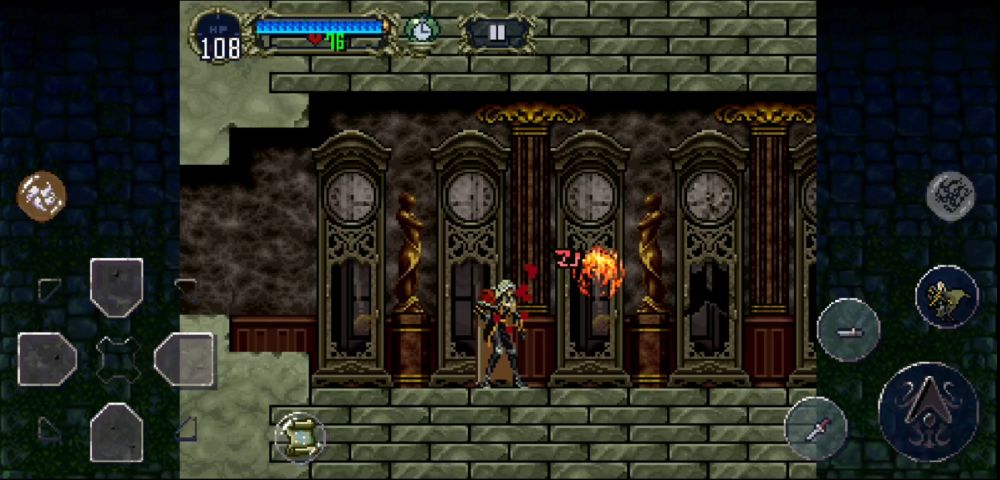
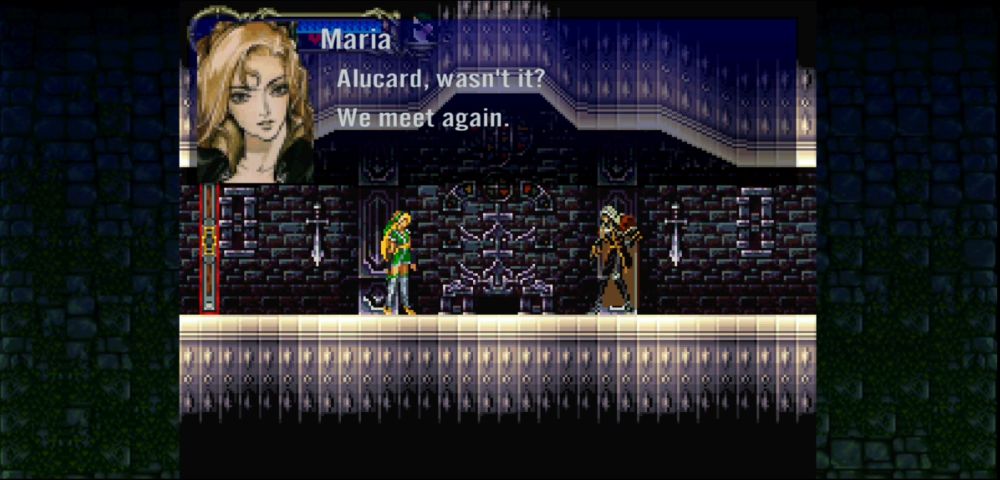
Go through the hallway of clocks and make your way to the Clock Room. Here, Alucard will meet Maria for the first time.
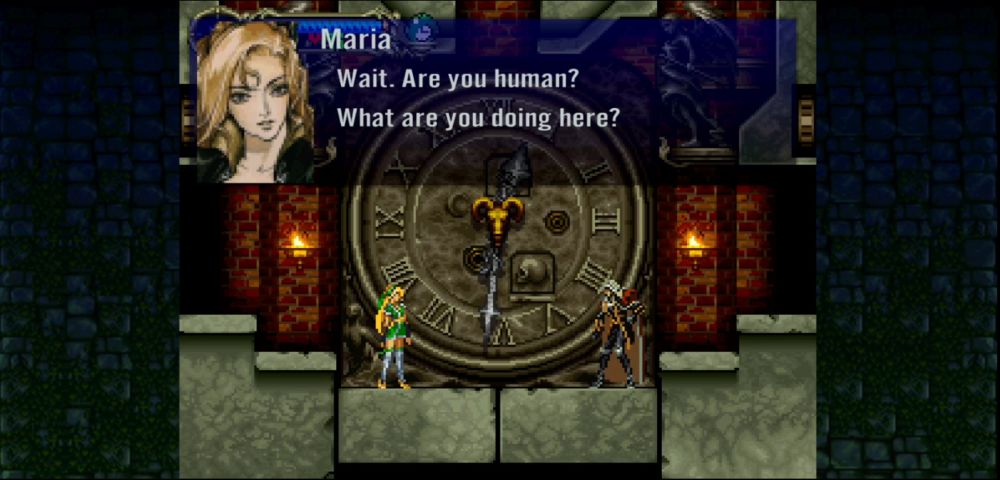
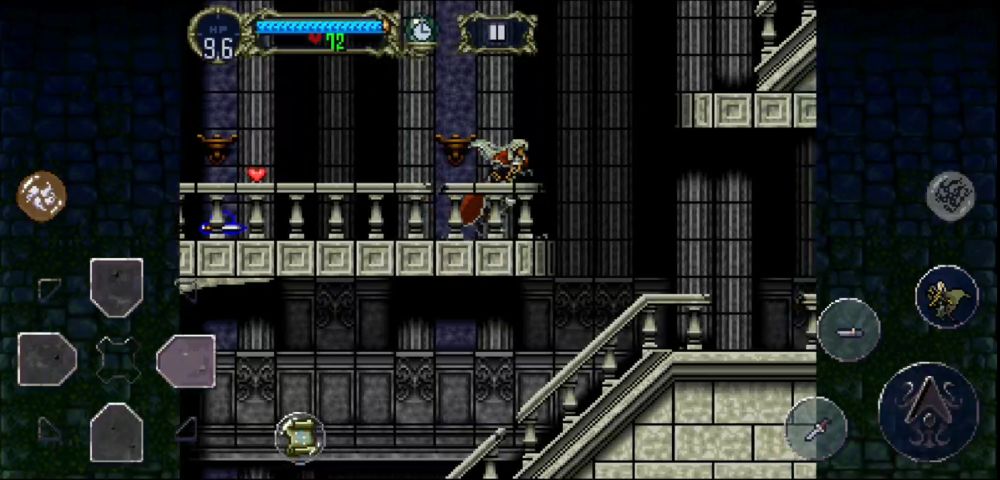
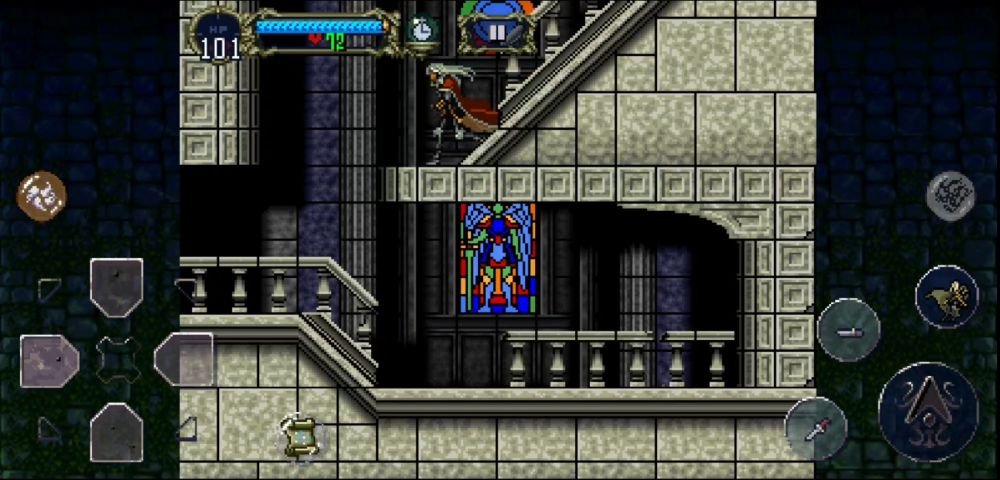
After their conversation, move right and go through another hallway of clocks, and you’ll find yourself in a room with a three-level staircase.
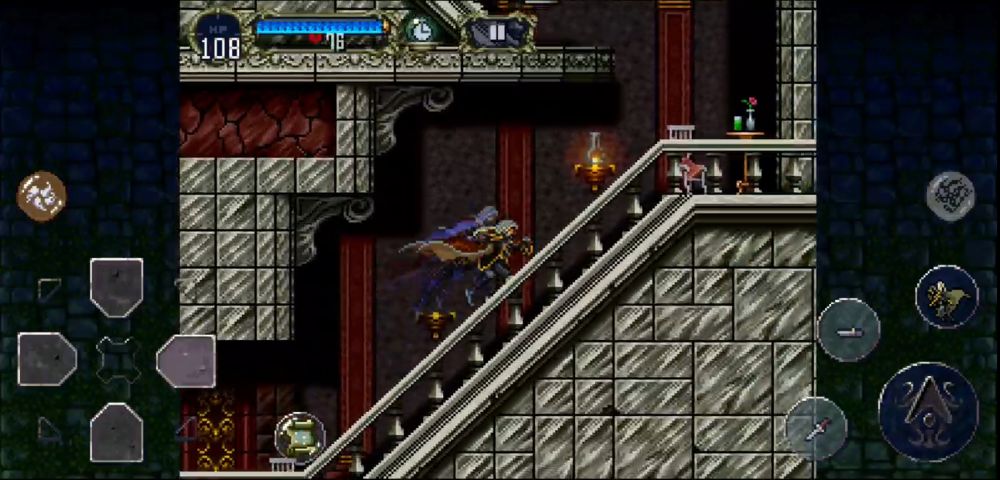
More Bone Slingers and the occasional Skeleton will challenge you here. Continue on rightward and you will come across yet another fork in your path as you descend the staircase you should be on: one that goes to the lower right and one that goes upward. We’ll revisit the upward staircase later.
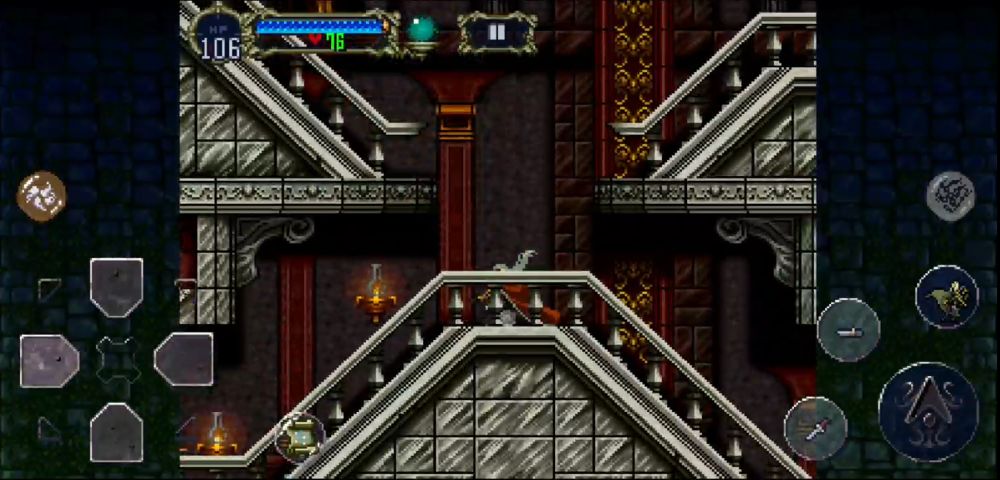
Let’s call this place the Scowling Room because the staircases put together resemble a scowl (we will refer to this room later). Proceed to the lower path instead.
This lower path is a long corridor that is patrolled by several Diplocephalus enemies and a pair of Stone Roses (not to mention a Peeping Eye in the background that, unfortunately, cannot be attacked). Beware the Stone Roses in particular, as they can petrify you. You can refer to our previous guide and how to deal with petrification or the STONE status under the Pause Menu and How to Navigate It section.
After reaching the end of the long corridor, open the red door and find yourself in a new level!
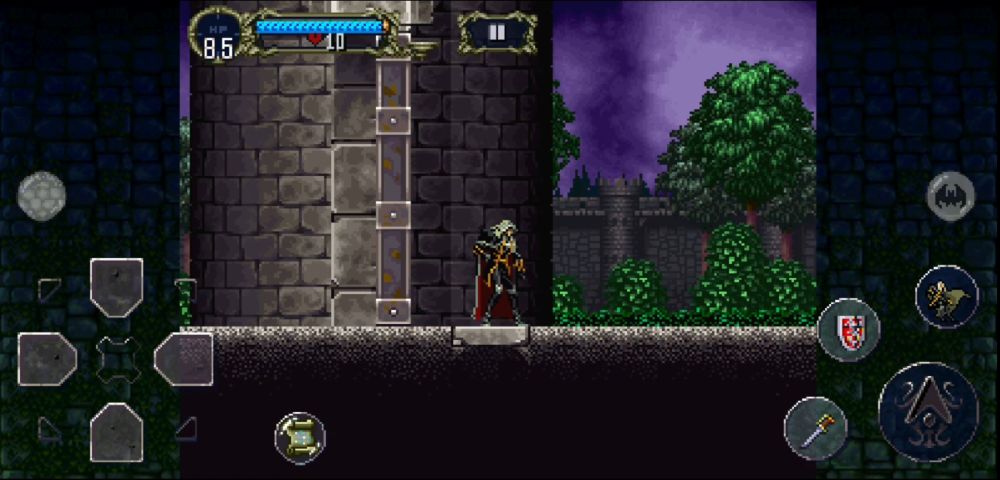
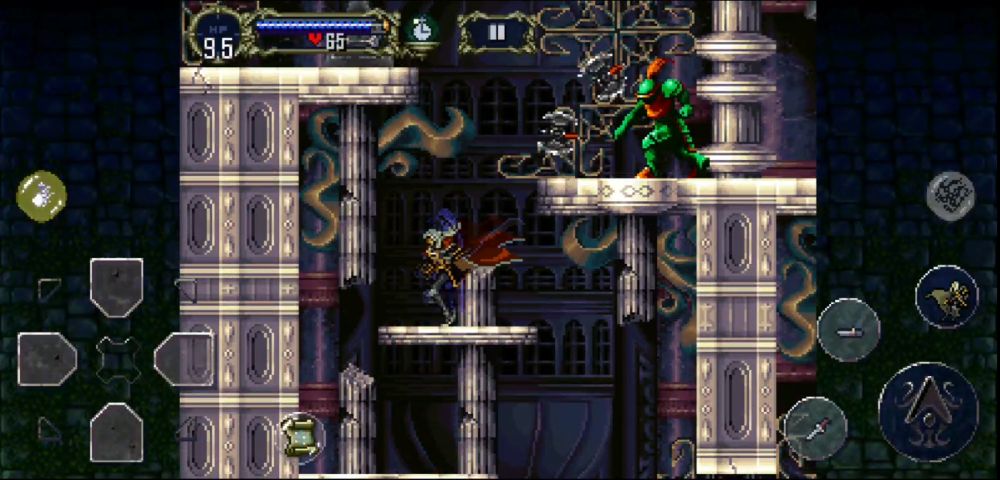
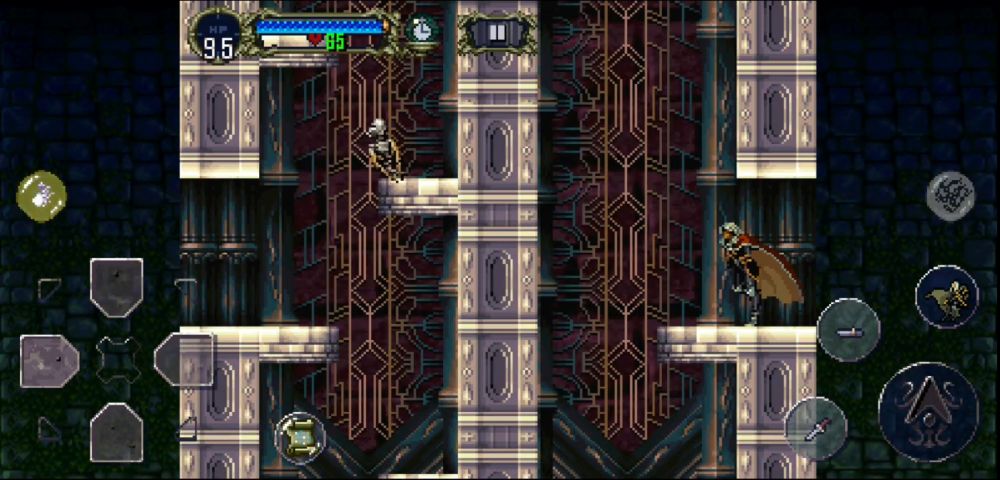
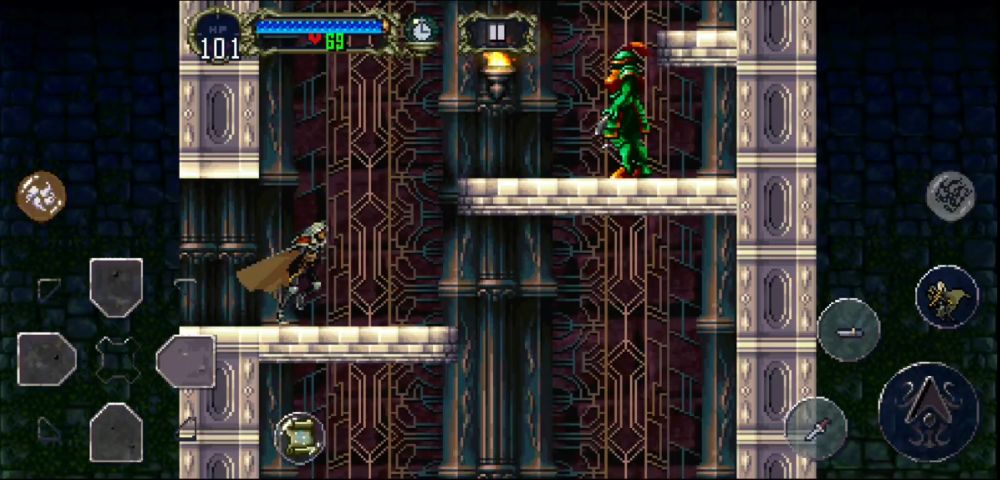
Outer Wall
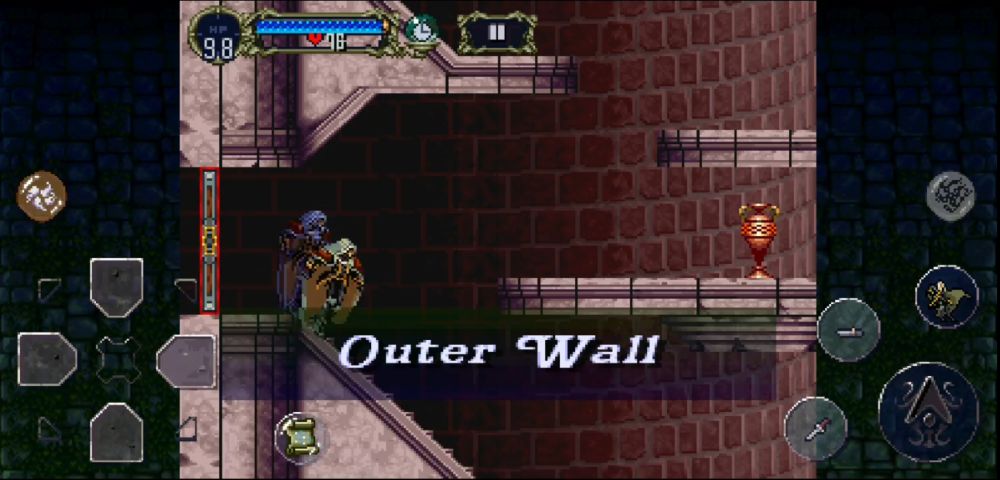
This is the Outer Wall — a place where only the powerful survive in this tower of mist.
Upon exiting the Marble Gallery, you should see two paths: one going up and the other going down. Proceed upward first and you will be directed to the left.
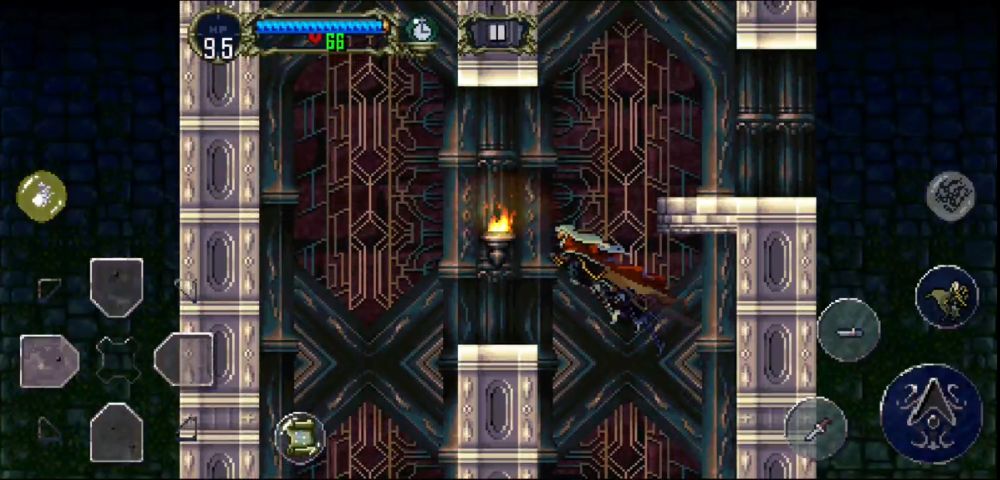
You will then find a section of the outer wall with a gap in the ceiling which can be accessed by falling through or by flight, a destructible on the top right ledge that can be reached with a double jump and a passage to your left. Head left.
Fight through the corridor of Axe Armors and you’ll be at a macabre writer’s corner (seriously, there’s a dead writer there and we don’t know how long his remains have been hanging from the ceiling).
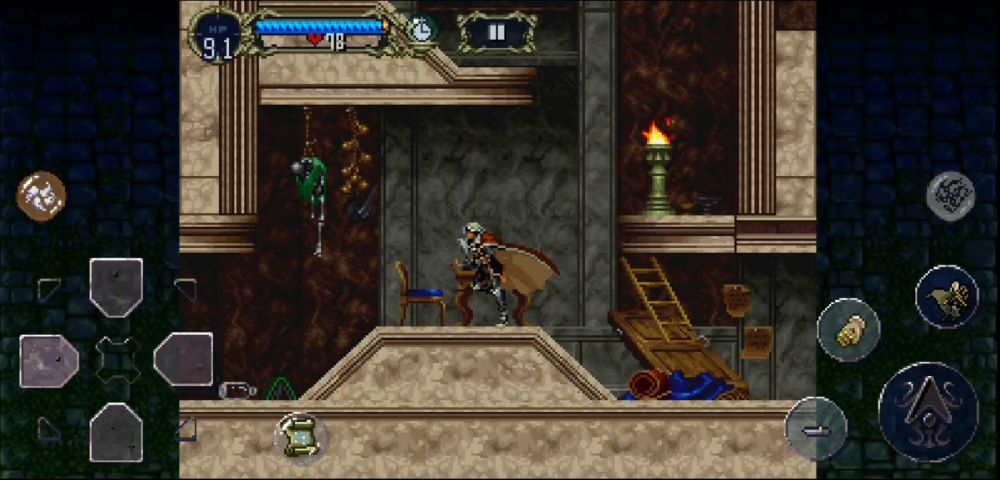
The doorway to the left, right below the writer’s corpse, is a Save Point. If you follow the path that leads to the upper right of the writer’s room, it’s a boss fight. There is a secret we will point out in the next paragraphs, but if you wish to fight the next boss right away, please skip them.
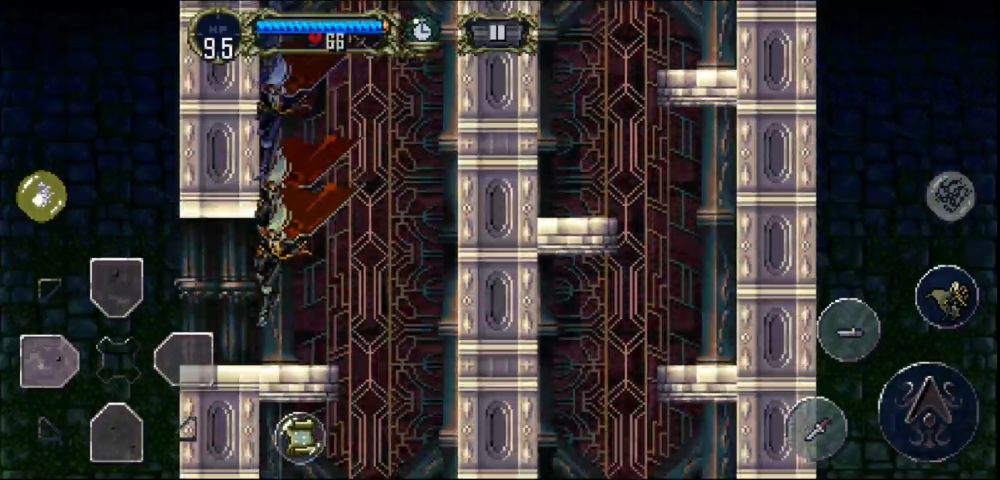
Return to the exit of the Marble Gallery with the red doorway instead of heading for the boss and proceed to the downward path. You should be in a large room full of Medusa Heads that fly at you.
There is a tall warrior in a suit of purple armor wielding a large sword, called an Armor Lord, on the upper left of this section of the Outer Wall. Kill him with Summon Spirit or Tetra Spirit (or your basic attacks if you’re feeling brave enough) and proceed through the doorway he is guarding.
It’s a seemingly empty room until you break the bottom left corner and reveal a Pot Roast. But the secret doesn’t end here.

Go to the newly-destroyed corner and duck there for roughly 15 seconds or more, and a mysterious purple elevator should carry you down a room.
You will be given the Jewel Knuckle and the Mirror Cuirass as your new equipment. The Mirror Cuirass will be very useful against the yellow Medusa Heads (these can petrify) and the Jewel Knuckles hit much harder than your Short Sword or Basilard. This should carry you forward for a while. Explore the rest of this section if you wish and then return to the writer’s room and save.
Fight that boss!
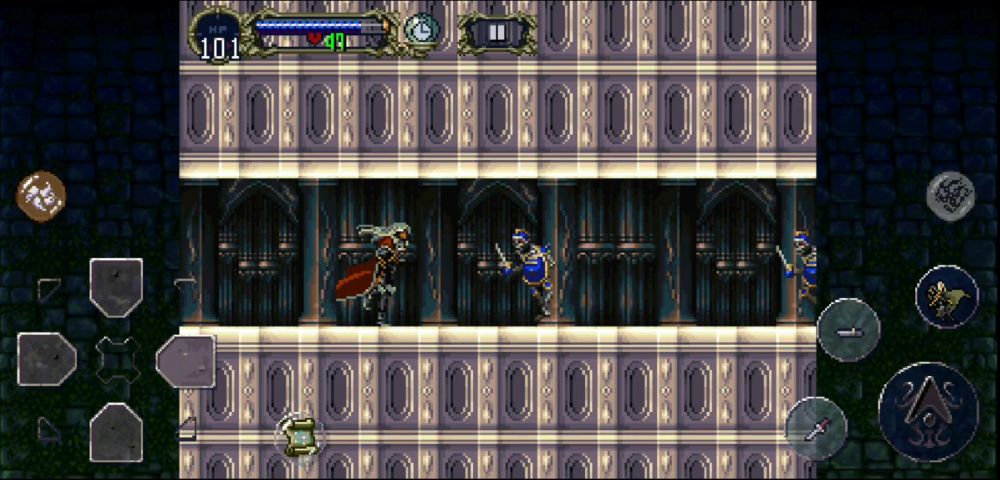
Doppelganger 10
Emerging from an otherworldly portal is a demon taking Alucard’s very form. Time for a mirror match!
The Doppelganger behaves exactly the way Alucard would. He has a sword, a shield, and is equipped with the Knife Sub-Weapon. Be sure to have a different Sub-Weapon equipped before facing him. We recommend getting Holy Water, the Bible, or the Stopwatch from the Marble Gallery for this.
Like Alucard, he cannot be damaged continuously (unless time has stopped *wink wink*), which means you will have to strike him again as soon as he gets back up. Beware that his movements are just as swift as Alucard’s.
Using the Bible, you can keep him at bay since he will constantly try to get within sword range. Another way to easily hurt the Doppelganger is to strike low, get in close and hit him while you duck. This will also keep him from using his Wing Smash spell while in Bat Form.
Be careful while you have some distance from him as he will throw Knives at you. That’s what your shield is for. Hold it up as you run toward him, and then duck when you’re close enough to strike him. He is also susceptible to some spells.
If you want to gain the upperhand, cast Dark Metamorphosis before the fight starts so whenever you strike the Doppelganger, his blood will heal you. After enough strikes, he should succumb to his injuries and return to whence he came.
Pick up the Life Max Up and exit the boss room to the right.
Outer Wall Cont.
After picking up the Gladius, exit to the right.
You will soon find a long, upward stairway with an elevator shaft to the right. Do not enter the first red door you encounter yet.

If you travel all the way upward, you should find a warrior in blue armor also wielding a large sword called a Sword Lord. The red door right below this Sword Lord is a Warp Room which you will use soon.
Going up further, you will find a mechanism with a bronze lever that you can hit to activate the elevator. If you go up and exceed this section, you’ll find another red door that you will access later. Above that section is a doorway to the left that’s a Save Point. Return to the elevator for now.
After picking up the Soul of Wolf in the elevator, take the elevator down a level. Descend the stairway once and you should find the first red door. Open it and a new level awaits you!
OPTIONAL: You may also choose to climb the stairs upward and find the next red door nearby and explore the Clock Tower. You may not be able to advance just yet because you’ll need the Leap Stone, but it’s nice to explore and assess what you might need for it.
Long Library
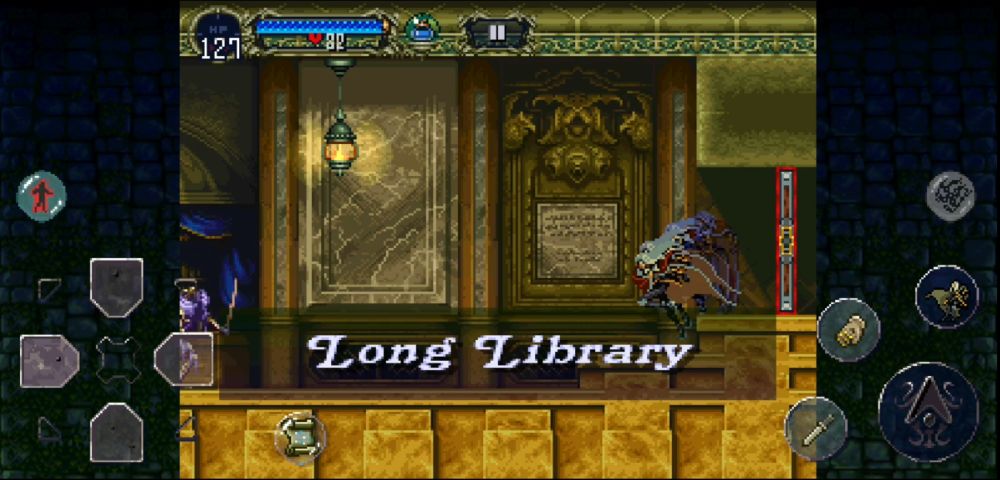
What secrets lie in these ancient shelves and the partita that hums through their wood carving? Only one way to find out.
You’ll be received by a medium-lengthed hallway with hanging lanterns. Attack the lanterns — some of them drop an Uncurse which will come in handy here. Dispatch the Dhurons that block your path and proceed to the room to the left. You’ll immediately see a stairway that goes up. Proceed there.
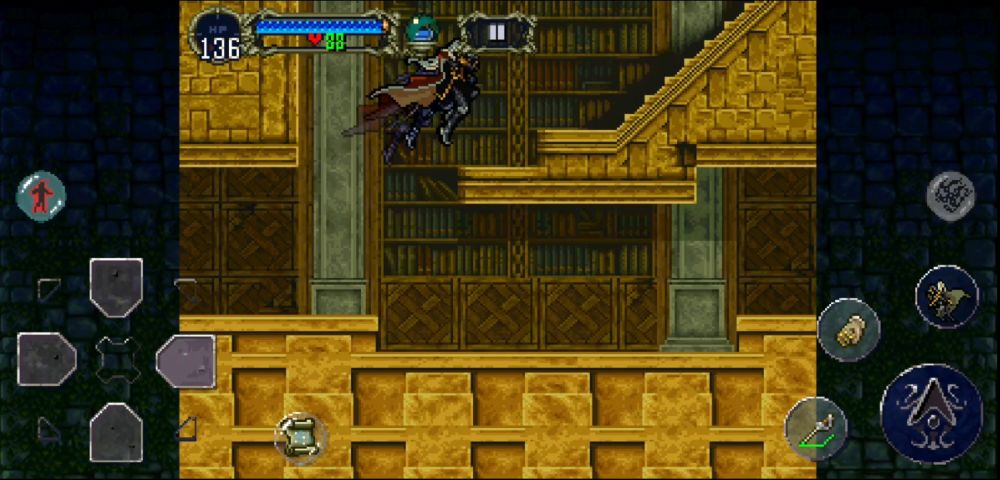
You’ll find a corridor with more hanging lanterns that also drop Uncurse and a new kind of enemy called Ectoplasm. Do not touch them because they will curse you, causing you the inability to attack. Proceed up the section and kill the Spell Books that you encounter.
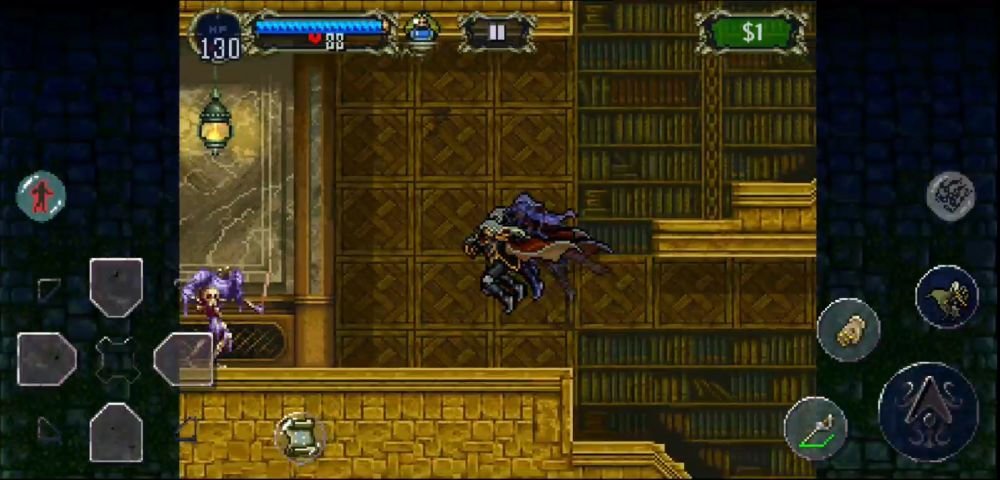
Keep going left and you will find a part where the path intersects: upward and further to the left.
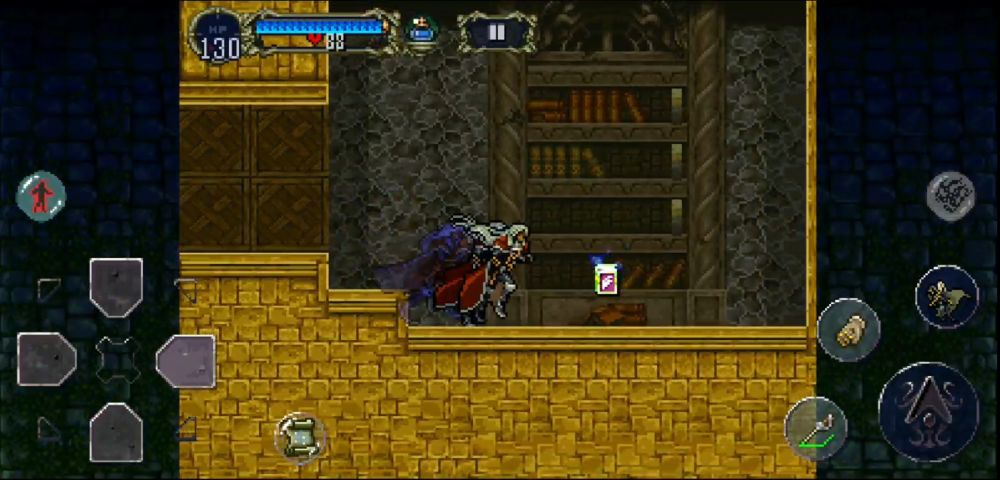
First go upward and reach the dead end to retrieve the Faerie Scroll. Beware the Magic Tomes. Then go all the way to the left.
After descending a long set of steps, you’ll enter a few more rooms going left. Keep going and you will find the Master Librarian. After he speaks with Alucard, you will discover that this is where you can sell precious gems for gold as well as buy better equipment.
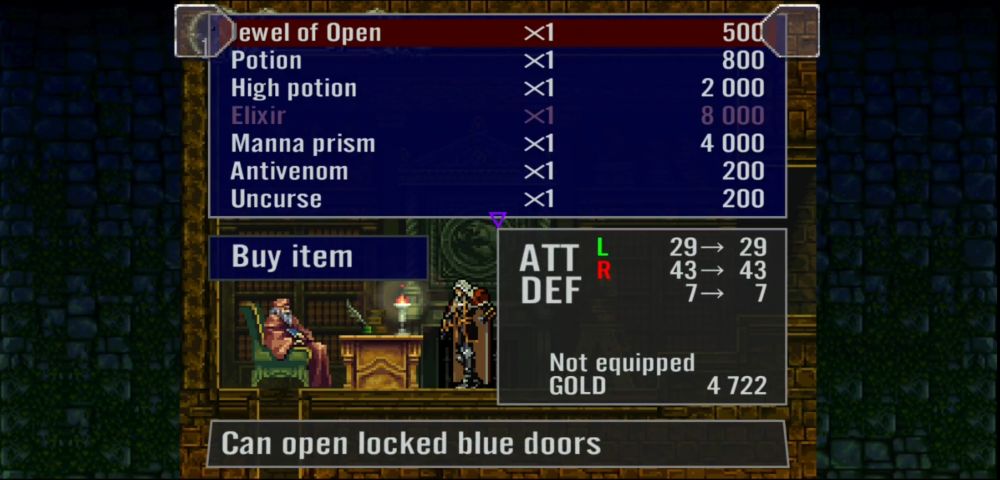
Most importantly, this is where you can get the next essential Relic: the Jewel of Open worth $500. After buying anything else you might want, leave the Long Library and return to the Outer Wall.
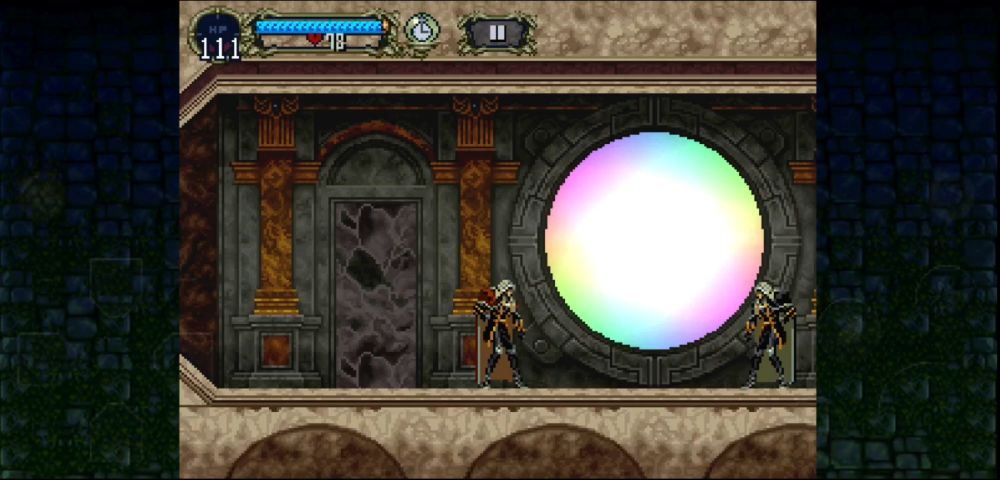
Take the Warp Room beneath the Sword Lord that we mentioned earlier. Notice the animal crest at the top of the portal, this one should be a Scorpion. Stand before the portal and press Up. Alucard should walk through it. The room you arrive at should bear a Horse crest. This is the Entrance.
Emerge from the Warp Room and travel to the Alchemy Laboratory again. Find your way to the tall room before Slogra and Gaibon, and jump off to the left at the torch that has the Axe in it. You should land at the doorway of the room above the Save Point. Travel through the corridor and open the blue door. Keep going.
After speaking to Maria, you’ll find yourself in a new level. Let’s go!
OPTIONAL: As soon as you get the Jewel of Open, you have the option to explore the Underground Caverns instead. You will find the blue door in the upper right passage of the Marble Gallery’s Scowling Room.
After standing on the switch there and hearing a loud mechanical click, you’ll find that two of the floors in the Marble Gallery have opened up — the one to the lower right passage of the Scowling Room contains a Library Card and an Attack Potion and if you go to the upper left passage of the Scowling Room, you’ll find the other one that will lead you to the Underground Caverns.

This is where you may also kill the Scylla and its sub-boss the Scylla Wyrm. The route you’ll be taking here is a much longer one compared to the one put in this walkthrough, but it could be more rewarding since some good items can be found there like the Crystal Cloak. Not to mention, you might even run into a few Life Max Ups along the way and make your Alucard much tougher.
The enemies in the Royal Chapel might be slightly stronger than you’d expect, so unless you’re feeling confident in your skill, proceed with the Royal Chapel. Otherwise, exploring the Underground Caverns will prepare your Alucard for the Chapel by picking up the Life Max Ups from the Caverns.
Royal Chapel
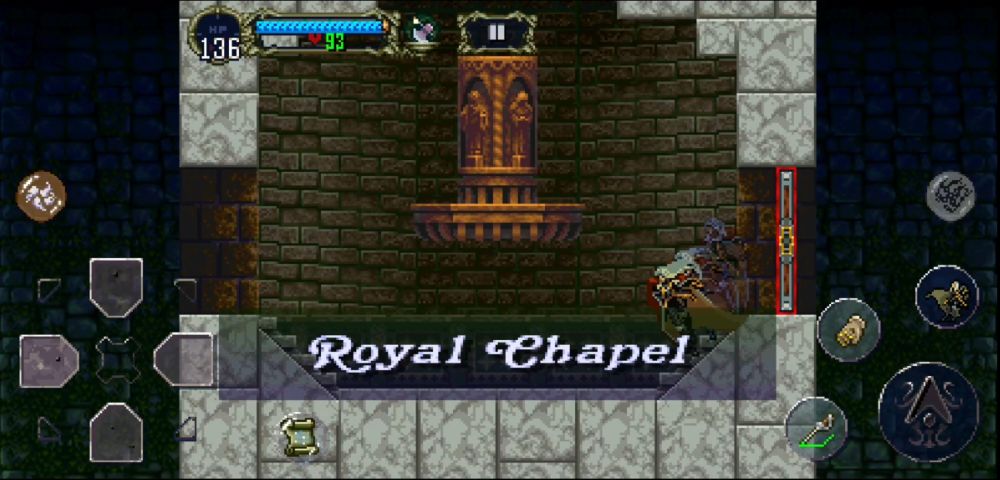
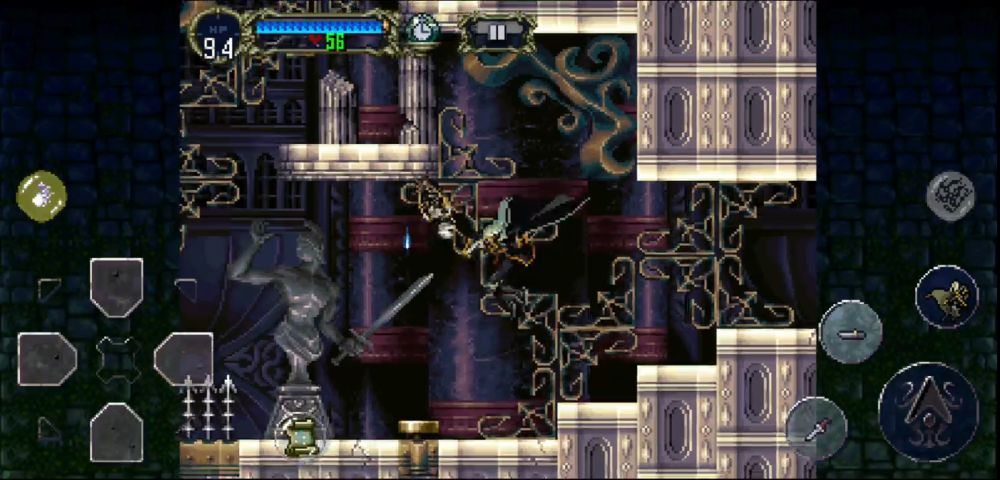
The Royal Chapel — a testament to Dracula’s former identity as a warrior of God and a reminder that the Belmont clan shall forever be a thorn in his side. All that remains now is a depressing shell of a chapel that wails with a requiem for the gods.
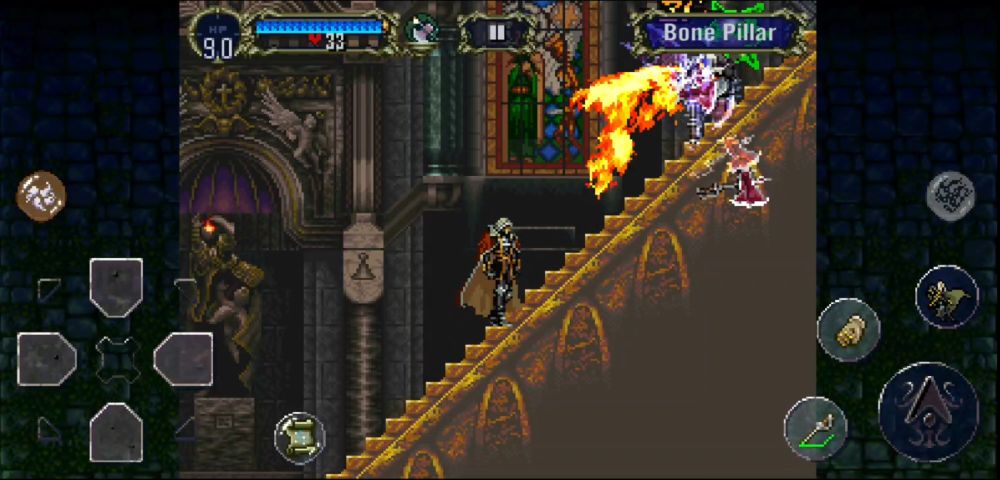
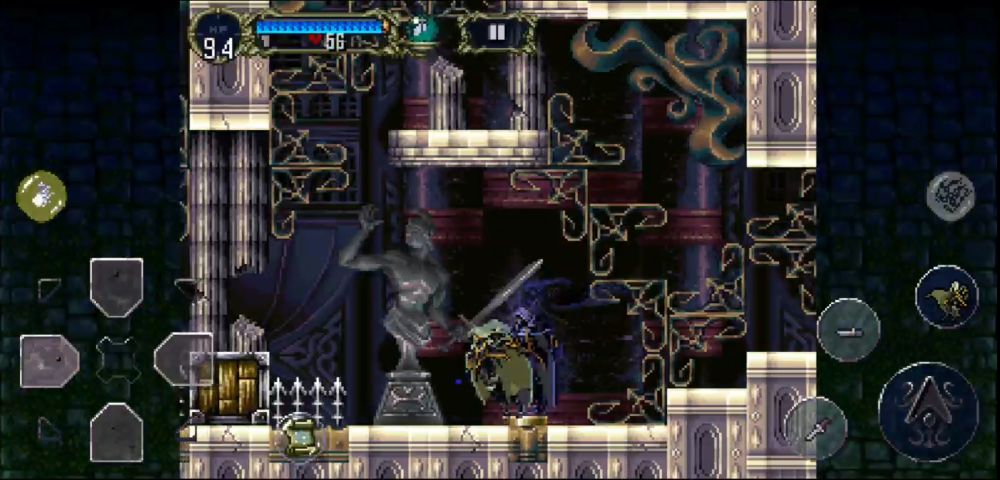
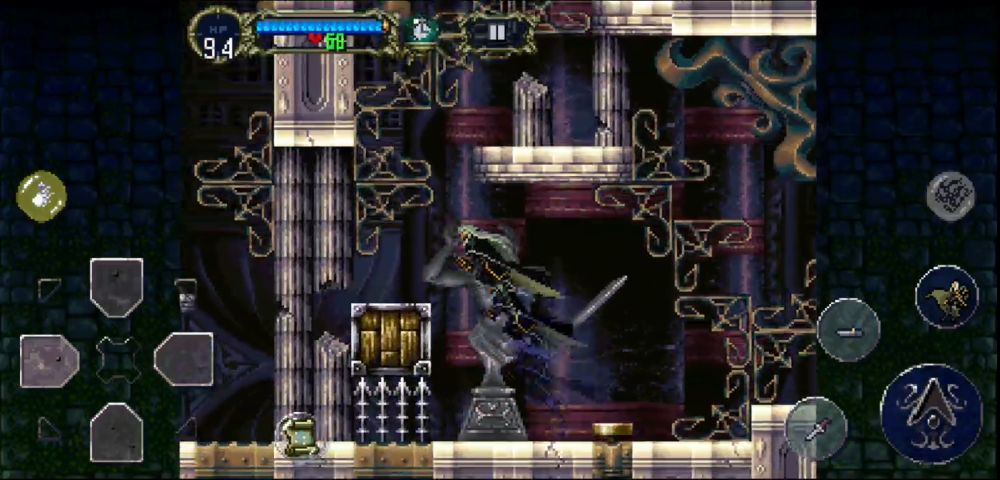
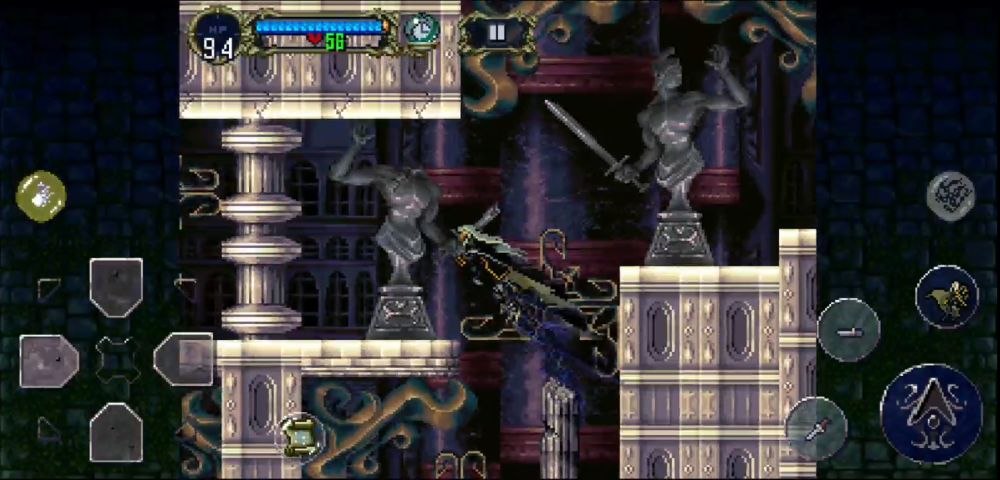
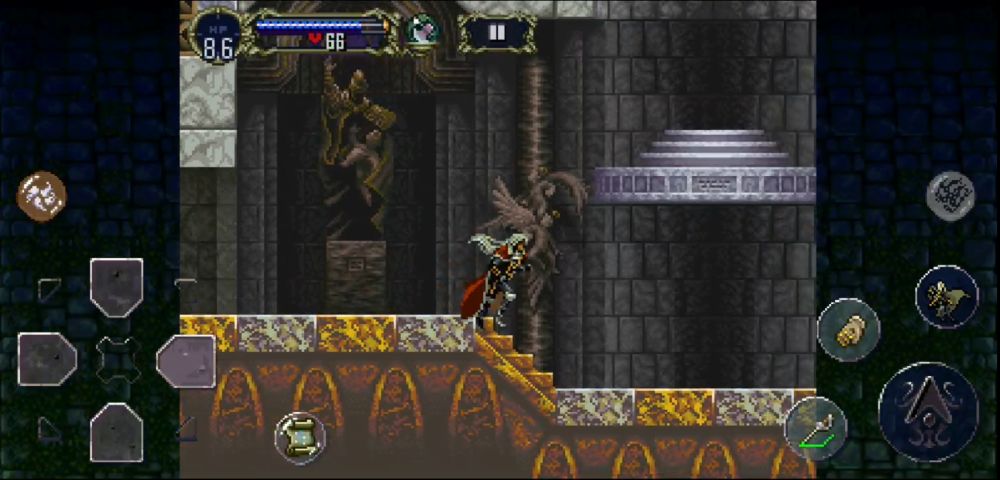
You will first be at a receiving area with a statue in the middle. To the immediate left is a Save Point. Hop up the statue to proceed. You’ll face a very long stairway. Go up but beware the Corner Guards and especially the Bone Pillars. If you are armed with the Axe, you could hurt them a bit easier since they are at an incline, or cast some spells like Summon Spirit.
One particular Bone Pillar will be dangerous since its other head is a spike ball that cannot be destroyed. It also causes Alucard a great deal of damage and can kill him in a few hits. Jump over this one with a long press when the spike ball rolls down the stairs. After you reach the top, proceed right.
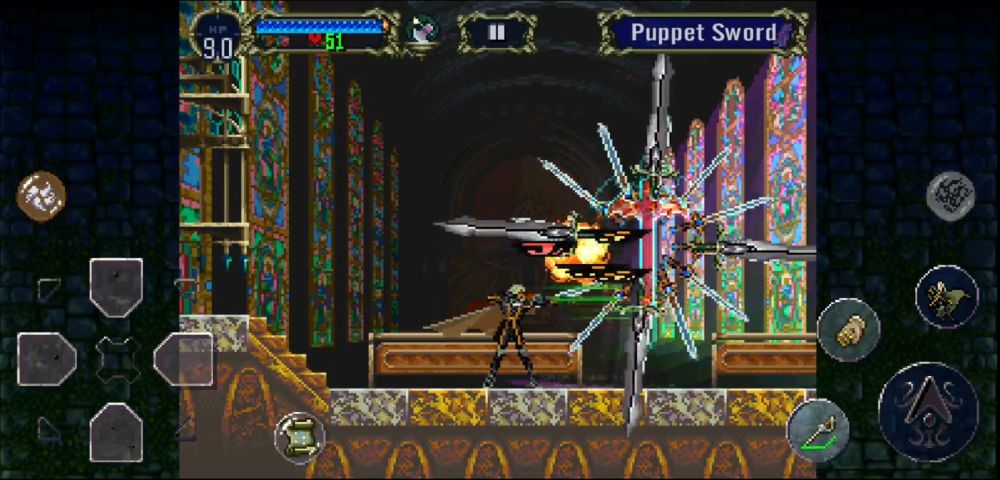
Walk past this tall room and you will be in the main chapel hall guarded by a Spectral Sword. After defeating it, you can proceed up two staircases. The one on the left lets you explore the second level of the tall room you were previously in while the one on the right has two openings. The red door at the lower right leads to another level that you won’t be able to access until later. Proceed to the one on the top right instead.
Here, you’ll be ascending some bell towers. Initially you’ll be going up some stairways and platforms, then the real challenge starts.
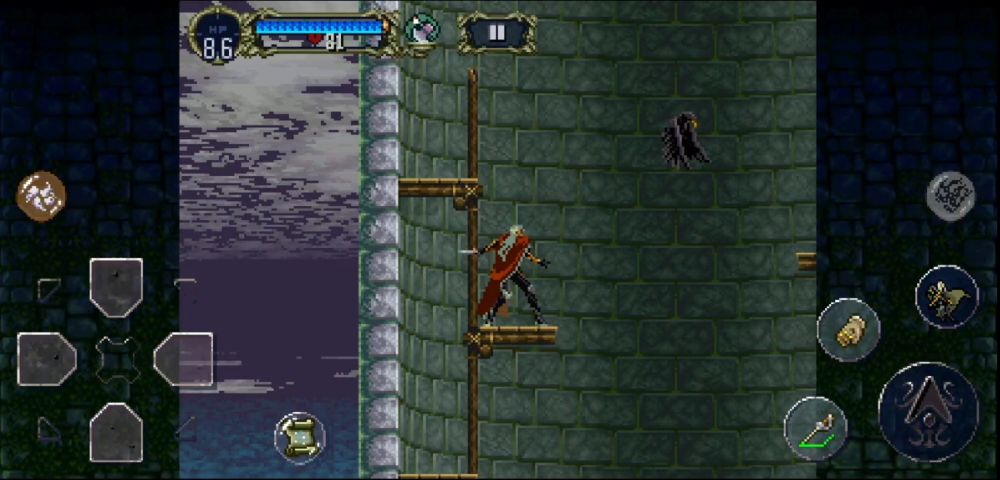
Hop up the scaffolding first and slay any Winged Guard that attempts to knock you off them. Be on your guard as Black Crows are the worst of the lot — they swoop in and hit you while you’re jumping, forcing Alucard to sometimes have to climb the scaffolding all over again. As soon as you reach the top of the left side, leap immediately to the right.
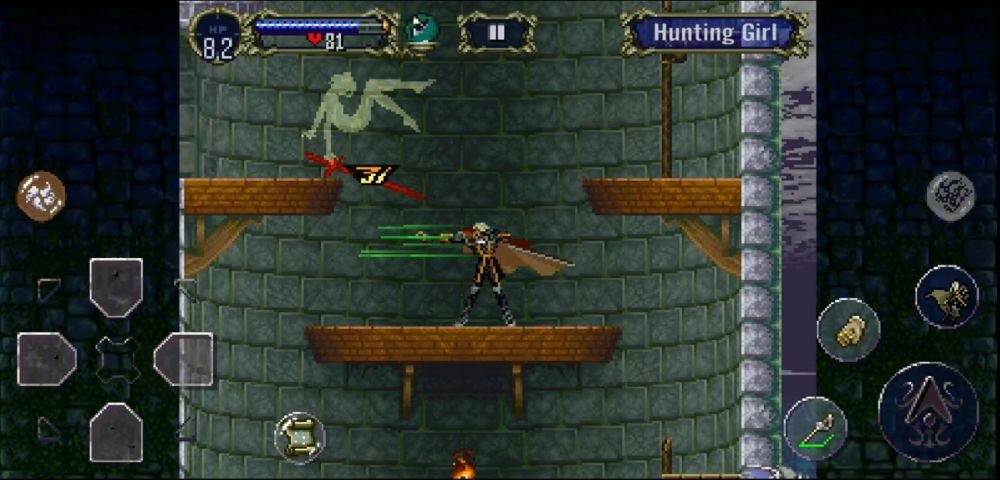
Climbing the top of the right side should bring you under some rafters where a Hunting Girl is stationed. Kill her and enter the room she was guarding. This spiked corridor will be covered in Part 2 of this walkthrough, but do not attempt to cross it until then. Alucard will die if you try. Return to the bell tower.
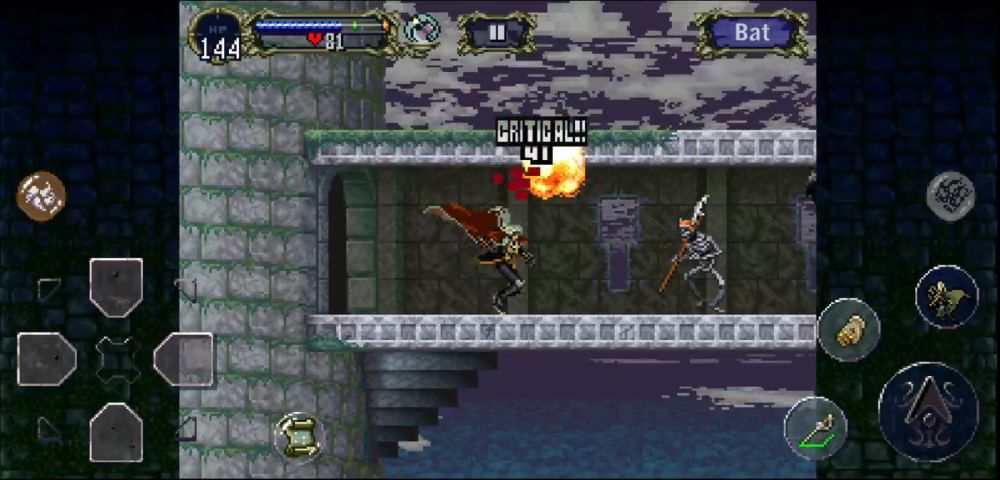
Get past the Hunting Girl again and make your way up the bells and reach the steeple to collect a Life Max Up in one of the urns. There is also a Strength Potion and a Silver Plate there. Descend the bell and make your way to the right exit. Cross the corridor full of Bats with Bone Halberd patrols and you’ll be at another bell tower.
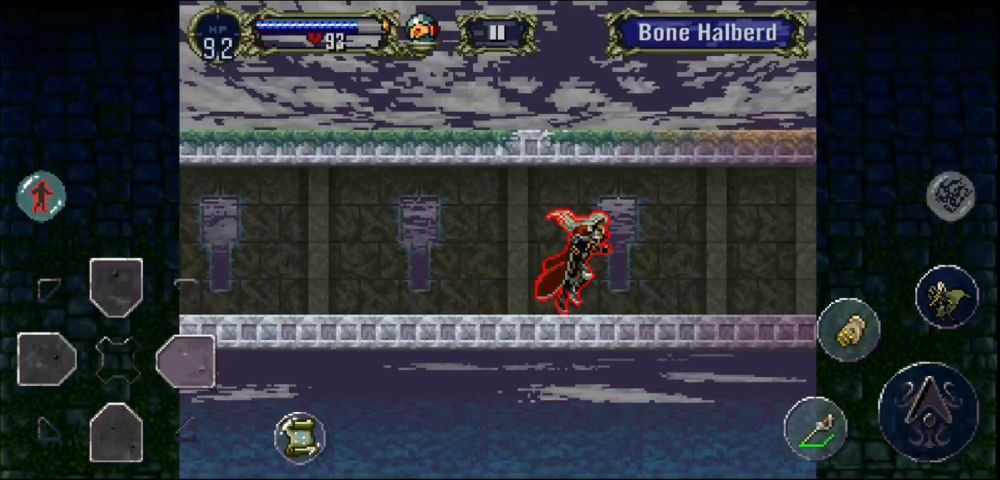
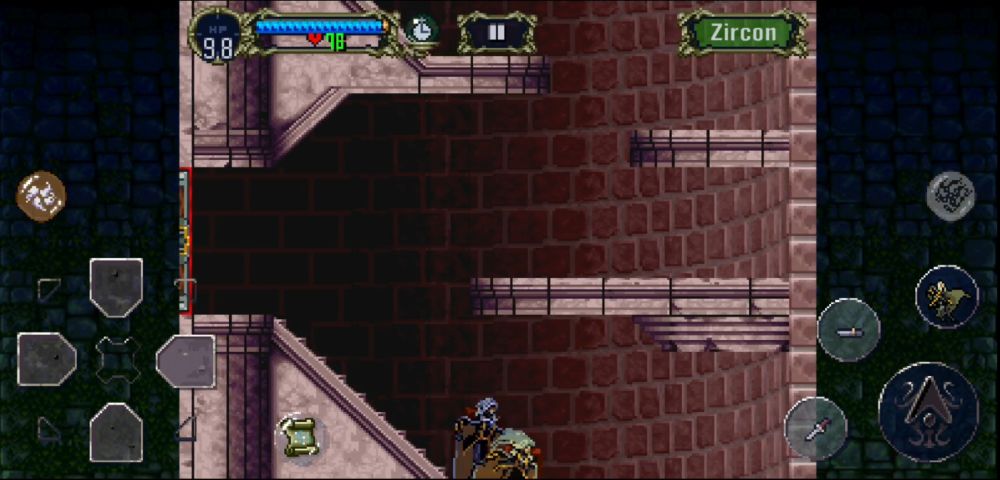
The steeple of this bell tower has a Zircon. After descending the higher bell, proceed to the right and fight through the Bats and Bone Halberds again. You’ll notice that the ceiling and floor at the end of this corridor are a bit worn.
Why, you ask? Because it’s a boss room, baby!
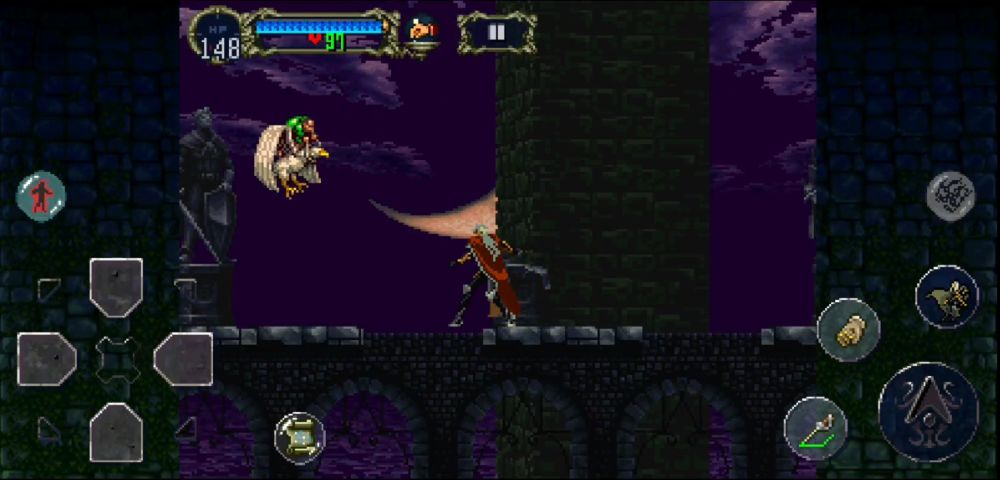
Hippogryph
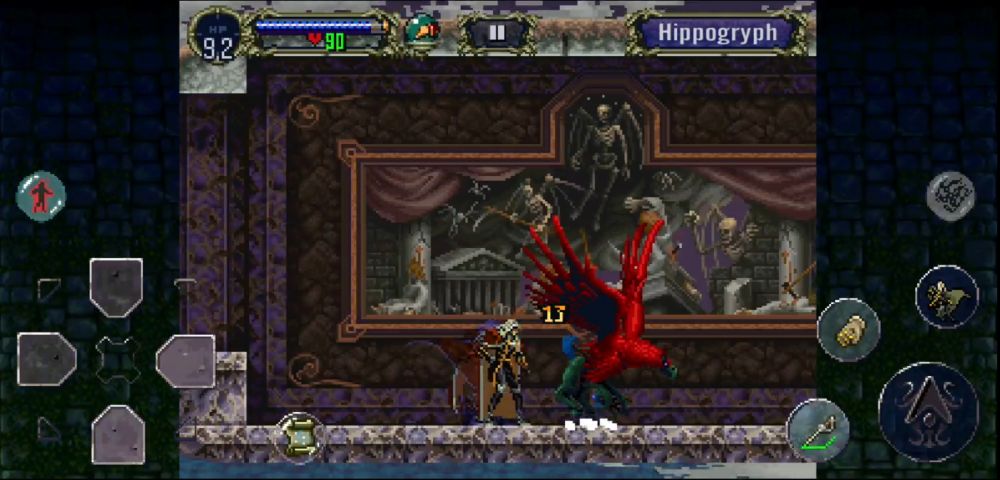
Look out! It’s a bird, it’s a lion, it’s a horse, it’s all of the above! It’s the Hippogryph! End its existence lest it screeches a death ballad for you.
The Axe will come in handy here since when you hit it with your weapon, it may fly around but stationary Sub-Weapons like the Bivhuti and the Holy Water will also suffice since it stays an awfully long time grounded.
When it lands, it might breathe fire. The fire can be countered by ducking under it and striking at the Hippogryph, much like the fight with Slogra and Gaibon earlier. Your cue for when it is about to breathe fire is when it stands on its hindlegs and puffs a small, blue flame plume.
Sometimes, it will lay eggs that will hatch tiny Hippogryphs. These critters and the eggs themselves can be struck down easily with your weapon. Otherwise, it will constantly fly about and mainly occupy the center of the boss room.
Spells like either of the Spirit ones will be extremely useful, too, since they track the Hippogryph down and hit it repeatedly. Otherwise, this boss isn’t as difficult as it looks. It should die out after enough constant damage.
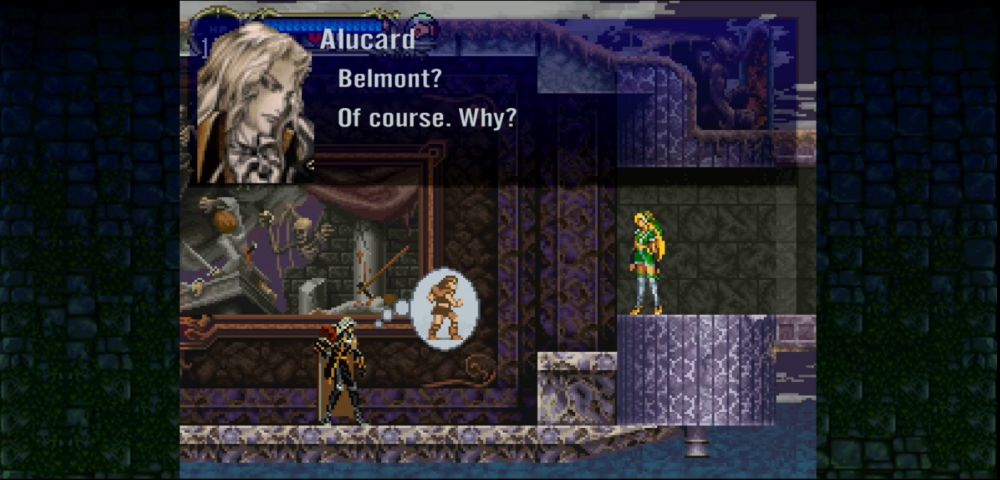
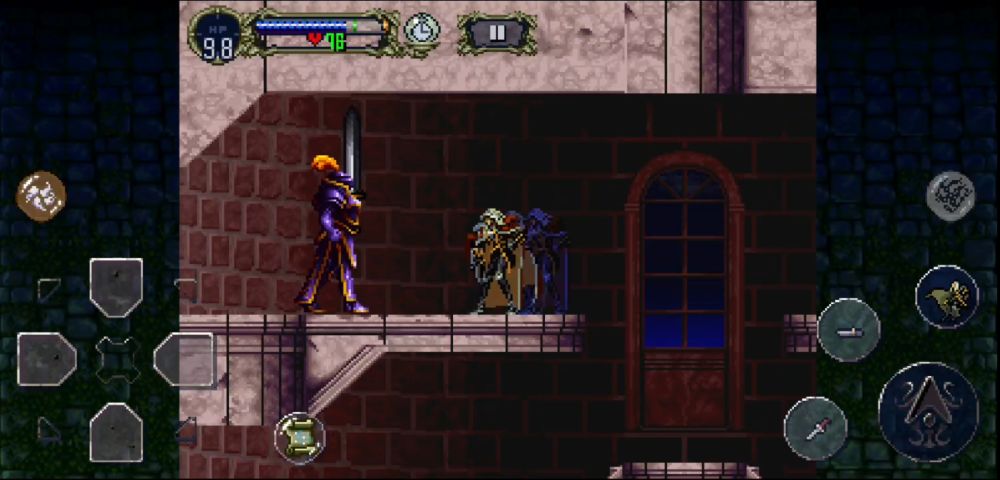
Maria will speak to Alucard right after the fight. When this is done, proceed to the next room.
Royal Chapel Cont.
After fighting through another corridor of Bone Halberds and Bats, you will arrive at a final bell tower. The room to your immediate right is a Save Point.
Climb the bell tower and you’ll find a red door on the upper right portion of the room. If you feel like you have nothing left to explore, open it.
Time for a new level!
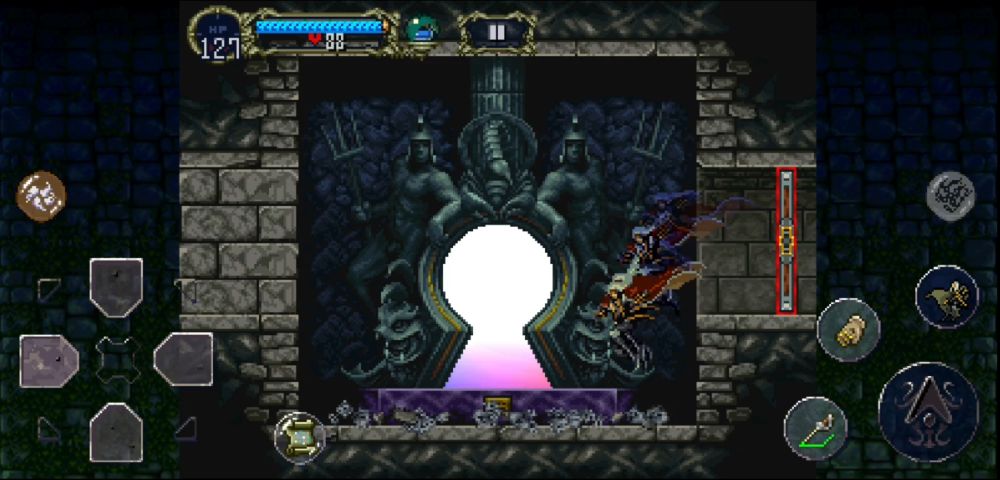
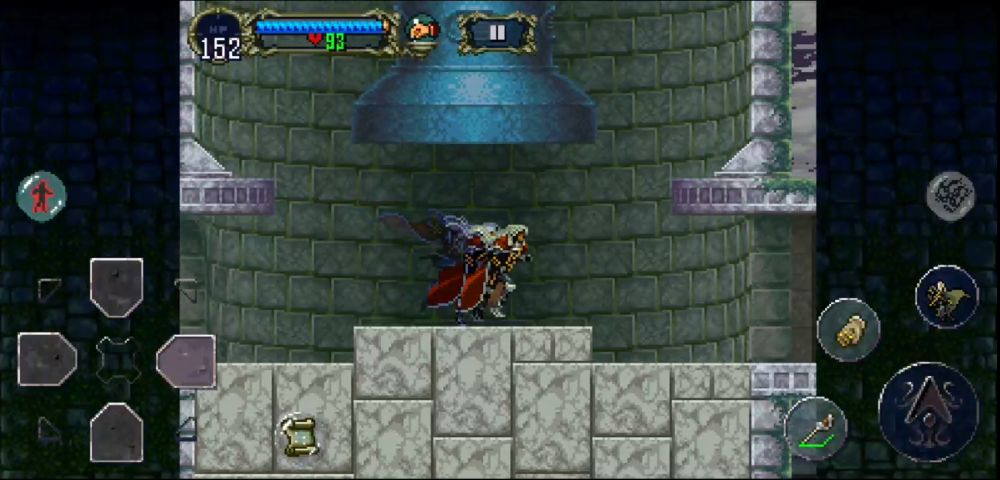
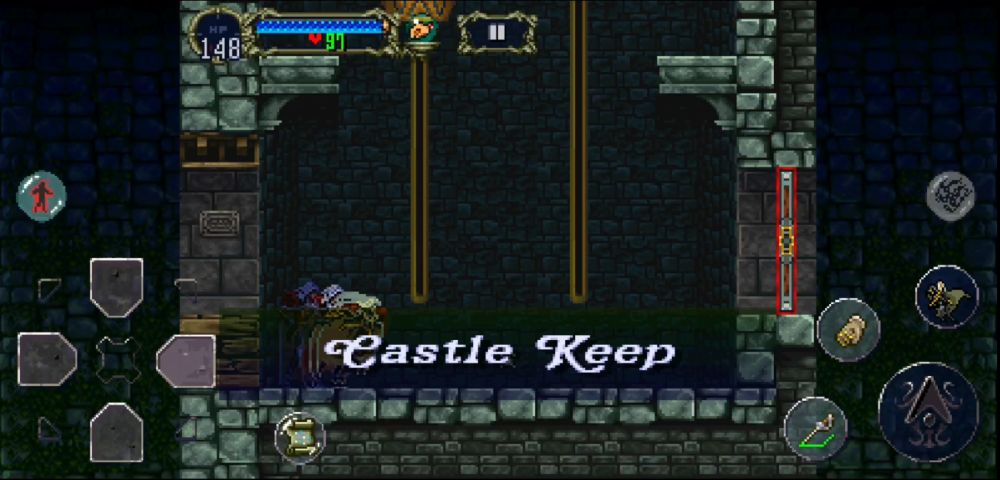
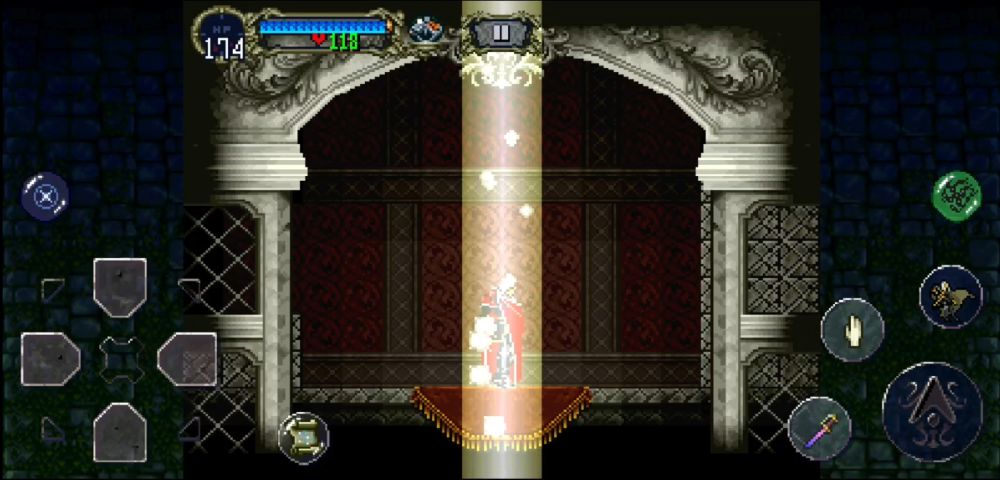
Castle Keep
A heavenly doorway sits atop the spire above — not because it resembles anything from the holy domain, but because it unlocks Alucard’s true destiny. Such is one secret hidden in the Castle Keep.
Eerie music aside, you will be greeted by multiple Axe Armors in a longish corridor. At the very end of it, you will find a pair of elevators that alternate in altitude. At the base of the elevators is a Warp Room, but we’ll do this later.
Take the elevators to the top and exit left.
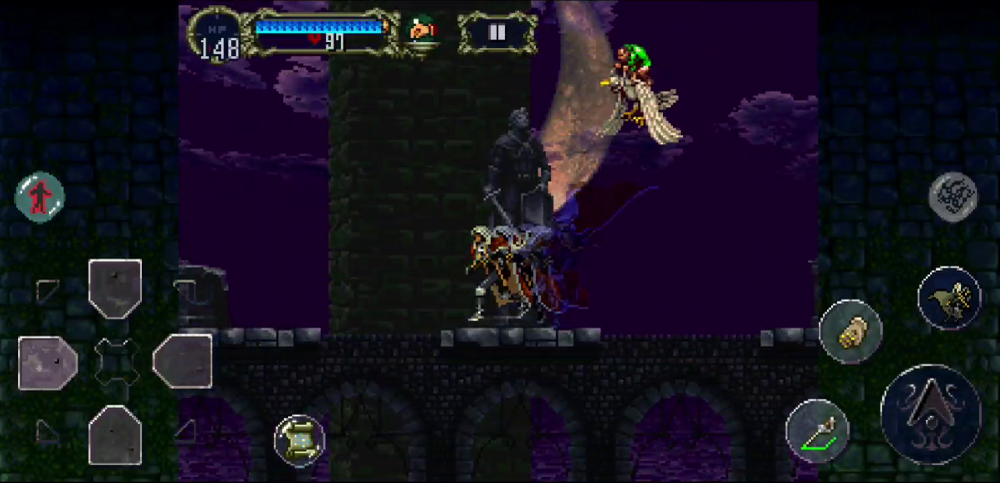
You will now be at a ruined courtyard of some sorts with broken statues and pillars everywhere. As you proceed left, you will be constantly assailed by Flea Riders. Cast Dark Metamorphosis if they prove to be too cumbersome.
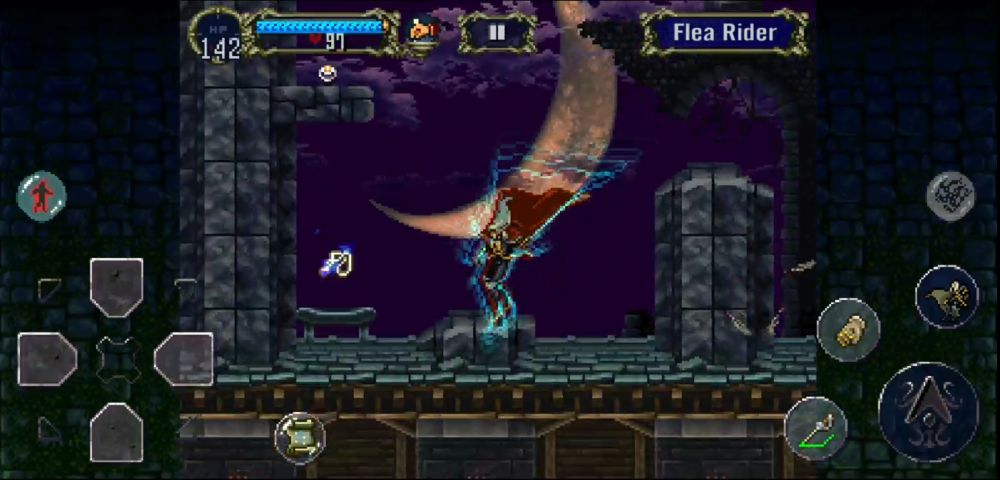
After you make it all the way to the left, you will find one of the most important Relics in the game: the Leap Stone. This Relic will allow you to double jump and you will now have access to many more areas you previously had no access to before.
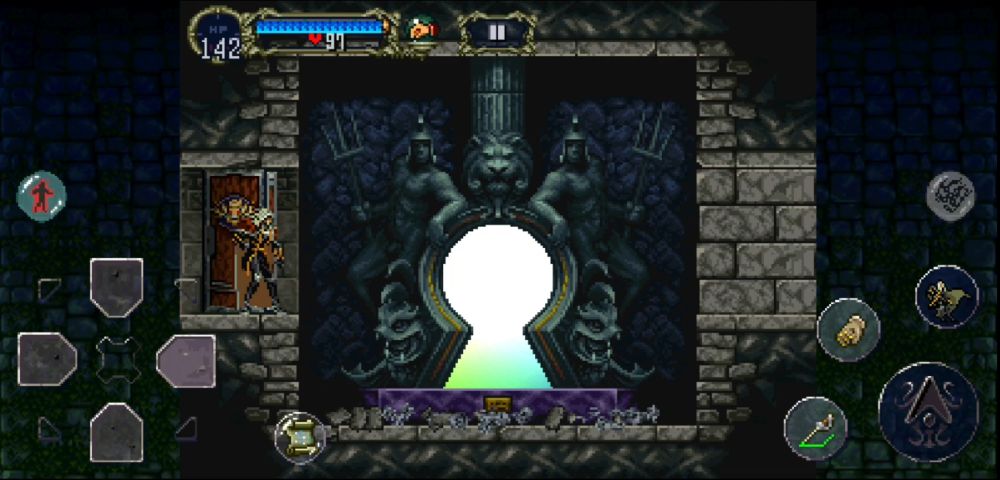
That said, your destination now should be the Marble Gallery. Go to the Warp Room which should currently bear a Lion crest and travel to the Outer Wall (Scorpion) or the Entrance (Horse) where you will cut through the Alchemy Laboratory. The Outer Wall is a quicker choice, but if you crave exploration, the other option is still welcome.
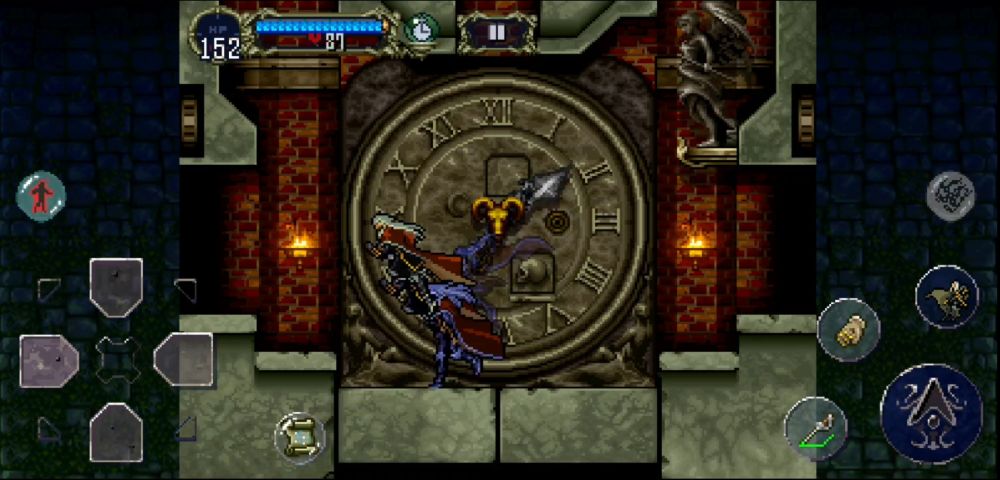
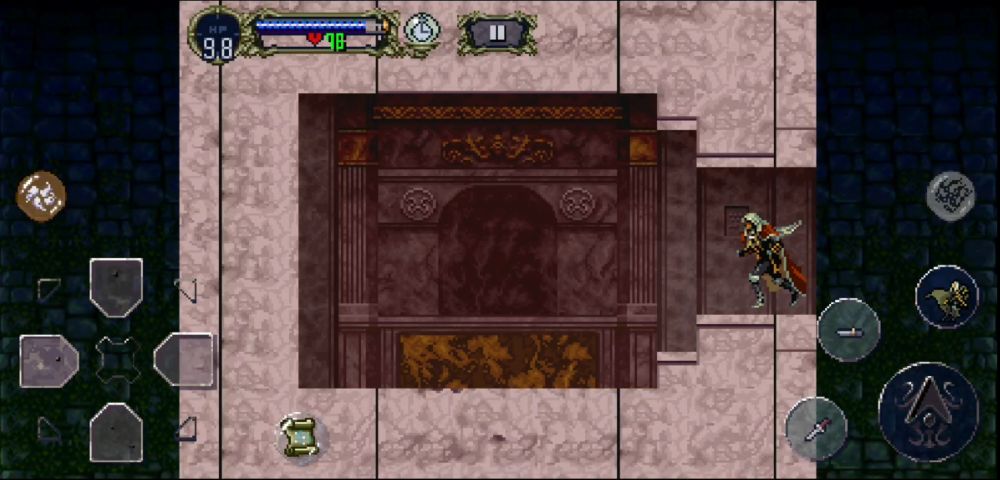
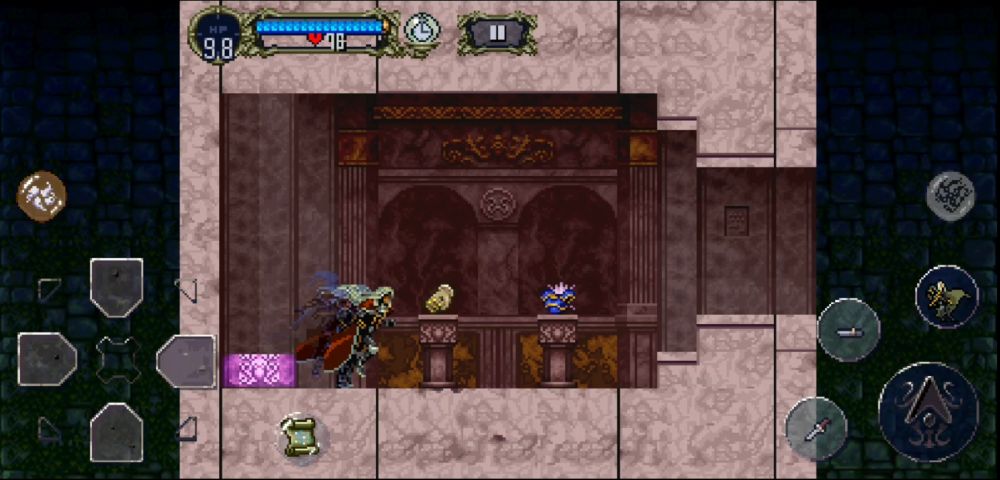
Once you’ve made it to the Marble Gallery, find the Clock Room where Alucard first met Maria and wait until the left angel statue moves. Conversely, you can find the Stopwatch a few rooms to the right and use it in the Clock Room to move the right angel statue.
Finding your way through that upward passage will give you the Alucart Set. You can use this to farm for weapons and items from enemies due to its LCK-boosting properties.
Alucart Set aside, wait in the Clock Room for the left angel statue to move and enter there using a double jump. Make your way through the succeeding rooms and you’ll be at another new level!
Olrox’s Quarters
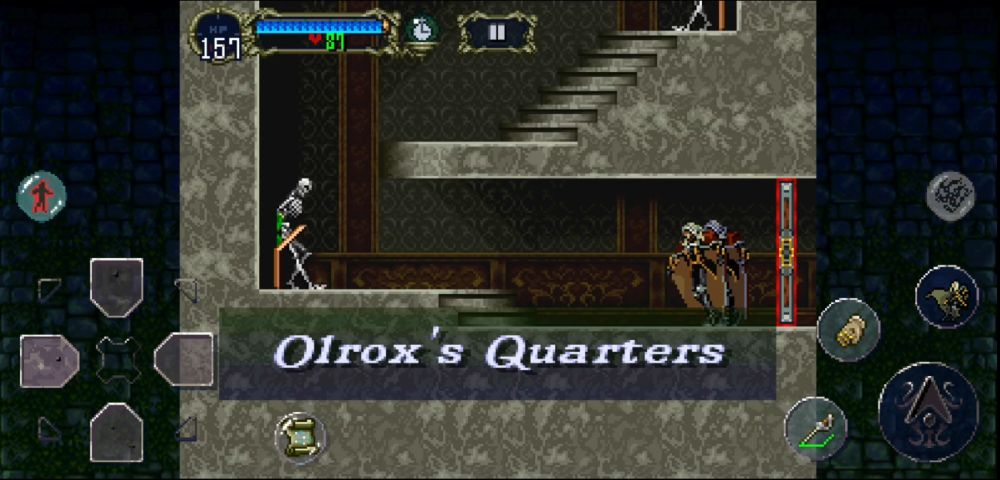
Only under the mysterious moonlight do two ancient souls perform the dance of pales — a duel between vampires. One of them could be the sole victor of this duel, will it be Alucard or someone else?
At a path leading upward, you will be immediately greeted by a couple of Skelerangs.
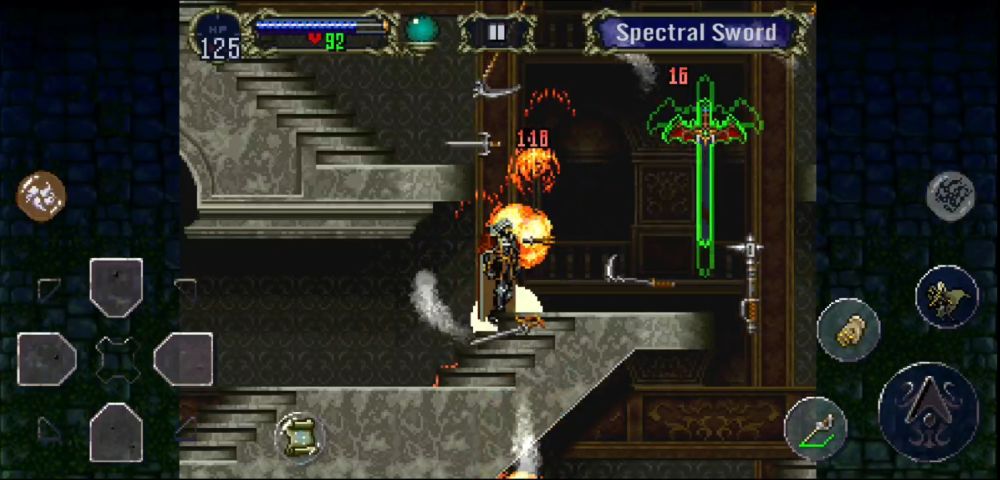
Exit left and you will be brought upward again: this time it’s a large room guarded by a Spectral Sword. Unlike the Spectral Sword you fought earlier in the Royal Chapel, this one is surrounded by a variety of weapons. Regardless, it dies out the same after you destroy the sword itself.
There are four exits in this room in total including the one you’ve ascended from. Among the three exits, one of them is hidden. The ones that are immediately accessible are the top right and the lower left which is a red door.

If you follow the path through the top-right and fight through the giant brothers Hammer and Blade, they have been guarding a mysteriously tall room and a red door at the end. We will return to this tall room later, but the red door is a Warp Room. After discovering this one, return to the large room with the Spectral Sword in it and proceed to the lower left.
New level time!
Colosseum
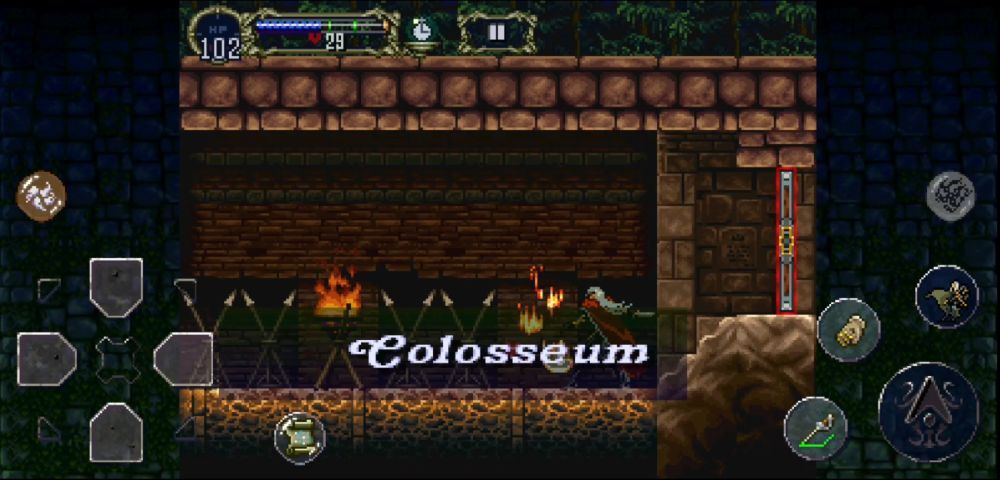
What use does Dracula have for a Colosseum in his castle? Regardless, it is now a haven for ghastly, ghoulish warriors and wandering ghosts.
Keep proceeding left whilst cutting down the Blade Soldiers you encounter. At the end of the hallway, you should see some grills and the Form of Mist Relic on the other side. Because this is inaccessible, proceed up the ledges of the stairway and head left again.
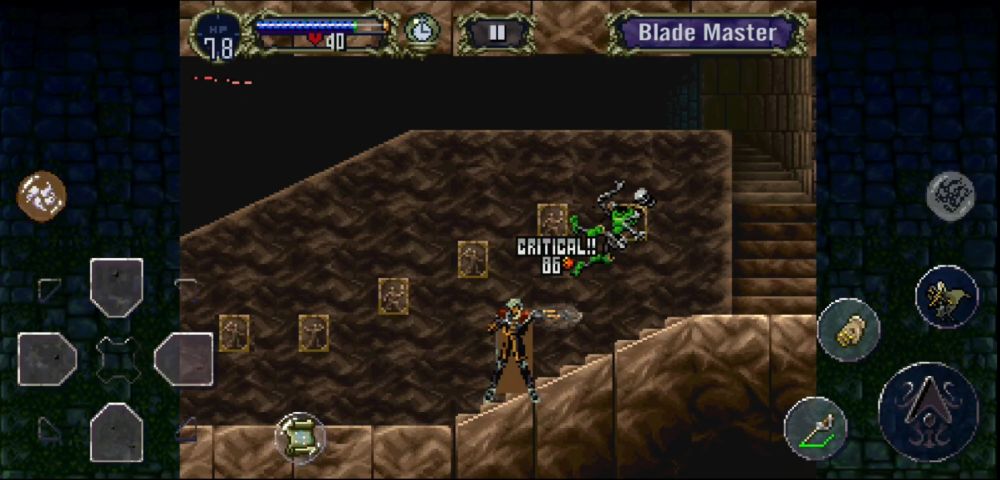
You’ll be in a longish room filled with Blade Soldiers and their more dangerous elites, Blade Masters. After conquering this corridor, you will be forced downward.
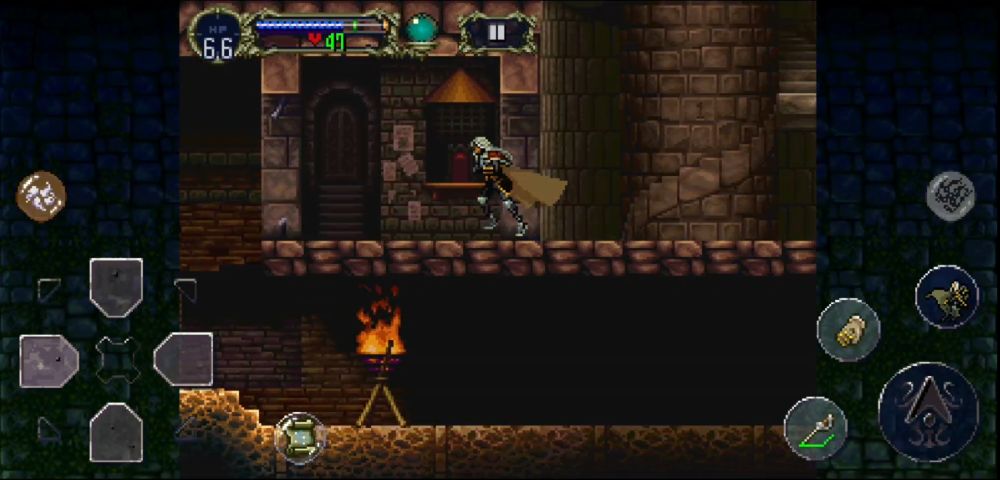
When you reach the bottom, you will see what resembles a ticket booth in the background and a dark, dark corridor beneath you. Do not proceed through the dark corridor yet — that leads to the boss. Let’s find the Save Point first.
Keep going left instead and you’ll find another set of ledges that spiral downward as well as a corridor that links the Colosseum to the Royal Chapel blocked by a gate that can be unlocked by stepping on the switch. Not to mention, the torch right behind the switch contains the Agunea Sub-Weapon, if you need it. Go down the ledges after doing this. The left doorway immediately below the linking corridor contains the Save Point.
After saving your game or exploring, head back up and go through the dark corridor. You know the boss might be a tough one if the game gives you a Library Card right before it!
OPTIONAL: There are a couple of Hunting Girls in the vicinity near the Save Point. Kill them repeatedly, preferably while wearing the Alucart Set, for them to drop the Werebane. The Werebane is a powerful short sword-type weapon that comes with a special multi-stabbing skill and it is also quite effective against the boss you are about to face.
In addition, there is a room there somewhere filled with powerful monsters that are guarding a large sum of money at the end. Good luck!
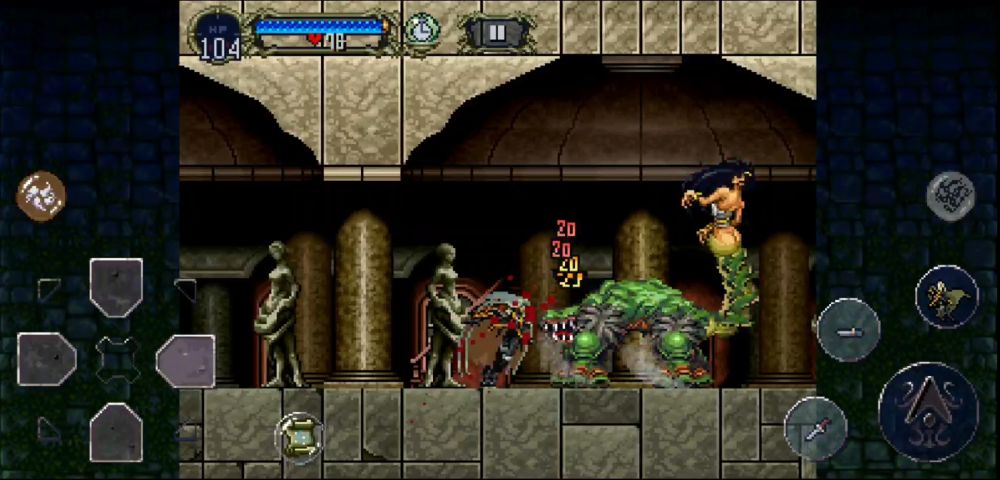
Werewolf and Minotaur
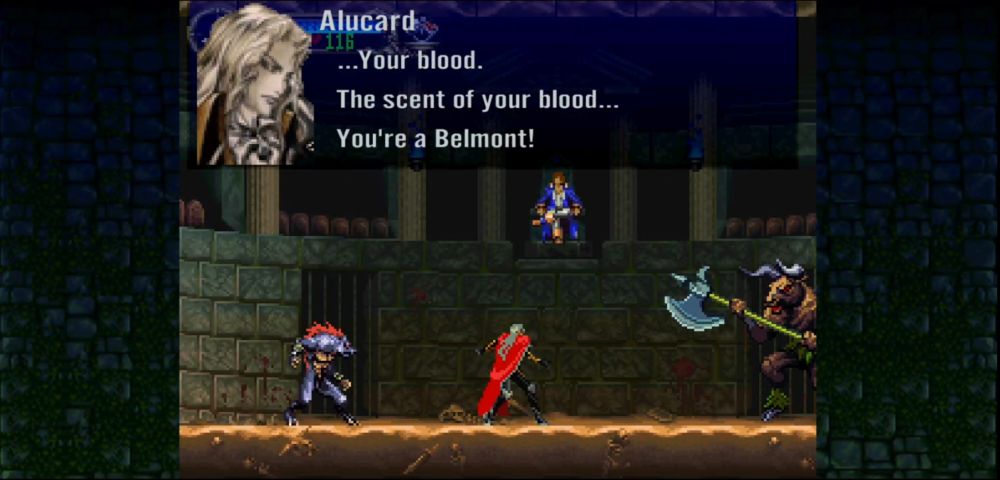
An unknown person first greets Alucard with a malevolent cackle. He reveals himself to be Richter Belmont, the lord of this castle. With his seemingly newfound power, he commands two of his henchmen to attack Alucard — a Werewolf and a Minotaur.
This boss fight is similar to Slogra and Gaibon but unlike the first tag team match, these two are perfectly capable of handling themselves if left alone. The Werewolf is swift and difficult to dodge, and the Minotaur has great reach with his attacks. Dispatching them is going to be tricky, but let’s first go over their attacks and their visual cues (unfortunately, our Alucard here was pretty beat up).
- The two may open their fight by charging at Alucard at a high speed. This will happen when they stop their idle movement for a moment and it can be avoided by jumping.
- If the Werewolf gets close enough to the Minotaur by forcing him to back into his bovine buddy, the Minotaur will wet his fur with toxic drool. The Werewolf will spin towards Alucard, attempting to poison him. Jump over this attack.
- Sometimes, the Werewolf will spin towards Alucard and the Minotaur will toss him upward if Alucard jumps over the spin attack. The Werewolf, after shortly clinging to the ceiling, will try to jump at Alucard from there. Jumping over the Werewolf is key.
- Their most dangerous combo would be when the Minotaur tosses his axe and the Werewolf leaps at the ceiling — readying themselves for a pincer attack. The Werewolf descends, punching the ground and causing an explosion that deals fire damage if Alucard gets caught in the blast.
Meanwhile, the Minotaur rushes upward with a powerful uppercut that deals considerable amounts of damage. You can avoid this attack by jumping over the Minotaur and away from the Werewolf’s explosion.
- The Werewolf will occasionally create an energy projectile that he will throw at the Minotaur. The latter will then bat the projectile back at Alucard. As with most of their attacks, duck under this one.
When either of them are left, they each have their own set of attacks. The Werewolf will resort to punching, sliding, spinning, throwing the energy projectile, and causing the same fiery explosion. The Minotaur, on the other hand, will resort to stabbing Alucard with his axe, spewing his spit, performing the axe toss uppercut, or chopping.
The Werewolf is normally safer to take out because his reach isn’t too great and because his HP is lesser than the Minotaur’s. As far as the Minotaur is concerned, backdashing and keeping your distance is important. Strike at him when you see an opportunity.
Concerning any Spells that might help during this fight, consider Tetra Spirit due to the duo’s mobility and Soul Steal since they both have tough hides; neither of them bleed. After seeing through their attack patterns and striking where they are open, you should have been able to vanquish another pair boss.
Pick up the Life Max Up and proceed right.
Colosseum Cont.
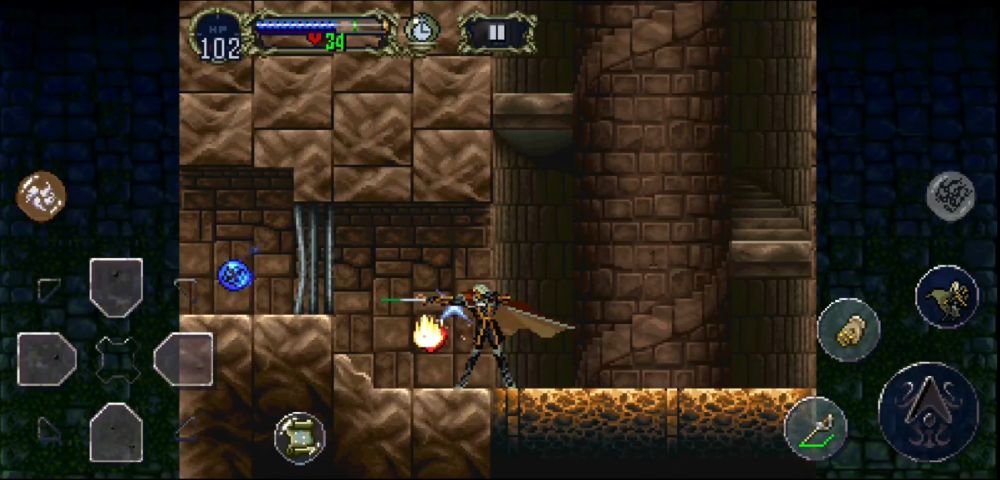
You’ll find yourself at a precipice blocked by a suspicious-looking floor. Walk to the edge and Alucard will step on a switch that will open the floor, activating an elevator. The ledge across is the Form of Mist. You may explore the elevator or try out your new powers on the grill. Do note that Alucard has to be pressing against the grill for the mist to pass through.
After you’ve had enough exploration, return to the Long Library via the Olrox’s Quarters to Marble Gallery to Outer Wall Route or by warping from the Warp Room of Olrox’s Quarters straight to the Outer Wall. You might’ve discovered this one sooner. Conveniently, if you haven’t used the Library Card from earlier, you may use that.
Summary of Part 1
The plot thickens. Why is Richter now the “lord of this castle”? Shouldn’t he be vanquishing it instead of owning it and using it to further Dracula’s hatred toward humans? You’ll find out what happens soon in the next parts of the game. Meanwhile, let us go over what has transpired so far. By now you would’ve:
- Defeated Dracula with your desired outcome for Alucard
- Had Death take your stuff at the Entrance
- Obtained the Cube of Zoe from the Entrance
- Vanquished Slogra and Gaibon at the Alchemy Laboratory
- Obtained the Spirit Orb from the Marble Gallery
- Met Maria Renard in the Marble Gallery
- Vanquished the Doppelganger 10 at the Outer Wall
- Obtained the Soul of Wolf from the Outer Wall
- Obtained the Jewel of Open by buying it from the Master Librarian in the Long Library
- Met Maria Renard in the Alchemy Laboratory
- Vanquished the Hippogryph and met Maria Renard in the Royal Chapel (How’d she get there so fast?!)
- Obtained the Leap Stone from the Castle Keep
- Obtained the Alucart Set (maybe) from the Marble Gallery
- Met Richter Belmont in the Colosseum and vanquished the Werewolf and the Minotaur
- Obtained the Form of Mist from the Colosseum
This concludes the first part of the walkthrough. Please click the link below to proceed to the next part. If there might’ve been anything we missed, please leave your thoughts in the comment section below!
Chris vienola
Sunday 25th of January 2026
You can kill the spikey ball in the long stairwell with the corner knights by coming in the room to go down the stairs and crouch attacking it from behind. The fire skull can’t attack you and the ball won’t roll forward. You get the axe lord armor from doing so, as I found out