Welcome back to the Grishaverse, fellow adventurers. When last we parted, Alina Starkov, Mal, and Inej were making their way past the True Sea to seek Amplifiers, relics (mostly remains, really) that will improve Alina’s power and control over the Small Science so that she can become strong enough to destroy the Fold. But now it’s time for another character to take the spotlight.
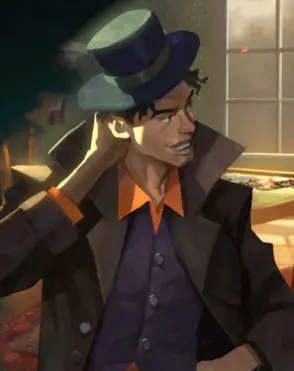
And thus, Jesper Fahey’s story begins.
Jesper Fahey – Bridges on Fire
Of course, any good story begins with conflict. As Jesper, you’ll be drawn into a meeting with Kaz and Inej, discussing The Dregs’s (your gang) current dire straits – stuck in enemy territory with little food and virtually no money.
Your best bet is to settle things with Dreesen. Take Inej (remember when she mentioned she’d have to stop at Ketterdam in the previous chapter?) and explain the situation to him, especially the part about why you don’t have the Sun Summoner with you. Maybe you can talk things over. Do whatever it takes to make things right with him.
Before this can happen though, you’ll be ambushed by several men. You’ll be drawn into another multiple-check dialogue tree, like the library and the confrontation with Kalukov.
Side Quests:
- Use the Stadwatch to get rid of Rollins and his Dime Lions.
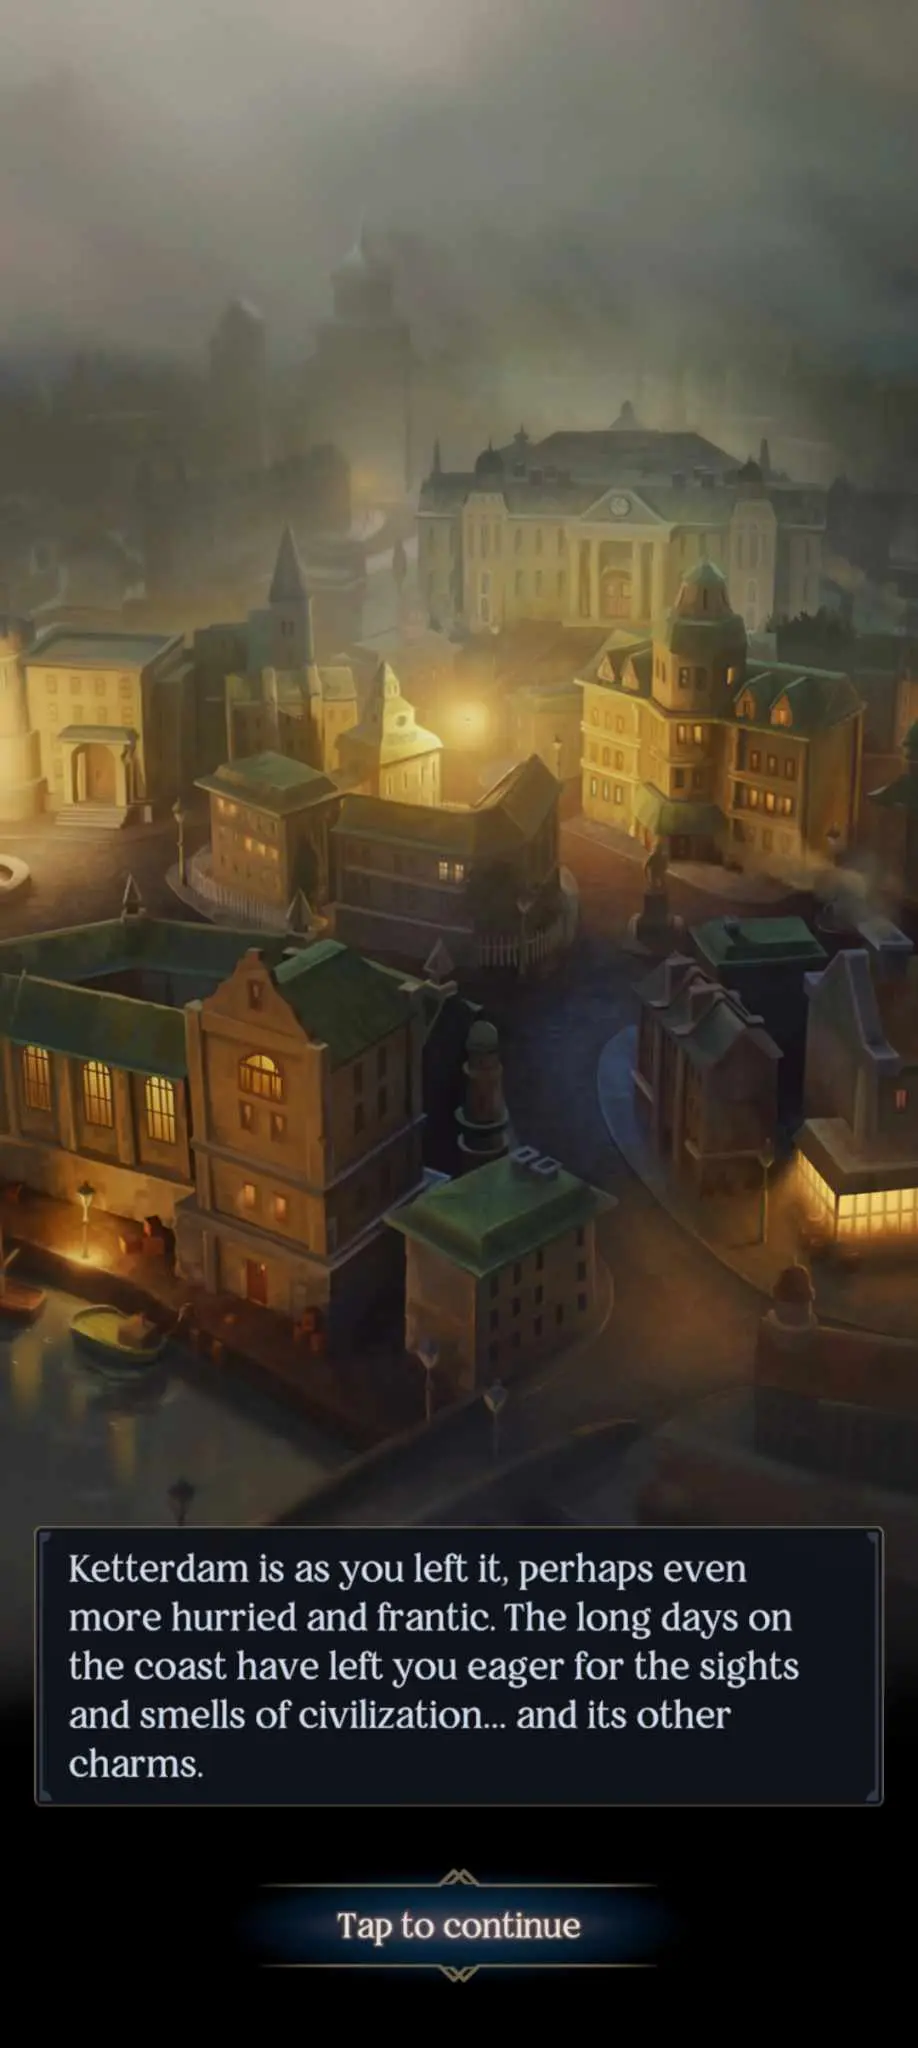
Before we go looking for Dreesen, head north to the city of Ketterdam.
- You can go to the Stadhall to attempt to reach your contact in the Stadwatch. Regrettably, he’s been dismissed. Use the opportunity to roll some skill checks with the officer on watch. You’ll find that your contact has been reassigned to Belendt. Note that as of writing (November 30, 2023), you can attempt this skill check as many times as you want, giving you an easy way to grind.
- You can also opt to sneak in at the Crow’s Club, your former headquarters.
- You can visit Jesper’s boyfriend, Wylan, at The Ostrich.
- If you feel lucky, you can also gamble for more funds at West Stave.
We’re done here. Go south and follow the path to the left toward Belendt. Watch out for the combat encounter at the crossroads though. Along the way, you’ll find Dreesen’s Mansion. You’ll have the option of sneaking in or going through the front gate, though as Jesper himself points out, Dreesen is both paranoid and you owe him something.
You can either sneak into the place or walk to the front doors and deal with the guards via a bribe, a Mind check, or a Charm check.
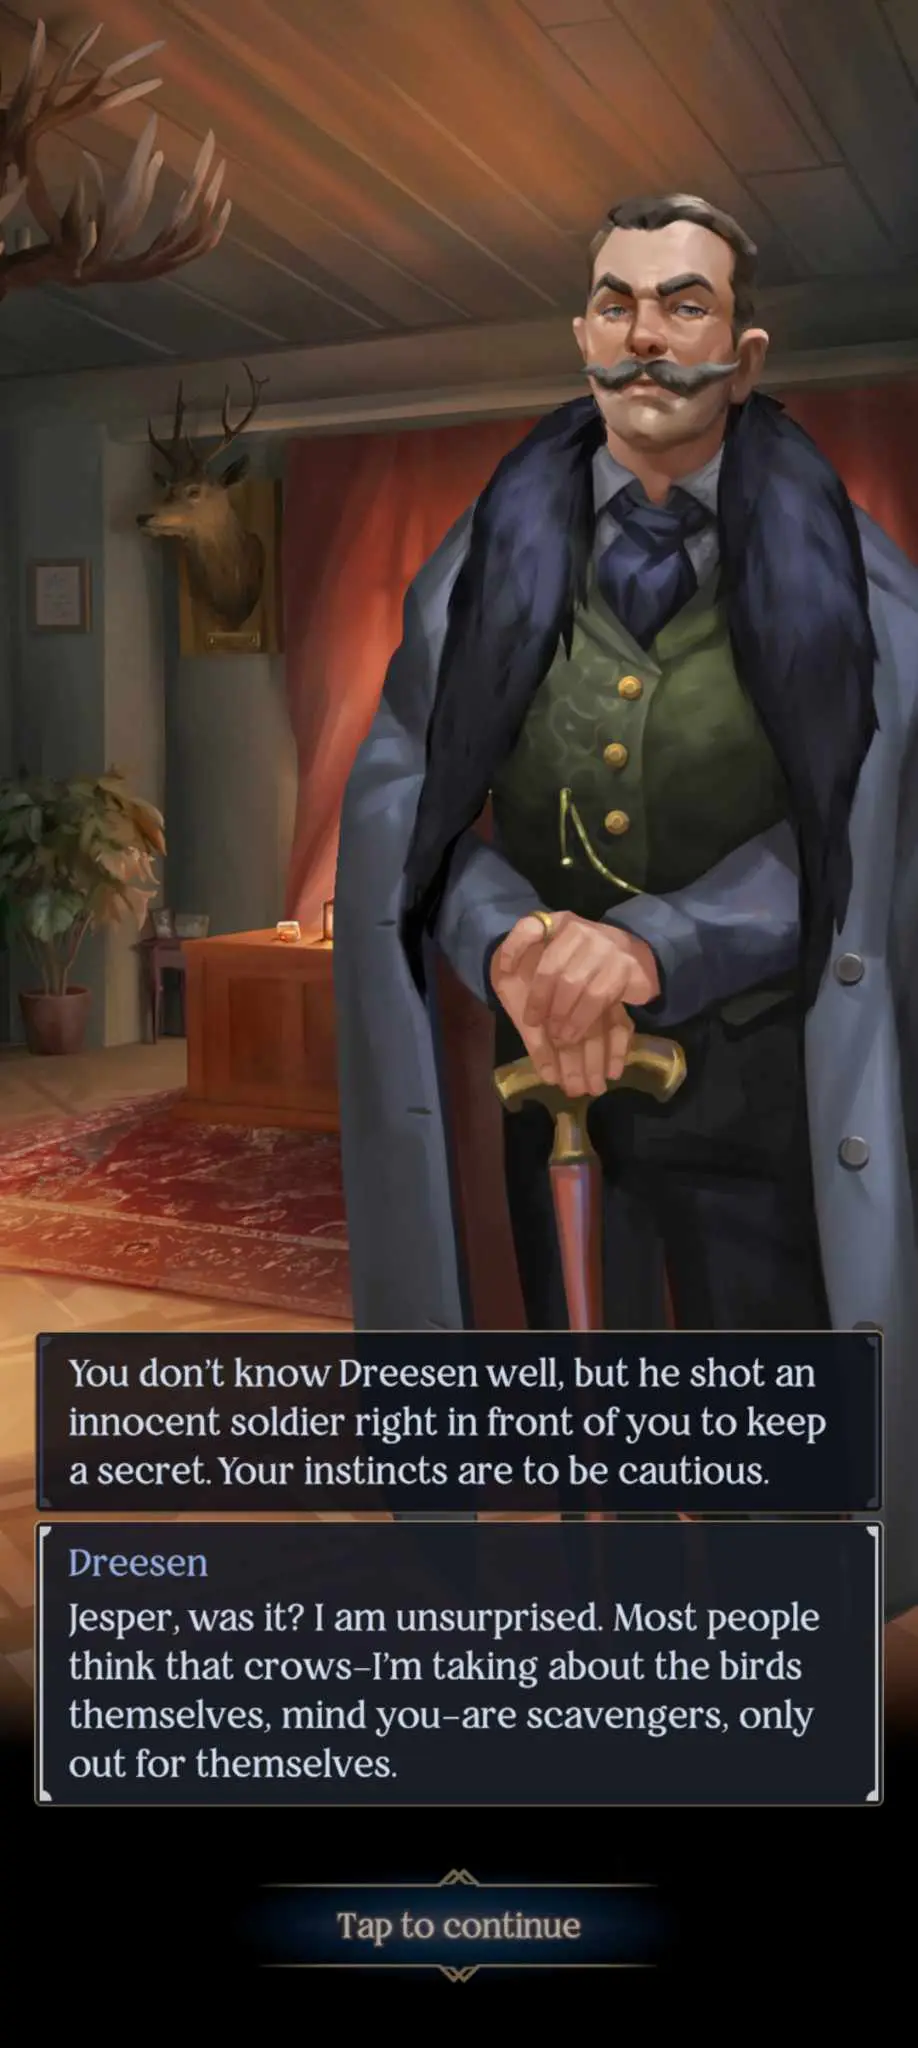
Discuss your deal with Dreesen. Here, you’ll learn the stipulations of your contract. For 1 million kruge, all you needed to do was to kidnap Alina Starkov and bring her to Dreesen. You’ve obviously failed in that task, so try not to aggravate Dreesen and keep talking shop. As he (rather rightly) figures, you owe him – and he’s going to collect on that debt by having you cheat at a high-stakes gambling table.
Specifically, Dreesen wants you to go to Little Ravka in Ketterdam and ask for a man named Vigar Pazov. Find out where he went, tail him, and join the game. Play smart – cheat if you must – and bring your winnings back to Dreesen.
You can head back to Ketterdam now, but it’s your call if you want to visit Belendt (it’s far to the left), though I will warn you that the side quest your contact will give you won’t be resolved until later and you’ll have to come back here anyway. I’ll assume you went back to Ketterdam first.
Enter Little Ravka and get information as you see fit – it’ll require a Mind, Charm, or Perception check. Succeed in any of these and you’ll discover that the high-stakes game is going to be held at the Mocking Bird, an inn south of Ketterdam.
Head all the way south (you’ll need to start moving southwest at some point, past a shed) from Ketterdam to join the game.
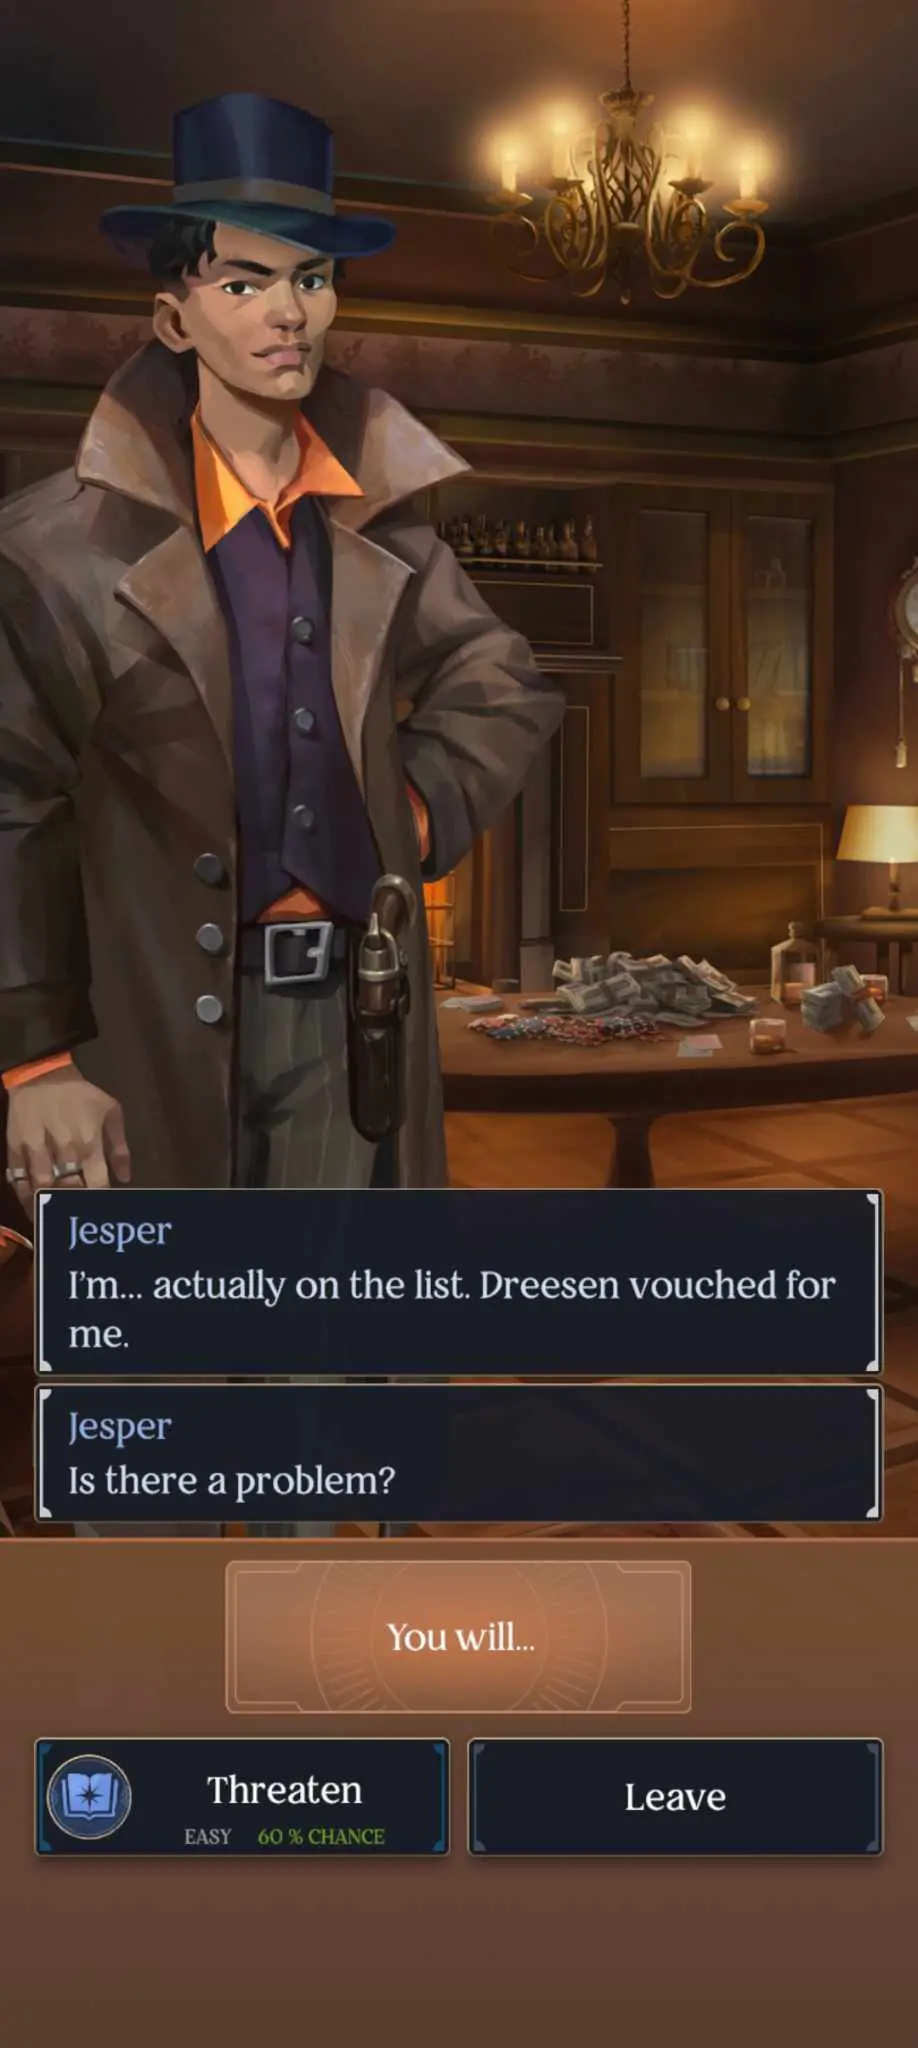
You can convince the doorman with a Mind check that Dreesen vouched for you, though he’ll still let you in; the other guests are just a little wary as it’s the first time they’ve seen you. With any luck, it’ll also be the last.
Once you’re in the game, you’ll go through a series of automatic checks. No matter what happens though, you’ll lose the final round. This isn’t good. Return to Kaz at the Crow’s Hideout to deliver the news.
At least you have the locket, right? Take it to Allika Graus in the Zelver District in Ketterdam.
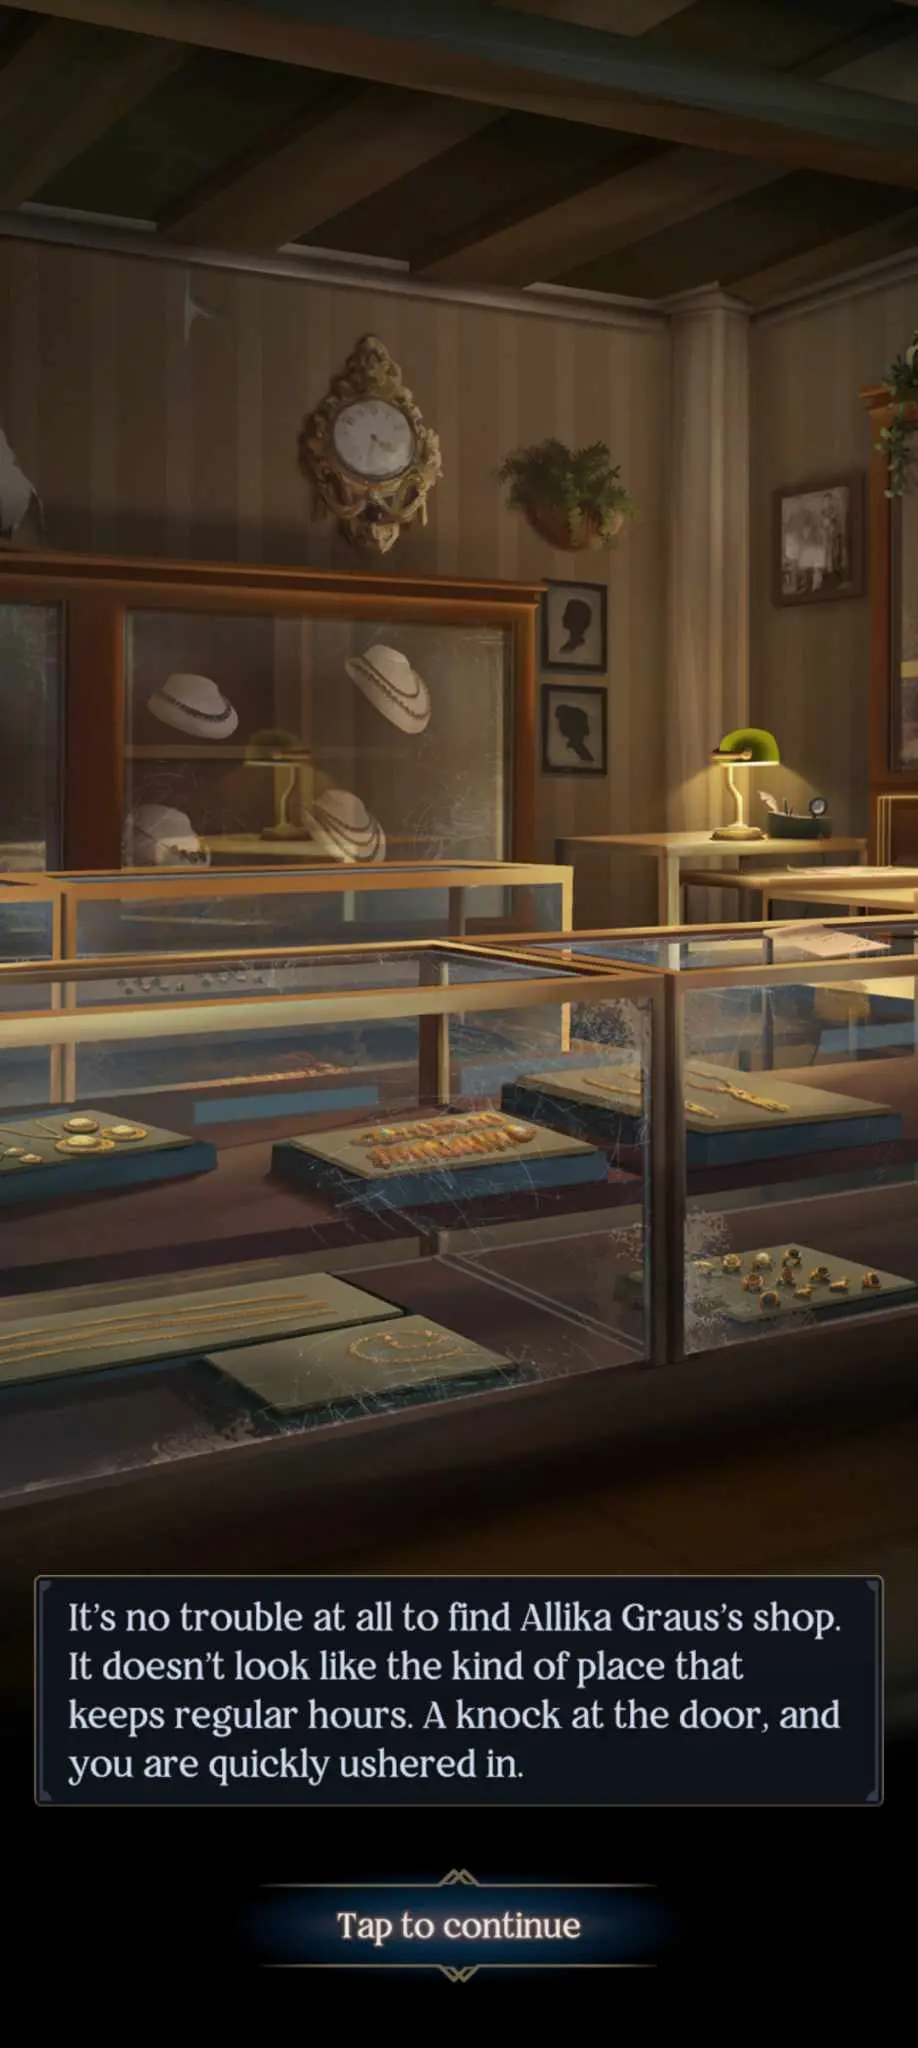
Allika Graus will appraise the locket – it’s of Ravkan make, with a connection to the Lantsov dynasty. But that’s not all. There’s a tiny compartment in the locket with writing inside it. According to Allika Graus, noble Ravkan families use these to depict their family trees…or use them to send secret messages. He can’t read it though, so you’ll need to take the locket to Danilo Ehrens at the university. You know, one of Jesper’s old teachers.
Once you arrive at Ketterdam University though, it’ll become clear that Ehrens no longer works there. You’ll need to get information from the administrator via a Charm or Mind check. You’ll find out that Ehrens lives in a cabin far away from the city.
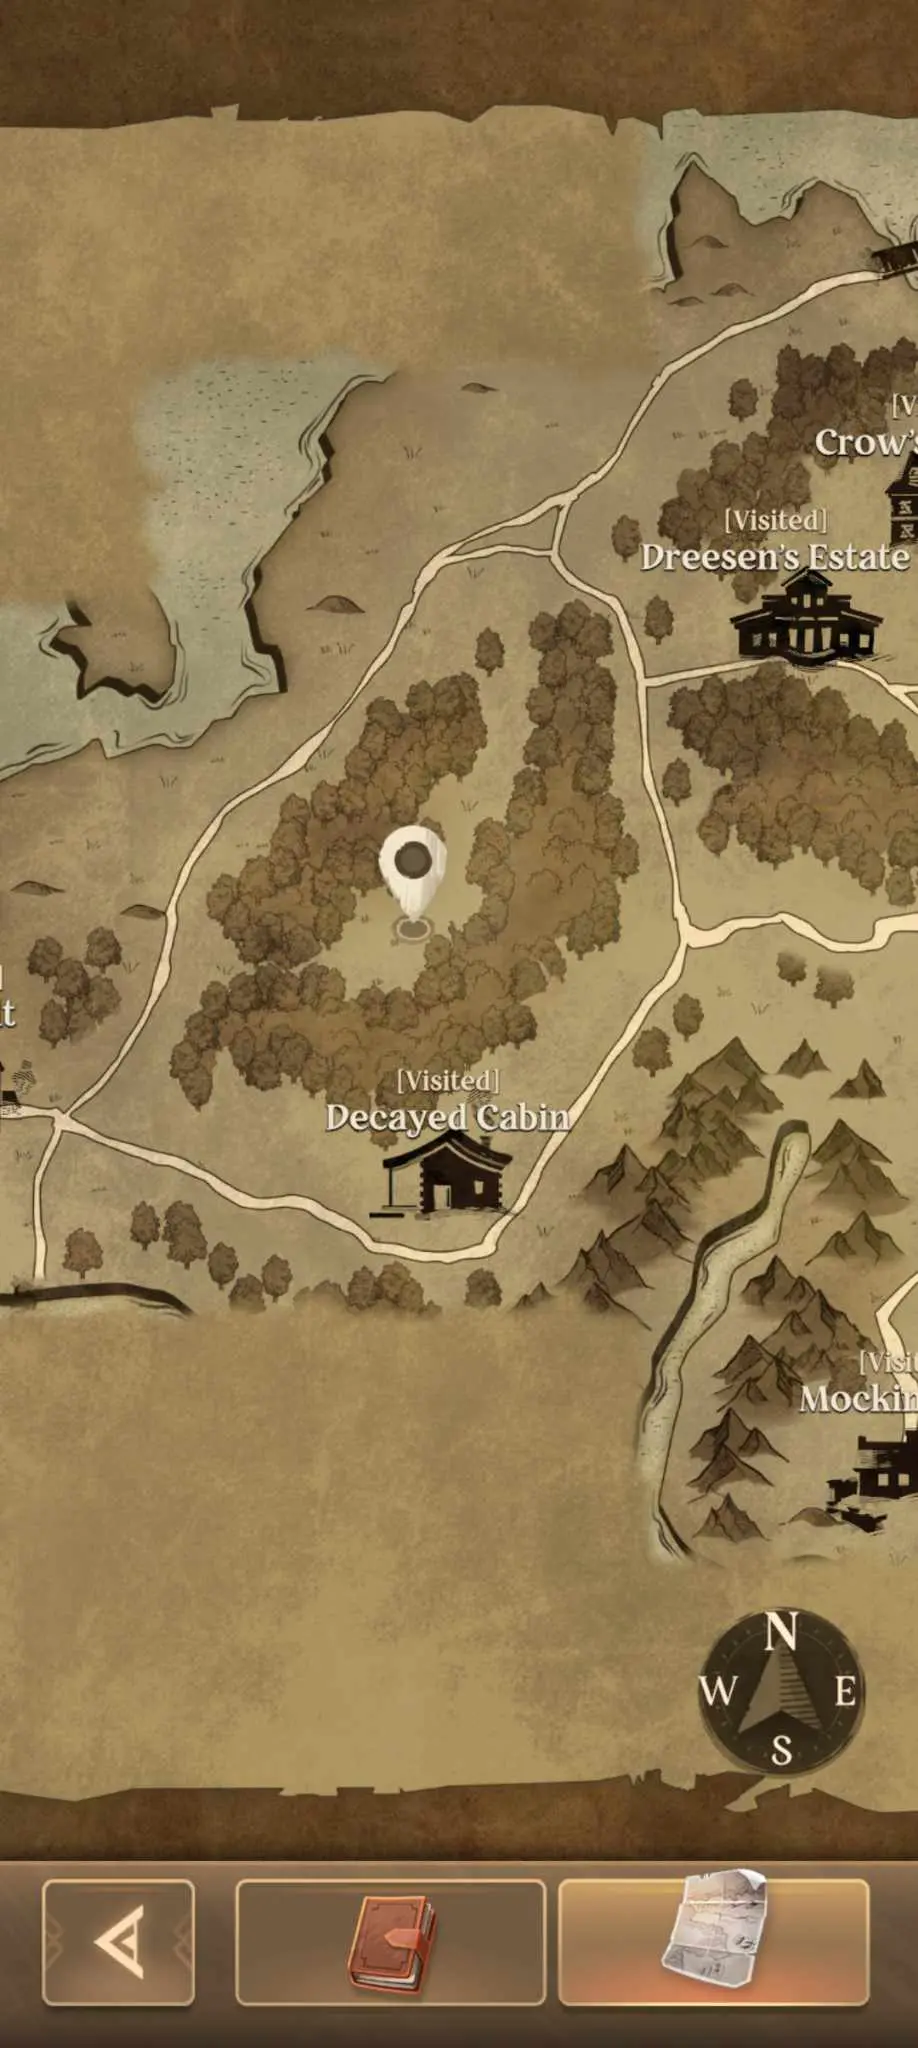
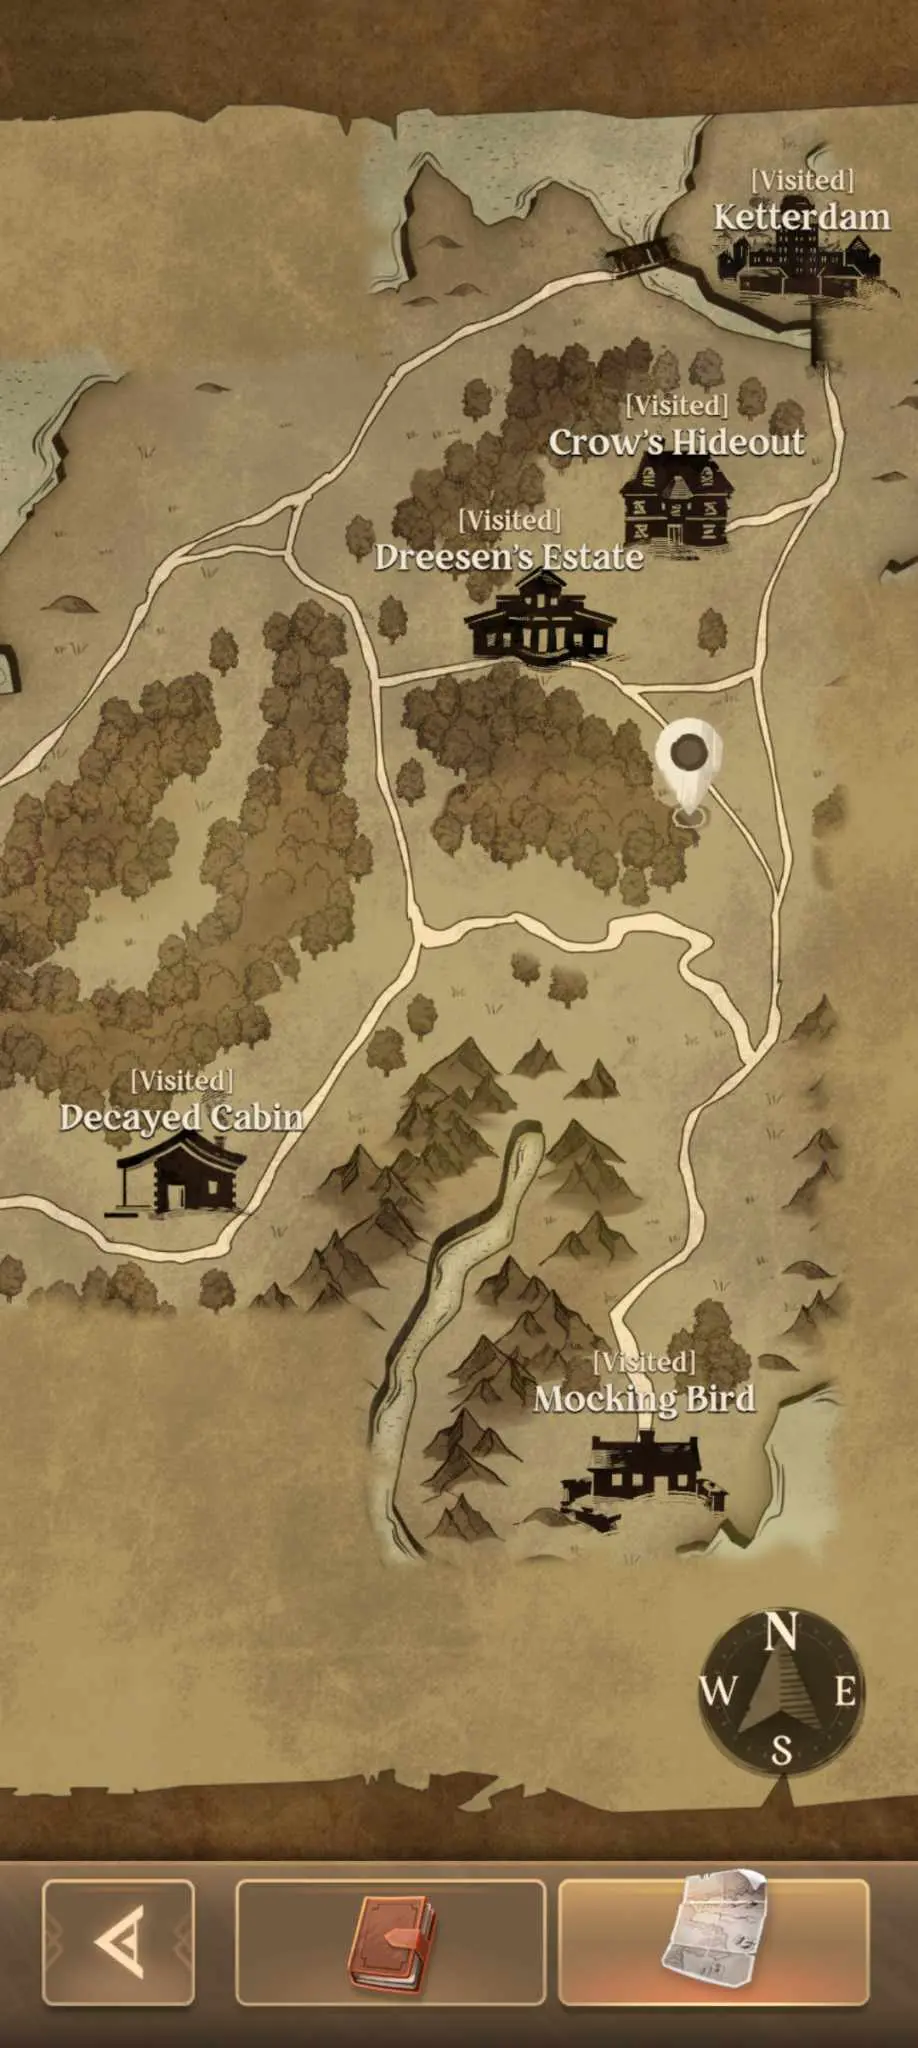
Leave Ketterdam and make your way back to Dreesen’s Mansion (south and westward). Continue a little bit onwards and take the bottom path when the road splits. You’ll find a child trapped under a tree branch – good luck with the skill check – but more importantly, you’ll find the Decayed Cabin where Ehrens resides. It’s easy enough to get in, but he’s also drunk out of his mind. Inej will ask you to retrieve some Milkthistle and Chlorella to sober him up. Before we do that, head west from the cabin and a little bit north to find Belendt. You can also take this road north to get back to Ketterdam, but be wary of the many combat and wild animal encounters on the way.
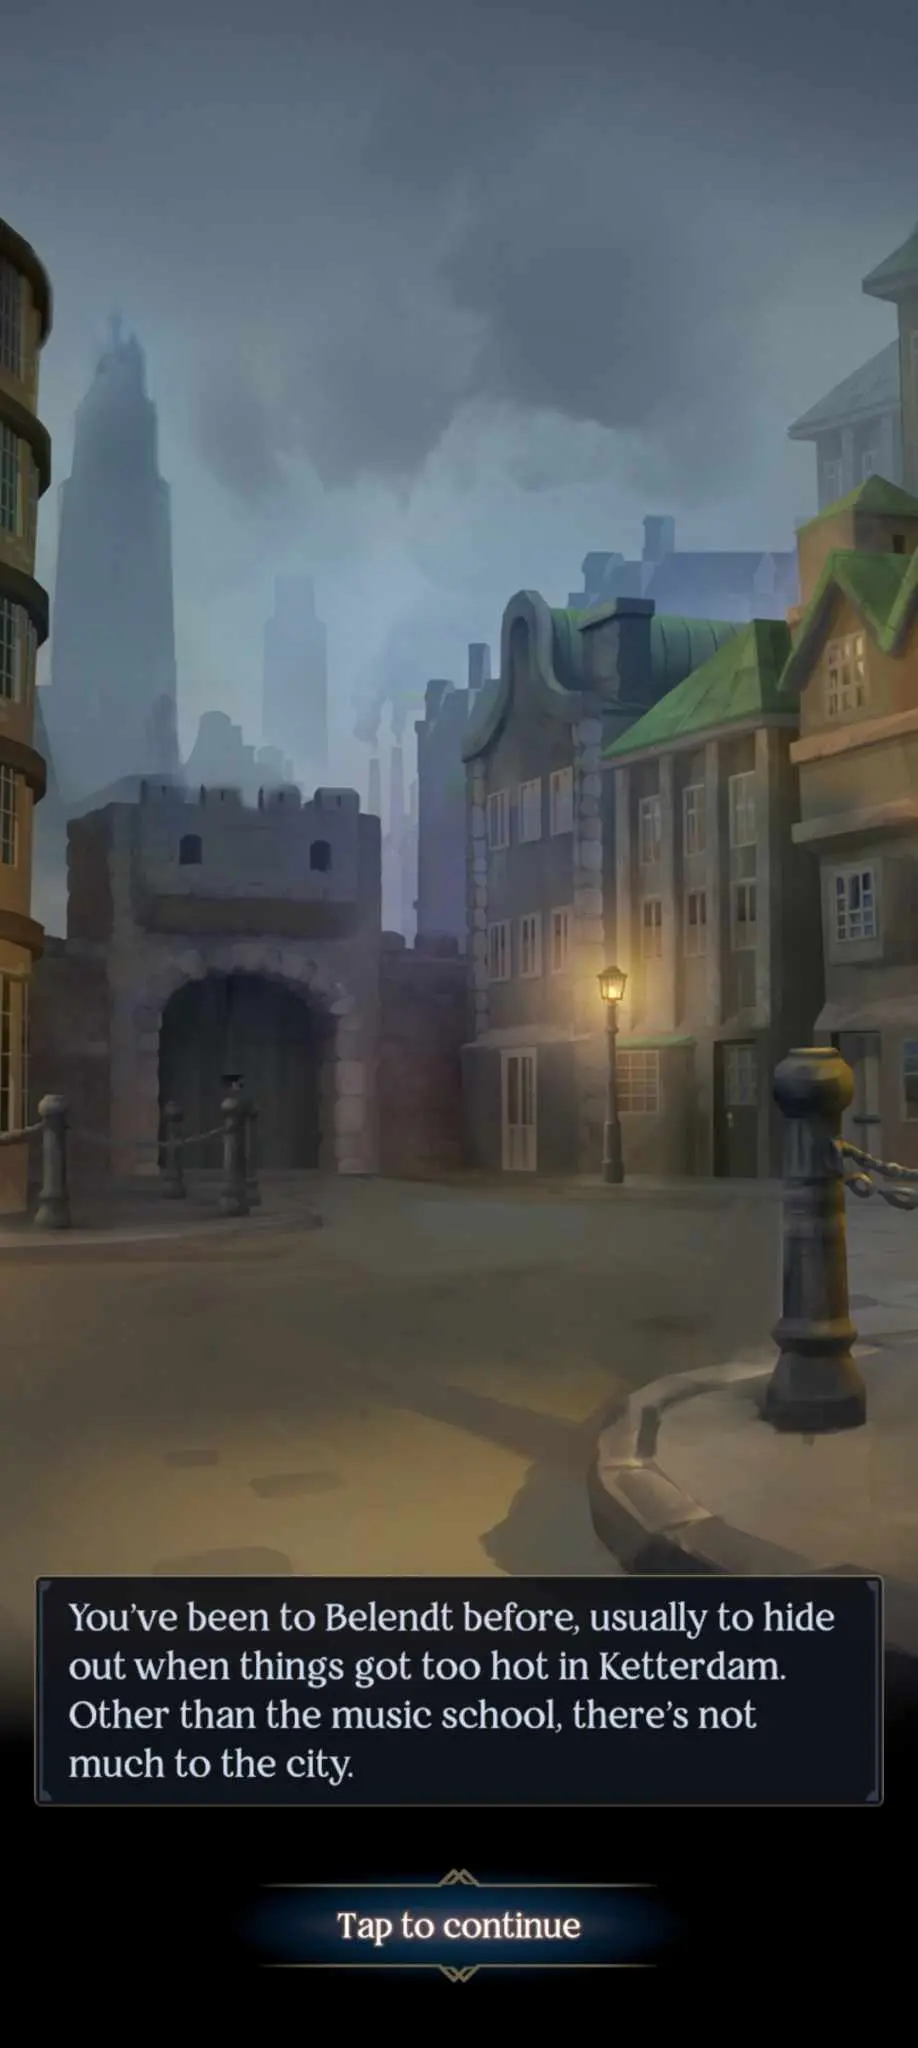
Enter the city to find your Stadwatch contact, Willem Holst. While he understandably doesn’t want any more trouble, we need information. Bribe him or pass either a Charm or Mind check to get Holst to talk. He’ll reveal that Pekka Rollins has an iron grip on Stadwatch, using his power and influence to give his Dime Lions free reign over the city. Sure sounds like Stadwatch could use an excuse to get rid of Rollins…which, 100% coincidentally, will make Ketterdam safer for you and The Dregs.
Now, to find the herbs. Chlorella can be found north of the cabin in a u-shaped grove (note that you can enter it from the lower left side too):
While Milkthistle can be found here:
Remember to visit each grove twice to get the required materials.
Once you have them all, go back to the Decayed Cabin to wake Ehrens up.
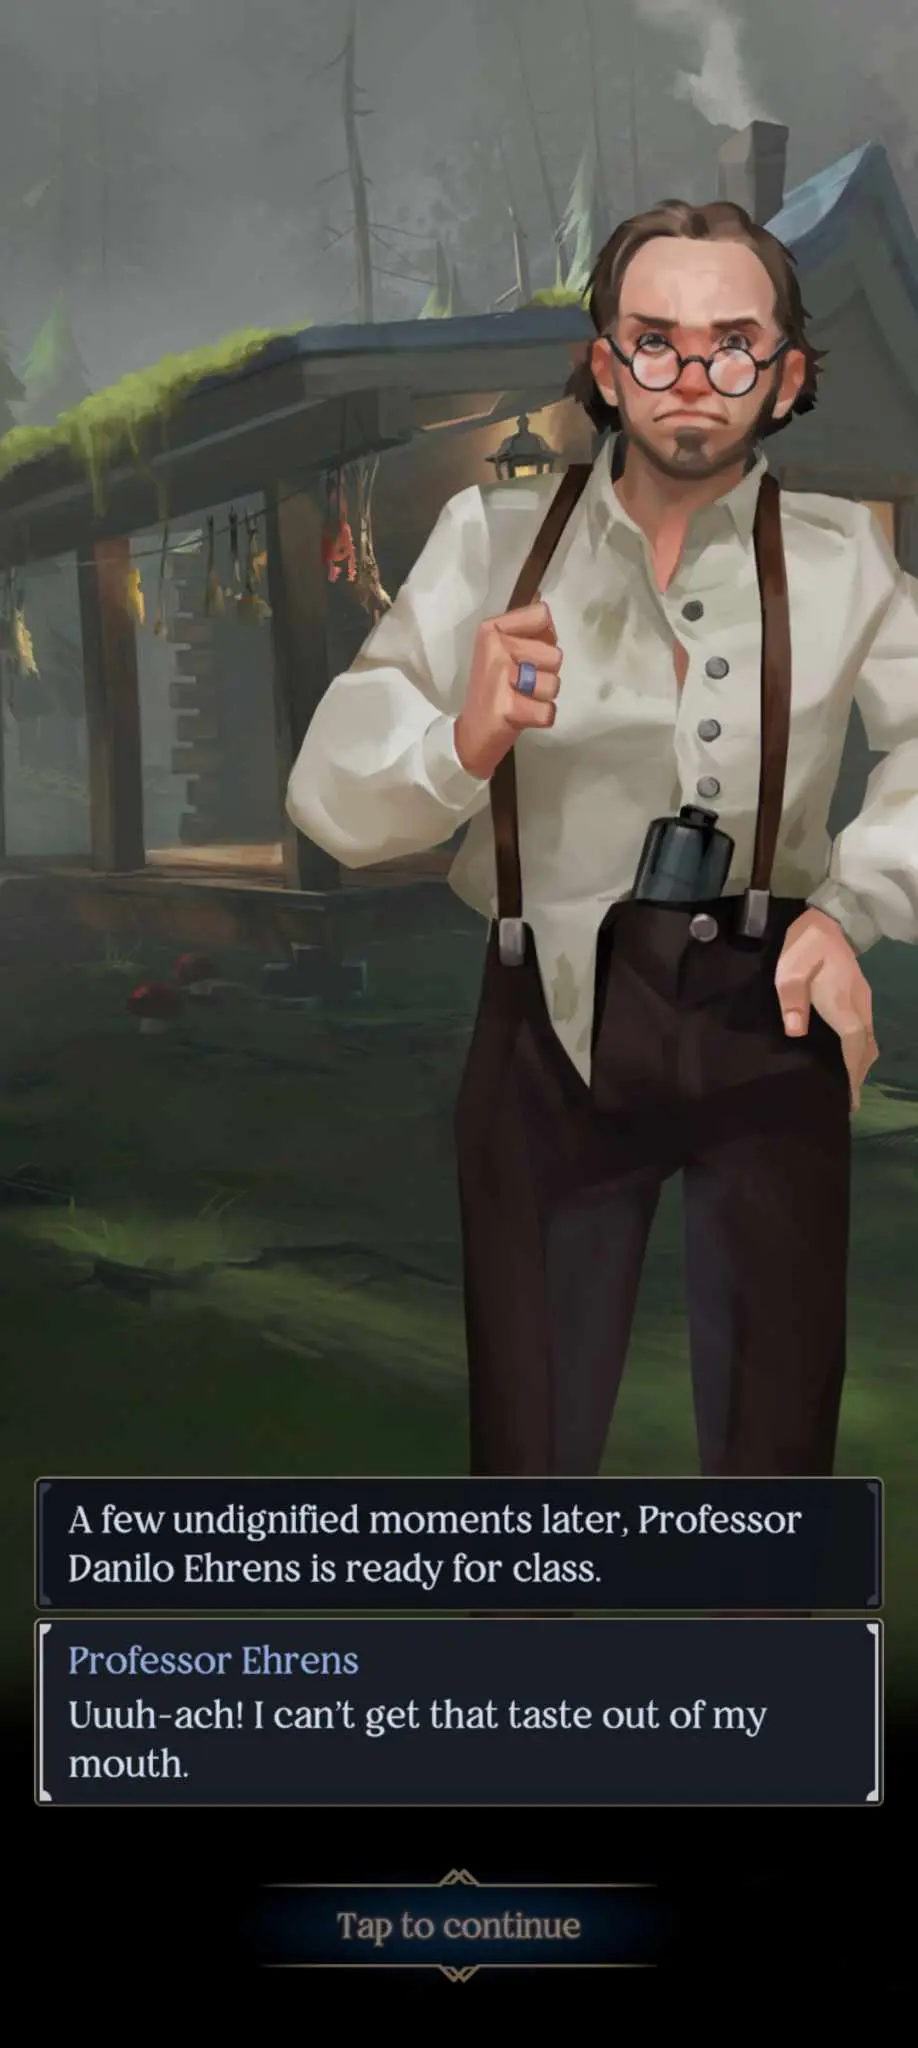
Professor Ehrens will be willing to help. After appraising the locket and decrypting the cipher, he’ll tell you that the Jesper look-alike is a Zhikov, a Ravkan family that was once close to the royal line. The Zhikovs were the subject of many rumors when they vanished, supposedly with their wealth and fortune. The inscription on the locket is what’s more important, though. It affirms that whoever has the locket is a true and direct descendant of the Zhikov bloodline, and thus is the rightful heir of the Zhikov fortune and properties. And as it so happens, Jesper has more than a passing resemblance to the man in the locket. Holy Anastasia!
Return to Kaz and tell him what you’re cooking. Kaz will order you to take Wylan and Inej, go to the docks, and go to whatever’s left of Novokribirsk. With skill, luck, and the help of a master forger, you’ll be able to pass off as the heir to the Zhikov fortune. Get the deeds, get the money, get back to Os Alta, get back to Kaz, repay your debts, and live in luxury for the rest of your life. Solid plan, right?
Go back to Ketterdam and pick up Wylan from The Ostrich. Even if you visited him earlier, you’ll now need to either sneak or shoot your way in. Once you have Wylan, head to the Fifth Harbor. Use the information you learned from Holst to rile up the Stadwatch Officer. This technically does nothing, but Jesper probably really would do it – and it completes the side quest.
No matter what though, the docks are closed. You’ll need to find Inej’s contact, Arna Wolker, to help you get through the blockade. You can find her in the Hidden Harbor:
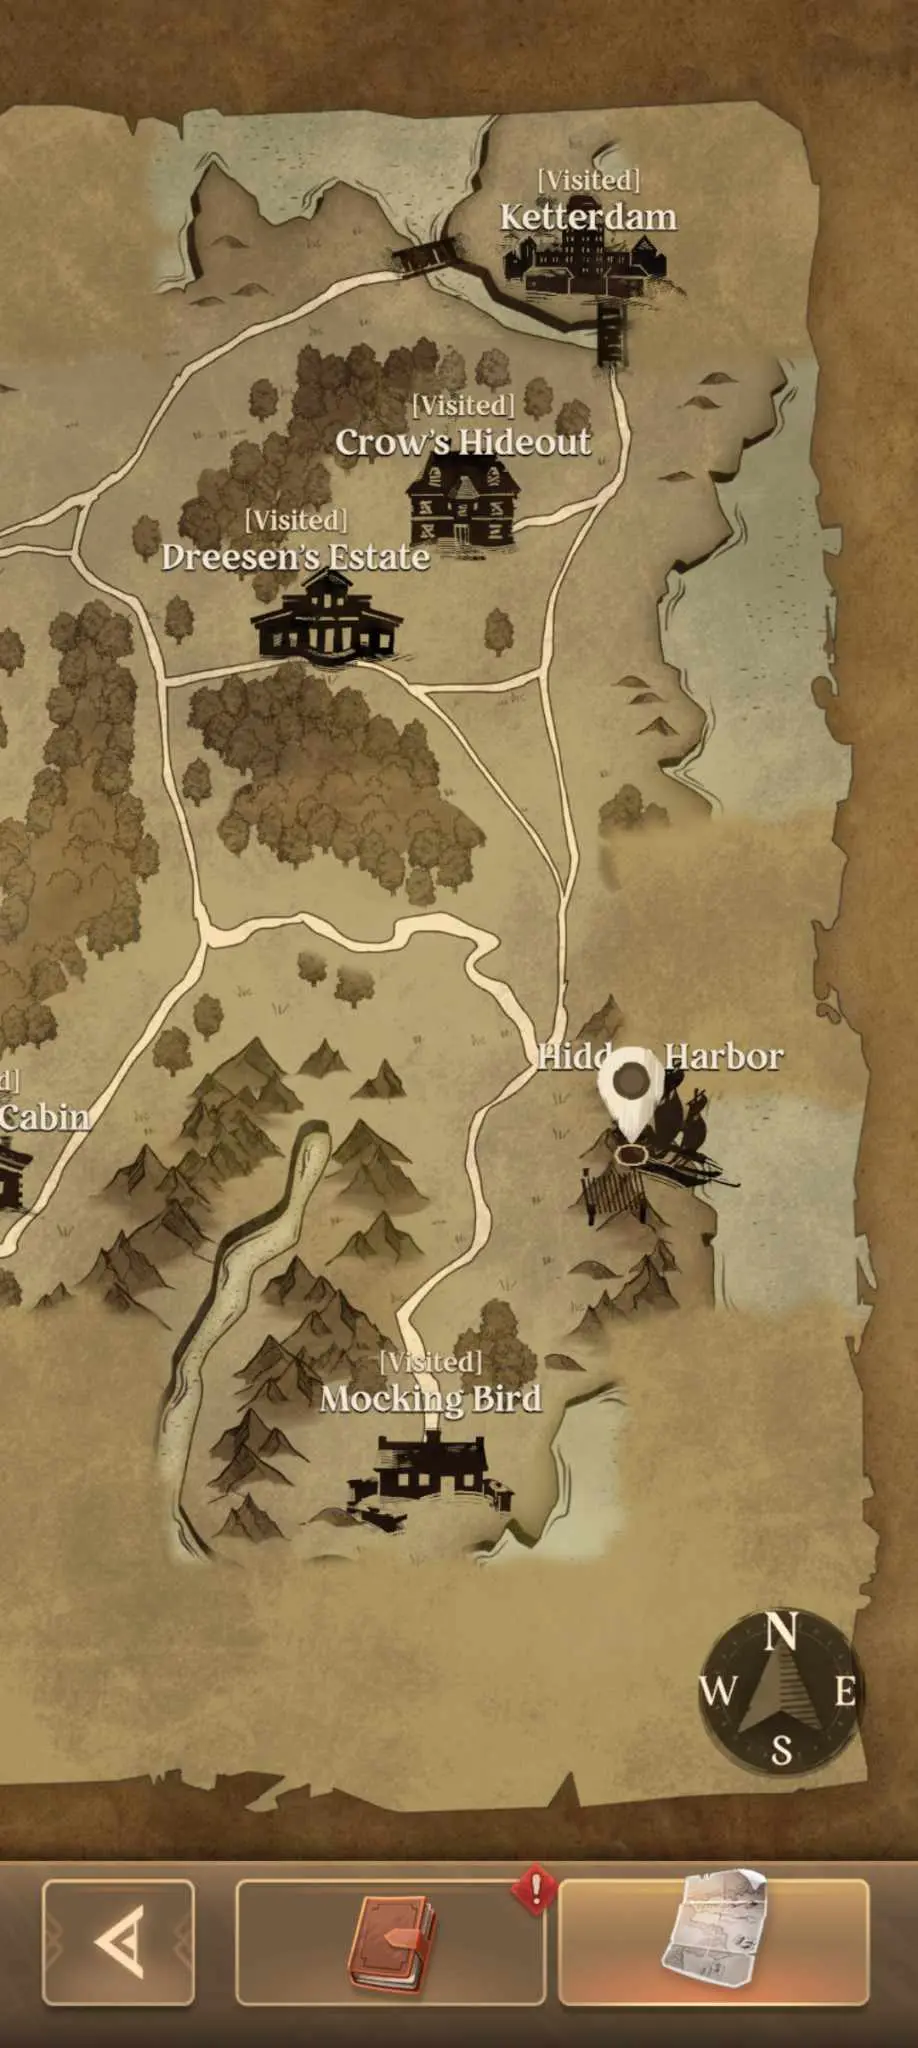
Speak with Arna and the chapter will end. Our grand heist awaits!
Jesper Fahey – Between Two Seas
As promised, Arna will drop you off as close to Novokribirsk as possible – but you’ll quickly be accosted by bandits after disembarking.
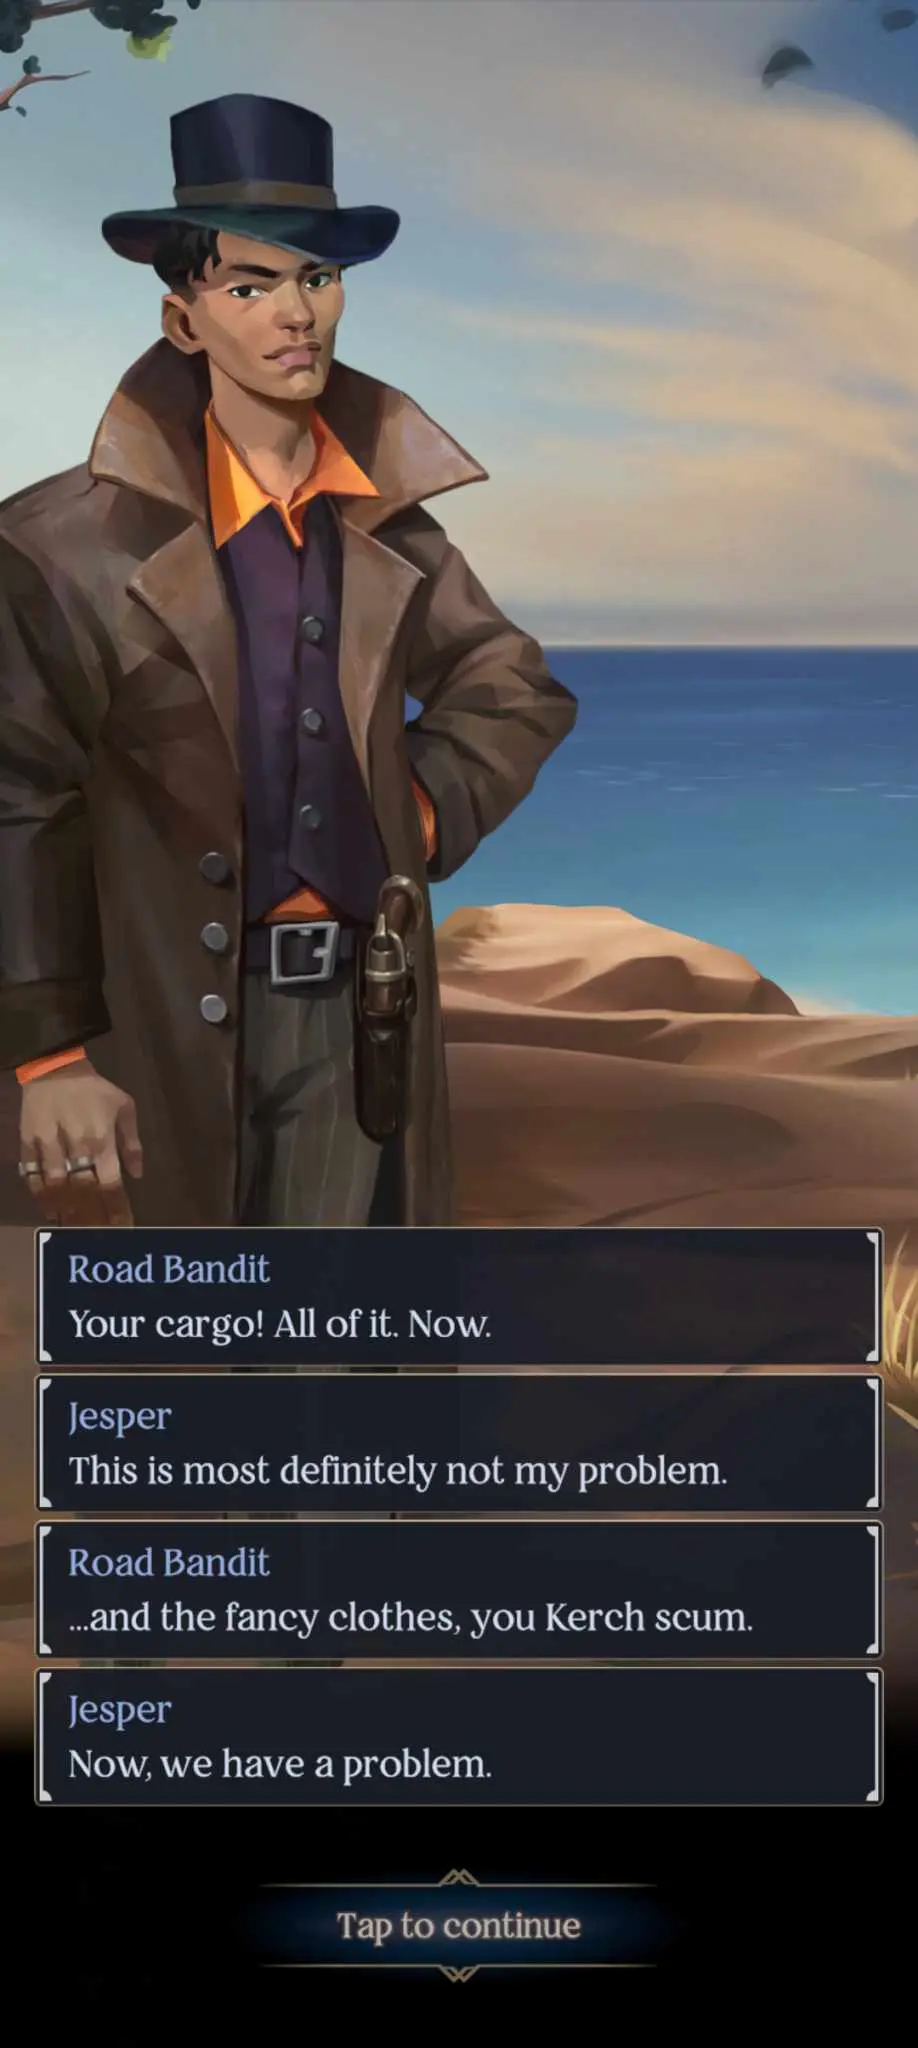
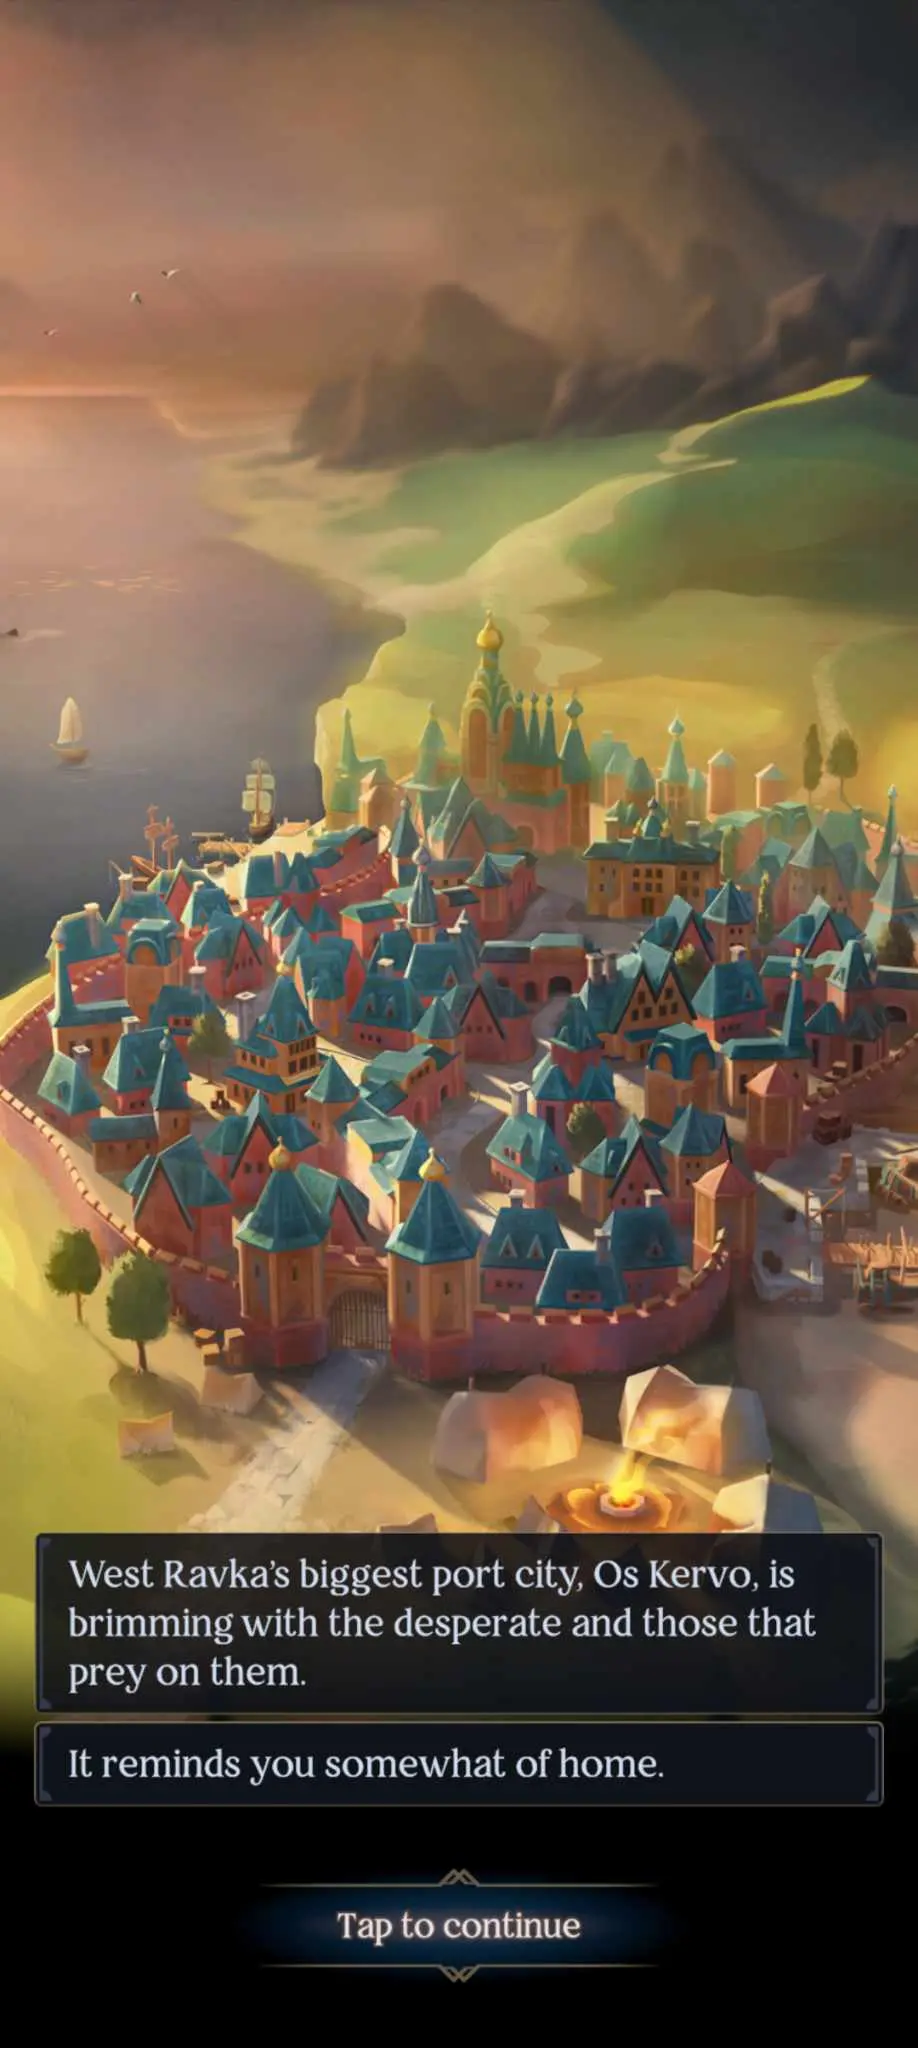
This pulls you into a ranged combat minigame. Dispose of them and get your bearings, then make your way to Os Kervo – yes, that Os Kervo, where Alina’s final chapter was.
Side Quests:
- Reunite Angelo and Jonas.
Before you head southward to Os Kervo, stop by the pilgrim camp directly to your left. As Alina, you may have noticed her refusal to approach it. But now that you’re no longer playing as Sankta Alina, it should be easy to approach without being smothered by devotion. Speak to the pilgrim and pass a skill check for some experience.
If you try to head north to Udova, you’ll notice that First Army soldiers are now blocking the bridge. Head south to Os Kervo, but before you cross the stone bridge, go north to where you did the trade with Kalukov as Alina. As Jesper, you’ll find a young man named Angelo Donetsky whose partner, Jonas, vanished in the middle of the night. Angelo fears the worst.
Cross the bridge. You can head to where Valesk was as Alina, now labeled “Refugee Camp” – it’s to the east. A refugee will overhear you talking with your companions, and you can indulge her to get some backstory. Once you’re done here, head west to Os Kervo.
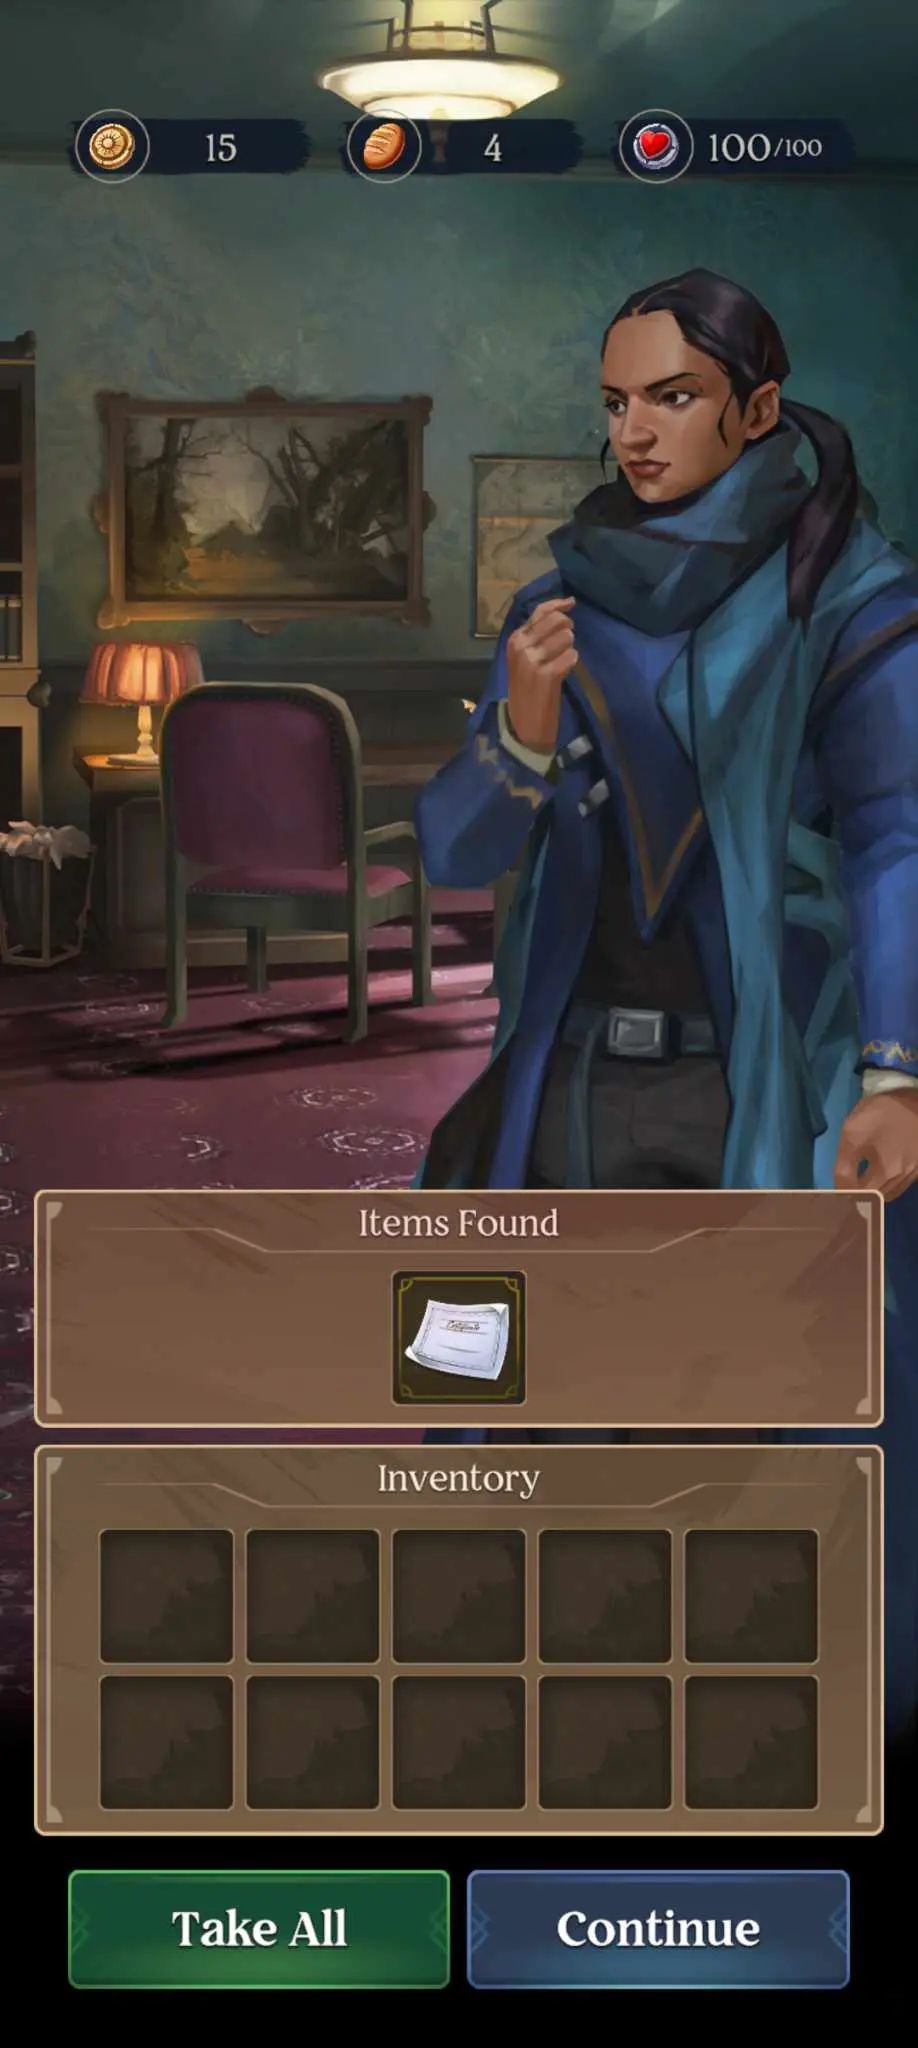
Present yourself at the gates and pass a skill check (Force or Charm), or bribe the guard to gain passage into the city. Once you’re in, head to the scriptorium to meet with Evard Poznar. You’ll need to convince him to help you; just say that Kaz sent you, and Evard will consider it a chance to repay his debt.
However, Evard will need two things to create a forgery – a blank Certificate of Birth and an Official Seal.
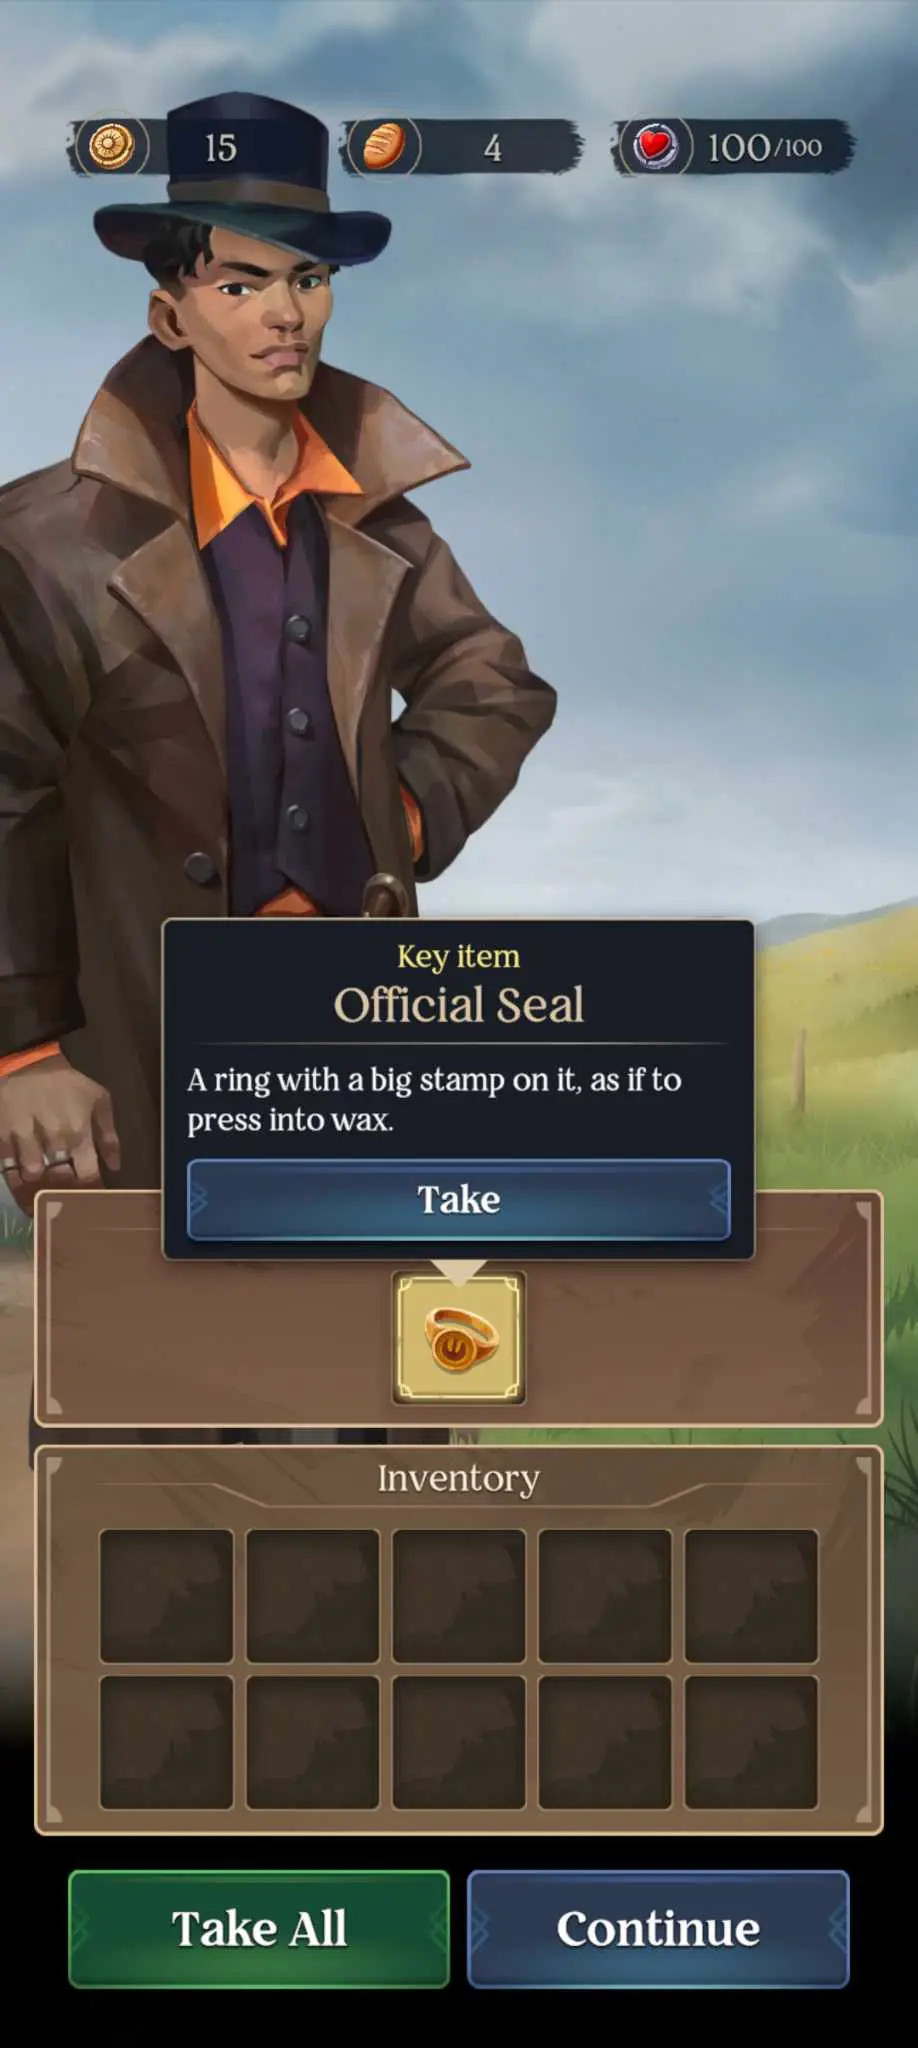
- The Official Seal is a ring with a symbol on it, used by the Chief Diplomat to stamp documents. The Chief Archivist should have one, though you’ll need to find a way to “convince” her to part with it.
- The Certificate of Birth is…well, obviously a birth certificate. You can get a blank one from the Regent’s office in Os Kervo.
Since we’re already in Os Kervo, we may as well stop by the Regent’s office to see if we can steal a certificate. You’ll need to enter the archives, either by knocking on the door, picking the lock (Mind check), or sneaking in.
Bring the blank certificate back to Evard in the scriptorium, then leave Os Kervo. If the combat encounter below accosts you, don’t sneak past them – the lead soldier will acknowledge you as Lord Zhikov regardless. I’m not sure if this is a bug or if it’s because of the locket.
Head directly north out of Os Kervo and deal with the bandit on the bridge. The game automatically rolls Intimidation (Mind check) here, and failure draws you into a ranged combat minigame. Either way, they’ll retreat, bruised and bloodied. They’ll also drop a very official-looking ring as they flee.
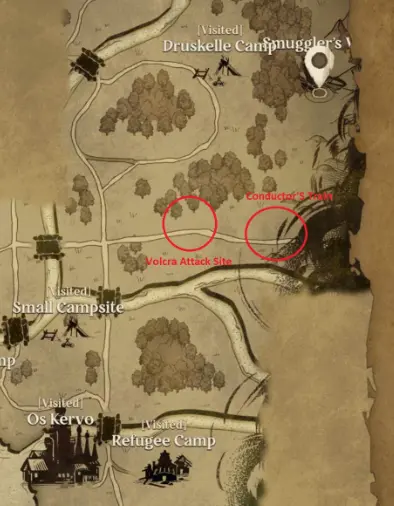
Before you return to Os Kervo, cross the bridge and head to the right to the Volcra Attack Site to learn of Jonas’ fate. No rucksack to confirm the body though, so we’ll have to wait a bit. Instead, head north to another combat encounter. You could pay the bandits, but they ask for an exorbitant 8 coins. Just shoot them.
Clear the encounter and they’ll drop Jonas’s rucksack. Return to Angelo with the grim news. As a way of thanks, Angelo will give you Jonas’s Imperial Pass for the train, as well as some money.
Head back to Evard to give him the Official Seal. Evard will work for a moment before giving you the fake identification papers. He’ll also throw in a bonus cover story – just say that you, Jesper Zhikov, lost your parents shortly after you were born and you were raised by a kindly couple across the True Sea. No, there’s nothing true at all about it, but who has evidence to prove you aren’t a Zhikov?
We’ve done all we can in this part of the world. Head back across both bridges, past the Volcra Attack Site, and into the Conductor’s Train.
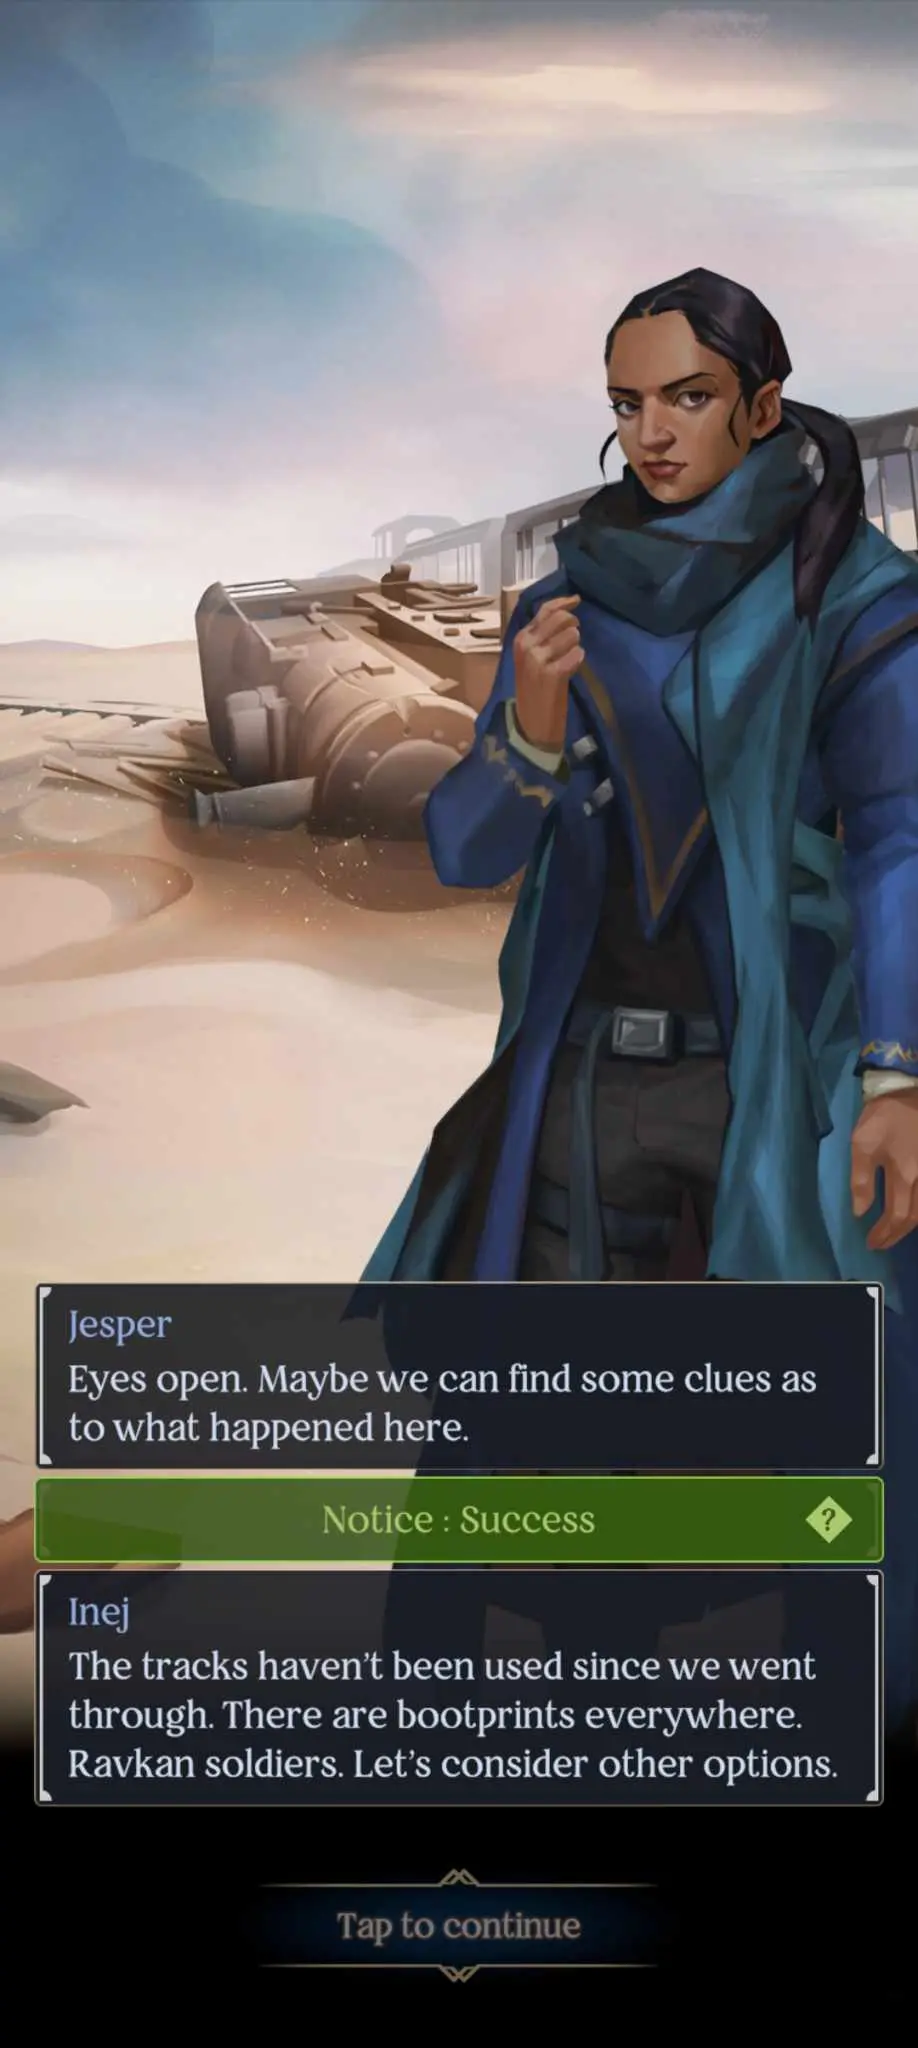
No one’s here. We’ll need to seek passage elsewhere. Head back to Os Kervo and visit the docks. As you may have expected, there are no skiffs taking passengers across the Unsea.
This is starting to look like a job for our old acquaintance Tomsky. You can find him in the Smuggler’s Valley, a bit north of the Conductor’s Train.
Once again, Tomsky is willing to give you passage if you assist him with finding a new skiff runner.
Luckily, there are wrecked skiffs close by. There’s a damaged skiff just below Smuggler’s Valley, but if you fail the check, there’s another one a little to the south. You will have to walk around and cross the bridge to get to it though:

Even if you fail the check here, you’ll still get the part at the cost of some health.
Make your way back to Tomsky. Inej will leave your party. To the Unsea!
Or so it would seem. Just as you begin to cross the hellscape that is the Fold, the rudder breaks. As the most combat-capable individual on board, you’ll need to retrieve the rudder while Tomsky and his crew repair the ship. All while the volcra know you’re here. Sure. No problem.
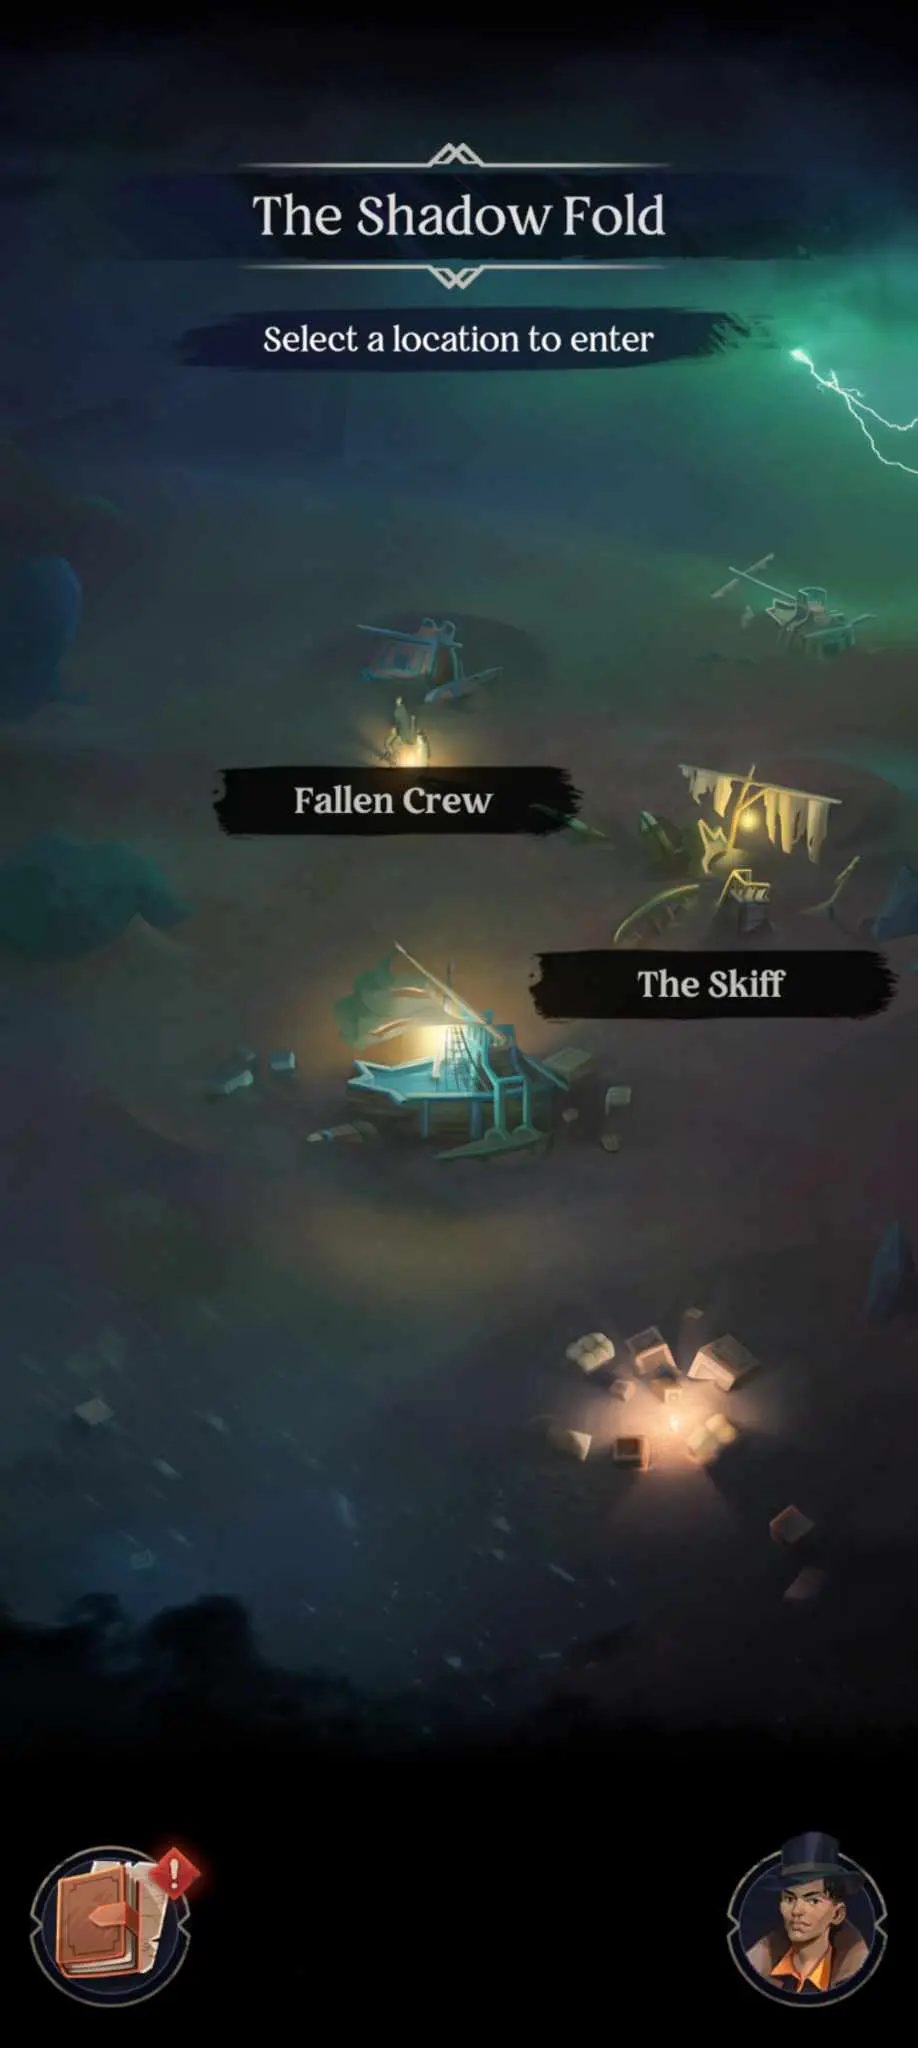
- First, head to the Fallen Crew and rescue the man. You can fight to defend him from volcra or tell him to run; I chose to fight.
- Next, go to the Lost Cargo. Nothing of interest here.
- Finally, go to the Detached Rudder. This starts an automatic Force check, and failure will cost you some HP. You’ll still get the rudder though.
- Return to Tomsky at the skiff to get the rudder fixed and leave the Fold!
Repairing the rudder ends the chapter.
Jesper Fahey – House of the Wolf
Finally, you make land in East Ravka, safe (maybe?) and unharmed (definitely not). The last step of our grand heist awaits.

Side Quests:
- Find 3 hidden supply caches for Esmira.
- Get food for the rebels.
- Get winter clothes for the peasants.
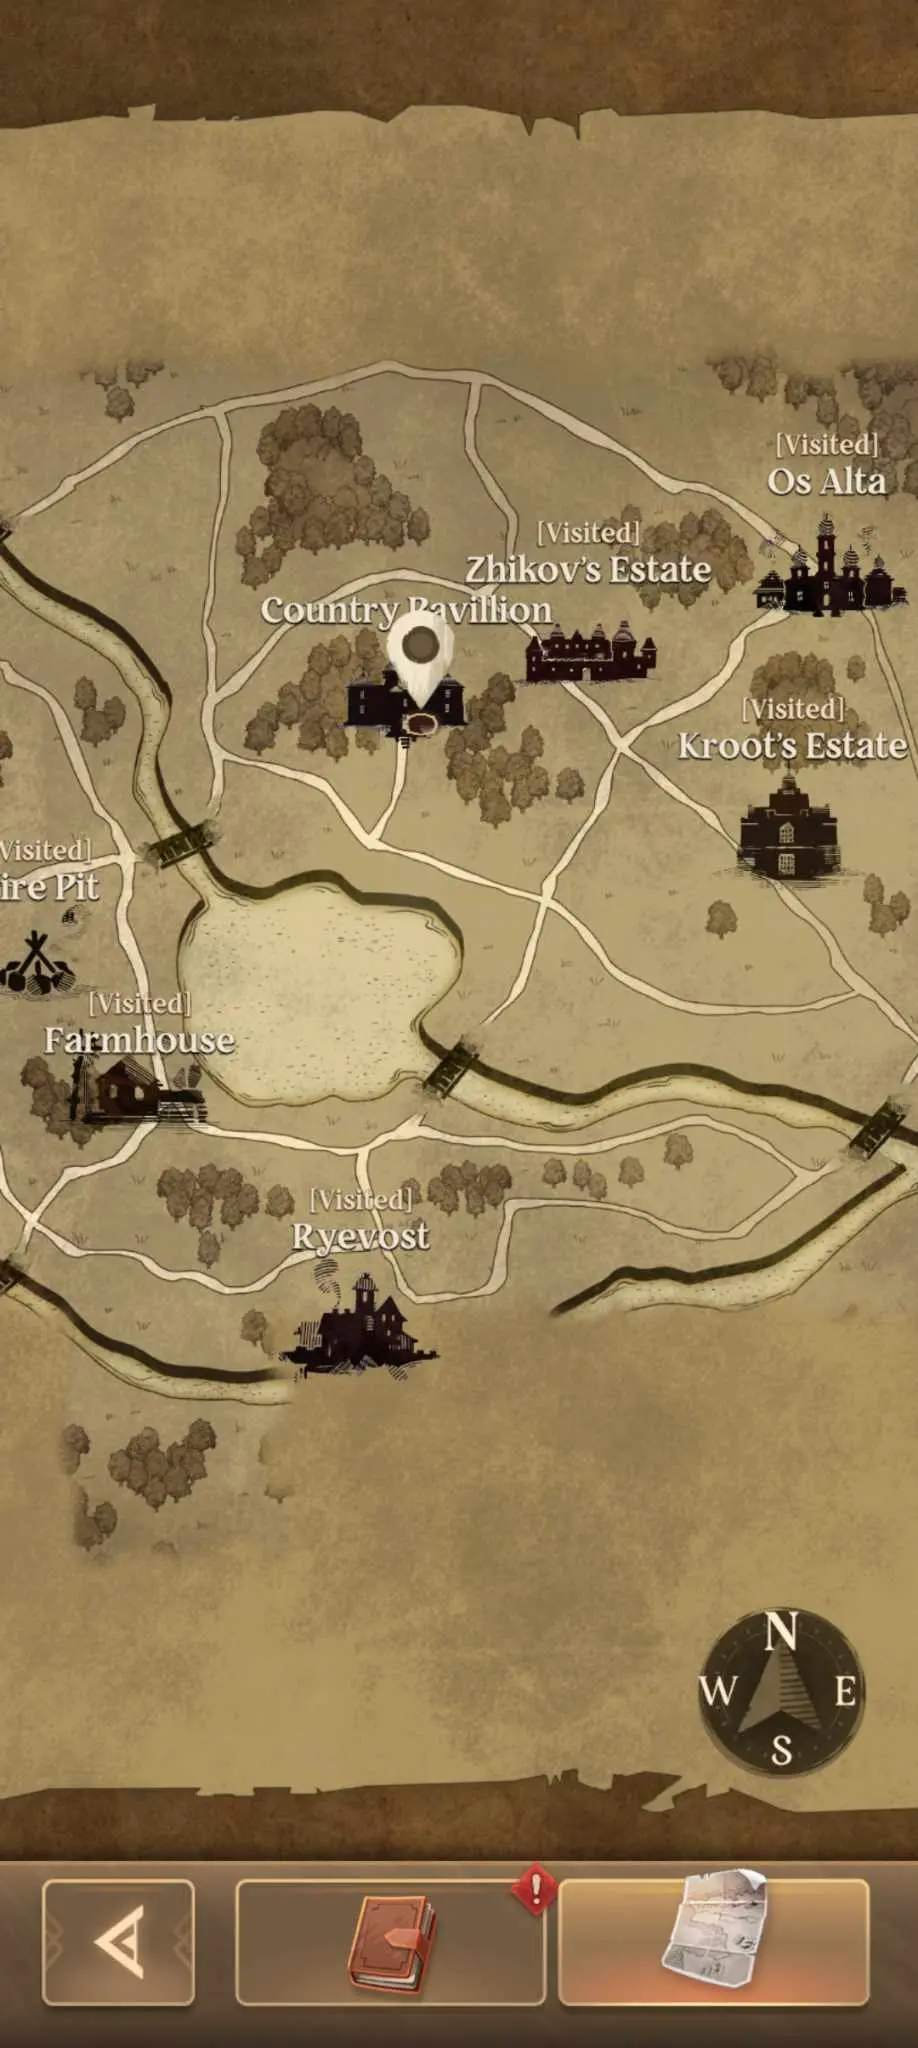
Warning: Some of the signs in this area have the wrong directions printed on them, in particular the one you start beside. Balakirev is in the upper left portion of the map while Ryevost is in the lower right.
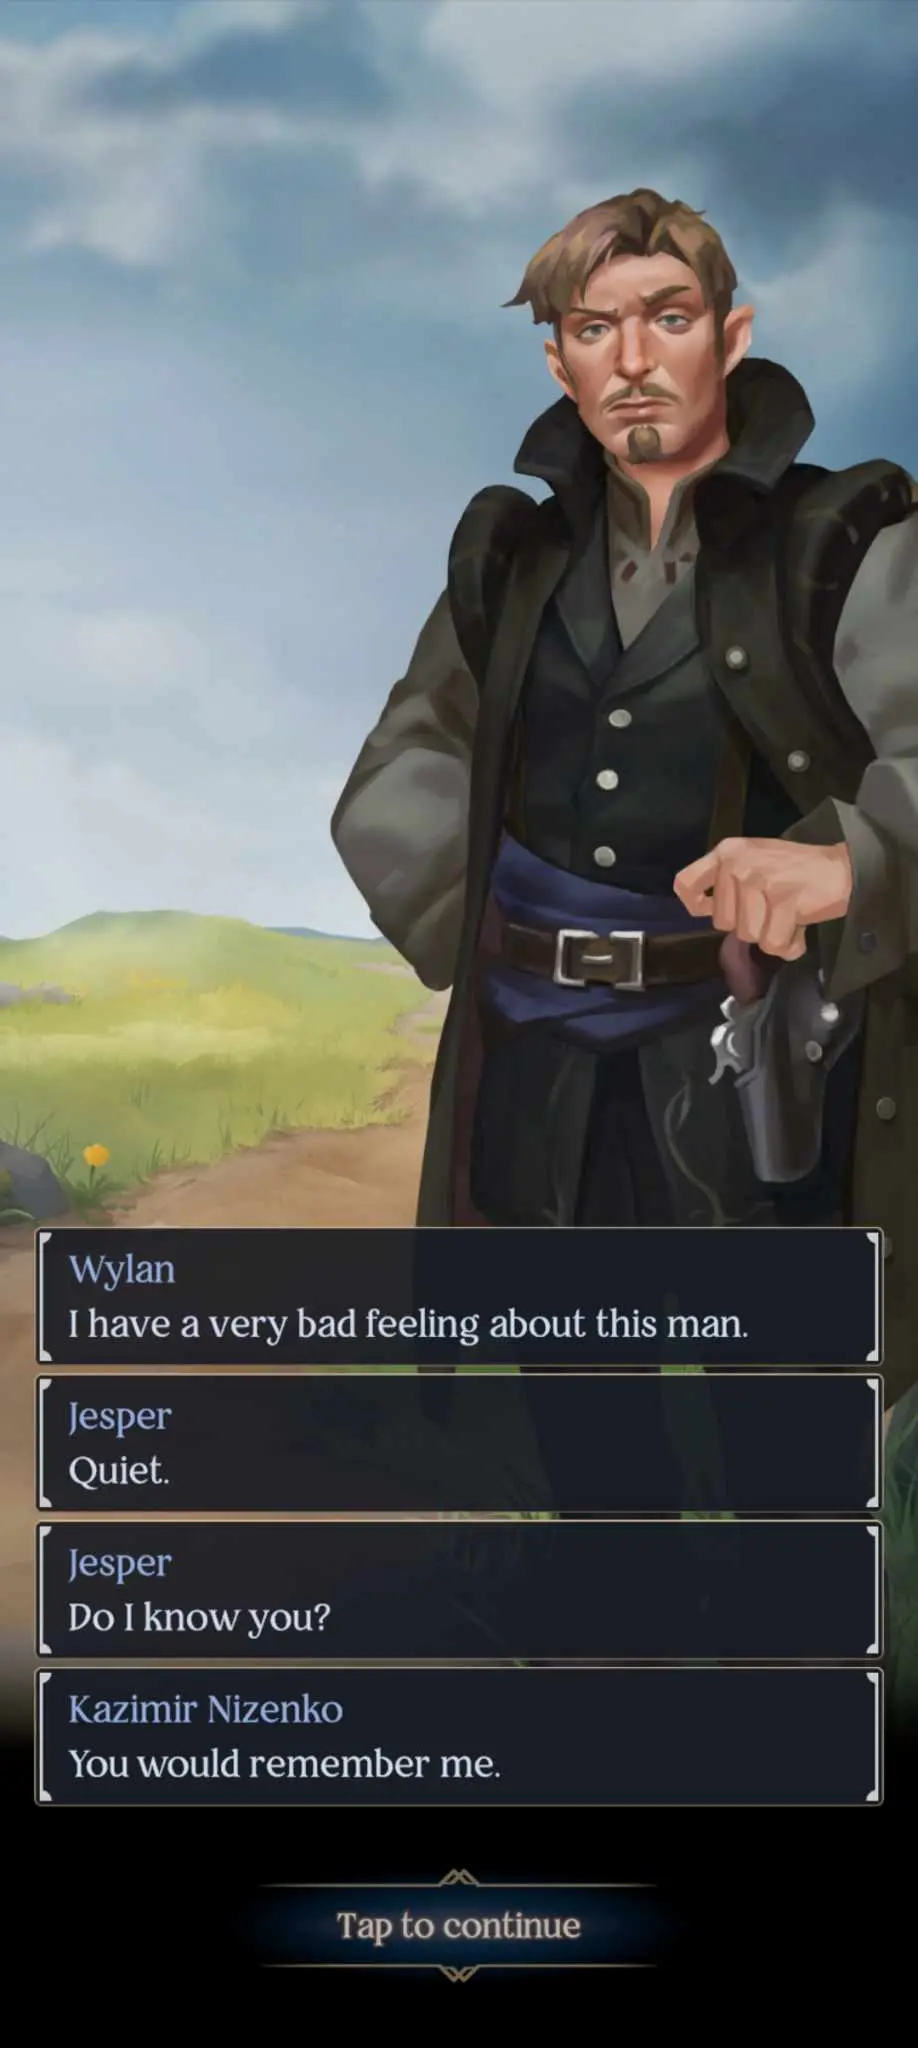
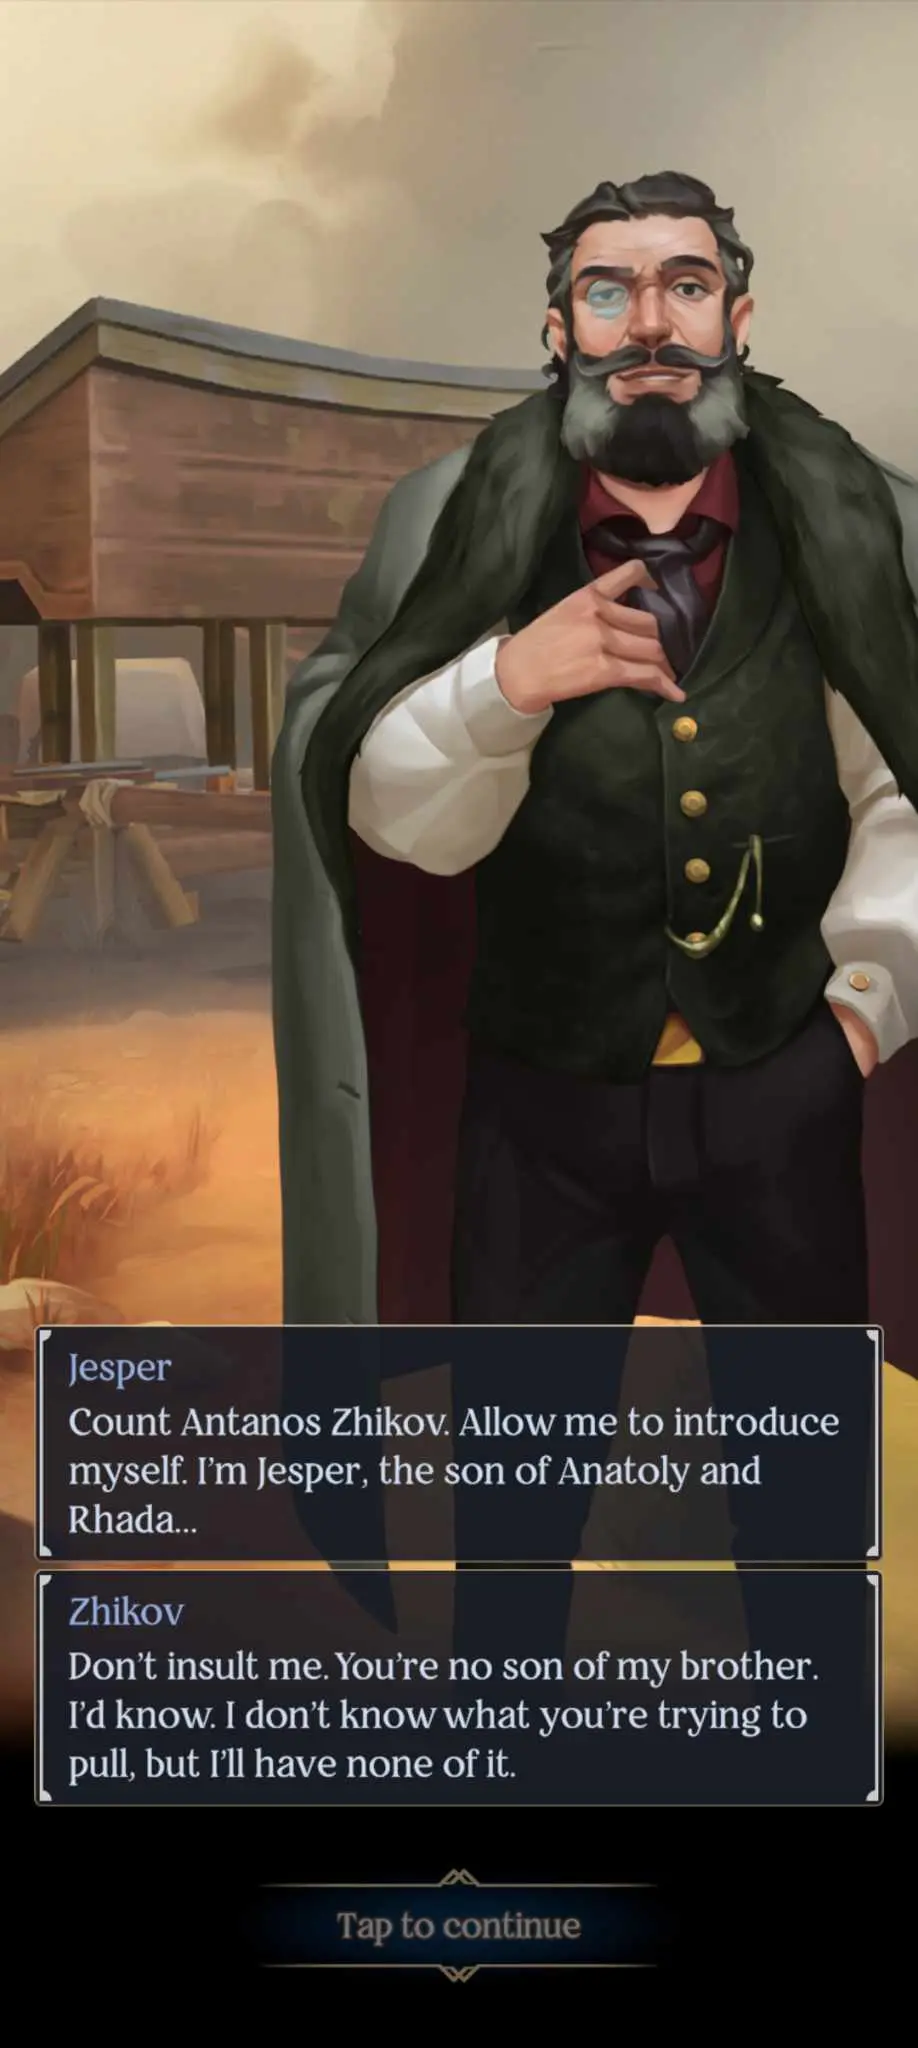
First, you’ll need to present yourself to the current Count Zhikov, who lives near Os Alta. Before you do that, head directly to the east (follow the road) to the gambling hall of Ryevost. Play a few rounds if you wish, but the important thing here is information. From loose lips, we learn that Count Zhikov is a nasty character, overtaxing his fiefs and splurging his money in gambling dens. Kind of like us, but meaner. Worse of all, he has a nephew, Kazimir Nizenko, who’s a gunslinger and serves as the count’s personal enforcer.
You can also ask about Dame Kroot, who’s one of the few Ravkan nobles worth anything. Sounds like she’d be a good ally if we can get her on our side.
Proceed east of Ryevost and stick to the lower path to find a broken carriage belonging to Baroness Rhadka Chenin. If we want to pass for the Zhikov heir, it’s probably a good idea to ingratiate ourselves with the other nobles. Agree to help and you’ll automatically roll perception. Either way, the baroness will be surrounded by bandits. Drive them off to earn her gratitude and favor – to the tune of some extra funds when you arrive in Os Alta.
The Kroot residence is just across the bridge, but there’s no reason to visit there right now. Instead, head back the way you came, but this time stick the upper path to talk to the woman in the way.
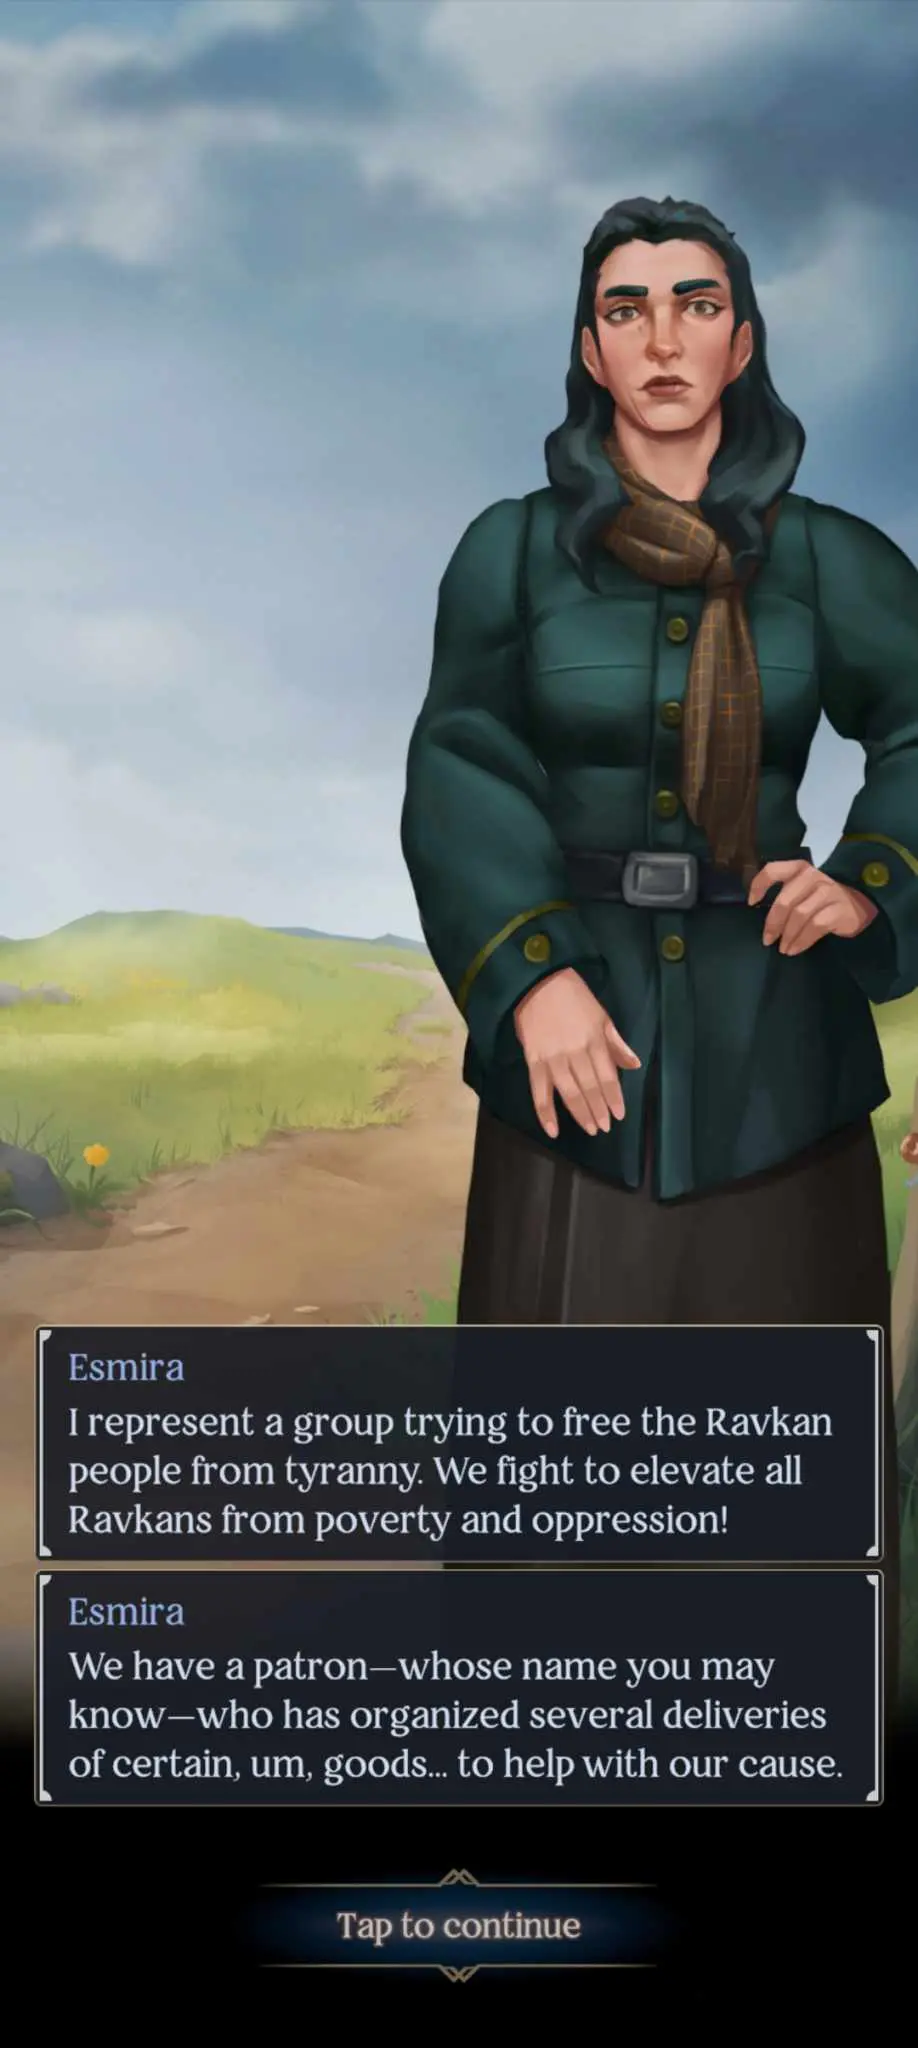
Apparently, word of the new Zhikov heir has somehow leaked out. These peasants may be oppressed, but they’ll make for good allies in claiming “your” inheritance. Agree to help Esmira retrieve the caches, then continue leftwards.
You’ll eventually run into a farmhouse. Head north and follow the sign (northeast) to the Zhikov estate. Across the bridge, you’ll find a rebel who’ll ask you for food or money. Give him something and he’ll give you a side quest to secure food for the Ravkan rebels from a nearby farmhouse – the one we just passed. Your call whether to go to the farmhouse now or do it later as we’ll be running around for the main quest anyway. This guide will assume we’ll go back to the farmhouse later.
Head north a bit and you’ll find one of Esmira’s caches. Ravkan soldiers will be near it though. You can deal with them by attacking or using non-violent means such as bribery, speech (Charm check), or intimidation (Mind check). That’s one of three caches secured.
Move a bit to the southeast to the guy waiting at the crossroads to meet Kazimir Nizenko, Count Zhikov’s nephew and enforcer.
At least now we know who to look out for. Go to the lowest cobblestone path and follow it all the way to the east; when you hit a crossroads, keep going northeast. You’ll run into a man named Cyril, who’ll make some rather ineffectual threats toward you and Wylan. He’s not a cause for concern. Follow him via a sneaking minigame if you can – but do note that this one is tricky. If you succeed, you’ll see him talking to someone in a carriage with Zhikov heraldry. Looks like the count doesn’t want to surrender his wealth to the “rightful” heir.
Just north of us is the Zhikov estate.
No matter what happens, they won’t surrender the place easily. Luckily, we have allies waiting in the wings. Tabeta, one of Dame Jacomina Kroot’s servants, requests your presence at her estate. Head directly southeast to Kroot’s estate.
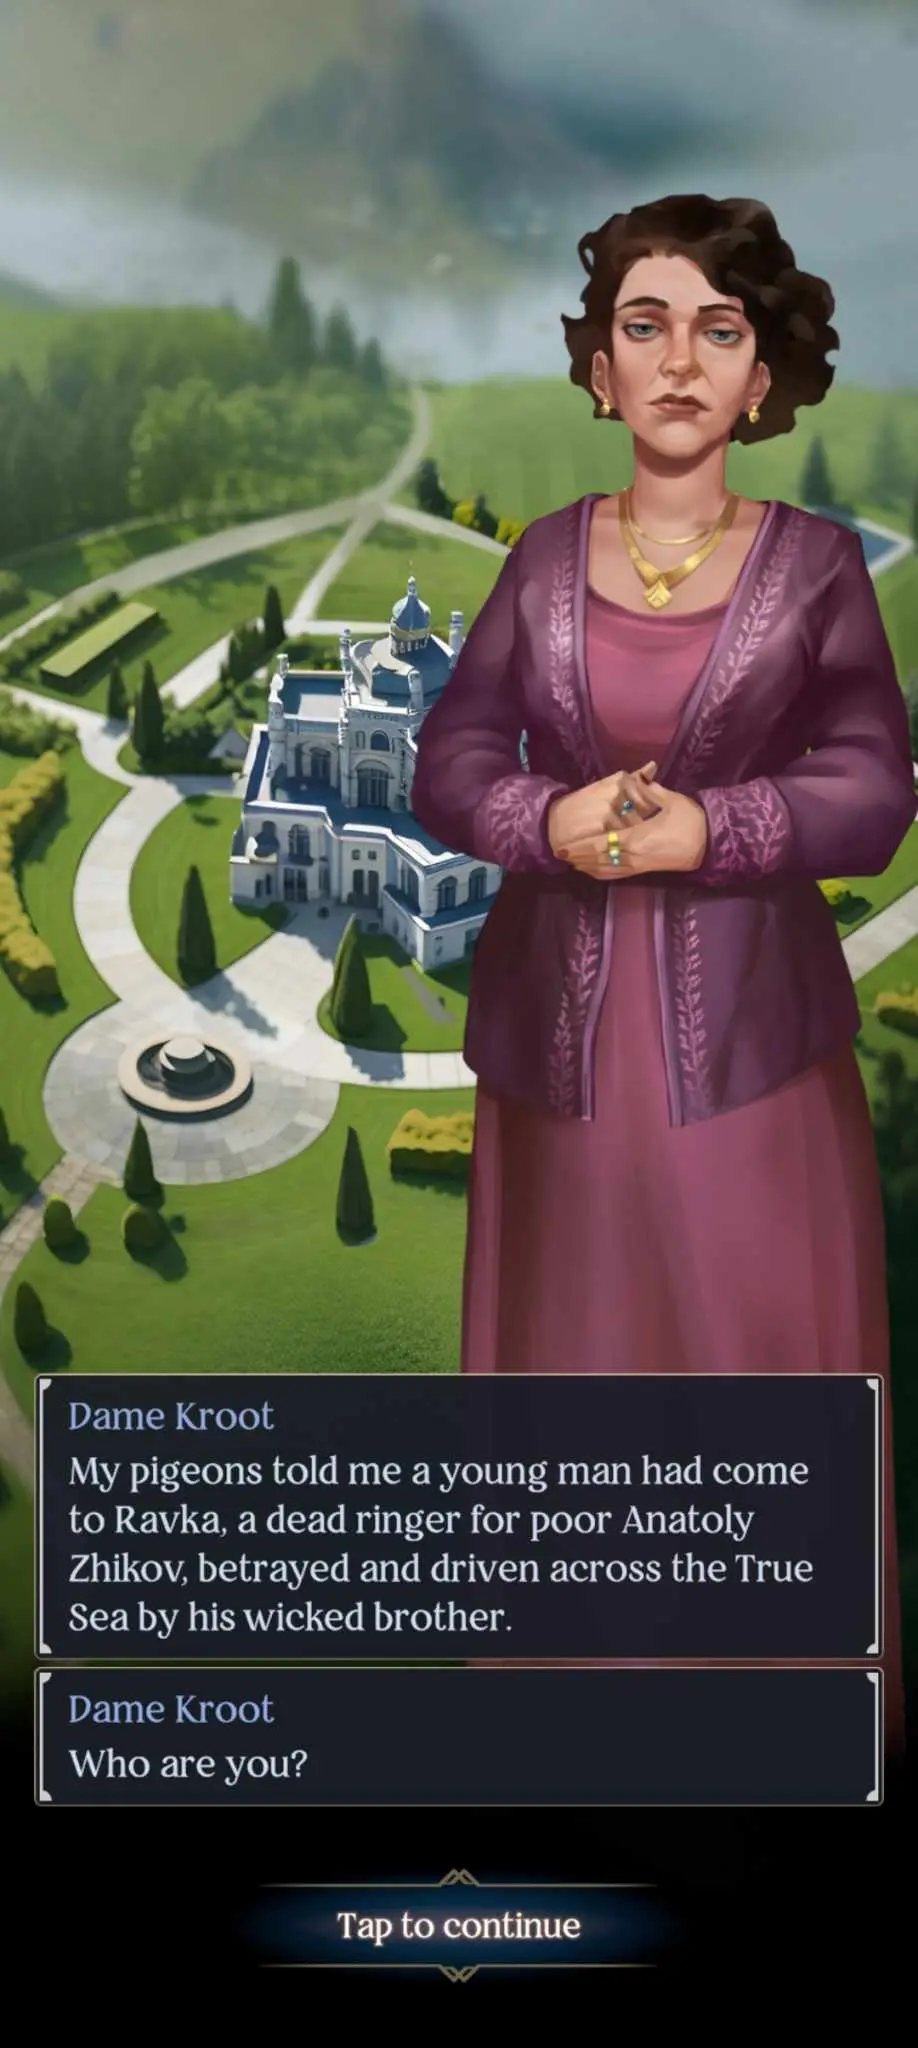
Since we’ll be working together, tell her the truth. Your candor will win her over as she can use you to depose the wretched Antanos Zhikov. Dame Kroot will suggest first making yourself more visible to the other Ravkan nobles. That way, Zhikov can’t just murder you. And that means a party.
To do that, you’ll need to look the part of a noble. You’ll need clothes, social credibility, and money, as well as learn some basic courtly manners.
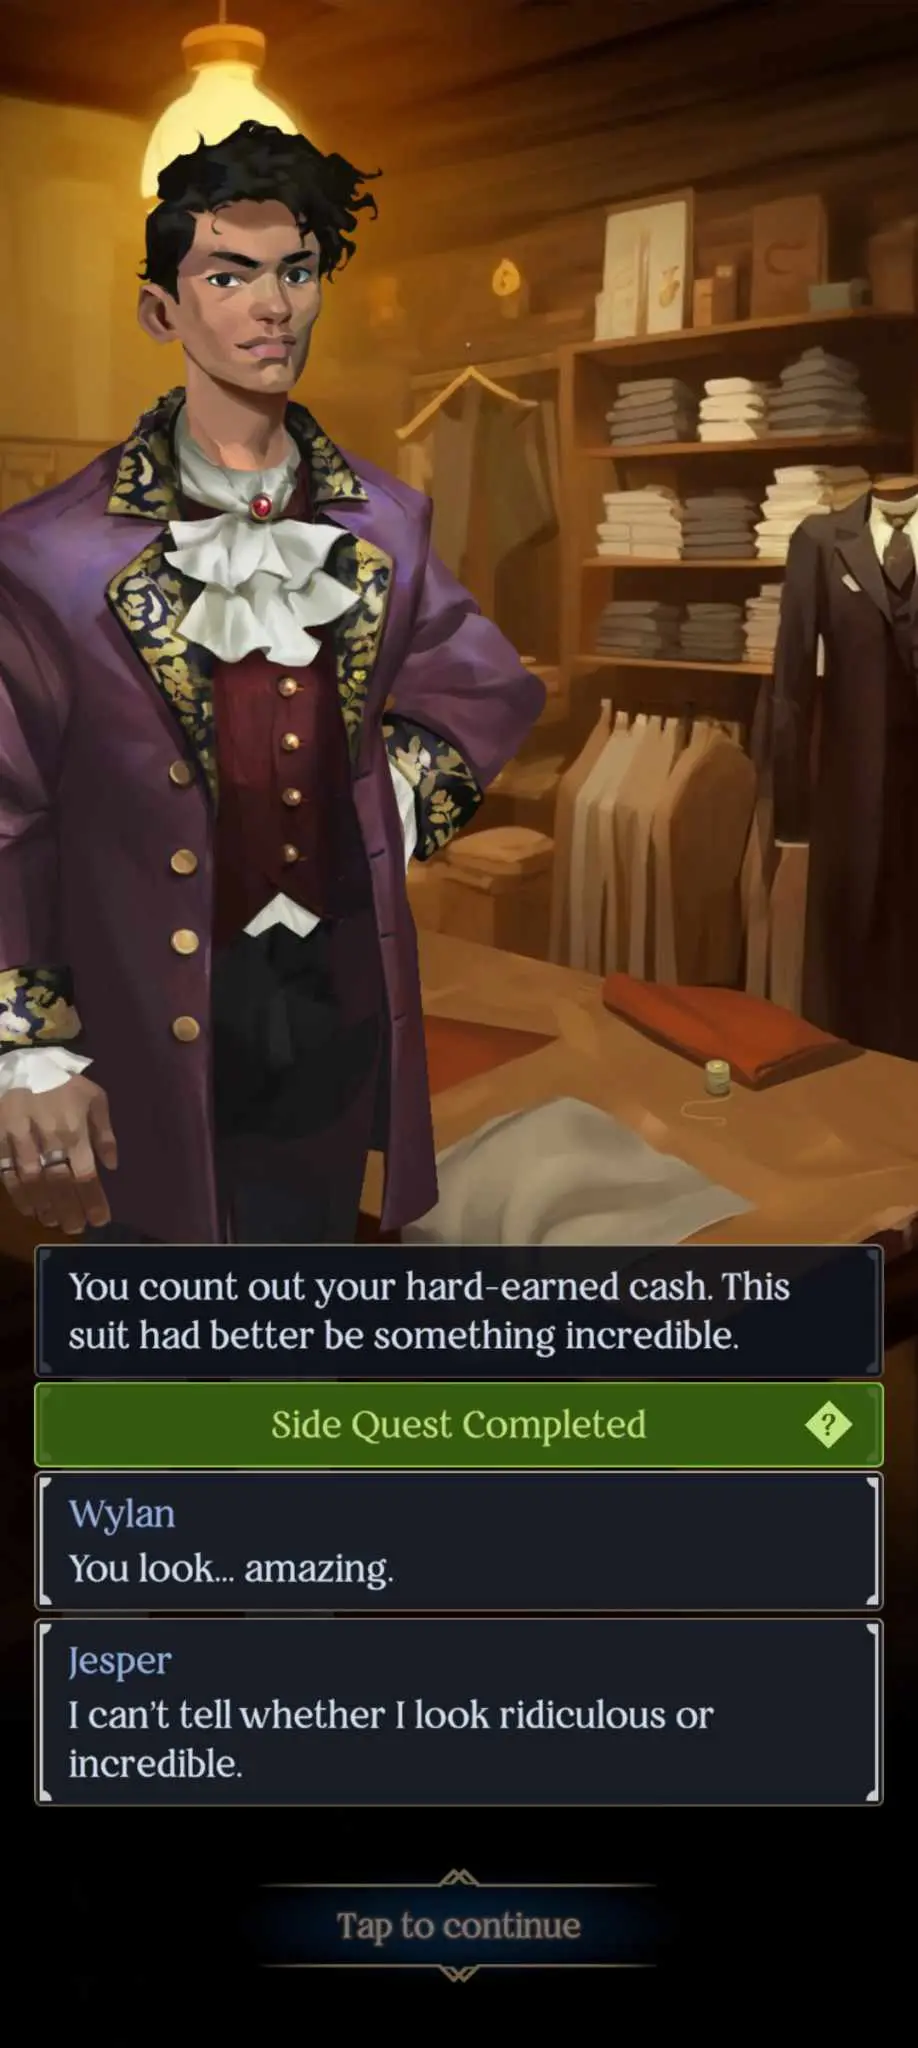
- The town of Balakirev has a skilled tailor who can easily make you new clothes suitably dapper for the occasion.
- The Zhikov heir needs to endear himself to the people. If you’ve been following my guide, this side quest (really more of a main quest) should already be complete as we helped Baroness Chenin with her carriage. If not, go find someone to help.
- To act the part of a noble, we need to learn from the best. We’ll need to go to Os Alta and learn from a theater critic, Vira Ulinov. Fake it ‘til you make it, right?
- Money can be spoofed; all we need is some people willing to vouch that Jesper Zhikov is a high roller. The guys at Ryevost can help with that.
We’ve got our work cut out for us. Let’s head to Os Alta first as it’s very near Dame Kroot’s estate – just head a bit east and follow the northward road.
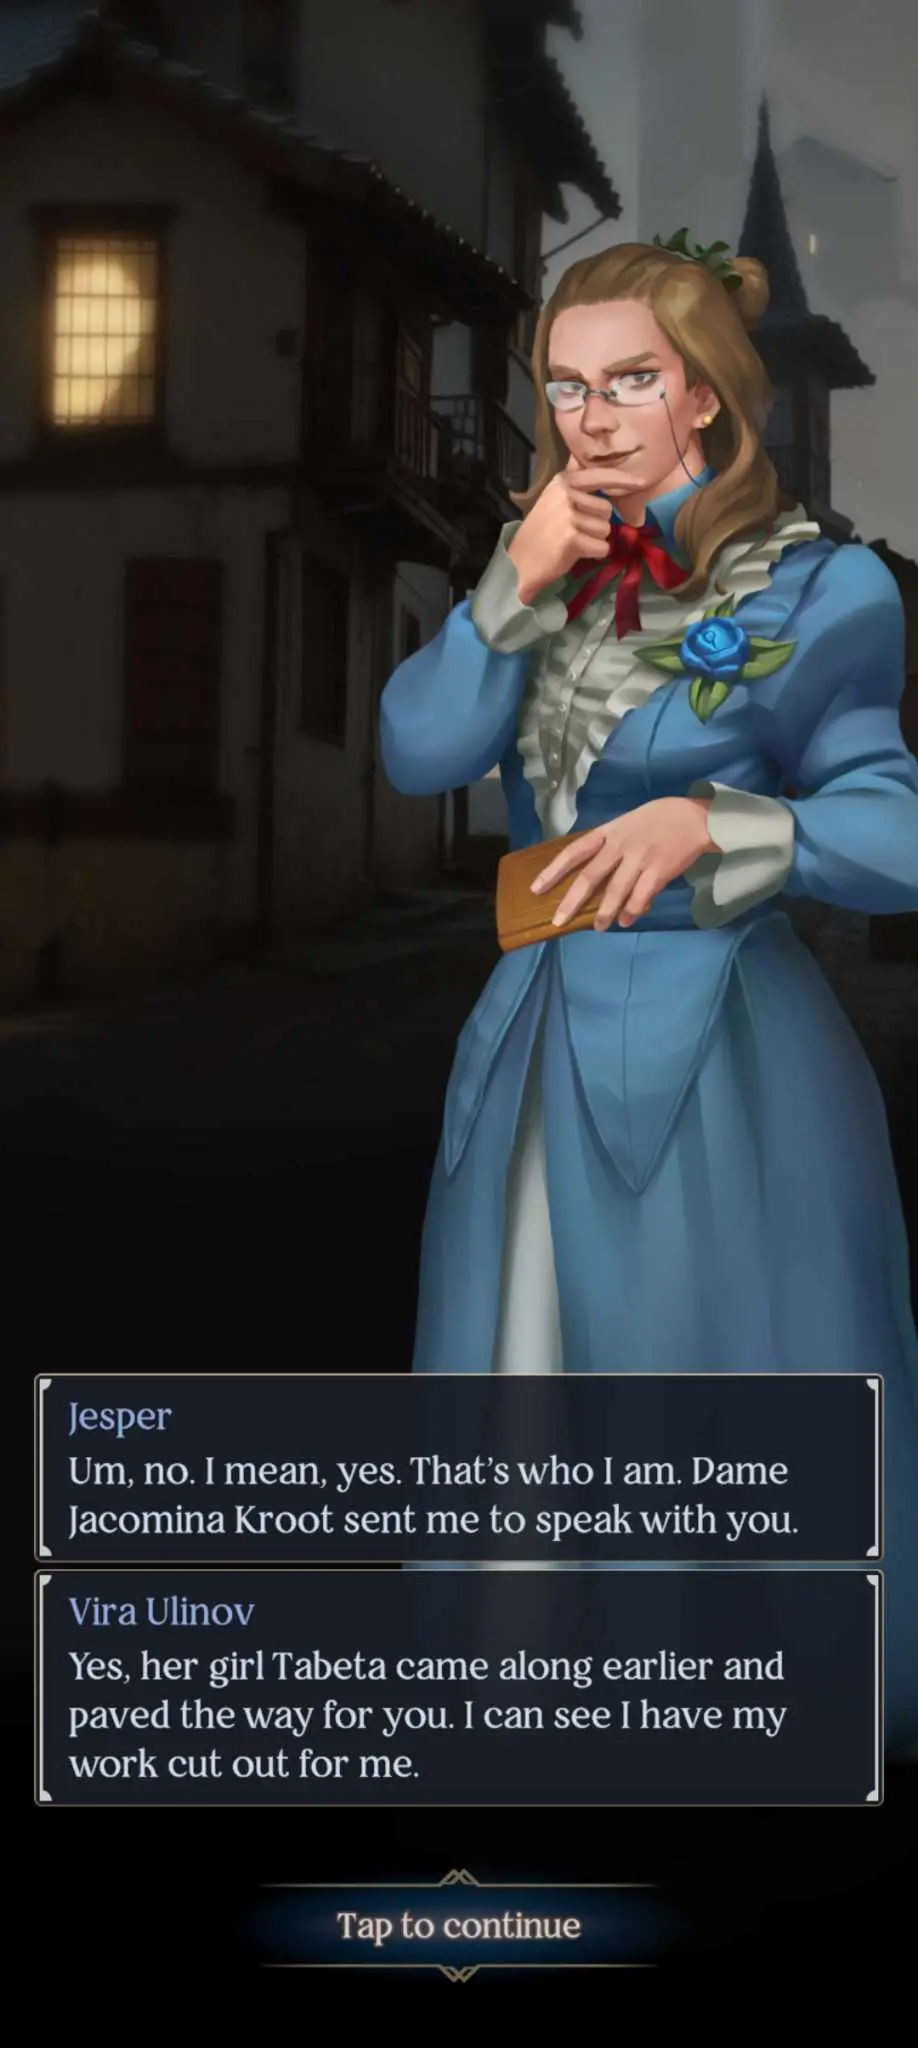
Not much to do here – just enter the city and you’ll immediately meet Ulinov. An automatic recall (Mind) check will happen here. Follow the road south of Os Alta to find a shepherd for a Perception check as well as the second of Esmira’s caches on the right side of the road. It’s being guarded by a woman; you’ll need to get rid of her via a Charm check or bribery. Continue southwest, across the bridge, and stick to the lower path to get back to Ryevost. Ask the gamblers to put in a good word for you – this will cost 16 coins – and you’ll now have backers for your imaginary wealth.
Head to the north part of the road (up to the riverbank) and follow the left path. You’ll run across the same farmhouse we passed by earlier, which is now accessible.

Agree to help the farmer get back her stolen money as well as the supplies she set aside for the rebels. We may need them in the future. Head back the way we came – to the right – and cross the bridge to Kroot’s Estate. You’ll find the tax collector here. Deal with him as you see fit; I just shot the guy.
Return to the farmhouse to return the tax money and the supplies. Yes, it’s a long walk. The farmer will give you 2 supplies for your trouble. All you need to do now is cross the bridge to the north to the quest giver (the first guy on the left) and turn in the food.
Now that we’re finally done with that chore, head west from that bridge (northwest of the farmhouse) to the town of Balakirev. Before we do that though, head a bit south to the Fire Pit.
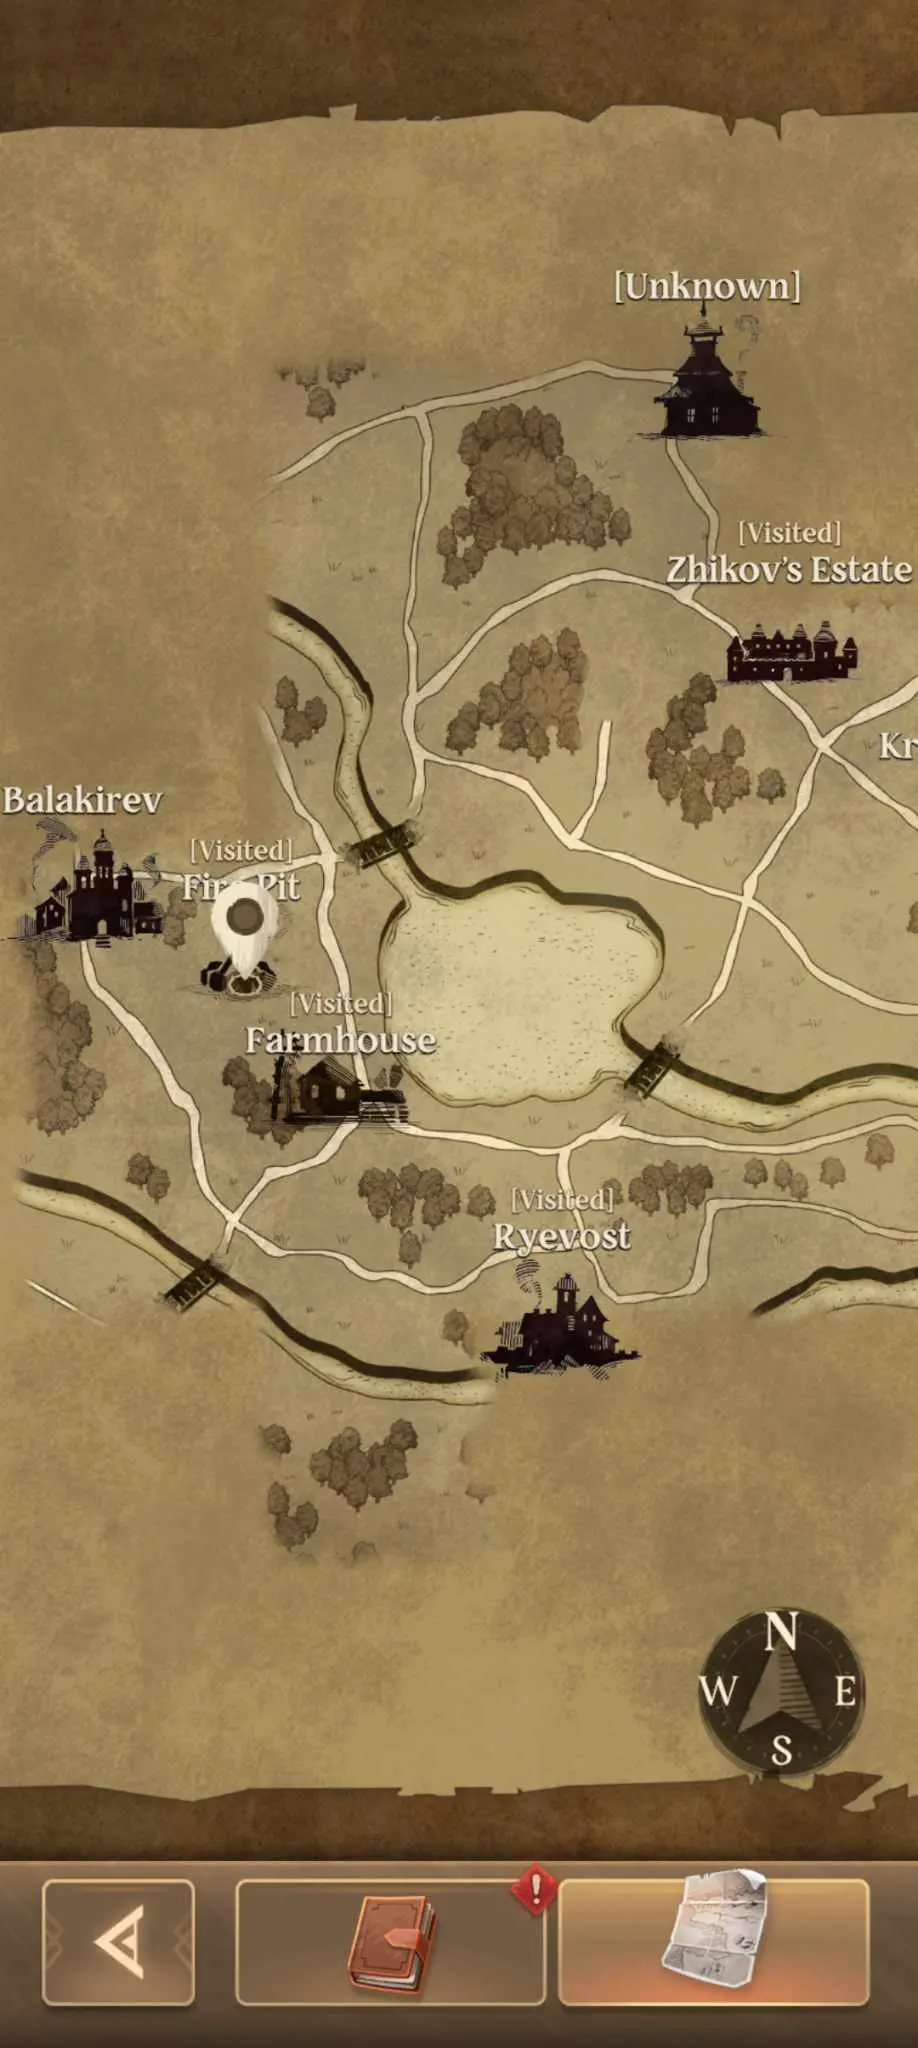
Seems that everywhere we go, lawlessness is rampant, and not in our roguish “take from the rich and give to the poor style”. Offer to help the peasants to get another side quest. Stick to the left path and head south, toward Ryevost, to get a combat encounter (you’ll need to complete a tough sneaking minigame) and get back the farmers’ clothes. Once you have the clothes, go back to the Fire Pit, where Erkin, the camp leader, will teach you of Ravkan dances, prompting a dancing minigame.
Now head to Balakirev, just a little bit northwest of the Fire Pit. Valentin will make you a suit, but of course, nothing is free. You’ll need to pay him another 13 coins to get your party clothes, although you can try to pass a hard Charm check to haggle for a lower price.
Now let’s go help some peasants in our fancy clothes. Head north from Balakirev (you’ll need to go around it). You’ll be greeted by a woman who’ll try to kill you. Avoid her assassination attempt by passing some skill checks (failure just damages you), and if you can, try and catch her. Seems like Zhikov really doesn’t want you here.
Cross the bridge to the northeast and follow the cobblestone path to meet another woman, Renata, to get a skill check and some extra information. Continue east along the road to the Roadside Watch. There’ll be a combat encounter here, but what we really want is the third and last of Esmira’s caches, a bit south of the tower. Return to her at your leisure; if you forget where she was, she’s a little bit to the northeast of Ryevost.
Now let’s get to the party. Head south, past Zhikov’s Estate, and return to Dame Kroot.
There’s one last thing she needs to teach you before you can convince anyone you’re a true Zhikov, and that’s dancing. Pass the minigame to get Dame Kroot’s approval as well as an invitation for Count Zhikov. Head northwest to drop it off at Zhikov’s estate, then head to the crossroads just below the estate and follow the intersection southwest, then west to get to Dame Kroot’s pavilion:
Dame Kroot will brief you before the party starts. She’ll tell you to play to your strengths, and most importantly, be overt, not covert. To help with that, she’s arranged for a shooting gallery for you to show off your gunslinging skills. Now, as she says, go and mingle.
- Renata’s at the party. She’ll warn you that Count Zhikov has set a trap for you in the party, though she doesn’t know what form said trap will take.
- Talk with the other guests, Baroness Rhadka Chenin and the gambler Victor Sedenko. Sedenko will ask you to play along with his ruse as his parents disapprove of his gambling. Do so, and he’ll warn you that Count Zhikov’s men are at the shooting gallery, ready to kill you and Wylan.
- Go to the dancing area where you’ll need to (wait for it) dance to show off your gallantry and nobility. Whatever gets these guys on your side.
That will end the party. Now to deal with Zhikov’s ambush. Head southeast (follow the road) from the pavilion.
He’ll grudgingly allow you into the Zhikov estate. Your old friend Victor Sedenko is here as well, which will let you get the drop on Zhikov’s assassins if you take him up on his offer to show off your gunslinging skills. Better to deal with them now than get trapped at the estate. Defeat them, and they’ll run off along with Zhikov’s accomplices. Now that you know who they are, it’s time to get back to Dame Kroot for the next step of the plan. She’ll still be at the pavilion, just so you know.
It’s time to end this, one way or another. Dame Kroot will reveal her true colors as a supporter of the rebels and the separatist movement. She wants to see the downfall of the nobility and the emergence of a government led by the people. That’s nice and all, but really, we’re just here for the money.
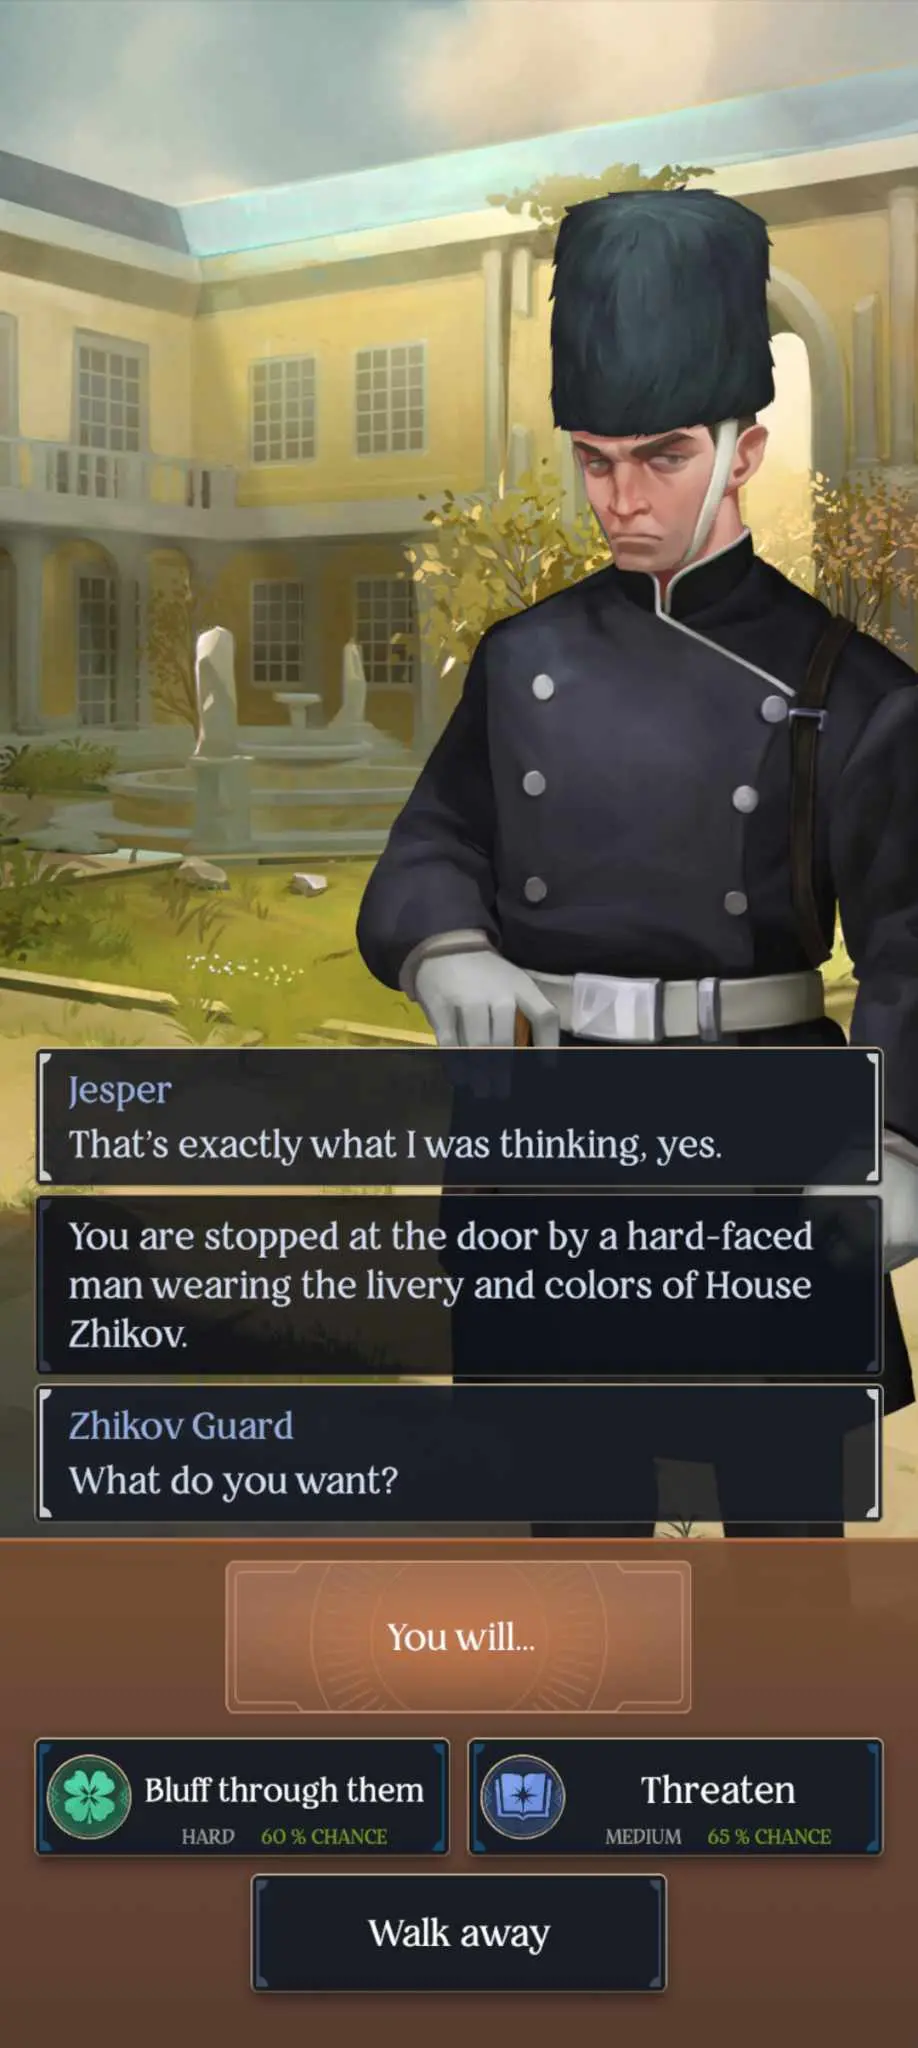
Head to the northeast to Zhikov’s estate. Of course, it’s a trap.
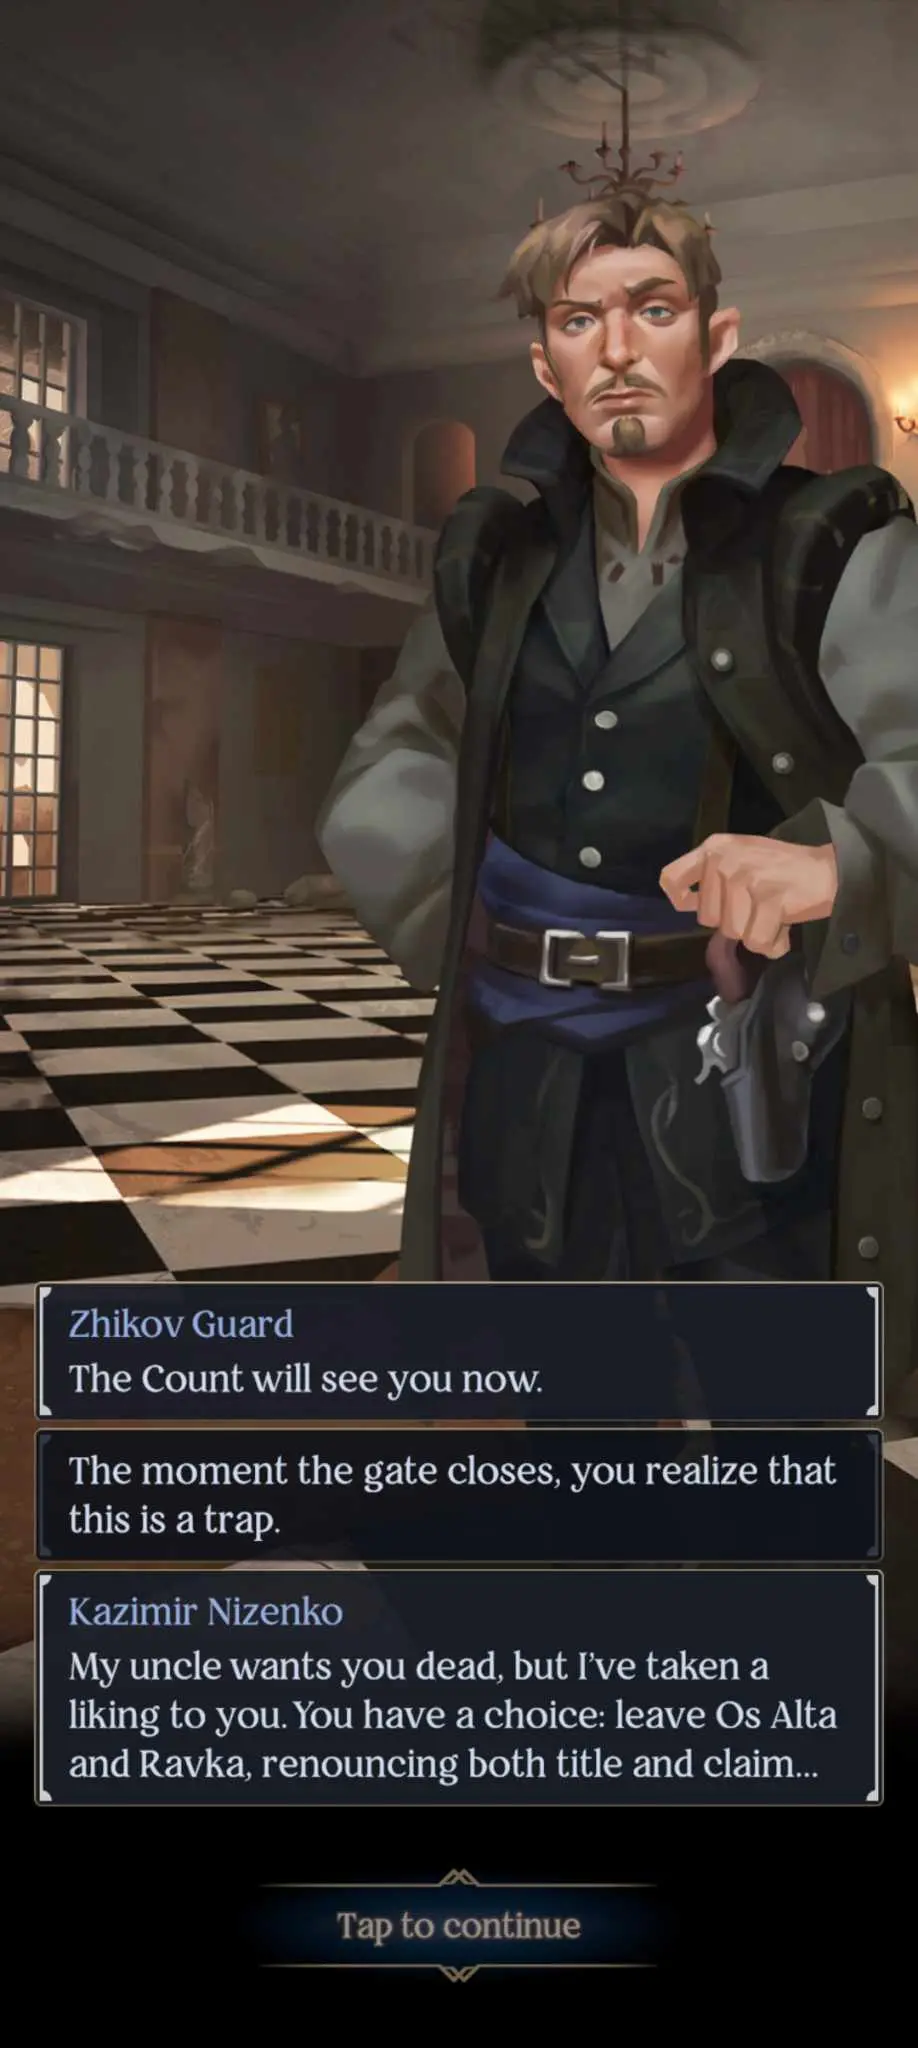
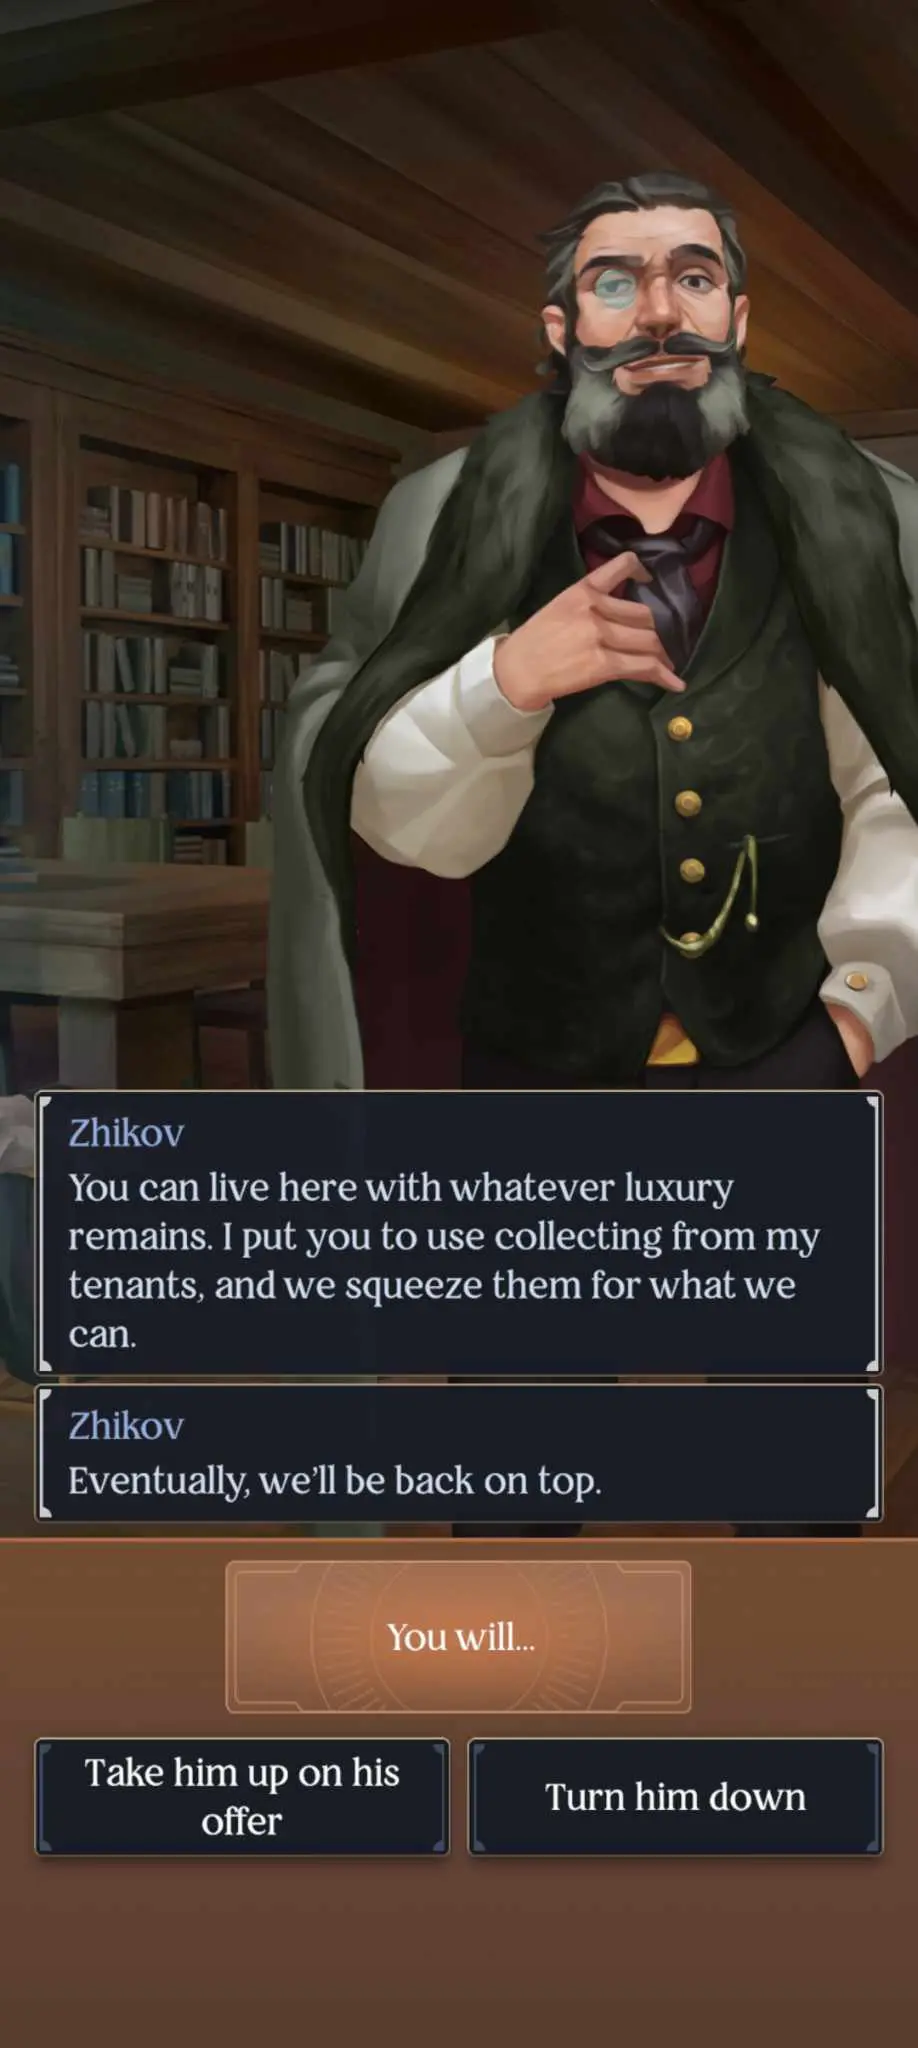
Deal with Kazimir and charge into the count’s office. You can continue the charade or drop the pretense, but here’s the real funny part: there’s no money left. The count spent it all. The count will make you an offer: stay and work for him as he fears Kazimir will kill him in time, and in return, he’ll “recognize” your right to inherit the Zhikov properties.
Thankfully, Wylan hasn’t been idle. While you were doing the shmoozing and flattery, he’s been busy lifting a little this and that from unexpecting purses and lockboxes – more than enough to pay off your debt to Dreesen and maybe a little bit more. I guess this trip wasn’t a total waste of time after all!
To The Stormy Seas!
That concludes Jesper Fahey’s chapters and sets the stage for a major uprising. Will Jesper and Wylan get back in time to save their gang? Will the Ravkan government crumble? Who knows? Not us, for sure, as it’s time for yet another performer to take center stage.

I’ll see you in the last part of this walkthrough, where we’ll play as both Sturmhond – a privateer with a secret, as well as return to the POV of General Kirigan.