As you cross into Ni No Kuni: Cross Worlds’ midgame, you’ll need to learn even more tips and tricks on how to both get stronger and how to stretch both your in-game resources and time for the most optimal guides.
For those seeking further strength to save both worlds, this Ni No Kuni advanced guide is for you!
Maximizing Resources while Minimizing Costs
Whether it’s games or business ventures, maximizing your profits while keeping your costs low is always key to success. Here’s some of the ways you can do this in Ni No Kuni: Cross Worlds.
Find High Rarity Equipment and Stick with It
By the time you’re reading this guide, your 1-star (now 3-star hopefully) weapon is long past due for an upgrade. However, you might have noticed that lower rarity equipment just can’t keep up with the pace of equipment that’s of an innately higher rarity. Your 1-star sword may now have 5 stars, but it will always be second banana to a sword that came as a 5 star rarity.
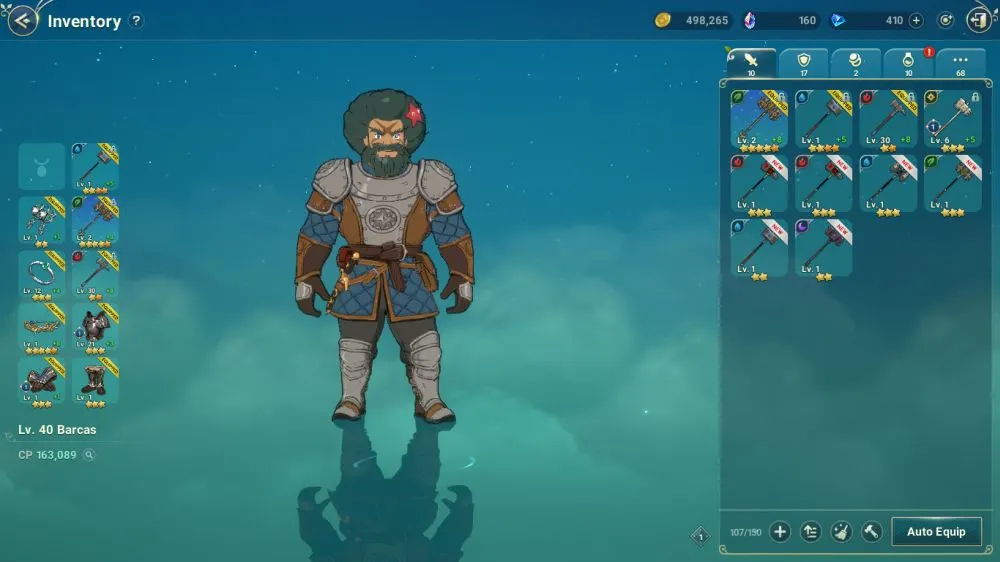
That’s not to say you should entirely abandon your low rarity weapons. Instead, you should veer away from upgrading them too much, and take direct upgrades to your arsenal whenever possible – if memory serves, there are quests that give guaranteed equipment, which is usually 3 star. If you haven’t rolled in the equipment gacha yet, do so. The gods may yet favor you!
Just because you pick up a new weapon doesn’t mean your power will drop drastically. Remember: your attack power is actually the sum of all 3 weapons you have equipped, so if you’re upgrading a new high rarity weapon, you can use two other upgraded weapons to babysit the newcomer until it’s up to snuff.
The Territe Economy
Territe – love it or hate it, it’s here to stay. And by now, if you’ve been upgrading your gear or crafting like crazy, you’ll realize how scarce Territe actually is. Sure, you can grind for it (slowly) in the Chaos Fields, but if you compare how much you spend to how much you make, the numbers might drive you crazy.
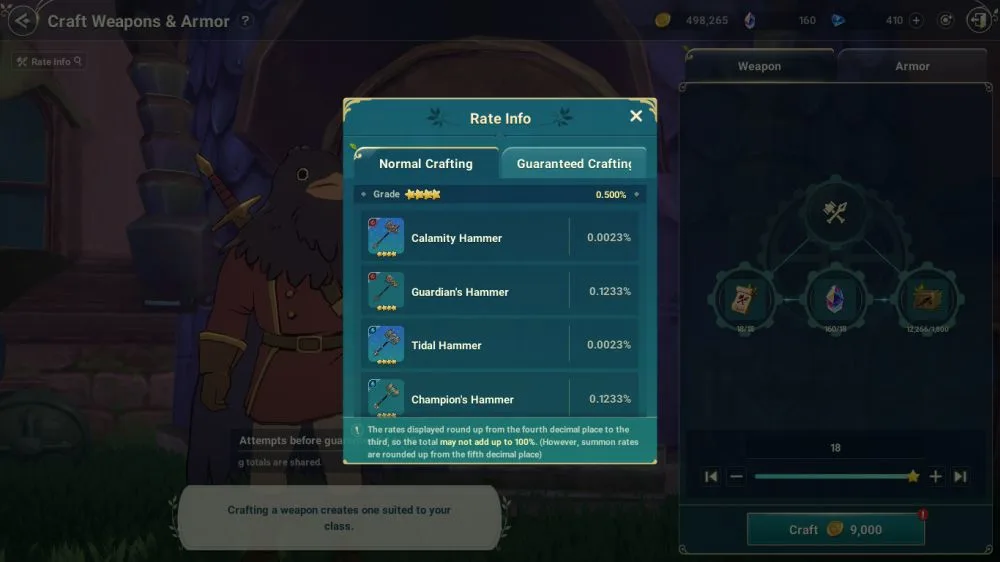
With that information in hand, have a look at the crafting rates.
That’s a 0.5% chance of crafting a 4* item. Needless to say, unless you’re insanely favored by the number gods, you’re likely never going to see a 4* item from crafting outside of your pity rolls. On top of that, because there’s 2 weapons for each element, with the higher quality one having absolutely abysmal crafting rates, in the rare event that you do get a 4*, there’s a very good chance it may not even be the exact item you’re aiming for. And even if you use the pity system (guaranteed 4* at 100 crafts), how much Territe have you spent crafting useless items?
The 3* drop table, on the other hand, is more realistically attainable. With that in mind, it may be more practical to settle on getting and upgrading 3* equipment rather than risking a huge amount of Territe for 4* gear. That’s not to say you shouldn’t opt out of crafting entirely, but it’s a good idea to be prudent in how much Territe you actually spend per day. Maybe set a budget for yourself.
The reason you need to evaluate how much Territe goes into crafting is because you still need the stuff for upgrading the gear you do have. Unlike crafting gear, Territe that’s spent in upgrades actually has an immediate positive effect on you. Give me a choice between a potential upgrade and a definite upgrade, and I know which one I’ll pick every time.
Varnish and Weapon Upgrades
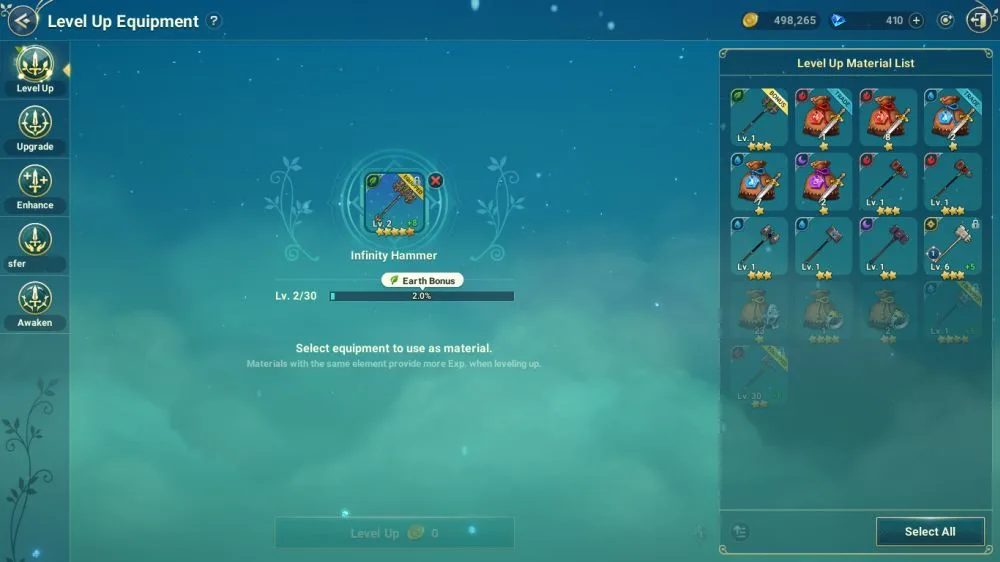
While we’re on the topic of upgrading your weapons, you should know that the auto-select system for weapon/armor/gem varnish is actually quite wasteful.
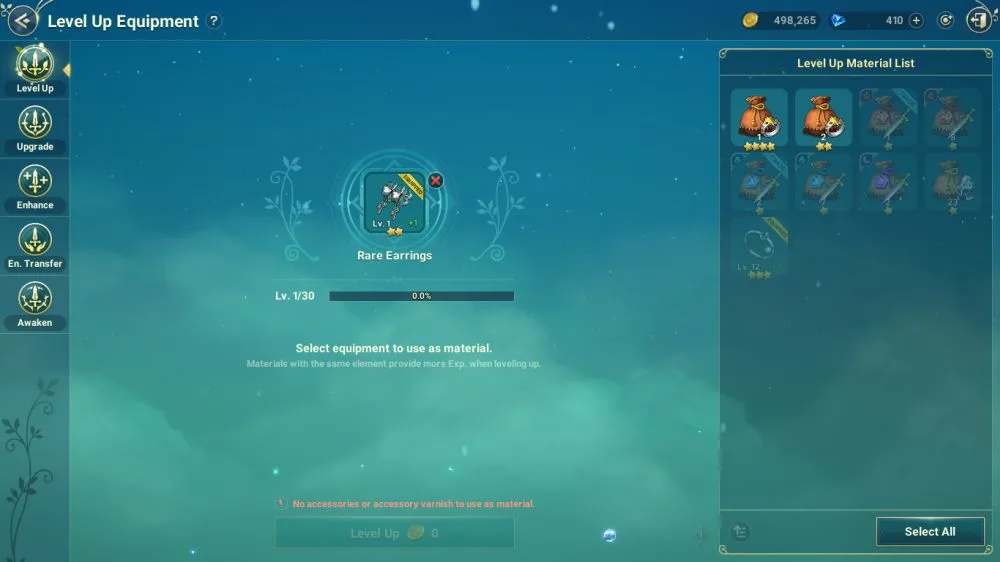
When you hit auto select, it’ll select as many of the highest quality varnish you have available, regardless of if that varnish would provide minimal experience. This means that the 3-star varnish you were saving for a rainy day might get used to fill in that missing 1 upgrade point. That’s a lot of wasted potential!
To avoid this, I suggest either manually adding varnish materials, or always subtracting 1 from the auto-suggested varnish to see if you can get the level you want with alternative materials. This will allow you preserve your best varnish for when they’ll actually matter.
Lucky Higgledies
If you’ve been upgrading your equipment like crazy (you have been, right?), you’ll probably have a whole bunch of four leaf clovers from failed upgrades in your inventory.
These clovers can be used in the Higgledies menu, where you can give them your clovers to gain a minor stat boost. The more upgrades you fail, the more clovers you have, so you’ll at least walk away with – something – after all those failures.
Make The Most Out of Your Grinding
If you’ve been reading my beginner’s guide, your level is likely somewhere in your late 30s to early 40s, which means that it’s time to bite the bullet and start grinding. Here’s how to maximize your grinding game to reap more benefits in the same amount of time.
Grinding Basics
You may have noticed that once you’ve hit around level 30, your character isn’t gaining levels quite as fast from story quests and Swift Solutions missions. This trend will only continue as you play the game, so it’s best to get used to grinding as early as possible.
For starters, while I’ll always recommend grinding in the Chaos Fields for upgrade materials, it’s only worth fighting monsters near your level. You’ve probably noticed how monsters that are significantly out of your level range (+-5, give or take) give single digit experience. If you want to actually level up from grinding, you’ll need to suss out appropriate mobs to fight.
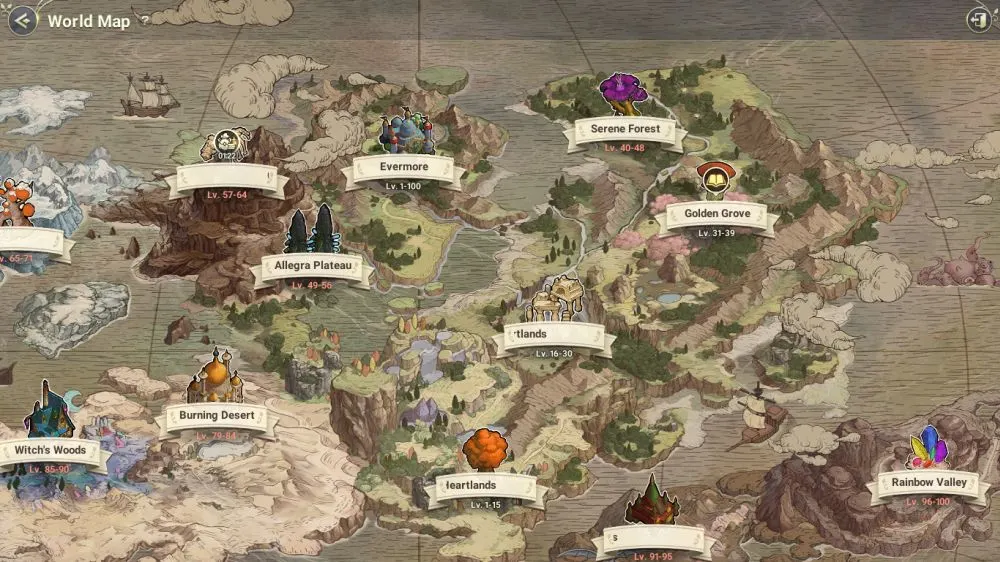
To help you decide where to grind, you can open up the world map (tap the minimap, then the world map button on the lower left). This will bring up all the places in the world, along with the approximate monster level in each zone, so you’ll be able to pick out a location more easily. In all likelihood, your first major grinding spot will be the Serene Forest, where most mobs will be dark, water, or earth types. Be sure to bring the right weapon for the job!
Before you start grinding, it may also be worth investing in supplies. Ni No Kuni: Cross Worlds’ autobattle system ensures that your health stays topped off as much as possible, but you can go a step further by purchasing and using buffs.
If you’re fighting tough mobs, you can stack food buffs to get an edge over foes. Each food and drink item has its own buff slot, meaning that yes, you could conceivably buy one of each consumable buff in the game – by which point you’ll probably be roided enough to beat the crap out of whatever gods Ni No Kuni: Cross Worlds has. At the same time, these buffs do not stack with themselves, but consuming multiples of the same buff item will increase how long that buff lasts.
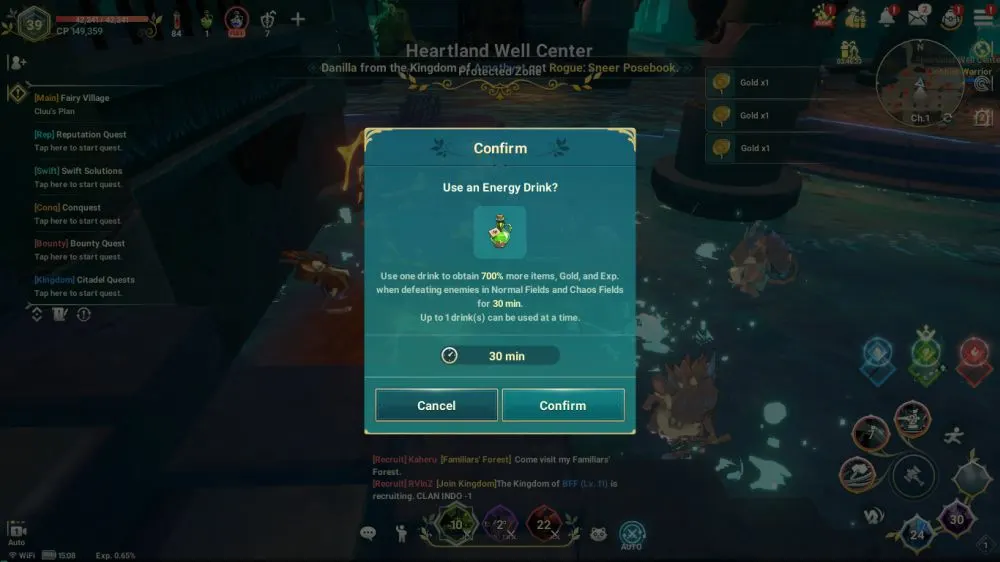
Perhaps the single most important buff item when it comes to grinding is the Energy Drink. These caffeinated concoctions will give you a 700% boost to experience, gold, and item drops from both normal field and Chaos Field monsters!
AI Mode
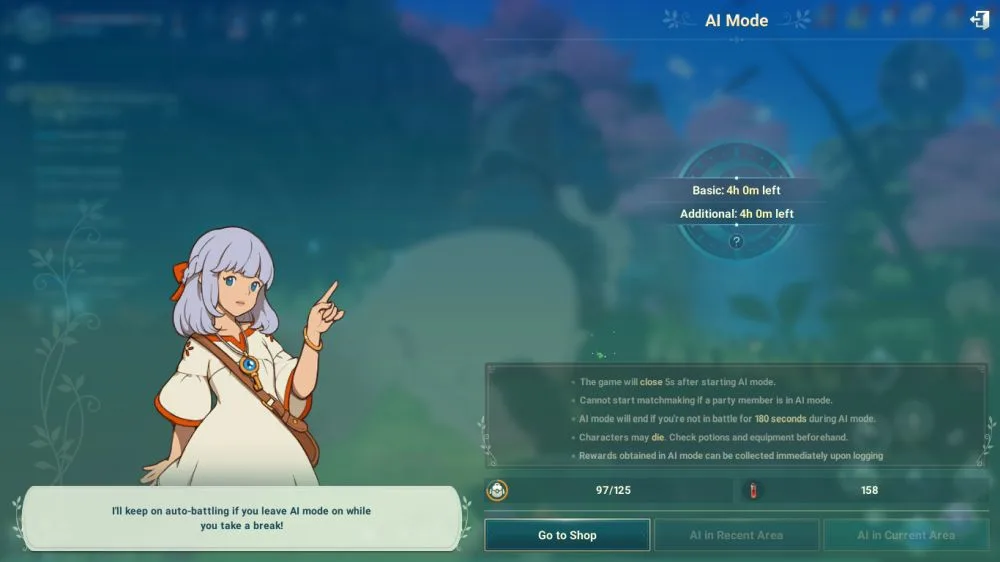
If you can’t leave your mobile device running on all day, or would rather conserve battery for other games (I’ve been there), you can opt to use AI mode instead of fully shutting the game off.
During AI mode, your character will remain logged into the server and will continue autobattling at a location of your choice. While the screenshot above shows the precautions you should take before going into AI mode, I’ll reiterate them anyway: you’ll want enough potions to ensure your character doesn’t die, and you’ll also want enough inventory space to hold all the loot you’ll be getting while offline.
AI mode has a default cap of 4 hours. You can buy more time by paying gems at the store…or you could just keep the game running at the back of whatever device you’re using. That said, I suggest switching to AI mode before you sleep – that way, you get an extra 4+ hours worth of loot and your devices can take a hard-earned rest.
Soulstones
Once you’ve gotten into the habit of beating up monsters during your downtime and even using AI mode, it’s time to revisit one of the features I mentioned in my beginner’s guide, namely Monster Soulstones.
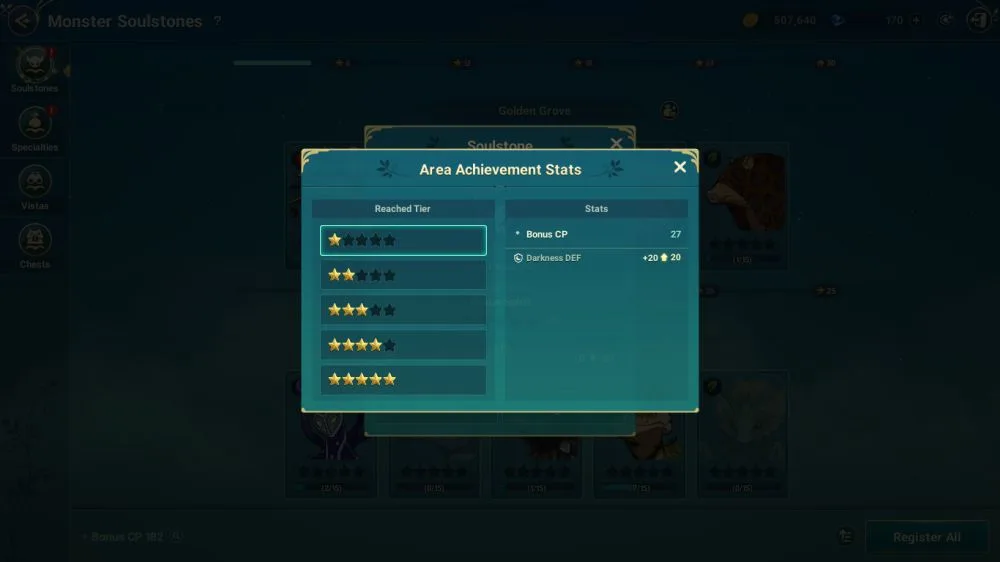
We’ve already established that beating up monsters has a chance to drop their soulstones, which you can file into your records (Menu -> Records -> Record) to gain stat boosts. To get any bonus at all, you’ll need to collect and register enough soulstones to gain a star, marking your tier progression.
What may not be immediately apparent is that higher tiers of a soulstone bonus from one monster give significantly higher buffs. For example, Signs-of-the-Times, a monster in the Southern Heartlands (the first zone in the game) gives 14 CP and 7 Earth Attack if you reach tier one. At tier 5 soulstone collection though, this bonus balloons to a whopping 144 CP and and 72 Earth Attack – basically 10 times the bonus that the first tier gives you. If you find a mob that gives a bonus you really want, or is pivotal to your build (yes, you can check what bonus each soulstone gives by tapping on the magnifying glass in their portrait in Records), don’t hesitate to take time off to farm their soulstones.
While the drop rate for soulstones isn’t bad, you should still be prepared to spend perhaps an hour or two grinding them out for a specific mob. That said, I’d suggest farming for soulstones as one of the last things you do before logging out, or something you do while taking a break.
If the promise of extra stats isn’t enough to lure you out to the fields to dispense indiscriminate violence to random mobs, maybe this will – filling up enough soulstone stars from one area also gives you extra rewards. The first few tiers are usually crap: gold and other common resources. The real prize here is the equipment summon coupon you can get for getting enough stars. If you’re going entirely F2P, this activity hits two nails on the head: extra stats from stones AND free equipment rolls.
Finally, if you’re a busy Soul Diver, you can also opt to use an Aroma of Focus before setting off on your Soulstone grinding. This perfume will greatly accelerate your Soulstone hunting by increasing your Soulstone drop rate sevenfold – though if you decide to use one of these buff items, keep a close eye on your character as the clock will be ticking down!
Specialties
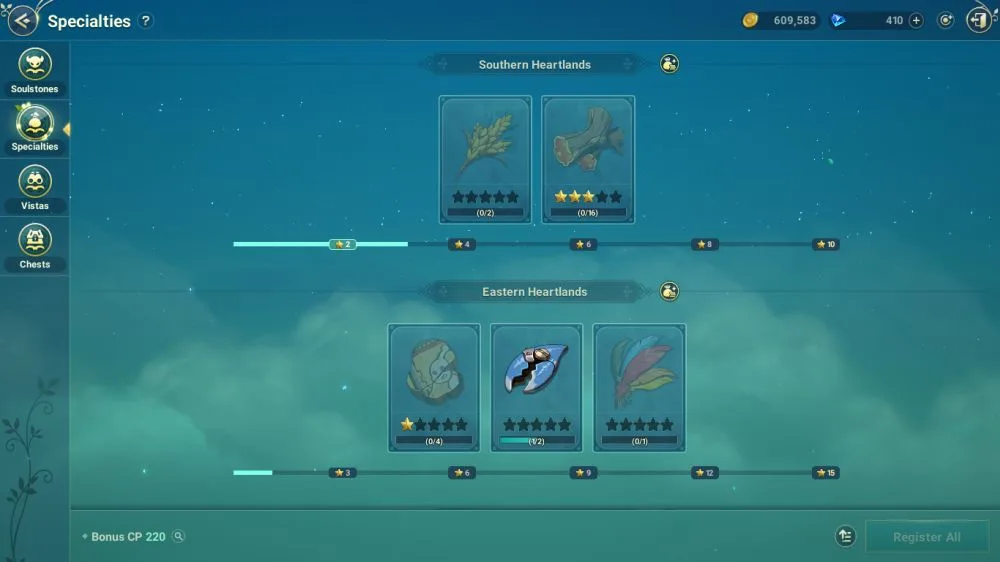
I hope you didn’t think Soulstones were the only thing you could grind for. Each area also has its own local Specialties that can be filed in your records to provide the same kind of buffs that Soulstones do!
Specialties are different though: some you can grind for, while others have to be found in chests. There’s no indication either for what mob drops specialties, so I’ve found that the best way to sniff this out is to go directly to the Specialties menu (In Records -> Record) then tap on the Specialty you’d like to hunt down. If there’s an option to Go Now, just tap that and let the autopathing bring you to the mobs you need to kill. Just like Soulstones, Specialties also benefit from using an Aroma of Focus to increase their drop rate.
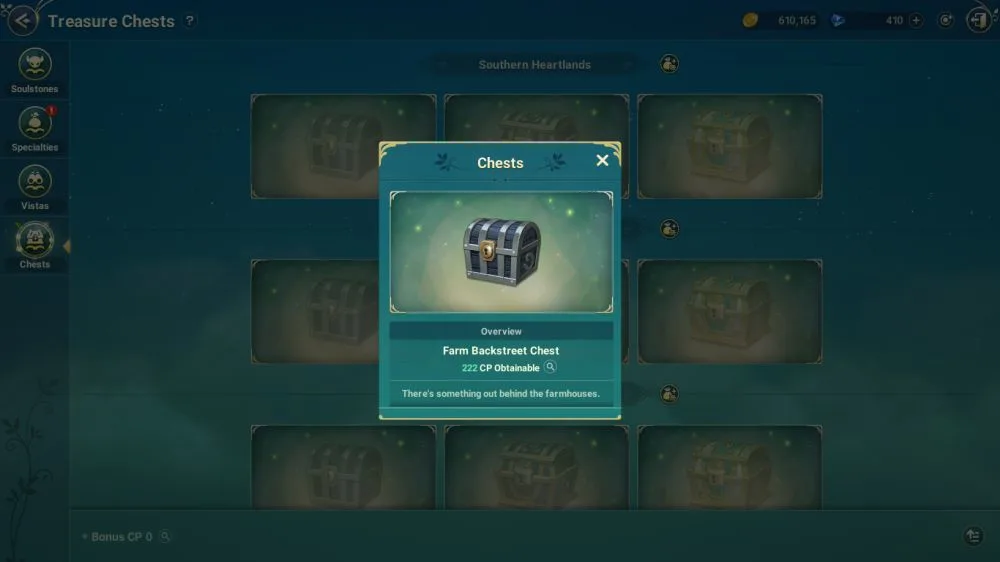
For Specialties found within chests, you don’t need to solve the puzzle on your own. You can go to the Chests menu (Records -> Record again) then tap on a chest you haven’t found yet. This will give you a short hint on where to find that chest.
Puzzling Out Your Tetro Puzzles
If you’re like me, you’ll probably take one look at Tetro Puzzles and just go, “I’m out”. Hold your horses though – Tetro Puzzles can do a lot of good for you if completed properly. These puzzles hide a ton of CP improvements locked behind a seemingly simple minigame.
These are relatively simple puzzles where you fit in different pieces to assemble a picture. That is simple, but what’s not simple is the fact that each puzzle piece has stats, which only apply when they’re fitted into a picture. Each puzzle also has stats that it increases, allowing you to fill in puzzles to either patch up weaknesses in your character or double down on your strengths!
One of the things I have to recommend when doing Tetro Puzzles is to focus on one puzzle at a time. Just like Soulstones, the benefits from having a single completed puzzle is tremendous compared to a puzzle that has one measly piece in.
On the other hand, acquiring puzzle pieces is a chore in itself. You can get them from completing Soulstone collections in higher level areas. Failing that, you can also just grind for Vintage Trunks from higher level zones. Good luck farming those though. Finally, you can just cash out and buy puzzle packs from the shop for a hefty 900 diamonds per pack of 10 pieces.
Socketing Your Gems
Coming from other, older games like Diablo II, Ragnarok Online, and Path of Exile, I was immediately curious about the gem system in Ni No Kuni: Cross Worlds.
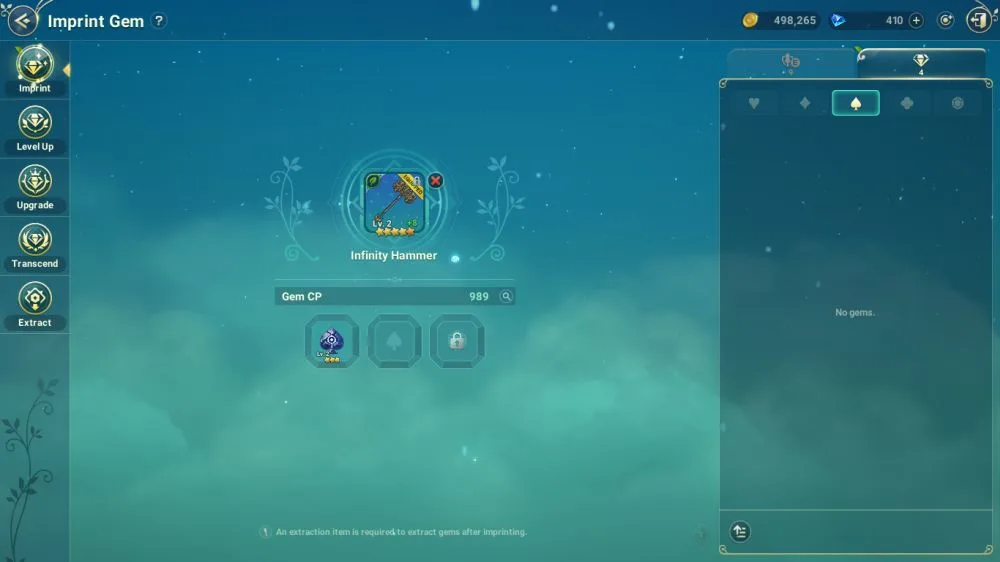
Gems are fairly easily obtained from grinding, particularly in Chaos Fields. These glittering stones can be used to augment and even specialize your equipment by adding extra stats on top of what upgrading, enhancing, and awakening already give you!
Each gem belongs to one of four suits – hearts, clubs, spades, or diamonds. Your equipment, too, has 3 sockets that can each only take a gem of a corresponding suit. Note that only rarer items can have gems at all. That’s also another not-so-subtle hint that you should be moving up to 3* equipment at the very least.
Just like your weapons and armor, gems can also level up by being fed other gems. For an even bigger power boost, you can upgrade gems by feeding them other gems, increase their star rank, and even transcend them once they’ve gone up to 6 stars.
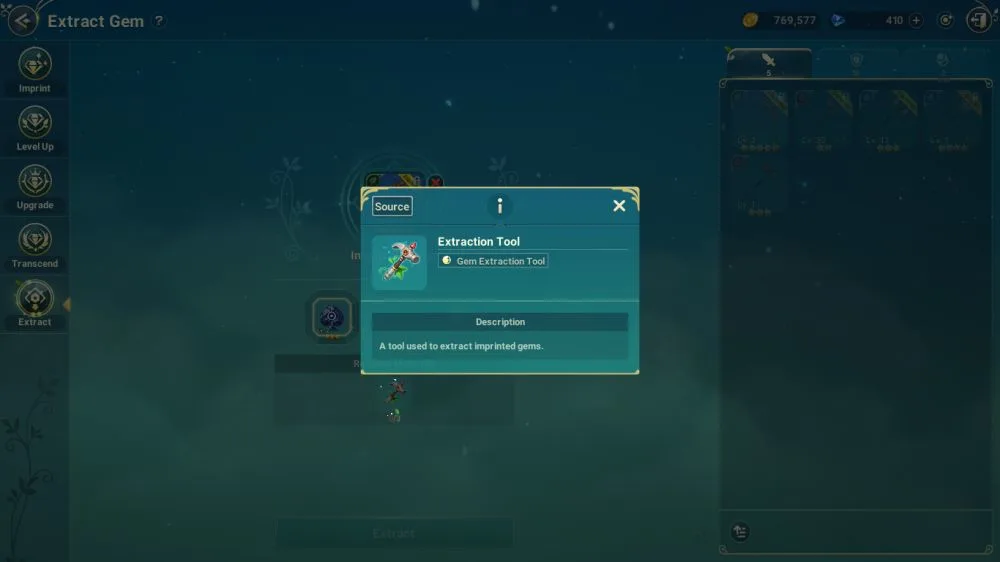
Be careful about where you socket your gems as you’ll need extraction tools to take them out, in case you want to move them to another item!
Enjoy Your Journey
Ni No Kuni: Cross Worlds still has a ton of content waiting in the wings, patiently biding its time until someone unearths it – and the game is still pretty young, so expect more content down the line. But until said new content releases, I hope these tips are enough to tide you over in the transition to midgame!

