With the way life can be stressful these days, you might want to occasionally play a game that’s as casual as casual can be. Sure, it’s thrilling to follow an RPG adventure or exhilarating to dive into a battle royale shootout, but when you want a break from all the excitement, it’s always nice to come back to a game that’s a little less intense. This can be an idle game or a routinary one like Mining Master.
Released in October 2022 by MondayOFF, Mining Master is a casual game where you, well, mine and mine and mine. The gameplay is quite simple in principle that the game itself doesn’t even bother offering players a tutorial. Instead, you’re thrust headfirst into the beginning with not much of an explanation whatsoever.
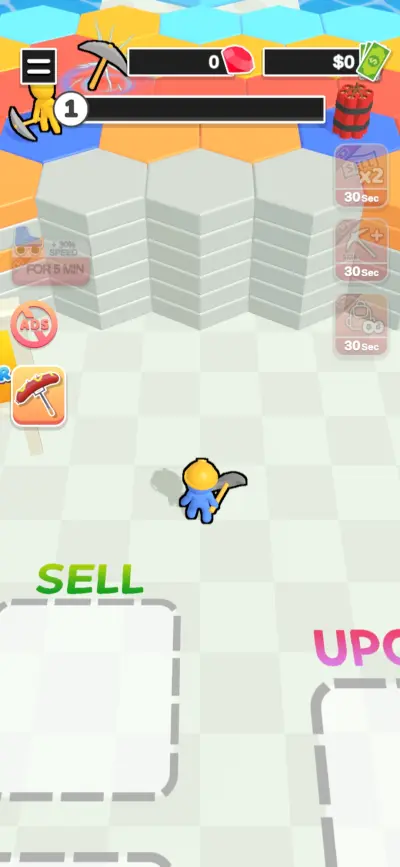
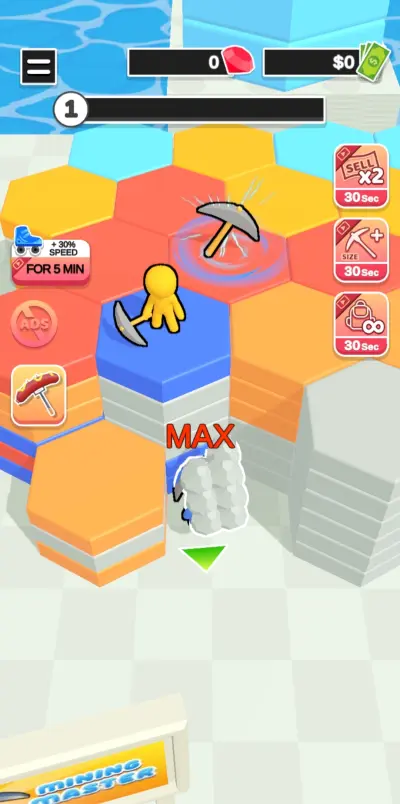
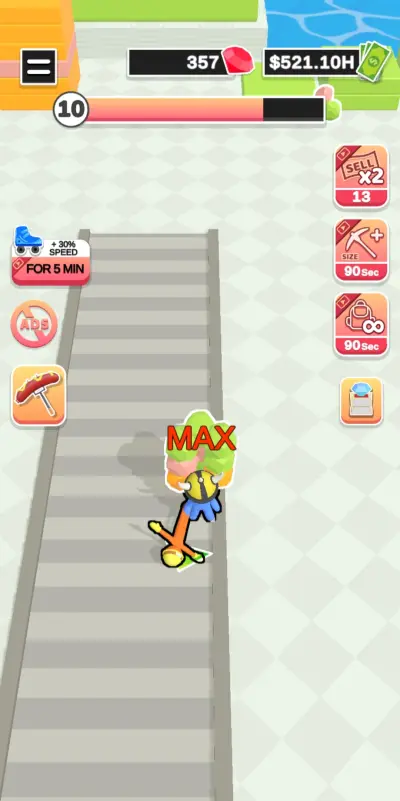
It’s not a problem, though, as a quick observation of your surroundings will let you figure out what you need to do in no time. Simply put, you need to mine several stacks of colored blocks in front of you. You can collect a limited number of stone blocks from mining and once you’ve reached your max weight-carrying capacity, you’ll stop mining.
To get rid of all the stone blocks on your back, you need to stand on the area marked “Sell.” Naturally, this is where you sell the blocks you’ve mined in exchange for in-game cash. Once the stone blocks are fed into the machine, cash will come out of the other end and onto the square right in front of the Sell area. Walking towards the cash will let you collect them. As far as we can tell, there’s no fixed value to the cash you acquire, though it can depend on the level you’re in and the color of the block you’ve sold as a stone (more on this later).

With cash now in your pocket, you might be asking yourself, what am I supposed to spend it on? Why, upgrades, of course!
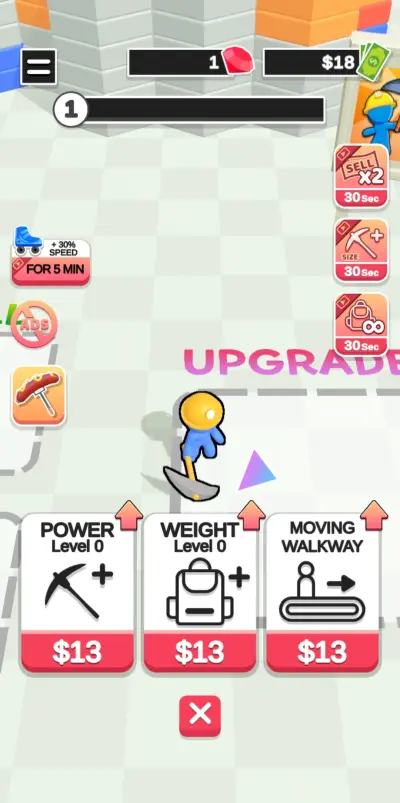
Beside the Sell area is the Upgrade area, also marked by a square. If you step into that area, you’ll see that you can choose between 3 upgrades: the strength of your pickaxe, how much weight you can carry, and the speed of the moving walkway on the field. At first, the upgrades are pretty cheap, but as you keep upgrading, the costs will also increase. However, this isn’t too much of a concern either as you’ll easily recoup the cash you’ve spent simply by continuously mining and selling.
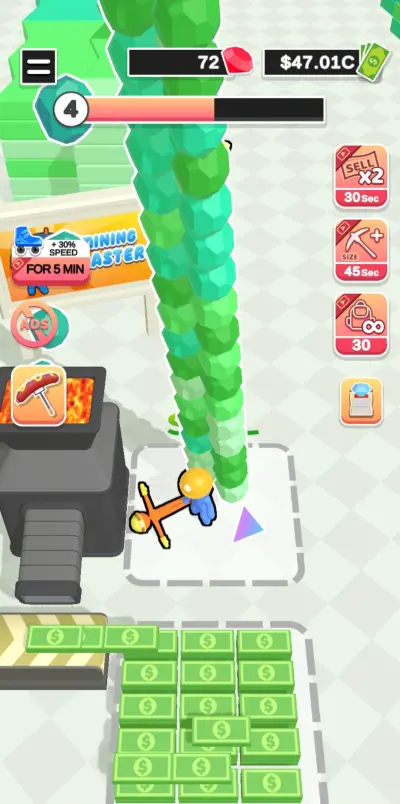
When you’ve mined enough of the available blocks on the current playing field, a bridge with giant blocks will connect itself to the field. Once you’ve mined the giant blocks, you’ll collect a relic (this comes in different shapes for each stage) and proceed to the next level. You can still collect the remaining blocks on the current playing field and sell them before moving onto the next level.

Now this all seems pretty straightforward, but there are still a few details about this game that every player can use some help with. For one thing, allow us to give you a heads up about the ads: there’s going to be a lot of them and you’re going to encounter them rather frequently. However, despite the proliferation of ads in the game, it’s still quite playable and they don’t ruin the gameplay—although they could admittedly be distracting at times.
That said, we’ve got several tips and tricks up our sleeve that we want to share if you want to make the most out of this casual game and be a real mining master. Are you ready? Let’s get right into our guide for Mining Master!
Mine Between Block Stacks

As we mentioned, mining blocks is a pretty straightforward gameplay mechanic. Clicking on a stack of blocks will prompt your character to start pickaxing away at that particular stack. However, there is a bit of a time element in playing, at least in the sense that some blocks are harder to mine than others.
Basically, the time you’ll be spending mining a block will depend on their color. For instance, gray blocks are the easiest to mine. Light colored blocks take a bit longer and vibrantly colored blocks can take a really long time to mine, especially if you’re still using the default pickaxe.
To be a more efficient miner, position yourself in between 2 stacks or at a corner area where you can mine 3 block stacks all at once. This might not be too obvious in the beginning since you’ll be using the default pickaxe, but once you’ve managed to get better equipment (more on this later), you’ll certainly be able to reach more blocks so make sure you’re in a position that maximizes your range.
This becomes even more apparent if you come across a time-limited booster (more on this later) that allows you to have a larger pickaxe with a much longer reach. But even if you’re using a basic pickaxe, it’s still possible to drive speed and efficiency simply by mining in between block stacks. This way, you can mine 2 or 3 stacks at the same time, allowing you to empty the playing field much faster.
Upgrade, Upgrade, Upgrade
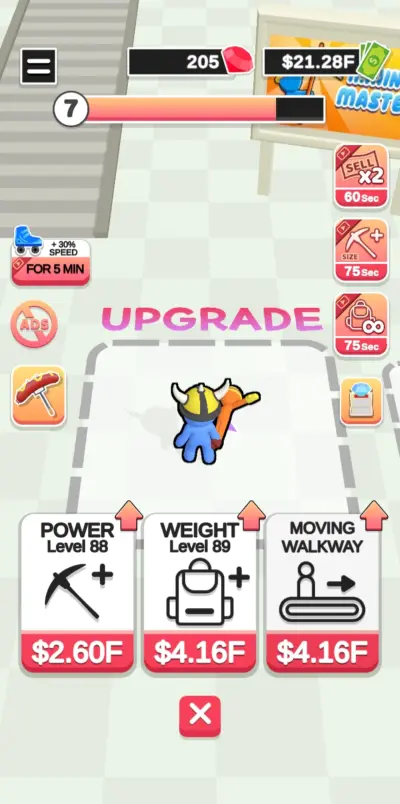
It’s easy to get the hang of mining, but its rather repetitive nature can get tedious just as quickly. Sooner or later, you’d definitely want to up the ante. If you’ve constantly been mining and selling for quite a while, you likely have a lot of in-game cash in your pocket. Take advantage of your acquired wealth by consistently spending for upgrades.
Since Mining Master is a simple game, it also offers some pretty simple upgrades. There are 3 upgrades that you can spend for:
- Power: Increases the strength of your pickaxe. Simply put, this upgrade will make it easier for your pickaxe to mine brightly colored blocks at a faster rate. The more you upgrade this attribute, the less time it would take to mine and reduce block stacks.
- Weight: This upgrade increases the amount of mined stones you can carry on your back. Just as colored blocks have a corresponding durability, they also have a corresponding weight when mined into stones. For instance, gray stones are the lightest. The brighter the color of the stone, the heavier it is.
Thus, you might be able to carry 5 gray stones all at once, but only 2 or 3 yellow stones at a time, and so on. Upgrading your weight-carrying capacity will not only allow you to carry more stones, but it will also lessen your need to frequently drop stones to the Sell area. - Moving Walkway: This upgrade lets you have a moving walkway in the middle of the current playing field. This strip of moving walkway increases your movement speed whenever you run across it. This is especially helpful when you’ve already mined a significant number of block stacks as you’ll be mining further away from the Sell area.
Keep in mind that each level starts with no moving walkway so you need to keep upgrading this attribute if you want to have one. The more you upgrade, the longer your moving walkway will become.
Since upgrades continuously increase in cost, which of these three should you prioritize?
We’ve found that prioritizing both Strength and Weight work well when you’re mining the layer of block stacks closest to the Sell area. Upgrade both of these attributes alternately, each one being the same or close to the other’s level. When you’re starting to get farther away from the Sell area, that’s when you can start spending for the moving walkway.
If you don’t plan on tackling the block stacks by row, then you can start upgrading the moving walkway early on so you can clear the block stacks at the middle column and maximize the moving walkway as you continue to clear block stocks by column on either side of the field.
In general, prioritize upgrading the first 2 attributes, then depending on whether you want to mine by row or by column, you can decide whether it’s time to start spending for moving walkway upgrades. Both approaches are valid and it would depend on your play style.
Get the Right Equipment
Like in any game, you’ll also start with the most basic or default equipment in Mining Master. You only have 2 equipment items that can affect your mining efficiency and these are the following:
- Pickaxe: Pretty self-explanatory—the pickaxe is what you use to mine blocks.
- Hat: You might think that your hard hat offers some kind of protection, but it instead affects your weight-carrying capacity.
You can buy both pickaxes and hats in their respective shops for red stones. Red stones are what may be considered premium currency in the game and are typically spent for better equipment.
As you may have guessed, getting better equipment comes at a high price. Red stones are pretty rare so you’ll only get about a handful every level—definitely not enough to get better equipment. Fortunately, when you take a peek at the pickaxe and hat shops, there are equipment items that you can get in exchange for watching an ad. Browse through the list of offerings (though this is quite limited) and see if there’s a pickaxe and a hat on offer for watching ads.
Under each equipment item is a percentage bonus upon being equipped. This represents how much Strength or Weight you can have when wearing these items. By default, you have a 4% bonus from your basic pickaxe and hat. In our run, we were able to get a pickaxe and hat with an 8% bonus each after watching an ad.
Since there’s a very limited selection for equipment, you’ll be able to get far with equipment that have an 8% bonus or thereabouts. Just as long as you get something stronger than the default items and constantly upgrade, you’re good to go for the succeeding levels. In time, you’ll be able to earn enough red stones to purchase the equipment items with the highest percentage bonuses.
Prioritize Block Stacks with Items
With all this talk about mining, what else can you dig up aside from colored stones? Well, there are a few other things that you can find. As a beginner, you’ll encounter at least 3 things you can discover on top of block stacks, and 1 important item you’ll find hidden underneath them. Let’s take a look at each of these items:
- Extra Miner: While mining, you might notice another miner standing on top of a block stack. This is an extra miner you can use to help you pickaxe your way to the next level. To collect and use this extra miner, you simply need to mine all the blocks it’s standing on top of. Once the extra miner is on the ground, it will automatically mine the closest block stack. It will not stop until all the block stacks have been mined.
The caveat is that your extra miner won’t be able to collect stone blocks, and neither will it be able to walk to the Sell area. Its main purpose is simply to mine block stacks so it will leave all the stone blocks on the floor. It’s up to you to collect those stone blocks and sell them. You’ll encounter at least 1 extra miner each level. You just need to find which block stack it’s standing on.
- Dynamite: Besides extra miners, you’ll also occasionally find a couple of dynamite sticks on top of block stacks. Similar to the extra miner, you need to mine the blocks upon which the dynamite is placed so you can detonate them.
When dynamite explodes, this will cause nearby block stacks to automatically turn into stones you can collect and sell. How many block stacks dynamite might affect may depend on their location. For instance, if they’re located in the middle of several block stacks, they may affect 2 or 3 other block stacks in the vicinity.
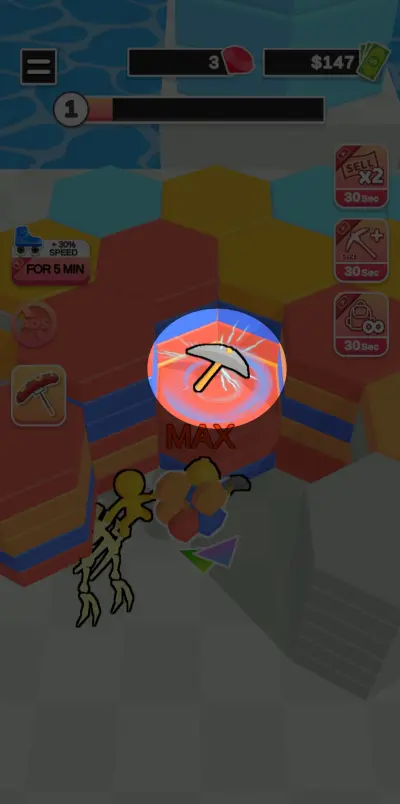
- Special Pickaxe: Special pickaxes are those that can also be found on top of block stacks and may be marked by fire or lightning (the latter being pictured above). Using these special pickaxes will allow you to mine faster by increasing your pickaxe’s strength (fire) or your mining speed (lightning).
You may be able to use both simultaneously if you happen to collect them in succession. However, keep in mind that special pickaxes will only last a limited time, for about 30 seconds or so.

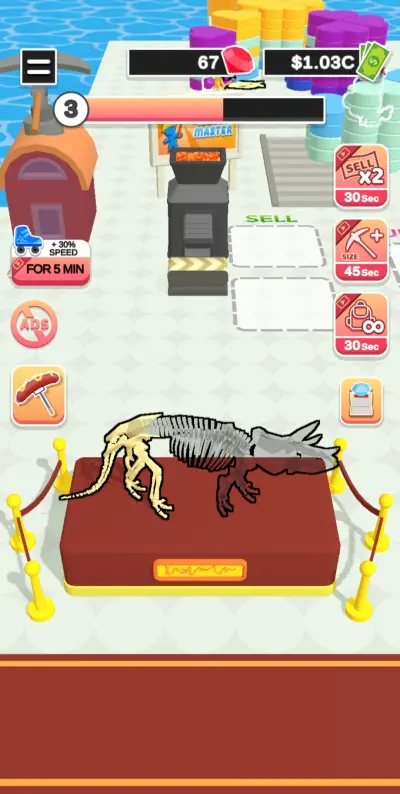
- Dinosaur Bones: Hidden beneath several block stacks are dinosaur bones that you can collect. Each level may have 1 or 2 dinosaur bones you can discover. Collecting them means mining all the block stacks on top of them until the dinosaur bones are fully revealed.
Once collected, these bones will automatically be placed in a display area that has the corresponding dinosaur they fit into. Completing an entire dinosaur bone structure, which often requires 3 pieces, will reward you with a large amount of red stones.
With all of these said, it’s best to prioritize mining block stacks with items on top of them, or those with dinosaur bones underneath. We especially recommend getting the extra miner early so it can help you whittle down block stacks more efficiently. Then, you can detonate all the dynamite, which can even result in you effortlessly collecting special pickaxes should they be located on block stacks affected by a dynamite explosion.
With these special pickaxes on hand, you’ll have an easier time mining dinosaur bones. If the time limit of the special pickaxes haven’t expired, you can still use them to mine the rest of the remaining block stacks on the playing field.
We suggest using these items in the order mentioned above, but if it’s not possible, simply prioritizing block stacks that have any of these items should be enough.
Be Smart About Boosters
Once in a while, aside from collecting the special items we just discussed, you’ll also come across boosters that offer a variety of effects. Like the upgrades, you can encounter 3 different boosters, which include:
- 2x Sell: When this booster is activated, you can double the selling price of stone blocks whenever you step into the Sell area.
- Longer Pickaxe Range: This booster gives you a giant pickaxe with a much longer reach.
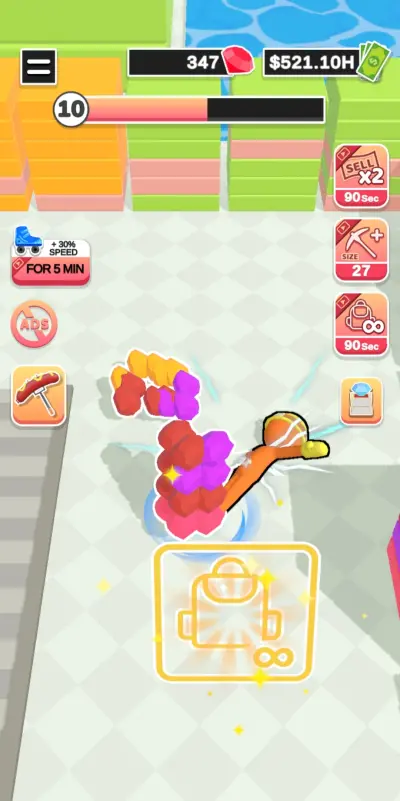
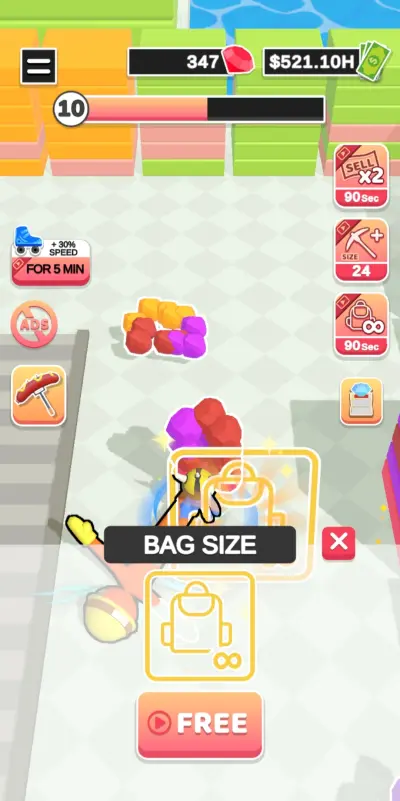
- Infinite Weight Carrying: With this booster, you can carry as many stone blocks on your back without reaching the maximum capacity.
Keep in mind that these boosters can only be used for a limited time for a minimum of 30 seconds. The more you use these boosters, the longer their active duration becomes. The catch? You need to watch ads to activate them each time. Aside from getting boosters as a reward after mining stone blocks, you may also use them anytime by clicking their corresponding button at the upper right side of your screen.
Regardless of how you activate these boosters, you’re going to have to watch ads to get them working.
Now, not everyone has the patience to watch ads so it’s best to be smart when these time-limited boosters are active. Depending on what kind of booster you get, it pays to maximize them by employing some of these simple but effective tactics:
- If you get a 2x sell booster, focus on mining as many stones as possible and running back and forth to the Sell area. A lengthy moving walkway will come in handy in this scenario. Having an extra miner already working through block stacks will also allow you to focus on simply collecting stone blocks for selling.
- If you activate a longer pickaxe range, focus on continuously mining. If possible, try not to collect any stone blocks, unless you have the infinite weight booster activated as well.
- If you have the infinite weight booster activated, focus on collecting as many stone blocks as you can. You can sell them all at once later, preferably when you get the 2x sell booster.
As you can see, these boosters go hand in hand and the challenge is really to work around the time limit they have. Constantly check how much time you have until their activation expires, which is indicated in their respective icons on the right side of the screen.
For instance, if you have 10 seconds left on the clock of the infinite weight booster, you might want to make a mad dash for the Sell area to ensure that you get to sell all the stones you’ve collected for double the price. This is why it’s important to try to move and mine as quickly as you can.
Move Fast
Taking off from the last section, moving and mining fast is key, especially when you have all these time-limited boosters, as well as special pickaxes. Upgrades will certainly help in this regard, particularly the moving walkway upgrade if you find yourself mining farther from the Sell area.
Another way you can move fast is by letting all your cash stack up and collecting them for later. Basically, after selling your stone blocks, skip walking through the cash area so you can save a few precious seconds, particularly if you’re running on time-limited boosters. You don’t have to worry about the cash disappearing as they will simply keep on stacking up in front of the Sell area and you’ll be able to get them all later.
Foregoing this step will allow you to go back to mining or collecting stone blocks faster. It also lets you skip watching ads as the game tends to force you to watch 5-second ads whenever you drop stones at the Sell area.
Collect Cash from the Museum
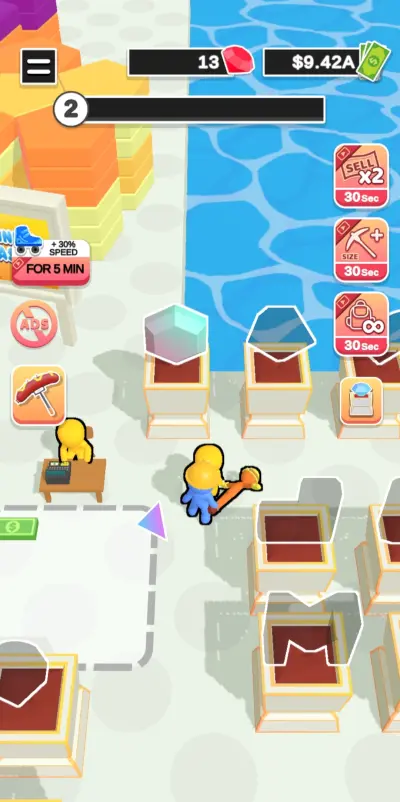
Speaking of cash, Mining Master offers a passive way you can earn in-game cash, and that’s by collecting them at the spot where all the relics are displayed in glass cases. This place is usually located in the lower right-hand corner of the playing field.
How this works is that there’s a table where a non-playable character (NPC) is sitting as it fronts a spot marked by a square similar to what you find at the Sell and Upgrade areas. Glass cases are arranged neatly in this area, resembling somewhat of a museum.
Other NPCs will be walking around the museum and when they pass the table, they’ll leave cash on the square. After some time, you’ll find that you have stacks of cash on the square, which you may collect. This passive method of gaining cash will go on until you’ve mined all the block stacks and reached the next level, wherein the process will then repeat. You can collect the cash from the museum anytime you want.
That said, go back to the museum from time to time to increase your cash reserves. Ideally, you should do this just after you’ve sold stone blocks and are considering upgrades.
Sell Everything Before Moving to the Next Level
Getting to the next level might get you a little bit excited. After all, who doesn’t want to progress in any game in the fastest way they can? However, don’t get too excited that you’d head to the next island without selling all your stone blocks first.
That’s right: don’t instantly mine the giant blocks, seen in the image above, at the bridge connecting the current playing field with the next. Make sure you sell all your stone blocks first and collect cash from the museum.
If you immediately mine the giant blocks and acquire the relic, you won’t be able to backtrack to the playing field you’ve just left. If you’re carrying stone blocks on your back and moved to the next level, all the stone blocks will be gone, rendering them unsellable.
Thus, before moving to the next level, make sure you’ve sold all the stone blocks and collected all the museum cash. Otherwise, you lose a good amount of profit and the effort you’ve exerted mining blocks will be moot.
Be Patient with the Ads
As we mentioned quite early in this guide, there will be lots of ads. For one thing, you’ll find yourself watching 5-second ads nearly every time you sell stone blocks and you don’t really have a choice to opt out. In other cases, you’ll be asked to watch 30-second or 45-second ads to activate boosters or buy a better pickaxe or hat. Perhaps the only thing you don’t have to watch ads for is using special items like the dynamite and special pickaxes.
Now, watching ads, especially forced ads, can be a little bit annoying and distracting, but if you’re patient enough with them, you’ll get the boosters and better equipment without much trouble. If you want to avoid the 5-second ads, make sure to consistently upgrade your weight-carrying capacity and maximize the infinite weight booster so you don’t have to frequent the Sell area. In any case, ads are a part of the game and while they can be irksome at times, you’ll still get something out of them and a simple workaround can minimize their frequency.
With all of that being said, this concludes our guide for Mining Master! Are there other tips and tricks you want to share? Don’t forget to write them down in our comment section below! We hope this has helped you become the best mining master you could be!