The world as we know it has ended. All that’s left is a wasteland filled with the Infected. LifeAfter’s story begins with your character narrowly escaping from a zombie attack. This exciting survival game puts you in the shoes of a survivor whose mission is to drive away the Infected and help rebuild civilization. There are several survival skills that you can learn in order to succeed in your mission. You can craft items, fish and scavenge for food, and even build your own house to protect you from attacks.
Danger lurks in every corner. You may not be the violent type, but that does not matter in this world. Regardless of your play style, you will have to fight at some point. When that happens, it pays to have good equipment on you. That’s why our LifeAfter equipment guide is here to help you maximize the use of your gear.
1. Always Have A Back Up
When you are starting out in LifeAfter, you could probably survive with just your pickaxe or lumber axe. You can hack away at the low-level zombies and come out of the scuffle in one piece. As you explore further, however, the Infected will start getting stronger. You will also start encountering Abnormal Infected, which are a lot tougher to take down than the average zombie. You will need to get your hands on better weapons and armor if you want to keep progressing.
Don’t get too complacent just because you have a rifle and a jacket with you. Keep in mind that all equipment in the game have durability that decreases over time. Once durability reaches zero, the item will disappear. The last thing you want is for your character to be defenseless in the middle of the night and the nearest safehouse is several miles away. Always have at least two guns with you to make sure you have a backup weapon if things go south.
Related: LifeAfter Trading Tips & Tricks: How to Earn More Gold Bars
2. Durability Vs Sturdiness
Your weapons and armor have two stats that are related to the length of their usability. The first one is durability. As we mentioned earlier, this is the value that gradually goes down whenever you use your gear. When you use up your equipment loses all durability, you won’t be able to use it anymore. Sturdiness, on the other hand, determines the number of times you can repair your equipment. Repairing recovers the durability of your equipment but reduces sturdiness. When your equipment’s sturdiness is depleted, you will no longer be able to repair that equipment. Keep in mind that there is currently no way to recover sturdiness. Even if you can afford to keep repairing, you will not be able to do it forever.
3. Craft A Repair Bench
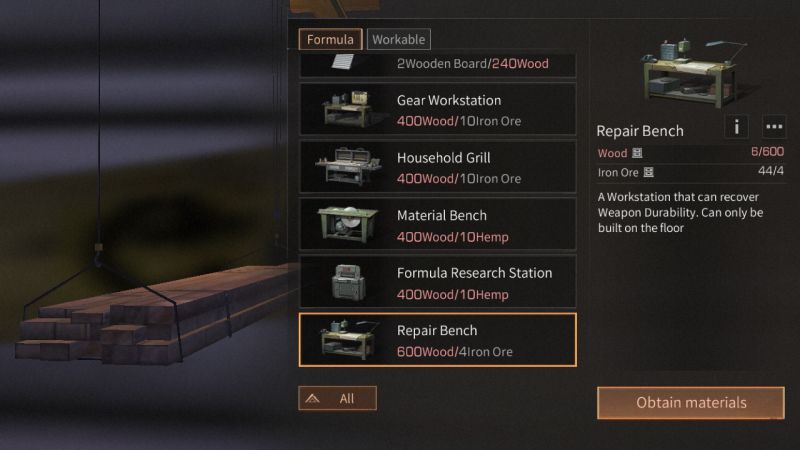
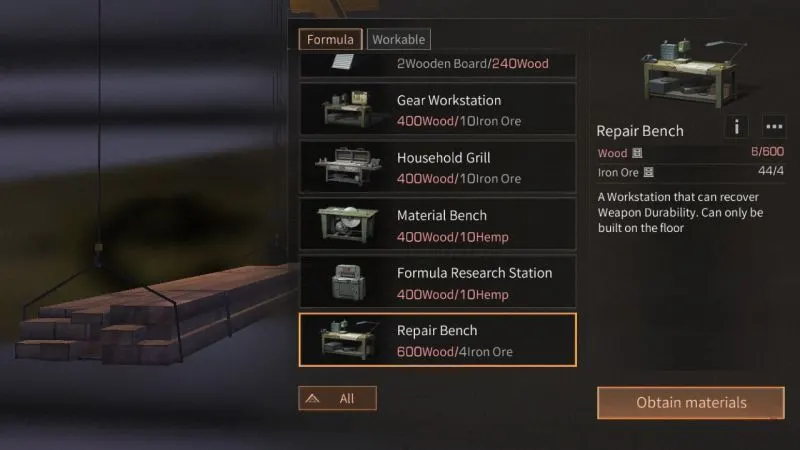
In order to repair your equipment and recover durability, you will need a Repair Bench. To craft this, go to Hope 101 and look for the Furniture Store. Approach the device that’s lifting wooden planks and a Craft button will appear. Tap on it to see the different types of furniture available. Scroll down to find the Repair Bench.
A Repair Bench costs 600 Wood and 4 Iron Ore to make. Crafting takes 10 minutes to complete. When the Repair Bench is completed, it will be sent to your mailbox. Go home and check your mail. The message would be from Hope 101. Just accept the shipment then you can go inside your house to install it. You can install the Repair Bench the same way you would any other furniture. Tap on the Build button in the middle of the screen, choose the Repair Bench, then place it anywhere on the floor.
4. How To Use The Repair Bench
Despite the name, there is more to the Repair Bench than just fixing things. There are three other functions that are all useful in helping you acquire better gear. Knowing when and how to use these other features is key to progressing further in the game. We have listed the different Repair Bench features below to give you a better idea on what they are for.

Fix – This is where you repair your equipment. You will see how much durability your equipment has left by checking the orange meter below it. When it falls below 50%, you should start considering repairs. Do not leave home with equipment that’s below 20% durability. To repair equipment, tap on the Fix menu, choose your gear, then confirm. Repairs cost New Dollars, so make sure you only repair items that are worth fixing. Also, not all equipment can be repaired, so check first before you start wearing out your gear.
Dismantle – Once you have depleted the sturdiness of your equipment, the only option left is to dismantle it. Dismantling lets you recover some of the materials that were used to craft the original equipment. This is a good way to save on materials, especially since the higher level gear take hours of gathering to complete.
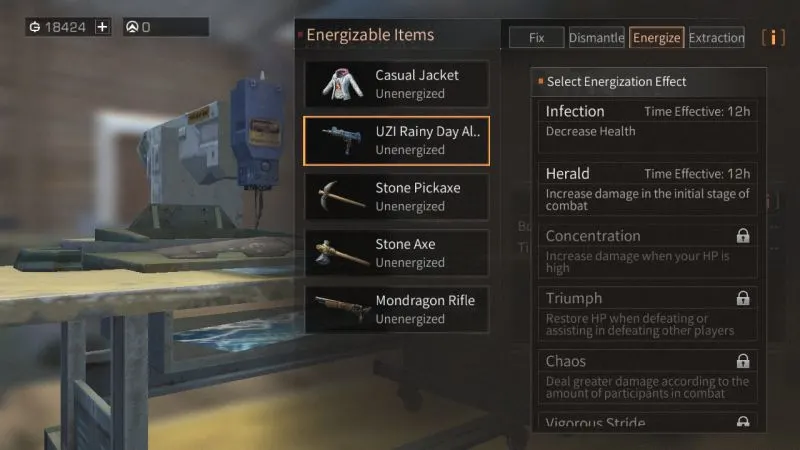
Energize Gears – Do not confuse this with modifications done in the Formula Research Station. Modifications alter formulas which means they affect all items you create from that formula moving forward. Energize Gear strengthens individual items by adding a special effect. Energizing costs Energize Points, so use it wisely.
Extraction -This is where you extract items in order to get points used for energizing equipment. Dump as many extra equipment here to get a lot of points.
5. Go To Bed Before Quitting
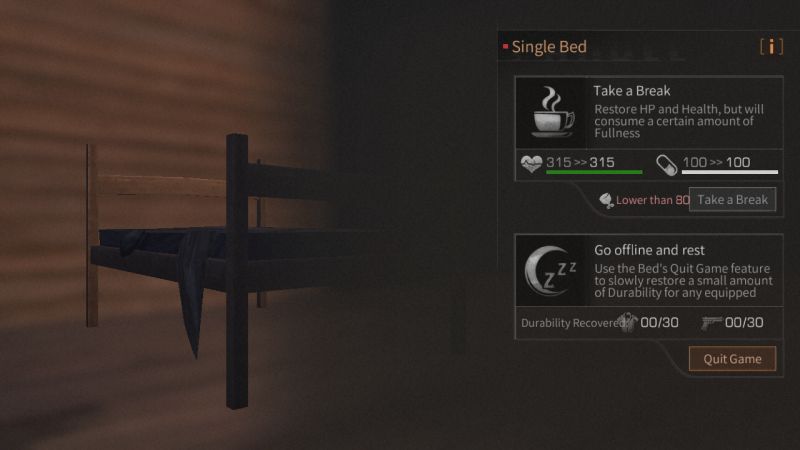
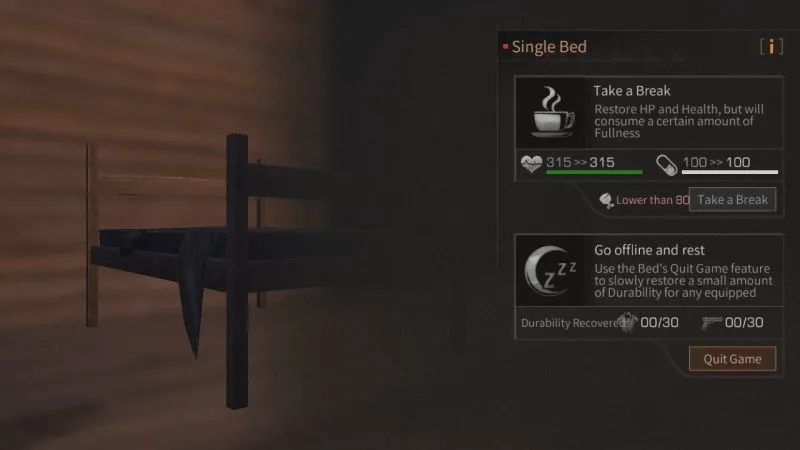
The game allows you to quit anywhere in the world. Keep in mind, however, that where you quit can have positive or negative effects. While it is not always possible, we recommend that you try to go to bed and tap on the Use button. You will be given the option to quit the game from there. When you do this, some of your equipment’s durability will be restored. Only a limited amount of durability is restored per day, regardless of how many times you use the bed or how long you stay offline. It is still a good way to save some durability, though, especially if you have multiple equipment on rotation.
Related: LifeAfter Fishing Tips & Tricks: A Complete Guide to Fishing
6. Don’t Waste Durability
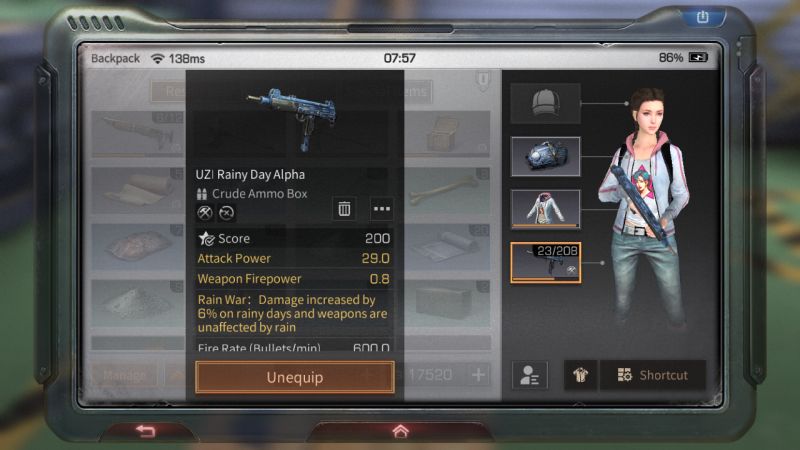
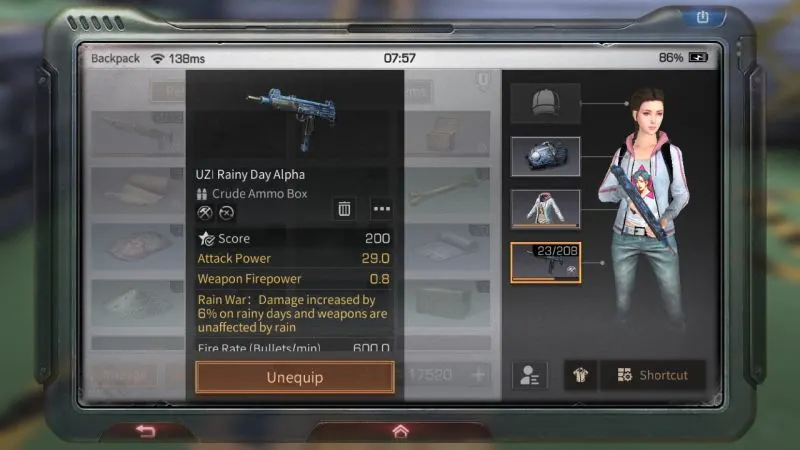
Some pieces of equipment are more valuable than others. For example, an Uzi is definitely more valuable than a Mondragon Rifle since it makes killing off enemies easier. Unfortunately, it costs a lot more to craft an Uzi. That is why you should avoid wasting your Uzi’s durability if your Mondragon Rifle can do the job just fine. Save your Uzi for difficult missions, patrol quests, and so on.
Another thing you should keep in mind is to stay alive as much as you can. Keep a good supply of bandages, torches, food, and campfire on you. Dying can reduce the durability of your equipment by as much as 10%. Choose your battles and try not to take on bosses on your own unless you are confident that you can win.
When you are trying to survive in a zombie-infested world, your life depends on your equipment. Make sure you remember everything you learned from our LifeAfter equipment guide and take good care of your gear!