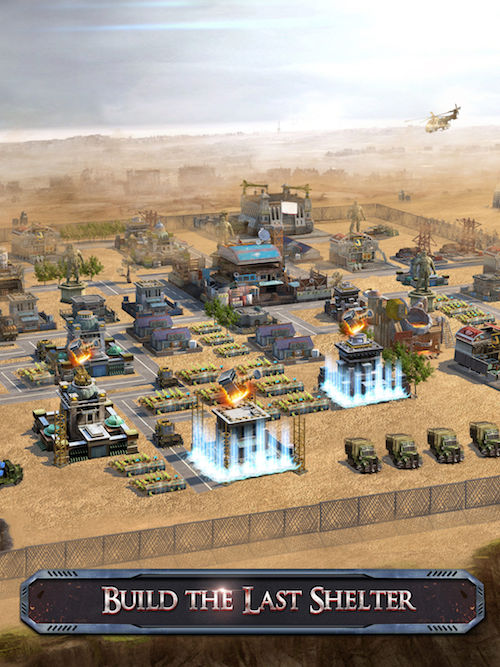
Last Shelter: Survival is an immersive base-building strategy game for Android devices. In Long Tech Network’s new mobile title you are the commander of one of the last remaining shelters for humanity in a world that has been overrun by undead. Your goal is to develop your base into a flourishing town filled with survivors. To do so, you must first stock up on supplies. Food and water are basic needs that will surely attract survivors to your base. The more people you have onboard, the easier it will be to build a better base.
Soon, you will be training people to fight and defend your base. You will also be researching technology needed for continued development. It won’t always be smooth sailing for your shelter, though. In a world where everyone is fighting for their lives, zombies would be the last of your worries. Other players will be eager to raid your coffers as soon as your shields go down. Make sure you are ready by reading our Last Shelter: Survival beginner’s guide!
1. Keep Your Buildings Organized

As the commander, you are free to build your structures anywhere on the base. Keep in mind, though, that you will not be able to complete building if there is no road access to the area you selected. A road icon will appear above your construction site to indicate that you need to build roads in order for the building to be completed. Just tap on the icon and the game will automatically suggest a road to be built going to your construction site. All you have to do is click the OK button to lay down the road.
One thing you should keep in mind is that the game won’t always recommend the best path for building the road. Sometimes, it will tell you to build a road that goes around several buildings when there is a shorter path that can be built. Make sure you pay attention to the layout of the roads. Trucks will take time to travel to their destination.
If your roads are all over the place, it will take longer for the trucks to reach buildings at the far ends of the base. Plan your roads ahead of time, even if you only have a handful of buildings. Most structures can be moved to a different location by tapping and holding. The exception to this are resource buildings that need to be placed right next to what they are harvesting.
2. Use Task Shortcuts
Last Shelter: Survival provides a shortcut button for practically every task you need to accomplish. During the tutorial chapters, each item on your goal list will have a button next to it that will automatically take you to the structure or menu where the task is performed. When you are upgrading a building but some of the prerequisites have not been met, you just need to tap on the button next to the requirement you are missing to automatically go there.
For example, if you are upgrading the Cafeteria, it will often require the Houses to be a certain level. If you do not meet this requirement, a button will appear next to it on the list. Tap on the button to automatically go to the Houses. This feature is useful for quickly lining up tasks without getting sidetracked. On top of this, it may be more difficult to scroll around your base once it gets a lot bigger. Using shortcuts helps reduce the time you spend scrolling around the map.
3. Join An Active Alliance
One of the earliest tasks you will have is to join an Alliance. If you cannot pick one on the list of Alliances, you can just tap on the Quick Join button at the bottom of the page. Make sure you stick with an active Alliance. Aside from being able to consult with the veteran members of your Alliance, you also get regular rewards for being active.
You can also ask members of your Alliance to help speed up construction or research on your base. An icon of two hands shaking will appear any construction or research once you are a member of an Alliance. Tap on it to send a request to other members. Every time someone helps you, the timer will be reduced. Make sure you return the favor by helping out other members as much as you can.
4. Work With Your Allies

When you enter the Alliance menu, you should always check the Alliance Wages. This is where you can claim rewards for being active. A red dot will appear on the Alliance icon when there are rewards or other important events within your Alliance.
Once you are certain that you are in the right Alliance, you can use the free Teleport that you get upon joining an Alliance for the first time. Moving to where your allies are will make it easier for you to send and receive reinforcements. This will become an important part of the game once your beginner’s protection shield disappears and you become open to raids from other players.
5. Look For Supply Crates
When you are still starting out, you will find yourself in need of supplies all the time. Every bit of free resources can help you out a lot. When your trucks are idle, try scrolling around the base to look for crates. Tap on the crates to have one of your trucks drive there and pick up free supplies.
These often contain a lot of resources that you can use towards building your base. It only takes a few seconds for the trucks to pick them up, so it won’t put too much of a dent on your building time. Just make sure that your depot isn’t full before picking up extra supplies.
6. Turn Up The Stereo
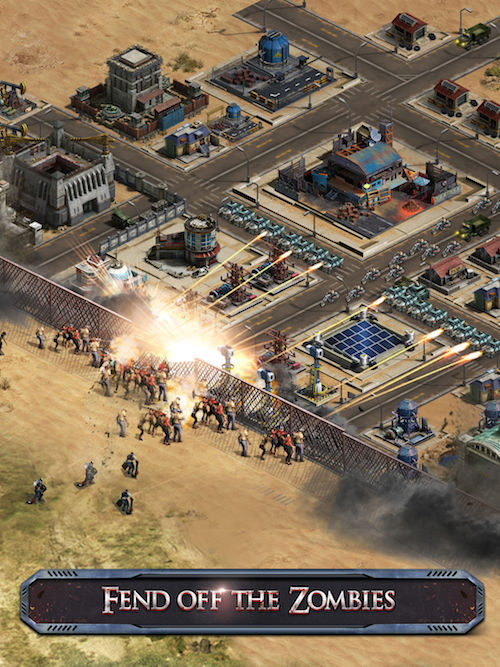
On the lower left area of your base is a giant stereo system with a play button on it. Tap on it and it will start playing loud music that will attract a bunch of zombies. Your troops will then open fire on the incoming zombies from behind the safety of the fence. Zombies that get wiped out by the stereo will drop money. Once your soldiers are done dispatching the music-loving zombies, a crate icon will appear above the stereo. You can tap on it to claim a supply crate filled with money.
Keep in mind that you will be claiming a crate, so the money will not automatically go to your cash on hand. You will need to use the item from your inventory in order to claim the money. The stereo will go on cooldown for a few minutes after you use it. Make sure you turn it up as often as you can to get a lot of money for free!
7. Check Your Mail

The game sends you several notifications through your mail. Some of them are announcements or combat reports give you information. Others are rewards that you receive for accomplishing certain tasks. Make sure you check your mail often because some of these rewards will expire after some time if left unclaimed.
A red dot will appear on the mail icon if you have messages waiting for you. If you are expecting a reward but can’t seem to find it anywhere in your inventory, the chances are it was sent to your mailbox instead.
8. Send Your Troops Marching
When you tap on the World button on the lower right corner of your screen, you will be taken to the world map. From here, you will be able to see locations of neighboring bases, resources, and zombies. You can raid bases that are not members of your Alliance. You can also attack zombies for experience and resources. Resource nodes can be occupied and harvested as well. To do any of these tasks, you will need to send your troops marching.
When you start out, you will only have one group available for march. As you unlock more groups, you will be able to send them out on different tasks. What is important is that you keep sending your troops out in order to maintain a steady flow of resources and experience for your base.
9. Manage Your Heroes
In the beginning, you will have just one Hero. The tutorial will have you assign him as a leader of your marching troops. Once you have more Heroes, you will need to build a Management Station, so you can assign them to different structures. Each Hero has a set of skills that will make them useful when assigned to the right task.
For example, the second Hero you get is Nora. Her first skill boosts the production of food, so make sure you assign her to the farm. Pay attention to the skills of your Heroes. Tapping on the skill icon will show you information about the skill and tell you where the Hero should be assigned. Keep recruiting Heroes and manage them wisely in order to maximize the development of your base.
10. Participate In Events To Get Rewards


On the upper right area of your screen is a gift icon. Tap on it to enter the Events page. There are several ongoing and upcoming Events listed here. Make sure you take time to participate in the Events in order to receive various rewards. Event rewards include resources and Diamonds, the premium currency of the game.
Some Events like the Daily Challenge can be easy since it will usually just involve tasks such as increasing the power of your base. Since you will be working towards that anyway, you won’t have too much trouble completing Event tasks. Once you meet the goals of an Event, the rewards will automatically be sent to you. Just check your mail if they don’t appear in your inventory.
11. Here’s What To Do Before You Hit Level 6
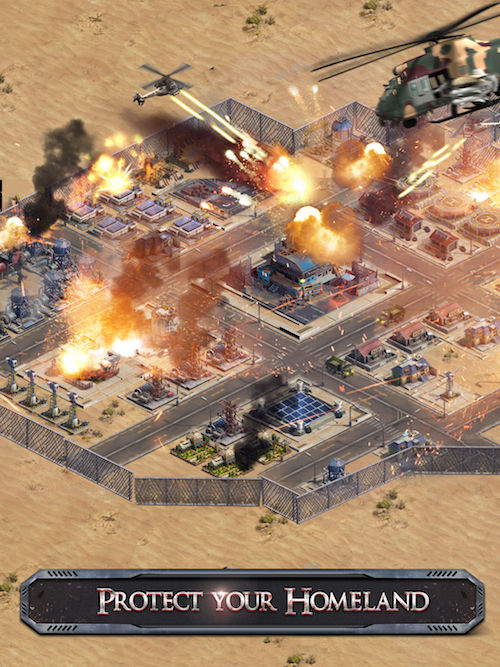
When you upgrade your base to Level 6, you will lose your beginner’s protection. That means other players will be able to raid you. Make sure you keep this in mind because the tutorial tasks will include upgrading your base to level 6. Hold off on doing this task because there will still be plenty of preparation tasks that you need to accomplish before you lost protection.
Check the Build menu by tapping on the hammer icon on the lower right of your screen. Build all the structures that are available and upgrade all your buildings to the maximum possible for your current level. You should also continuously train a lot of troops while you are at it. Once there are no more available upgrades, structures, or research for your current level, that is the time for you to proceed to base level 6. Prematurely upgrading your base will leave you exposed to raiders and you will have a hard time defending yourself.
12. Choose The Right Class
Once you complete the tutorial quests, you will be able to choose a class. There are three classes in the game: Farmer, Raider, and Trader. Each of these classes have their own benefits and disadvantages. Farmers focus on resource production. Raiders focus on military power. Traders focus on money. Make sure you check the description of each class before you choose one. If you are a beginner, try to stick to the Farmer class.
This way, you will have added Depot protection and you will be able to survive without having to raid other players. Of course, if you want to play aggressively, you should become a Raider. Feel free to choose according to your playstyle. If you decide that the class you picked isn’t for you, you can wait until level 10 for the free Class change.
13. Create An IM30 Account
When you try to exit Last Shelter: Survival, you will see a button that lets you bind your IM30 account. Tap on it to create an account. You will be asked to enter your email and assign a password. Once you confirm your email, your game will be bound to your newly created account. Doing this will allow you to recover your game progress in case you reset your phone or switch to a different device. As an added bonus, you also receive 100 Diamonds for creating an account.
Living in a post-apocalyptic world is not easy. Make sure you rely on our Last Shelter: Survival tips, cheats and strategies in order to build the ultimate base!
Dee
Monday 4th of May 2020
What is T8
khen
Wednesday 8th of April 2020
why i couldn't take away the cash from other castles after the attacking? All resources can take away except cash. the reasons due to?
OcenKhalifah88 #916
Sunday 26th of April 2020
because your class is Farmer currently. do re-check.
Misialek
Sunday 15th of March 2020
How do you make a farm account and then add it to my raider account?
TIGERBOOM
Monday 6th of April 2020
You don’t! Farm accounts are used solely for supplying your main base with rss. You disconnect everything that u don’t use and focus on making the farm produce loads if rss. Don’t take the farm base above ideally level 16. This is due to the boxes on hourly challenges are easier to achieve hence the more diamonds u receive.
Manal Shaikh
Sunday 26th of January 2020
Thank you! I knew most of the stuff but as a guide, your tasks shortcut one helped me. Thank you once more.
Christopher Williamson
Wednesday 18th of September 2019
Why won't it let me used the Class Hall?? Keep's say The Presidant did'nt Place Building, Cannot View.