Island Questaway is an adventure game developed Nexters, where you take control of Emily Hart, who takes a boat to a remote island to visit her brother Jonathan. Once she lands, she finds that the island is not as simple as it appears, and Jonathan himself is nowhere to be found. What mysteries will Emily uncover as she traverses the island?

While not exploring the island for clues, you will be managing Jonathan’s farm in his absence, gathering resources to sell to the locals in exchange for tools. The island is dotted with ruins that house various puzzles which you will have to solve if you want to figure out where Jonathan went. Some of these puzzles are optional, but they do lead to some bonus treasures.
Because of its mix of gameplay elements, this guide will be a semi-walkthrough of sorts for the first level, explaining various mechanics as they become relevant while explaining what to do next. The energy system can get a bit restrictive, though the game has a surprising number of ways to restore it aside from patience. Stay with us to learn what secrets lie in Island Questaway!
1. Planting And Puzzle-Solving
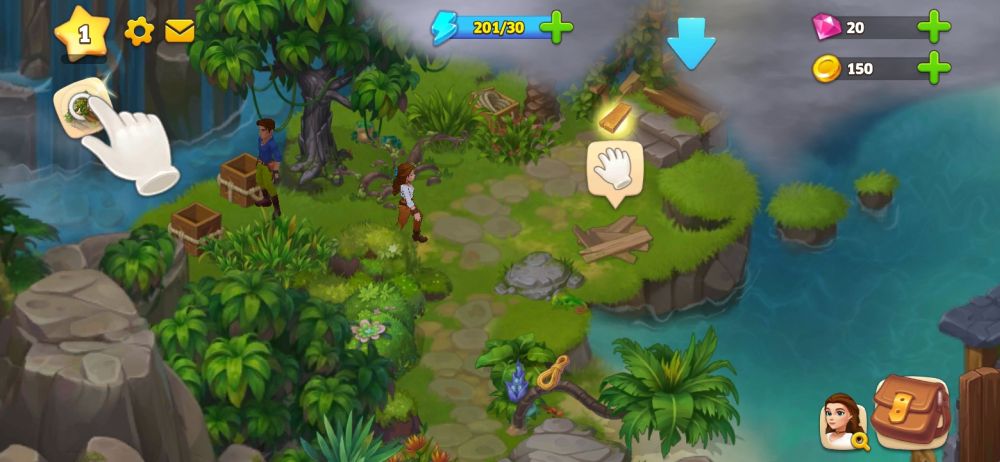
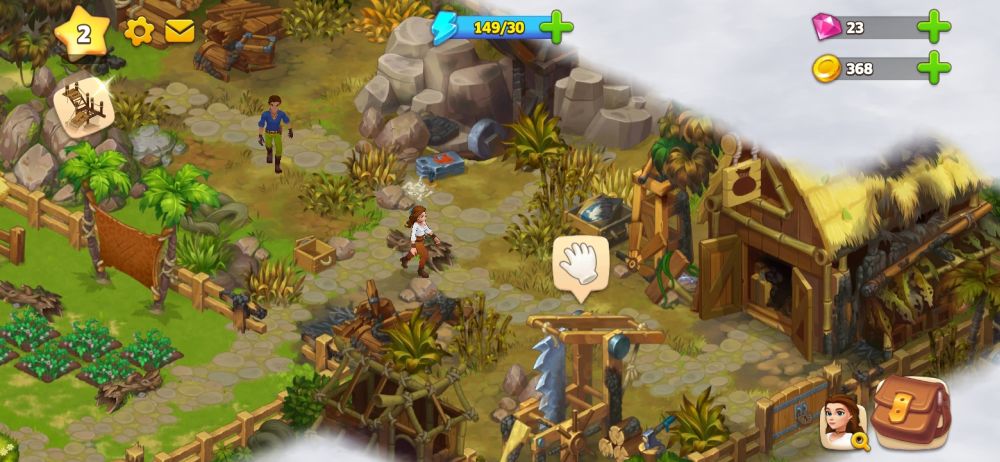
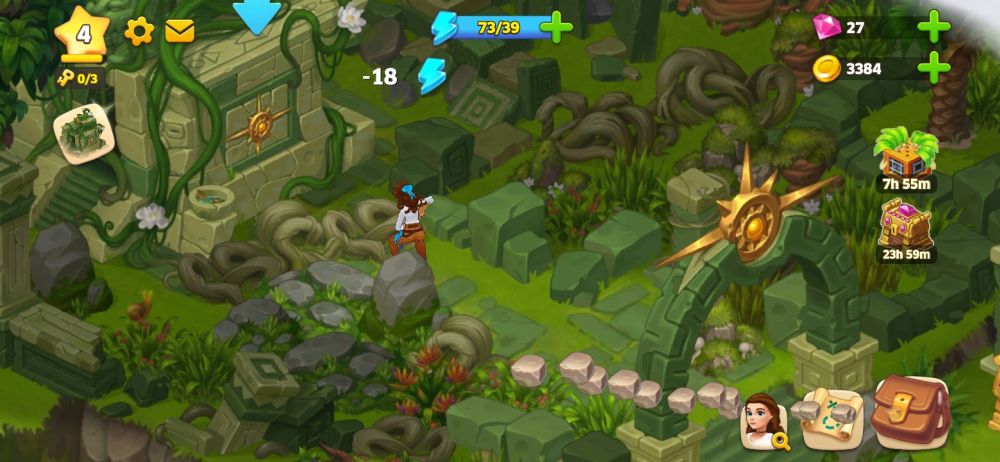
Island Questaway is entirely controlled via the touch screen, as is expected for farming games. Gameplay is typically divided into two parts: managing the farm and its produce, and searching the island for clues using whatever resources you have earned through selling your goods. Both parts are controlled through an energy system that limits how long you can play before waiting for your energy to fully regenerate.
Energy is used mainly to clear out obstacles encountered both at the farm and throughout the island. The game gives several methods of getting additional energy outside of waiting, and you can go over the listed cap through these methods.

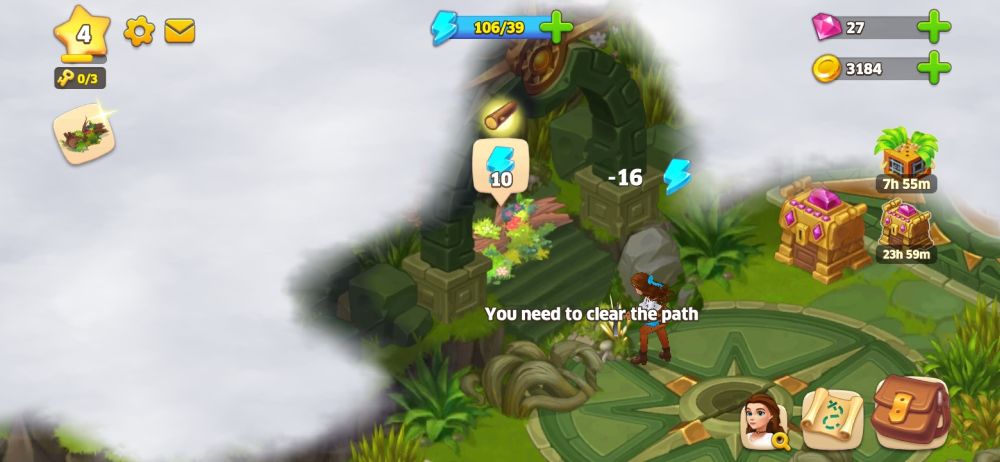
Either way, your playtime will be limited. We will discuss the alternate methods of energy restoration as we progress. You can tap a location to direct Emily, and if there are any obstacles on the path, the game will highlight what obstacles have to be removed. If no valid path is available, the game will simply say “No Path.”
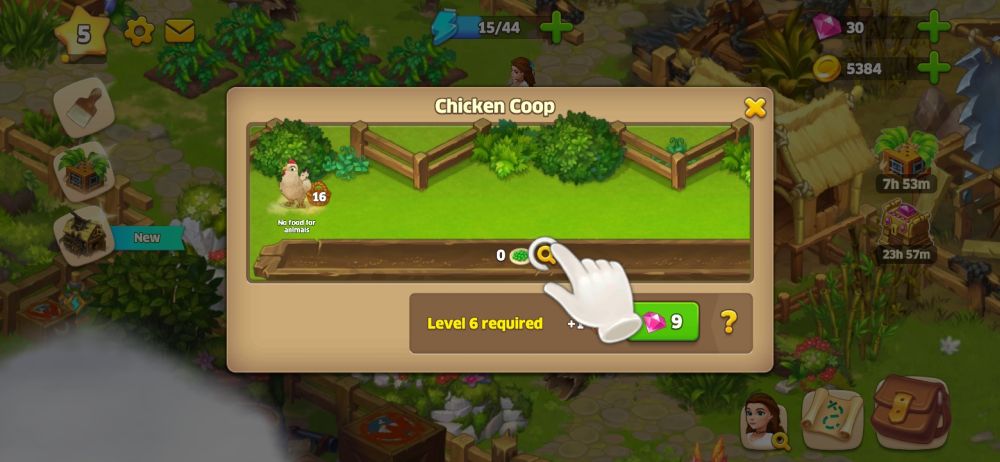
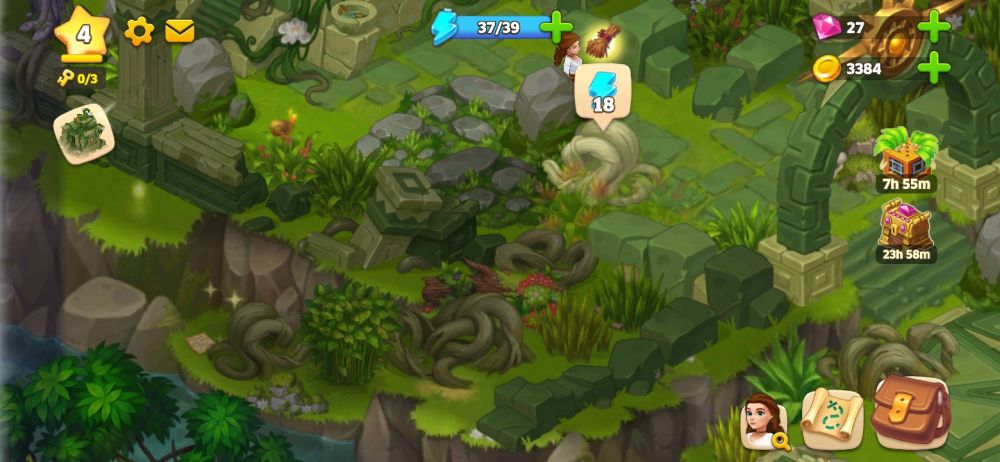
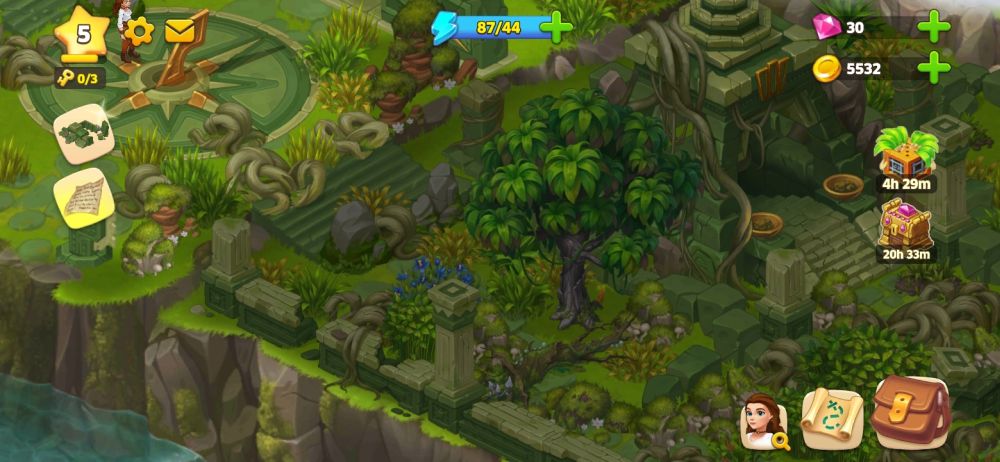
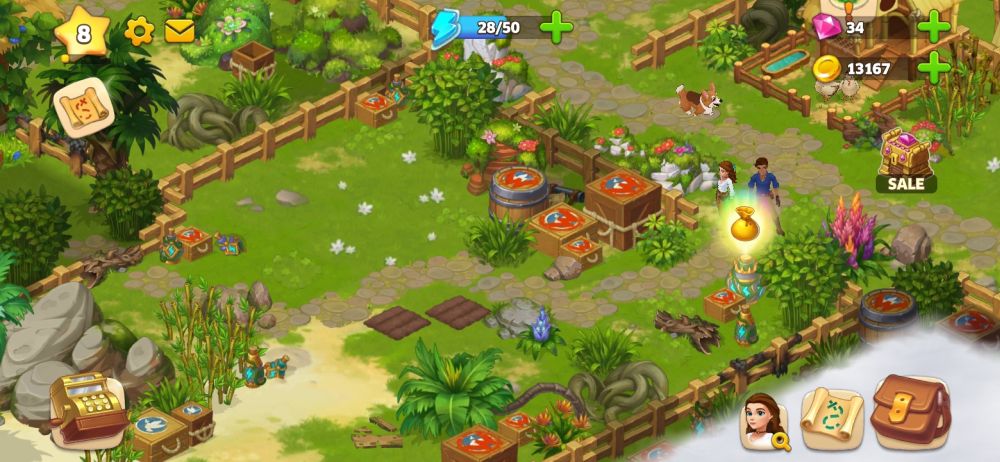
There are two main currencies used in Island Questaway, Gold and Gems. Gold is the standard currency earned through finding treasures or completing orders from the natives of the island. This is used to purchase farm improvements, seeds, and livestock. Gems are the premium currency obtained mainly through in-app purchases, though the game does award a handful of them every time you level up. Gems are used mainly to circumvent timers and add more production slots.

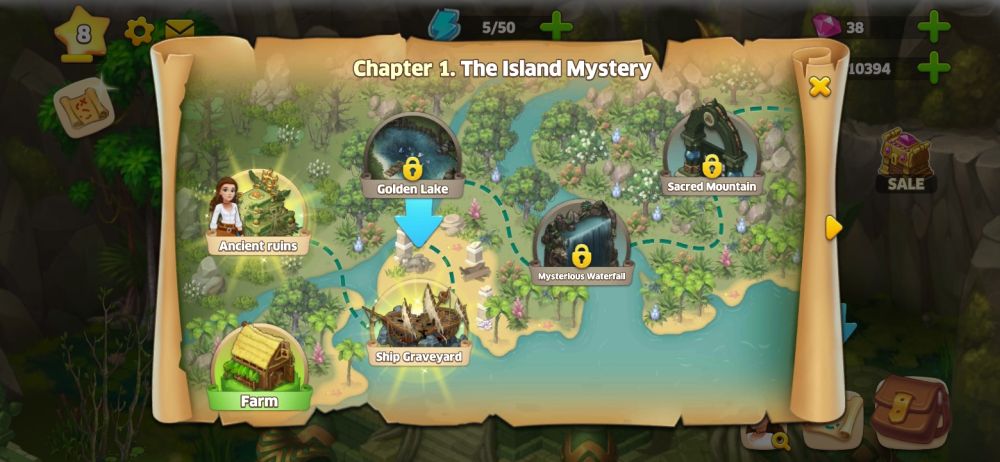
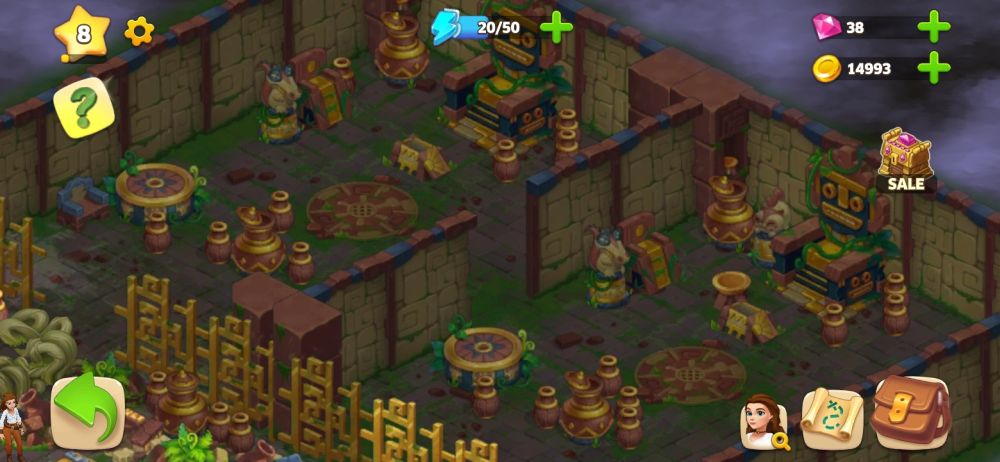
Island Questaway is split into chapters, with each chapter having five levels as well as your farm which is always accessible from the map. Each level has a main quest, and several side puzzles you can solve for extra rewards.
Once the main quest is completed, you have the option of leaving for the next level, or staying to gather whatever treasures remain. If you do choose to leave, the previous level will remain accessible for one day before it is locked away: choose your progression wisely as any leftover treasures will be lost.
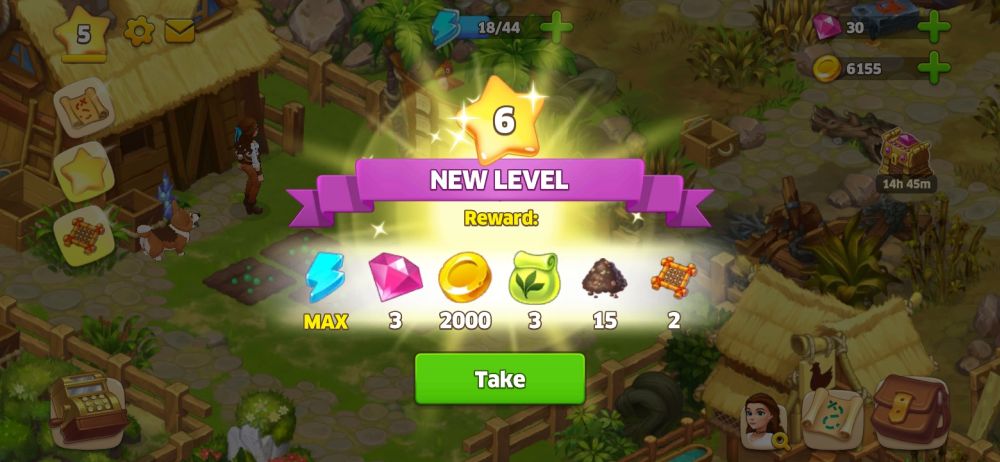
Aside from the main quest, Island Questaway also gives you side missions to complete. Similar to completing the main quest and orders, completing side missions will award you stars. These stars, which serve as experience points, increase your level once enough have been collected.
Aside from some goodies for reaching a new level, levelling up also increases your energy cap and opens up new areas of the farm for you to customize and explore. New farm buildings are also unlocked, and preexisting ones may have their building cap increased, allowing you to build more copies.
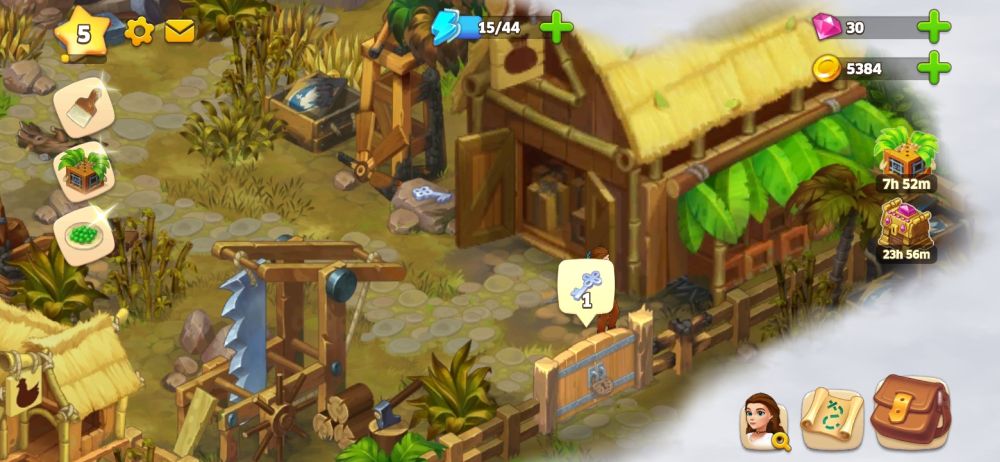
Buildings require resources along with Gold to construct, which may entail gathering them from obstacles, growing them at the farm, or refining raw resources via certain farm buildings. Buildings can be moved around after they have been placed, so the farm layout can be adjusted as needed, either for aesthetic reasons or to check if there are any treasures behind those buildings. If you do not have enough resources for certain items, the game will highlight where you can harvest or refine them.
2. The Island Investigation

Shipwrecked
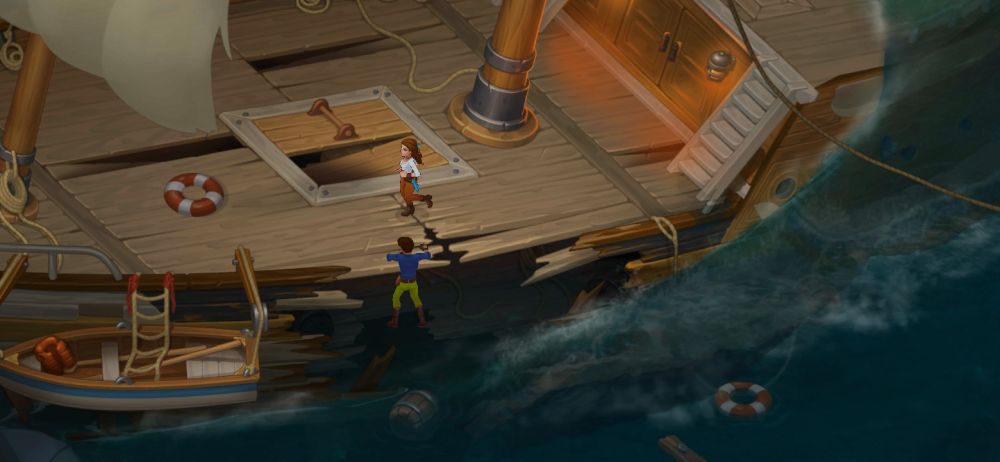
The game opens with Emily’s ship getting caught in a storm, taking a battering while Emily tries to escape the sinking boat. This introduction serves as the tutorial, as you remove some debris and get onto the lifeboat along with her assistant Mr. Harrison. Thankfully, they reach the island where Emily’s brother Jonathan resides.
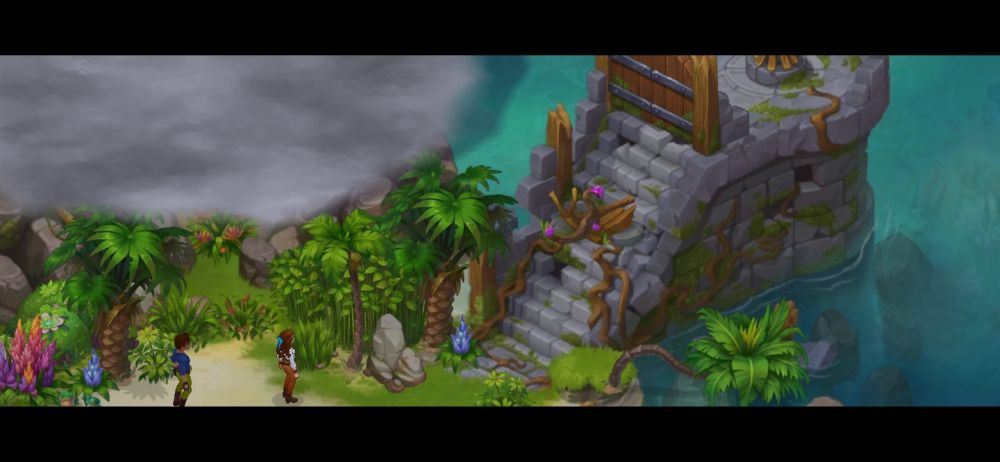
After making landfall on the island, you will encounter your first real puzzle at a wooden gate which blocks a tower that may help get a better view of the island. The gate puzzle consists of pulling out the latches in a certain order without them colliding with each other. There are only four pins, so we will just show you their positions and let you solve this puzzle yourselves.
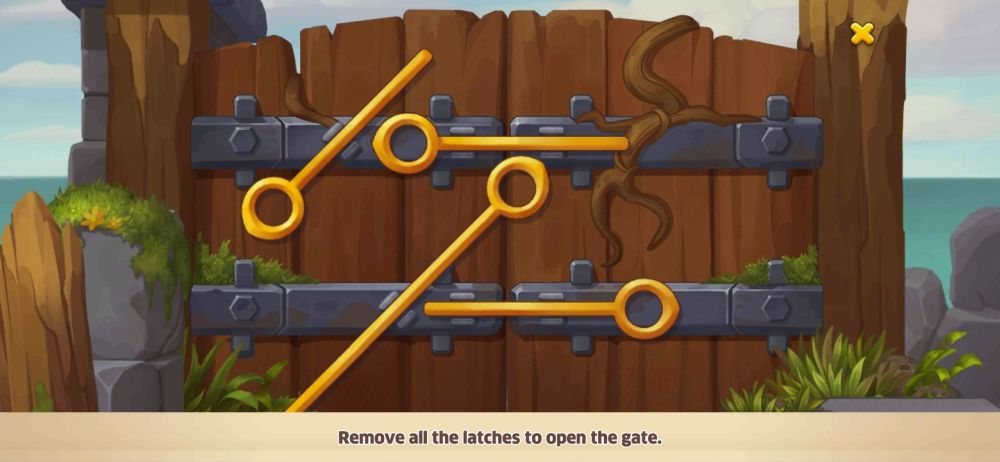
After removing the last latch, the gate opens to reveal a cliff with an extinguished bonfire that was serving as a lighthouse. The cliff gives Emily, and by extension you, a good view of the farm and what path you have to take, along with any obstacles you will have to clear out. These obstacles will not consume too much energy and should take you to a ruined bridge.
Emily theorizes that she can repair the bridge with some nearby planks, but she will need something to hold those planks together. The game will helpfully point out some nearby crates with some rope. All you have to do is get rid of some plants and Emily can secure the planks together, getting closer to the farm.
At this point, you should be encountering crates with the Hart family crest on them, which can be opened for Gold and fruits. Opening these crates does not cost energy, and the fruits themselves can be used to restore energy later on. Some natural obstacles can also generate fruits when being cleared out, but the crates guarantee it. The emptied crates themselves can be scrapped for extra wood, at the cost of energy.
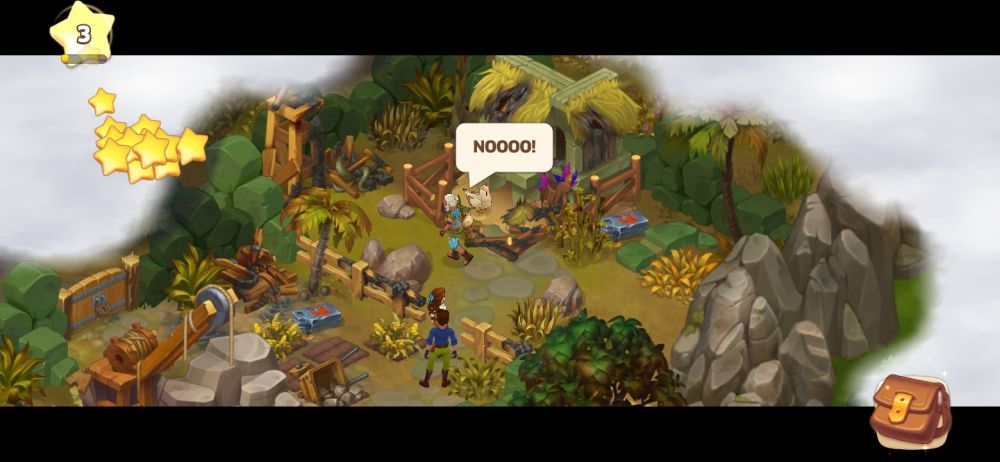
Just as Emily is about to reach the farm gates, a lightning bolt strikes a dead tree and causes it to fall, blocking her path. Neither Emily nor Mr. Harrison can dislodge the tree with their bare hands, so they will need tools to chop it up. There is an axe lodged in a nearby stump that should be highlighted, blocked only by vegetation. Emily will pick up more tools soon after, but now they can get rid of the tree.
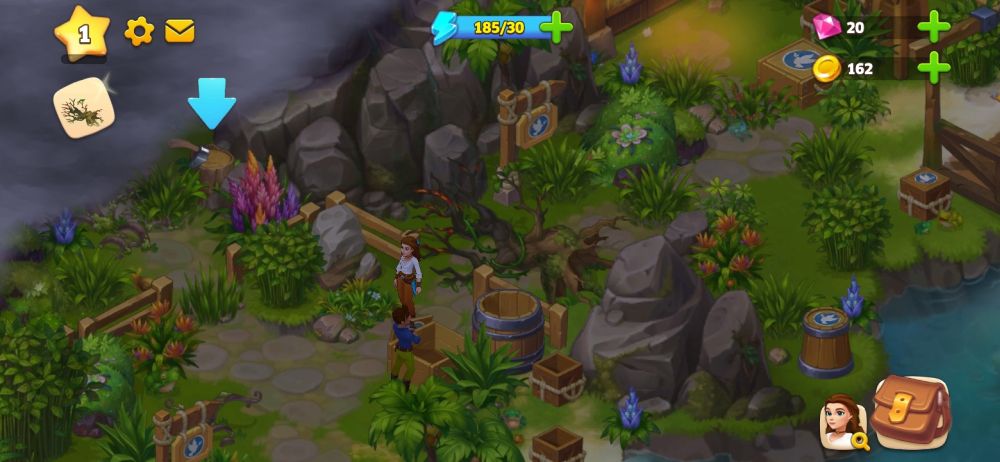
Now past the gates, you might notice that the farm is in very poor shape, along with Hart crates that have been painted over with a red “W.” You can open the crates for resources like before, and the last obstacle before reaching the farmhouse itself is a boulder between the fences. Search the highlighted crates for tools, and the last one you choose to open up should have a pickaxe and a shovel.
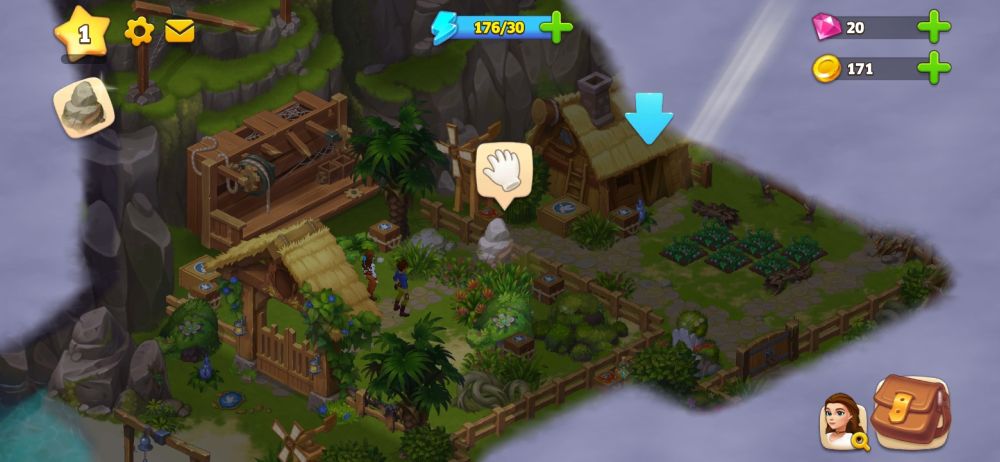
Emily should now have all the tools necessary to deal with any obstacles, either on the farm or in the island. Now you should search the entire farmhouse to find clues. There are some overgrown garden plots in front of the farmhouse, and you can plant stuff on them later on.
Home Is Where The Heart Is
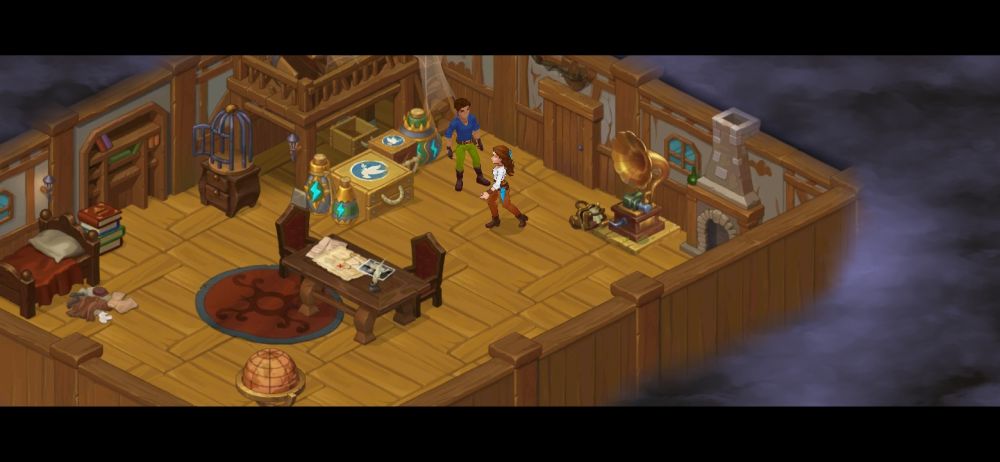
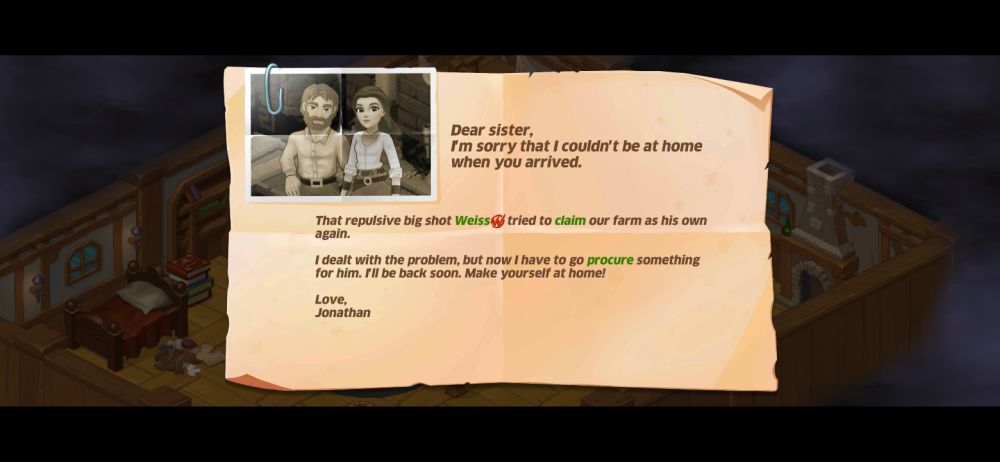
Inside the farmhouse, you might notice some bottles that add more energy along with some crates full of resources. The game directs you to a desk where Jonathan has left a letter to Emily, explaining that a man named Weiss has been trying to muscle into the farm and is responsible for its dilapidated state, and that Jonathan has left the farm to acquire something for Weiss. With no other clues to Jonathan’s location, Emily and Mr. Harrison suddenly hear someone’s voice.
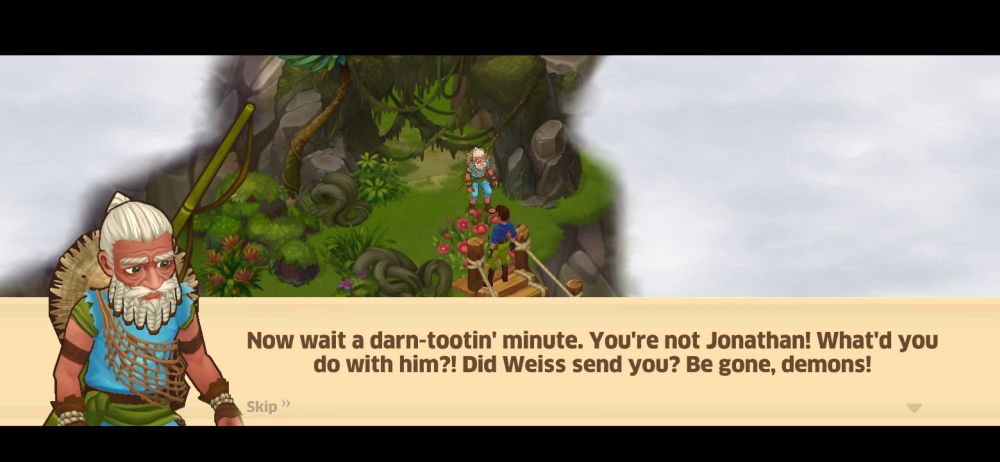
Heading out of the farm, the camera focuses on an old local who mistakes our explorers for Jonathan, and beckons him accordingly. The path will take you deeper into the farm, showing the damage Weiss and his men left in their wake.
You might notice a damaged barn along the path with a functional lumber mill en route, as well as a part of the farm locked off until you reach level 5. Eventually you will run into a flight of ruined stairs, and the local recommends you repair the stairs via the lumber mill. The repairs are split into two parts:
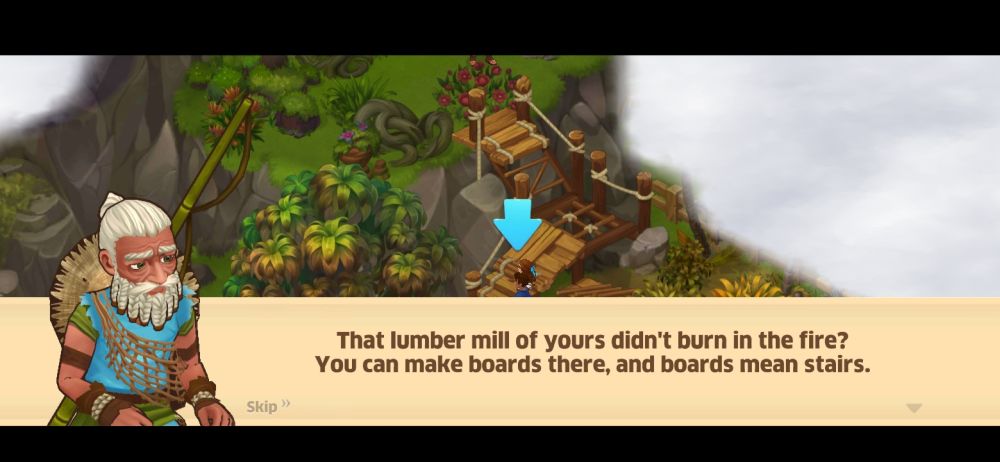
- The first part simply requires you to gather some Leaves and Bamboo from nearby plants, which you may have collected just by clearing a path to the stairs.
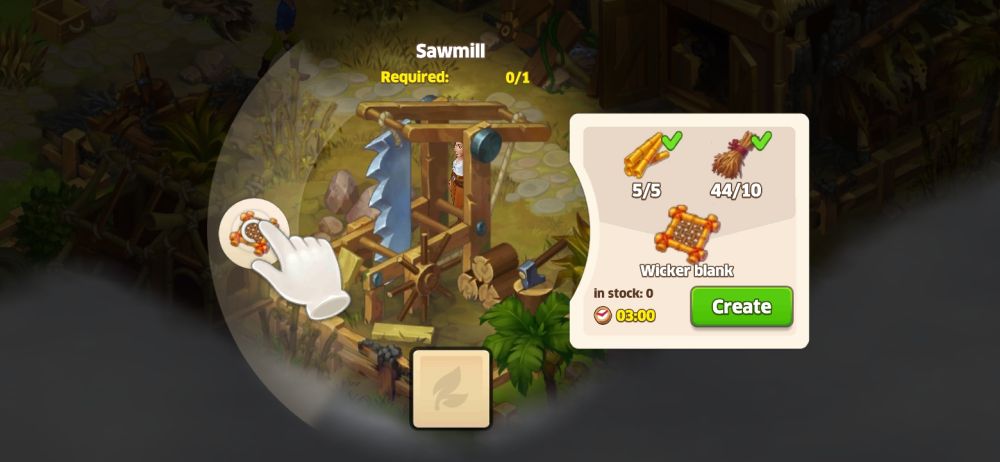
- The second part requires a Wicker Blank and some Wood. The Wood is gathered from plants as usual, but the Wicker Blank can only be made at the lumber mill. The Blank requires Bamboo and Twigs, and takes three minutes to fabricate. You can skip the fabrication process with Gems, but for the sake of demonstration, the game will let you construct the Blank immediately at no cost.
With the staircase built, you can finally meet up with the old man, who unfortunately mistakes you for one of Weiss’s goons, and heads deeper into the forest. Emily has no choice but to follow him. This will bring you to some ruins where the old man has set up his own farm, as well as some security measures he has repurposed to defend himself with.
At this point, you will be encountering obstacles that consume large amounts of energy to clear out. The bonus energy you have been getting from loot and level ups will mitigate this change of difficulty at first, but expect your playtime to be broken up.
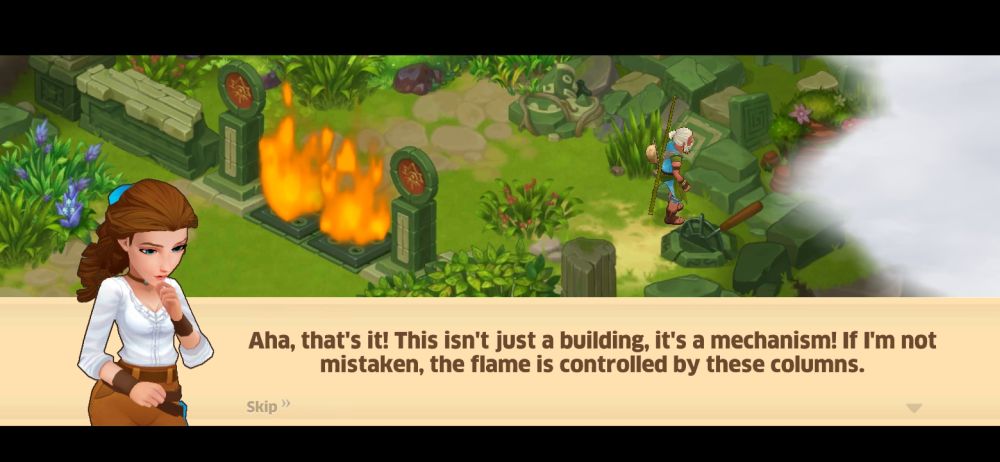
The old man’s main defenses are jets of fire blowing from the floor, with the main switch seemingly on his side of the wall. Emily notices some pillars near the fire jets with symbols placed on top, with a corresponding dial to the side. Each side of the dial has a symbol, and you just have to interact with these dials until their displayed symbols match the symbols on the pillars, shutting down the jets and allowing you to proceed.
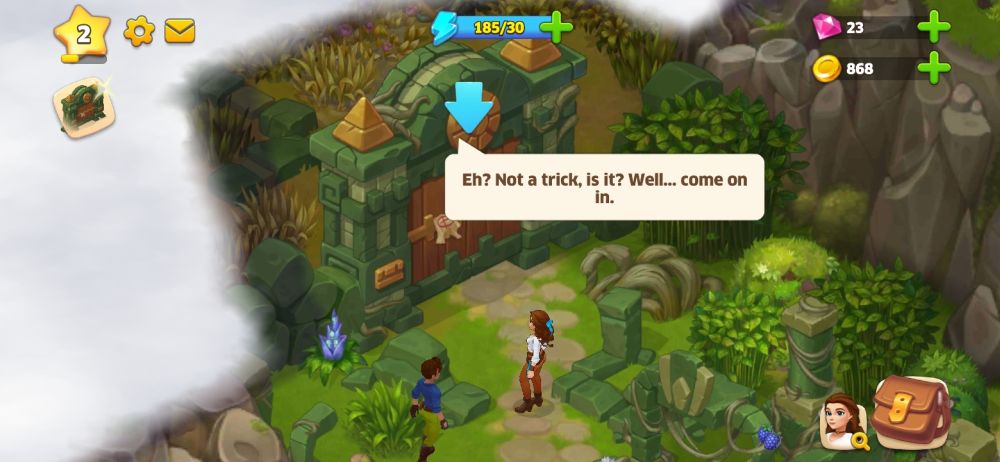
Needless to say, the old man is still suspicious and retreats further into the ruins, slamming a large gate behind him as he does. Upon reaching the gate, Emily explains that she and Mr. Harrison are not with Weiss, and the old man agrees to let them in.
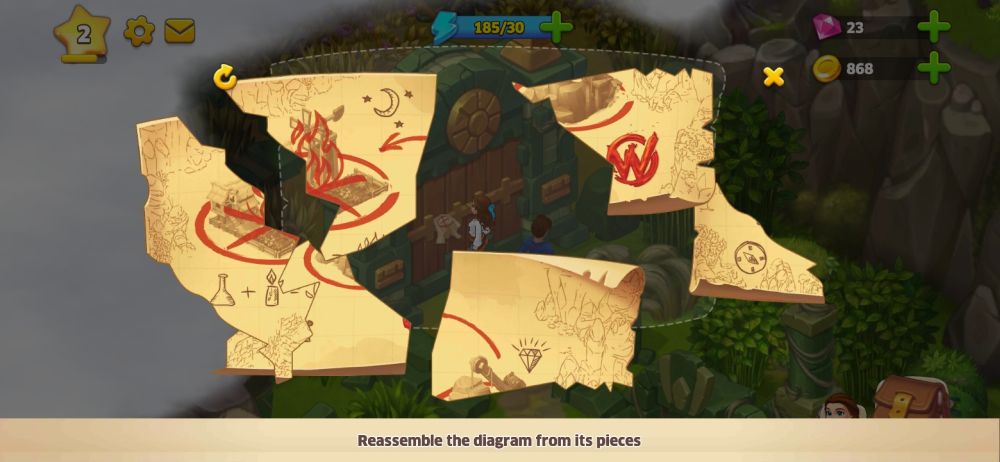
Right before you do, Mr. Harrison notices a message left on the gate with Weiss’s logo on it. The message is torn to pieces, and before you can enter you have to piece the message together, shedding some light on what happened to both farms.
Once the message is put together you can enter the old man’s farm, which is in a poor state just like Jonathan’s farm before it and has a quarry in the center. As you approach the old man, his chicken coop collapses and traps his beloved hen underneath. He begs you to free her.
Freeing her requires some bamboo and rope. There should be some bamboo reeds next to the coop in case you do not have any, and Mr. Harrison reckons you can salvage some rope from the quarry. With both items collected, you can free the hen, and the old man agrees to help you in exchange for a good meal.
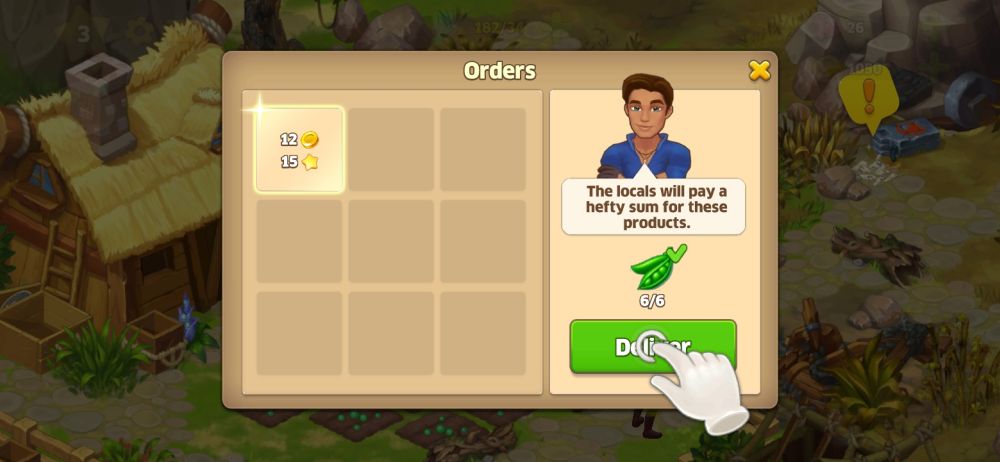
Back at the farm, the farming mechanics of Island Questaway become more apparent, as the old man mentions that Jonathan used to complete orders for the locals, and recommends that Emily do the same to aid her investigations.
The most basic method of getting more Gold is through selling crops, starting off with Beans. Seeds cost a small amount of Gold to purchase and plant, but completing related orders typically covers farming costs. After completing your first order, the old man is impressed, and lets you adopt his hen to complete additional orders.
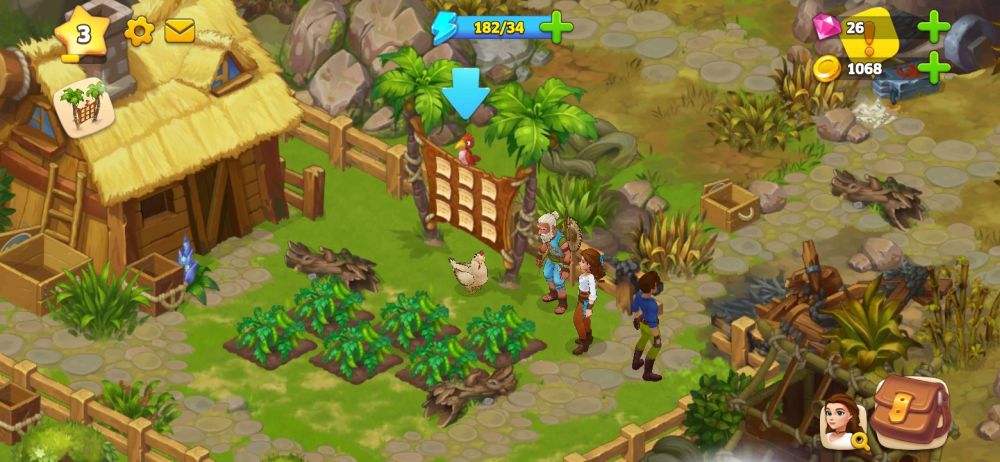
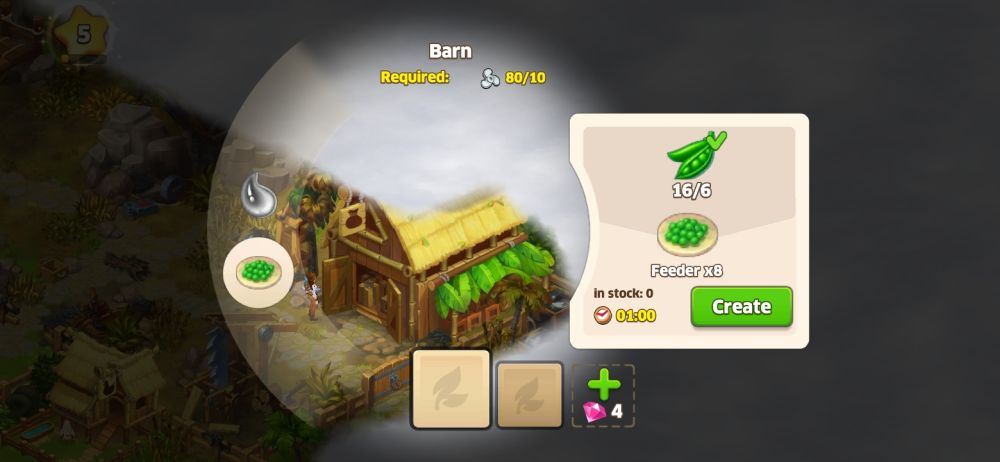
After acquiring your first farm animal, a new part of the farm opens up to a chicken coop of your own. Refurbishing it requires some leaves, which you should have a fair amount of at this point. With the coop restored, the newly-adopted hen, which Emily names Alberta, will eventually lay some eggs.
At first, Alberta will lay eggs shortly after moving in, but later eggs require you to make some feed to maintain production. Feed is made at the barn, which has to be restored before you can use it. Chicken feed is made out of beans. Once you have sufficient feed, the related farm animals will automatically consume feed and generate their productions, halting if they run out of food.
All animals can only produce a set amount of food before they have to be purchased again with Gold, but any animal that is exhausted will leave fruits as parting gifts. Later on, you can purchase additional animals per building, increasing production in exchange for more feed required to maintain steady production.
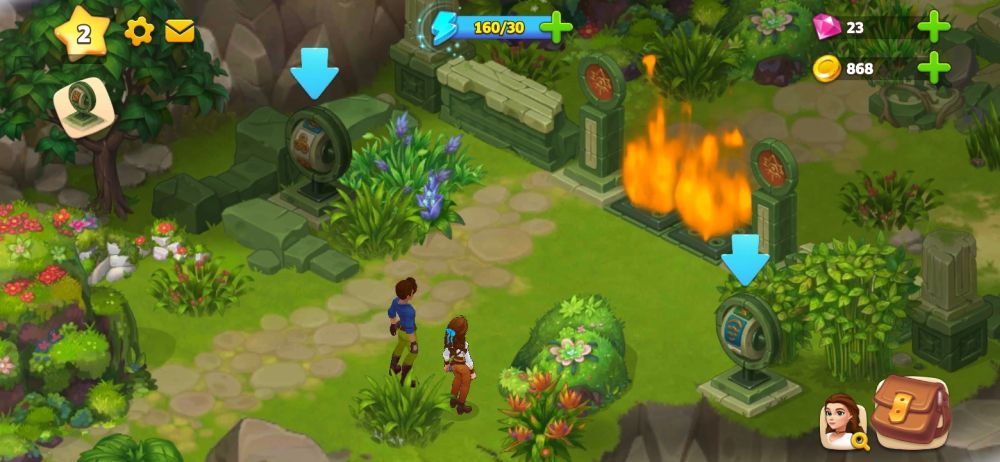
Confident that Emily knows her way on the farm, the old man gives her Jonathan’s map, opening up the first level of Chapter 1: the Ancient Ruins. You can start exploring the ruins immediately, but we recommend cleaning up the farm a bit to access new buildings.
Some of the puzzles in the Ruins require certain resources and it is best to get those resources early rather than get stuck:
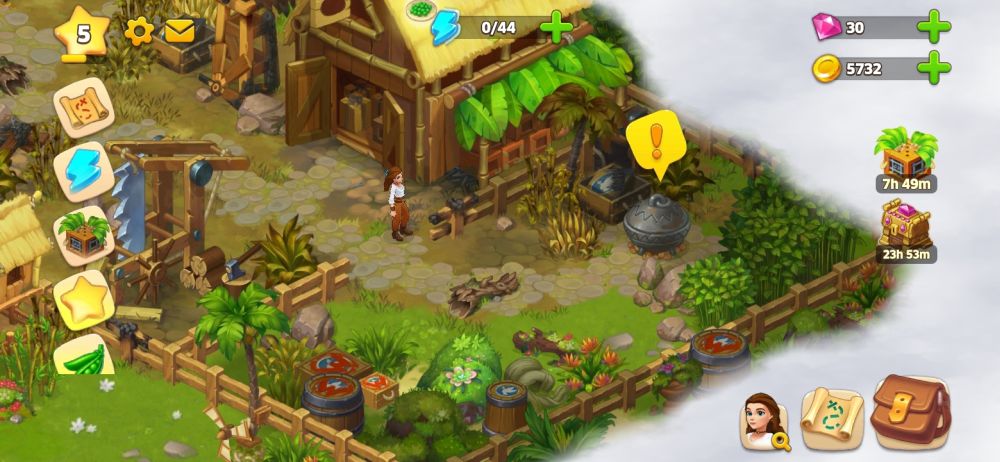
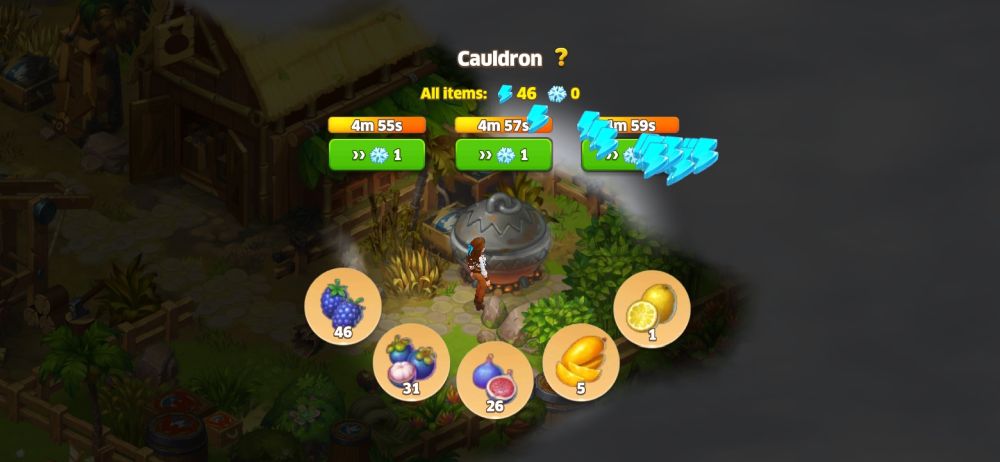
Right next to the barn is a rock with a silver key lying on it. This key unlocks an area to the right of the barn, where you should find a cauldron. The cauldron can be used to cook all those fruits you have been collecting since the start of the game in order to restore energy, but the cauldron requires fire.
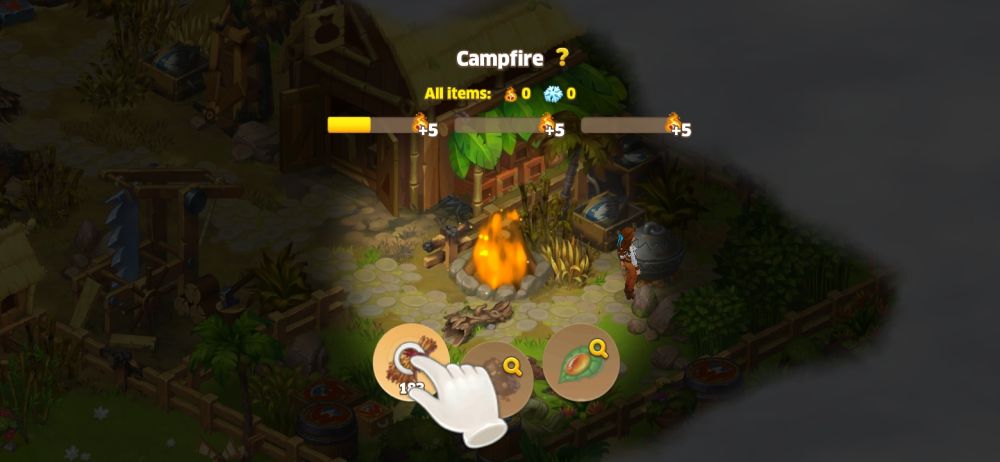
Fire can be “produced” by building a campfire. You will need the appropriate fuel for the campfire. There are three “tiers” of fuel and above them are three bars you have to fill up in order to produce fire. Higher tiers of fuel contribute much more to the bar’s progress, but are harder to find in turn.
Once a bar has been filled up, it takes about five minutes before more fire can be made. Luckily, all three bars cool down at the same time, so filling up all three bars means that you just have to wait five minutes in total, not fifteen.
The cauldron operates similarly, but instead you have five tiers of fruits to manage instead of three. Each bar restores about a third of your energy cap, but because fruits are harder to come by, it will take longer before a bar is filled up enough to give you more energy. As with the campfire above, the bars each take five minutes to cool down.
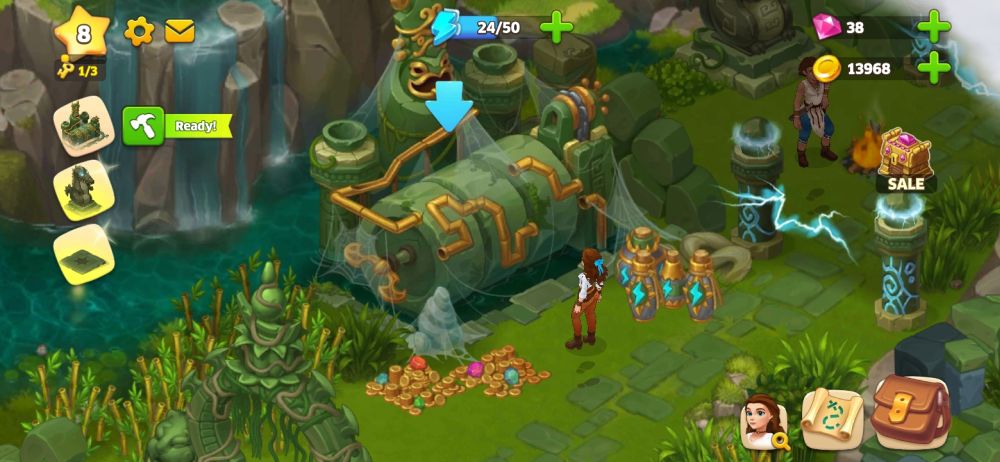
There should be a quarry next to the barn that Emily can restore, which produces mineral resources like stone and sand. It works much like the barn and lumber mill before it, taking time to produce its related resources.
At the foot of the quarry is another torn map that Emily can put back together, revealing something in the rear corner of the farmhouse. Removing the foliage covering that corner reveals a cage of some sort with an animal inside. It will take about eight hours before the animal is calm enough to be let out, so we recommend getting this puzzle out of the way.
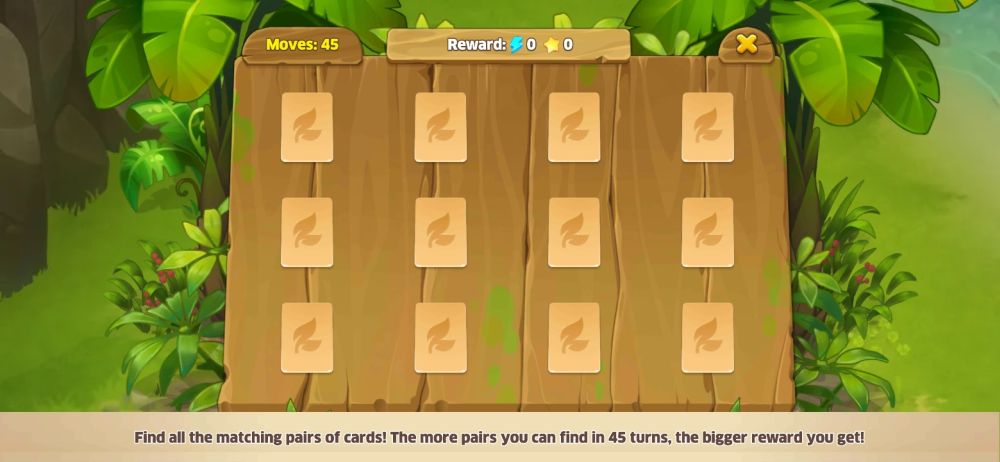
Some dead grass between the quarry and the barn can be removed, revealing the back of the farm and another means of restoring energy. On a barrel is a matching game but the game is covered in soot, which Emily can rinse off using some water from the nearby well. The well behaves like most obstructions in that it requires energy to use, but it can be collected repeatedly. Once the game has been rinsed clean you can play the matching game.
The matching game is simple: find as many pairs as you can within the set number of turns, earning some stars and energy depending on how many pairs you find. At first you only have to deal with 12 cards, but later games will increase the number of cards in play. You can only play this game every six hours.
The well water is dirty, but you can purify it via the barn. Some upgrades and puzzles will require clean water.
With the farm now in working order, Emily can start her search proper. While she is away, Mr. Harrison will manage the farm so do not worry about any future incidents.
Rummaging Through Ruins
You can access new levels by tapping the map icon at the lower right of the screen, between the inventory icon and a picture of Emily used to center the camera back on her. Alternatively, you can walk up to the clearing the old man ran towards at the start of the game and access it that way.
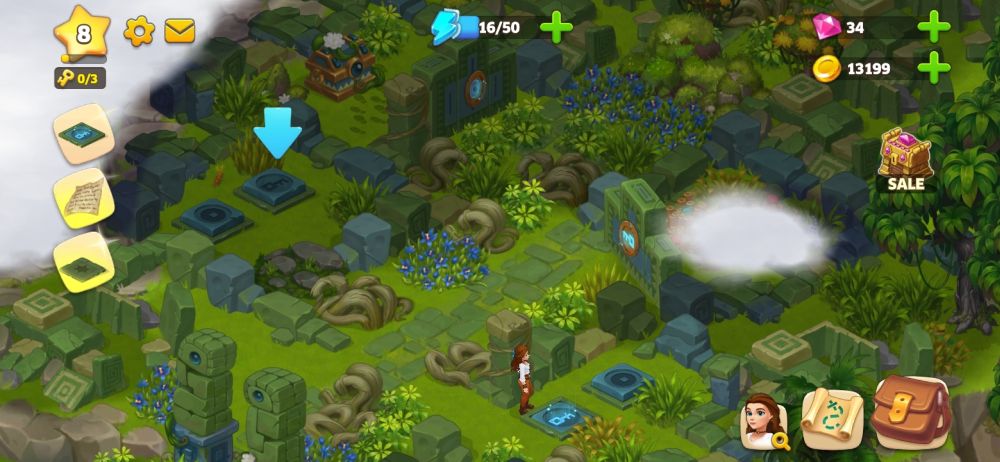
Energy restoration becomes very important as some of the obstacles here will exceed your energy cap. If you do not have enough energy to clear an obstruction, do not worry. What energy you do have will subtract from that obstruction’s required amount, softening it up for future attempts.
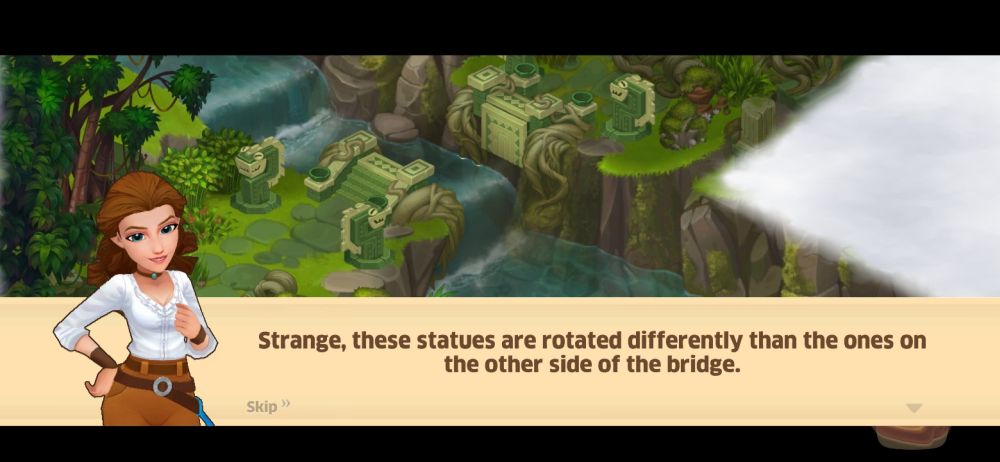
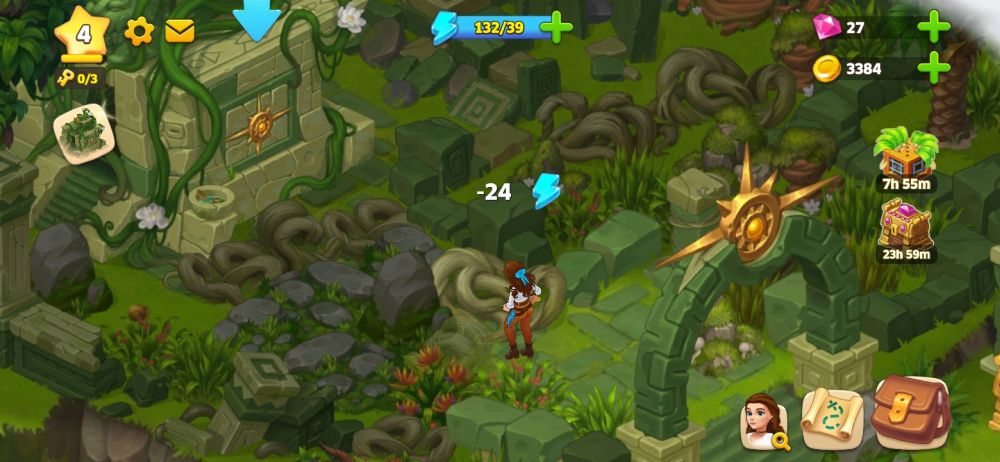
The first challenge of the ruins is what appears to be an incomplete bridge with a serpent statue on each corner. The trick is to rotate the statues on Emily’s side of the bridge to match the orientations of the statues on the far end, activating the bridge and letting Emily through. Once Emily crosses the bridge, she should find herself in a clearing with a sundial on the ground, and a buried chest nearby.
The chest can be excavated for a deal of extra energy and Gems via microtransactions, but you can safely ignore it otherwise.
As for the clearing, there should be a massive, locked stone gate to the north and a stone archway to the west, both of which are decorated with a sun. Whatever unlocks the gate is through the archway, so head there. Clear out any obstructions in a straight line to reveal a temple with a distinct wall, which is unfortunately caked with clay and impossible to simply brush aside. Emily decides to head back to the farm to find a putty knife.
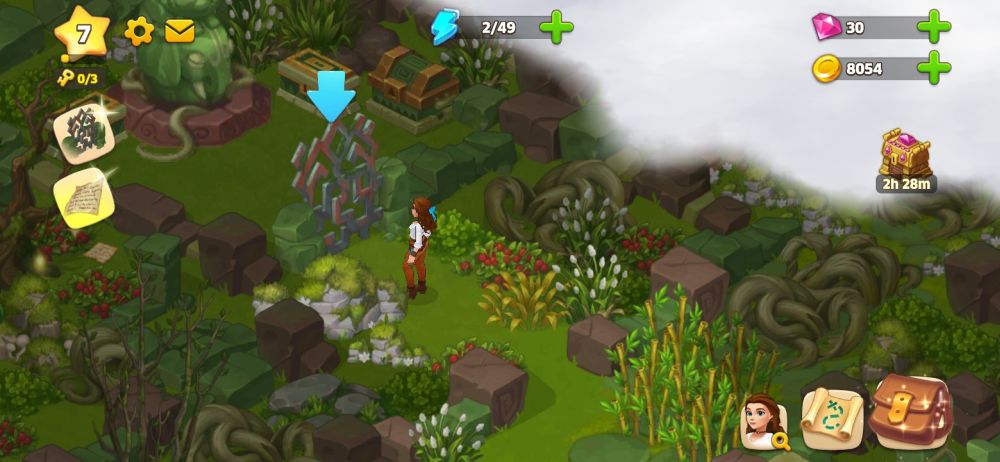
As you make your way to the temple, you might notice a path leading to a torn up note near the river. This is one of three map fragments in the ruins, but the obstacles there will eat up your energy quite quickly. If you plan on getting those fragments, stock up on energy or simply wait for it to regenerate accordingly.
Back at the farm, Mr. Harrison recommends you complete some orders to get additional tools. Unlike the tools Emily found early on, these tools are single-use, and orders that reward these tools are marked accordingly.
The game directs you to fix up the barn and introduces the feed system we discussed earlier, as that particular order requires more eggs than what you have on hand. Once the feed has been made, wait for the eggs to be laid and complete the order, which includes both a putty knife and some bone tools used later on.
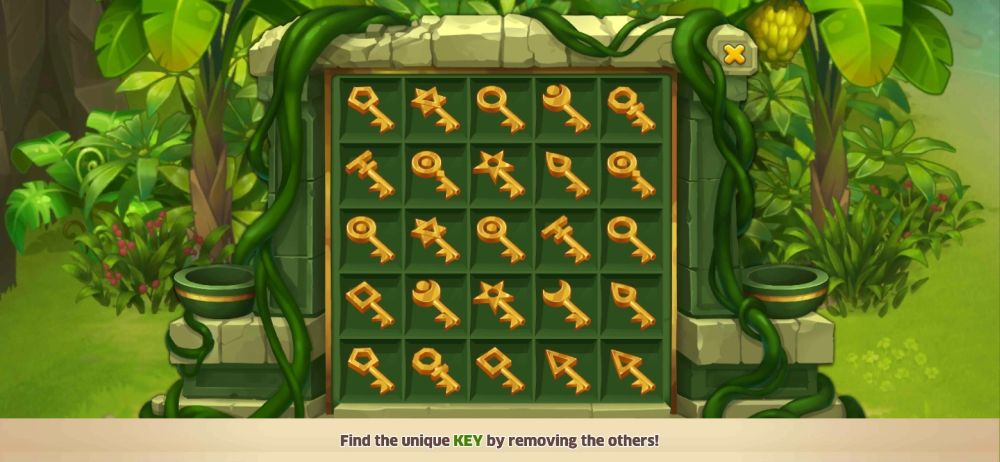
Head back to the ruins and remove the clay from the temple wall, revealing another puzzle. This puzzle requires you to find the key that does not have a corresponding partner, and once that key is found, you are rewarded with the missing sundial component. Head back to the sundial and place the missing component, opening the stone gates in the process. This leads deeper into the ruins, and rewards your efforts with some extra Gold and energy.
While we discussed what lies to the north and to the west, there is a separate path to the east that is choked with vegetation and rocks. This leads to an additional puzzle and a clue for another puzzle later on, but Emily will tire herself out easily just trying to get through. If you plan on being as thorough as possible with this level, be advised.
Back on the main path, Emily encounters another stone gate that requires two keys, a red one and a blue one.
We will start off finding the blue key to the east, as it simply involves some obstacle clearing with no additional resources aside from energy expended. The puzzle here are two pairs of buttons that Emily has to press, with each pair corresponding to a nearby door marked with identical icons. One door leads to the blue key, while the other door leads to some treasure.
The red key is located to the west and will require resources from the quarry to access. The key itself is located in a labyrinth of plants and rock, so even minimizing time spent in this part of the level will eat a fair bit of energy in the process. The room containing the red key is blocked off by a gate that Emily can force open with some quarry materials.
Stone and Quartz are found through digging up rock formations in the level while ore is refined from stone at the quarry. Once the gate has been smashed open, Emily can pick up the red key by interacting with a nearby statue. No tricks or traps, the statue descends and the key is all yours. There are also some treasure chests you can open up for some extra Gold.
With both keys in hand, you can head deeper into the ruins, but for now head back to the farm to unlock new areas.
Treasures At The End
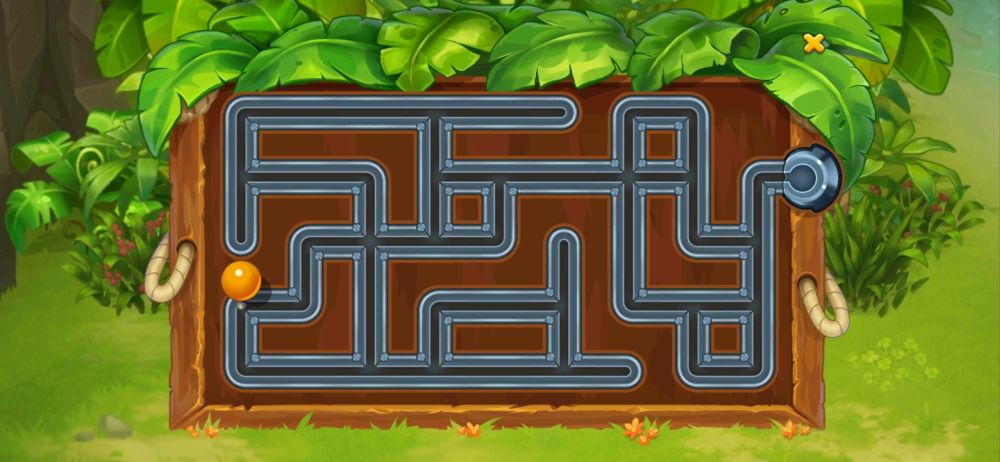
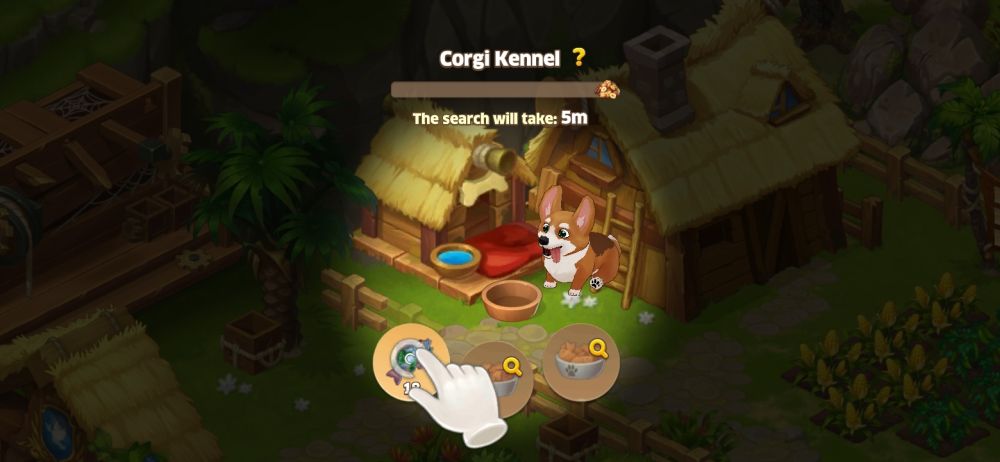
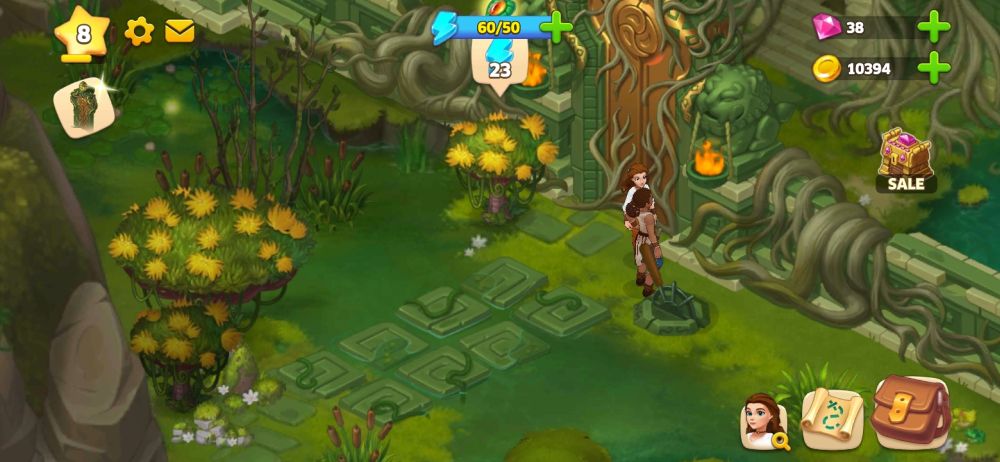
Back at the farm, the caged creature at the farmhouse should be ready to come out, revealing an adorable Corgi. However, the lock is a simple puzzle where you have to guide a lever through a maze in order to unlock the cage. Mr. Harrison and Emily decide to build a doghouse for their newfound pet, and with good reason as it offers yet another way of restoring energy.
You will need to access a new part of the farm to take full advantage of it, mainly because you will need the space. Just gather enough experience to reach level 8 to unlock some new real estate. At this point, you will have to start building windmills to power more buildings. Place them as needed.
Your Corgi requires food, and a diet of vegetables will not be enough. Luckily the newly-opened part of the farm leads to the coast, and fish is more than sufficient for your dog to chew on. Feeding your dog uses a similar interface to the campfire or the cauldron, though as of this article, the game only has access to fish.
Fish can be gathered by tapping the occasional fish you can find swimming in the water, and it takes 10 fish for your dog to be fully sated. Your Corgi will go in search of nuts that can be used to restore energy via a nut crusher, which functions identically to the cauldron and converts whatever nuts your pooch has gathered into more energy.
Returning to the sundial area, the path to the east has two things of note: a mural depicting a constellation of sorts, and a temple leading to a “spot the difference” puzzle;
In the temple are two near-identical rooms with five subtle differences, and you just have to remove the differences by clearing them out like you would do with normal obstacles. Clearing these differences costs energy, but removing all five of them leads to another treasure room; and

As for the mural, its related puzzle is at the labyrinth where the red key was stored, in a far-off path leading to a series of star tiles. The trick here is to light up the tiles corresponding to the pattern on the mural.
As a clue, the top of the mural corresponds to the northern end of that tile room. Solve that puzzle and a room near the mural should unlock leading to another treasure. Solve those puzzles on your own time, and return to the two-key gate.

To disable the field and free the local, burn off the webs with some fire first then interact with the tumblers so that the pipes line up across all three tumblers. With the fields disabled, the local explains that he was sent by his shaman to locate a tablet placed atop a pyramid and that he got trapped.
The local agrees to help Emily find Jonathan in exchange for acquiring that tablet. The pyramid itself is nearby, but the obvious path has been swallowed up by the swamp. There are some nearby rocks that Emily can use to cross the swamp and activate a nearby lever, revealing a bridge so that your newfound companion can join you.
All that is standing between you two and the pyramid is another door, which requires some tree sap and some cord to open up:
- Tree sap can be harvested from trees with distinctive yellow flowers.
- The cord can only be made through a Rope Workshop back at the farm.

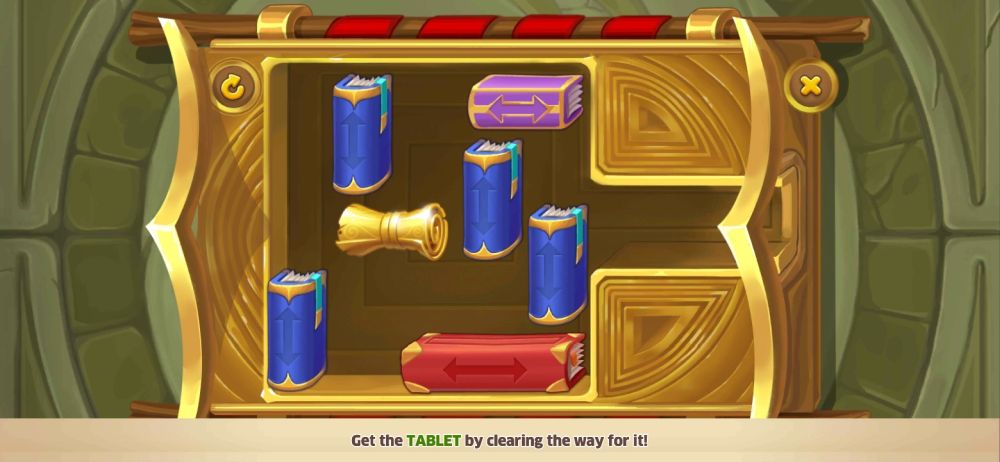
Once you have all the resources to open the gate, Emily and her companion should be at the foot of the pyramid, where one final puzzle remains. To access the tablet, you have to move select books out of the way in order to slide the tablet out of its chest. This puzzle may look complicated but it is a lot simpler than it appears. Slide those books out of the way and get that tablet!
And that concludes our semi-walkthrough to Island Questaway. If you have any tips or secrets you would like to share with us, let us know in the comment section below! Good luck, and game on!
Beth
Monday 11th of March 2024
What is the correct puzzle code to get the ladder to Jonathan whom is stick on top of the tower?
t
Tuesday 23rd of January 2024
Hello I am stuck by the mine, I can't play any further.
Penny
Tuesday 16th of January 2024
I'm stuck in an area where it says find the missing altar part and it will not let me go back to the mainland without finding it
Emily
Friday 24th of November 2023
I am level 42 and have made it all the way to the final confrontation and completed the tasks asked have I completed the game or is there going to be a fifth chapter or continuation of the game ?
Sharon
Sunday 12th of November 2023
Can someone help me with the valley of the wind? I can't get past the second puzzle