Eternal City continues to be among the top trending RPGs in the mobile gaming market. Packed with top-notch visuals, a huge and increasing roster of characters and multiple ending scenarios, there are definitely a lot of things to keep players hooked into the game as they discover and collect new CGs, wielders, kagesos, and other rewards for successfully being able to reach new milestones.
It’s definitely a lot of fun to do a blind play through on your first go and discover your first ending before consulting any guide. By continuing further in our walkthrough, you have to understand that there will be spoilers ahead so be warned. Keep in mind as well that before we proceed, you have to know that some endings currently available in the game do have prerequisites. In most cases, missing out on one bit of requirement may jeopardize the entirety of the ending you aspire to accomplish and you will have to attempt to secure it again on the next rebirth cycle.
As a basic information we hope every player knows by now, there are 7 in-game days that determine the outcome of the story. Each day, you will be given 12 hours to engage in various activities, and each patrol, city development, or battle takes away an hour of your in-game time. While there are instances where there will be a bit of extra time within which you are free to do as you please in the game, most days require a lot of activities you need to adhere to keep yourself on track of your targeted ending.
If you have just started playing Eternal City or have yet to do so, please read our beginner’s guide first as the tips and strategies we shared in it can give you a better understanding of the game’s basic mechanics as well as provide you with some ideas on how to balance your time and resources across the numerous activities you have to engage in as you play the game. If you have reached an ending once and are ready to pursue succeeding ones or if you simply want to go ahead and use the walkthrough on your first go, then we will proceed with the endings in the outline below.
Perhaps the most basic of endings can be lumped together in 3 distinct variances all relating to whether or not you can complete all 8 black cores before the 7 days end and if you can win on all battles. Considering that the final battle is very challenging and that you may find it difficult to perfectly adhere to the requirement pertaining to completing the Harbor Bay battles towards the end of the last day, there is a good chance that you will get the “Terminated” ending on your first attempt to clear the story. If you manage to win all battles but miss 1 to 4 black cores on the seventh day, you will achieve the “Garden Sceneries” ending. The best ending of the three, “The Meaning of Sacrifice”, which is also the most difficult, requires you to accomplish both feats in terms of black core collection and winning against all battles.
You should probably aim for the latter 2 endings on succeeding runs as both are a little too challenging to achieve on your first run especially with very limited wielders and resources. Don’t worry, though, as you will most likely have more wielders, kagesos, and resources on your next run plus you will also be much more experienced so going for the other endings on the succeeding runs will be a little easier.
Day 1
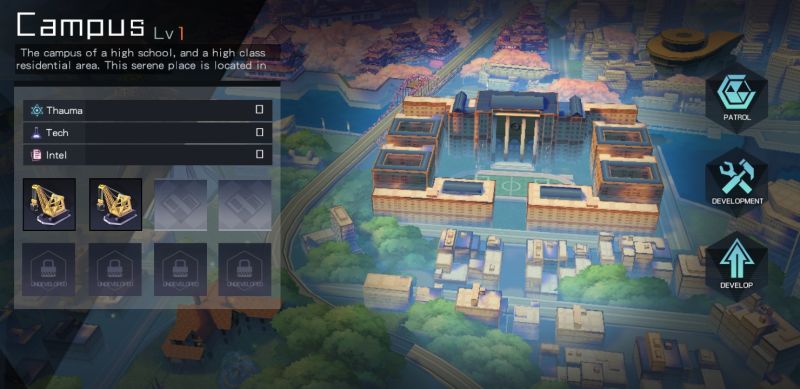

On Day 1 (7 days left), push through with battles to finish all stages in the campus. There are 6 battles in total which will consume 6 of the 12 hours you have for this day. This shouldn’t pose as a challenge even on your first run and you can pretty much finish this with any combination of wielders. Choose to proceed to East Boulevard and clear the first 2 stages. Take note that you still only have 5 thauma points as of this time and with the area’s thauma barrier of 10, it will impact the fatigue levels of the wielders you use in battle. With the Central Department starting ready for upgrades and following your recent liberation of the campus, you can spend the remaining hours on upgrades on both locations.
To start off, build 2 research institutes at the Central Department to obtain enough tech points for the Lifting Crane as you start out with 5 tech points and each research institutes add 5 more each. You can now build 2 Lifting Cranes, needed to boost initial development points, via the develop option on either location but you may want to build on the campus as it has more slots for now. With all 12 hours of your first day consumed, you won’t be able to do anything more than rest and proceed to the next day. Always remember to claim your supply box from the Central Department and have midnight snacks for wielders who need to reduce their fatigue levels the most.
Day 2
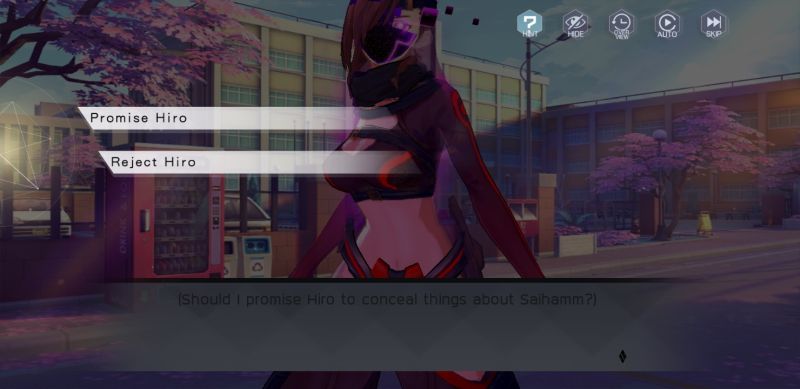

You will be led into battle at the start of Day 2 (6 days left) but it’s an easy one so winning it won’t be much of a challenge. A series of decision points on your responses will be necessary at this point so just to make it simple, choose the following: reject Hiro, (any response), confess about mortification, don’t want anything to do with Hiro. As you have already cleared the first two battles within the East Boulevard, proceed to beat the remaining 4 stages to finally liberate it. Once you liberate the East Boulevard, you will obtain Bun Azusa and will surely have enough initial building points to be able to construct an Underground Labs, which requires 22 development points, on any liberated location. Develop 2 Underground Labs as well as 2 Large Centers which will all take 4 hours off of your remaining time. Be sure to consider East Boulevard, which you recently liberated as a development location.
As you may know at this point in time, you can initiate patrols as well on any liberated location so now would be a good time to start collecting black core fragments. Initiate a patrol on the campus and 2 patrols on the East Boulevard to acquire the respective black core fragments. You will still be left with 1 hour before the day reaches its end so you might as well spend it to battle through the first stage of the Downtown District.
Day 3
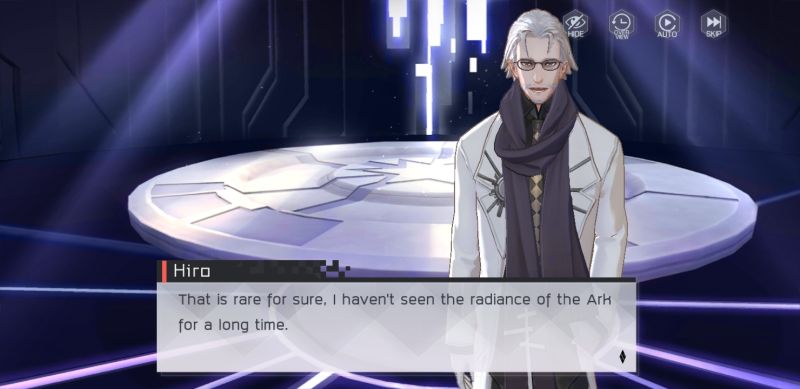

The start of your third day (5 days left) will unlock the Intel Center, accessible through the icon at the top left side of the screen, it contains intel records forecasting potential harmful events which you can prevent by having enough intel to spend on it. Intel replenishes at the end of the day but you will most likely not have enough to always prevent all sorts of negative events from transpiring. Start your adventure by choosing to reject Hiro and win the battle against him. As the intel records will show you that Hiro will steal the black core from the harbor you should focus on raising a total of 60 intel points to prevent him from doing so.
First, battle through and clear the remaining stages of the Downtown District to finally liberate it and have more total slots for developing buildings. Build 6 Large Intel Offices to raise your intel to a total of 65 points and have a little more than enough to handle the Harbor Bay Black Core event at the Intel Center which costs 60 intel points to prevent. With the remaining 1 hour you have for day 3, develop a Large Engineering structure as well to bring your thauma up to 25 points, which is needed to break the Research Institute’s thauma barrier requiring 20 points. This ends your day and off to bed you go following the supply collection and midnight meals.
Day 4
After preventing Hiro from stealing the Harbor Bay black core at the start of the fourth day (4 days left), renewed intel records will now tell you that Hiro will once again try to steal a Black Core but this time, it will be the one on Old Town. With refreshed intel points you should choose to spend this to handle this event. With enough thauma to liberate the Research Institute. Push to beat all six stages and proceed to patrol the location 2 times to collect the Black Core. You should also manage to do the same for the Downtown District and just to sum up, all that would take 9 in-game hours leaving you with only 3 to finish the day. Develop 3 Large Engineering structures to bring your thauma points up to 55, which is 5 points above the requirement to be able to take on your next target location, Bayside Town.
Day 5
A story cut scene will initiate at the start of fifth day (3 days left) and you have to choose “Staying to take care of Antoneva” when prompted to decide between 2 responses. Ann will leave you and her friendship points won’t be able to increase from hereon in. You can still use her for battle and development though so there’s no need to worry about it much. Following the 60 points of intel you spent on the previous day, Hiro’s attempt to steal the Old Town Black Core will once again be thwarted and you will finally have intel records that doesn’t involve any black cores being stolen.
As you will most likely not have enough intel points to prevent every unfortunate event from happening, prioritize preventing destruction of the structures you have developed as it can prove more challenging to risk not having enough thauma or tech points to ensure that you can successfully proceed to your desired ending. Reduction in fatigue points on your wielders seem the more viable option if you have to choose. Proceed to Bayside Town and push to clear all six stages. You need to spend an additional 3 hours here to initiate patrols and secure the Black Core. With the remaining 3 hours, build 2 Large Engineering structures and 1 District Engineering structure to add 25 more thauma points and bring up your total thauma points to 80. This ends day 5.
Day 6
Following the events of the story, you will have to respond with “help Antoneva get rid of it” at the start of the sixth day (2 days left) and Antoneva will die but then there’s a specific playthrough to save and obtain her, so for now you should not worry about it either. A battle will initiate and while it’s a little challenging in a sense, you should not have any problems winning it. You now need to build another 2 Large Engineering to bring up your total thauma points to 100 and break through Old Town’s thauma barrier. Proceed to battle through all six stages in Old Town and immediately initiate a patrol to secure the Black Core. Use the remaining 3 hours on developing more Large Engineering structures. On top of the usual supply box collection and midnight snacks, remember to spend intel points to prevent the most hazardous event that can happen on the succeeding day before going to bed.
Day 7

At the start of the seventh day (1 day left) you should have a total of 130 thauma points. Build 2 more Large Engineering structures to secure 20 more thauma points and finally be able to break the Harbor Bay’s thauma barrier requiring 150 points. You now have to battle through all six stages of Harbor Bay and be able to witness the ending based on which conditions you have met from the start of the first day, all up to this point.
Securing any ending will unlock additional game modes and features such as the Hall of Memories, Spatial Tempest, Competency Trials, and the Dark Bazaar which you can all access via your cellphone at the lower right side of your screen. You can acquire memory fragments and new wielders from the Hall of Memories but each stage has a power level requirement. Spatial Tempest is a coop mode where you join 2 other players through a series of battles. Competency Trials lets you choose from 3 recommended wielders you have and have them go through a series of trials. The Dark Bazaar is where you can buy kagesos at the cost of dust, which is a currency you can obtain from the other game modes as well as selling your kagesos.