“There was a crash on Crossrail 17! The conductors survived, but the repair bill’s gonna kill us!” “The Factorioville-Subnauticus mail line ran out of fuel midway through the trip!” “Holy heck, the conductors from Log Train 5 and Log Train 3 are having a punch out over who gets to drop their load off first in the Plank Factory! My money’s on 5 winning the fight.” “There’s a group of armed men outside sir, they say their boss wants our kneecaps to pay for those loans we took out a year ago! Please, sir, I like walking! Make them go away!”
Endless complaints! Non-stop problems! Careful planning could have prevented this string of headaches, but you look outside and see a tangled mess of track. You see trains running into each other causing delays and costing precious money. This may not be a for-profit utility but that doesn’t change the fact that you can’t pay for loan interest, rail construction, fuel coal, and employee salaries with good intentions.
Thankfully, unlike real life, you have a reset button, and just like that the entanglement and debt go away. You start work on a more efficient line, taking care to avoid unnecessary crossings, placing, with great thought, the railroad signal devices, and planning a path to victory. Or at least that’s the plan! That’s where our guide comes in.
Welcome to our DeckEleven’s Railroads 2 Beginner’s Guide! DeckEleven’s Railroads 2 is a mission-based railroad construction game where you must use your starting budget and any incoming profits or loans that you take to set up a rail line across cities and structures to fulfill a certain mission objective.
These can include anything from leveling cities up to delivering a certain amount of supplies to a specific area, usually through a long supply chain of various materials being fed to factories to make ever more advanced goods.
Maintenance costs and rail travel are all calculated in real-time, putting reasonable pressure on the player to think fast the second they deploy their first train or hire their first research engineer. One must take into account various obstacles such as slopes, water, and their own railroad and trains if they weren’t careful with track placement.
While most of the campaigns must be paid for, you can get a ton out of this game without a cent thanks to the free campaign and the Sandbox mode, which also gives you randomized missions if playing in a sandbox with a ludicrous amount of starting cash isn’t your thing. We hope this guide helps you keep your trains running on the clock and the supplies going where they’re needed.
THE BASICS
There are quite a few parts to a railroad beyond just trains and tracks. We’ll be including those on the list too of course, but in a railroad, many things must connect together to ensure that trains are kept fueled up, arrive at their destinations on time, have the correct cargo going to the right places, and most importantly of all, not slam into each other in high-speed documentary-worthy disasters.
Trains
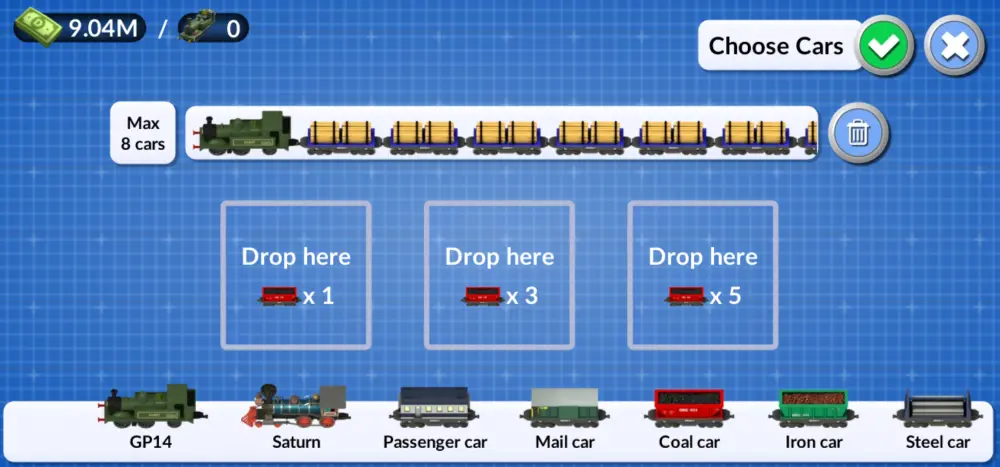
Trains are the blood of any nation, hauling bulk supplies and people across the country in a faster, cheaper manner than cars and trucks, and with a superior payload compared to aircraft. Trains are deployed from Train Stations, upon which you must set up the path they will travel and the appropriate Train Cars for the supplies they need to haul, whether it be coal, steel, or even mail and passengers.
Trains can only reverse in Train Stations, and you must take care to give them efficient pathways so they neither get stuck and run out of fuel while idling nor wind up in a nasty crash or traffic tangle.
Railroad Tracks
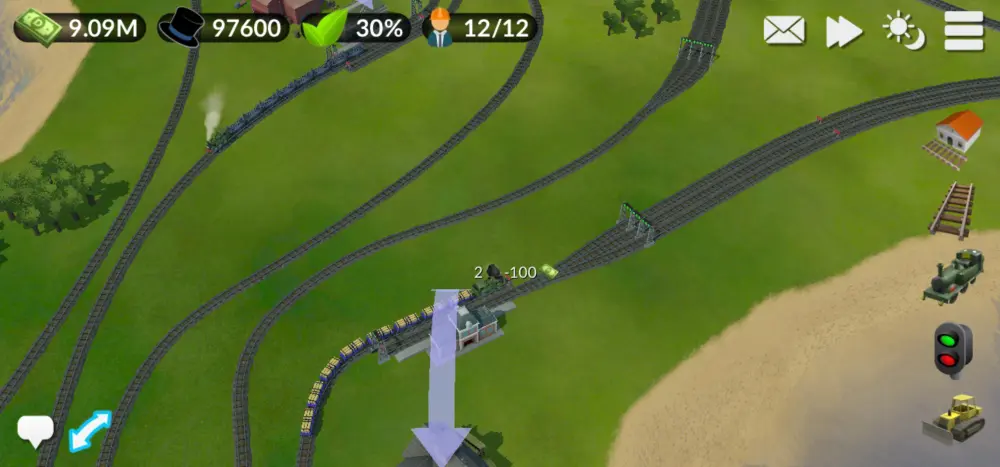
Railroad Tracks are the blood vessels that Trains run through, and placing them around isn’t as simple as you’d think: Sure you can slap them all over the map and the game won’t stop you, but the trains won’t like that one bit and careless track placement is a good way to have crashes, stuck trains or even refusal to deploy trains altogether!
On the other hand, a good railway system can do everything from keeping a country fed and the economy flowing, all the way to winning wars through superior logistics or acting as a beacon of prestige for a nation. There are quite a few things to keep in mind when placing rail tracks (Slopes in particular are a nightmare to deal with), which we will discuss later.
Train Signals
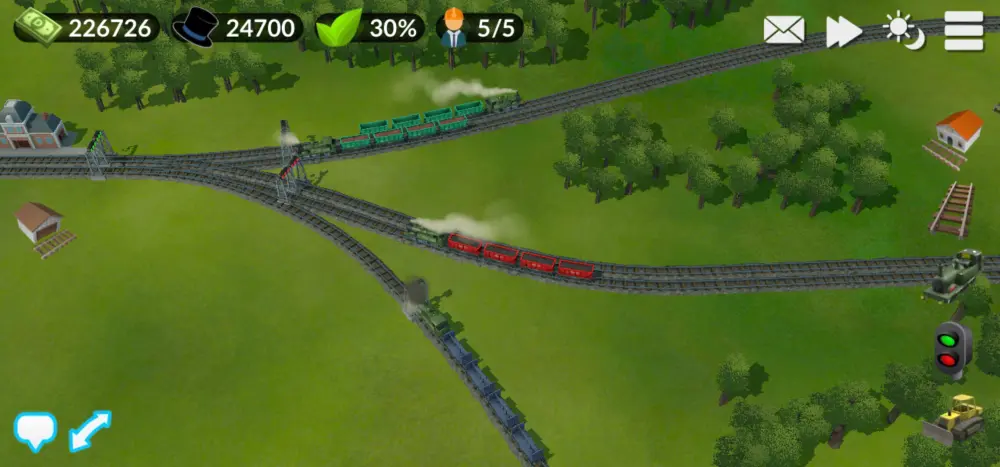
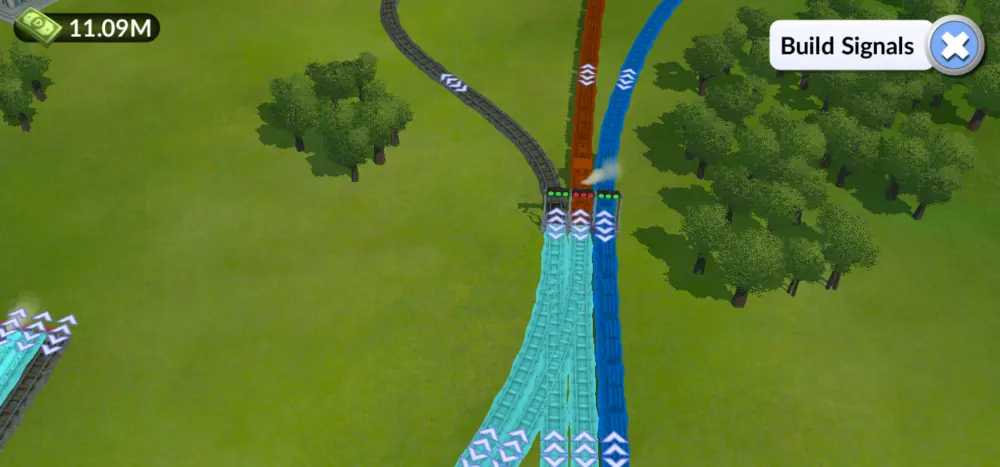
Train Signals tell a train whether or not it is safe to move forward. They divide the railroad into sections, and in each section, only one train is allowed through at any given time unless you specifically tell a train to ignore signals. You should set them up in such a way that it cuts rail tracks into manageable chunks without causing trains to run into each other.
Sometimes, placing too few or too many of them will cause trains to run into each other, wasting fuel and causing annoying delays. You can tell trains to ignore them, but that’s a good way to cause a crash. One sure place you’ll need to place them is at the edges of Train Stations, especially if they have more trains running through them than they have tracks. This allows the trains to take turns entering and exiting the station safely and with minimal delay.
Train Stations
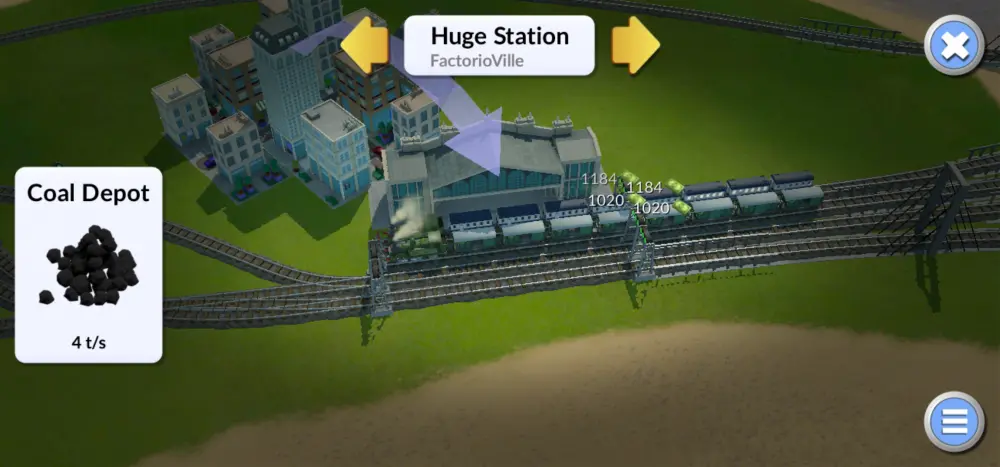
If Trains are the blood and the Railroads are blood vessels, then Train Stations are the heart. Before you can even get any profit or supplies from any structure, be it Cities or Production Structures, you must set up a Train Station next to them. Put one close enough to any Structure and an arrow will appear, assigning that Station to that Structure.
Not only will the Train Station stuff the Structure’s supplies into any train exiting it provided it has the proper rail cars, but it will also accept any supplies that the Structure happens to be asking for when a train enters it, not to mention they also refuel the trains, albeit more slowly compared to dedicated fuel depot- type structures such as Coaling Towers.
Train Stations can be upgraded to have more rail tracks and fuel Trains faster: First, you must research larger Train Stations in the Headquarters, then select existing Train Stations, press the little button that appears at the bottom right of the screen, then tap the Upgrade button. This allows Train Stations to easily handle several trains at a time.
Refueling Stations
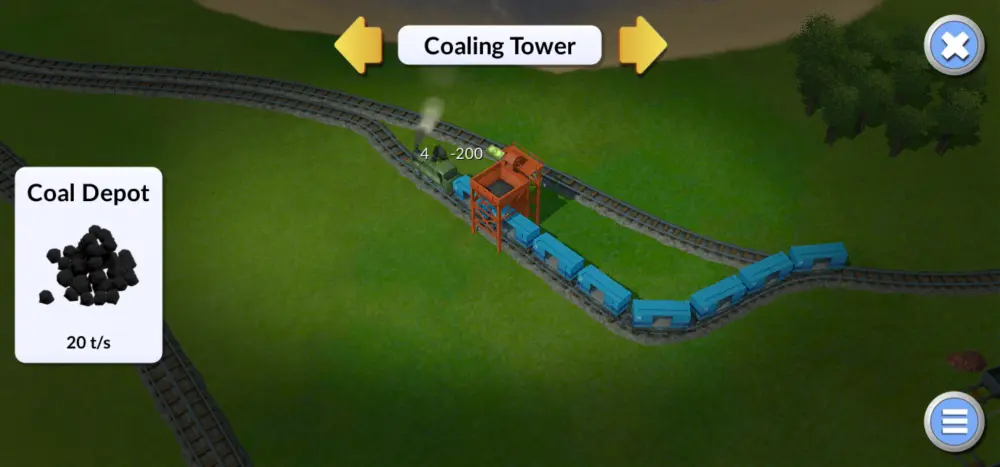
Whether you’re stuck using Steam Trains as a free player or if you splurged on the full game, Refueling Stations of various sorts will be your best friend for long-haul trips. They provide fuel for whatever sort of train they’re designed to handle and are best researched early and placed in areas where you expect a long stretch of rail and no stops before the train’s destination. You can either use these or set up whole new Train Stations, but Stations tend to take up more space.
As a free player, you’ll only have access to the smallest Coaling Tower (only a single track wide), but you’ll likely use at least one or two in the later free levels, perhaps even more if you made a mess of your rail tracks and the trains keep getting stuck! Unless you find a way to untangle the tracks of course.
Bridges
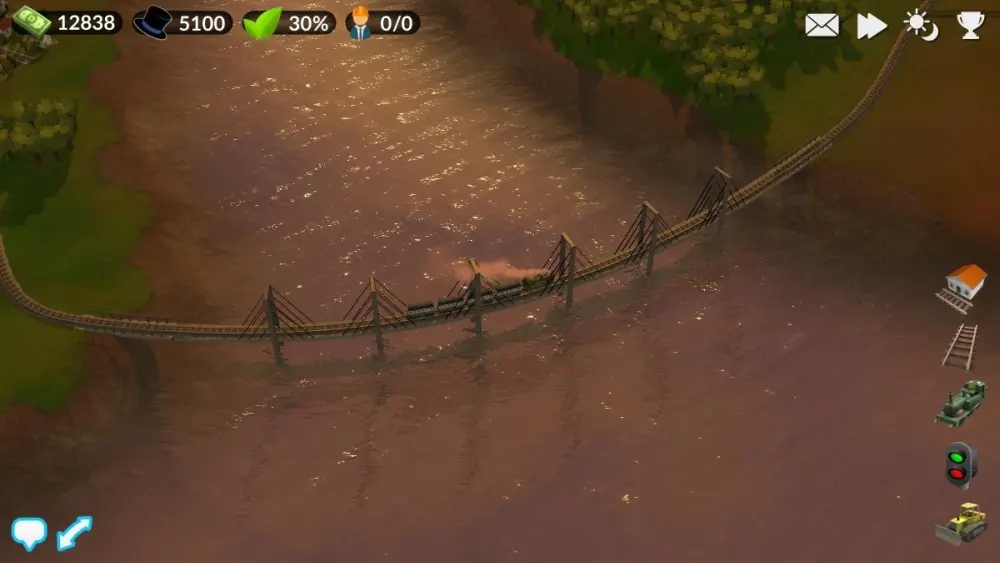
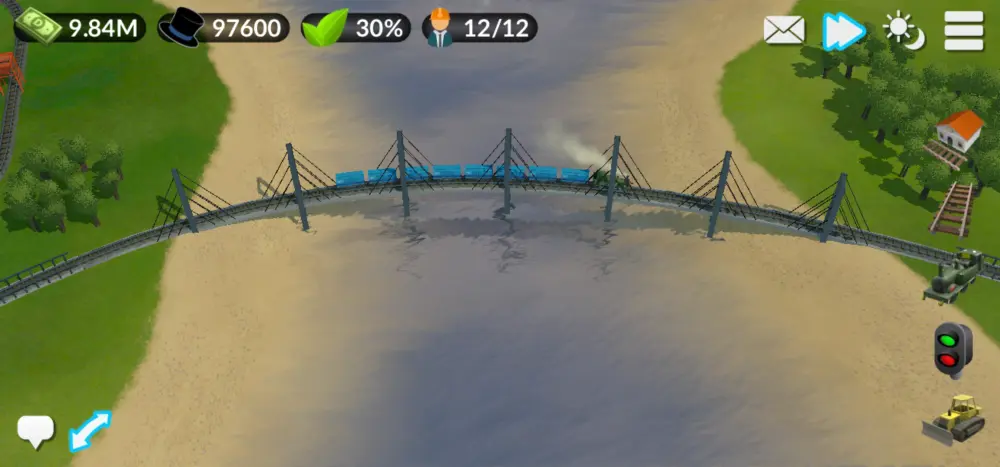
Bridges allow you to place tracks over water, but are highly expensive and can only go so far before you start breaking safety regulations. You must research stronger bridge construction techniques so they can be built longer and trains can safely travel faster through them. Note that they need to stretch a bit inland when placed. They also cannot be doubled by the Double Existing Tracks function, so placing multiple bridges across the same stretch of water can be a bit finicky.
You typically have the choice between cheap bridges and high-speed bridges after you get the basic steel bridge: If you’re a free player, you’re only running Steam Trains anyway, so go for the cheap bridges. You can build them just as long as the high-speed bridges for a much lower cost per distance and your F2P coal-chugger’s not exactly gonna break the speed limit on them!
Cities and Production Structures
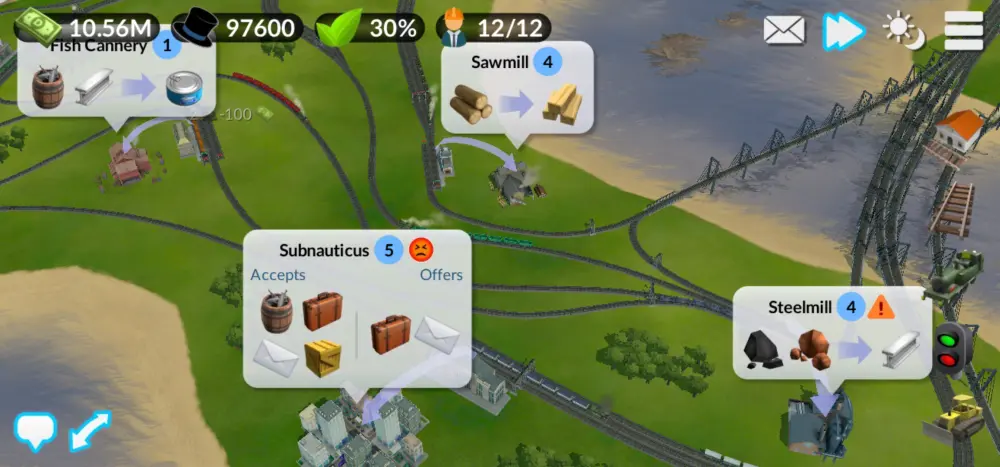
And now for the destinations, there would be no use for trains without the Cities and Production Structures that need them. Cities require various products to level up, which in turn allows them to produce Mail and Passengers while also allowing them to accept Mail and Passengers to level up, though sometimes they can produce both at the start.
As for said products, they usually come from one of many Production Structures, some making basic materials like Wood, Coal (At least if it’s from a mine and not a Charcoal Kiln), and Fish, and sometimes mixing various basic and advanced materials together to make things like Steel, Canned Fish, and Goods.
Delivering materials to such places is your main way of generating profit, used to further construct your railroad beyond the abilities of your starting budget. They are often also needed to fulfill mission objectives, usually the delivery of a certain amount of material to a certain City or Production Structure on the map.
Loans
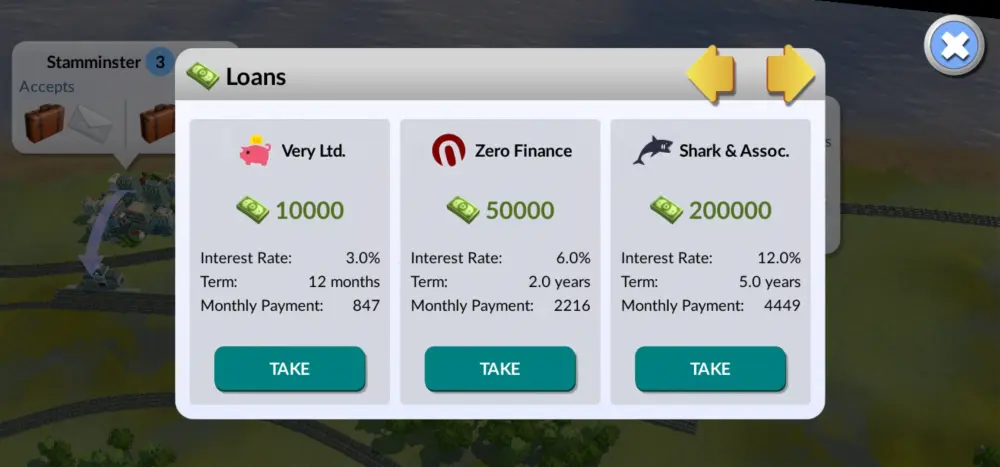
Accessible from the top left of the screen by pressing your money counter and then tapping the arrows until you find its screen, Loans are both a lifesaver and a liability depending on how well you use them: Loans give you a large amount of money immediately, but, you have to pay it back with interest which means you lose a bit of money in the long run.
This also gives you a serious monthly money drain for the duration of the payment period, since that’s how you pay back the loan and its interest. You’re most likely to use them in maps with nasty slopes since those are quite likely to cut into your profits by limiting train sizes. You can cut the interest rates in half through the Financial Planning upgrade under the Headquarters’ Headquarters and Regulations tab.
The Railropedia
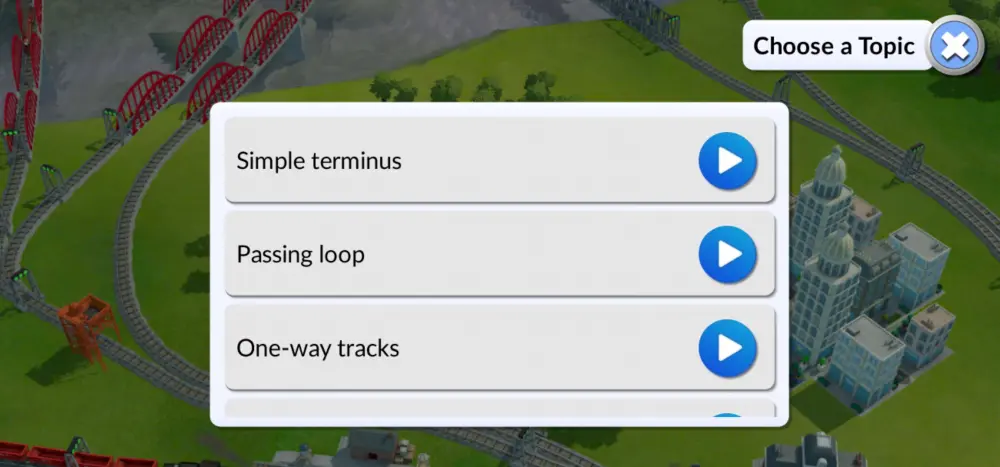
The Railropedia is a vastly useful treasure trove of construction techniques for railroads. It teaches you how to build a lot of advanced rail types, along with some more common sense simple techniques that you might have missed.
The writer found these to be of particular usefulness: The Passing Loop (A simple way to get two trains to pass each other on a single line), Hillclimbing (Slopes are pure agony to deal with), and Flyover Junction (Essentially the use of a bridge to crisscross tracks) tutorials are very important basics to learn and will easily get you through the free campaign.
RAIL PLACEMENT
Placing rails down along with the associated support structures for a working railroad is the bread and butter of DeckEleven’s Railroads 2’s gameplay. How you place your rails determines how much it costs to deliver supplies to where they’re needed, and as such also determines your rail line’s profitability and whether or not you can meet your objective before debt and expenses crush you too hard and force a reset.
Need to Crisscross Tracks? Use A Bridge!
Crisscrossing tracks are the easiest way to waste fuel: Trains burn fuel even when standing still, and they will wait until a train occupying a certain rail block leaves before they move again. Unless you tell them to ignore rail signals, which usually results in a crash and repair bills.
This also makes it much harder to plan where your Train Signals will go, since the crossing track suddenly has multiple tracks it might interrupt should a train go through it. But going the long way round can be highly inconvenient and annoying too!
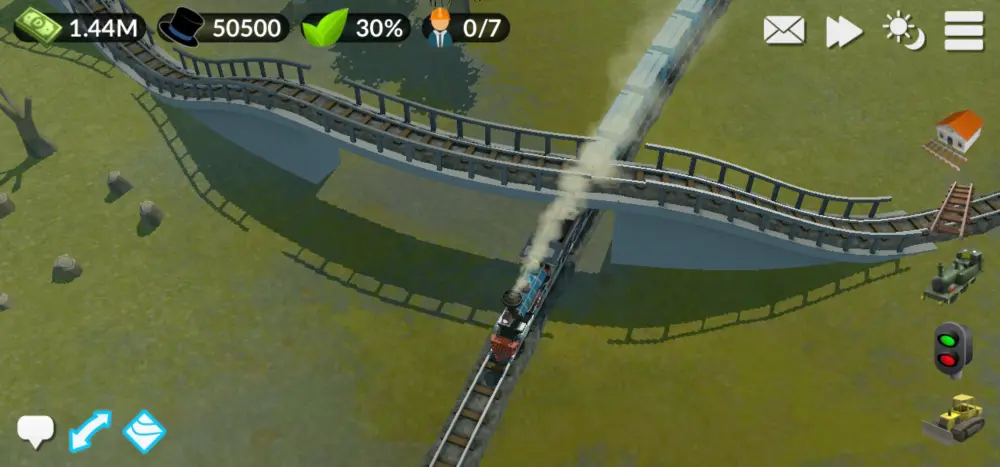
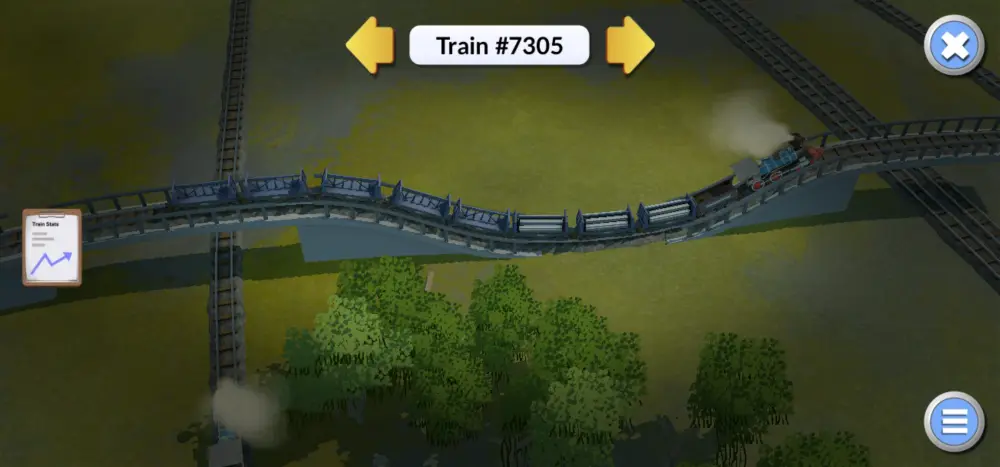
One solution would be to use a Bridge: Bridges aren’t just for crossing water, as they will automatically raise themselves above the ground when placed. This allows other trains to run under them safely. Steel Bridges are usually good enough for this task since you don’t need them to be excessively long just to get past a couple of rail tracks, though you may want the higher-tier bridges if you purchased the DLCs and want a faster speed limit.
Slants Up Slopes
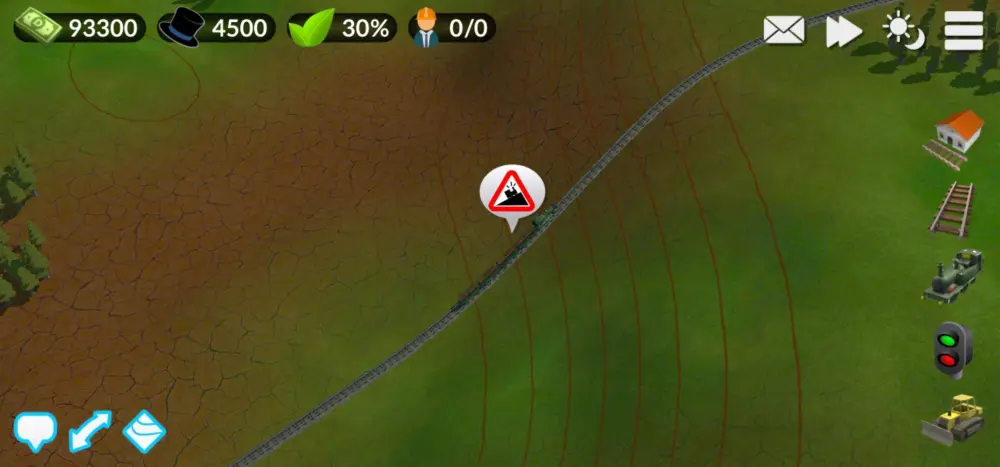
At some point, you will come across an obstacle far more annoying than water: Slopes! Slopes make it hard for trains to travel upward to certain areas because gravity hates anything heavy, made of steel, and lacking wings, of which trains fit all three criteria.
There are two ways to get past particularly steep slopes: You can either cut down the number of cars for the trains going up the slope, or you can place the track diagonally across the slope: While this runs the risk of crossing tracks because slanting a railroad track across a slope takes up a ton of space, this allows the trains to travel up the slope at a more gentle angle, preventing gravity from pulling them down too hard.
You still won’t be able to run an 8-car train up a slope even with a slanted track, but it’s better than cutting your trains to a single car each! On the other hand, there is no problem running a straight track through a slope if you only expect trains to go down that slope.
Place Your HQ Out Of The Way
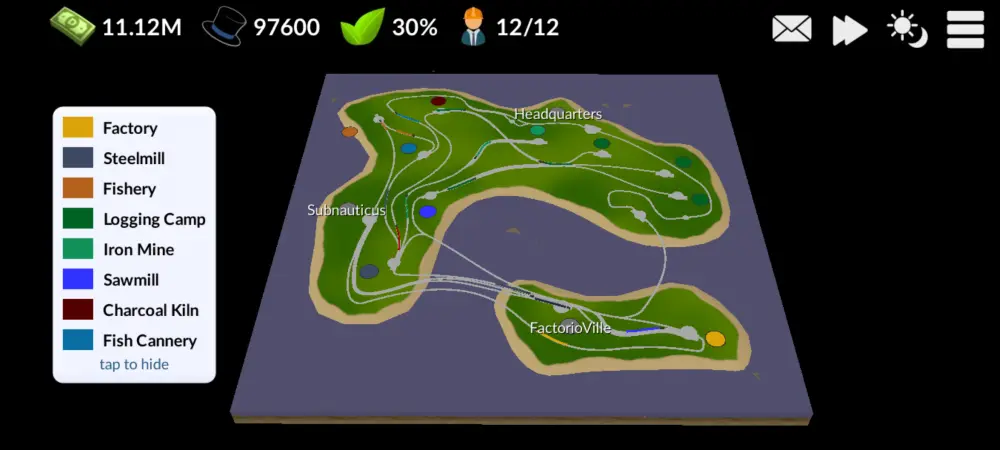
Considering this is a game where a clear path is important, place your Headquarters as far away from any possible paths you want as possible. Placing it in the middle of the map runs the risk of the HQ getting in the way of you making as straight a railroad as possible, wasting fuel, and possibly even forcing you to cross tracks into each other.
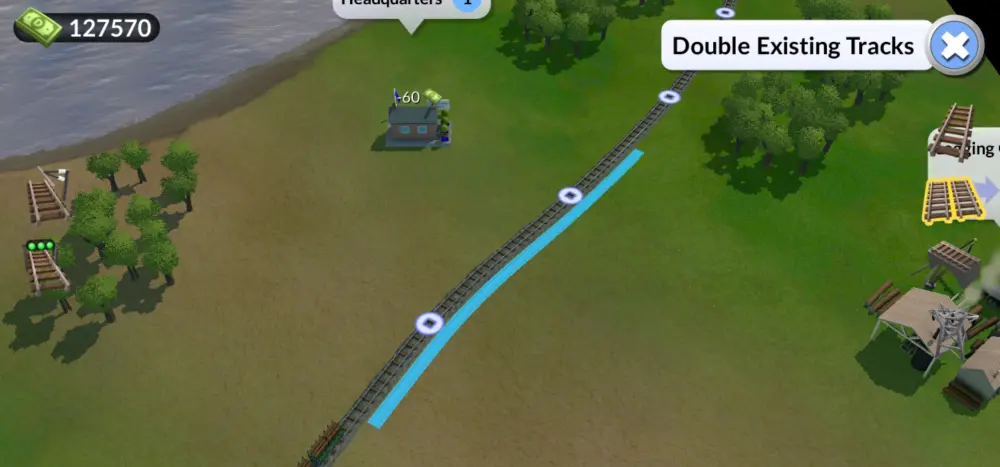
Use The Double Existing Tracks Function
So you placed two tracks next to each other. Looks convincing enough! But then for some reason, a train won’t go, saying there is another train on the track. But there’s no other train assigned to that length of the rail! If so, check if the rail overlaps slightly with the rail next to it.
Even the tiniest overlap can confuse the trains, so make sure you use the Double Existing Tracks function if you’re planning to place two rails close to each other. The Double Existing Tracks function places those tracks perfectly in such a way that prevents overlap between the two lengths of track.
GENERAL TIPS
Apart from proper rail placement, there are several other things to keep in mind when running a railroad. Most of it involves trying not to drown in debt, keeping the engineers working, and making sure that the trains go where you want them to, because sometimes the train path selection makes mistakes even with a smooth enough railroad.
Turn Off The Speech Bubbles When Needed
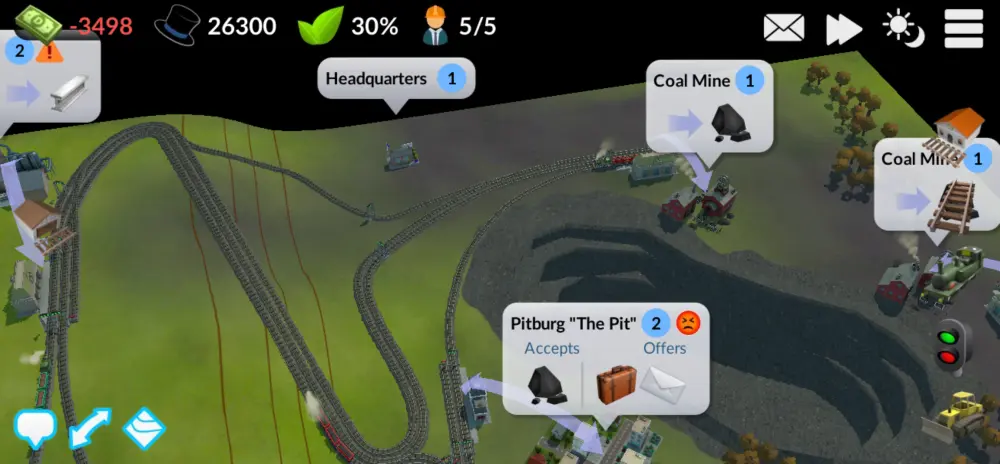
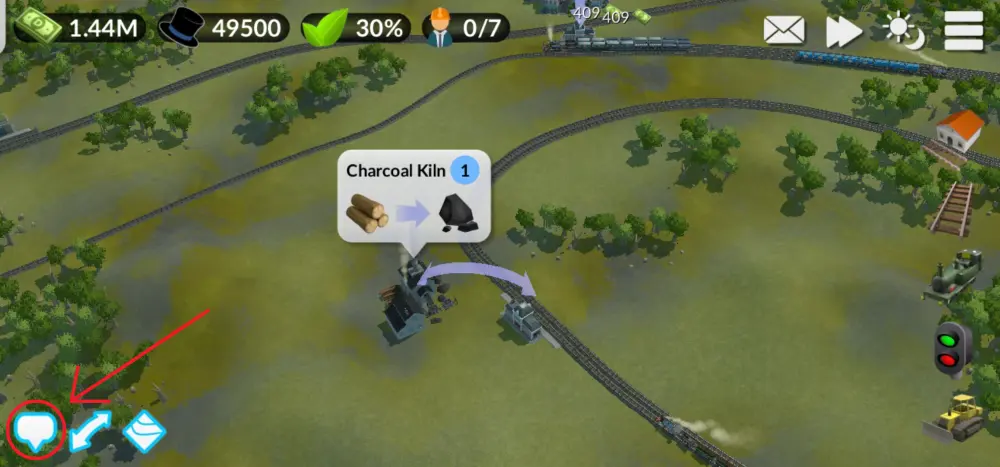
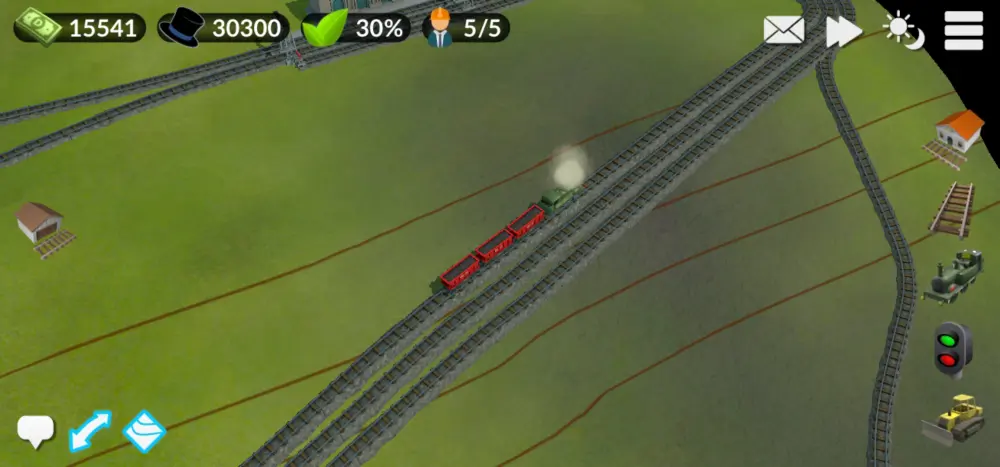
The giant info bubbles around towns have a terrible habit of blocking your view when placing rails, train stations, and anything else down. If you look at the bottom left of the screen, you should notice several buttons: A square with lines, a two-way arrow, and a speech bubble. If the info bubbles are making it difficult to place tracks down, tap the speech bubble to turn them off, then turn them on again if you need the check what the Structures on the map need and provide.
For the love of all that is good though, do NOT turn off the square with lines: That lets you see slopes on the map more easily! As for the two-way arrows, they show you which train station is attached to what structure, so don’t turn them off either, since they aren’t obstructive.
Fast Forward
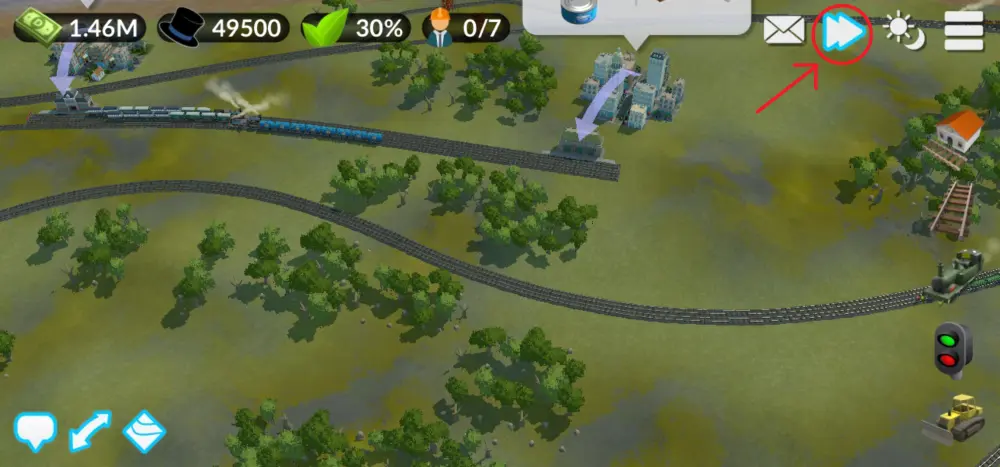
Did you know there’s a fast-forward button on the upper right of the screen? Normally you don’t want to turn that on because you might need the slower speed to think your way through a problem so the money doesn’t burn too fast for you to keep up. There IS one great reason to turn it on though: Speeding up Research.
Research jobs tend to be very slow, so if everything is going smoothly and you have a research project cooking, you might as well put the world on fast forward to get it over with, then go back to normal speed once you start constructing new stuff again. You can also use it to speed up the final mission objective if you’re on your way to getting it.
Keep The Research Engineers Working
Since Engineers cost money even if they aren’t doing anything, you might as well keep them busy: Once you get the more basic upgrades you need, such as a bridge or minimal level of train station you absolutely need, haul those Engineers to other tasks such as direct station upgrades or ever bigger stations and better bridges.
You never know when they might come in handy later in a mission, and in the tougher levels, you’ll usually find yourself with a healthy surplus of Engineers midway through. Especially since firing them can be a monetarily crippling decision.
Manual Pathing
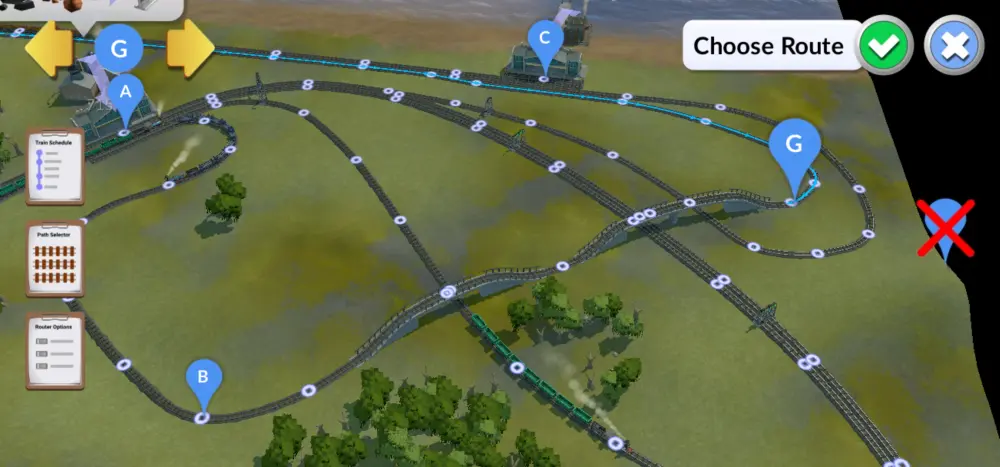
When picking train paths from train stations with multiple entrances or exits, do it manually: The automatic picker that the game uses if you simply pick two train stations for a simple A-B path will pick the fastest route, regardless of whether or not any other trains are using that path.
Once you have access to the larger train stations, you’ll at least have to pick the specific exit as your train’s B point, then the actual destination as its C point or further. You also need to specify stops for the train, such as Coaling Towers and Stations between the beginning and end of its path, or else it will just barrel through them without stopping.
Empty Cars? Scrap ‘Em! Regulating Supply Flow
Production Structures such as Coal Mines and Steel Mills can only make so much material in a given period. Instead of going for pure volume of train capacity, go for efficiency: Make sure you only have enough trains and train cars to maximize a given production structure’s output, because going past that with any one train will make it harder for any other trains to get supplies from the same structure if ever they need to split the resources along many different destinations.
A good way to check, especially with free-generating structures like Coal Mines and Iron Mines, is to see if any trains leaving them have any empty cars. If so, you may want to delete the extra cars to regulate the supply flow. You can also start with fewer cars for higher-tier materials like Steel, then dedicate more cars to such material as you improve its production output.
Thankfully, the use of extra cars does not waste fuel in anything more than negligible amounts, so go nuts as long as there aren’t any slopes if the supplies only have one place to go.
Long Trains or Short Trains?
One of the upgrades you might need only depending on the map is the Long Trains upgrade from the HQ Upgrades tab. This gives your company certification to run full-length 8-car trains.
There are two things you should keep in mind whether or not you wanna get this upgrade at all, though having it is usually no harm if you’ve already got it anyway: The prevalence of slopes, and the number of supplies the map’s factories can hold or make at a time.
If there are a lot of slopes and the factories aren’t able to make much material, then you won’t need long trains. Slopes make it so long, heavy trains have to fight gravity to travel, and weak factories mean you will often waste fuel hauling empty cars around.
On the other hand, get it if the map is flat and huge: Longer trains are much more efficient than short trains in terms of fuel burned per unit of supply delivered provided they are kept full or nearly full and are traveling at normal speeds rather than getting stuck on hillsides.
Profit First, Mission After
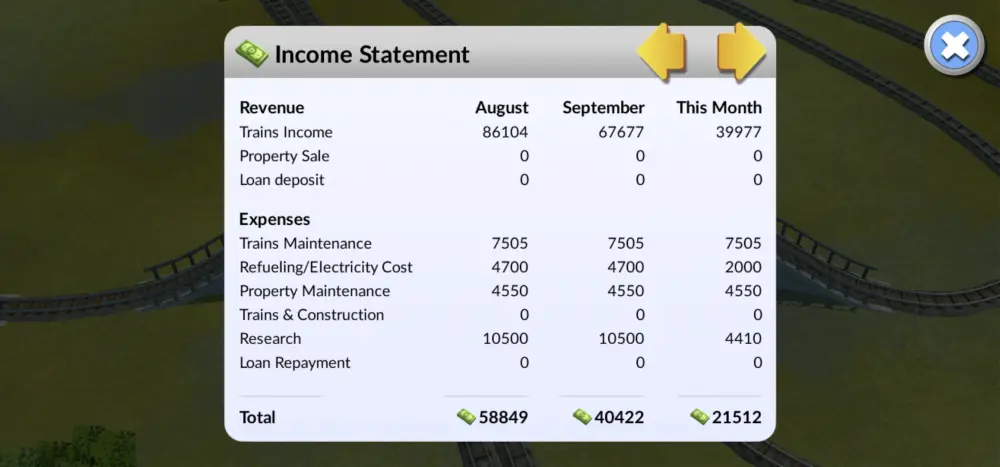
In more difficult levels, it may help to simply build up your railroad first to a point it generates profit, before going full steam on the mission objective. You can usually do this by attaching the easier Structures to each other first, rather than trying to attach everything all at once from the get-go. You can also tap your money counter on the top left of the screen to bring up your Income Statement, which shows you a more detailed breakdown of your monthly expenditures.
Trying to gun for the objective too fast will very likely drain your monetary reserves because you’d have to hire engineers and make loads of train cars. On the other hand, going slow and steady to make some money first and then upgrading with a proper pace means you will likely not need to see the foul, painful Loans screen at any moment of your game. That being said…
Economy On Fire? No Problem!
Remember that you only need to get the mission objective to win. The only reason debt is bad is that you can’t lay more tracks, call in new trains, or build new structures if you’re broke, and accumulating too many loans means the interest will burn through the money you borrowed faster than you can lay down tracks, necessitating a reset.
Otherwise, as long as the trains are running smoothly and your trains are inching their way to your final mission objective by the time you go broke, you can still win! Even if your economy is in shambles, you’re buried in abject crippling debt, and you’re on the verge of being tied to the railroad tracks by angry, underpaid rail yard workers.
Unless the mission objective specifies you not going broke, of course, of which none of the free missions have such an objective listed, though you can have the repayment of loans appear as one in Sandbox Mode-generated missions.
If you have a ton of engineers lying around further burning through your wallet, it might be time to make them research the Headquarters and Regulations tree to help get yourself out of an economic deathtrap. They’re willing to do work even if you’re broke!
Hire Engineers Only As You Need Them
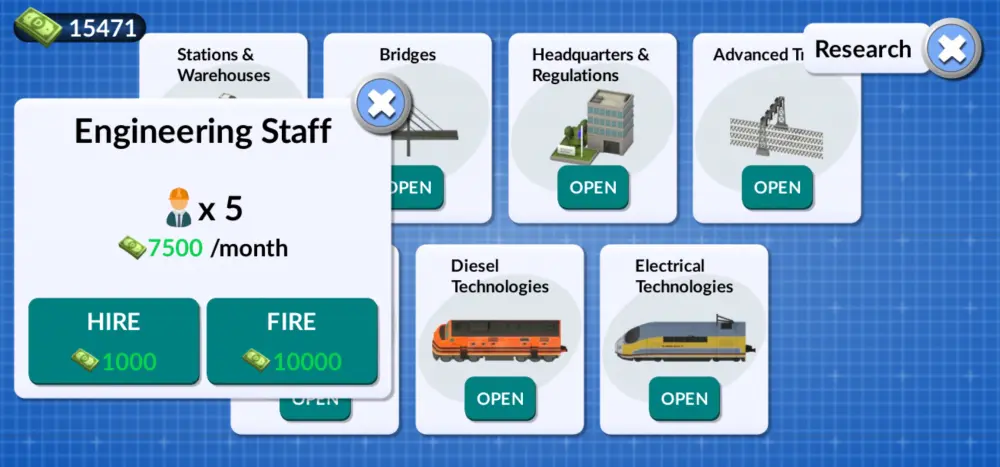
Engineers are hired for 1000 dollars each, and have a salary of 30 dollars a second, but are obscenely expensive to fire with a whopping 10000 dollars of severance pay per Engineer! You need them to unlock new structures and do economic research.
Knowing these facts, make sure you plan out which upgrades you need to finish a level, and only hire enough engineers to research the one thing you want at the moment. You often need the previous tier of research to get to the later upgrades, upgrades take time, and Engineers cost money even if they’re doing nothing, so if the current upgrade you want (Usually access to Medium Stations and the Steel Bridge to allow for crisscrossing rails, and the Long Train Permit on flat maps) only needs two Engineers to unlock, hire just the two and only hire new ones once you start another upgrade.
And later, once you’ve accumulated enough engineers to get that one super important upgrade you wanted early, keep them busy by researching all the other stuff you missed! They get paid the same amount whether or not they’re doing anything anyway.
THE HEADQUARTERS
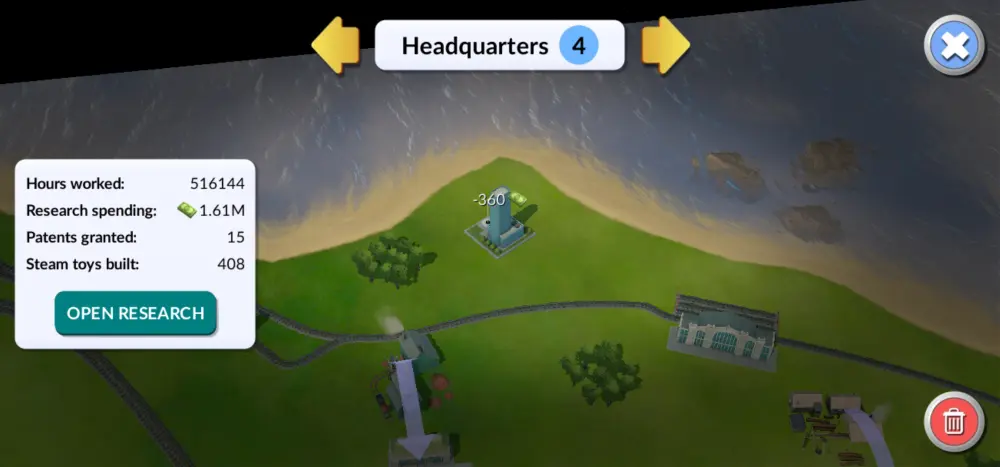
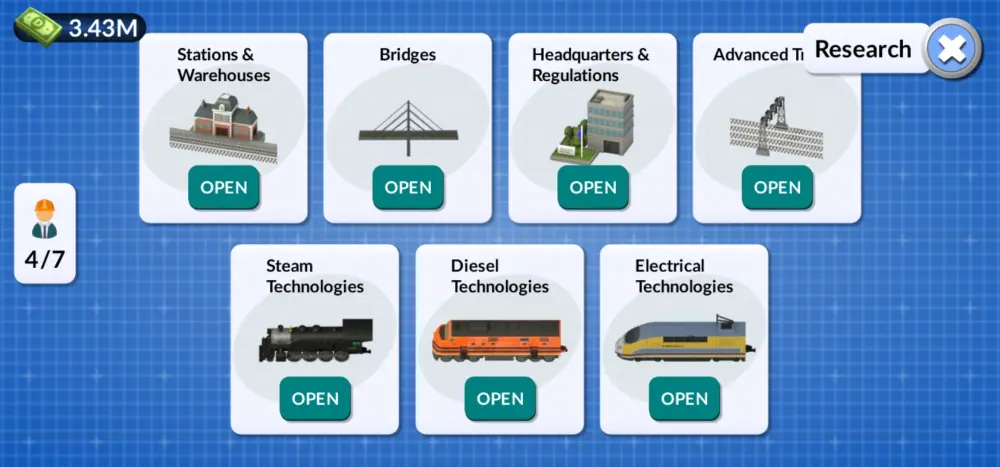
The Headquarters is where you research new technologies and regulations for your railroad. We’ll be talking about the various tabs in the Headquarters research menu, what they do, and which of the research tasks within may benefit you in what situations.
From advanced maintenance structures and better bridges, right down to proper filing of financial paperwork and government incentives, your Headquarters has many things to research to keep the trains chugging forward.
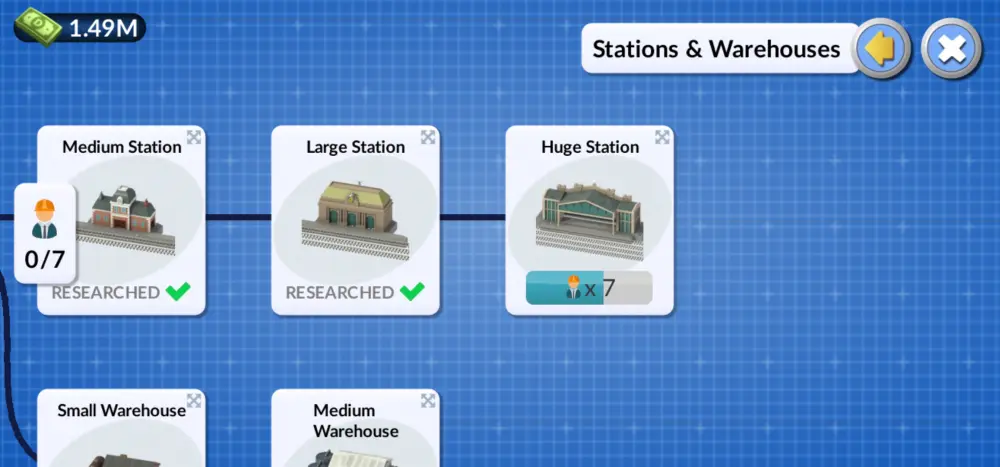
Stations and Warehouses
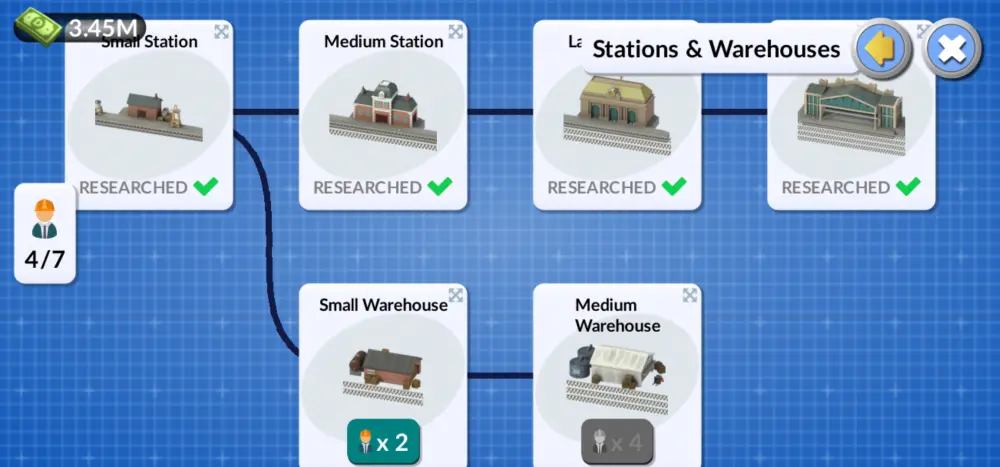
The Stations and Warehouses tab allows you to build larger train stations and warehouses with faster refueling times and more starting tracks. While bigger train stations are always useful, you may want to research Warehouses during longer missions, particularly those with a long supply chain that may take a while to set up. That way, you can send surplus supplies to the Warehouses in anticipation of a new supply chain opening up.
Bridge Research
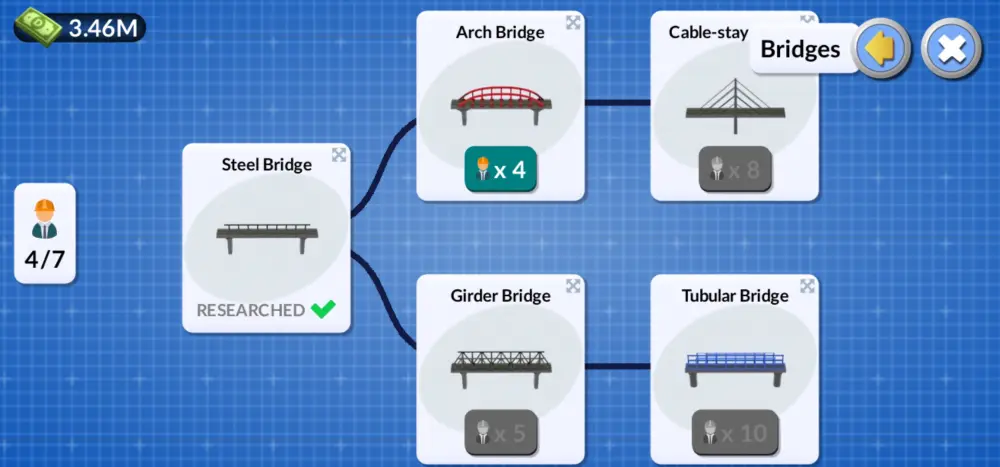
The Bridges section does exactly that: Allows you to research bridges. What kind of bridge you’re gunning for depends on the map and mission. After the steel bridges, you can research either cheap bridges or bridges that can sustain high speeds.
You only really need to research the more advanced bridges if there is a large stretch of water blocking the way to an objective, otherwise, you may be fine with just Steel Bridges. As for the more advanced bridges, the Girder and Tubular Bridges are only really relevant if you’ve paid for the game since they cost more while requiring paid trains to make the most of them.
Headquarters and Regulations
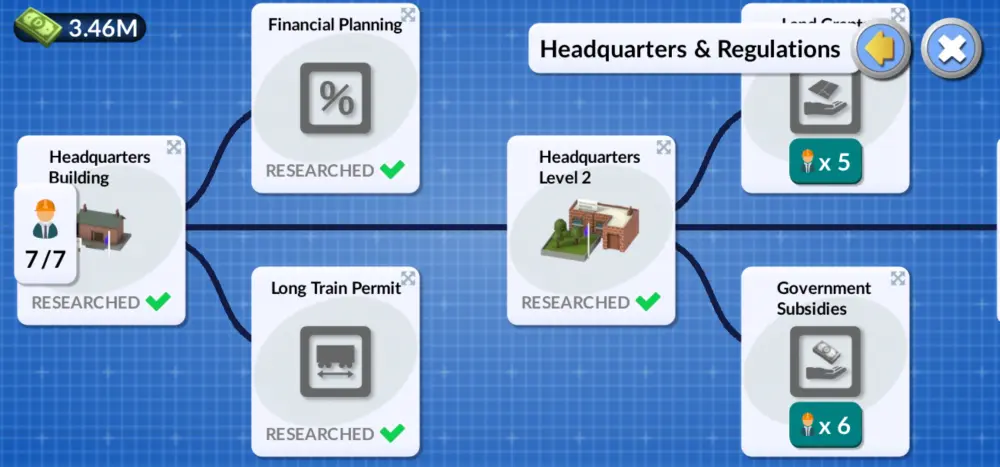
The longer the mission, the more relevant the Headquarters and Regulations tab becomes. This allows you to research various money-saving measures, along with the powerful Long Train permit upgrade, which allows you to deploy full-size 8-car trains.
The Financial Planning upgrade cuts interest costs from loans by 50%, allowing you to take out larger loans more safely, especially in difficult missions with lots of profit-annihilating slopes. Government Subsidies increase profit from deliveries by 25%. Land Grants cuts most construction costs by 25%.
The most useless of these upgrades is Innovation Funding, which cuts research speed by half. The upgrade itself is good, it’s just that it’s so far down the tech tree that by the time you get it, you already have all the stuff you need and likely don’t have anything truly important to research anymore! Get that one only for truly arduous missions.
Train Technologies
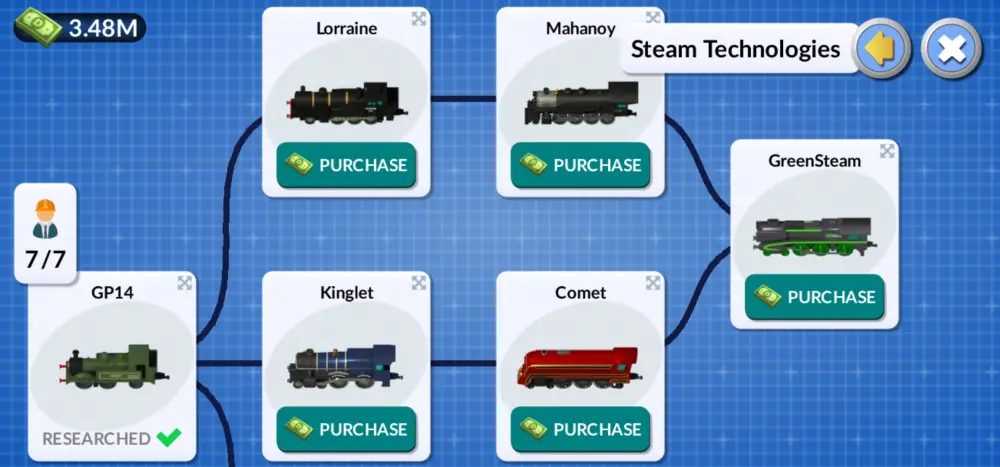
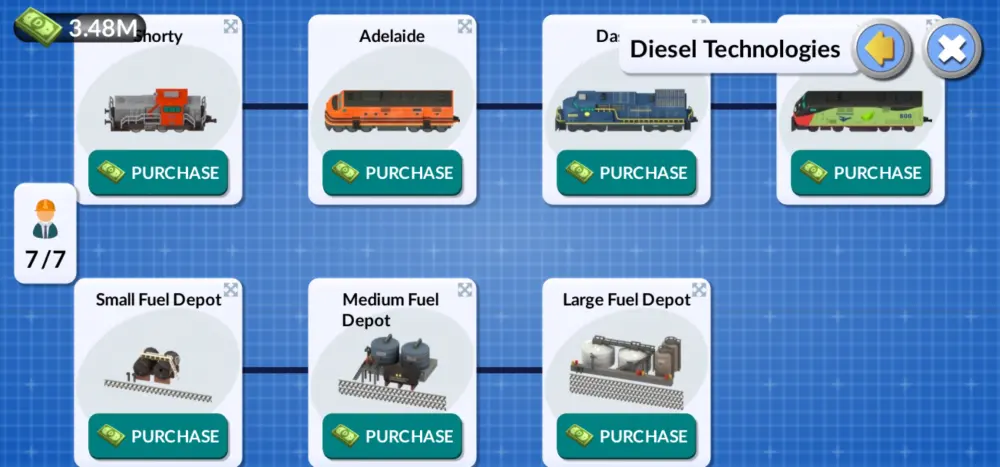
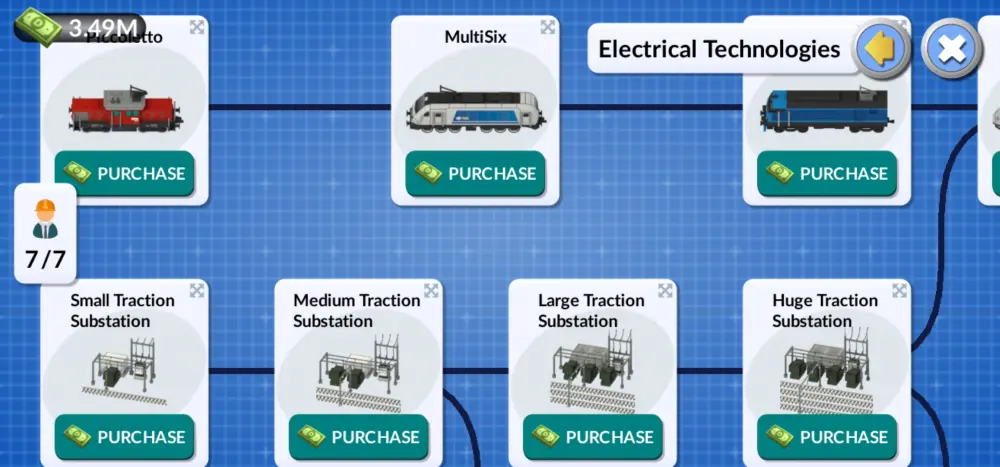
The Steam, Diesel, and Electric Technologies tabs are mostly relevant only if you’ve paid for the game, though they’re still worth mentioning here in case you did, especially the Steam Technologies tab. The Steam Technologies tab, unlike the other two tabs which only have progressively stronger trains and their respective support structures, has two types of Train tech trees: Freight Trains and Passenger Trains.
Freight Trains are slow but built to combat slopes through high traction and powerful engines with lots of torque, allowing them to carry much heavier materials such as Steel and Iron through difficult terrain, and in greater amounts. Passenger trains are built with superior aerodynamics and possess engines tuned not for torque but for raw speed and smooth rides, allowing them to rule the flats to deliver people and yes, freight, on a tight schedule through easy terrain.
The final train though, the GreenSteam, is the best of both worlds while having a better ecological footprint to boot, which may be important in some paid missions. The Steam technologies tab also has a single free upgrade, the Coaling tower.
As for the Diesel and Electric tabs, they each only have one type of train for both jobs, since they’re more advanced than Steam Trains. Electric Trains are by far the most advanced, having far higher horsepower than even Diesels while having the smallest ecological footprint, but requiring electrical substations and electrified rails to sustain.
Advanced Tracks
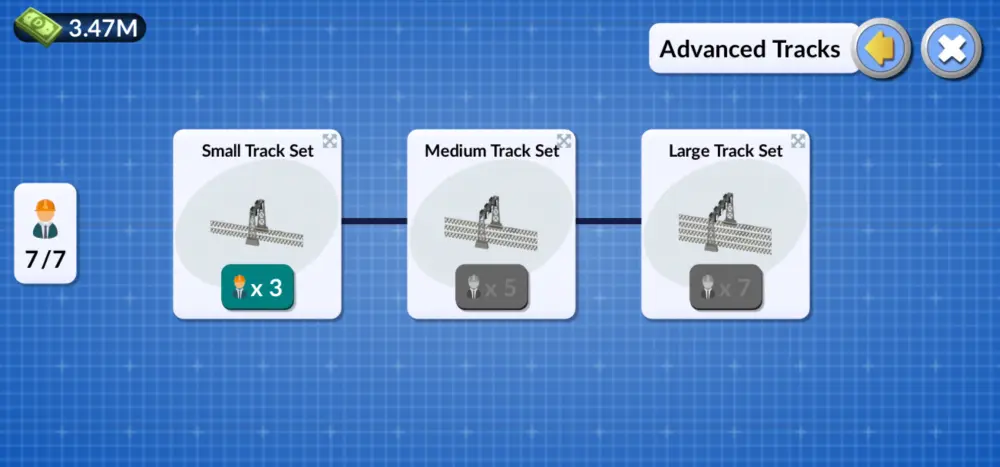
The Advanced Tracks tab allows you to research Track Sets, which come with traffic balancers that let you use them as waypoints or waiting bays. You typically won’t need them too much, especially if you’re good at using Rail Signals. You’re not meant to use them to make multi-lane tracks from scratch: You use the Double Existing Tracks function for that since Track Sets only drop a small portion of track onto the ground and have to be extended manually anyway!
And this ends our DeckEleven’s Railroads 2 Beginner’s Guide. We hope this helps, and may your trains run smoothly and on time. If you have your own tips, leave them in the comments below!

D. Seta
Thursday 8th of August 2024
I hope, the next guide about how to obtain biofuel.
Wake
Friday 12th of May 2023
Great Info. Thanks a lot