A tragedy had caused you to flee your home, the Broken Islands. A group of people under an unknown banner has come to attack your settlement and the worst part of it all is that nobody knows, not even you, what their demands were and whether they were human or not.
Your rush out from the mainland caused you to sail far from it, forcing you on a quest to find help and rescue your home from utter destruction. Will you become a hero in Darkrise – Pixel Action RPG?
Roika’s current and only app available on the mobile market, Darkrise is a side-scrolling action RPG of epic proportions. Take down advancing hordes of enemies with various spells, skills, and weapons, uncover the mystery of the fate of the Broken Islands, and collect tons of powerful loot and currency to turn your character into a one-man army. That said, finding your way through Darkrise can be difficult sometimes if you’re unfamiliar with how 2D RPGs work in general. If you’ve just picked up Darkrise and want to get better at it, you’ve come to the right place. Read our Darkrise beginner’s guide below and be prepared to avenge the innocent!
The Basics of Darkrise
Darkrise is very set in its RPG roots.
For players who aren’t familiar, your character will be traversing different territories. This is very similar to older titles like the Diablo franchise, Dungeon Siege, or for mobile titles, Almora Darkosen, and Torchlight Infinite. You will choose a character that comes with a variety of skills and abilities tailor-fit to a specific playstyle. That said, in almost any RPG, the player character can choose a class they’d want to begin with.
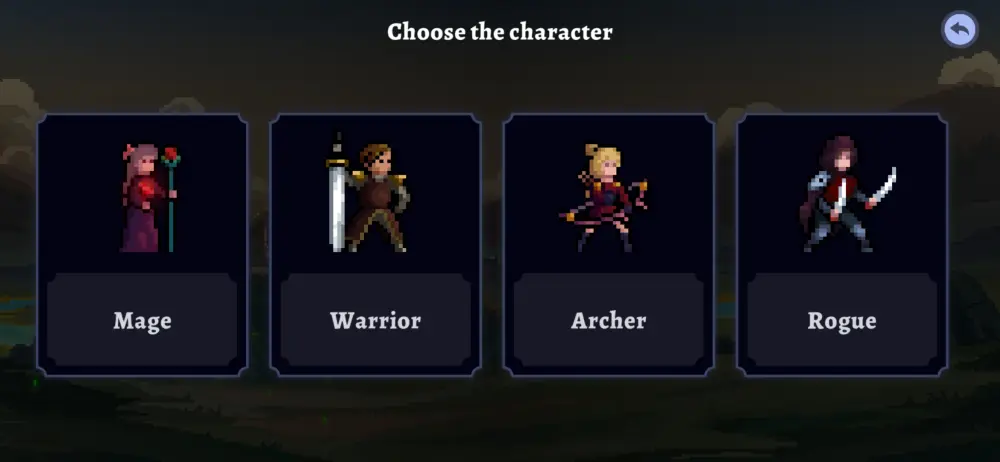
In Darkrise’s case, the game has a total of 4 characters which we will briefly describe below:
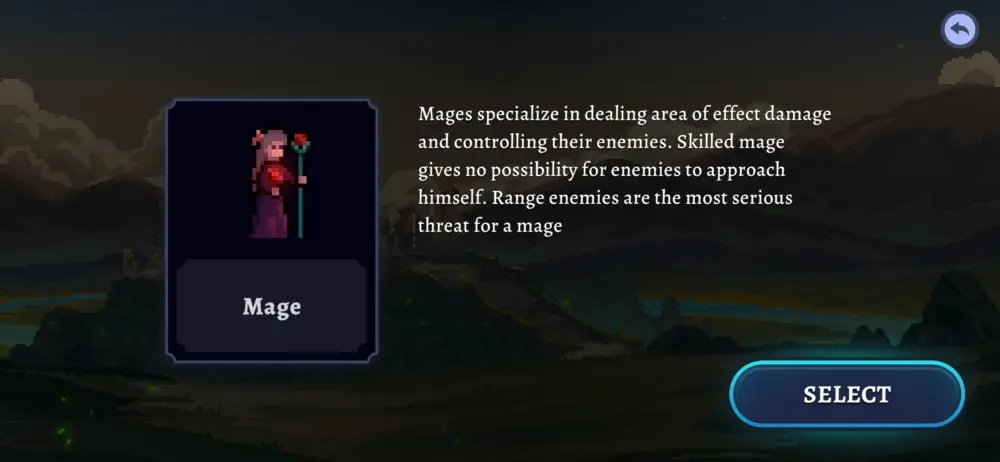
- Mage — Powerful and excellent at causing area damage, Mages are the quintessential spellcasters of the game. They dominate the battlefield using their powerful magicks and can easily prevent enemies from coming closer. Ironically, the bane of mages aren’t foes in large numbers, but those who can fire back at them from a distance as well.
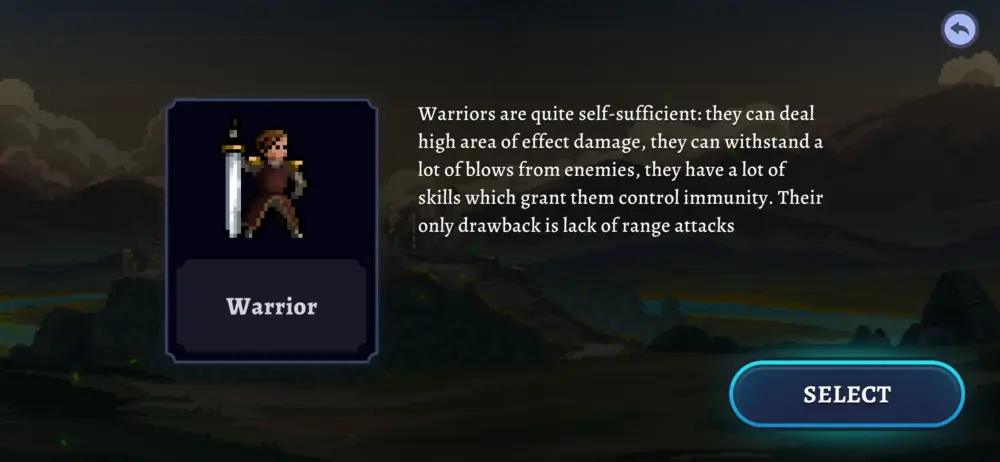
- Warrior — Fearsome masters of melee combat, Warriors favor their blades and armor over fancy ranged weaponry. With wide swings and strong blows, they can easily cut swathes through the enemy ranks. Unfortunately, they can get outranged by many enemies due to their lack of ranged attacks.
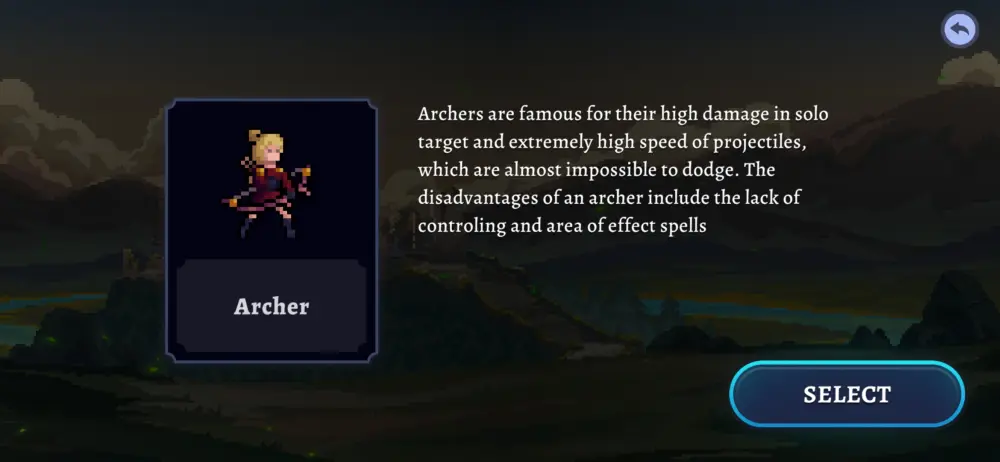
- Archer — With the wind on their backs and distance as their friend, Archers excel at sniping their foe from afar. Their projectiles fly fast and can pierce through most enemy armor, but they lack the ability to keep their enemies still. Their other drawback would be the lack of wide-ranged attacks needed to dispatch multiple enemies at once.
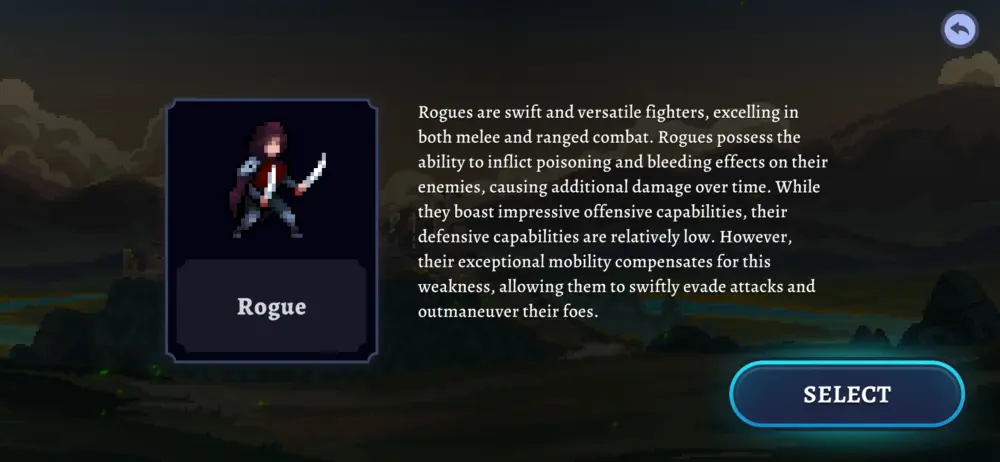
- Rogue — Slinking through the shadows, Rogues are swift fighters both near and far. Their balance between ranged and melee combat also has them favoring pragmatism in battle. While quick on their feet and deadly in their skill, Rogues unfortunately suffer low defense compared to their peers.
As we’ve mentioned before, each class caters to the playstyle of different players. We recommend trying any of them first and deleting a character that you feel isn’t for you. If you start over, you can choose which character you’d like to try and hopefully you’ll find what suits you best. In the end, comfort is the most important aspect of making a character. For all purposes of this guide, we went with the Warrior character, but the tips that follow will apply to all classes in general.
Going back to the basics of Darkrise, your journey will set you off to different lands where you will encounter multiple enemies in different areas. You may also traverse different towns where you’ll be able to craft, buy, and sell different items. Much like any RPG, this is just as important as leveling up your character.
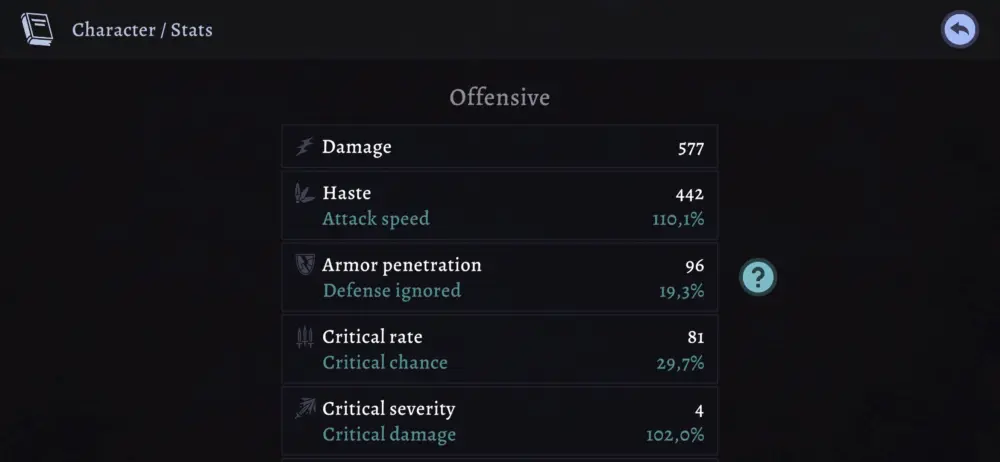
Your character also has a list of stats that you may need to pay attention to while equipping various gear:
| STAT | CATEGORY | DESCRIPTION |
| Damage | Offensive | The overall damage you deal onto your enemies with every attack. |
| Haste | Offensive | The speed at which your attacks are performed. |
| Armor Penetration | Offensive | The chance of ignoring the enemy’s defense. |
| Critical Rate | Offensive | The chance of scoring a critical strike which deals additional damage. |
| Critical Severity | Offensive | The damage of your critical strikes. |
| Skill Recovery | Offensive | The speed at which your skills recover. |
| Control Power | Offensive | The length of control debuffs inflicted unto your enemy. Higher numbers means a longer duration. |
| Health | Defensive | The total amount of health of your character. |
| Energy Shield | Defensive | The total strength of the energy shield protecting your character. Consider this an extra health bar. |
| Health Regen | Defensive | The speed at which your health regenerates. |
| Defense | Defensive | The amount of damage your character reduces each time they get hit. |
| Block Rate | Defensive | The rate at which your character blocks an attack, greatly reducing the damage they receive. |
| Block Severity | Defensive | The amount of extra damage reduced per block. |
| Control Resistance | Defensive | The length of control buffs inflicted by enemies unto your character. Higher numbers means a shorter duration. |
| Mana | Special | The total amount of Mana your character has which is required to perform skills or cast spells. |
| Mana Regen | Special | The speed at which your Mana regenerates. |
| Mobility | Special | The overall movement speed of your character. |
| EXP Gain | Special | The total amount of EXP your character gains. Larger numbers means faster level-ups. |
Keep these stats in mind each time you pick up new gear and wish to build your character right. A different change in numbers can go a long way sometimes. Good luck!
Without further ado, let’s proceed to the main feature of this guide, shall we?
Darkrise Tips and Tricks
Below is a list of tips and tricks that are sure to help your character avenge their homelands and find the source of the invasion. Read on and become the hero that the Broken Islands need!
1. Lure Enemies Away from Each Other
There’s nothing more dangerous than a horde of enemies right before your character.
If you let them surround you long enough, you’ll end up covered in stab wounds, animal bites, corroded flesh, singed hair, and the list goes on. In other words, it’s a bad thing to do this, especially if you’ve picked a class that isn’t as tanky as the Warrior; you’d most certainly end up dead if they’re ever near you.
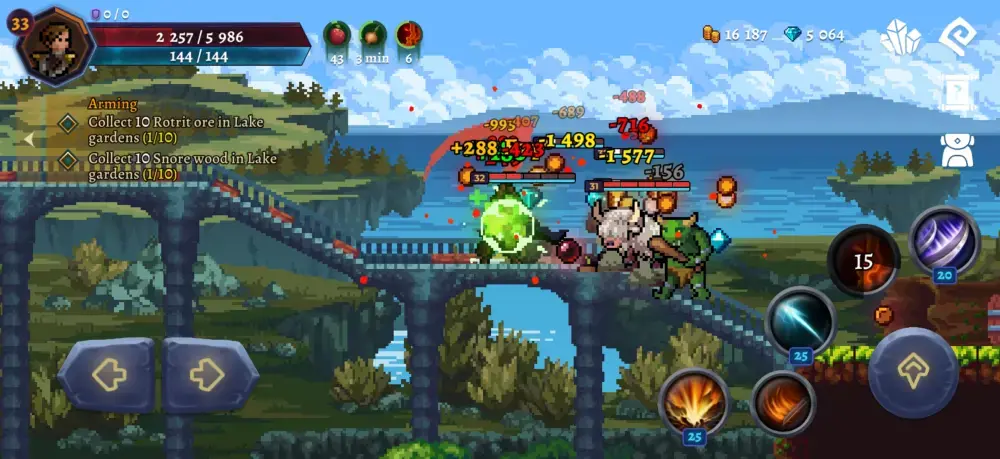
Even if you are playing a Warrior, sometimes it’s better to lure your enemies away from each other. This tactic should help bring your foes to their knees more easily. The reason behind this is that the enemies closest to you will perish sooner than the ones further away from you.
This is usually how it goes: for ranged attacks, the ones approaching you soonest will be receiving the majority of the projectiles. For melee attacks, it’s quite natural since many of them have to get close to you to hurt you. After the enemy at the front lines have been slain, you’d be able to take care of those at the back—the rangers.
This is also quite important if you’ve been greeted by an elite enemy. These enemies normally have longer life bars than the rest, so they’re much tougher and sometimes they have additional skills. Some of them can even summon enemies as you fight them, so it’s best to lure their flunkies away first before striking back at them. Never engage them head on.
That said, there is a way you can thin them out safely.
2. Exploit Your Skills and Food
Your skills are there for a reason: they help you kill the enemy faster!
Well, mostly. There are some skills that also aid in keeping yourself alive. However, the point of this bullet is, don’t just let them sit there, use them! What you need to do is also understand what each of them do just so you know how to exploit them properly.
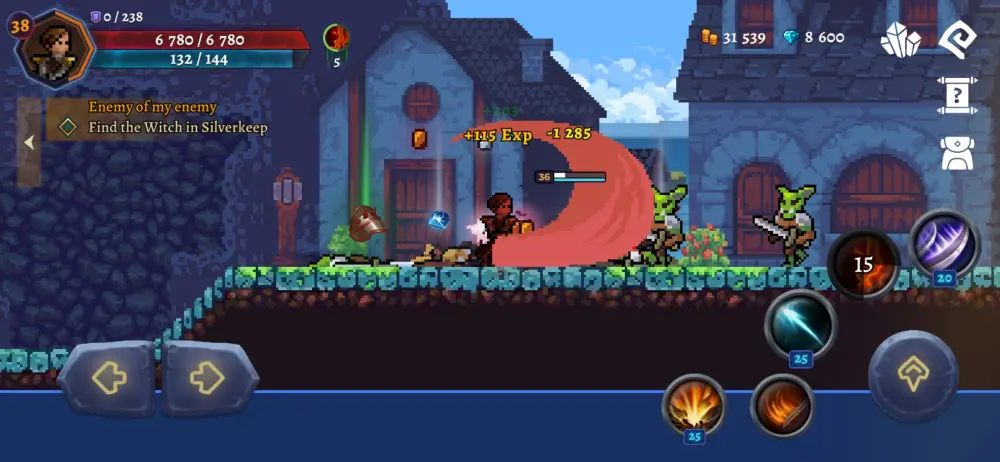
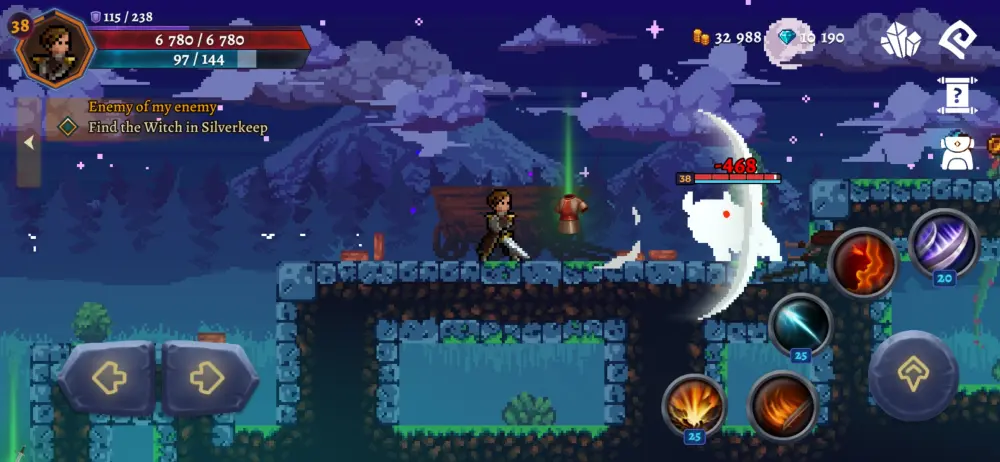
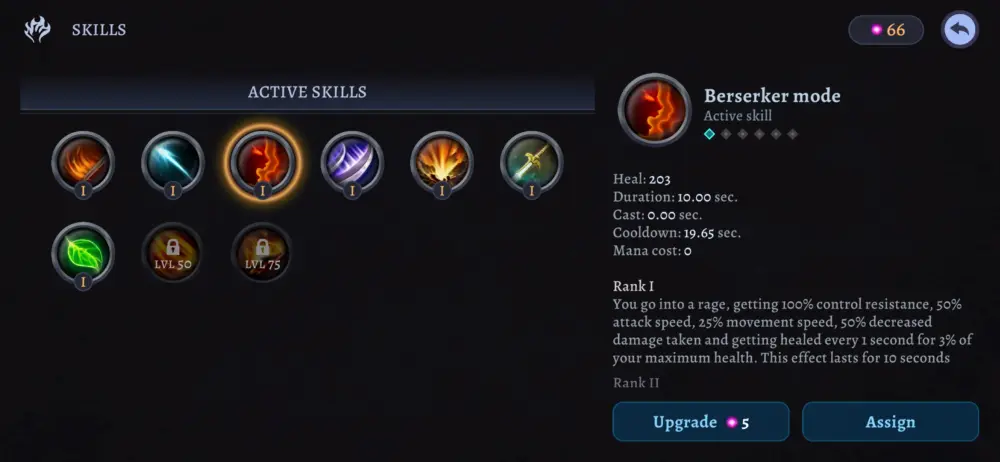
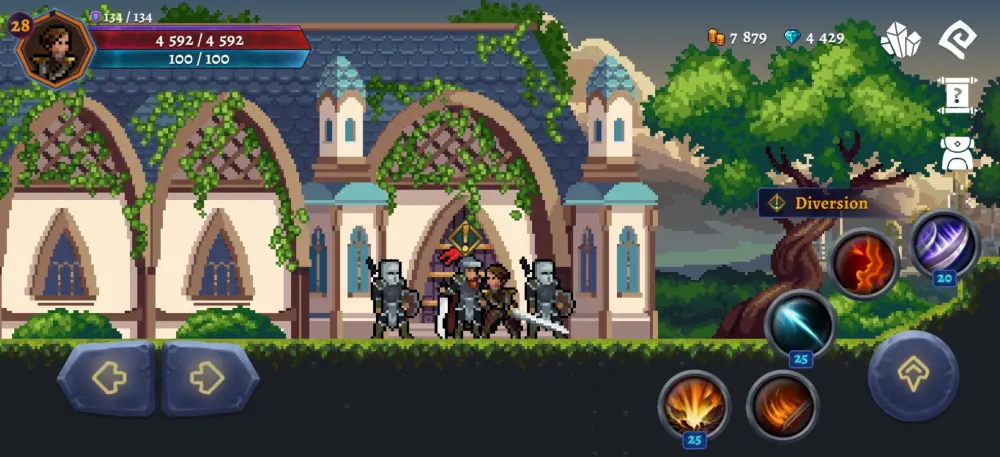
As we’ve said earlier in this guide, we’ve used the Warrior class in all our screenshots. His skills Air Dissection and Berserker Mode, as the kids say these days, really come in clutch. For a class that lacks ranged attacks, the Warrior’s Air Dissection is quite handy in most moments since it’s an airwave slash that pierces through most enemies in front of him. The best part of it is he can use it repeatedly as though it were a normal attack, though this does require some Mana to be used.
His more overpowered skill, Berserker Mode, saves him in all situations. If there is an enemy horde before him, he can turn this skill on and fly at them with little repercussion. Berserker Mode drastically increases his Defense, his Haste, his HP Regen, and completely renders him invincible towards control effects allowing him to stay alive and cleave his enemies to pieces without stopping for a break.
This skill is so powerful that it could even save him from drowning underwater (seriously, we’ve tried it). The most outrageous thing about Berserker Mode is that it costs absolutely no Mana to use. Perhaps its only drawback is its lengthy cooldown.
The other classes have their own exploitable skills as well. The Rogue has the Invisibility skill which will allow him to silently cut through the enemy while blessed by the shadow. This is a great means for him to escape the enemy’s wrath and take out key targets if need be. Much later on, the Mage will learn her Chain Lightning spell which will allow her to fry hordes of enemies that have lumped together.
Because this is such a quick spell to cast, she’ll be through with their advance before they could even get to her. Lastly, the Archer has her Toxic Arrow skill which she can use to poison enemies en masse. This will severely cripple them slowly and as they’re slowly losing their HP, the Archer can easily pick them off safely.
These are but a few examples of what you can do to all the enemies on your journey. It all depends on your creativity, of course, since later on, you’ll be able to mix and match skills and make deadly combos among them. Look forward to it, because the enemies will get much tougher the more you play the game!
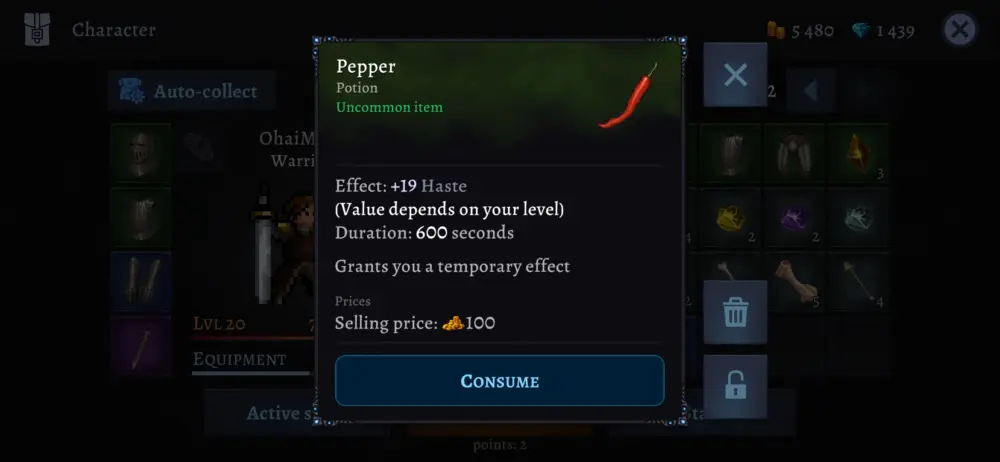
Aside from skills, you will also encounter food. Yes, food. These range from gooseberries to apples, from peppers to fried chicken. Don’t let these tasty morsels fool you, though, they are packed with all sorts of nutrients, vitamins and minerals—oh, sorry, we meant to say they give your character buffs. If you eat these, depending on the type of food, your character’s stats will be increased for a duration.
The best part about food in general is that if you use several kinds at a time, all effects will stack one on top of the other. Just make sure that they’re all different kinds and not just the same type of food eaten over and over again. Use them to your advantage and you’ll be able to get through each level in no time!
Skills aren’t just powerful on their own, mind you. You’ll also have to upgrade them from time to time!
3. Allocate Your Skill Points
A classic RPG mechanic—being able to map out and distribute your skill points.
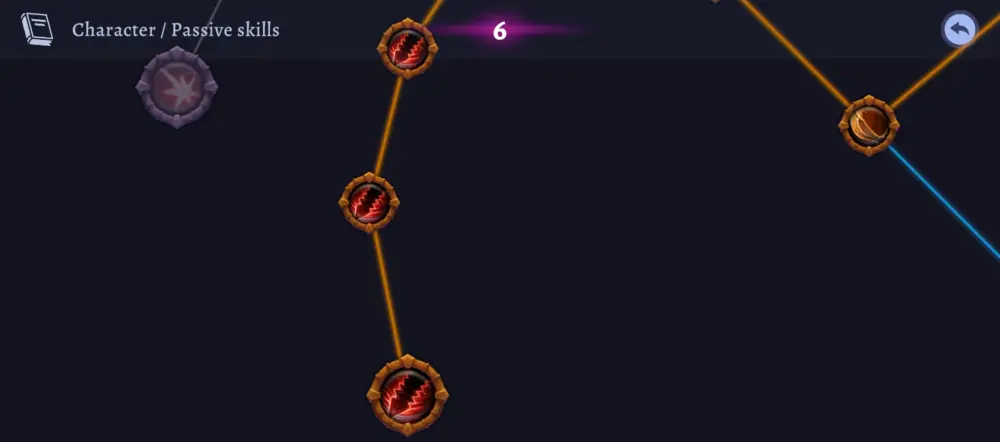
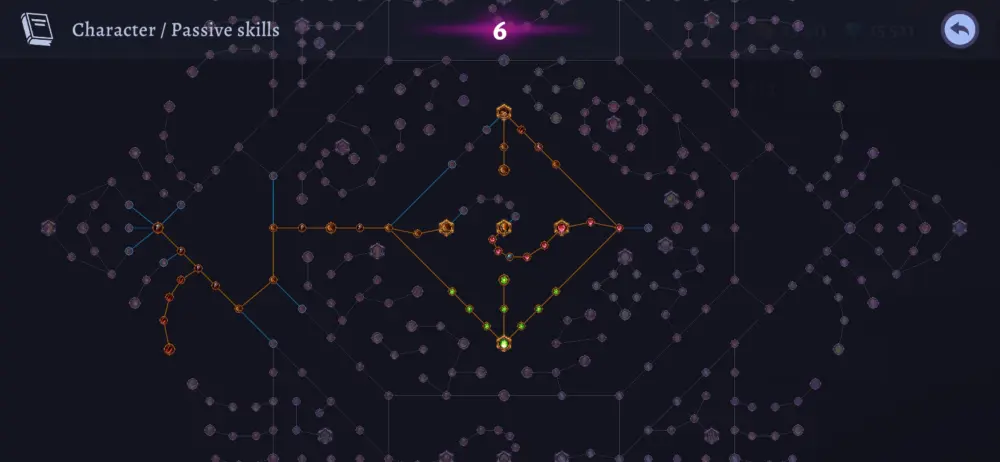
In Darkrise, most of your character’s strength will be coming from the inside. This means having to distribute your skill points to different nodes in the Passive Skill matrix. Yes, we said matrix—not tree. See the screenshot below. It’s huge:
This Passive Skill matrix has nodes for almost anything on your character. If you increase this steadily, you’ll be able to make a character so powerful that they can hold their own without their weapon equipped. We’re not exaggerating—a lot of your character’s power comes from this matrix.
What we recommend, instead of haphazardly taking whatever node is in sight, is to study the path that you’re bringing your character’s growth to. There are many twists, turns, dead ends, and perks. The bigger the node, the greater the bonus. Just remember, if you feel like you’re making a sudden leap from dealing damage to your character’s defense, you might’ve made a wrong turn somewhere.
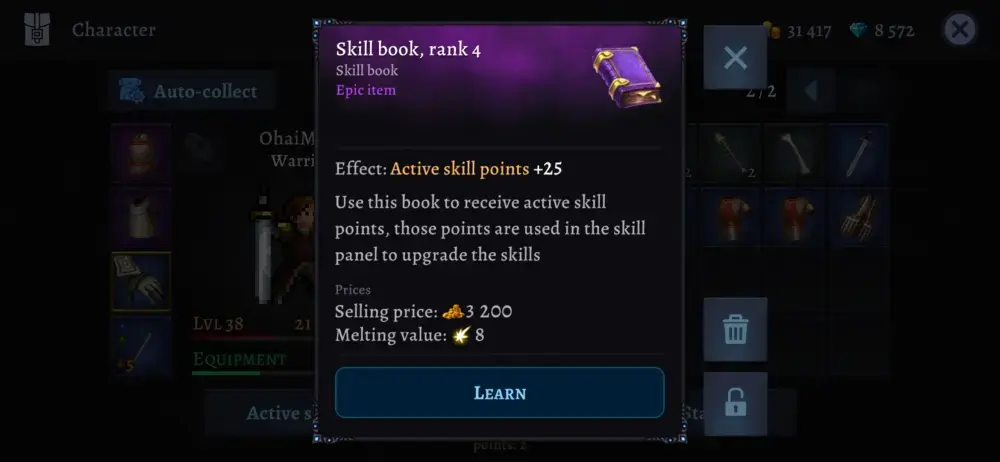
Active Skills, on the other hand, are more linear in progression. You tap an Active Skill, you increase its rank, BAM, better Active Skill. The only difference between upping Active Skills and Passive Skills is that Active Skills require increments of Active Skill Points. For example, you need 5 Active Skill Points to up this one skill. The next time you increase its level, you’ll need 15, and so on and so forth. The improvement of Active Skills may also cause debuffs on the enemy like slow them down or stun them.
Gaining Skill Points is the same for both Active Skills and Passive Skills. You gain a little bit of both each time you level up, but there’s also the act of reading Active Skill Books or Passive Skill Books. Take advantage of these because you’ll be able to make your character much stronger long before they level up. These two can simply be found by playing the game. You’ll earn a lot eventually!
There’s always plenty to find in Kalgar Island (and all the other regions of the game), it will take a bit of patience, but you’d be surprised at what you’ll find.
4. Explore Each Area Until the End
There’s plenty to see in each level! You should expect the unexpected.
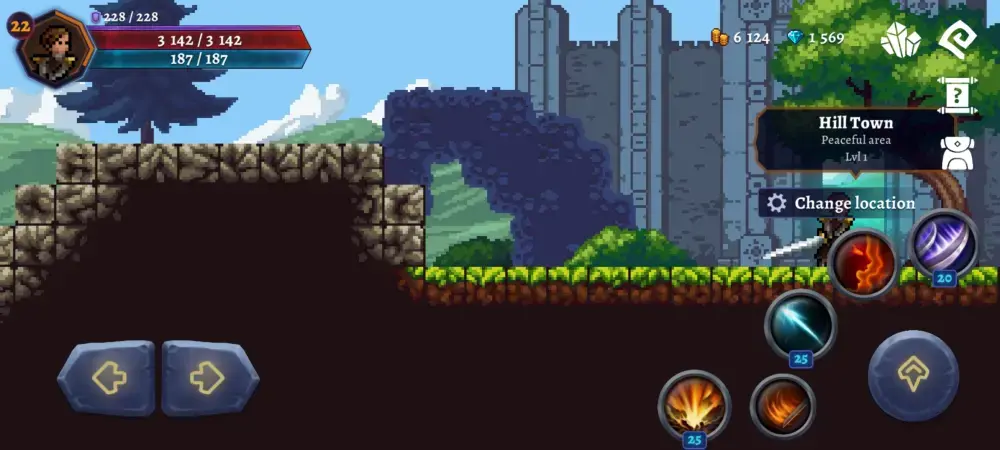
The primary reason you’d want to explore each level is to find Warp Totems. These will make traveling around the region much easier each time. These totems are completely free to use and you can do this solely tapping the Change Location button that appears near your skills.
The world map should open and you’ll be able to teleport to any Warp Totem that you’ve discovered. This could come in handy for when you’ve discovered a new location and you’ll be required to come back to it later for a quest. If you’ve reached the end of a map, go to the next area and activate the Warp Totem near its entrance.
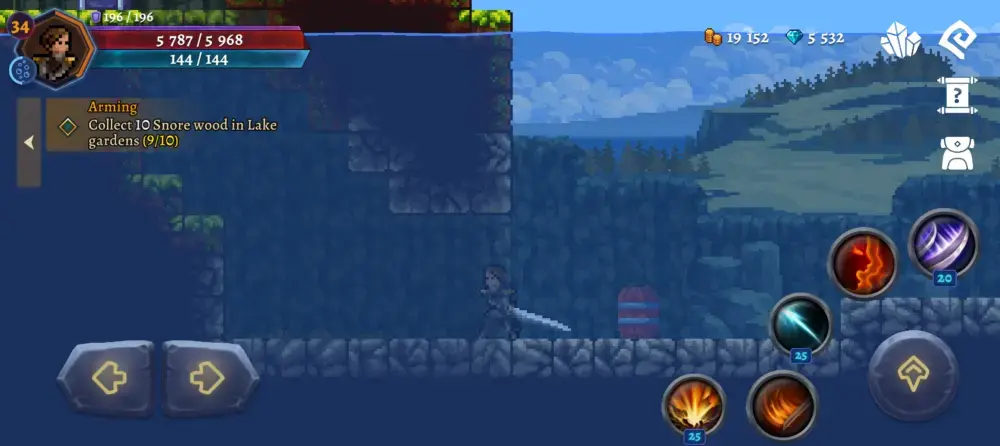
Exploration will also allow you to harvest various material and grind for new equipment (more on this very soon). If you happen to have the knife, the sickle, the pickaxe, and the flask, you’ll be able to gather important components required for crafting gear. The knife allows you to harvest from animal corpses, the sickle allows you to harvest plants and herbs, the pickaxe gets you ores from ore veins, and the flask gathers essences. Most maps beyond Lv20 will have these resources.
Lastly, you’ll also be able to find secrets in each map. Usually, if you see a treasure chest in a seemingly unreachable location (underground, for example), there’s a pathway to it. You just have to try pressing your character against various walls. For all you know, these walls might actually be secret passageways that lead you to said treasure chest. Be adventurous, explore a lot!
You may repeat locations solely for EXP and loot. But how does obtaining gear work anyway?
5. Keep Your Gear Score High
Getting gear in Darkrise is just like most RPGs—taking them from the cold, dead bodies of your enemies.
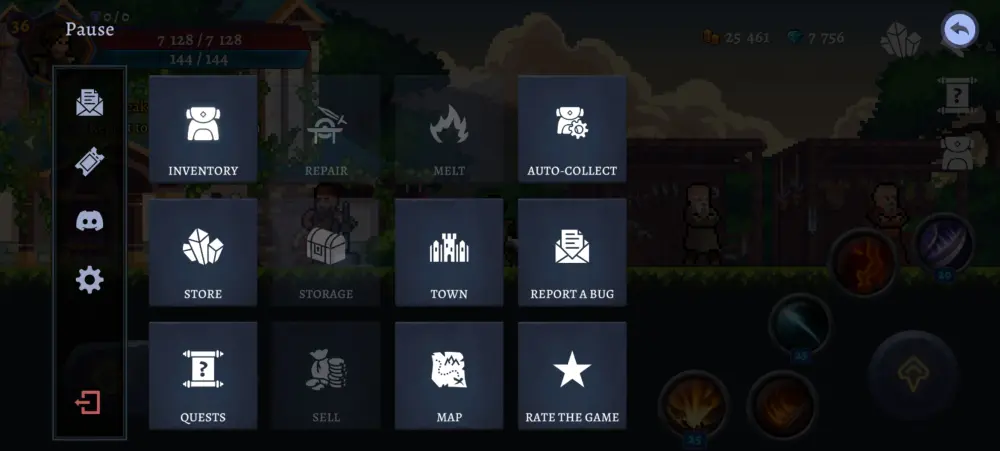
You’ll be showered with a lot of headgear, weapons, armor, and the like. If you really want to know how to get the best gear, then turn on your Auto Collect (found on the upper left portion in your Inventory) and pick the following settings:
The better gear you’ll obtain early on would be the Uncommon ones (Green). Later on, you’ll need to move the slider to the left to get higher-tiered items because they’ll become more common as you progress. Naturally, this isn’t to say that Uncommon items aren’t wholly trash—you may come across a few good ones in later areas. What tells you that these are more important than they look is what’s called the Gear Score.
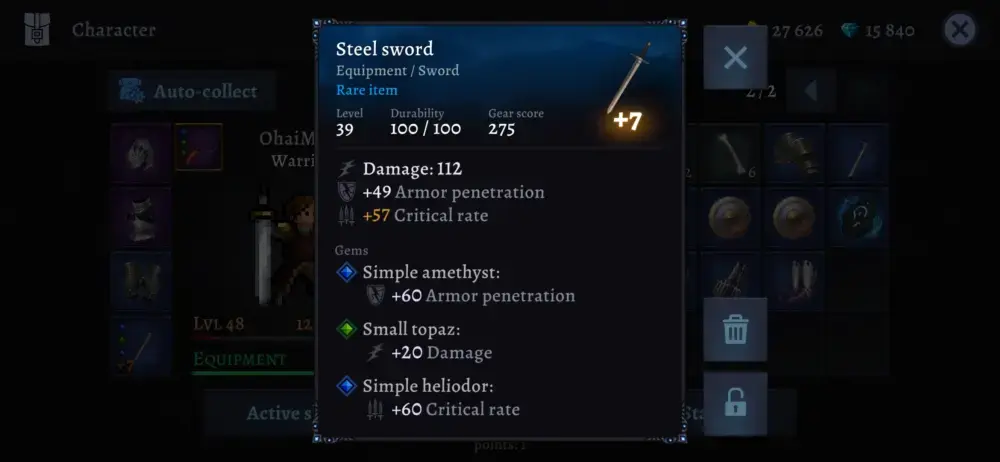
Each time you tap a piece of equipment, you should see a small number in the upper center of its stats called Gear Score. This score denotes the overall contribution that this gear piece can contribute in your set of equipment. The higher the Gear Score, the more valuable the gear piece is. Naturally, if you find equipment in the wild that has better Gear Score than those that you already have equipped, don’t let them gather dust in your inventory—equip them!
There is a catch to getting all sorts of gear, however…
6. Return to Town Often
Inventory full? Items needing repairs? You know where to go—back to town!
Your first hub (that’s old RPG player speak for “town that has everything”) will be Hill Town. This town is bustling and busy, with all sorts of services available to your character. This is the place where you can sell unwanted equipment, store equipment that you’d want for later, craft items and, most importantly, melt items.
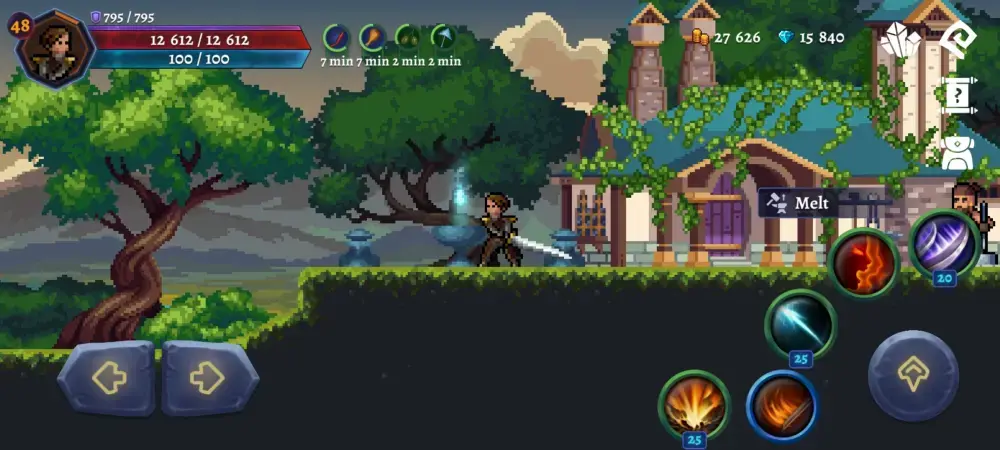
A little to the left of the blacksmith (right from the entrance of Hill Town from Povzevo, left from the entrance of Hill Town from Dawnstall), there’s a blue, glowing pot in front of a crooked tree. This is the Melting Pot where you can dispose of any unwanted equipment in your inventory. “Wouldn’t it be better to sell these?”, you might ask, and we’d say: not really. You’ll gain lots of gold as you explore anyway, so you’re better off melting these to gain a special material called Magic Essence which we will talk about very soon.
Exploring the town is also good because you’ll know where to go each time you come back. Specifically, you’ll be speaking to Lloyd, the Guard Captain, a lot. He stays at the large house at the leftmost part of Hill Town, right near the exit to Povzevo. We’re getting ahead of ourselves, however.
Let’s turn our attention to Raza, the Blacksmith, instead!
7. Make Use of the Blacksmith’s Services
No RPG is complete without an artificer like a blacksmith!
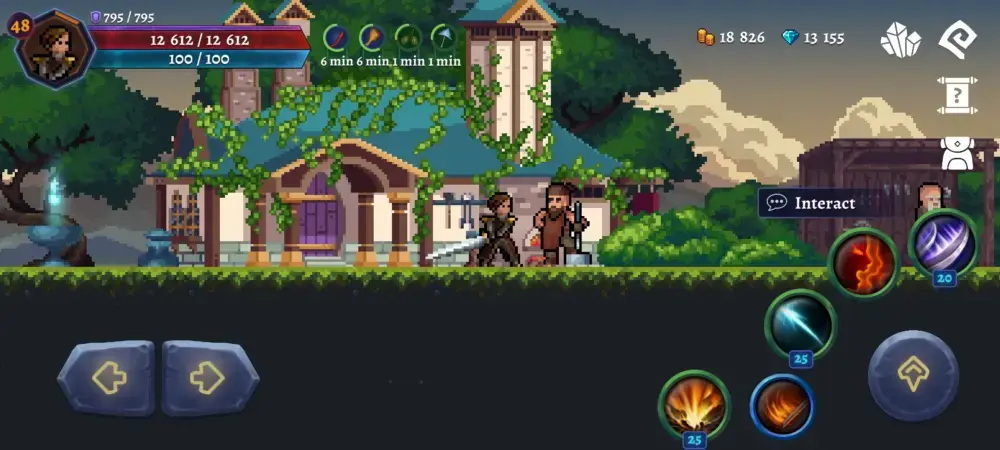
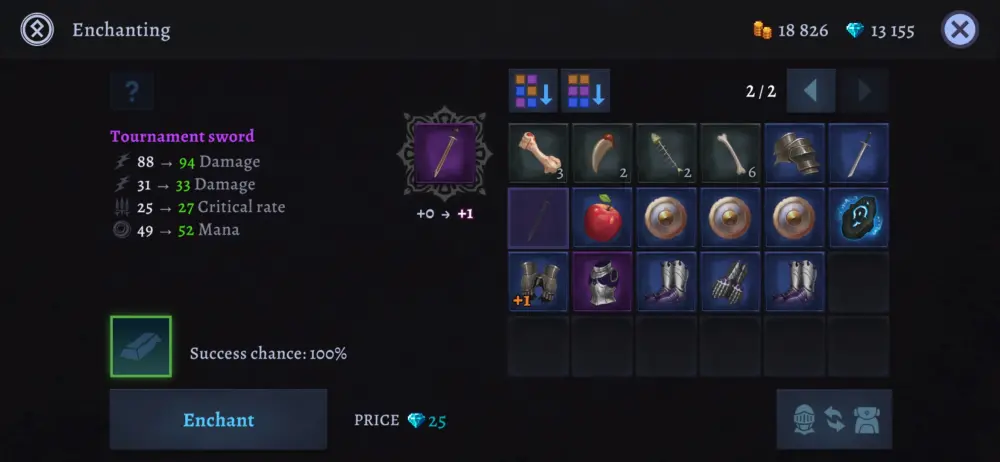
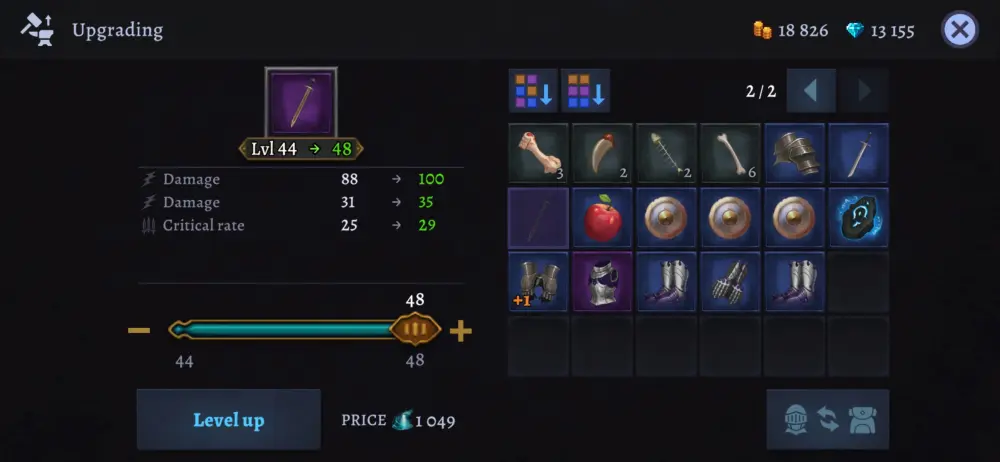
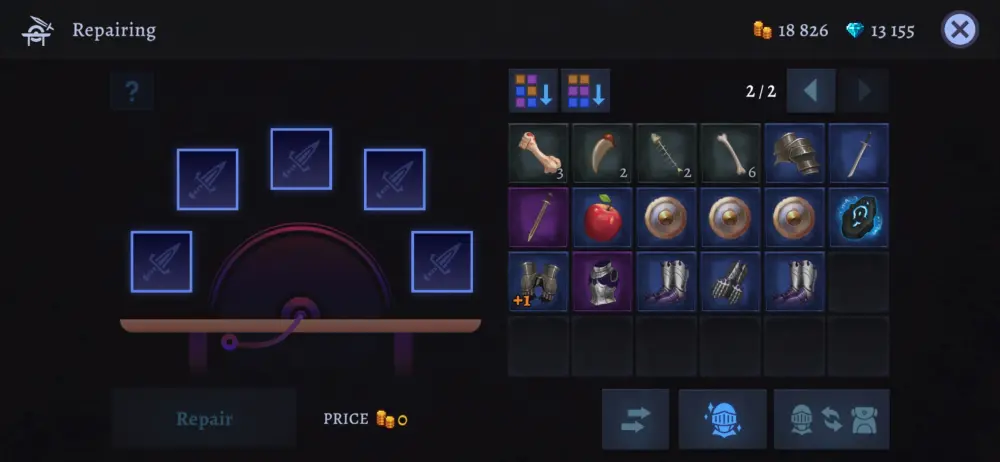
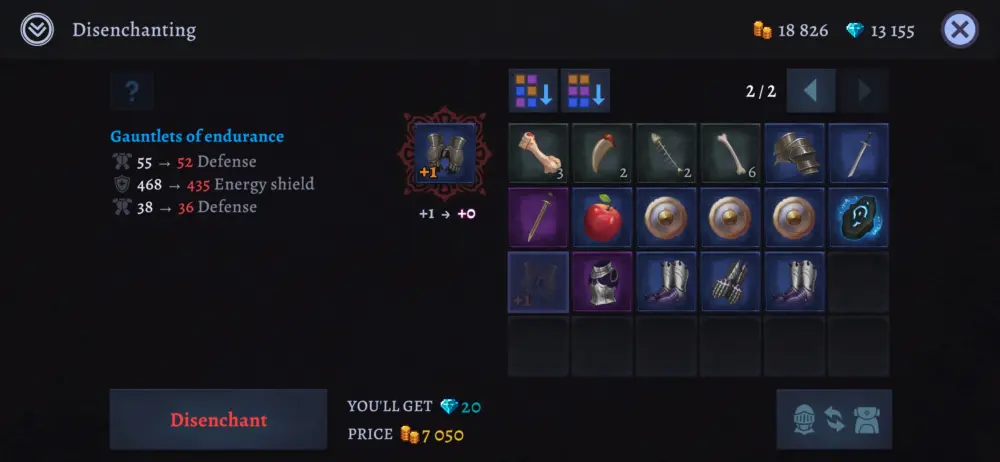
Blacksmiths exist to sell you items, upgrade your gear, hammer at the anvil to provide ambient noise, and many more. Either way, they’re here because their services are always quite welcome. Raza, here, is quite special since he offers a lot of other services that blacksmiths wouldn’t normally give. Have a look:
- Enchant — If you put any gear piece here, you’ll increase its overall stat values. This includes any and all perks it comes with. Be warned that the blacksmith takes crystals as payment here. It’s expensive but worth it!
- Level Up — Putting a gear piece here will allow you to increase its stats and bump the item’s level up with values fitting that specific level. Do note that the item’s level cannot exceed your own. This is also where your Magic Essence will go.
- Repair — Items in Darkrise all have durabilities. Ostensibly, it’s not a good thing for these to break, so have them repaired often. If it’s your equipment you’re hoping to have repaired, simply tap the knight helmet icon at the bottom of the screen to repair them all simultaneously. The blacksmith charges a gold fee for this.
- Disenchant — This will completely reduce an item’s enchantment level. Use this if you wish to have your crystals refunded. The only downside to this is that it’s quite expensive in gold.
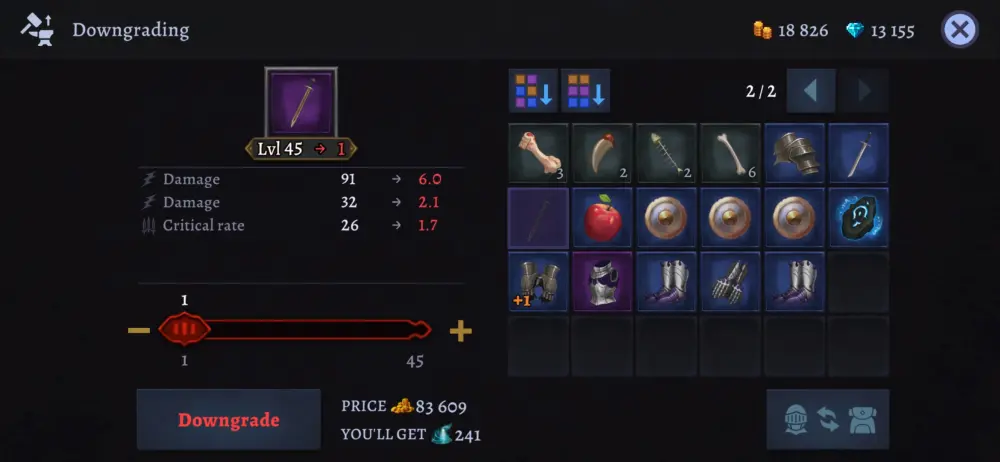
- Downgrade — Much like Disenchant, this also requires some gold to perform. You will instead be refunded with Magic Essence, unlike Disenchant where you are given crystals.
On the other side of town, there is yet another important NPC that needs to be made known.
8. Gem Your Equipment
The blacksmith is just one way you can upgrade your equipment.
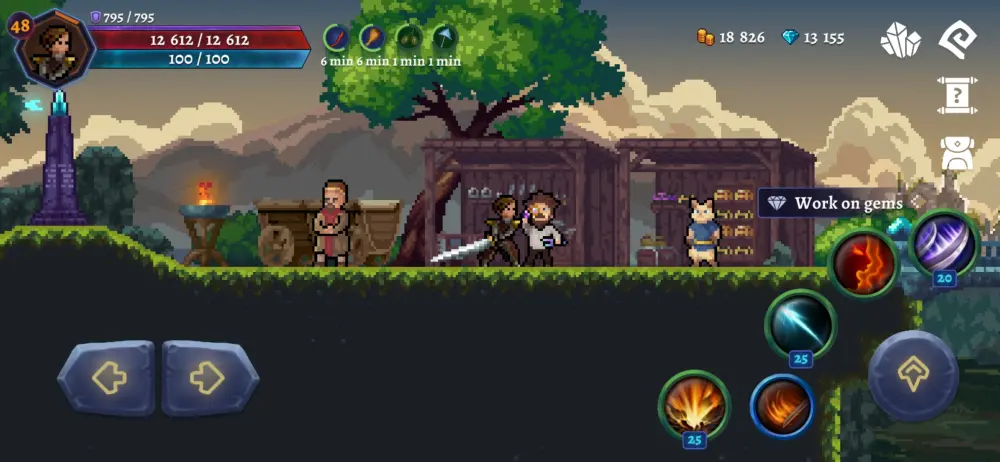
On the other side of town, you’ll find a man who would constantly look at the sparkle in his gems. Find him. He is a small man with a monocle. Once you have, speak to him and he will be able to unlock the full potential of your gear… provided that you have the gems for it, of course.
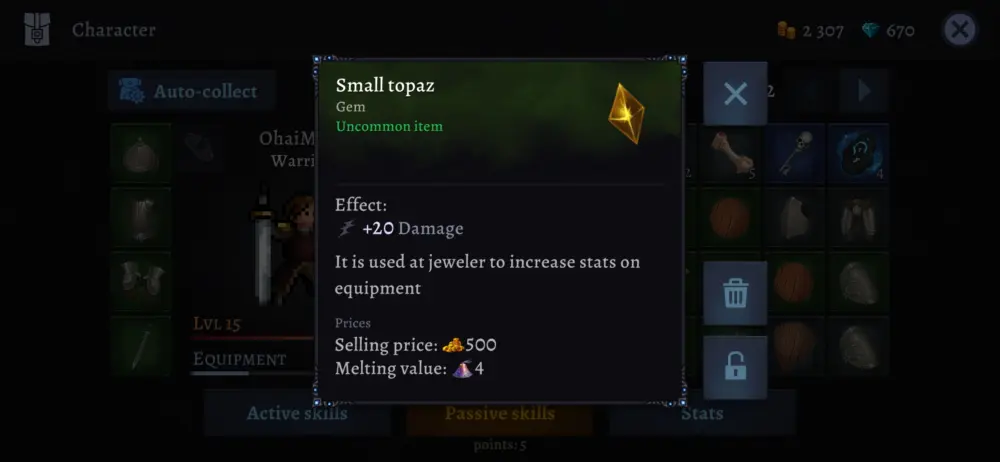
Topazes, amethysts, rubies—these are the kinds of gems that you’ll be using here. If you find them, tapping them will let you know what kind of stats they give you. Once you have an idea of what you want, take these to the jeweler in Hill Town and he’ll be able to help you.
Each gear piece can have a maximum of 4 gem slots. To make a gem slot in any of these will require a cost of gold that increases with each new slot made. If you have enough gold, then by all means, get all 4 slots. However, if you’re on a budget, we recommend using the biggest, most rare gem in your inventory. Like equipment, gems also have their own rarities, but be sure to collect any of these you come across. Although their rarities might be low, their stat bonuses may be of help.
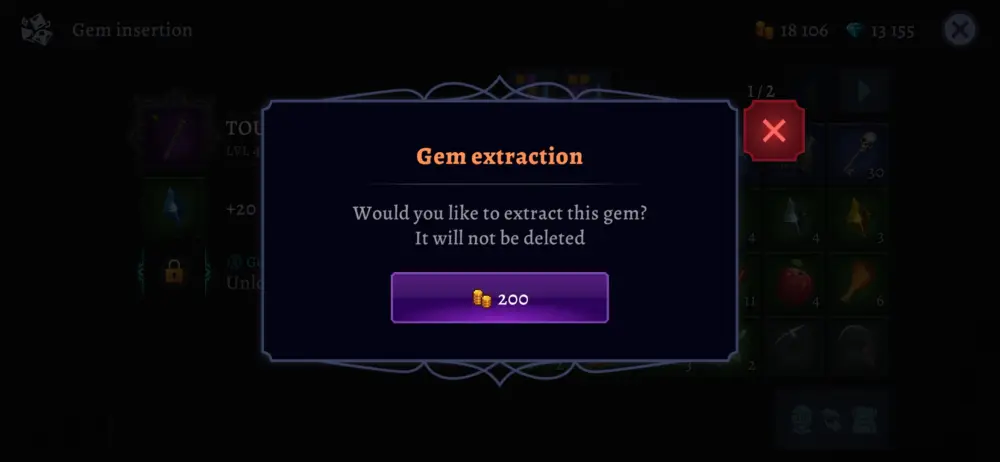
Conversely, if you want to change the gems in your equipment, you may choose to extract them and replace them with better gems. Unlike some RPGs where gemming will require the destruction of the gems to save the equipment or the destruction of the equipment to save the gems, the jeweler is actually skilled enough to extract the jewels safely albeit at a gold fee. Only do this if you have better gems and enough gold for it.
Remember that your character’s on a journey here? That’s right. Follow the quests and you’ll progress through the game!
9. Follow the Quests
Always keep in mind that the Broken Islands have been invaded by an unknown force.
Your family, your lands have been taken from you. This isn’t just an adventure—this is your quest for vengeance, your quest for justice. While it will all begin with a humble farmer asking you to pick his carrots, we suppose that this is all a test of character. Eventually, when you get to Hill Town, you’ll be speaking to Lloyd a lot.
Needless to say, the quests will have you go to different places, and this directly ties into that bullet about exploration. Remember: find your way to the end of the area, enter the new area, activate the Warp Totem, go back to town. You’ll be able to get to the location of your next quest objective without having to fight through the enemy hordes again.
The reason behind a main quest existing is to give your character a steady progression through the game. Without a quest guiding your character, their journey will be aimless and pointless. True, you’ll gain power and a lot of loot, but the quest rewards are actually pretty great. You’ll be given gold, EXP, and a sum of crystals. In turn, doing quests will keep you from going bankrupt from improving your gear. If you aren’t sure which NPC has a quest for you, look for those that have an exclamation point floating atop their heads.
Speaking of crystals, you can gain these elsewhere and it’s not from doing quests.
10. Watch Ads for Crystals and Revives
Despite its fantastic quality, Darkrise is a game that’s completely free!
Of course, there are ways you can show the developers some love (*nudge nudge, wink wink*), but if you really wish to support them without having to spend a single cent, you can instead watch ads. This indirectly supports them and you’ll get rewarded for doing so, too!
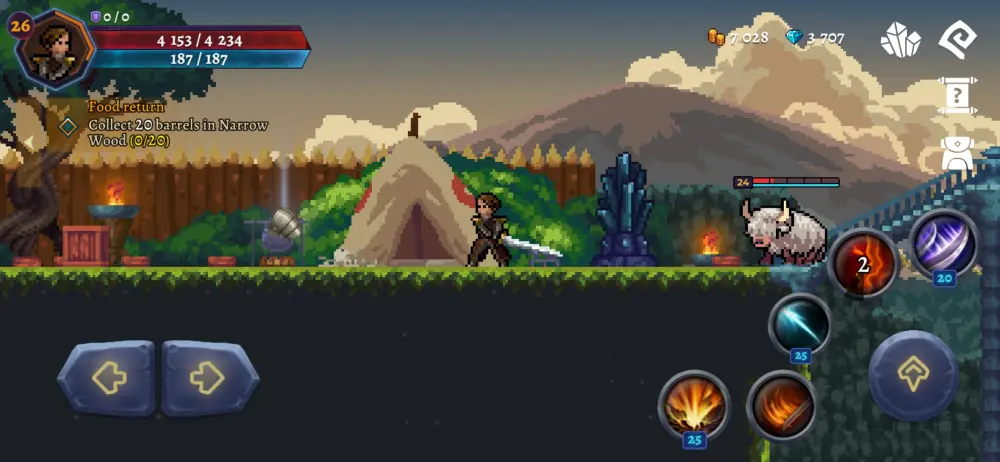
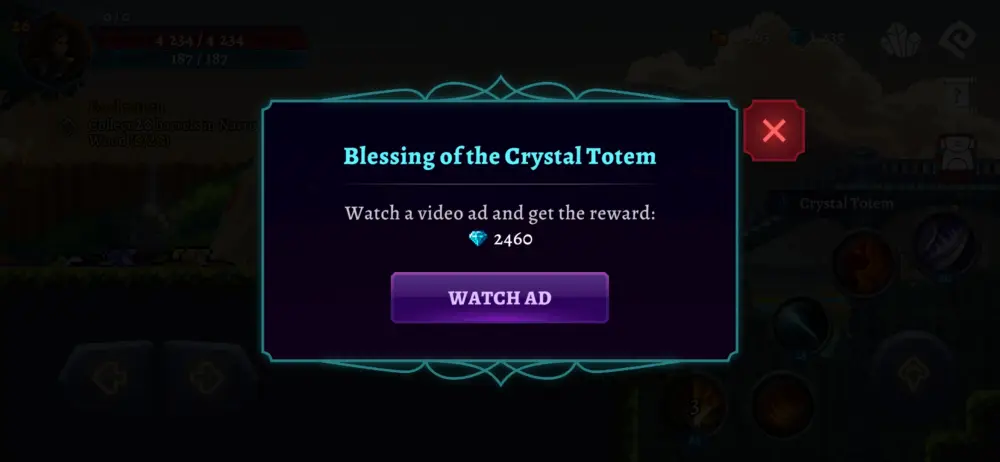
Unlike other mobile games, however, Darkrise doesn’t have ads peppered in each and every little thing you do in the game. Instead, the most common places you are likely to encounter ads are the Crystal Totems or when your character gets killed. As we’ve mentioned that exploration is important, that’s because from time to time, you will encounter Crystal Totems. They’re blue, they’re shiny—you can’t miss them. Watching the ad that’s prompted by these will give you a large sum of crystals, so don’t pass this up.
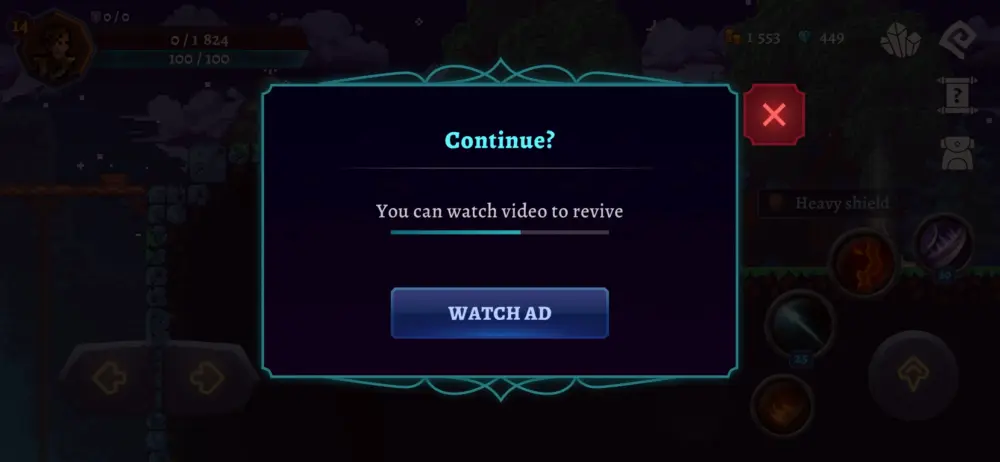
If you’ve gotten a little reckless and your character gets killed, you will be given the chance to revive them once by watching an ad (first picture of this bullet). Take advantage of this since once your character has been brought back to life, their HP and their Mana will be completely filled and you’ll be able to launch a successful counterattack to those that have slain them. Give them hell!
Take heed that this guide is only enough to get you through Kalgar Island. Once you reach the Holy Empire, you’ll be on your own. More dangerous foes will await you and only you can bring justice to your fallen homelands. Hopefully by then, you’ll be strong enough to take on even the biggest armies. Either way, just remember what you’ve learned from reading this guide:
- Fight smart—keep your enemies from congregating too much and you’ll kill them more quickly.
- Exploit your skills and make the most out of them. If you have food in your inventory, eat these before battle!
- Don’t forget to allocate your skill points. They make your character much more powerful.
- Explore, explore, explore. Leave no stone unturned and go through a level fully. You’ll be surprised at what you’d find!
- Gear Score is very important. If you keep it high and have only the best gear for your character, you’ll become quite powerful.
- Go back to town often. Lighten your load and melt some of your equipment into Magic Essence.
- The blacksmith will be one of your best friends since this is where you can make your equipment stronger.
- Put gems in your equipment—gems give great stat bonuses. Don’t let them just sit in your inventory!
- Quests give gold, EXP, and premium currency. Make it rain!
- Watch ads. They’re good for you because they give revives and Crystals!
And this is the end of our guide for Darkrise. Your character is destined for greatness. Let them not kneel to the forces of darkness and find the cause of your homeland’s invasion. Good luck!
Are you a well-traveled hero? Have you seen what lies beyond the Orion Kingdom and its frozen mountains? Are there any tips in this guide that we might have missed? Leave your thoughts in the comment area below!


alex
Thursday 14th of December 2023
Hello, I would like to know how to open or if you can open Robert's chest. I have had it for a long time and I don't know what to do with it.
Hades
Thursday 15th of February 2024
@alex, No you can only give it to Robert
Ajde
Thursday 16th of November 2023
Awesome guide. Thanks!