Shooters have always been a favorite among the various game genres around. After all, shooters have taken on different forms over the years, catering to a sundry of gameplay styles, modes of enjoyment, themes, and even aesthetics. There’s always something for everyone, whether you’re the type to appreciate the more colorful or fantastical gameplay where your character and weapons are clearly a product of the imagination, or the drab and more realistic environments that make you feel like you’re right there in the trenches of ground zero.
For those who prefer a dose of realism in their shooters, Arena Breakout delivers exactly that—a game that’s grounded in realism where you’ll say goodbye to instant reloads, miraculous healing, and auto-aiming, among other things.
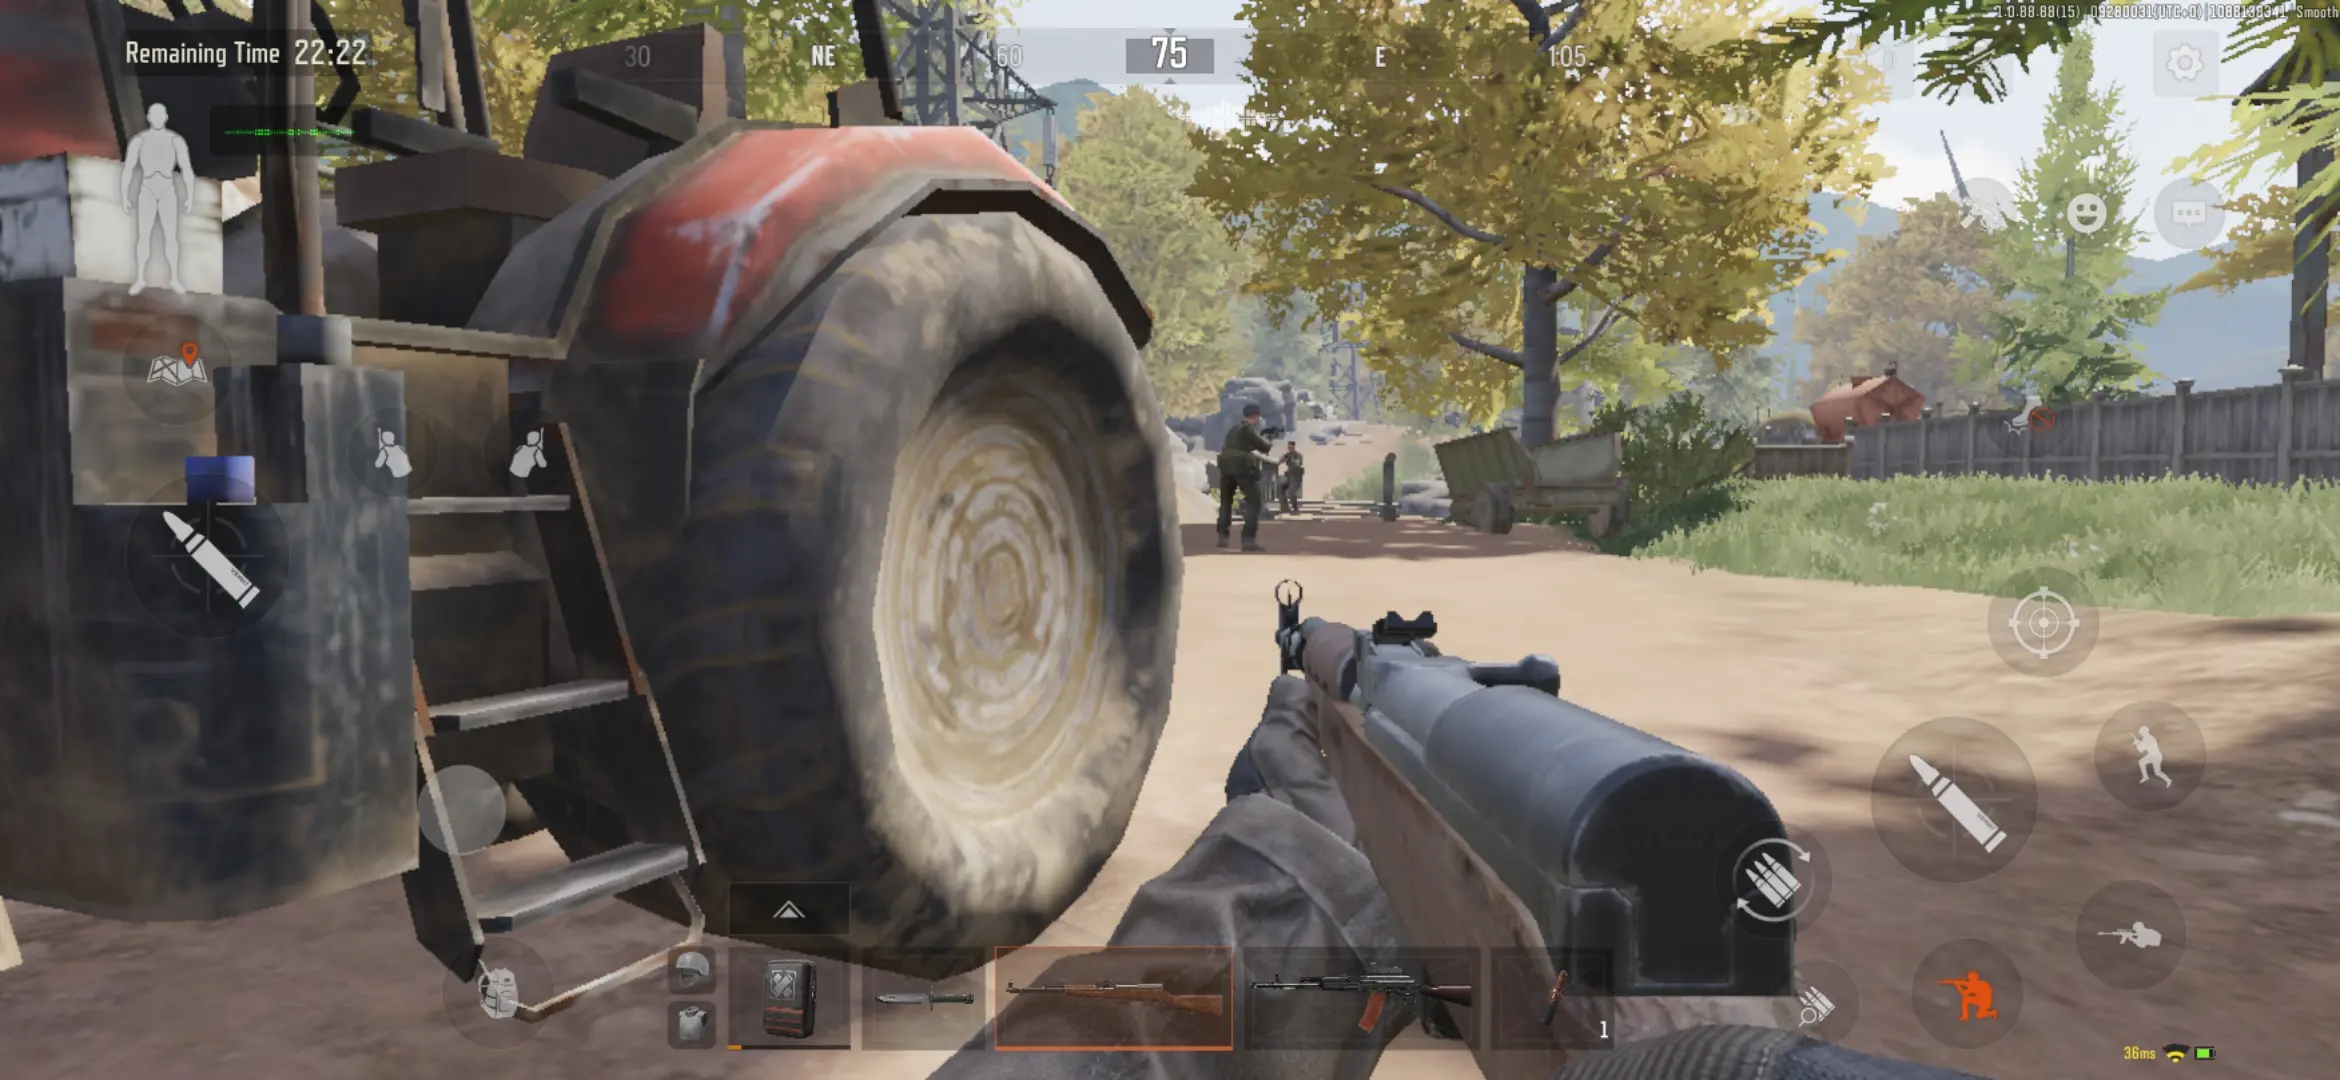
Arena Breakout is a tactical shooter from Level Infinite, that does away with many of the conveniences of modern shooters in an attempt to deliver more challenging gameplay that relies on the ability of players to strategize, compromise, adapt, and survive. While many modern shooters, especially those on mobile devices, have features like auto-aiming, auto-shooting, or even auto-reloading, Arena Breakout lets you experience a semi-realistic simulation wherein almost every action is performed manually—and, yes, that includes reloading.
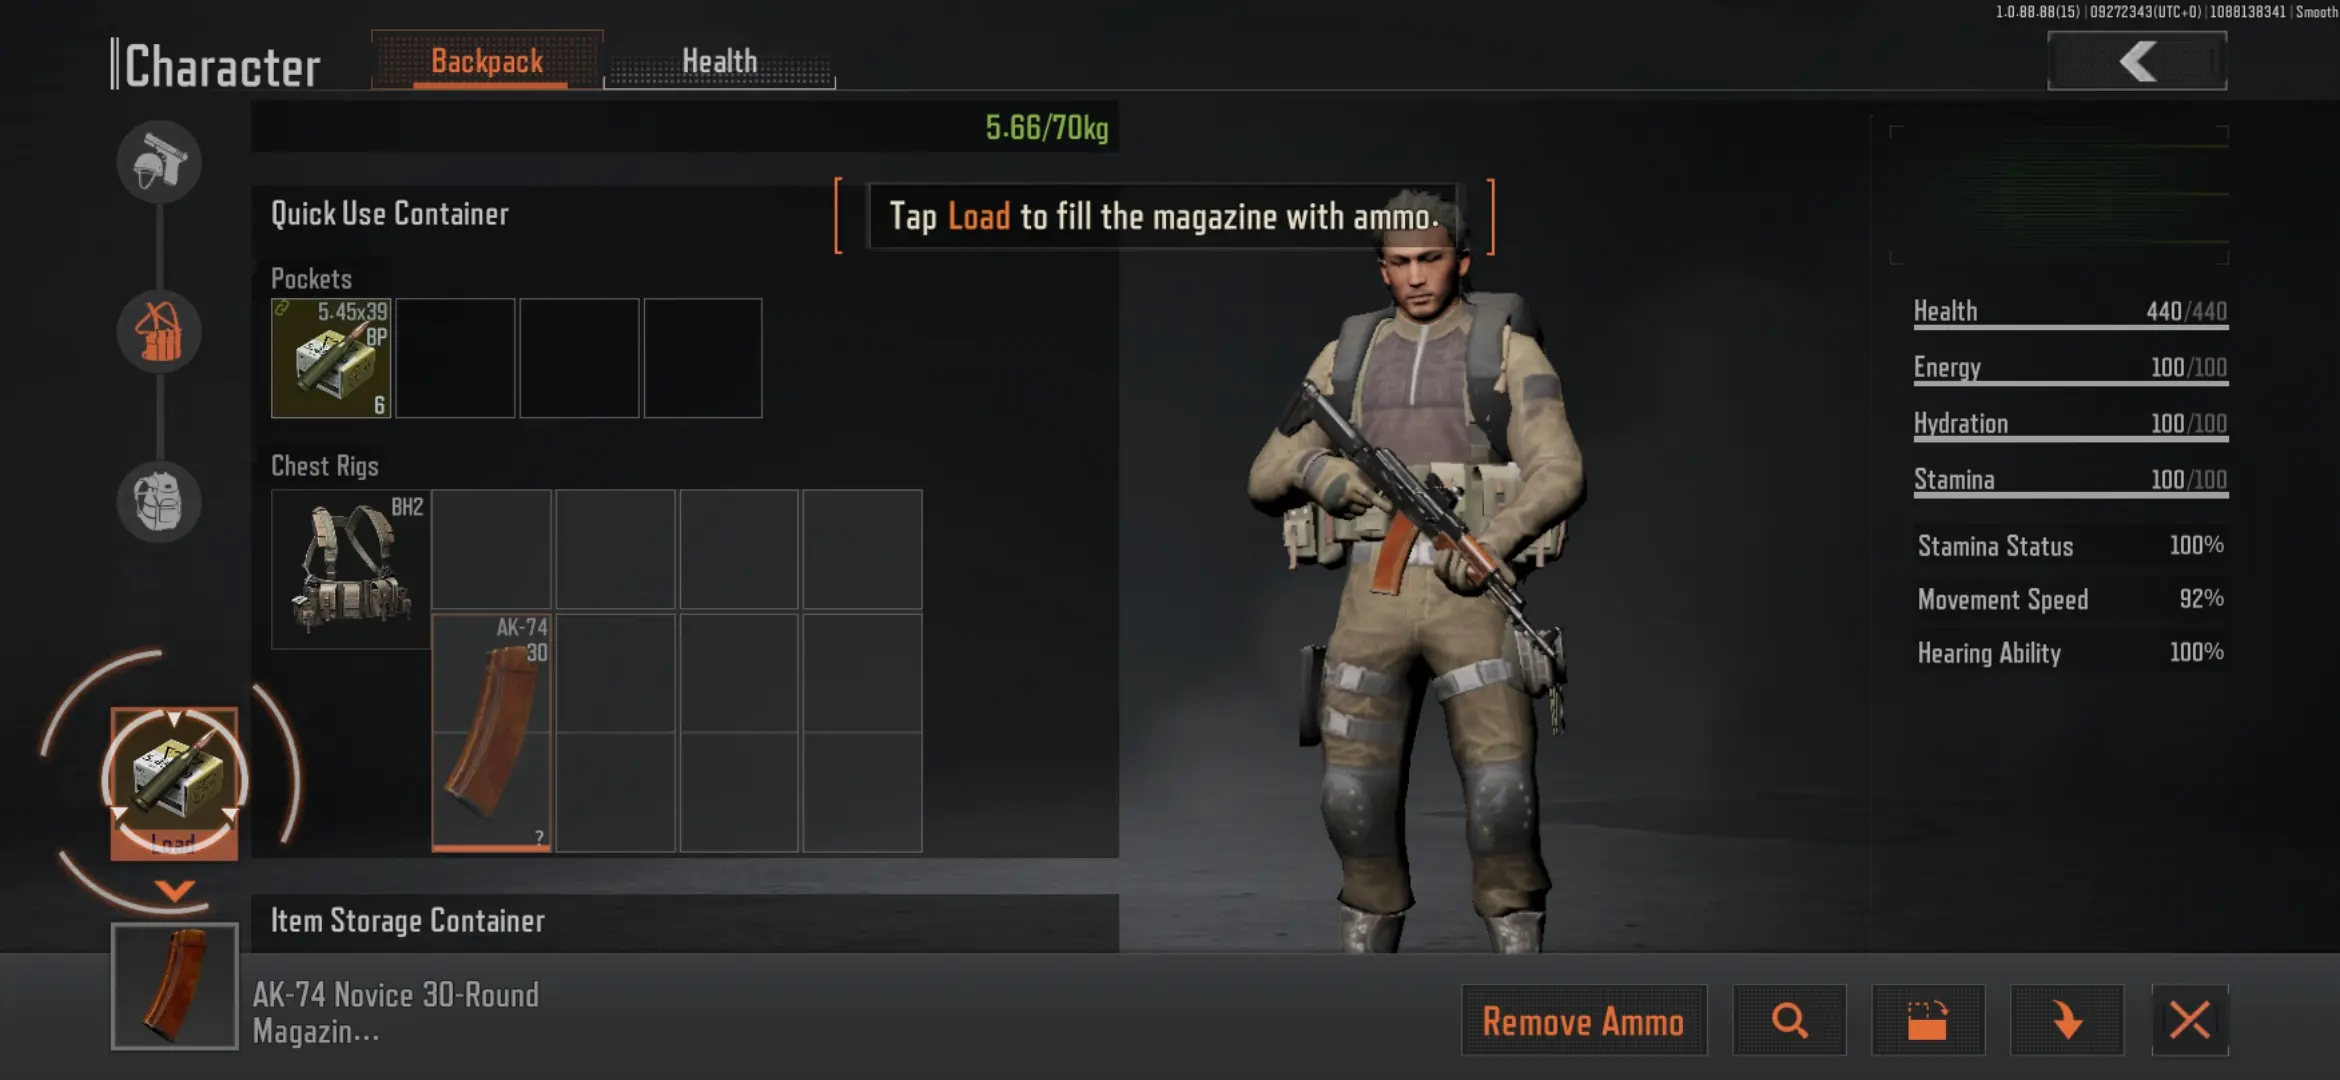
For one thing, if you’re out of ammo, you need to grab a magazine from your chest rig or backpack to change the empty clip into a full one. Otherwise, you can bring along a box of ammo and manually load your empty clip. And mind you, you can’t just bring any ammo along—they have to be compatible with your weapon or else they can’t be used, unless you pick up a weapon that accommodates that specific bullet type.
You can also carry a limited number of weapons (two primary weapons, one sidearm, and one small melee weapon) so you’re going to have to decide whether to keep one weapon in favor of another when you’re in the thick of battle.
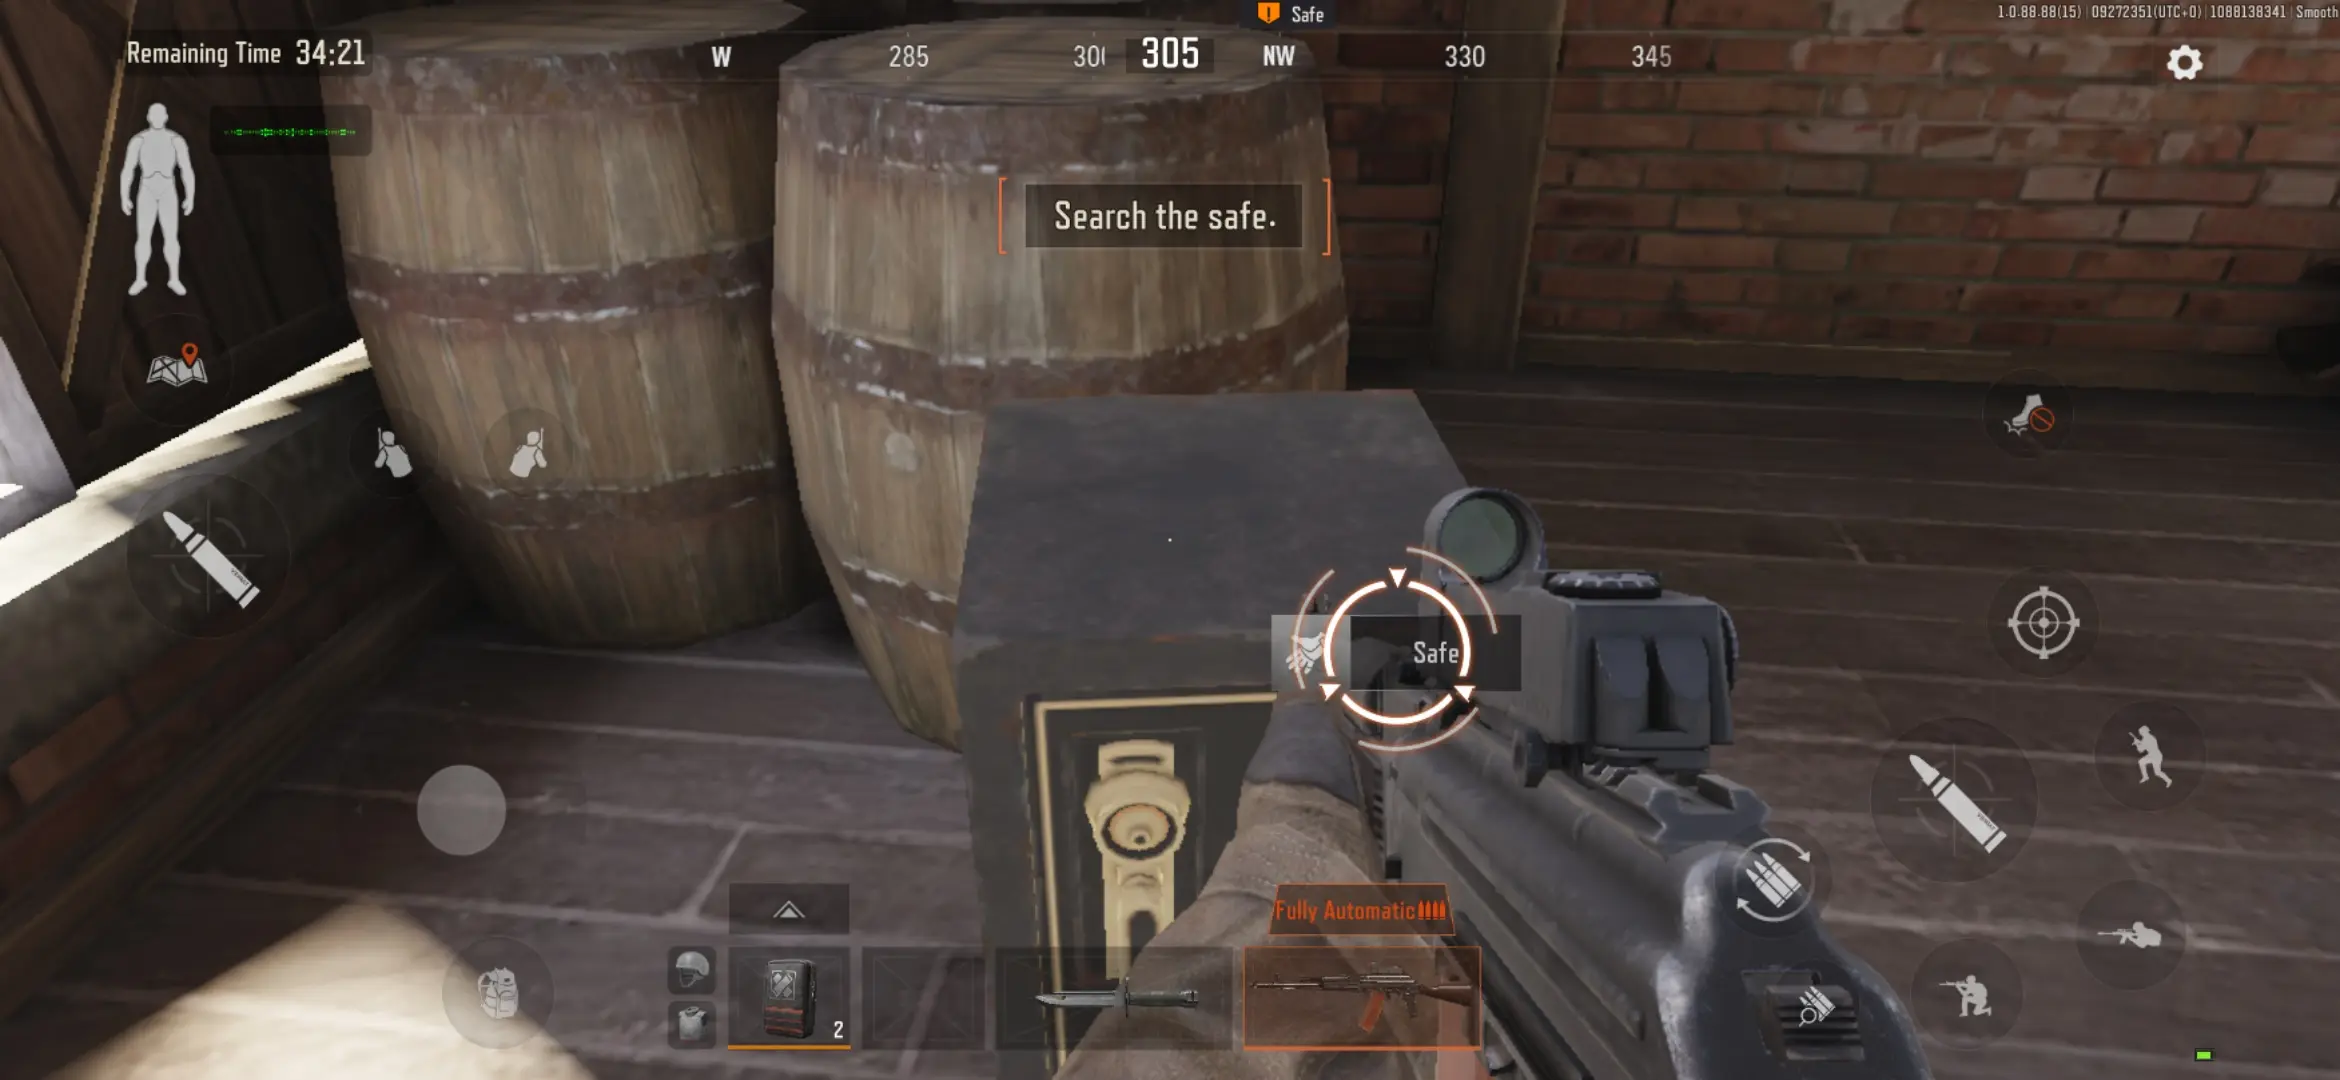
Speaking of picking up weapons, you may obtain them by inspecting weapon boxes or items, as well as by looting dead bodies. However, since the game packages itself as a semi-realistic shooter, looting means temporarily surrendering your ability to view your surroundings as you’ll be focusing on an inventory-like screen whenever you loot a body, weapons case, etc.
You’ll also have to inspect items that you haven’t encountered before, which entails an additional waiting time of a few seconds. That might sound like a negligible amount of time, but in a situation where you can hear gunfire close by, one second is one too many.
If you’re not careful or fast enough, you can get wounded amidst a skirmish, and that in itself can be a huge drawback. Unlike most shooters where you can recover health simply by avoiding hits, in Arena Breakout you need to actually treat your wounds by taking painkillers, applying bandages, or using other medical supplies you have equipped as part of your gear. Moreover, the type of wounds or injuries you sustain will dictate the type of treatment that you need to perform.
Keep in mind that all these are temporary fixes and you won’t get back up to full health until the mission is actually over. Additionally, jumping from high places can get you injured, which will also require you to consume medical supplies or else your injury will slow you down.
Regardless of these seeming difficulties, you’re naturally expected to fulfill your objectives. Succeeding in missions takes a lot of planning, practice, and effort, especially since there are two different modes you can play: Tactical Op and Covert Op. Here’s what separates one from the other:
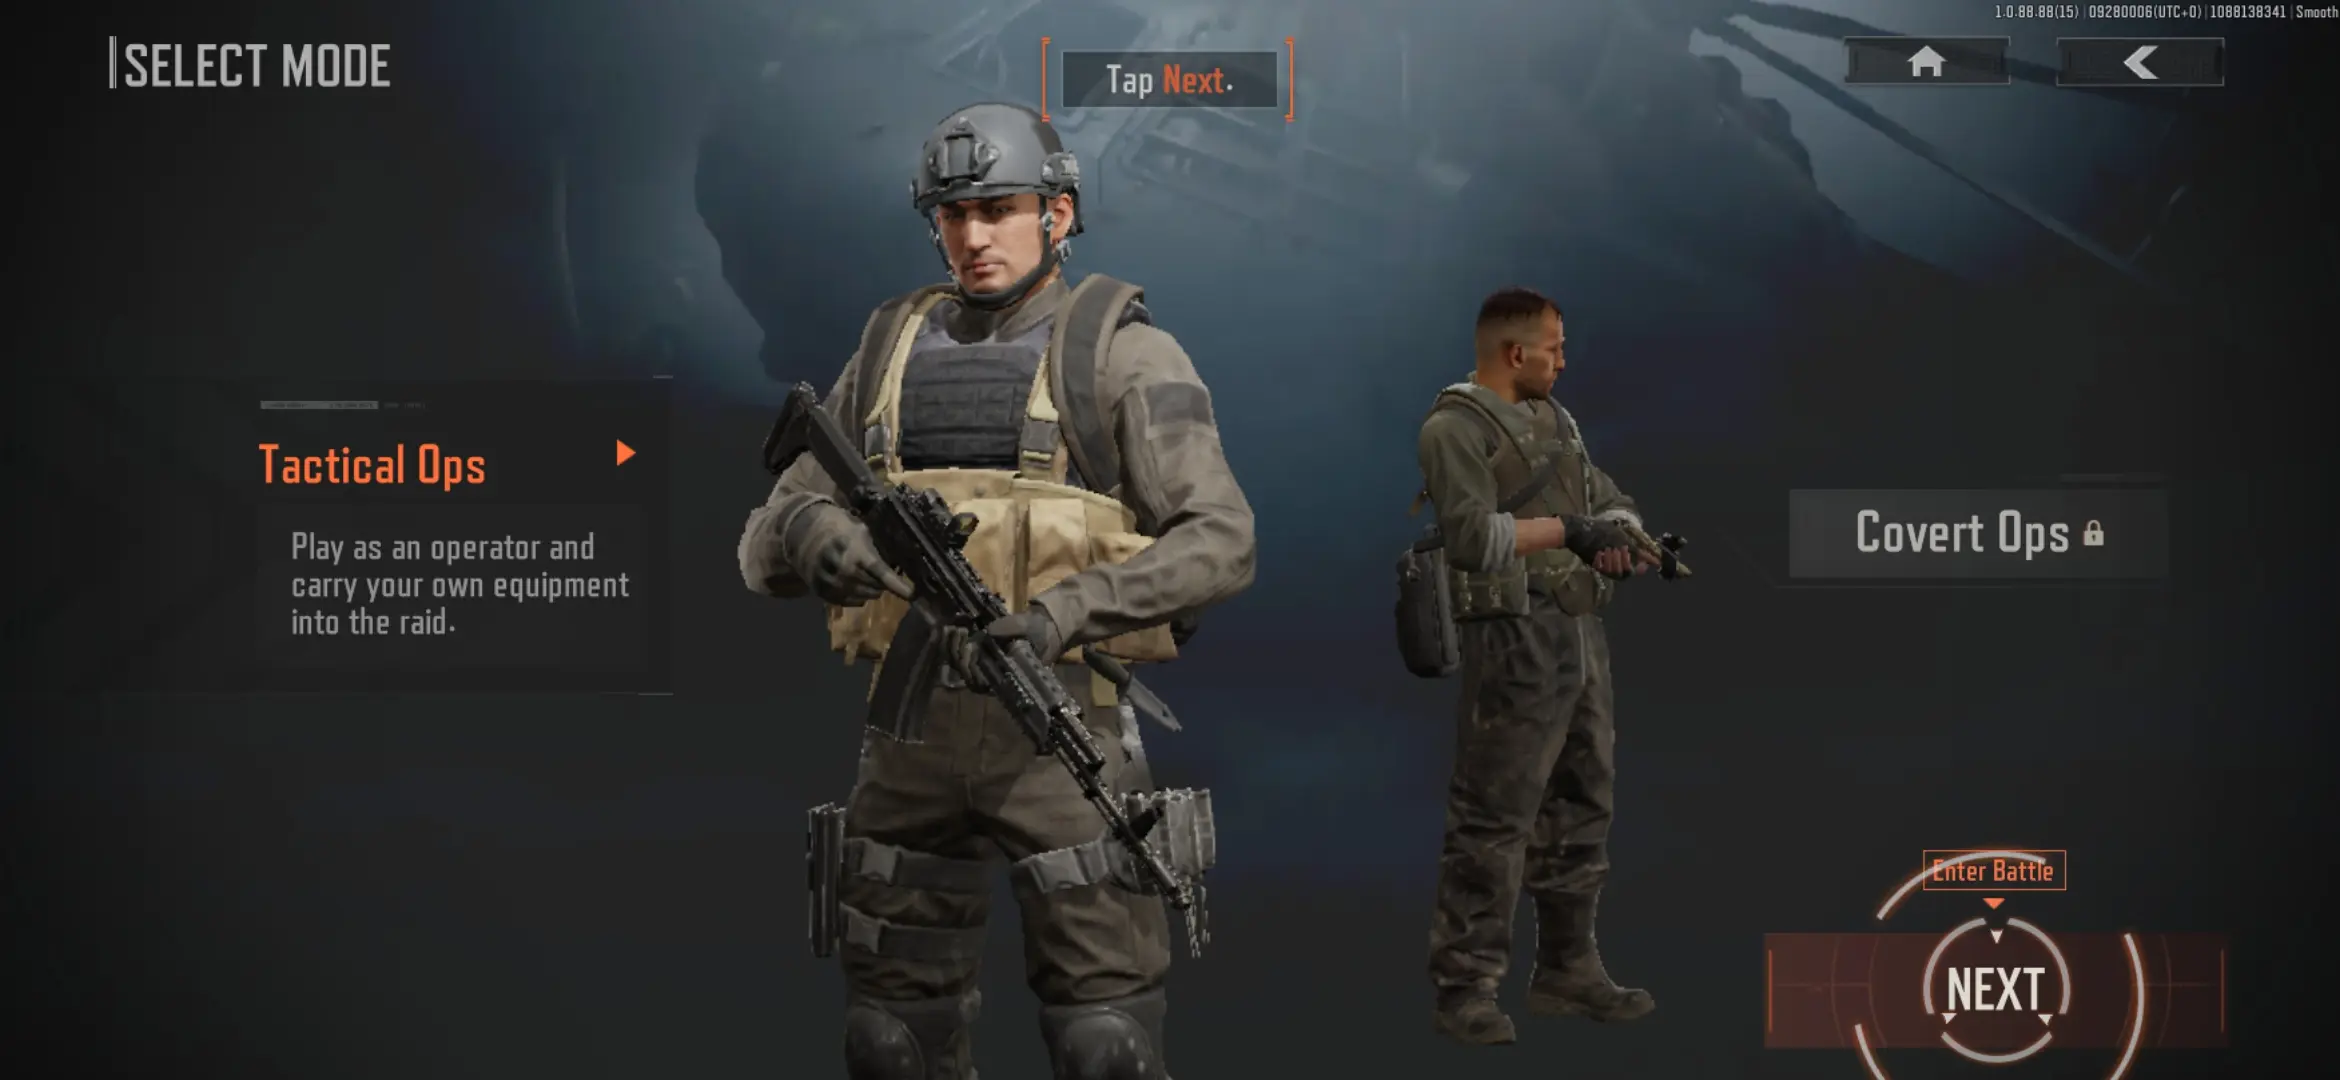
- Tactical Op: This is the gameplay mode that you’ll likely spend a lot of time on as a beginner, and for good reason. In Tactical Op, you’re free to bring your loadout of choice. This gives you somewhat of an advantage against enemy units since you could spend as much time as you want picking weapons that will suit not only your mission objective, but your own personal gameplay style.
If you’re using some old reliables in your loadout, you’ll also be familiar with the way they work and their capacity, which means you don’t have to suddenly familiarize yourself with them in the battlefield itself. As a beginner, this mode serves as a good training ground for you to get a feel of the terrain, hotspots and loot locations, potential hiding places, possible extraction points, and enemy movements. - Covert Op: Compared to Tactical Op, Covert Op can be considered a more advanced form of gameplay that suits veterans instead of beginners. For one thing, you can’t bring your own loadout in a Covert Op mission, but are provided random equipment that you have to work with to complete mission objectives.
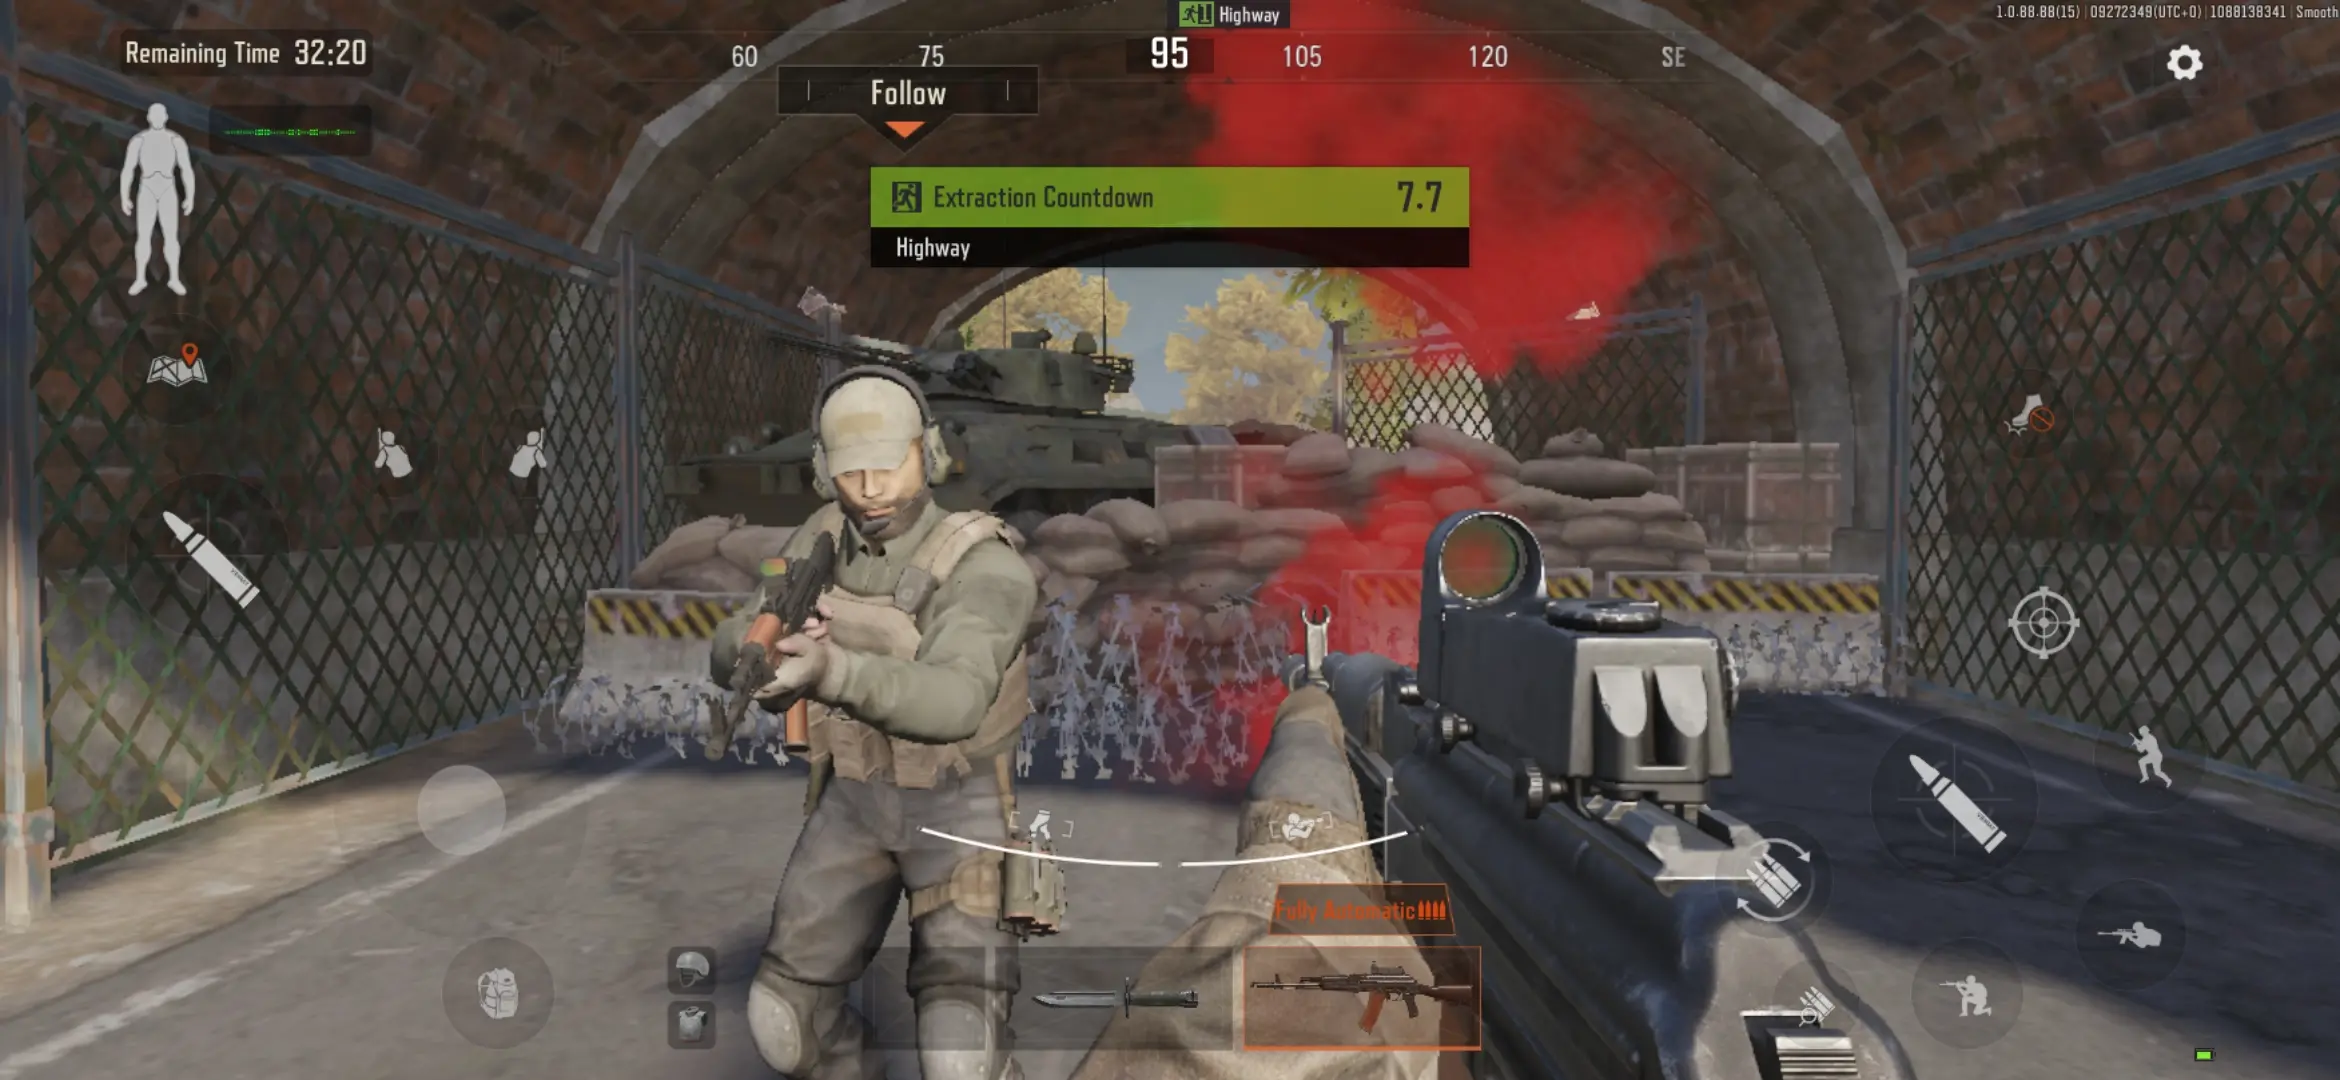
It’s basically a mode where you have to heavily rely on strategy, adaptability, and teamwork to survive. You’re also disguised as a militant, which basically means you’re working undercover (hence the name of the mode).
While donning your disguise, enemies from the militant faction won’t open fire at you without provocation as they think you’re a friendly unit. You’ll also encounter allies from the military faction, but since you look like a militant, you’re going to have to avoid engaging with them as much as possible. You may try taking on Covert Op missions for the sake of simply trying, but we suggest making the most of Tactical Op missions first.
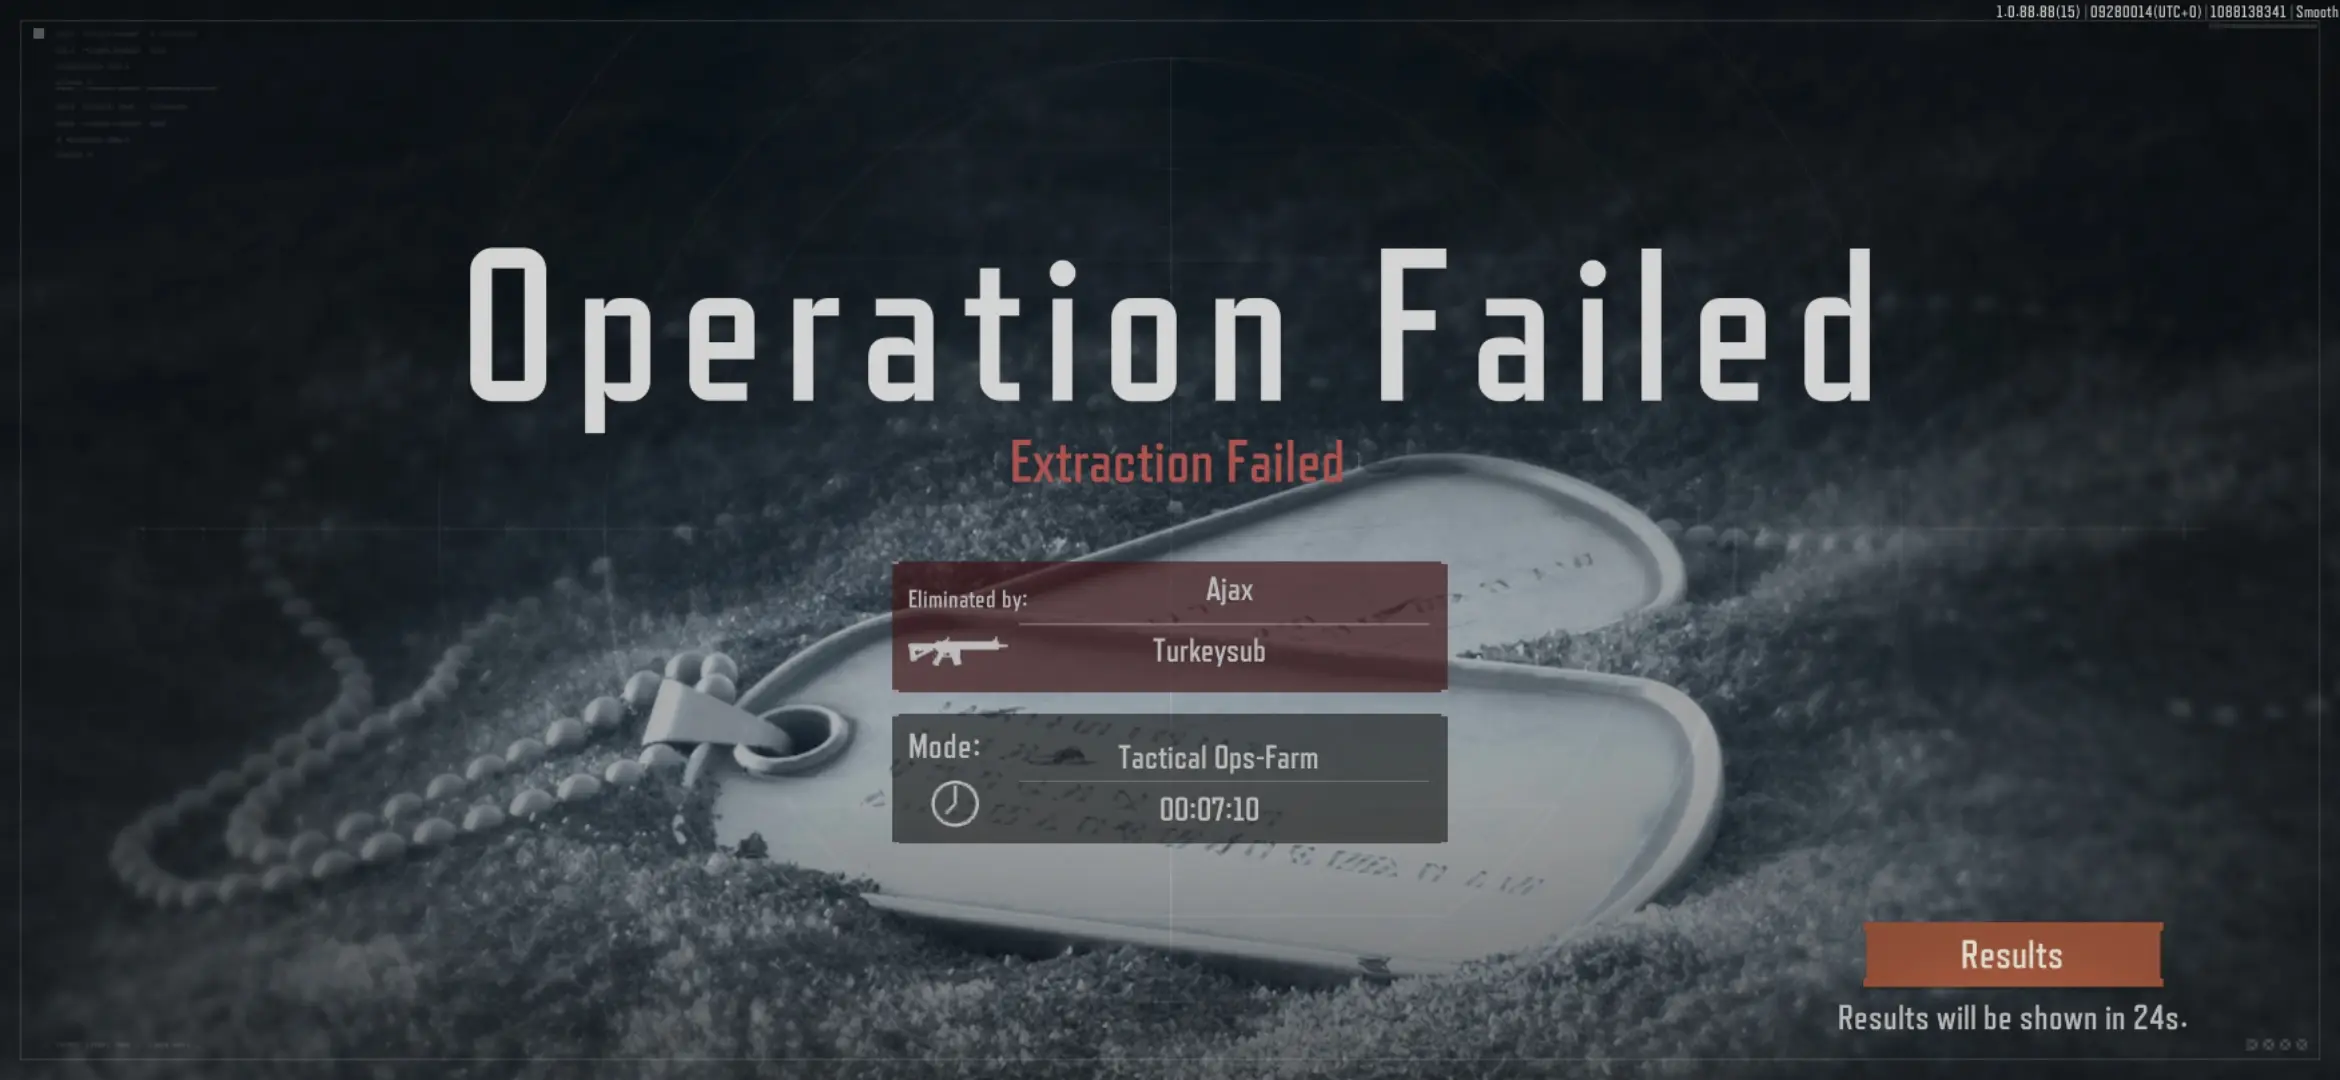
Ultimately, your goal is to survive long enough to get to an extraction point, but it isn’t as easy as it sounds. If you’re fresh out of luck, you’ll quickly realize that failure in this game is a cruel teacher as failing a mission means forfeiting all the stuff you’ve carried to that mission. Quitting without extracting counts as a mission failure so suddenly abandoning a session means you risk losing your gear.
For a beginner, this sounds like a lot to take in but, don’t worry, we’ve got you covered. If you’ve just started playing Arena Breakout and feel a bit lost (even with the cinematic-heavy tutorials), then this is the perfect place to start! With our beginner’s guide for Arena Breakout, you’ll learn how to become battle-ready, survive the hostile fields, take decisive action, get ahead of your enemies, and emerge victorious!
Preparing for Battle
As we mentioned in the beginning of this guide, you’ll likely spend a lot of time doing Tactical Ops missions compared to Covert Ops ones so thoughtfully and thoroughly preparing for battle is a must.
During the tutorial missions, you’ll be given some basic equipment and it’s up to you to add to your gear by looting the battlefield and the fallen. Suffice it that after the tutorial missions, you’ll generally be on your own without your instructor directing your movements. When you enter missions after the tutorial, you’ll be matched with other players close to your level with whom you’ll sortie.
But before you can even think of going out on the field, you need to make absolutely sure that you’re well-equipped and won’t rush headlong into a fight empty-handed or with no idea what you’re up against.
Below are a few key things that you need to take note of before heading into battle:
Gear Up with the Right Loadout
The right loadout is, of course, subjective. And as a beginner, you’re basically going to have to work with what you have in your storage, as well as the equipment you were able to loot during tutorial missions. To be fair, these equipment will be able to carry you through a few more missions if you aren’t careless with your gear.
In this case, having the “right” loadout means carrying the best equipment in your storage. To make things way easier, you need to first manage your inventory. This is where the quick organize button will come in handy as clicking this will automatically sort out all the equipment in your storage.
However, if you’re the type who’s meticulous about inventory management, don’t rely on this button 100%. What it essentially does is place all the same types of gear near each other, but the arrangement won’t look as neat as you might expect. Even if you click the quick organize button, you’ll still see gaps between slots, which may be bothersome for a lot of players.
In any case, if you want to just quickly get your gear in order, use the quick organize button and manually arrange some of the other items in your storage.
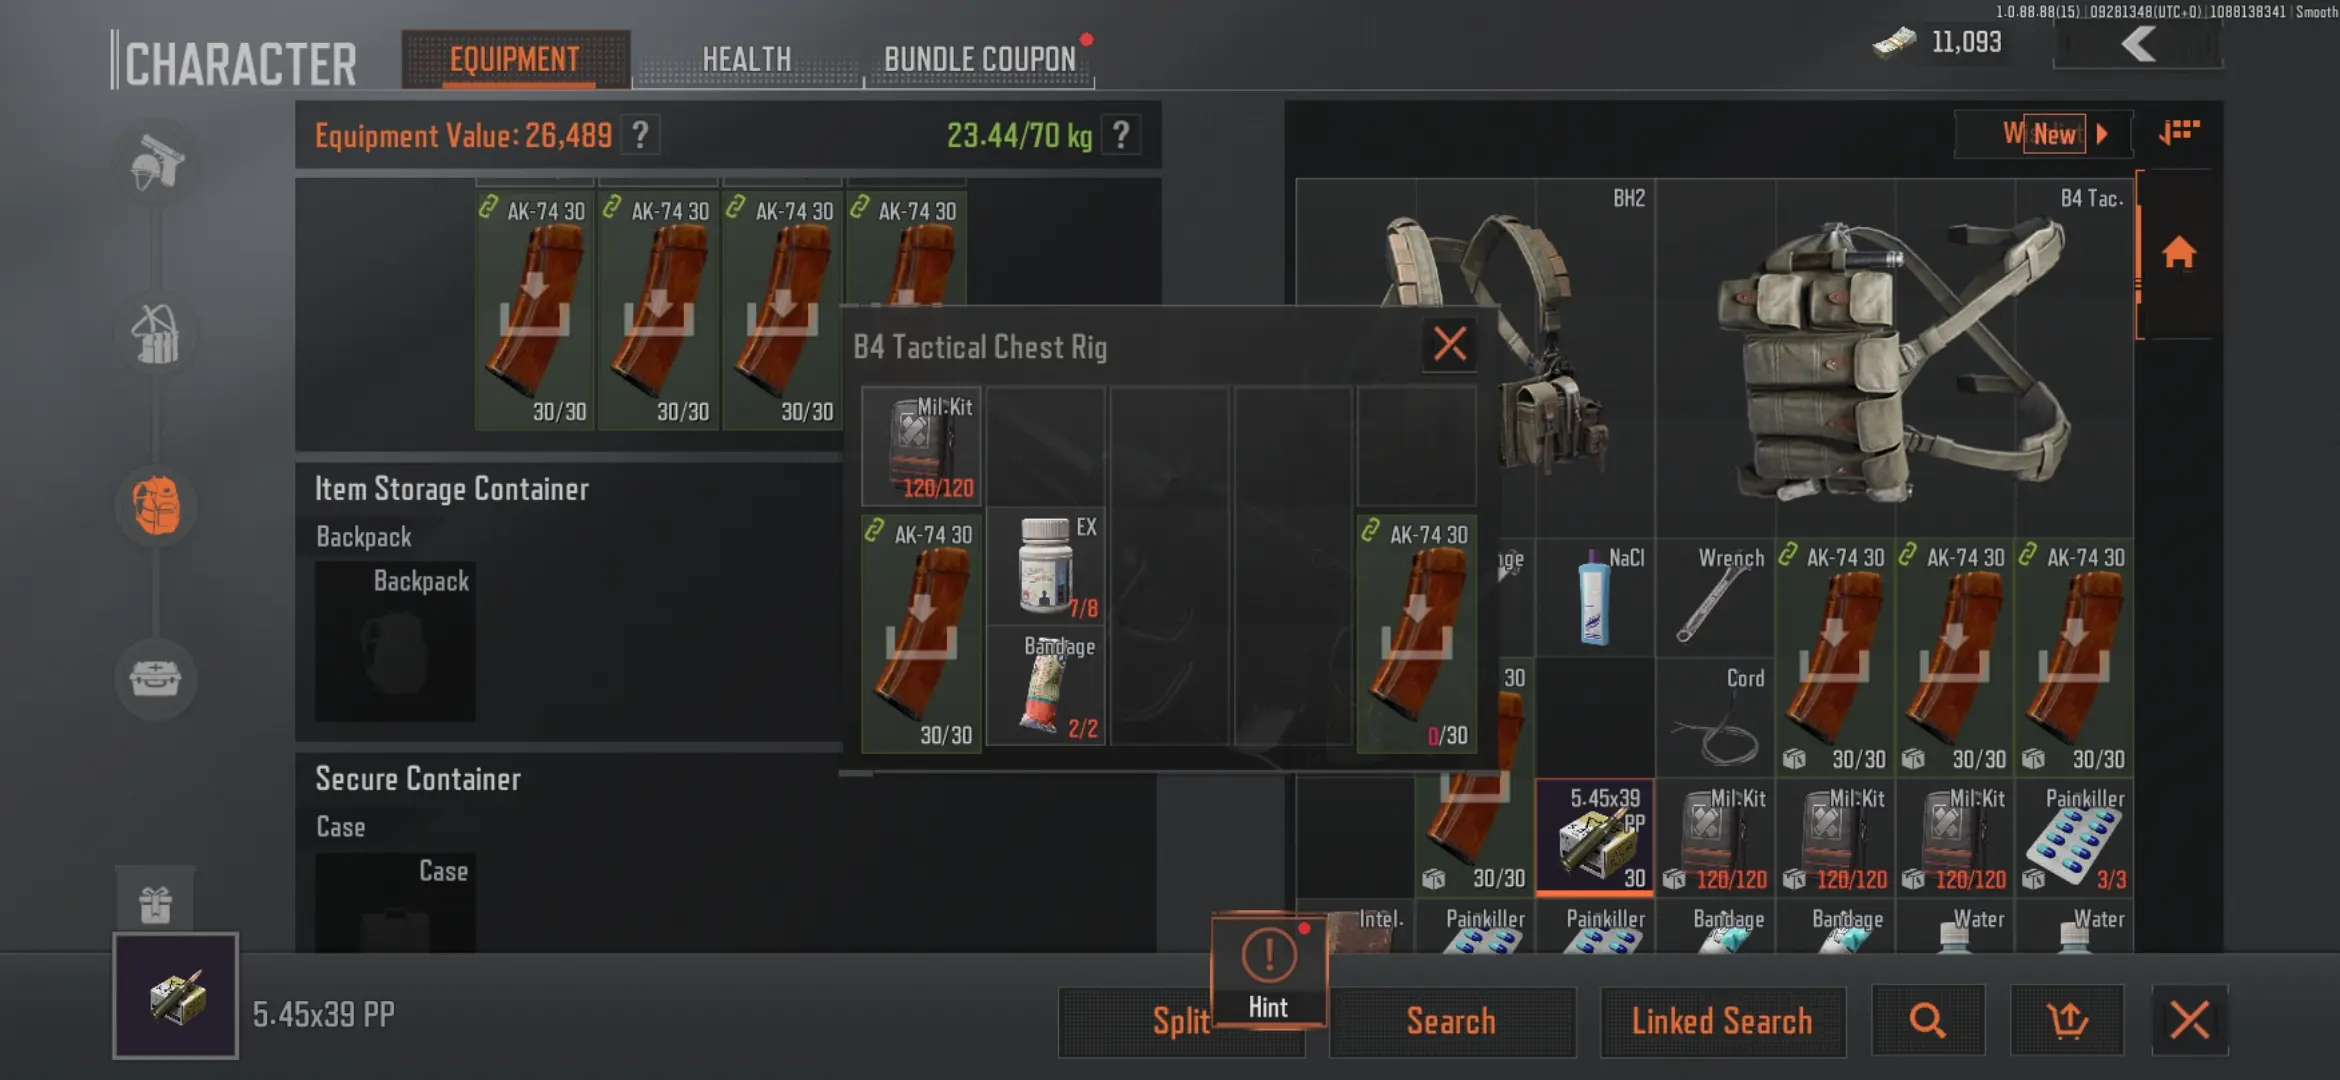
Now when it comes to picking the right items to carry for missions, you must become acquainted with your equipment. There are four ways you can carry equipment:
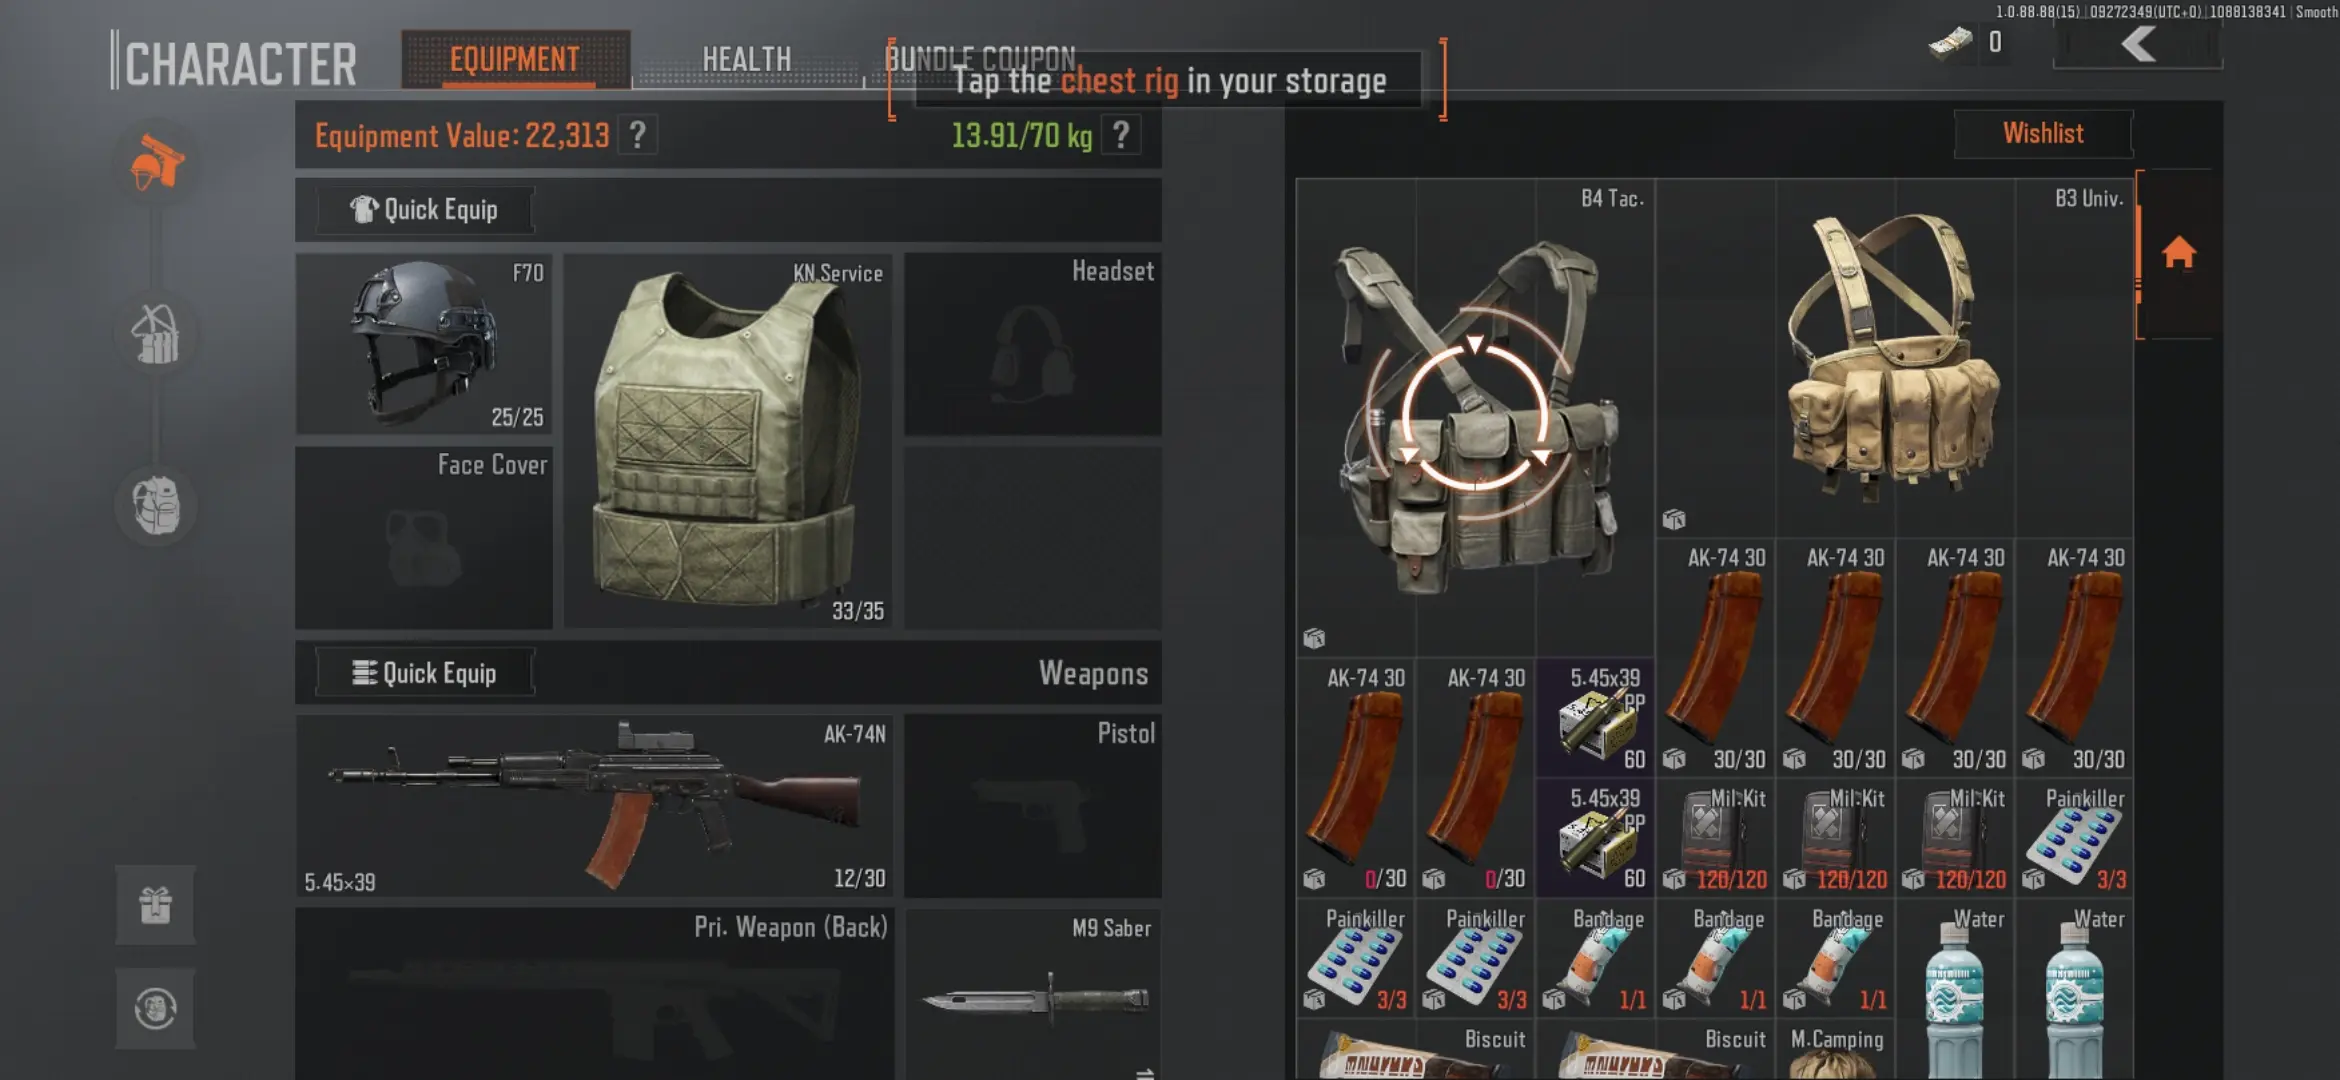
- Gear: Items in your gear slots are those you can immediately find on your person, such as helmets, body armor, masks, and headsets. Primary and secondary weapons, as well as your sidearm and melee weapons, are also included in your gear slots. During battle, items in your gear slots are the easiest to access.
- Chest Rig: Items in your chest rig are the second easiest accessible during battle. You can choose one chest rig at a time and each one will have a different number of slots depending on their carrying capacity. Regardless of how many slots your chosen chest rig has, make sure that this is where you put extra clips or else you won’t be able to quickly reload when you’re all out. Also place medical items here such as painkillers or bandages to quickly treat wounds and injuries.
- Backpack: Your backpack should include things that you don’t necessarily have to access on the fly as anything placed here takes some time to get—just like a real backpack. Here, we recommend putting food supplies, folding bags, water bottles, and items you’ve looted and are planning to sell off provided you succeed in the mission. Keep in mind that your character needs to reach Level 3 before the Sell option becomes available.
- Secure Container and Keychains: Items placed here are those that you can still keep in the event you fail a mission. Basically, this is your fail-safe for really important things that you can’t risk losing. The caveat is that you need to either buy or find secure containers to access this feature.
When it comes to choosing the right loadout, you’re going to do a lot of comparing between the same item types, which should be somewhat easier if your inventory is well-organized. For instance, you have different sets of body armor in your storage, so you might as well pick the one that provides the most protection.
The same goes for other protective equipment such as masks and helmets. In case you come across headsets, be sure to equip them as this will definitely come in handy since sound can play a big role in your survival, as we will explain later when we talk about more combat-related strategies.
As for your weapons, you should always take into account your mission objectives, the zone you’re fighting in, and, of course, your playstyle. For instance, if you like fighting from a distance, pick a gun in your storage that can reach far. Naturally, you need to make sure that you have enough ammo for that specific gun, or else you’ll practically be bringing a sophisticated paperweight unless you chance upon bullets for it on the battlefield.
On the other hand, if you’re the type who likes confronting enemies face to face, pick a gun that’s lightweight and fast. You might also want to pick gear, chest rigs, and backpacks that are lightweight if you want to be quick on your feet overall. Of course, you may have to sacrifice your protection for agility, but if you’re planning to ambush or blitzkrieg your enemies, then this may be a necessary compromise.
On the whole, take time to check what items are worth bringing to the battlefield. If you have enough Koen to buy from the shops or Contacts, invest in those that you can use for the long term.
Get Familiar with the Terrain
Becoming familiar with the terrain of where you’re fighting plays a big role in successful missions. As a beginner, you’re going to have to rely on your map a lot to get a sense of where you are and where you need to go. During the tutorial, you simply have to follow where your instructor and teammates are heading. But out there on your own, you need to be able to quickly read the map, which, unfortunately, you have to access pretty much like your inventory and bags.
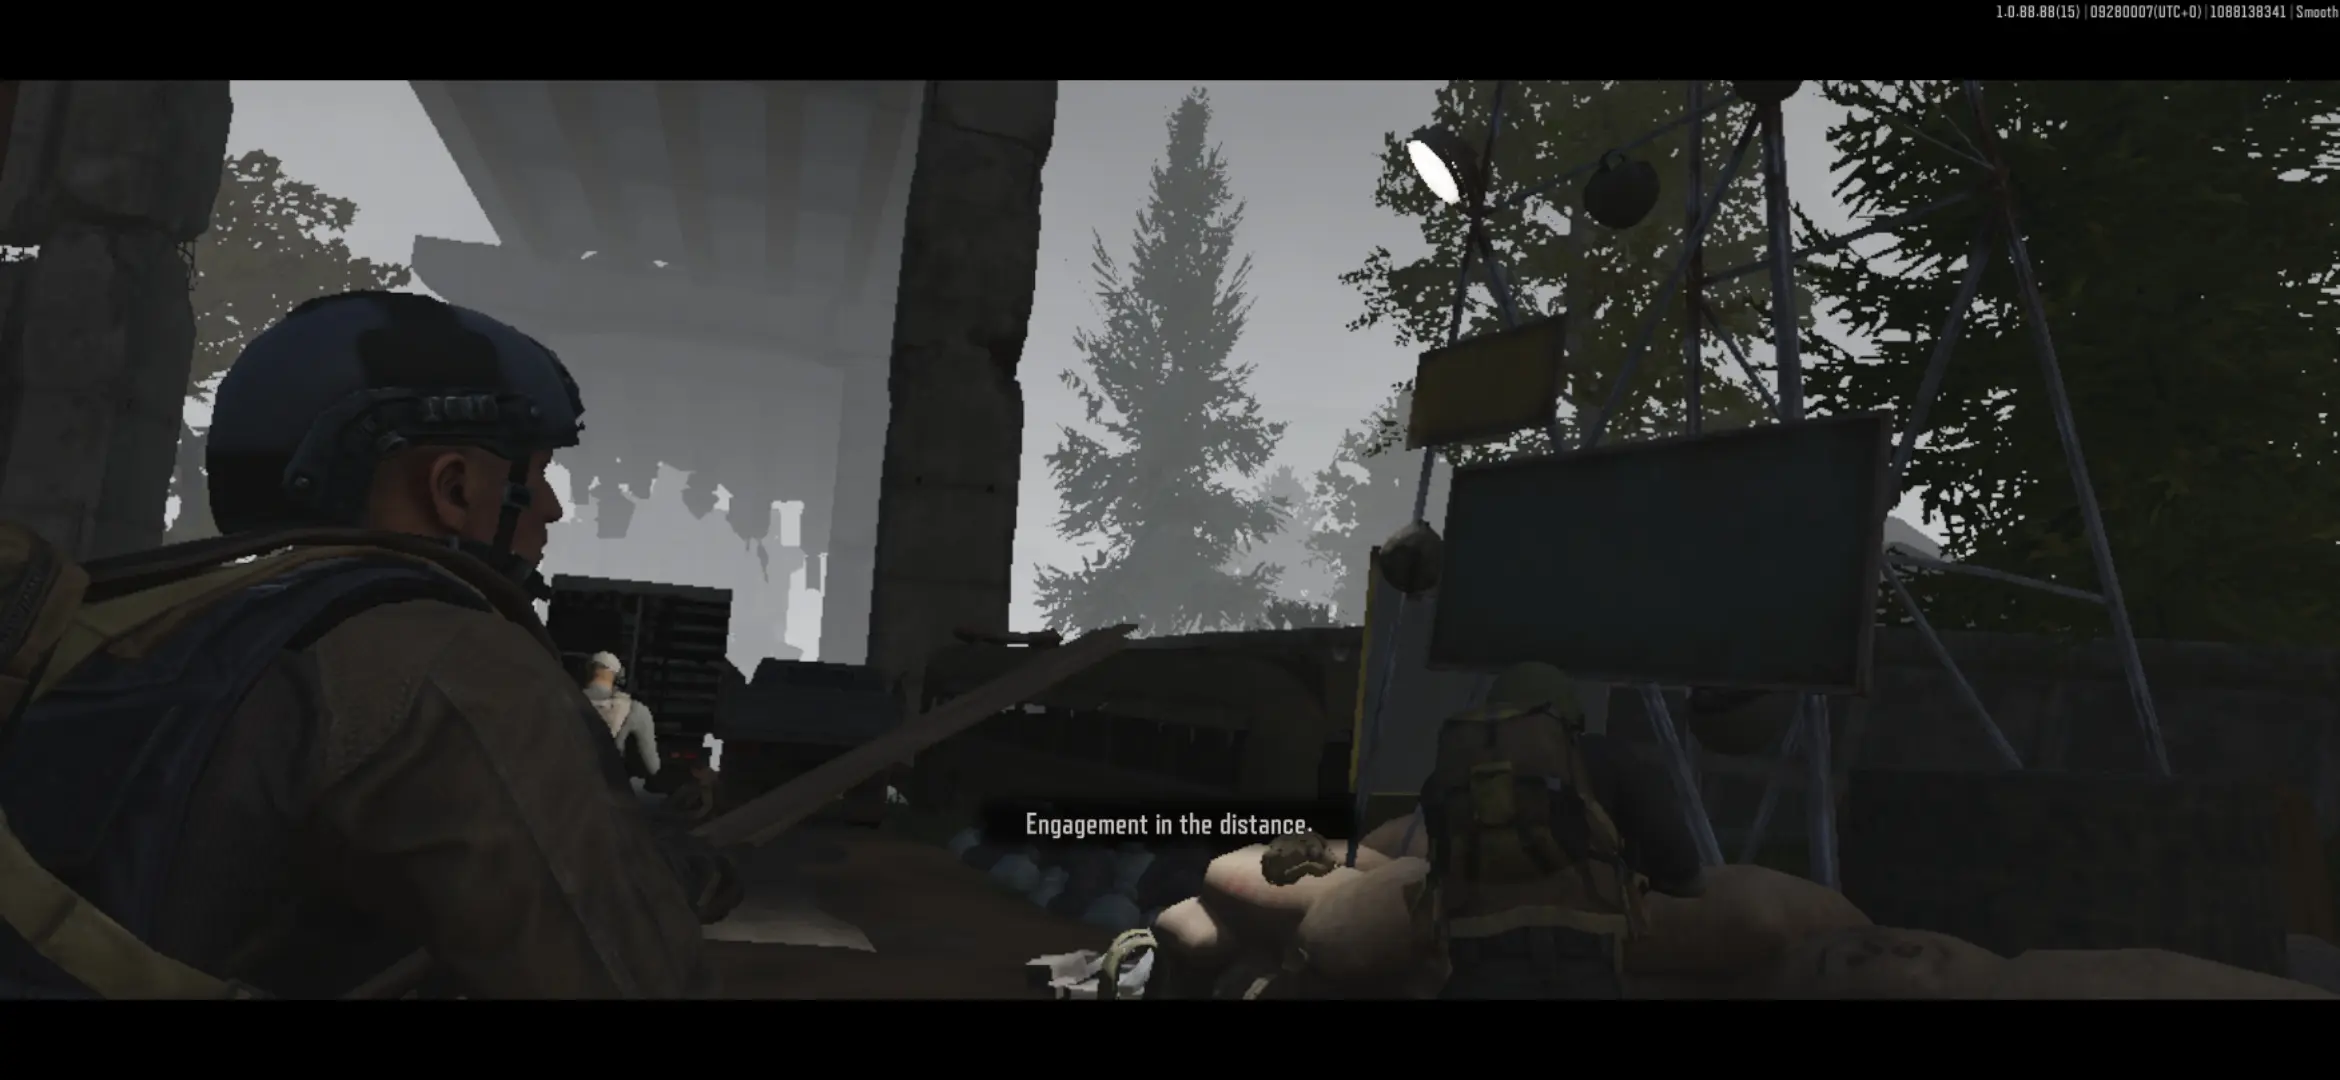
This means you can’t view your immediate surroundings whenever you open the map, rendering you vulnerable to ambushes. Additionally, there’s no map on-screen that you can follow while moving. What you do have is a compass display that tells you whether you’re getting close to a marked area, such as an extraction point (more on this shortly).
The good news is that, as a beginner, you’ll only be able to access the Farm until such time you reach higher levels that will give you access to three other currently available terrains. This means you’ll have a lot of time to familiarize yourself with the map of the Farm and the terrain itself.
Here’s a quick list of the currently available maps and at what levels you may gain access to them:
- Farm: Accessible by default
- Valley: Accessible upon reaching Level 8
- Northridge: Accessible upon reaching Level 11
- Armory: Accessible upon reaching Level 18
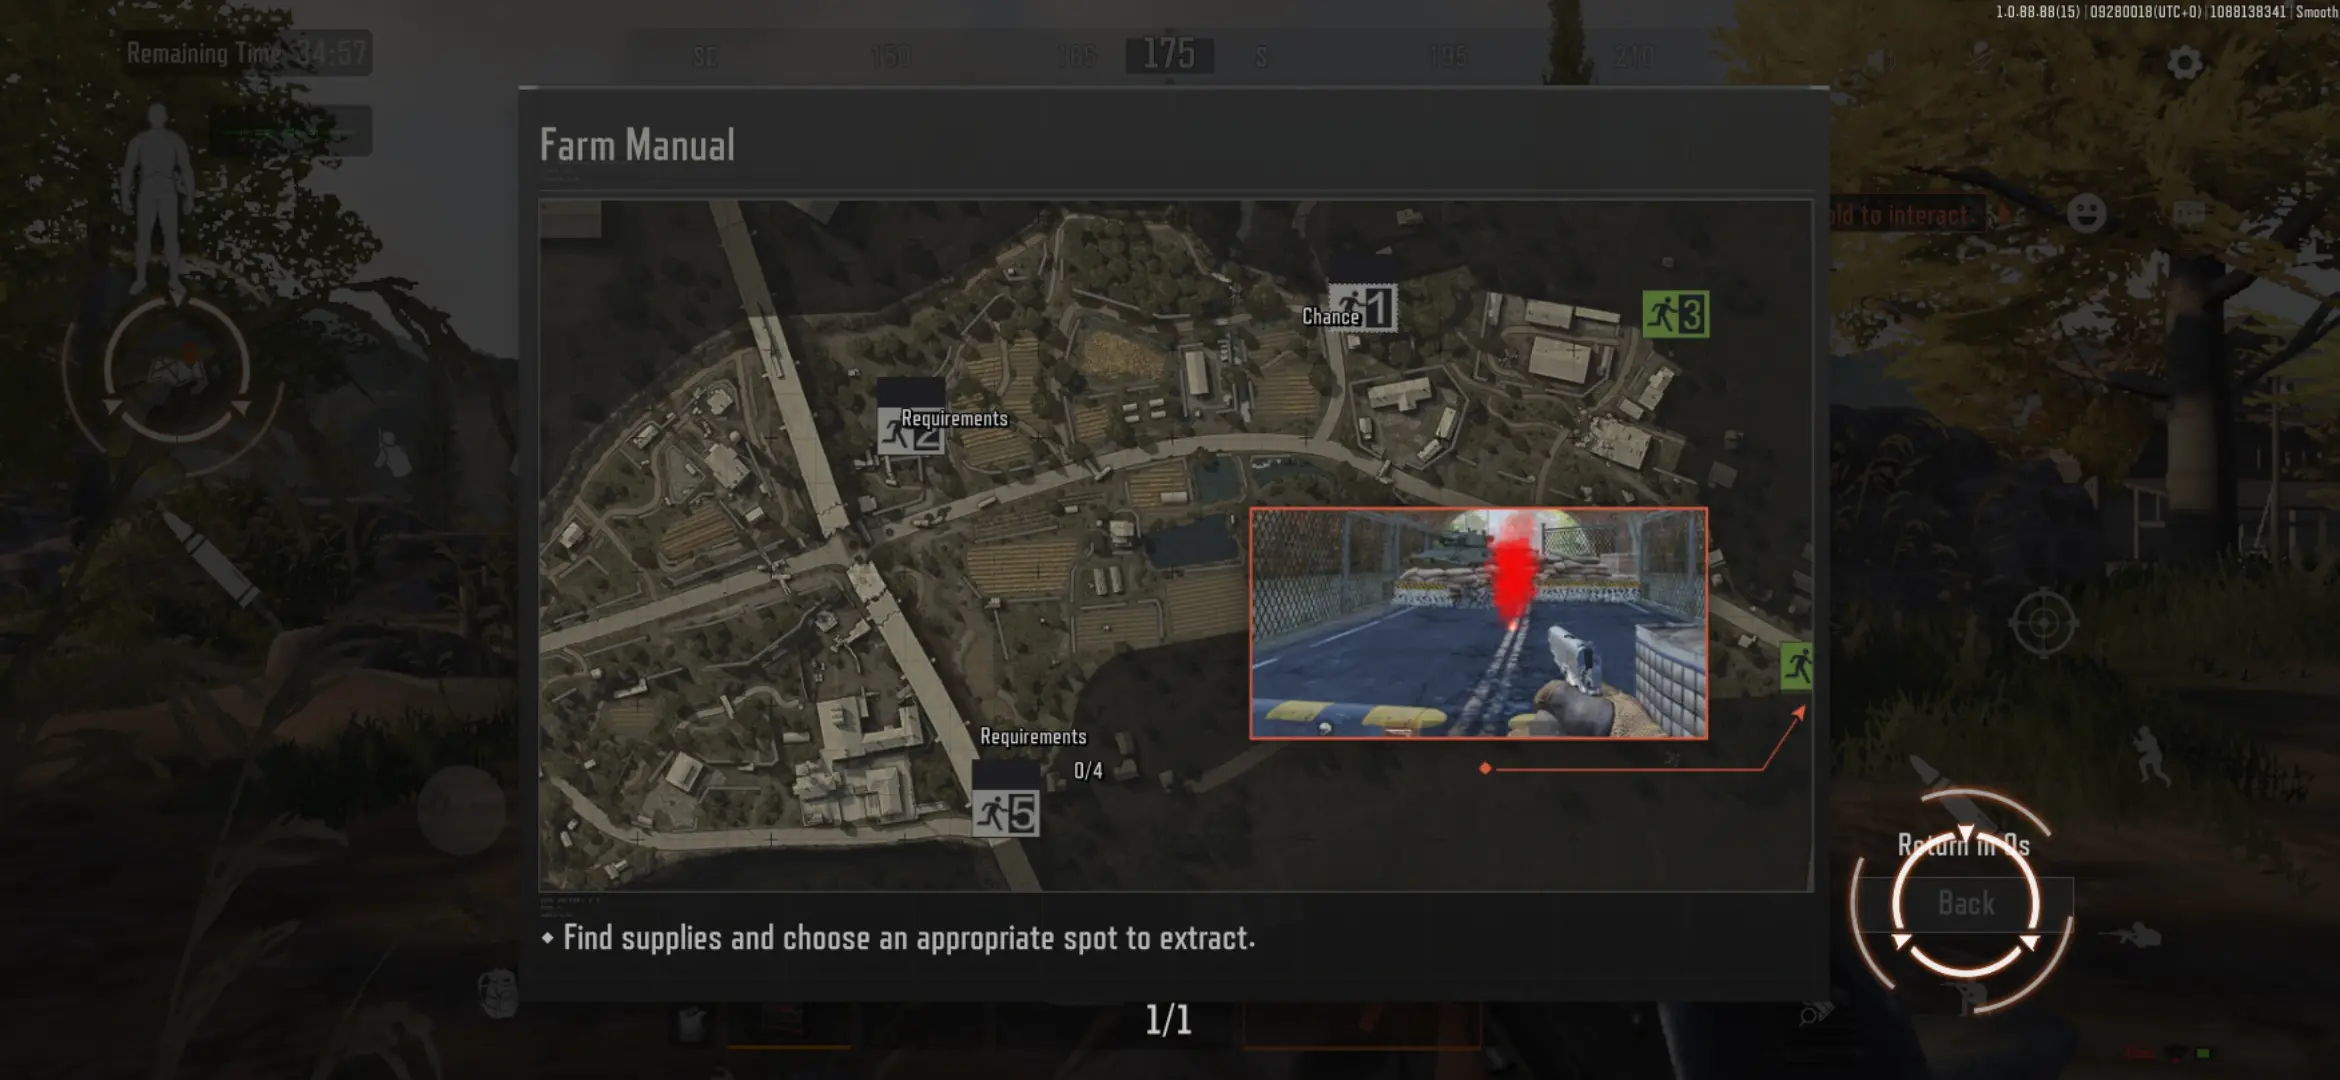
For now, let’s focus on the Farm since this is where you’ll mostly be playing as a beginner. Depending on your mission and location, you can mark different spots on the map to serve as extraction points, which is where you ultimately have to go once you’ve fulfilled all your objectives. Naturally, the best way to pick an extraction point is the one that’s nearest to your location.
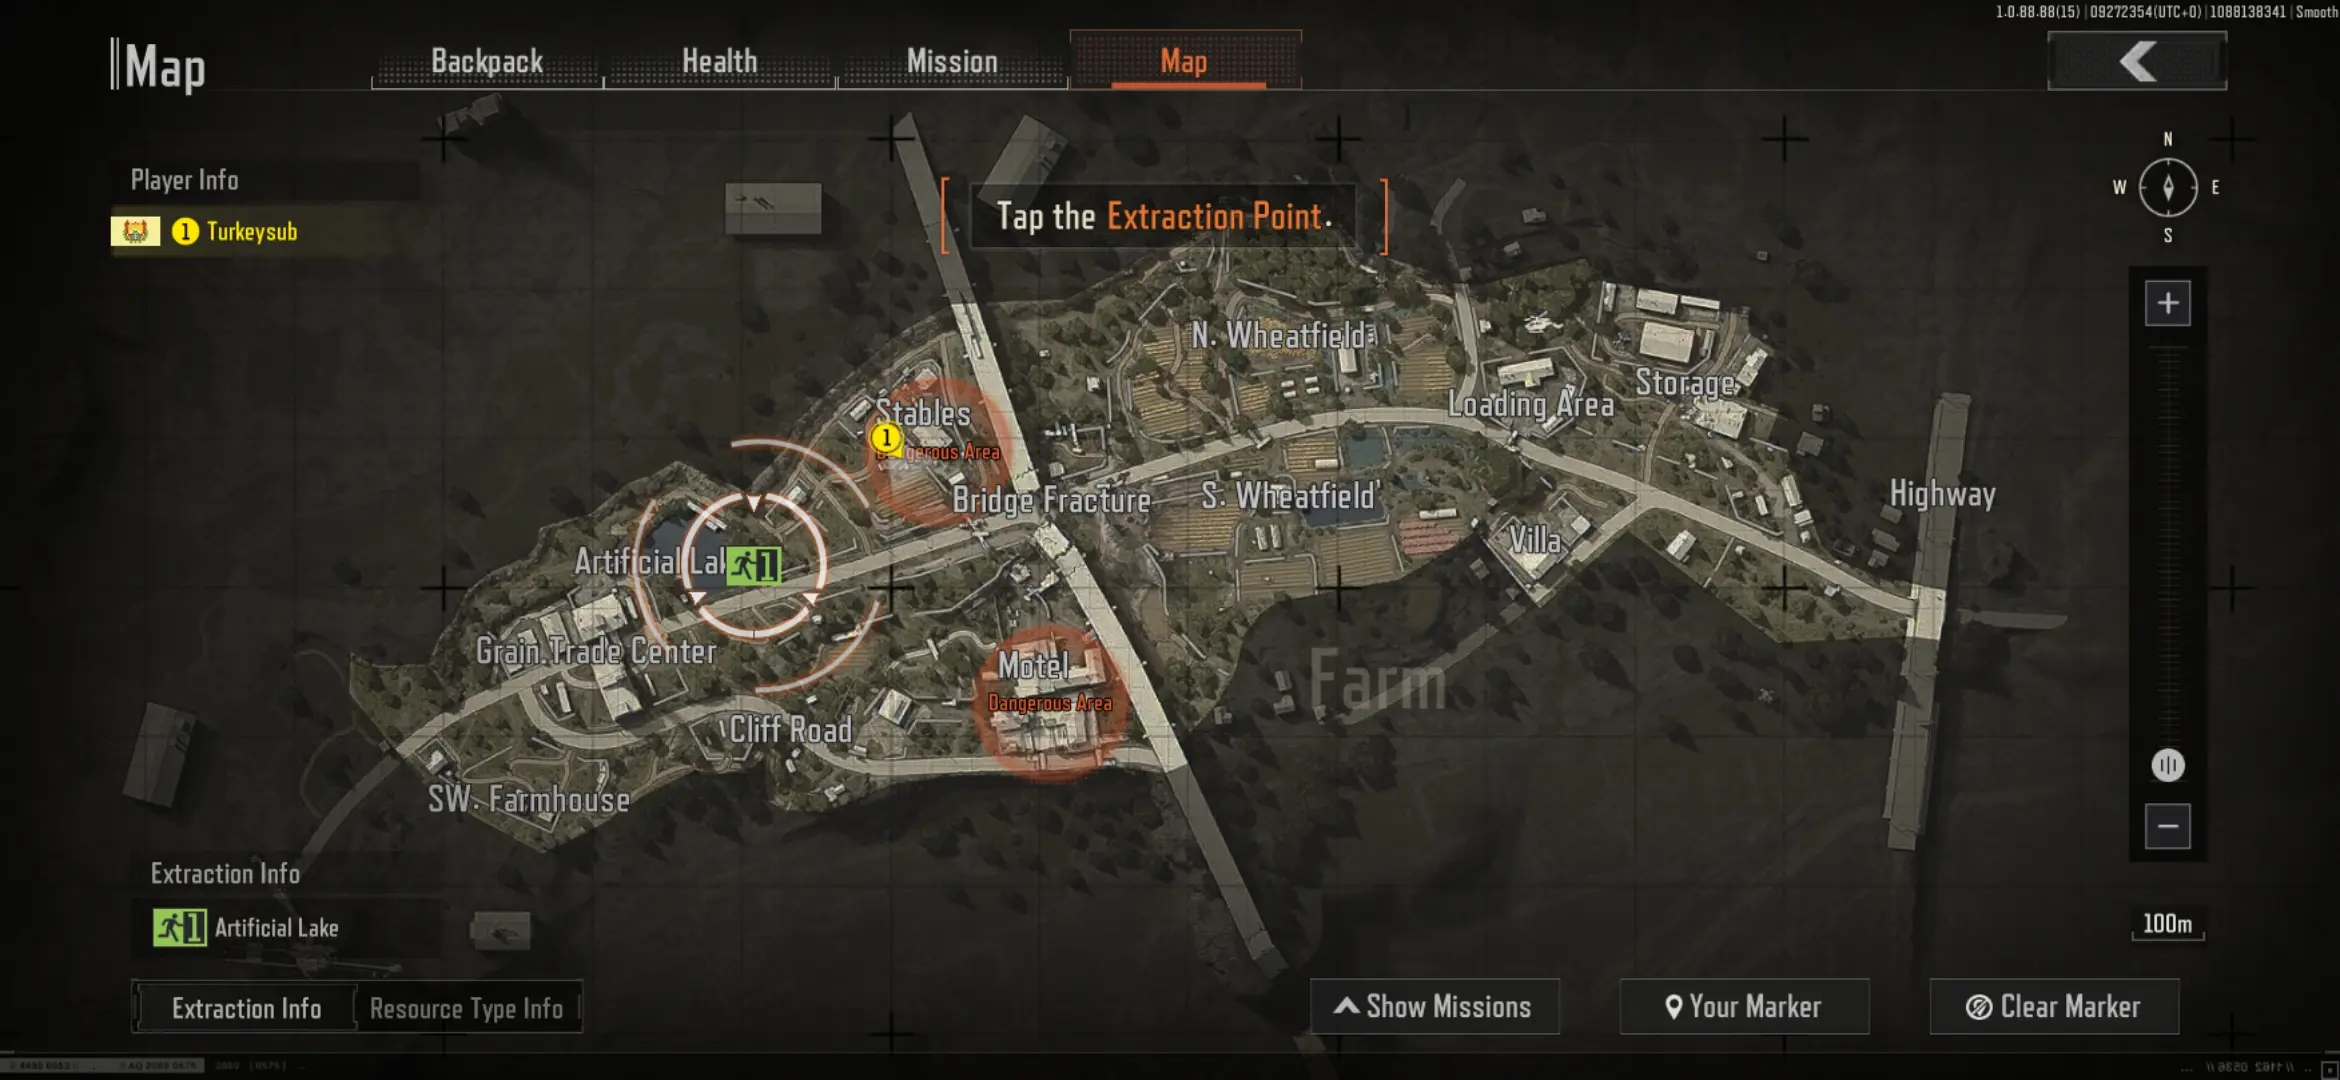
What is constant about the Farm is that the Stables and Motel are often marked as red zones, which are essentially danger zones. They’re practically high-risk, high-reward locations since they contain a lot of weapon boxes and other high-value items that can be sold off. Of course, being tagged as danger zones, expect more enemy units and obstacles you have to overcome in these spots. You may always choose to avoid them but you might be missing out on some good loot.
What’s also advantageous in the Farm is that you have a lot of places where you can hide and sneak about, primarily trees and bushes, broken-down cars, rundown buildings, and even container vans just scattered along the main road. Naturally, enemy units can also use these to their advantage, but if you’re familiar with the terrain, you’ll have less chances of getting caught off-guard.
Take Missions from Contacts
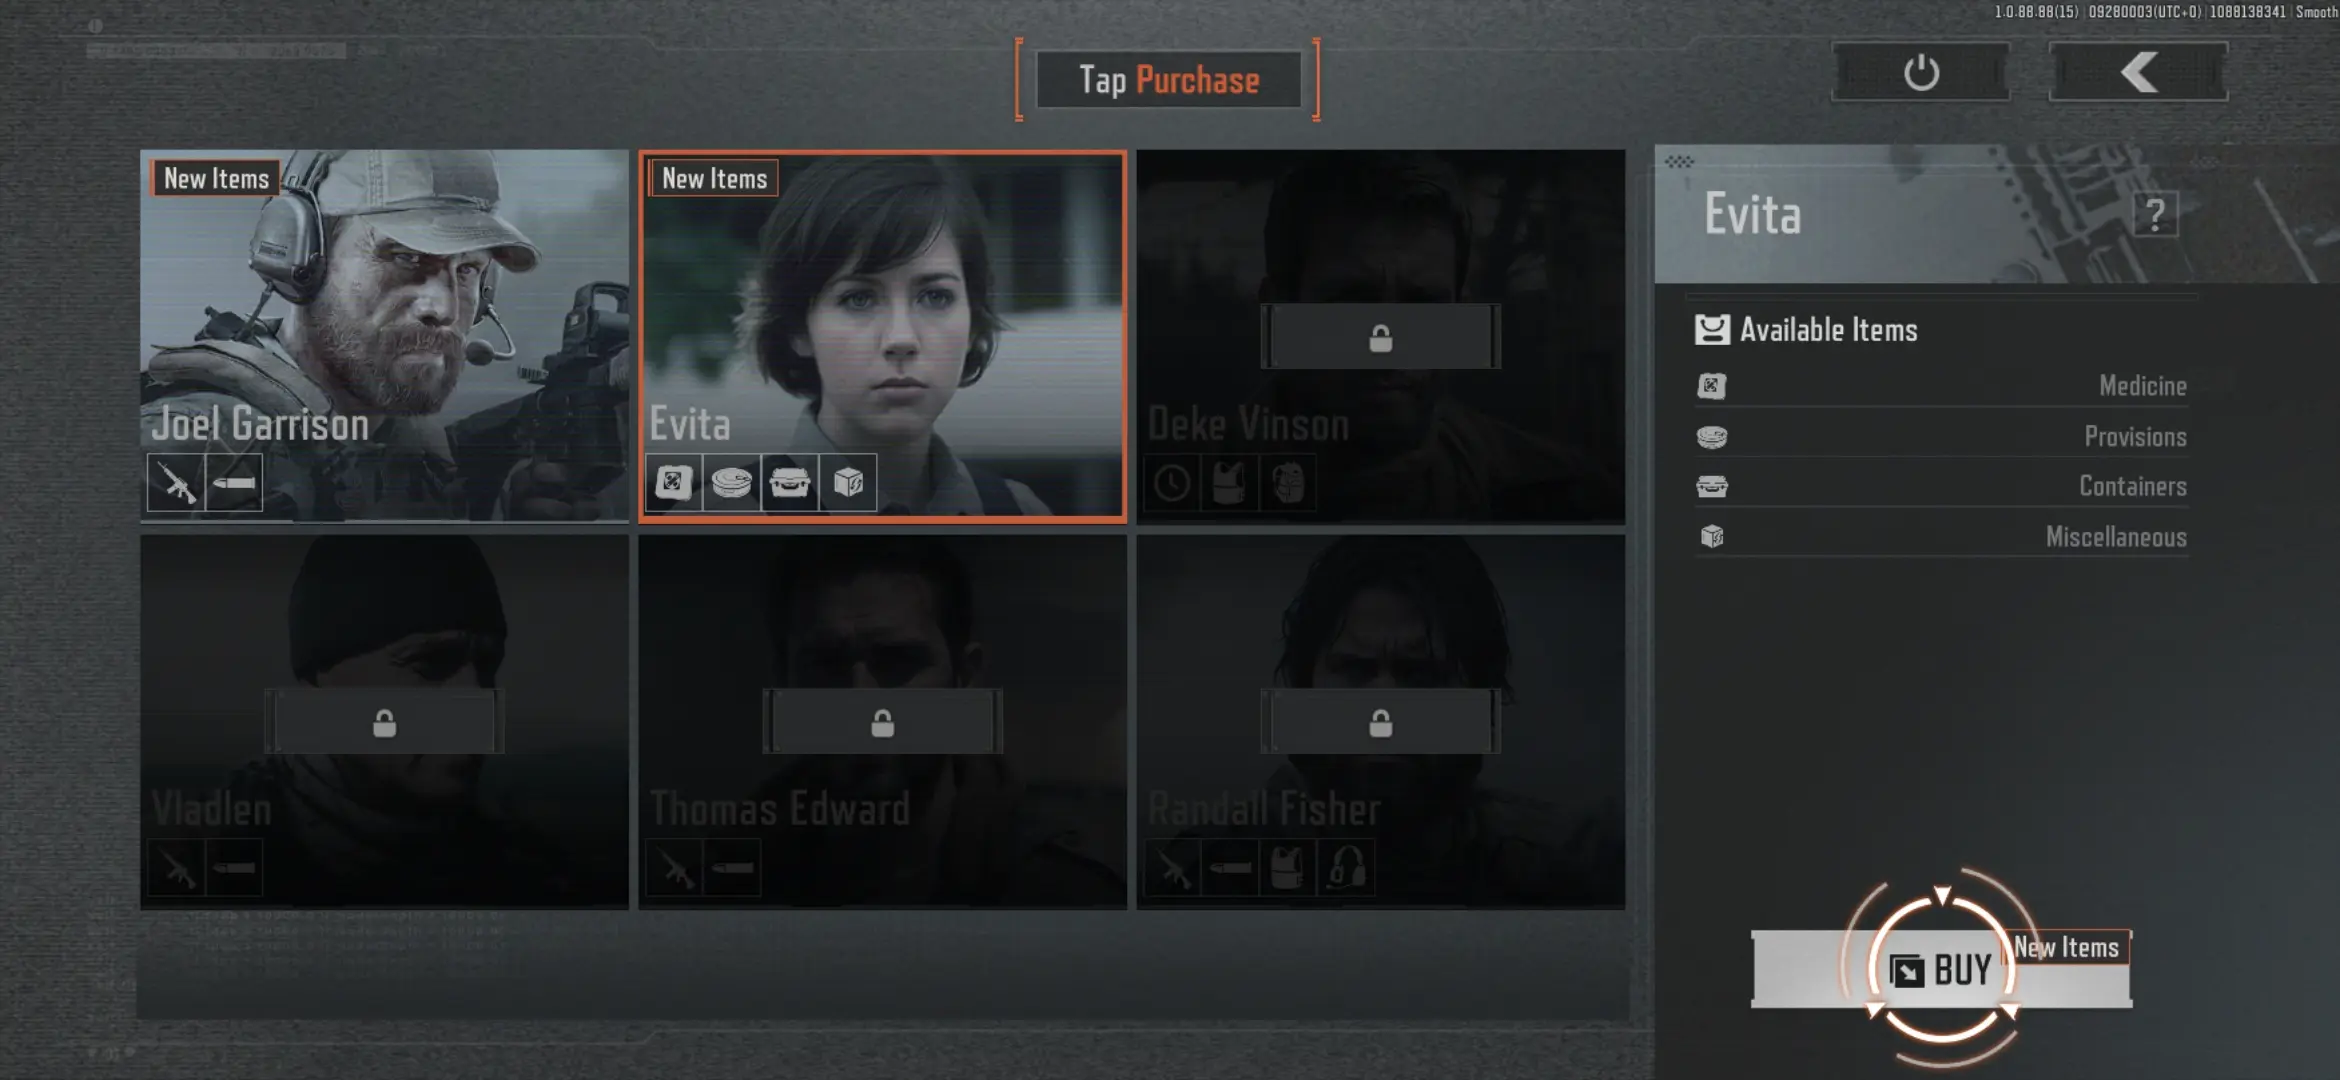
As you play the game, you’ll be able to unlock Contacts who will primarily sell you items for a cheaper price, as well as provide missions where you can unlock further features of the game. One of your first Contacts would be your instructor, Joel, and the second one would be Evita. It’s recommended to take missions from Contacts to help fast-track leveling up your character, as well as to gain other items that you can trade.
Among the Contact missions you need to prioritize, Evita should be at the top of your list. This is because completing missions from her would give you a chance to get a six-slot keychain that can be highly useful in not only securing loot, but also unlocking hidden areas and other secret features. As a beginner, get on Evita’s good side as she’ll reward you for the effort.
Fighting on Ground Zero
Now that you have an idea of what to prepare before battle, what happens then when you’re thrust in the middle of fighting? Well, a lot of things. As we mentioned before, Arena Breakout plays more realistically than most modern shooters and it is this touch of realism that can make it both challenging and thrilling for many players.
It’s not your typical point-and-shoot game and it can feel like you’re jumping through a lot of hoops just to move or make your weapons work—which is basically how tactical operations can feel like in real life. There are lots of things you need to take into account when you’re out on the field so let’s get into what you can do to survive and succeed in your raids:
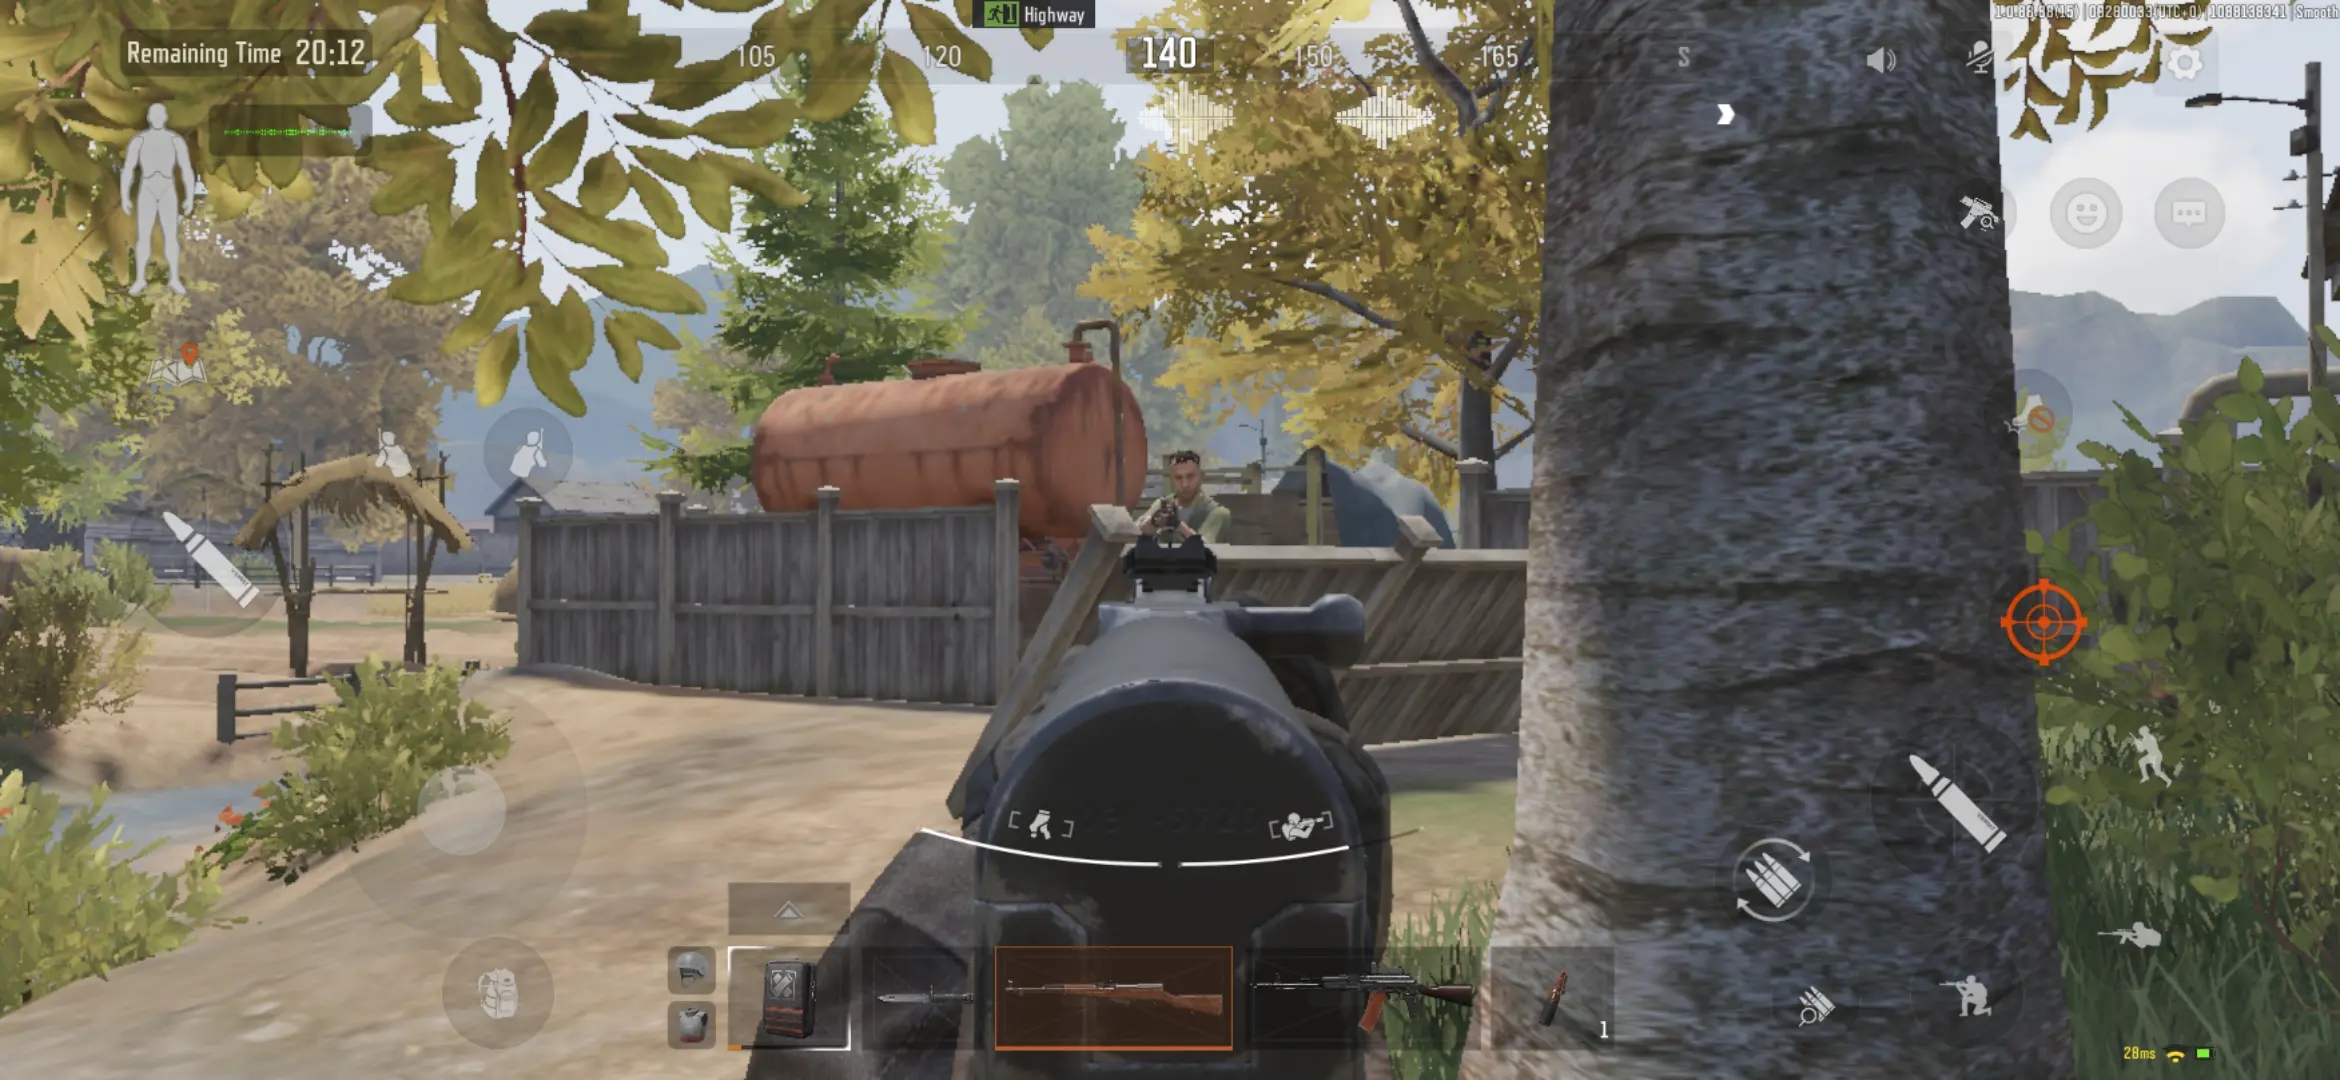
Don’t Rush In
As they say, patience is a virtue, and no truer words can be said about the kind of mindset you should have when playing Arena Breakout. If you’re the type who’s used to fast-paced, high-octane shooters, then this game will definitely put your patience to the test. For one thing, missions can last as long as 20 minutes on average, and even longer depending on what you’re tasked to do.
Rushing headlong into the fight and having “Leeroy Jenkins!” as your battlecry should be the last thing on your mind. If anything, you should approach every raid with caution as failure can be quite punishing since you’ll be losing all the stuff you meticulously managed in your inventory and earned through looting (which can be a rather difficult and dangerous process altogether) or through purchases. Unless you have secure cases or keychains, you can’t recover whatever you lost, which is basically your investment down the drain.
When it comes to being patient and approaching your raids with caution, here are some things to keep in mind:
- Move slowly and assess your surroundings. Though you’re slower while crouching, this can generally hide you from enemy sights.
- Further to the first point, try to find areas that will keep you hidden such as trees, bushes, buildings, etc. As much as you can, do not expose yourself to enemy fire while sneaking about. This means avoiding open areas such as the main road in the Farm.
- Check the map, reload, or treat wounds and injuries when you know you’re in a relatively safe or hidden spot.
- Use the element of surprise by taking advantage of corners and potential blindspots, or planning an ambush instead of engaging enemies head-on.
- Avoid unnecessary encounters if you know you’re running out of ammo. The goal is not to be the last player standing.
Keep an Eye Out—and an Ear Out
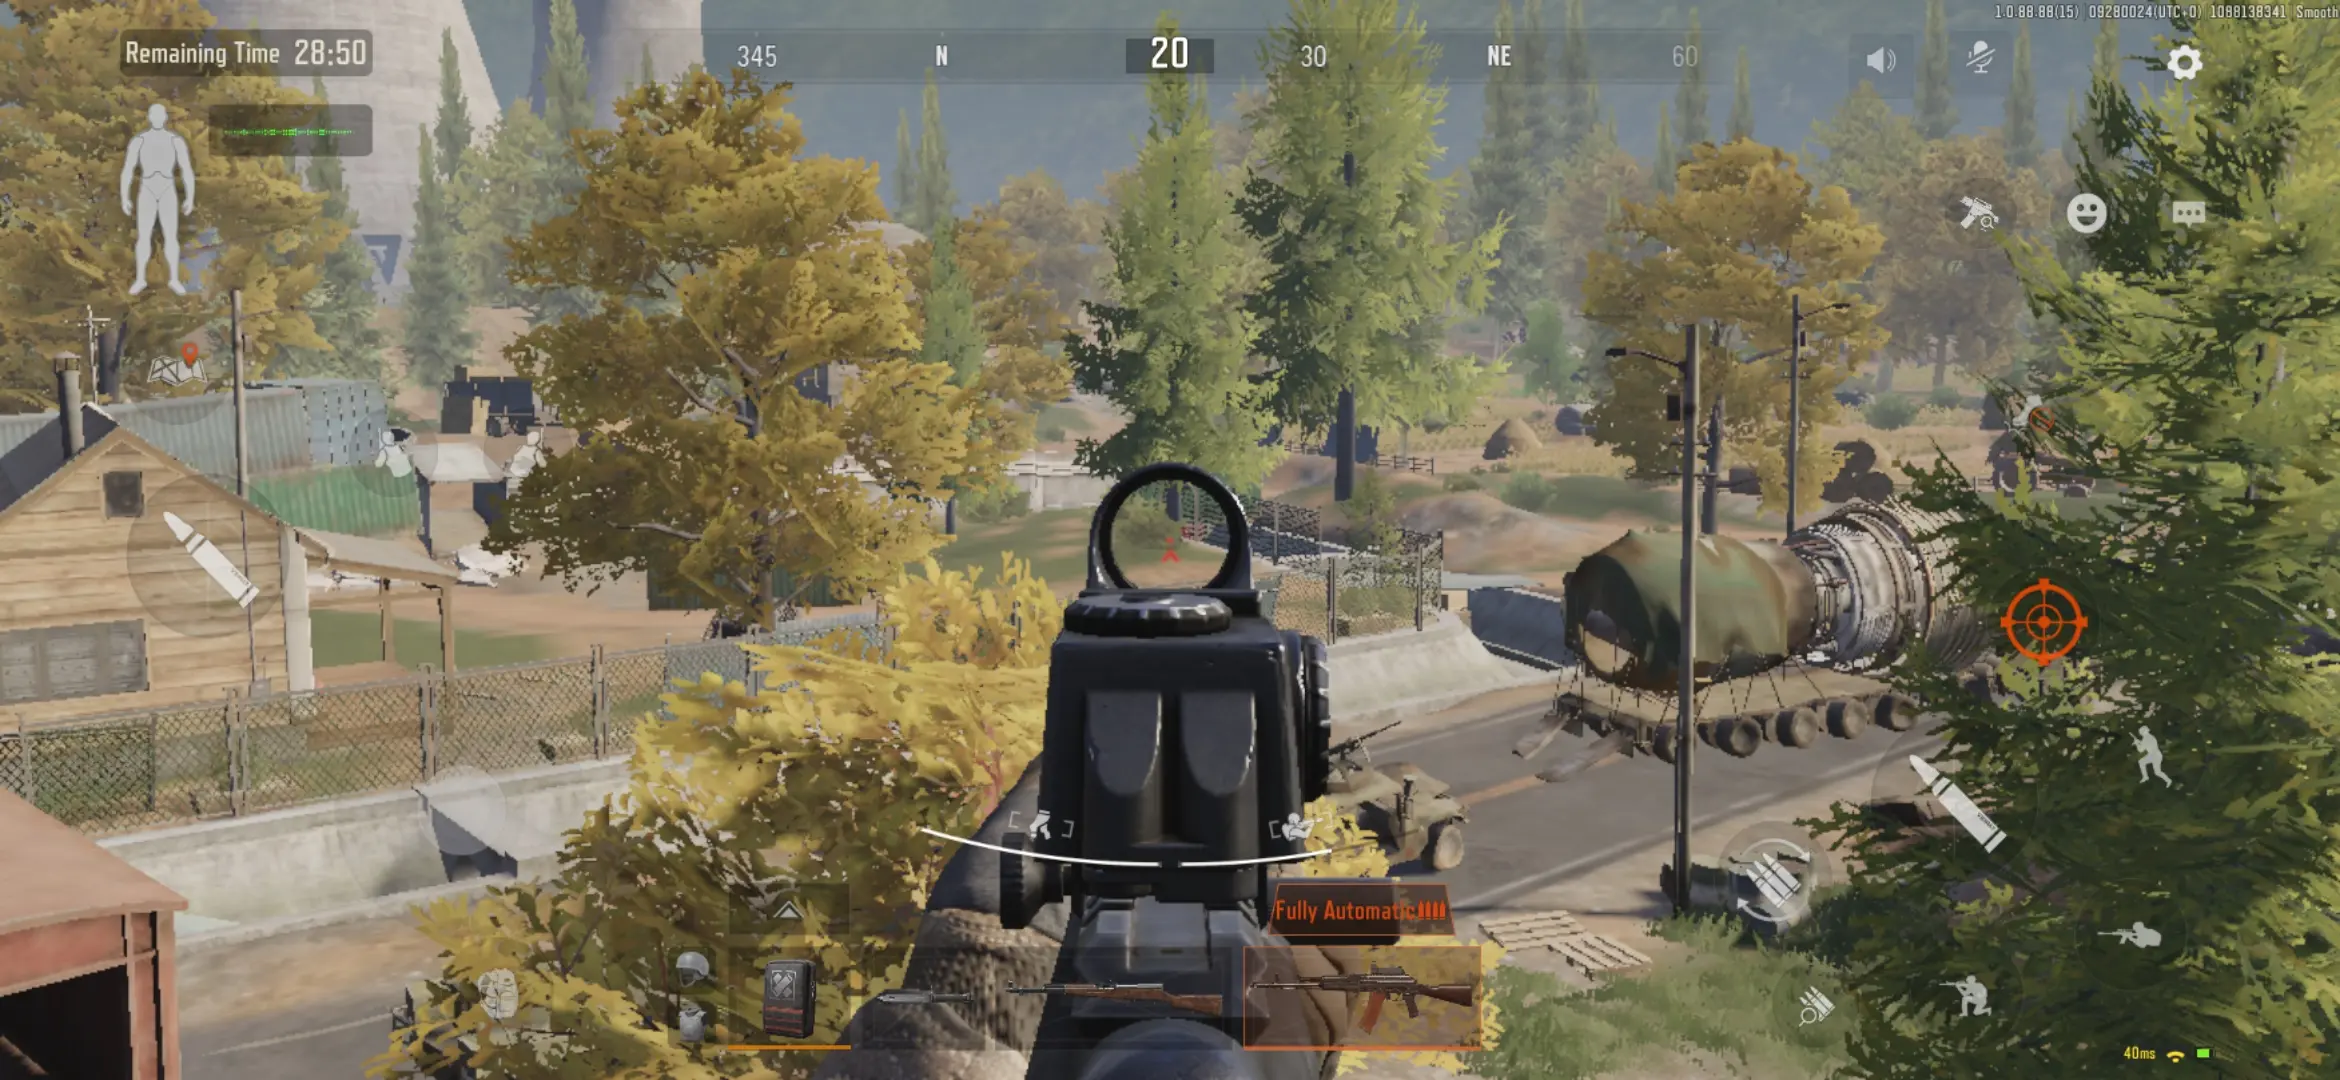
Further to being patient and cautious, keeping both an eye and an ear out go hand in hand in Arena Breakout. In terms of visuals, we recommend activating the aim button even while moving so you’re ready to fire at any time. You can still fire your weapon without aiming, but it can feel like a waste of ammo because you won’t be able to take advantage of whatever accuracy aiming provides.
Keep in mind that you don’t have infinite ammo and are basically limited to how many loaded clips you’ve brought in your chest rig and/or backpack. Looting will surely help when you’re all out, but exercising prudence and making each shot count may be the wisest choice in case you really can’t find an opportunity to loot. Thus, unless you’re about to break into a sprint, keep your aim button activated while sneaking around so you’ll be ready to fire at a moment’s notice.
Aside from whatever you can catch on your visuals, you also need to pay attention to what you can hear as sound can help greatly in your survival and enemy detection. This is because the game provides you with soundprints, wherein white soundprints reveal the footsteps of nearby players while red soundprints reveal the combat information of nearby players.
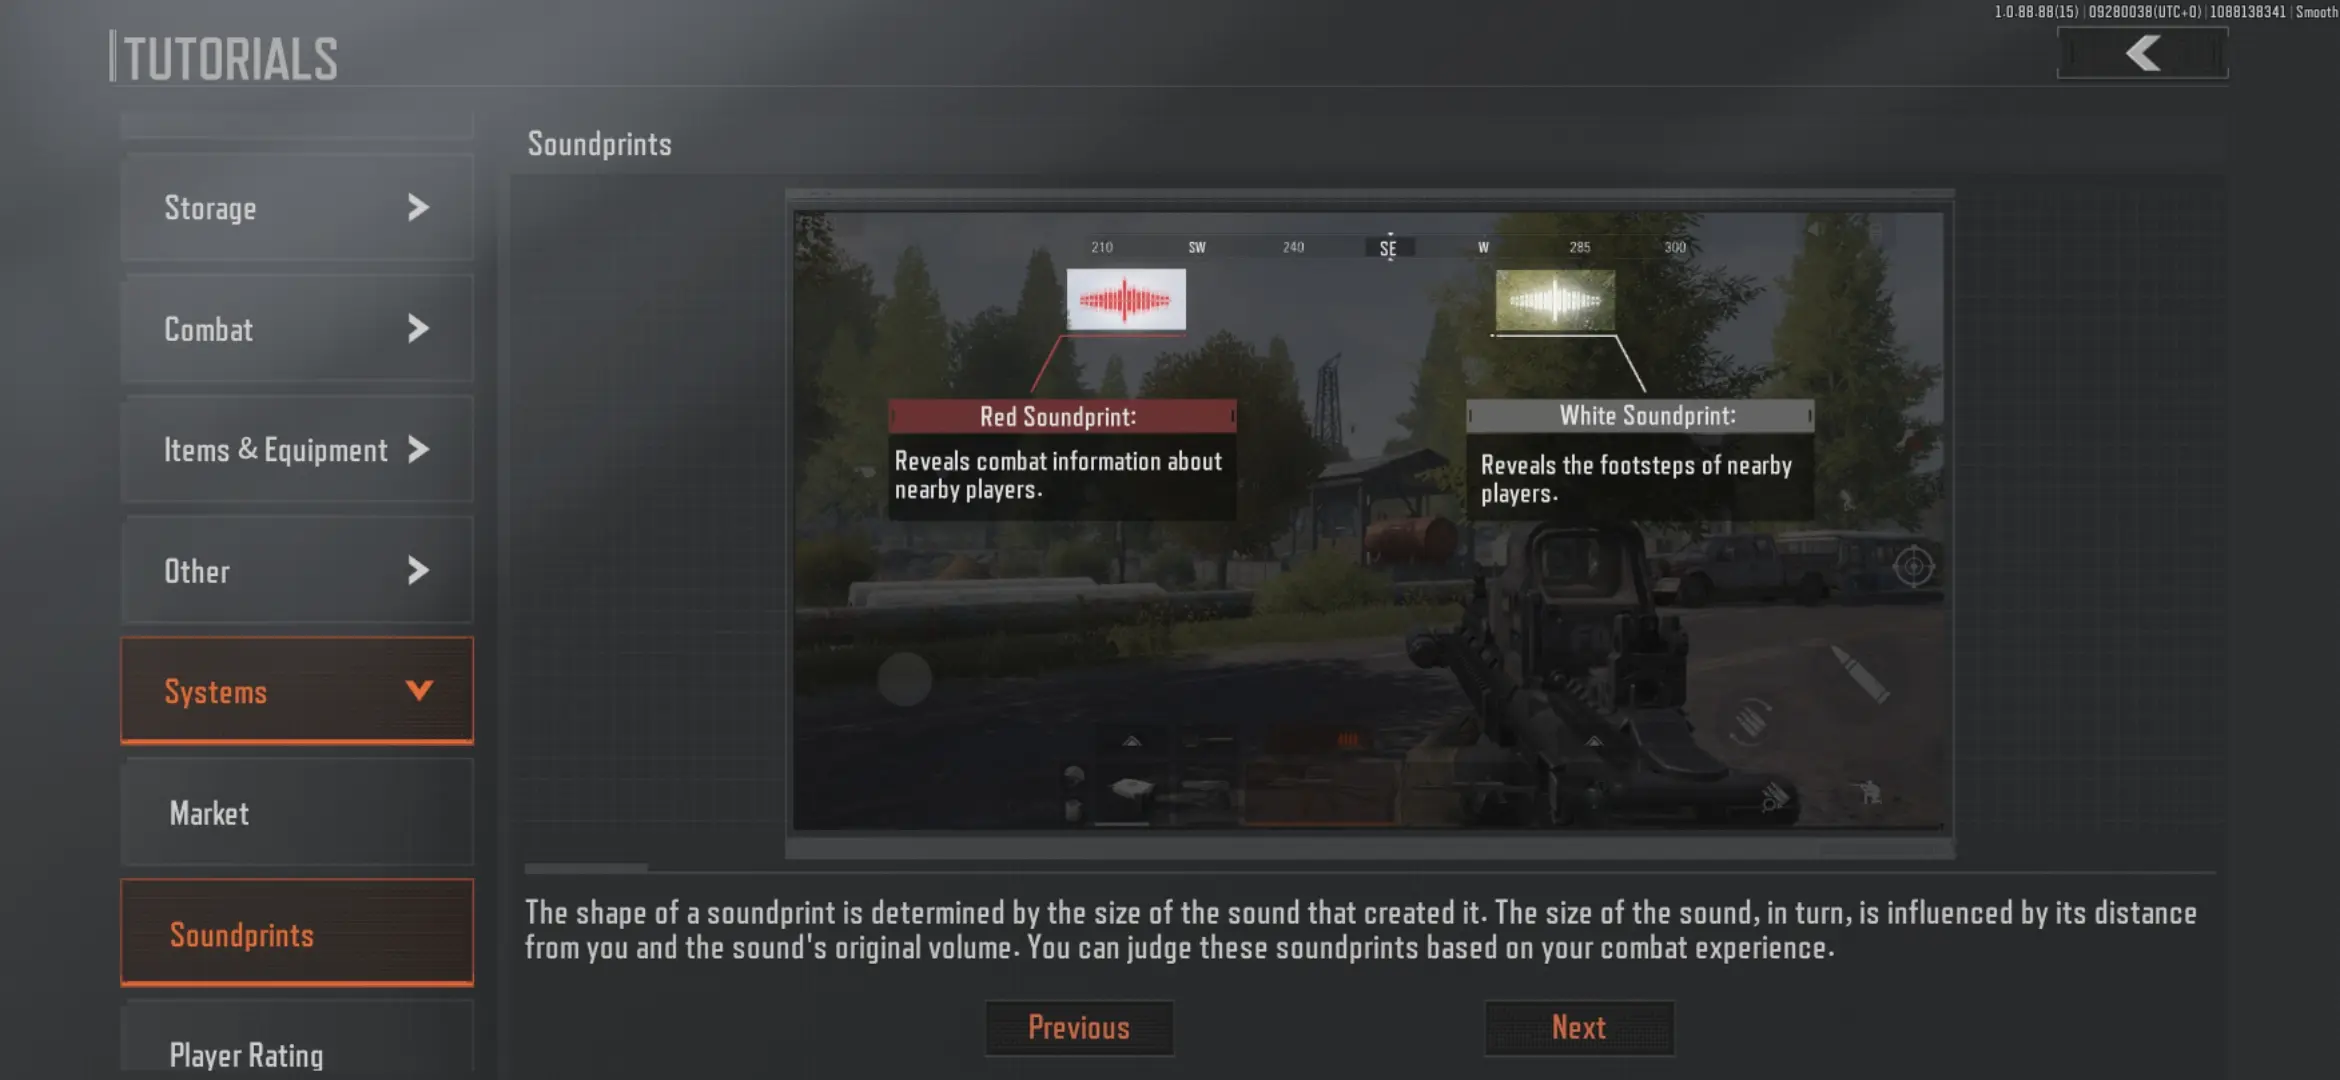
From these soundprints alone, though, you can’t really tell whether it’s an enemy or an ally, but it’s enough to keep you on your toes whenever you catch wind of them. Suffice it that detecting red soundprints definitely means there’s a skirmish nearby, so you have a choice to either engage or avoid that spot altogether. If you have a headset equipped, all the better as you’ll be able to hear soundprints coming from farther away, thus giving you a chance to prepare for whoever’s in the distance.
There is No “I” in Team
Even though you might consider yourself a self-sufficient player, you’re still going to have to work with a team in Arena Breakout. As mentioned, you’ll be matched with other players who are more or less within your level bracket as you go on missions. Try to stick close to your teammates so you’ll have someone to provide cover fire or watch your six.
This is extremely important when you’re looting or need to treat wounds or injuries as you won’t be able to see what’s going on in your surroundings when you perform these actions. Conversely, stay alert for enemies when your teammates do the same. Moving as a team provides each other with a sense of security while scouting or engaging in a firefight, especially if you’re in red zones.
Cooperative gameplay increases not only your rate of survival, but also getting a lot of loot. If you stick with teammates who are of a higher level than you are, chances are they’re more familiar than the terrain and know where high-value items are located. This way, you get to share the spoils while also keeping each other safe. You can still deviate from the path your team is taking but this does put you at risk of falling into a trap or getting caught off-guard without anyone to haul you out of a sticky situation.
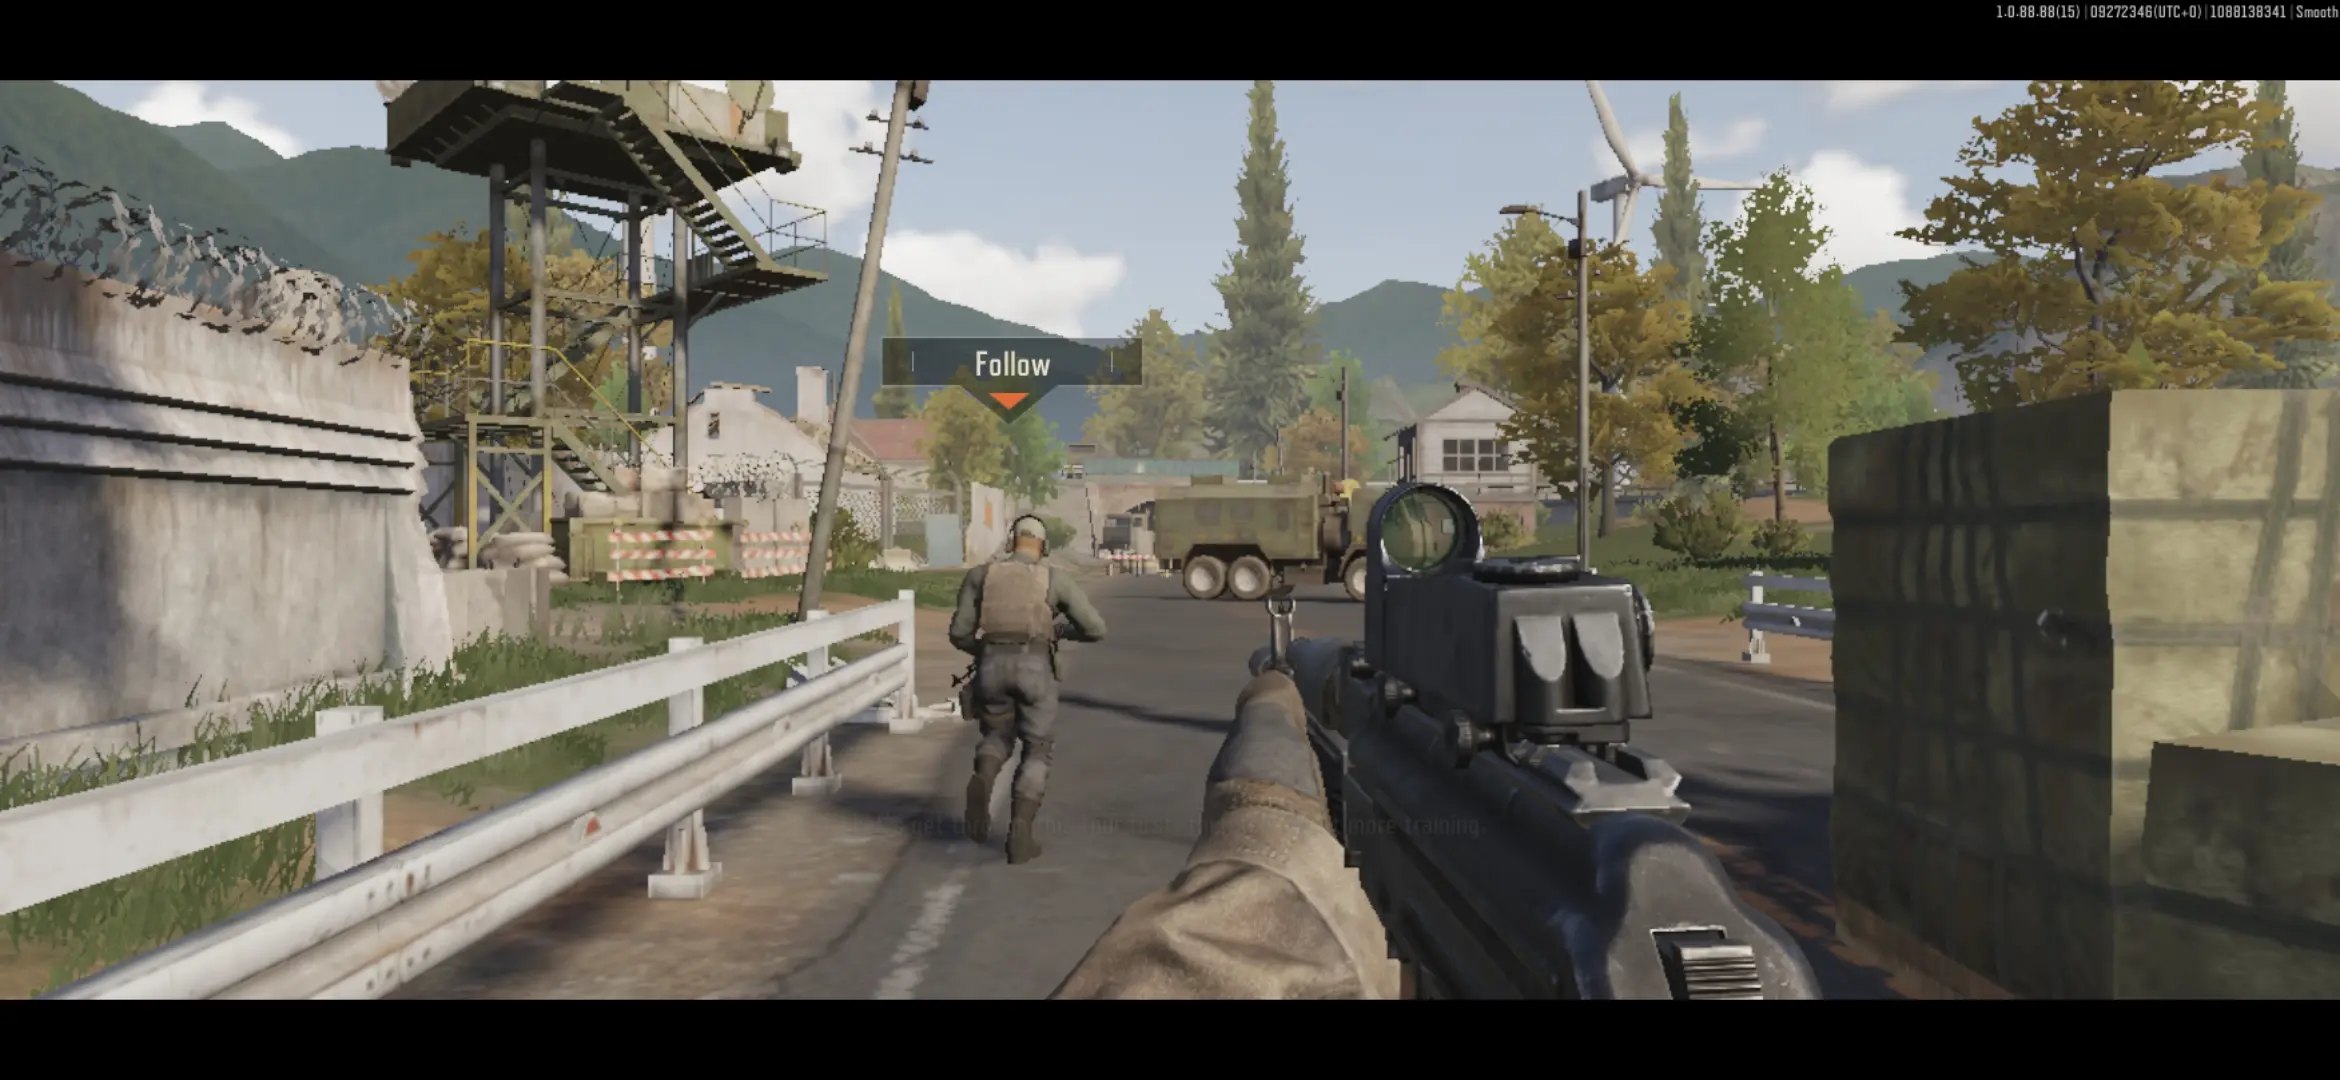
To make cooperative gameplay a little smoother, use the various tools provided by the game to communicate with allies, such as marking extraction points on the map or using the preset messages to get teammates to follow you. As they say, two heads are better than one, and it’s certainly better than losing your head.
You’re Not a Supersoldier
Newsflash: you’re not a supersoldier! We say this because in Arena Breakout, the health system is also grounded in realism, wherein the damage your character sustains cannot simply be treated by a universal medkit.
Additionally, there will be cases when you lose stamina due to hunger or thirst, which you also need to address when you’re out on the field. Sustaining fall damage is also possible so forget about jumping from two-story buildings or great heights if you don’t want to limp across the battlefield.
In understanding the health system, take note of the different body parts that can sustain damage:
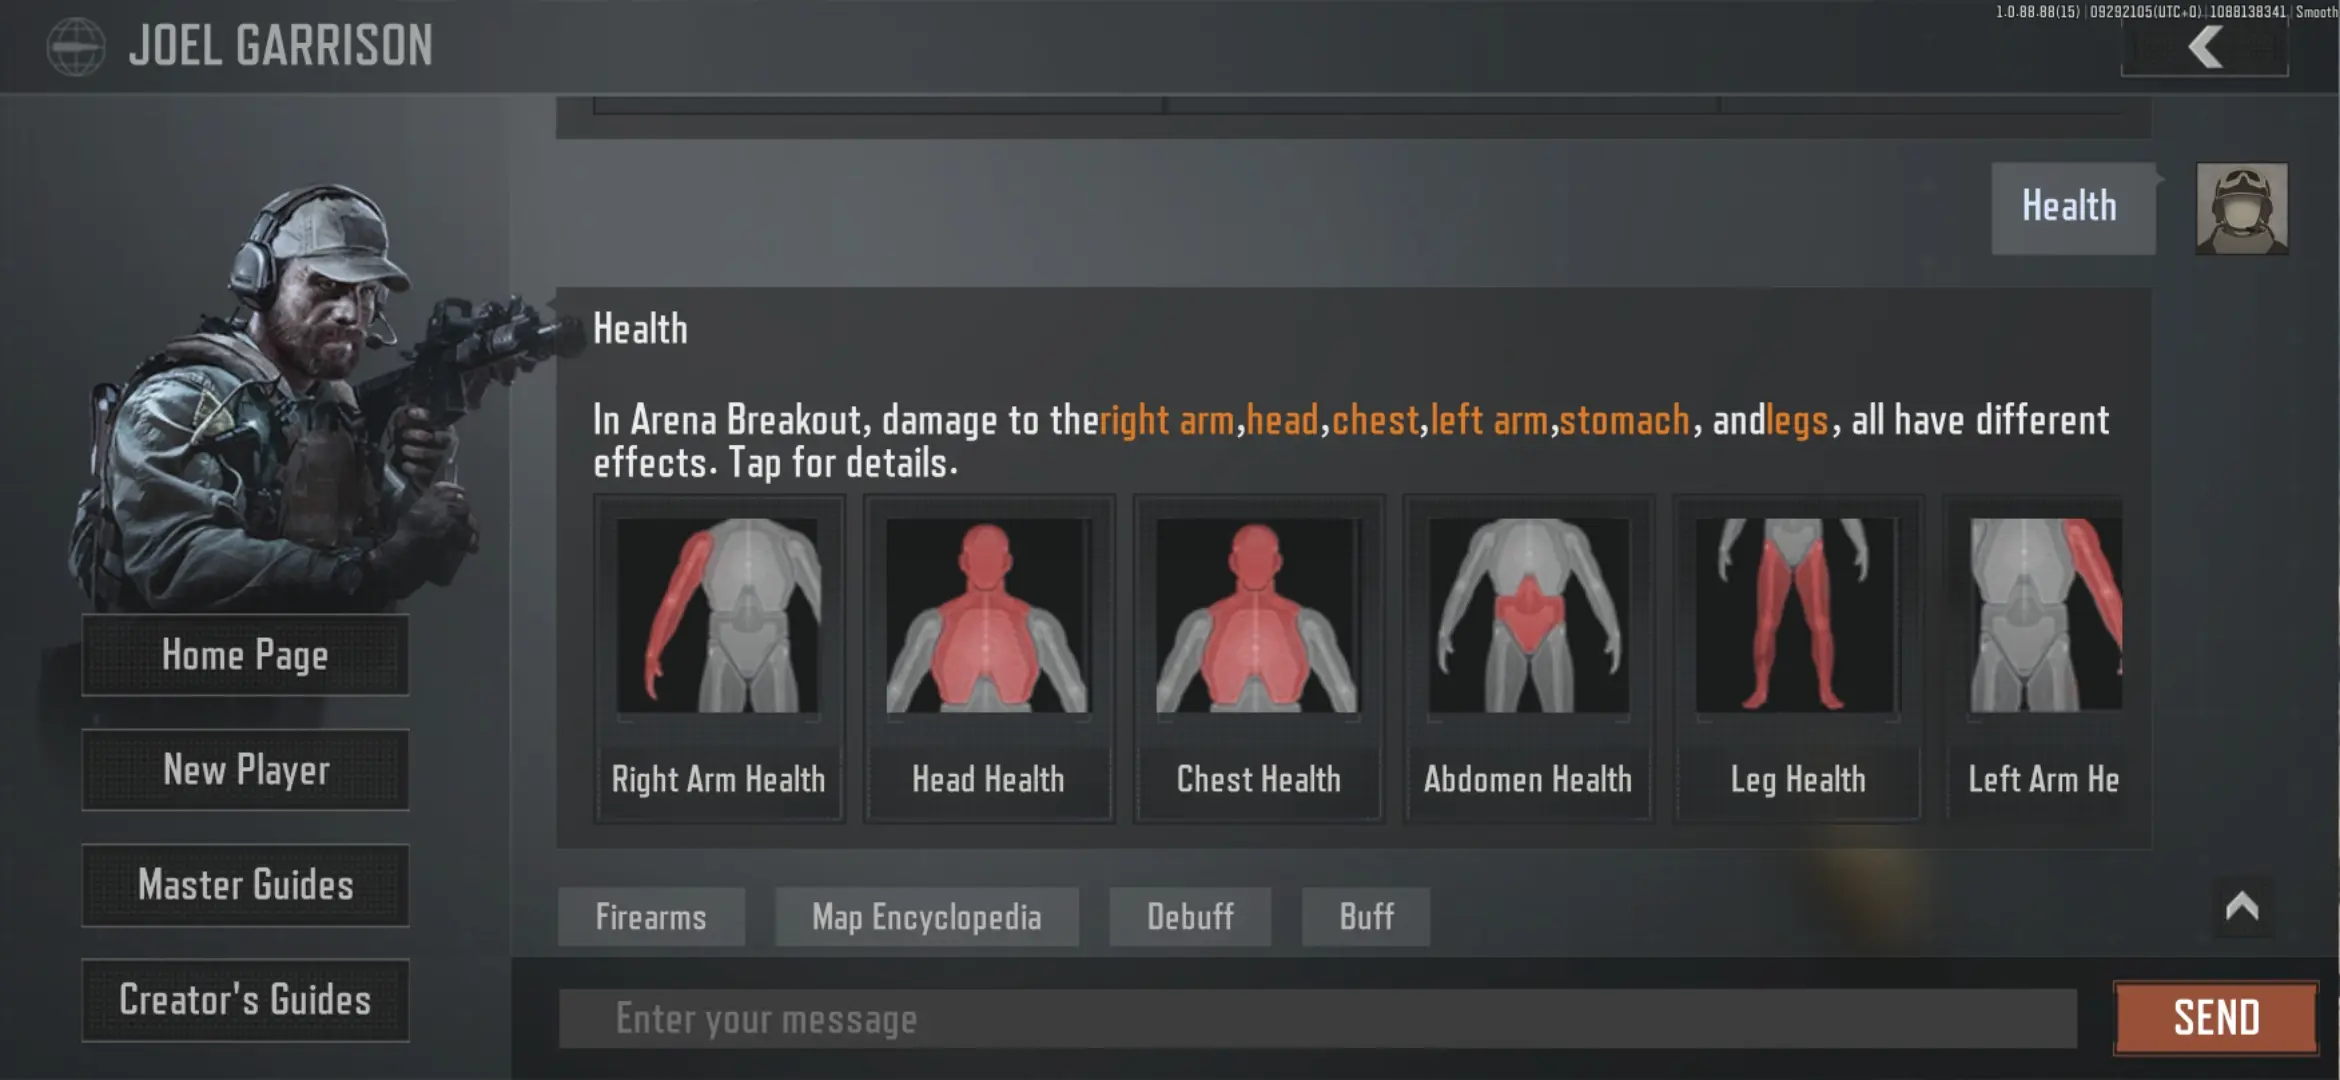
- Right arm
- Left arm
- Head
- Chest
- Abdomen
- Legs
Damage taken will translate into debuffs, which can be treated or addressed using specific items. Here’s a list of all the debuffs and what you can use to remove or minimize them:
| Debuff | Description | Treatment |
| Injury | When injured, HP decreases. | 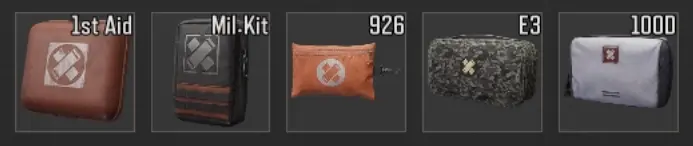 |
| Wound | Causes unbroken parts to continuously lose HP and reduces treatment effects on those parts. | 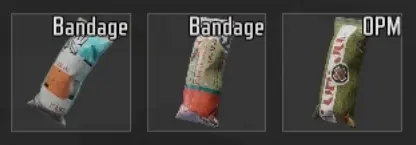 |
| Broken | Stops parts from recovering HP and affects movement; requires a surgical kit to be healed and can be relieved with painkillers. | 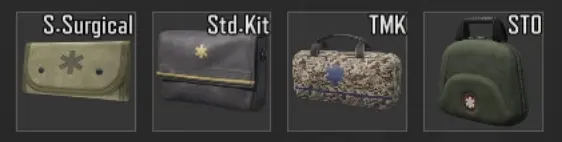 |
| Pain | Causes vision to blur. | 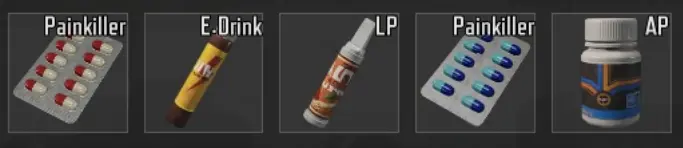 |
| Dehydrated | Causes HP to continuously decline. | 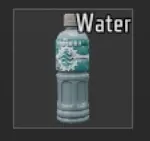 |
| Severe hunger | Causes a continuous decline in HP, reduces max stamina, increases stamina cost, and decreases recovery rate. | 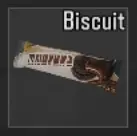 |
| Severe lung injury | Chest continuously loses HP, movement speed and max stamina are greatly reduced. |  |
| Critical overload | Reduces movement speed, disables sprint and jump, and increases fall damage. |  |
| Tinnitus | Causes extreme hearing loss. | N/A |
| Sound blocking | Hearing ability weakened due to equipment blocking. | N/A |
Conversely, you can get buffs by using items to enhance some of your abilities or protect yourself from damage. Here’s a list of the buffs you can gain and the items that provide them:
| Buff | Description | Equipment |
| Sedated | Unaffected by pain. | 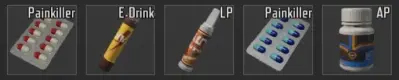 |
| Strength boost | Increases the load you can carry. |  |
| Stimulated | Increases max stamina, reduces stamina cost, and increases stamina recovery rate. |  |
| Regeneration | Continuously restores HP to each part. | 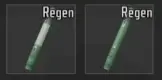 |
| Sound enhancement | Enhances hearing ability with external devices or medicine. | 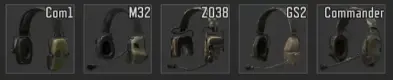 |
| Respiratory protection | Wearing a gas mask filters the surrounding air to ensure the safety of the respiratory system. | 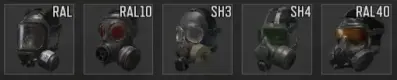 |
| Lung protection | Inhalation of lung-clearing gas temporarily protects the lungs. |  |
Now that you have an idea of what damage, buffs, and debuffs you can get, take note of the items that can help you address each situation and stock up on them for sorties. In case you haven’t brought any in your backpack or chest rig, or you’ve used them up during a fight, loot areas and bodies in the hopes of gaining some of these items to keep you in relatively good shape for a time.
Again, some of these treatments are temporary fixes and the effects may wear out as the fight prolongs. If you’re able to fulfill your mission objectives and are unable to further mitigate damage, consider heading to the nearest extraction point.
Aim for the Head
In a semi-realistic tactical shooter, it stands to reason that the best approach should be to efficiently eliminate enemies—and what better way to do this than by aiming for headshots as much as you can?
Given that the game’s health system operates the way it does, then getting headshots in should make short work of enemies since this kind of damage translates to an instant kill when you manage to get a clean shot.
However, do keep in mind that some enemies wear helmets, which can minimize the damage caused by headshots. Still, aiming for the head gives you some tactical advantages, such as conserving your ammo since you only need to get one or two clean shots in to secure a kill. If you’re sniping from a distance, make this your priority to also lessen the chances of giving away your position, or for other enemies to retaliate.
Body shots can do some serious damage, but if you’re in a red zone or in a skirmish, you’d want that body count real quick so as to keep yourself and your allies alive. Don’t give your enemies a chance to fight back—aim for the head and put them out of their misery.
Always Check Your Ammo
We can’t stress enough how important it is to always check your ammo and keep track of it on the field. If you’ve done your due diligence and packed up ammunition and full magazines, then you should generally be fine during the raid—unless you’re careless enough to let your trigger-happy fingers take the lead. Again, reloading and replacing empty clips isn’t as easy as 1-2-3, and you don’t have an infinite supply of bullets. Be conscious of how many bullets you’re using. Tying in with our previous headshot tip, swiftly and efficiently killing enemies should minimize how much ammo you spend.
Naturally, you can still get ammo and other weapons from looting, though not all bullets or clips you encounter on the field can fit the weapon you’re carrying. In many cases, you’re going to have to quickly decide whether or not to exchange your current weapon for what you’ve gained as loot if only for ammo availability. Either way, check your ammo and be prudent with its usage. Don’t shoot blindly and make sure they’ll always land on a target.
Be Careful When Looting
Looting is undoubtedly quite lucrative as there are many items you can find on dead bodies and resource-laden spots, especially red zones. You won’t just find weapons or equipment, but also intel, medical supplies, and even stuff that can make you pretty good bank in the shops or if you trade them with Contacts.
The only major problem about looting, as we mentioned, is that performing this action will render you vulnerable to ambushes since you won’t be able to see anything else other than what you’re looting.
Another risk factor in looting is that some items you find still have to be inspected, which increases the waiting time you have to spend on that inventory-like screen. Thus, it’s best to loot if you’ve already cleared the area or are fairly certain that you’re in a relatively safe spot away from enemy sights. If you have allies with you, looting can be less dangerous as you have people to cover you.
Keep in mind as well that you can only carry a limited number of items depending on the available slots in your backpack, chest rig, or secure container. In this case, you may have to compare which items you want to keep and which ones you want to discard. Becoming knowledgeable about high-value items may come with experience so study what’s valuable in the shops or what your Contacts prefer when trading for other high-value items.
If you’ve already looted a lot of high-value items, don’t get too greedy on the field, especially if you’re low on health or running out of resources, such as ammo or medical supplies to keep you alive.
Make It to Extraction
After getting as much loot as you possibly or reasonably can, start planning your way safely toward an extraction point. Some extraction points are fixed and have no conditions, while others need to have conditions met before you can successfully extract from these spots. Either way, safely evacuating from the field is your ultimate goal.
You don’t have to be the last player standing or the player to get the most kills. If you fail to extract, you don’t just lose the stuff you’ve looted—you also lose the items you’ve brought to the field from your inventory. Thus, take note of extraction points on the map and mark them accordingly. Be warned that enemies may still ambush you on your way to extraction points so don’t be complacent and keep your guard up as you make a beeline for the exit.
With this, we conclude our beginner’s guide for Arena Breakout. There are certainly many other features to this game you’ll discover while gaining experience and leveling up, but as a beginner, we hope you’ve learned a thing or two about survival, teamwork, resourcefulness, and efficiency. Do you have other tips and tricks you want to share with fellow players? Don’t hesitate to share your knowledge in our comment section below!