Looking for a multiplayer tower defense game that offers a slightly different take on the genre? Then you should be, by all means, checking out Wild Guardians, a new game from PlayStack, the same company that released titles such as Snipers vs. Thieves and Ava Airborne. While you will definitely be focusing on the player vs. player tower defense battles and moving up from one league to the next, you’ll also be able to create your own waves of troops for the passive part of the game, where other human players take you on and see if their defensive towers (there are over 20 to collect — these are your “Guardians”) can eliminate the creatures you send out. You can also use traps and boosters to customize the various maps in this game, and unlock abilities for your Guardians as you level them up!
If you’ve made it to player level 3 to 5 in this game, then this guide should be for you, because this is our Wild Guardians strategy guide for intermediate players. We’re going to be covering a few more areas that we didn’t quite touch on in our Wild Guardians beginner’s guide, including Adventures, which, as a heads-up, is more important than you think, especially if you want to win passively and make it even harder for your opponents to defeat your troops. Read on, and allow us to guide you through the rest of this interesting tower defense title!
1. Unlocking Adventure Mode
Once you reach player level 3 in Wild Guardians, you’ll unlock Adventures, which is the game’s campaign mode. As we explained in our first guide, multiplayer would ideally be your focus. That’s where you earn chests loaded with coins, plasma, and Guardians, and that’s how you’re going to move up from one league to the next. However, it’s also a must that you play out those Adventures, because completing each of the eight available ones (except the Prologue, which is the first) will allow you to unlock a boss, who typically leads off the fourth wave (everyone starts out with three) and takes a huge chunk out an opponent’s life if he makes it to the end of the path. Having a boss could really help you during those passive battles where you’re handling the offense and the other player setting up the defensive towers, so make sure you complete as many Adventures as possible! It may seem boring to fight off AI enemies, but it’s necessary if you want to win more PvP battles on the passive side of things.
2. You Can Speed Up Battles, But Not If Troops Are About To Escape
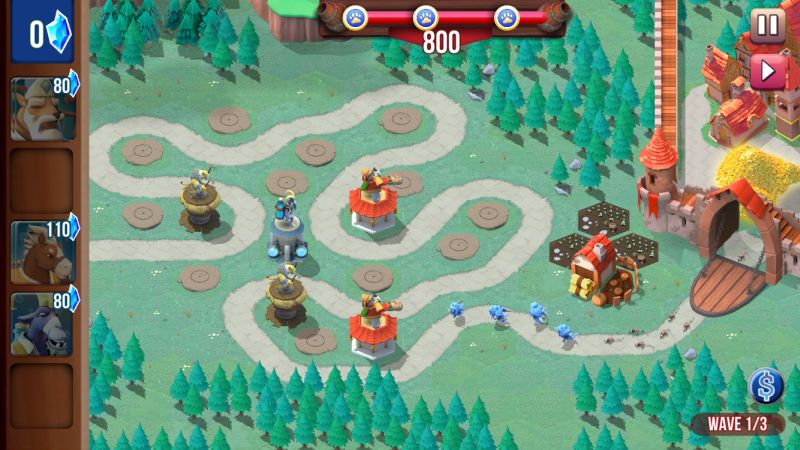
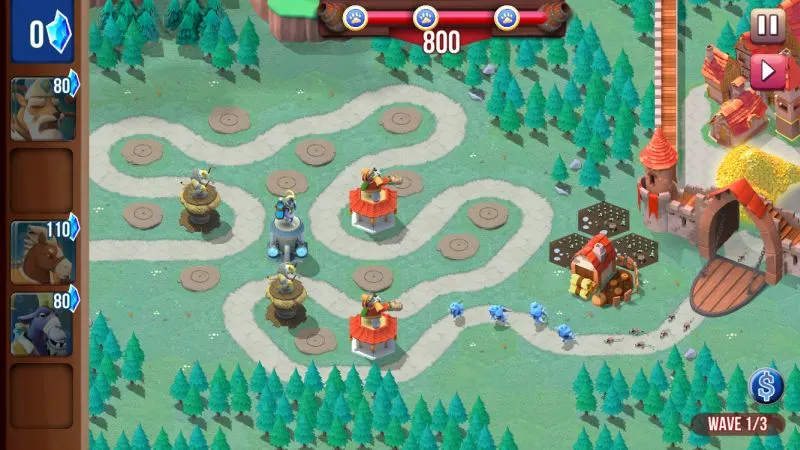
On the upper right side, you’ll see a fast forward button that allows you to speed up the battles, and since it may seem at first as if the troops are moving at a glacially slow pace, this could be a godsend, allowing you to get through a battle sooner rather than later. But you should also be careful when using the speed-up function; while it may seem cut-and-dry to set up your towers, it may also be difficult to properly place them and hit on the “check” button, due to how close it is to the “x” button. Faster enemy troops could easily slip past you if you aren’t able to place your towers on time, so if you’re noticing them moving closer to the end of the path, hit the upper-right button (now a play button) once again to slow things back down to normal pace. That should buy you some much-needed time to allow you to place the towers at the right points on the map.
3. Sell Towers To Defeat Final Waves / Boss Waves
Ordinarily, you’re only allowed to place a defensive tower a maximum of two times each. While this might seem limiting, especially once your mana starts adding up toward the end of a battle, there’s a way to “recycle” your towers, make them useful, and improve your chances of hitting three stars at the end of the battle. Once you’re at the third wave, you can tap on the towers at the back, meaning the ones closest to the right side of the screen, where the enemy troops are coming from. You will then be asked to click again to confirm and sell them for a percentage of their original mana cost. Once you’ve sold the tower, you’ll see it appear again on the left side of the screen, allowing you to set it up closer to the end of the path — preferably, you want to set up your “recycled” tower around the middle, because it’s not a good idea to be playing catch-up by having your higher-damage towers all stacked near the end, on the left side. Using this method, you’ll have a better chance of defeating tougher final waves, including those boss waves with giant troops that have a ton of health points on them!
4. Know Your Guardian Types


The titular Guardians of Wild Guardians come in different types, based on the active and passive abilities they use on the battlefield. Physic Guardians specialize in physical damage — for example, that would include Brandt’s axes and Sir Nimblehoof’s musket. Magic Guardians, quite obviously, specialize in magic, such as Troosh, who deals out area of effect damage with the chemicals in his flask. Slower Guardians don’t do damage as much as they slow down enemy troops. Lastly, Poison Guardians deal out poison damage, which is quite small compared to the usual physical or magic damage, but that also results in enemy troops losing health over time. There doesn’t seem to be any elemental hierarchy when it comes to these four types, but in most cases, it pays to have a good mix of guardian types, maybe at least one of each once you’ve familiarized yourself with how the game works.
5. Be Careful When Setting Up Slower And Poison Guardians
There’s not much to it when setting up towers of Physic and Magic Guardians — choose the ones that deal out a lot of damage but don’t cost too much mana to use. But it’s a bit trickier when you’re setting up Slower and Poison Guardians, because the idea here is that you want to follow up the initial hit with a Physic or Magic hit that will take them out faster, given how they’ve been slowed down or weakened. It’s very important that you take the motions of enemy troops into account — set up the succeeding Physic or Magic tower in such a way that you’ll be hitting them while still slowed down, or while they’re still poisoned. This could take some practice, and some trial-and-error, but that’s what grinding is for!
6. Replay Adventure Levels To Practice With New Guardians
Technically, grinding in Wild Guardians is useless. The Test Waves feature in the Barracks already allows you to see how well your defenses hold up against your troops, so why go to Adventures to replay a completed level when you wouldn’t be getting any gold or plasma, both of which you can no longer earn once you’ve three-starred a level? Well, you will definitely want to redo a level if you didn’t get three stars in your first try, but if you’ve already three-starred a level, you can replay it to test out your newer or untested Guardians, and get an idea of how to use them against AI opposition, with no stakes whatsoever involved.
7. Shopping Around – What Can Runes And Shields Do?
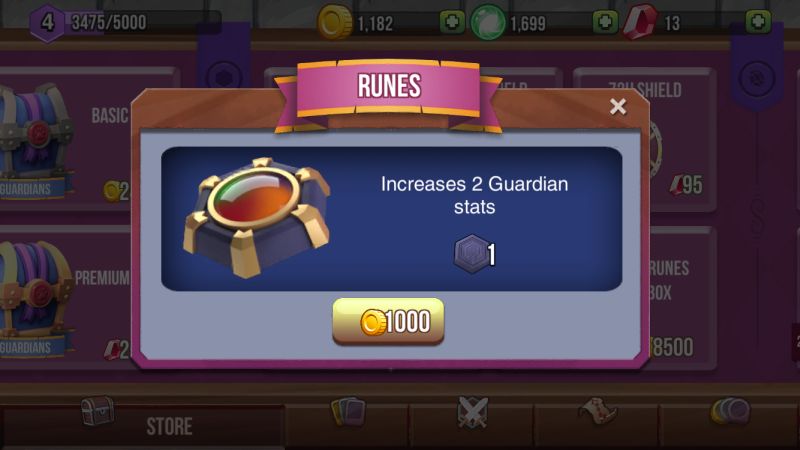
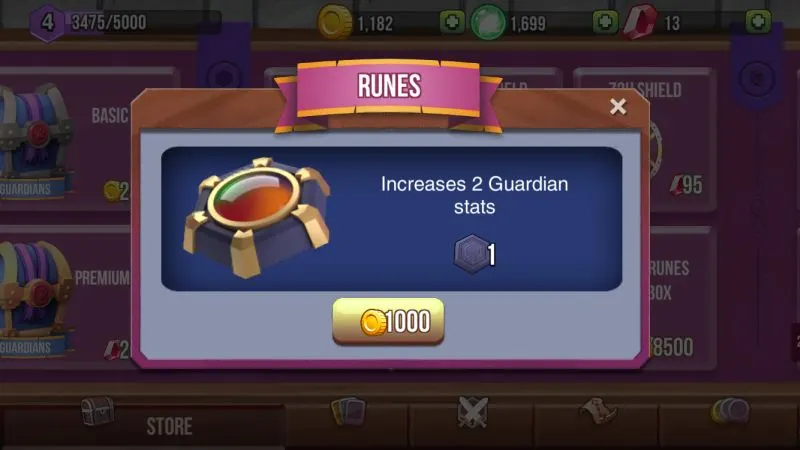
In most cases, you’ll be buying chests in the Wild Guardians shop, as you beef up your troops and hope to unlock more Guardians. However, if you move to the right, you’ll see other items that you can purchase with your common and premium currency, including Runes and Shields. What do each of these items do? Runes are the ones you’ll likely be considering, as one Basic Rune allows you to increase two Guardian stats — one will cost you 1,000 coins, though you can buy a box of 10 for 8,500 coins, or 850 coins per Rune. Shields, on the other hand, protect you from opposing player attacks for a given period of time, and can only be purchased with gems — 12 gems will get you an 8-hour Shield, 35 will get you a 24-hour Shield, and 95 gems will have you protected for a good three days, or 72 hours. We only recommend Shields if you’re unusually short on your regular currency and unable to upgrade your Guardians and troops to keep up with opposing players in your league.
8. Use The Map Editor Once You Reach Level 5
Once you’re at player level 5, you’ll have access to Traps and Boosters, which you can set up on the Map Editor — that’s the fourth tab on the bottom menu. Traps, such as Slowing Clock (slows down enemy Guardians) and Mist (reduced range) affect your opponents’ Guardians once you’ve saved them on the map in question, while Boosters, on the other hand, improve your troops’ prospects when they’re out marching — for example, Magic Circle increases magic resistance by 65 percent, while Verve Mushrooms give your troops a 50 percent speed boost. As you may have inferred, these Traps and Boosters work passively, and do not play any part in the game when you’re playing actively. Be very careful when setting up Traps and Boosters, because once you’ve placed them on the map of your choice, there’s no undoing things, and you wouldn’t be able to recover the plasma you spent on setting them up!