Life of a poor, quiet swordsman without a lord is harsh enough as it is. Now the local Shogun’s men burnt down the village you were resting in and want your head on a pike. Suddenly you must take up your old blade and slash, stab, murder and disembowel your way to your next day of life.
You go on your quest to shove a sword into the mouth of whoever thought it was a good idea to make dang near all of Japan (including the local wildlife!) want to mess with you. This is Ronin: The Last Samurai, an exciting sword fighting game from Dreamotion Inc., where timing is everything, but good gear, a sharp mind, and a distinct lack of samurai scruples are more than welcome.
In your efforts, you will die, quite often actually in Ronin: The Last Samurai. This isn’t like a lot of other mobile games where they lull you in with an easy first couple of chapters then slap you with a difficulty spike later on. Ronin: The Last Samurai is honest and honorable enough to immediately and harshly punish any careless move you make as soon as you leave the tutorial so as to make sure you’re prepared for the repeated beatdowns you will suffer later on.
That being said, here is some knowledge to help you survive your journey as a Ronin, from fellow Ronins, learned through the accumulation of many stab wounds, wolf bites, and built upon a pile of the Shogun’s fallen soldiers.
If you yourself would like to learn through pain, discipline and masterful sword strokes, read our comprehensive beginner’s guide for Ronin: The Last Samurai below.
1. Fighting Basics: This Part Of The Katana Goes Inside The Enemy, Not That Part
How To Swing Your Blade
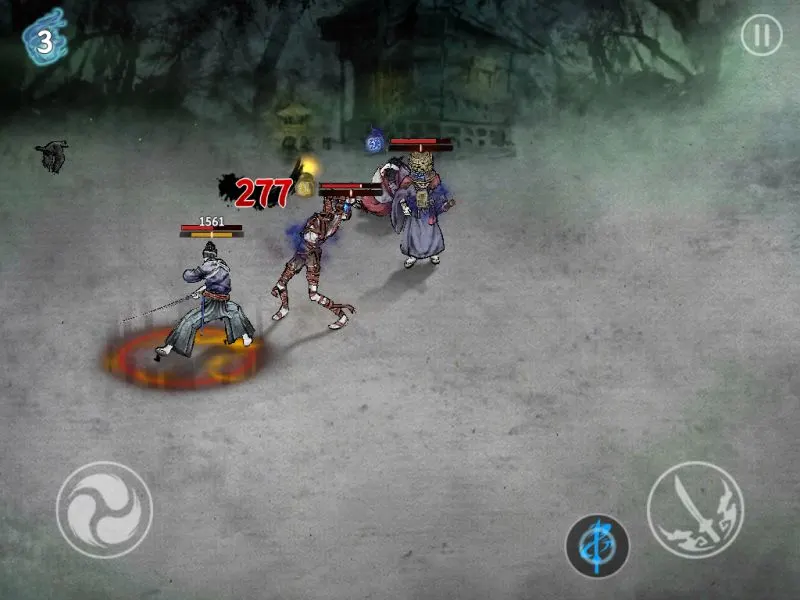
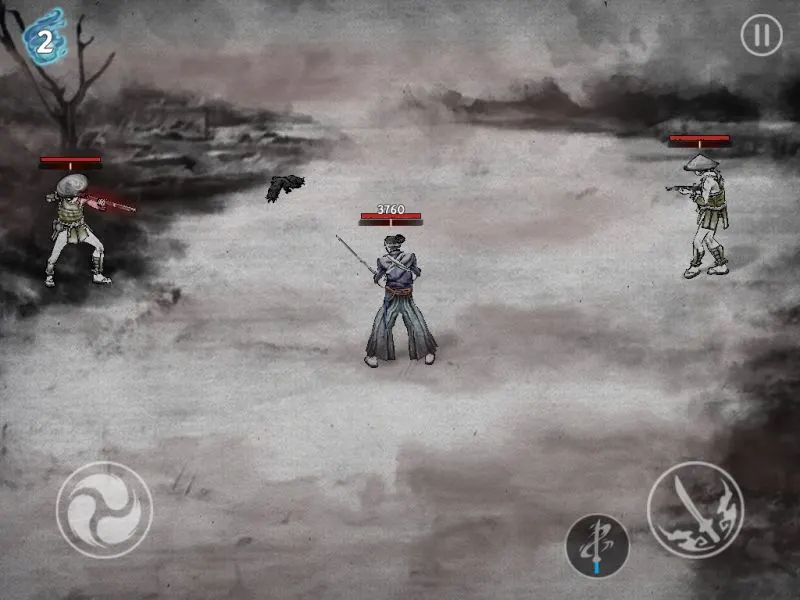
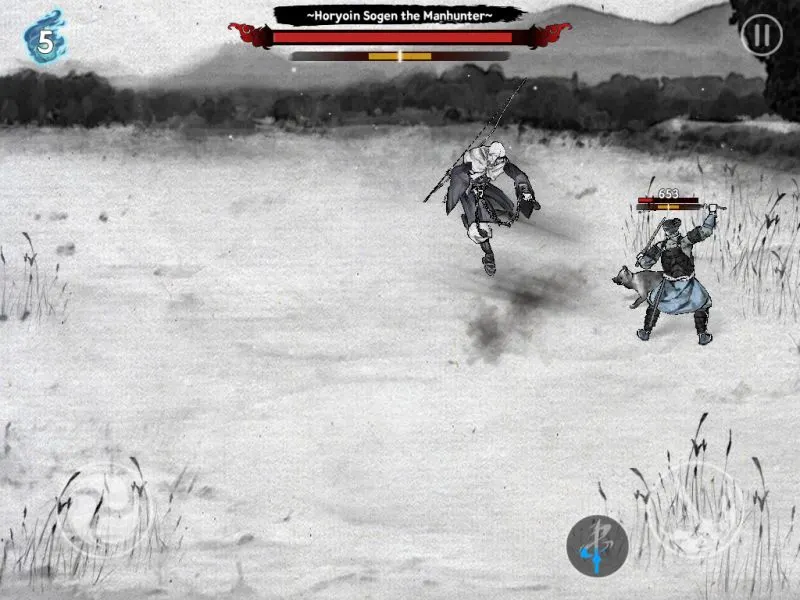
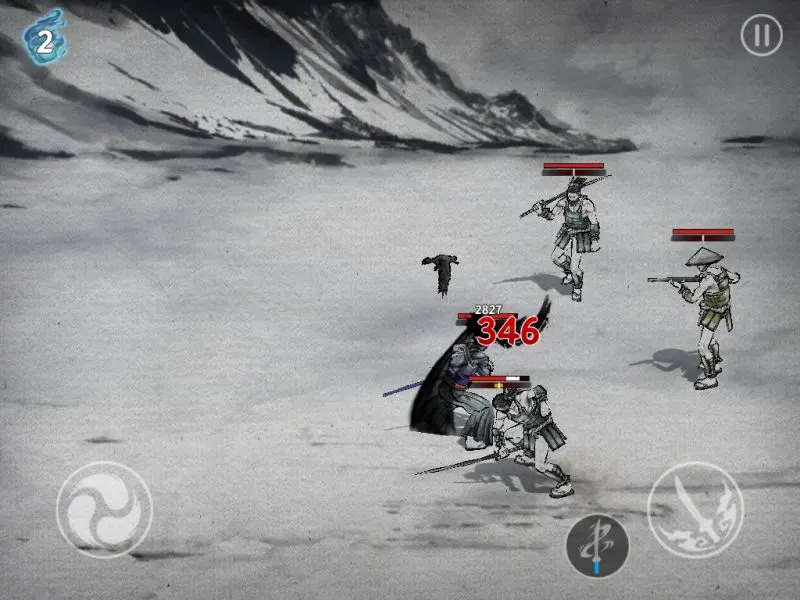
The combat mechanics in Ronin: The Last Samurai is deceptively simple. You have a button to hit people with your sword, another one to perform a skill after a gauge fills up, and another button to block, which also doubles as your joystick to walk around slowly with a defensive stance.
Posture, Keep An Eye On It
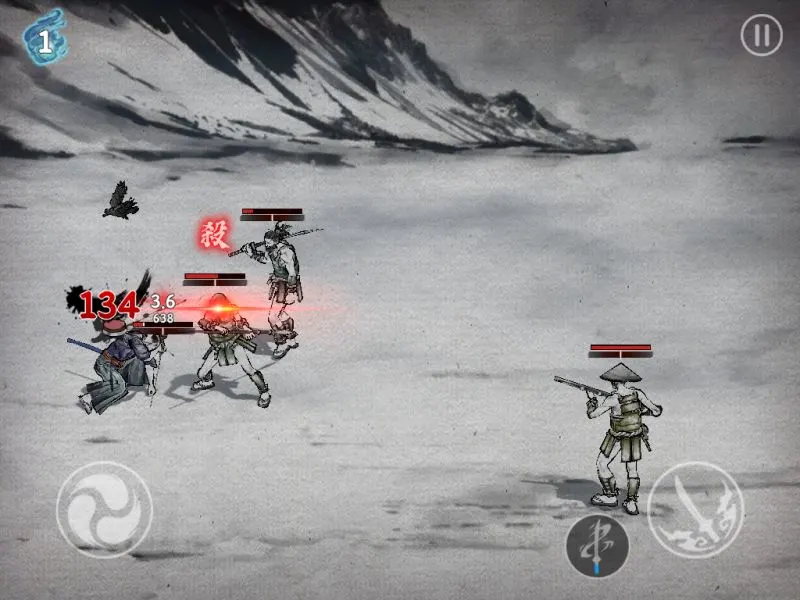
Under the red health bar over your head is your Posture bar, which fills up quickly when you take damage, and a bit more slowly when you block attacks, and not at all when you parry attacks.
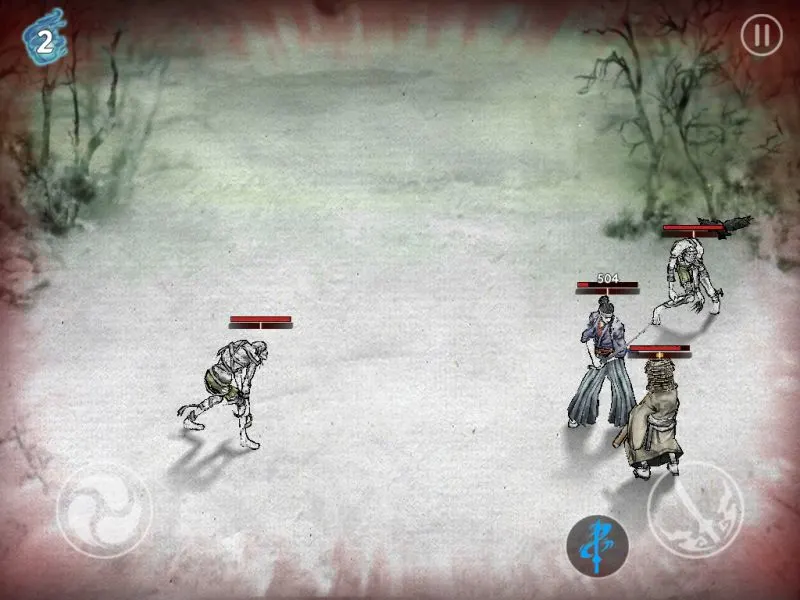
Letting this bar fill up is a good way to end up losing your head, as a full Posture bar means you get stunned for several whole seconds, and you are unable to do anything other than mash the buttons to make the stun timer go away faster.
Defensive Footwork
While walking is slow, it is still good enough for dodging certain attacks and is always done while blocking, and is very important when you find yourself in a bad position you need to get out of.
Cancelling Slow Blows For Careful Swordplay
Blocking can also cancel any attack animation near instantly, great for when you need to get an extra attack in after your final combo strike’s horrible end lag.
Parrying: The No.1 Way To Get Someone To Stop Stabbing You
As the tutorial of Ronin: The Last Samurai will teach you, basic enemy attacks can be blocked, but to parry them by tapping the block button at the moment the attack will hit you is preferable, as this causes massive Posture damage to your foe. If their Posture bar fills up, they get stunned for several seconds, long enough to use a full combo on them.
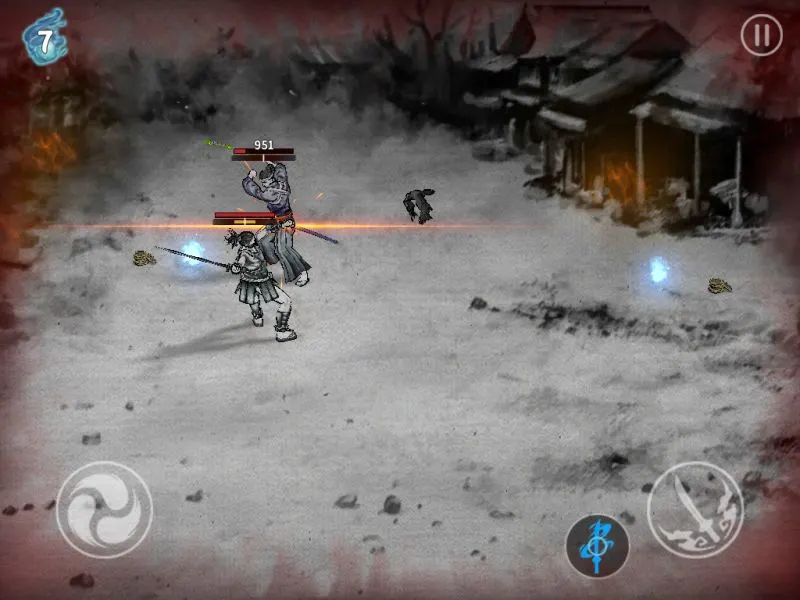
You will know when you have successfully parried an enemy attack when you hear a loud sword clash and a bright flash of orange light appears where the impact occured.
Heavy Attacks And How To Punish Them
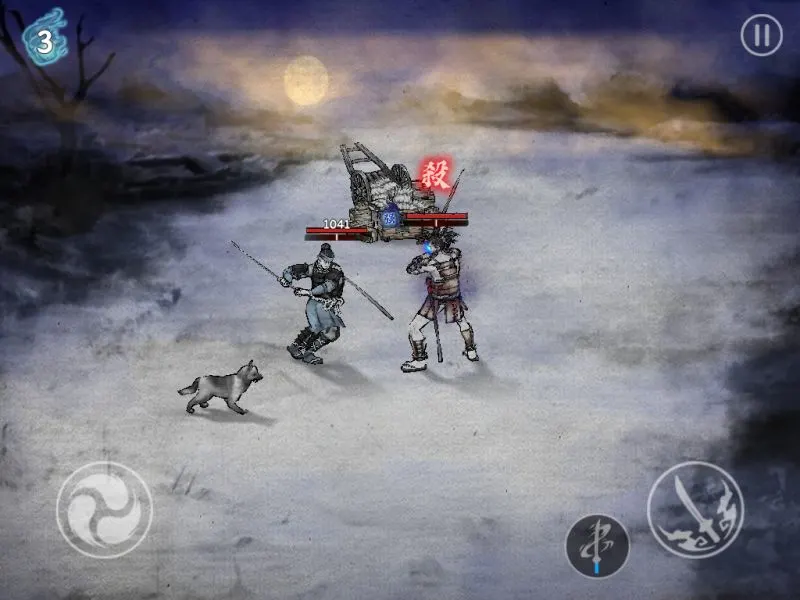
The enemy’s heavy attacks, telegraphed by the flashing of their eyes and a Japanese character over their heads, cannot be parried.
Instead, they can be partially blocked (Unlike with a normal attack, which do no HP damage and only a little Posture damage when blocked, blocking a heavy attack does a little HP damage and a lot of Posture damage to you, but still less than if you took the hit with your face), or countered by pressing the attack key at the moment the heavy attack will hit.
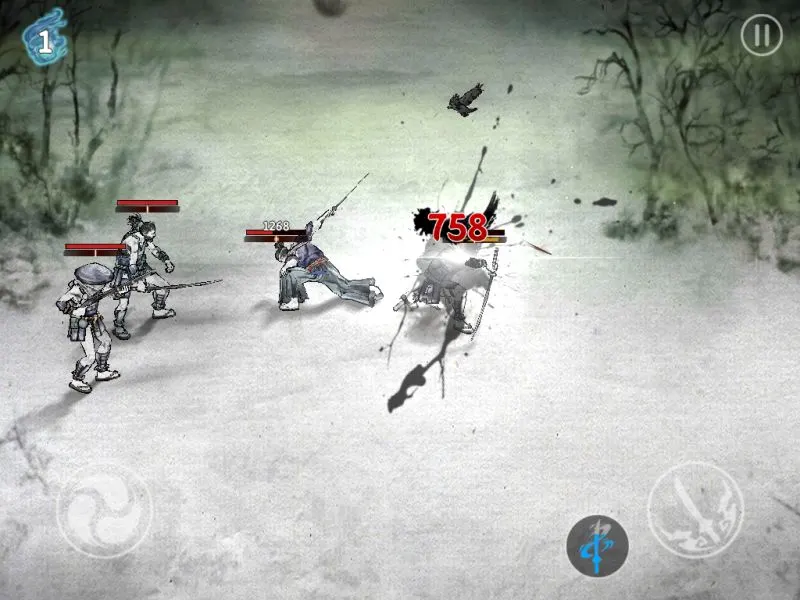
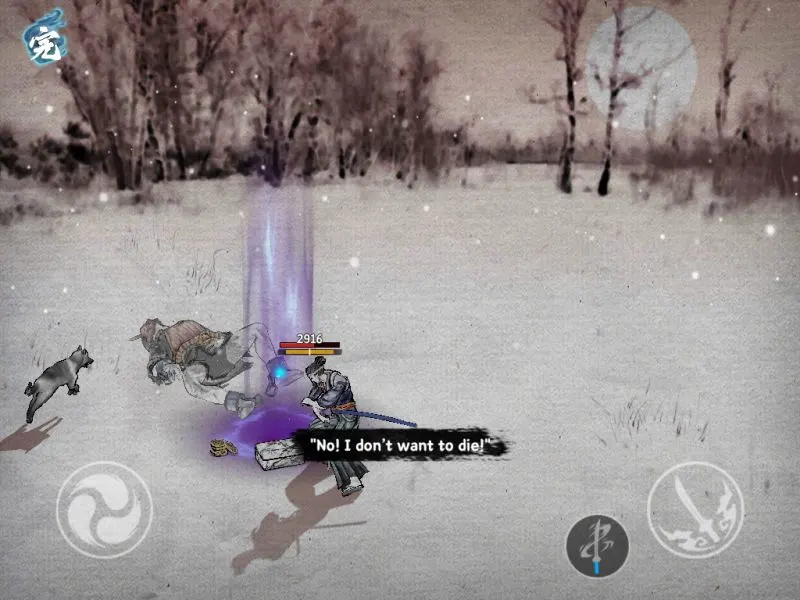
Countering a heavy attack performs what is called a Counter-Flash, a massively powerful strike that puts you behind the enemy. While this is normally a good thing, there are those rare occasions where it puts you in a bad position, surrounded by your victim’s friends. That being said, just be careful with your footwork and you’ll be fine.
You Brought A Sword To A Gunfight!?
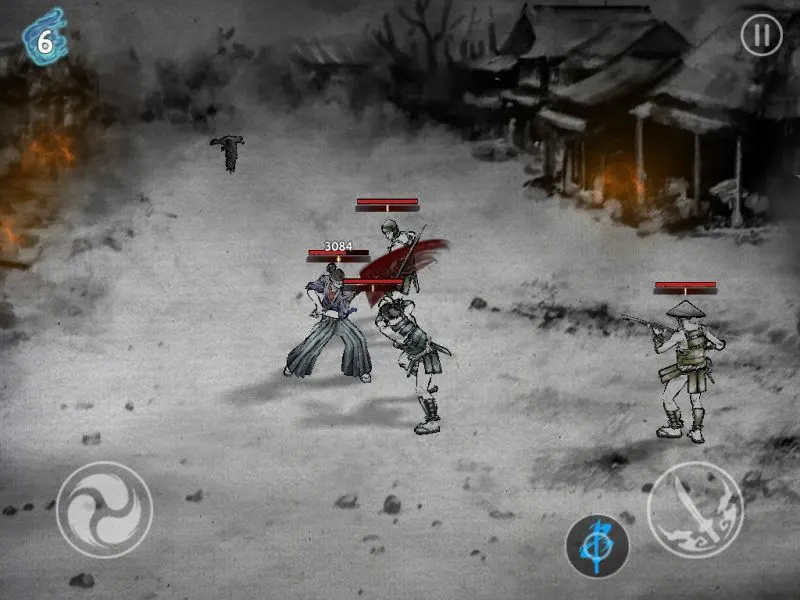
Ranged attacks, usually coming from musketeers, are some of the most annoying: Parrying them negates all damage against you but does no posture damage to the enemy Musketeer, and they are similar to heavy attacks in that blocking them only partially negates their damage.
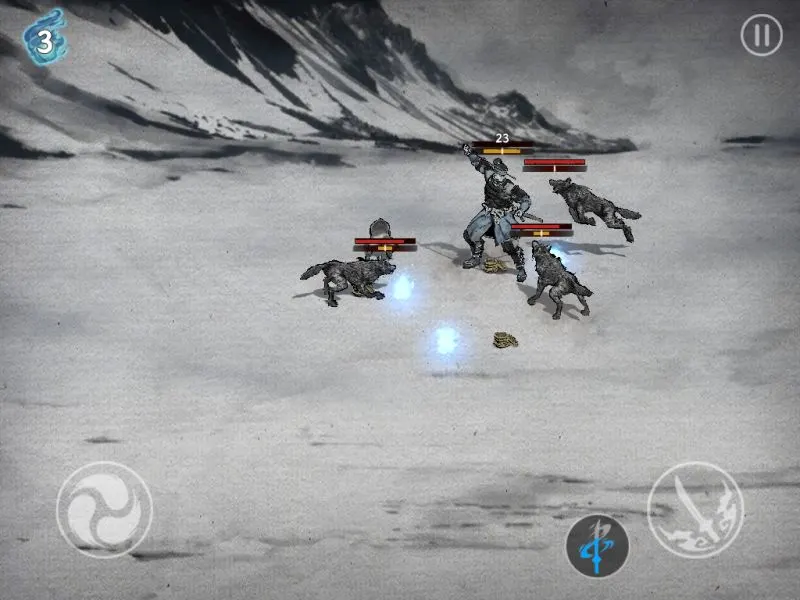
Thankfully, ranged attackers tend to be some of the squishier enemies, so prioritize them when you can. This is easier said than done though, as your Ronin prioritizes whoever is closest to himself as a target, and it’s usually some jerk running towards you with a sword.
The Skill Gauge, Or As Some Like To Call It, Countdown To Anime
Your Skill gauge does not fill up over time, and is instead filled by parrying attacks, performing Counter-Flashes, getting lucky with critical hits and hitting something with the final attack of a combo.
Learning to Parry, Counter and knowing when finishing a combo instead of canceling is a good idea to make sure you keep your Skill gauge topped up in time for incoming boss fights.
2. Good Fighting Habits: More Effective Ways To Make Sure The Sword Ends Up Inside Your Enemy As Opposed To Being Inside Of You
Fighting is a difficult and grueling affair in Ronin: The Last Samurai. To beat a chapter, you must fight for 20 battles straight, which includes mid-bosses at every fifth battle and a full boss every tenth battle. Dying means you must start that chapter all over again, from the first fight, thankfully letting you keep any loot you found.
You are doing all of this with a single health bar and only occasional sources of healing, so being patient and careful pays a lot more than button mashing.
Murder And Travel, Anime Style
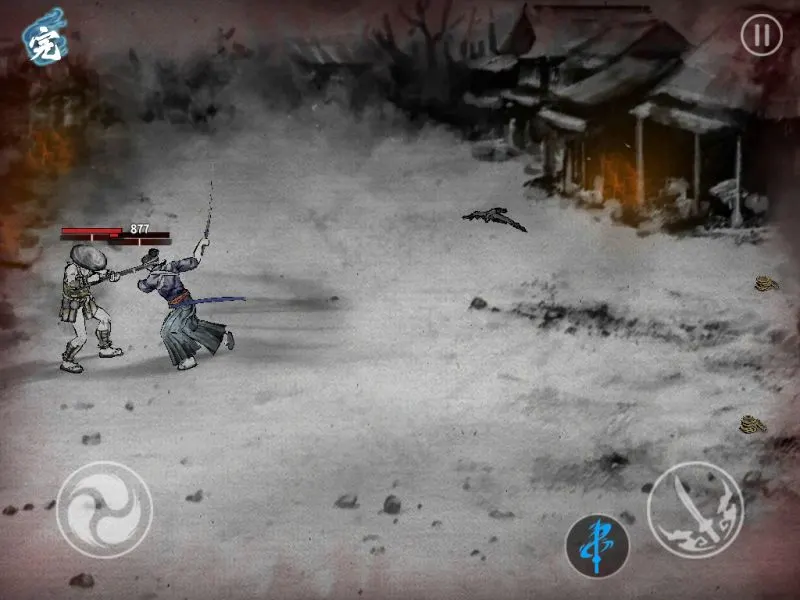
When faced with enemies that are too far away to walk to, usually musketeers, walk towards an enemy only until you see your Ronin point his attention towards your intended target, then press the attack button to Dash towards them.
After a dash, your Ronin will swing his sword. You can Block to cancel this and Dash again if the enemy is especially far away, usually when it’s the last musketeer standing.
Tactical Retreat: It Is Only A Shameful Display If They Live To Tell About It
Do not be afraid to run away. As a Ronin, honorable methods of combat such as “Standing Your Ground” and “Fighting Bravely” are completely optional, unlike with true samurai. Tactically tucking tail from a large mob of enemies and engaging them one at a time is far preferable to being surrounded or cornered by them then getting repeatedly stabbed in the everything with sharp pointy weapons as you desperately try to block or parry everything at the same time.
It might look difficult with your normally abysmal walking speed and inability to dash in any direction other than toward the thing that is trying to kill you, but it is very doable, especially if you get the Wind Walk ability, which we will get to towards the end.
Thumb Slip: A Dishonorable, Embarrasing Way To Die
You must keep watch on your Ronin to check whether or not your thumb slipped and you aren’t actually touching the walking block button when trying to block. When blocking or walking, you don’t need to press down directly on the walking block button itself, just the general area of the left half of the screen. Don’t be afraid to just press down on the left half of the screen in a comfy spot so you have space to make your Ronin walk more effectively.
Watch Your Foe Blow For Blow
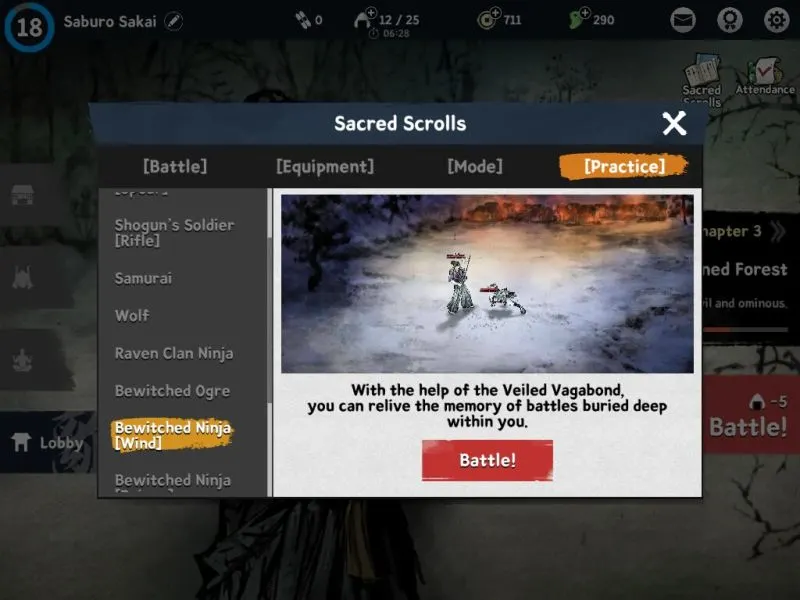
Keep a sharp eye. Look carefully at an enemy’s attack animations, especially their heavy attacks. Most humanoid melee enemies seem to fight similarly, but details such as a swordsman having an easily avoidable vertical slash for a heavy attack and a spearman having a heavy sweeping blow that cannot simply be sidestepped make all the difference. Looking within the Sacred Scroll’s Practice Tab and fighting there is a good way to do it without spending Onigiri, but often you have to do it in battle as new enemies do not immediately unlock.
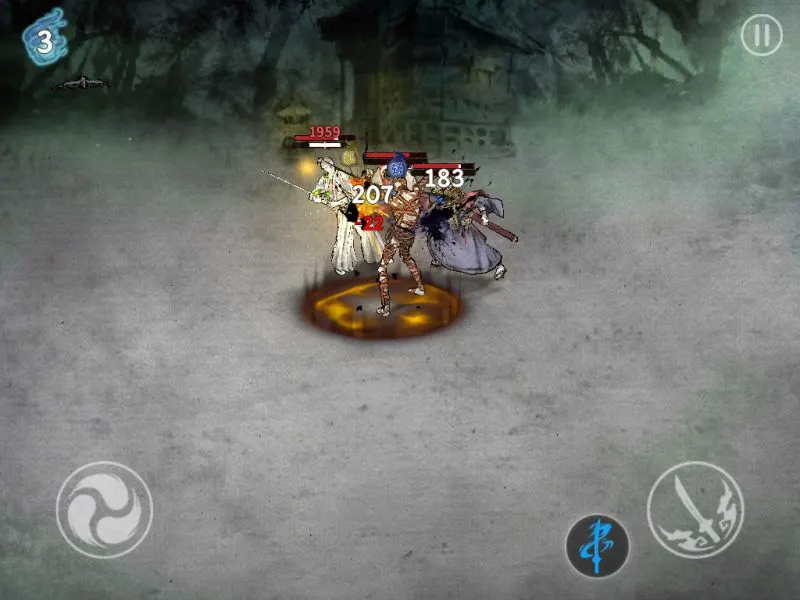
This is especially important once you reach Chapter 3 in the game, where the enemies suddenly become much more varied than the usual melee weapon user and musketeer with occasional dogs mix. Teleporting frog ninjas, zombies with bad breath and basket-headed jerks with hand grenades, magic flutes and tantos add to the headaches your Ronin suffers every day.
Get Out Of My Way!
Sometimes, it is impossible to get your Ronin to prioritize the far-away enemy musketeer, especially when some guy with a sword or spear keeps butting into you and stabbing you in the face no matter how much walking you do, or when they’re positioned to get in your way.
If that’s the case, either fight until your current target is dead or until you find an opening to head towards said musketeer.
Be Cold As Death Itself, Or It Will Take You
Fight calmly, but do not think too hard. Do not fall into the habit of either mindlessly hammering the buttons, or nervously waiting with your guard wide open for the enemy attack to come so you can parry or counter it.
Keep your block up at all times as just like you can cancel your swing by blocking, you don’t need to let go of the block button to open an attack, and you can just let go for a bit and tap the block if you find an opportunity to parry.
Your eyes must be on every foe within melee range of you so you can effectively parry and counter once their swings are right about to go down on you. The only time where mashing buttons like a madman is acceptable is when you get stunned, as it makes the stun timer go faster.
A Thirty Second Respite
Ads are your friend. Sometimes, the game will hand you a free revive if (when) you get killed, which only asks that you watch a 30 second or so advertisement. There is no reason not to take it, as you cannot save such revives for the future and they appear at complete random, sometimes appearing several runs in a row or not appearing at all for uncomfortable, stab wound-filled stretches of time.
Spend Your Lives Wisely
If you have Reincarnation Scrolls, always save them for boss fights, and use them only if you are absolutely confident that you can kill said boss after that revive, usually when you notice they are at much less than half their health. They come few and far between, with 5 being handed to you as your first day login reward, and 15 more much later on after 12 days.
And it goes without saying, never spend gems for a revive. You will eventually either get good enough at the game to kill whatever boss you’re stuck on, or through sheer grind, overpower them with better equipment.
3. From Dirty, Penniless Sellsword To Dashing, Deadly Wandering Blade
Just because you’re essentially an aimless hobo with an old dinged-up katana doesn’t mean you have to stay that way forever. By keeping an eye on your Attendance rewards, Achievements, and acquiring funds from the totally legal method of carefully yet violently applying your sword to your enemies’ foreheads and taking their wallets and gear, you can go from dirty honorless Ronin to markedly less dirty and much more deadly, but still honorless (Money can never make up for your failure to have a Shogun) Ronin with some patience.
Let’s get this out of the way: You don’t need to spend a cent on Ronin: The Last Samurai unless you’re really impatient (in which case you won’t do well anyway in this timing-based, skill-based, patience-rewarding, button-masher-murdering game, no matter how much dosh you throw at it), or you want to support the developers (which is a perfectly reasonable idea). You can get Gems (the premium currency) simply by leveling up, getting achievements by playing the game more or less normally with a decent amount of skill, and by keeping up with your daily logins.
Green Gems And Boxes
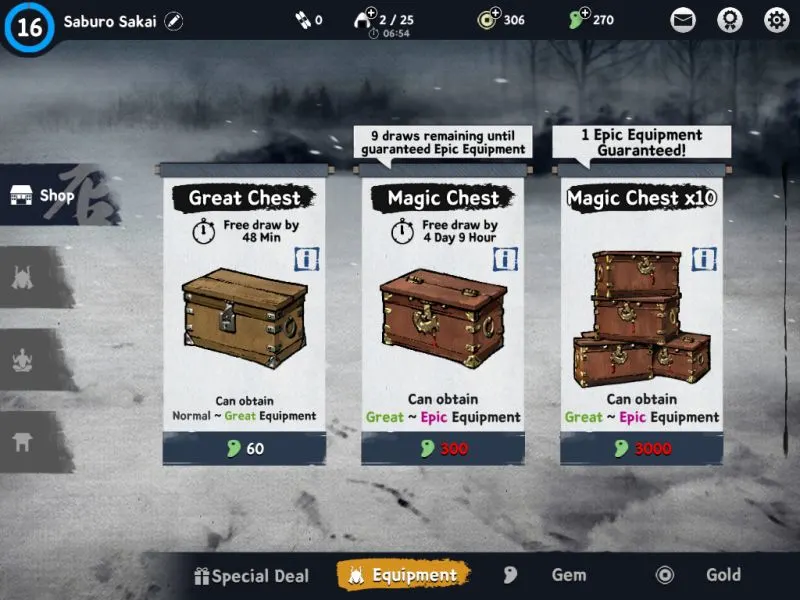
Don’t bother wasting Gems on Great Chests, as they only give grey and green tier equipment and you get one every 24 hours anyway. Instead, save three hundred gems for Magic Chests instead, as they can drop green, blue, and purple tier equipment.
Saving for the ten pack of Magic Chests is not really advisable as it has no discount at all (it costs three thousand gems) , thus defeating the point of a bulk purchase in real life, which is often to save money.
Your Sword Has Sentimental Value? You Can’t Kill People With Sentimental Value!
While it may be tempting to upgrade your starter sword immediately on your first day of grinding, the game hands you a choice to take one of three swords on your second day. All of them are at green or Great tier, one above your rusty old starter weapon. There are three kinds of sword, all present across all tiers:
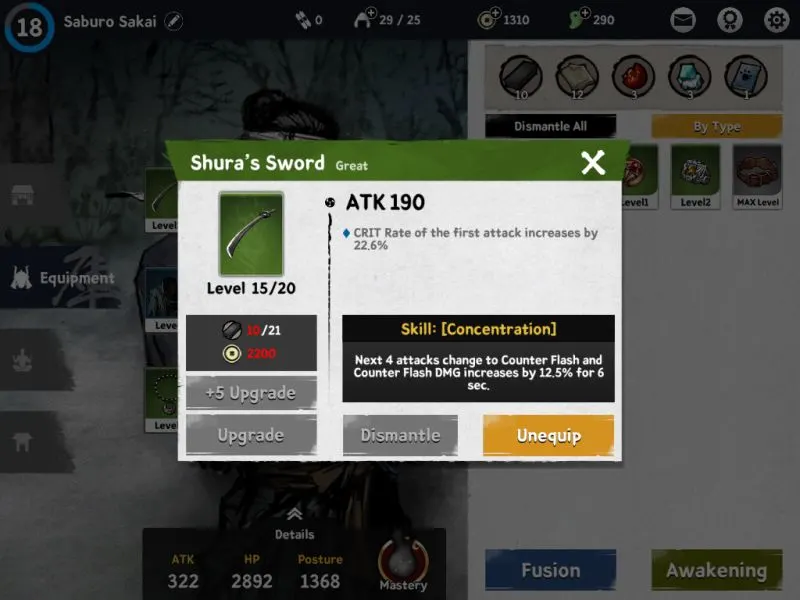
Shura’s Sword: a classic katana with decent speed and a special attack that turns your next four strikes into Counter-Flashes . A very reliable weapon no matter who you stab in the face with it.
Crescent Moon Blade: a heavier odachi longsword you wear on your back whose special attack extends the blade to ridiculous lengths and allows it to perform lifestealing blows for a few seconds. Possibly better on huge mobs as opposed to bosses, as this attack can still be blocked.
Whirlwind Twin Swords: a rapid pair of blades that allow you to slow down time for six seconds and wail on your foes for the duration. Potentially better on bosses than the Crescent Moon Blade, but that six second slow only really gives you enough time to wail on only one or two targets at a time as opposed to all of them at once.
It will also take likely multiple days of play before you get any sword better than the second day reward, hopefully coming from the 15th day login epic crate, so you’re going to be stuck with that Great tier sword for a while unless you get lucky with your first 300 gem box opening.
That being said, Ronin: The Last Samurai is merciful enough to take into account upgrades when calculating the reward for dismantling old weapons, so once you get a sword even better than the green tier you get from the second day login reward, say a blue tier or even an epic, it would be fairly easy to level that shiny new blade up.
Mending Your Clothes
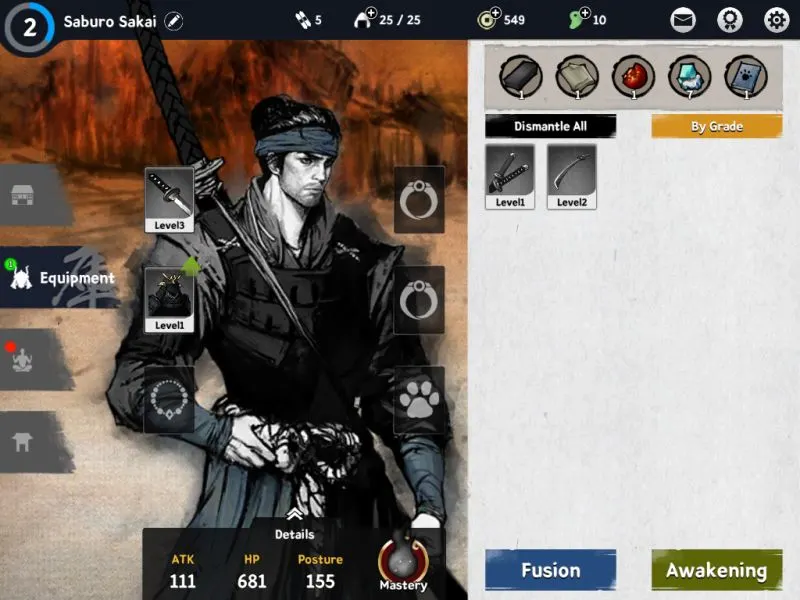
Saving materials instead of upgrading other grey tier equipment though does NOT apply to anything other than your first sword, as you will be stuck with grey armor and accessories for long enough that not upgrading them even a little bit would be a bad idea, until you get the 9th day attendance armor reward or get to a chapter with better drop rates. Again, levels get taken into account when calculating the reward for dismantling old gear.
The Daily Stipend: Remember Your Attendance Rewards
Always keep on top of your Attendance rewards (located on the top right of your main menu screen’s Lobby tab) as they are very often quite good. A shiny new sword that isn’t covered in rust? A whopping hundred whetstones to make said sword much shinier? Revive scrolls so I can finally stop throwing the phone out the nearest window every time I get killed by a boss when he’s one hit away from dying? Count us in!
How To Avoid Unscrupulous Blacksmiths
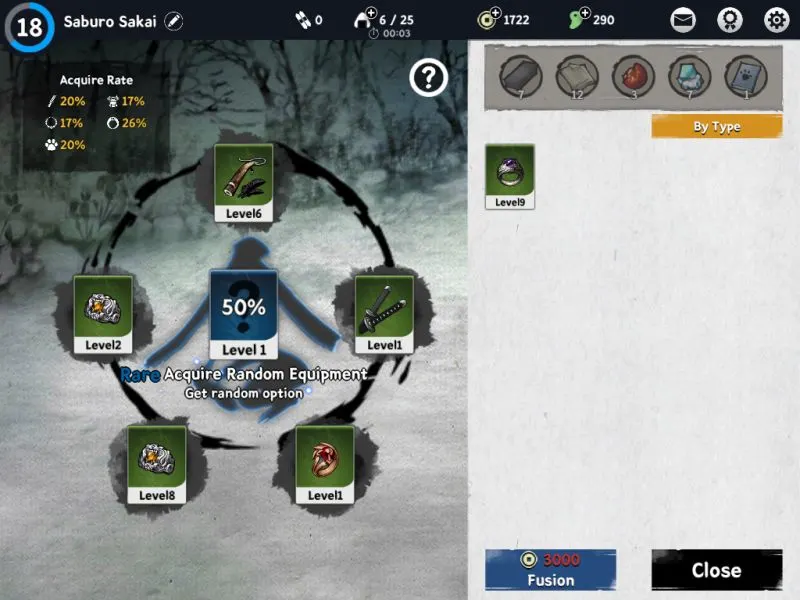
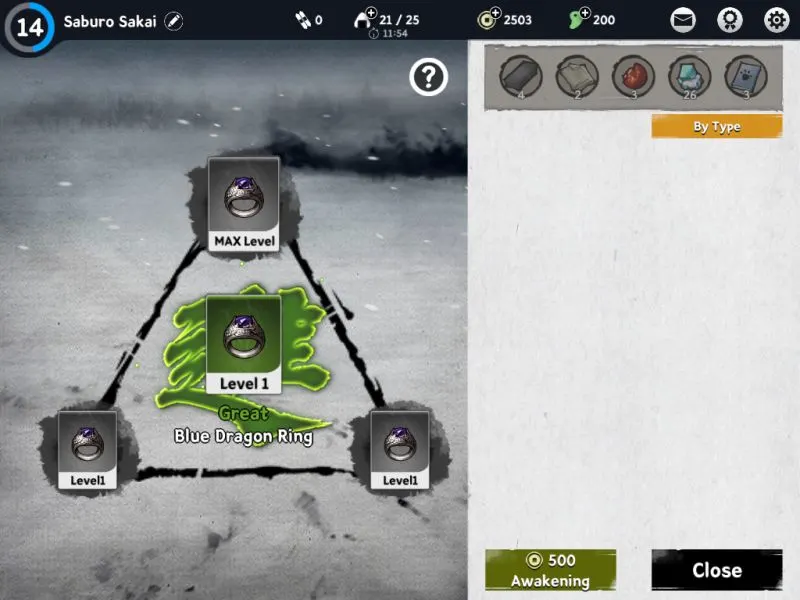
While Item Fusion is a terrible scam (It fuses and destroys five pieces of your gear into a stronger piece of random gear with an utterly alarming fifty percent chance of dismal, abject failure, and refunds a small amount of material when using leveled gear) Item Awakening is definitely worth a try.
Item Awakening is a guaranteed success when done, even though it is more difficult as it requires three pieces of gear with the same name at the same tier. Just like Item Fusion, Item Awakening refunds a small amount of your upgrade materials if you use a leveled piece of equipment.
Spirit of Vengeance: A Strength Born Of Hate
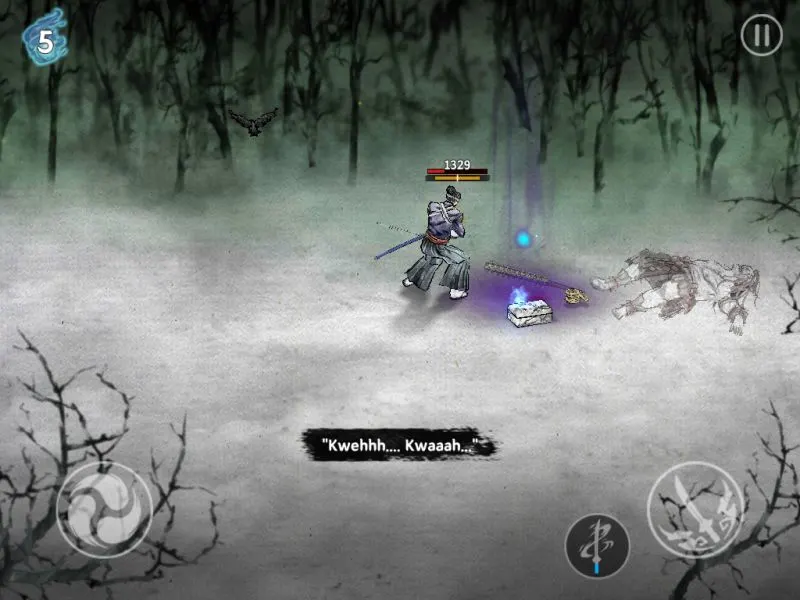
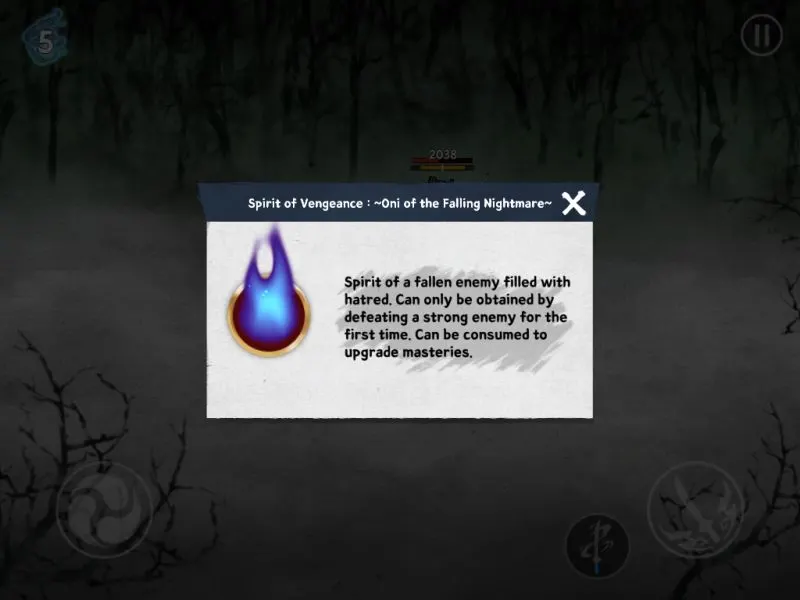
Killling a boss nets you a Spirit of Vengeance, which allows you to give your Ronin a permanent, sizeable stat upgrade in the form of Masteries. This is why it is worth using Reincarnation Scrolls on bosses you have not beaten before and were about to kill until something went wrong.
Onigiri: A Flavorful Rice-Based Alternative To Energy
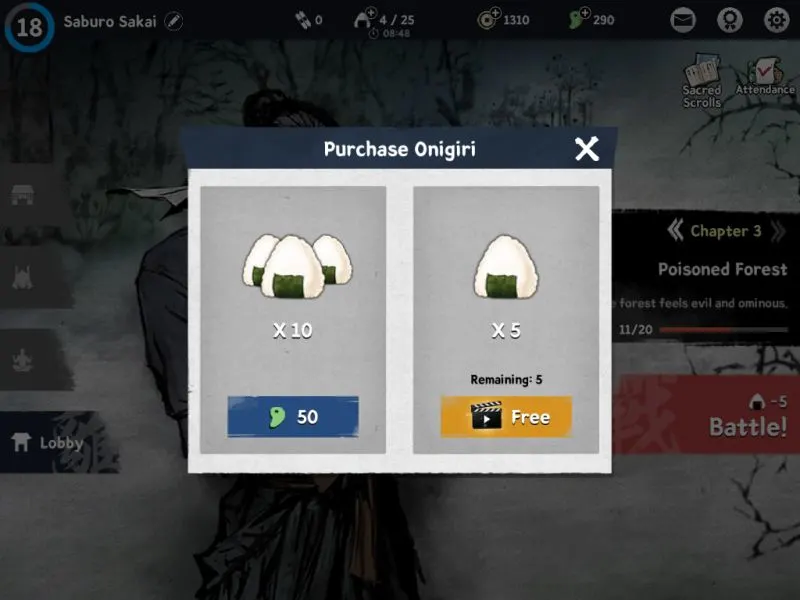
Onigiri (located on the top of your main menu screen) is needed to go into battle. Every attempt to finish a chapter costs 5 Onigiri, and each Onigiri recharges after a period of 12 minutes to a maximum of 25.
Once you run out, you are given the option to buy some (generally inadvisable as the recharge time is fairly quick and you get full recharges everytime your account levels up, which happens often in the first two chapters), or you can watch ads for up to 5 times to recover 5 Onigiri per ad.
Once you run out of ads to watch, you have to wait roughly six and a half hours to be able to watch ads for Onigiri again, by which time your normal Onigiri count might have filled up.
Raids: A Sleepwalking Murder Spree
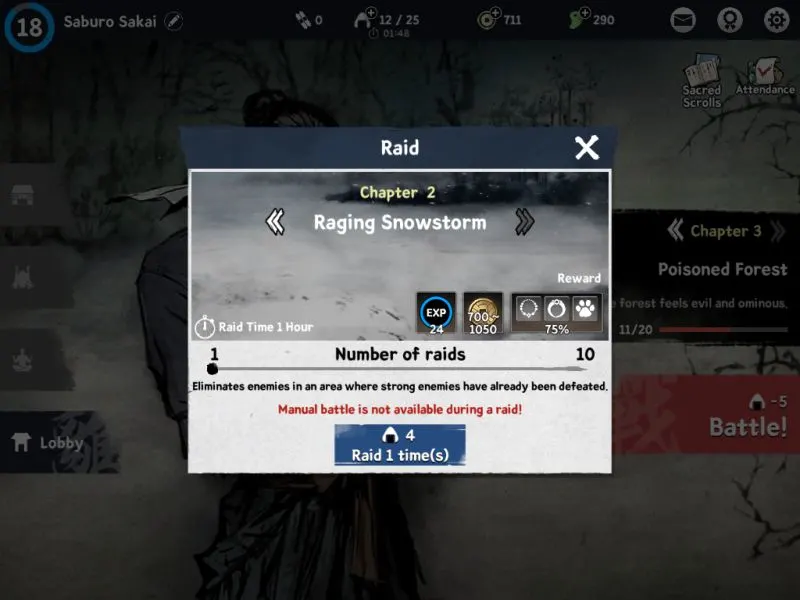
Raids, which you unlock by beating Chapter 2, allow you to auto-play a level for an hour with a cost of 4 Onigiri. This is best done at night before bed or when you’re busy, as you lose the Onigiri even if you cancel it, and playing manually offers better rewards per time and Onigiri spent.
The raid lasts long enough that by the time it’s done, your Onigiris will have recharged, since it takes a measely 12 minutes to recover one, so whatever Onigiri you spent on a single raid recharges in 48 minutes as opposed to the 60 minutes it takes to actually finish the raid.
Skills Sharper Than Your Blade
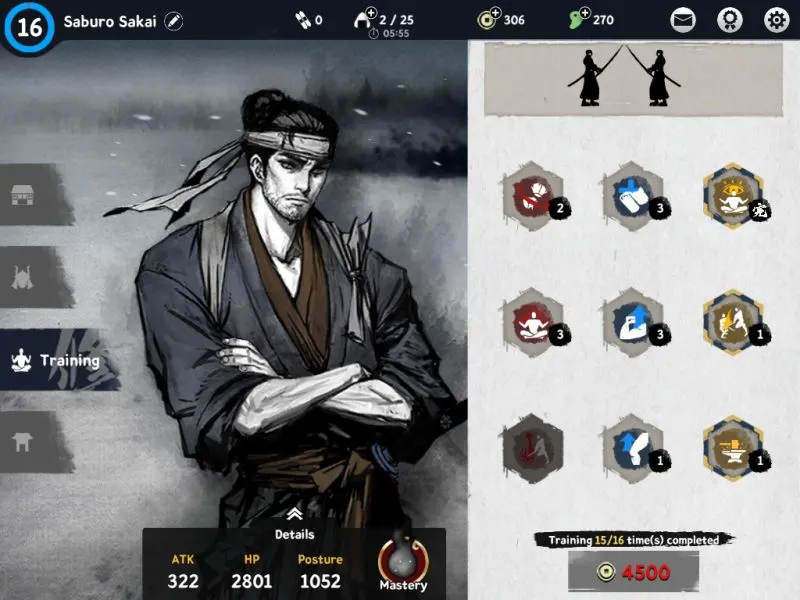
Training allows you to spend a sizeable amount of Coins (usually a few thousand) on a random stat boost. You first get taught how to do it after you first see the main menu (usually after your first death). Every time your account levels up, you are allowed a couple of training sessions, as you have a maximum amount of training you can do depending on your account level.
4. Foresight, The Shrine Maiden And The Veiled Vagabond: All Abilities Are Equal, But Some Are More Equal Than Others
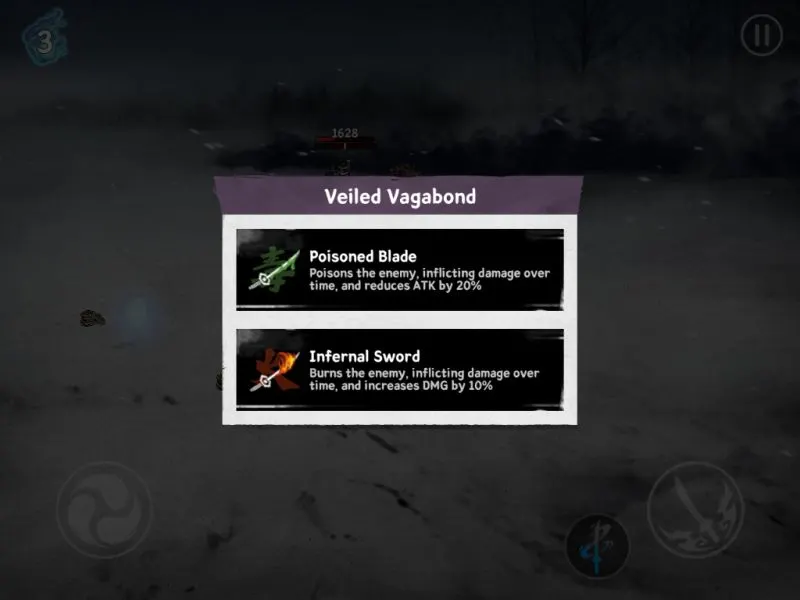
You have four ways to get abilities during chapter runs: Mid-run levelling (not to be confused with levelling your account), the Foresight skill you get after your first death or visit to the main menu lets you pick an ability from a list of three at the start of the chapter, The Veiled Vagabond often lets you pick either between Poisoned Sword and Infernal Sword, or abilities with a large buff but a penalty elsewhere, and the Holy Shrine Maiden gives you talismans and blessings that either increase your stats a tiny amount with every battle you win, or a more sizeable buff with a limit to how many times you get it, which you must get by winning battles without getting hurt. And last but not least, your Pet, which gives you a single ability at the very start of the run, randomly picking one out of two possible choices.
These abilities last until your run ends, either in victory as you beat the 20 battles and two bosses of a chapter in a single run, or die and have to start the chapter from the first battle all over again. There are too many to list down, and most are useful but pretty straightforward stat boosts, so here are some particular standouts.
Wind Walk: This could be a life saver if used right. It seems fairly boring compared to quite a lot of abilities: All it does is let you walk twice as fast. But with the way walk-blocking works. this becomes very useful in most fights as you can simply use your increased speed to get out of bad situations, avoid being cornered, and dodge strikes that your normally slow walk speed won’t let you get away with.
Scroll of Resurrection: Not to be confused with the item Reincarnation Scroll, as this can be used before using said Scroll or ad revives and happens automatically. It revives you after you die. There is no reason not to take this when it pops out.
Samurai’s Will: This cuts down a couple of whole seconds from stun time for you.
Quite a boon to have especially during boss fights, as bosses often do much more Posture damage in one or a few blows compared to normal enemies, and if you get stunned in a fight against normal enemies, chances are you got yourself cornered and are about to die anyway.
Reckless Dash: Possibly the doctrinal opposite of Wind Walk as while Wind Walk allows for a highly defensive, patient playstyle, Reckless Dash is a good way to get your bloodthirst pumping as this doubles your dash range and makes it so the swing that comes after the dash is a guaranteed critical hit. Pair this with some critical damage upgrades from either your equipment or Fatal Blow for a fun if dangerous and often short time.
If you get this and Wind Walk, consider yourself lucky as you can walk away from your enemy to get within dashing range and strike to get in some delicious damage, which is easier to do in boss fights than in cramped normal battles.
Fluid Motion: Reduces Posture damage taken by 50%. Another useful thing for boss fights along with Samurai’s Will to keep you on your feet rather than on the floor.
Earthen Scroll: Protect: While blocking, reduces damage taken from Heavy attacks by 70 percent. If you aren’t confident in your ability to pull off Counter-Flashes, this is a good fallback to take. It might be worth passing this up for other Foresight abilities once you get better at it though.
There are others like Agility Enhancement which increases your overall Posture, Strength Enhancement which increases your attack power, the ever welcome Vitality Enhancement which increases your HP, Fatal Blow which makes your critical hits more powerful (great with Reckless Dash’s guaranteed crits on dash slash) and many more, but those listed above, when paired with the appropriate general stat boost Foresight abilities, often make the difference between dying three fights in, and a pair of dead bosses.
We will not sugarcoat it, Ronin: You have a long arduous path ahead of you. Hopefully this knowledge helps you on your dangerous, bloody journey, and perhaps in the future, you will be the one to give these old swordsmen some advice. Preferably through the comment section of this article.


b4dc
Wednesday 1st of June 2022
How to get vampiric effects in arena of carnage?
Boost
Friday 11th of March 2022
Isn't it better in some situations to wait for the attack to parry it?
Leon Cronqvist
Tuesday 6th of July 2021
I think the Twin Blades is such an OP weapon. It has fast attack speed, along with the "Fangs" upgrade from the mastery ( Which I highly recommend. It can help you defeat enemies with ease. ) and some attack buffs, you can stun enemies faster and deal massive amounts of damage to them when they are stunned. So if you're choosing a starter great weapon, I highly recommend the Twin Blades.
God of Dreemurrs
Tuesday 7th of September 2021
@Leon Cronqvist, I prefer the crescent moon blade as it allows you to retreat to a distance and do a heavy attack because of the insane range. This is futher sugarcoated with the highest base damage of the blade (I think). However,the downside is the attack speed (as mentioned) so you have to depend heavily on parry and counter flash to deal significant posture damage. Thus, you will need to be familiar with the enemy attack pattern which is often the cause of my death whenever I run into new enemy or boss. But, i think it all comes down to your playstyle. Crescent moon blade for the 'hit and run' type,Twin sword for those who like to consistently apply pressure to opponents and the shura sword for a balance play.
Akita Musashi
Tuesday 11th of May 2021
Thank you! All the things I already knew, but very good to see them organized. Do you happen to know how to upgrade pets though? :D there are upgrade items for pets (along with ore and such), but I have not the slightest idea where or how to use them
God of Dreemurrs
Tuesday 7th of September 2021
@Akita Musashi, there is a equipment for pets. Upgrade the equipment and the pet will be upgraded
Ray
Sunday 14th of March 2021
I LOVED reading this article. It was very informative with just the right amount of humour to keep readers interested. And of course, tips are always welcome in any game. Thank you for writing this up!