The Scientific Inheritance: An ancient power many seek for the sake of evil. Hidden in Dungeons across the world are the Dungeon Cores, remnants of the Scientific Inheritance, terrible devices that keep the Dungeons active by feeding off the corpses of the foolish who dare enter the Dungeons for glory, fame, and riches.
A select few have succeeded in capturing these Dungeon Cores for themselves, though not all are evil. It turns out there are two ways to keep Dungeon Cores and their automatons to work: One could sacrifice lives to the foul machines, grinding them into the Antimatter which powers these devices. The other would be to find other Dungeon Cores and use them as fuel, rather than allowing them to take more lives.
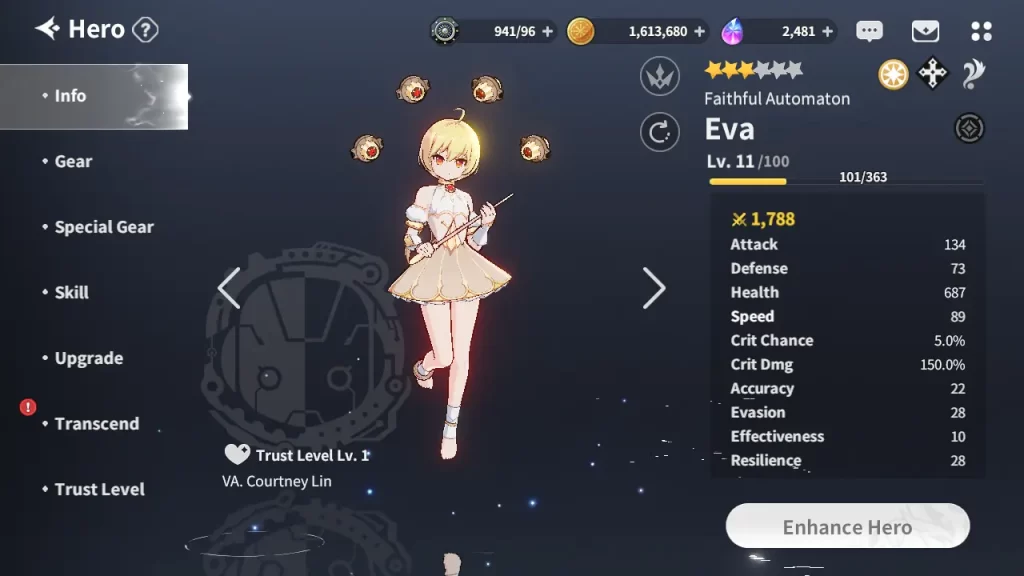
Enter K, an Earthling from outside the world, a veteran of wars and battles in his old world, and this new one named Mirsha. He goes out looking for Dungeons to power his friend and Dungeon Core automaton Eva while on the path to revenge against those who betrayed him. Soon enough, he uncovers a conspiracy far bigger than his own quest for vengeance, though unluckily for the conspirators, they coincide handily.
Welcome to our Outerplane Beginner’s Guide! Outerplane is a gacha game by VAGAMES Corp and Smilegate Corp that uses an RPG-style turn-based combat and leveling system. You play through the story of K, a human from an Earth not much like ours sent to yet another world very much like what you would expect from Isekai-genre stories: A fantasy world filled with adventure, cute guys and gals to gacha, and best of all, things that wish to inflict grievous harm upon peoples’ faces! Voice acting and good-looking character designs along with its thoughtful gameplay make Outerplane worth a look, and we’re here to get you on your feet.
THE BASICS OF OUTERPLANE
While the game itself isn’t technically a true RPG with its lack of an explorable overworld or the ability to roleplay, the combat system will be familiar to anyone who’s played old single-player RPGs, though with a few spicy additions here and there.
Knowing the basics of the combat system will help you formulate your plans and organize your team’s attacks effectively. And don’t think you can get past the Adventure mode by grinding levels to dust either: Some of the missions give you a pre-made party with a pre-determined level, and not all of them are free easy wins!
Elemental Combat: Rock Paper Scissors, Though Four Rocks Will Always Hurt
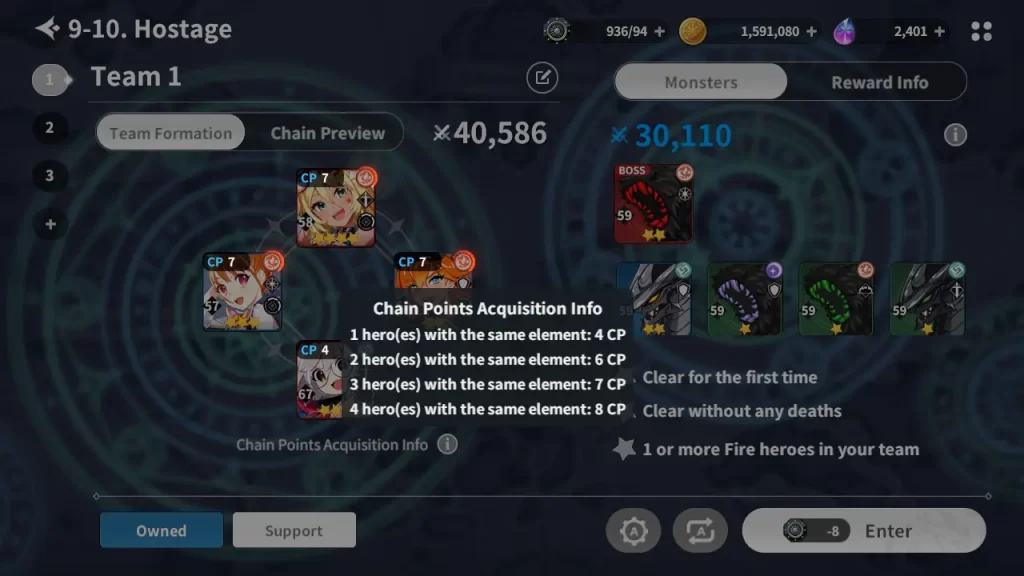
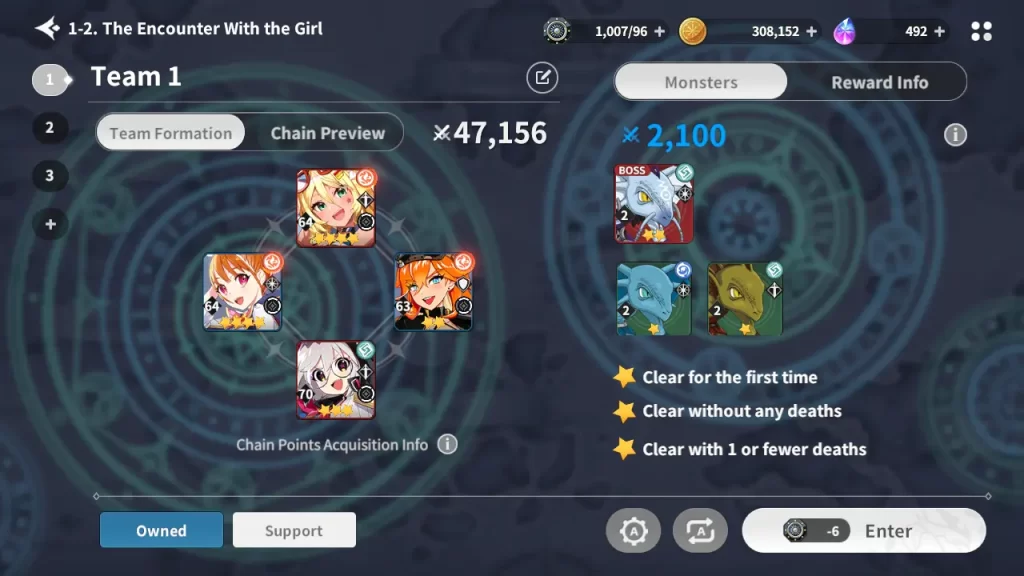
Each hero has a single element, and there are 5 elements in total. Wind beats Water, Water beats Fire, Fire beats Wind, all three are even against Darkness and Light, and Darkness and Light deal extra damage to each other, with both weaknesses and strength at 20%. You only have 4 character slots on a team.
Thus, common sense dictates you should be ready for anything and fill the slots with many elements to cover all your bases right? Well, that’s an option, but getting many Heroes in a team of the same element will help them build their Chain Skill gauge faster.
A good middle ground is to have 2 elements on your team, either 2 each for damage or 3 of one element for faster gauge building so you’re at least able to do neutral damage to all team compositions while still having decent gauge speed. Of course, once you’re an old enough player to get at least two full single-color teams up, then you’re golden!
Chain Skills: Breaking Bosses
Chain Skill order is important for coming up with team formations. Each Hero has a space they are designated to take up in a skill chain. Some are called Starter Exclusives, some Companions, and some Finisher Exclusives. Starter Exclusives are best put in the first slot of a team’s chain formation, Companions ideally fill the two middle slots but can fill any slot, while Finisher Exclusives are best put in the ending slot of a chain skill.
If they are in their proper positions, they will cause a special effect to happen once a chain skill pops out, marked by a symbol on top of their character pic. You also need to take elements into account: While many elements in a team let you cover any elemental rock paper scissors weaknesses, having multiple of the same element lets you fill your Chain meter in fewer turns.
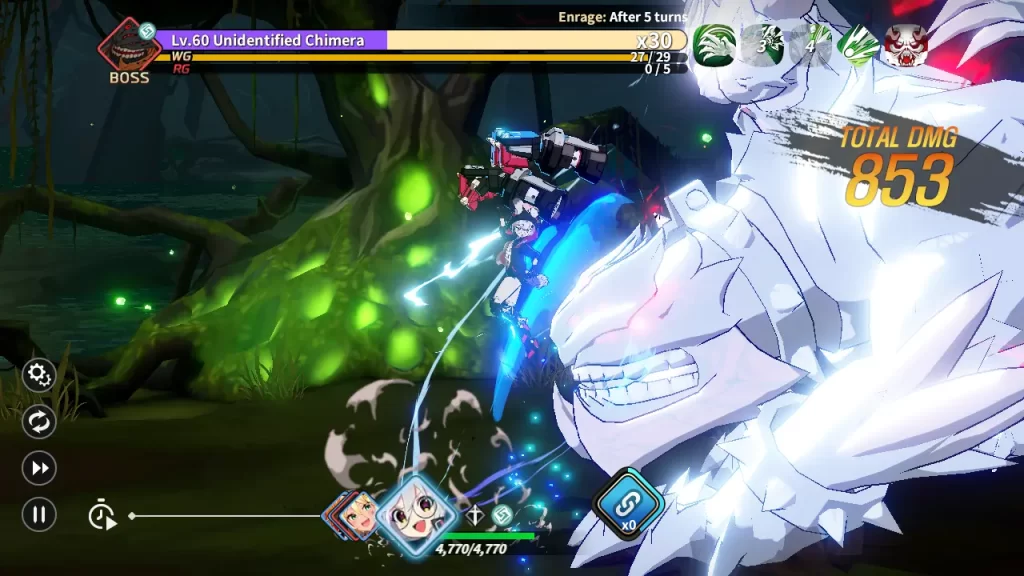
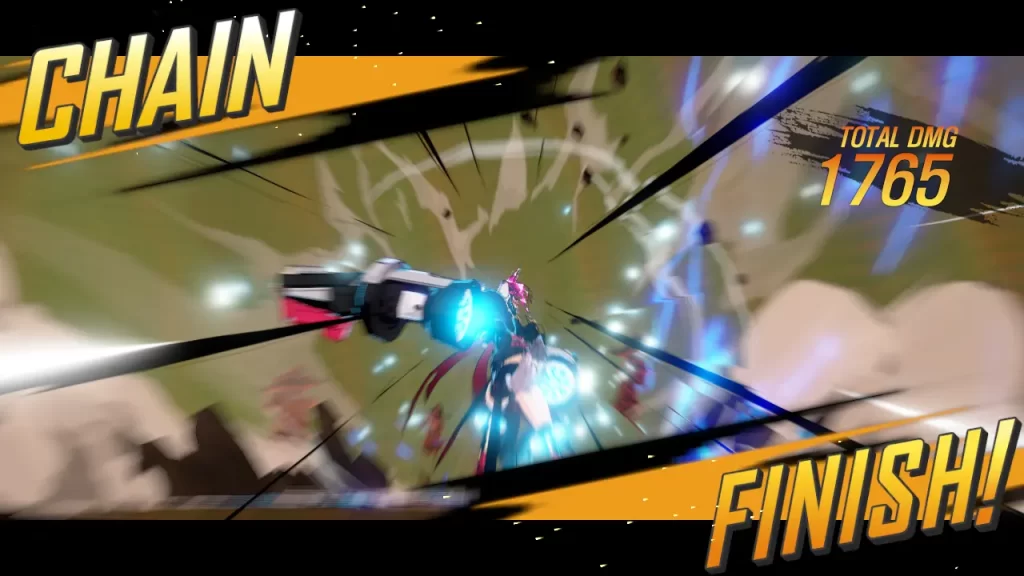
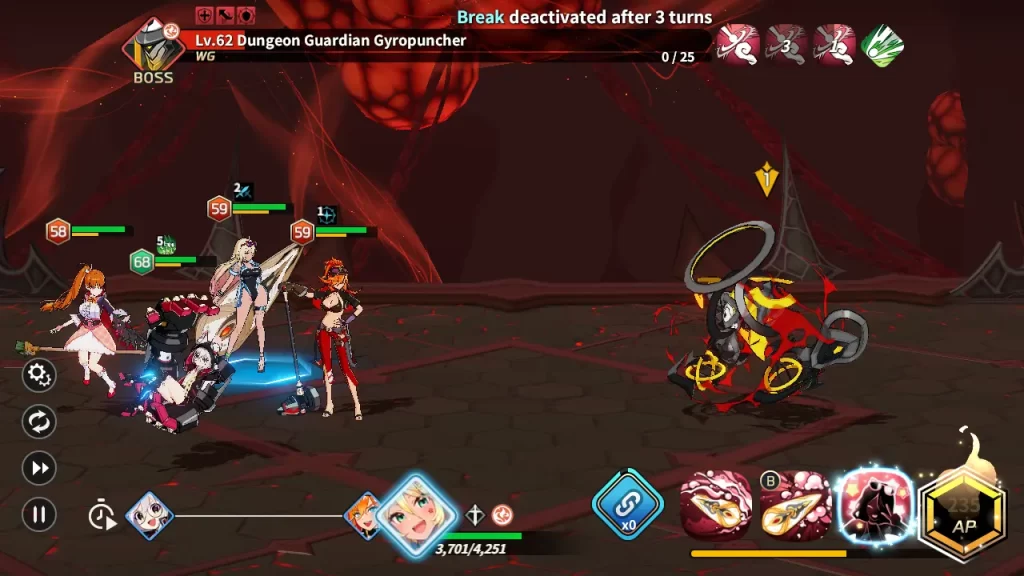
Once you fill your Chain meter, you can pull a Chain Skill out. While a Chain Skill’s overall HP damage is only on par with some of the more powerful single-hero attacks, they are utterly devastating to an enemy boss’ Weakness Gauge, often immediately forcing Bosses into the Break state to make them vulnerable to follow-ups.
Burst Skills: Some Extra Kick
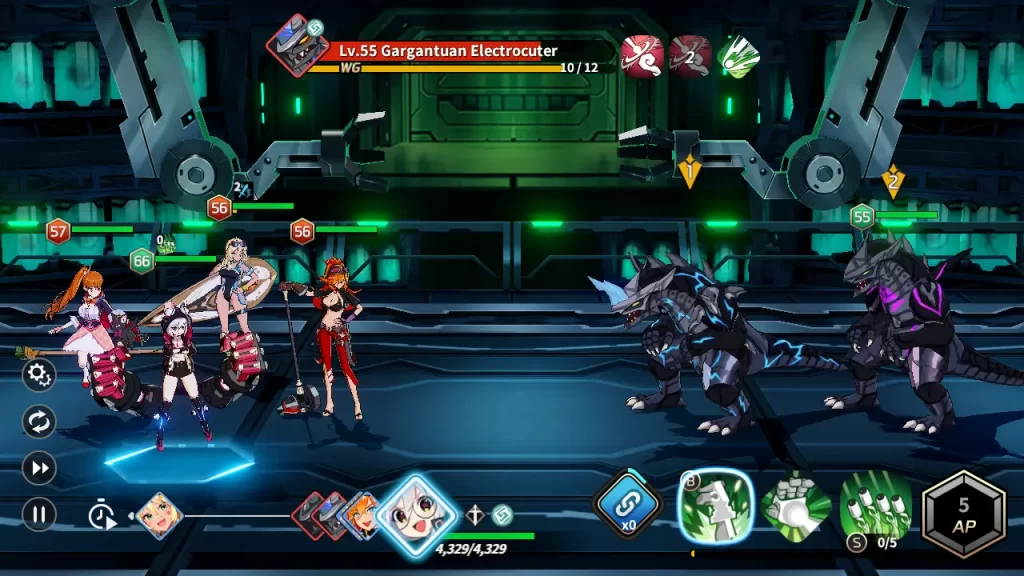
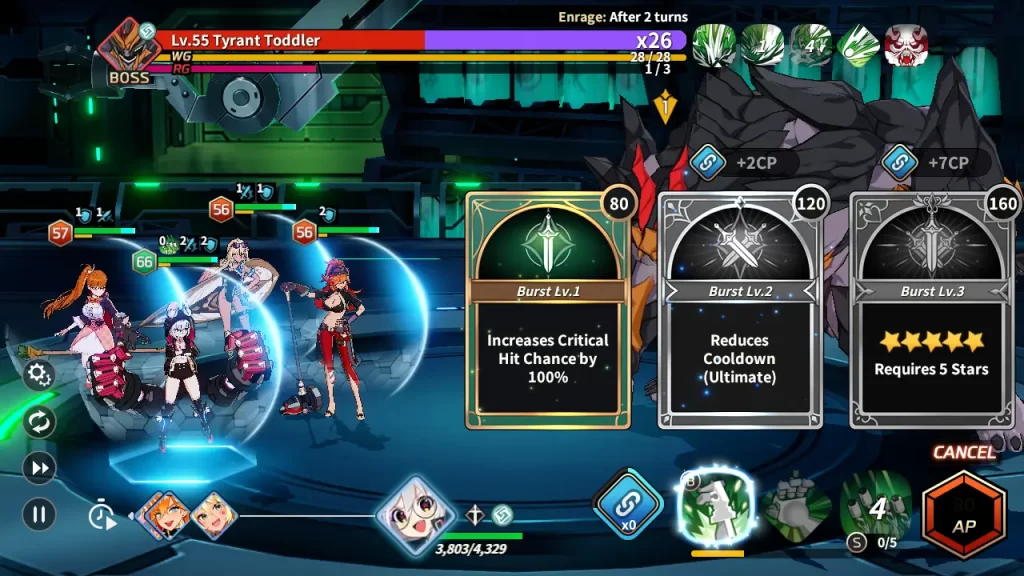
As you fight, a gauge at the bottom right of your screen will fill up with Action Points. That’s your Burst gauge, which allows you to buff a character’s specific skill for one attack, sometimes followed up with another buff or the same one lasting for several turns.
All characters have access to the first Burst Skill, but the others need to be unlocked by increasing a Hero’s star level first. If you use a Burst, you also use the lower-tier Bursts before it all at once, so your choice is between an all-in single attack or spreading out your use of Action Points over a longer set of turns. Make sure you know how they work with their normal skills, as the buff will be displayed to you.
Turn Order: Planning Ahead
At the bottom of the battle screen, you’ll find a line with a bunch of icons indicating the characters on both your team and the enemy’s team. Their position here determines the Turn Order, with a character’s Speed stat determining where they stand in comparison with the others and their Speed stat.
This makes the speed stat highly important especially in Arena fights: You might roll in thinking you’re in for an easy fight against a fairly underleveled team, only to notice the enemy gets their turns in first and all four of them whittle your team down with Ult-spam before you even get a shot in!
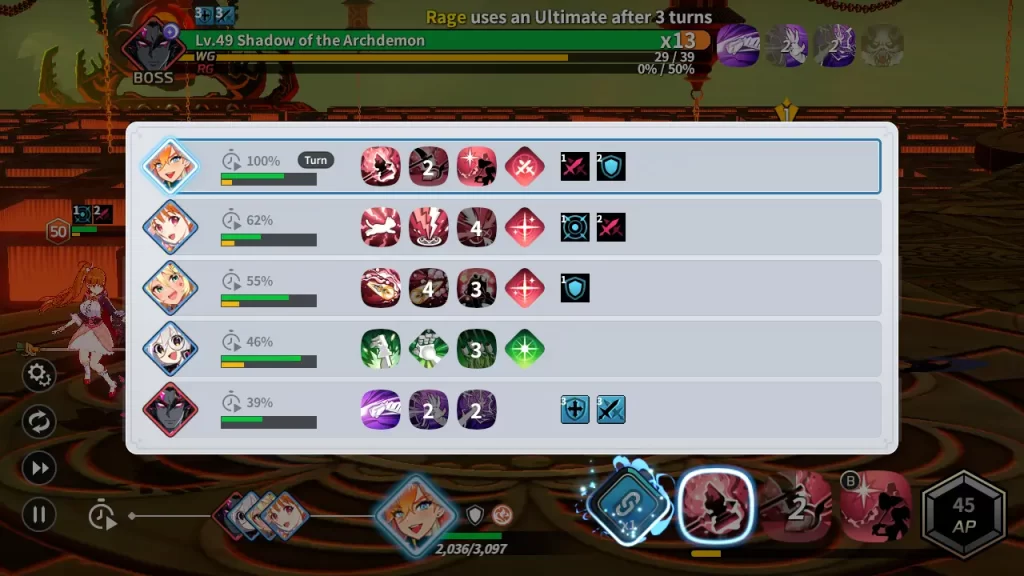
This makes anything that skips people’s turns, allows for extra turns and attacks, lowers turn priority, and other annoying things very dangerous to deal with. You can tap the turn order to check the whole team’s skill cooldowns to plan an attack.
CLASS TYPES
There are several different hero classes, each of which plays a different role and has a different way to earn Action Points.
-Offense Classes-
Striker: Home Run Hitters
Strikers are fast, aggressive fighters, gaining Action Points every time they attack an enemy. They’re typically high-damage units meant to annihilate single or multiple targets with raw blunt power and usually have powerful basic attacks to go with their high-damage skills. They also have devastating skills whose complications, if any, usually just result in even more direct damage when taken advantage of.
Ranger: Quick Draw
Rangers are typically fast units that have skills that either give themselves or teammates an extra turn or slow down enemies to deny their turns. Every time they get their turn, they get Action Points, and it also counts turns they get via their skills or by disabling enemies. Good use of a Ranger can easily turn a fight around, especially in the Arena where debuff immunities are less of a worry.
Mage: Burning Firepower
Mages are similar to Strikers except they are more heavily geared to killing crowds. While Strikers can either be single or multi-target damage and tend to be fast, most Mages are slow but oddly healthy crowd-busting specialists, often having both their skill and Ult be multiple-target attacks that inflict some form of damaging debuff. They get Action Points every time they cast a skill, whether it deals damage or not.
-Support Classes-
Defender: Impenetrable Friendship
Defenders are bulky tanks who can usually taunt enemies or provide direct defensive or damage-mitigating buffs for teammates. They are usually best placed in front since the AI always targets the frontmost unit first, though you don’t have to do the same unless the enemy pulls a Taunt out.
Defenders get AP when taking hits, which works great in conjunction with Healers since they’ll also get AP from every tooth the Defender, or anyone else for that matter, loses in a fight. They are not necessarily weak in terms of damage dealing, but their toughness is what truly makes them.
Healer: Healthcare and Poison
Healers are exactly that: They heal people, restore HP and also typically provide defensive buffs, offensive boosts, debuff removal, indirect attack, or any mix of the four. Having a Healer on the team is quite useful for extended battles, so your team’s HP doesn’t get whittled down by enemy attrition.
They typically have only their basic attack as a means to inflict damage, though the more offensive Healers can also slap enemies around with debuffs or other methods of grievous yet non-lethal inconvenience. Healers get Action Points when other teammates are attacked, which is great if your Defender’s the one taking hits since that means two people are getting AP!
TACTICAL TIPS
As a turn-based game, making sure you fight with a plan is important, even if all you can throw together is a ramshackle team that doesn’t really have any synergizing skills at the moment.
Knowing when to throw out big attacks, Chain Skills, and other special abilities rather than just firing them as soon as they’re off cooldown or charged up can make a huge difference, and that’s before you even take into account making a good team building. Here are some basic tactical thoughts for both pre-fight preparation and during battle.
Watch Everyone’s Cooldowns
If you tap the Turn Order bar at the bottom of the screen, it will bring up a window showing the order in which everyone moves, their current skill cooldown timers, and whatever debuffs and buffs everyone is under. This includes the enemy!
Timing things such as emptying the enemy’s Weakness Gauge to coincide with your biggest attack’s cooldowns or timing defensive buffs like Barriers or Defense Ups to go out right before an expected enemy Ultimate attack can turn an otherwise hard fight into a smooth, precise run. Note that cooldowns, buffs, and debuffs count their timers down only once a character gets their own turn, and not when other characters get their turns.
Read Enemy Skills
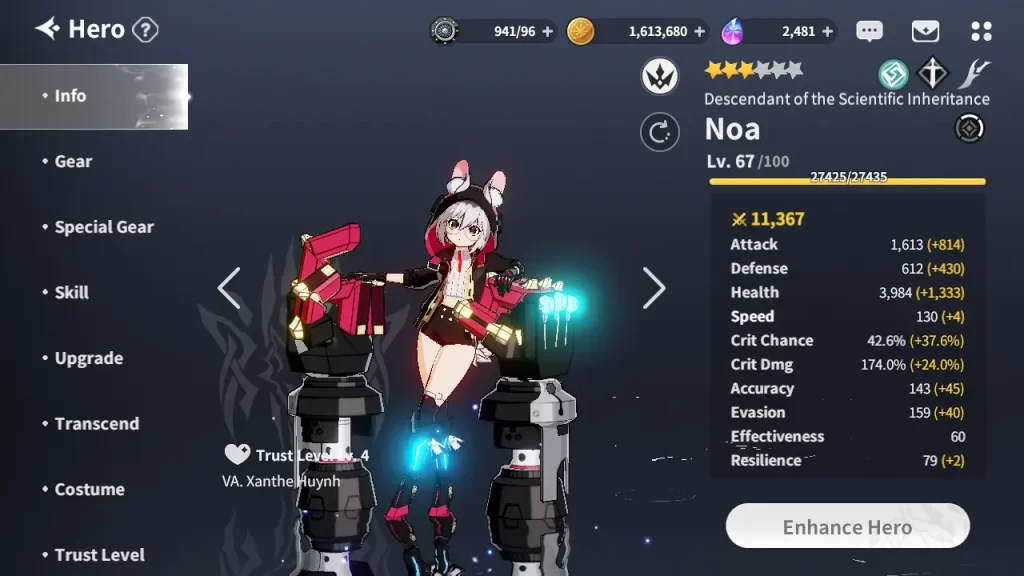
At a glance, most skills are just “Hit one guy, hit many guys, or cause buffs and debuffs.” If you read up on character skills though, you might notice you’ve been missing a lot, such as special stacking mechanics (Noa’s basic attacks can power up her ult and cause it to do extra damage based on the enemy’s HP) or special conditions to do extra attacks.
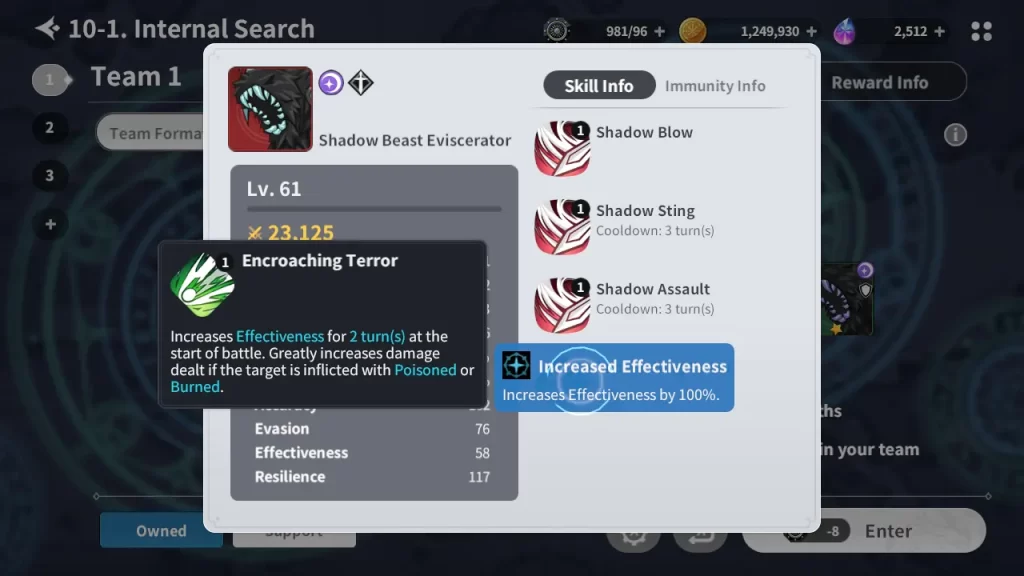
That’s well and good, but you can also inspect enemies before a battle! This will tell you the enemy’s various skills so you can plan ahead either with your current team or make a team specifically to fight that enemy set later on.
You should also read things such as Burst Skill effects so you can decide whether it’s worth burning the extra Burst Points for a higher-level Burst as opposed to saving a few points by using a lower-level Burst, since the effects stack.
Tell The Auto To Focus on Bosses
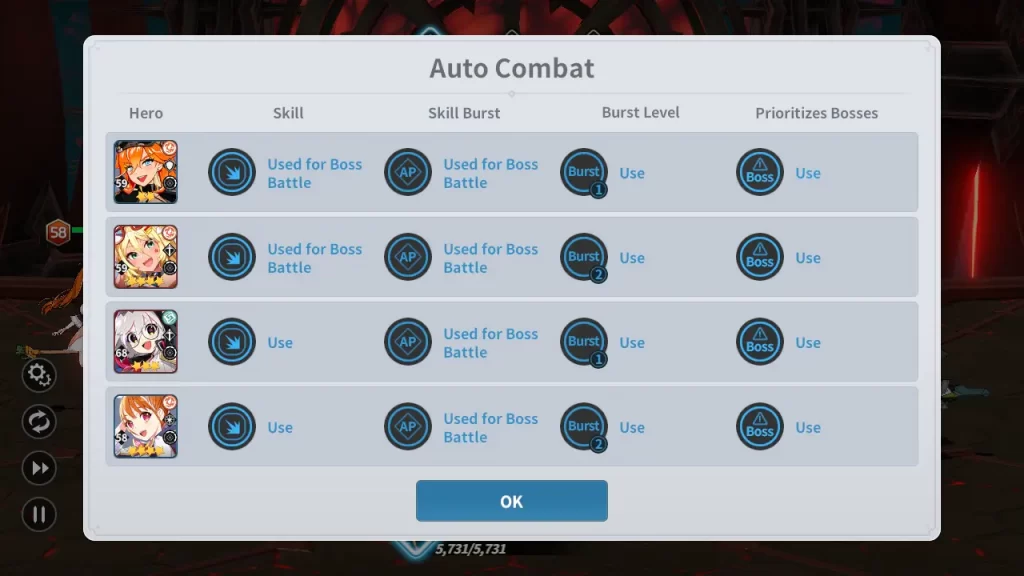
Later on, you’ll have upgraded your Auto-combat options in the Base. Check the little gear icon on the lower right of the screen: If you have upgraded your auto-combat nodes at least twice, you’ll get the option to fine-tune the auto-battle AI for every team member.
You can order individual team members to only use skills on bosses, save up for certain Burst levels, save Chain Attacks for bosses, or prioritize bosses as the target for all their attacks, including basic attacks.
This is especially important to manage for single target damage dealers so they don’t inadvertently put themselves on cooldown nuking a low HP mook with their Ult! Manual control is still better for big fights of course since you can control the sequence of your attacks far more precisely. Speaking of which…
Use Chain Skills Before Single Target Nuke Attacks
The easiest way to put a boss in the Break State (a debuff caused by emptying their Weakness Gauge, a bar marked with the letters WG under their HP) is to throw a Chain Skill at them once it’s ready.
Chain Skills are highly effective at emptying the Boss’ Weakness Gauge, as it not only deals more Weakness Gauge damage per attack in a Chain than individual strikes, it’s 4 attacks being thrown in a single turn phase! The Break State knocks the boss out for 1 turn per teammate alive, rendering the boss unable to attack and reducing their defenses severely for the duration.
Make sure you have your most powerful high-damage attacks (Not necessarily ults, just whichever hits a single target the hardest) ready! Having Bursts, Ults, and other high-damage skills ready when the enemy is in the Break state allows you to take advantage of those free turns.
On the other hand, it can be pretty disappointing to Break your enemy with a Chain Skill only to notice the whole team’s hardest-hitting skills are on cooldown, though you may need to do it anyway to give your team some breathing room if things are going badly.
STUFF TO DO
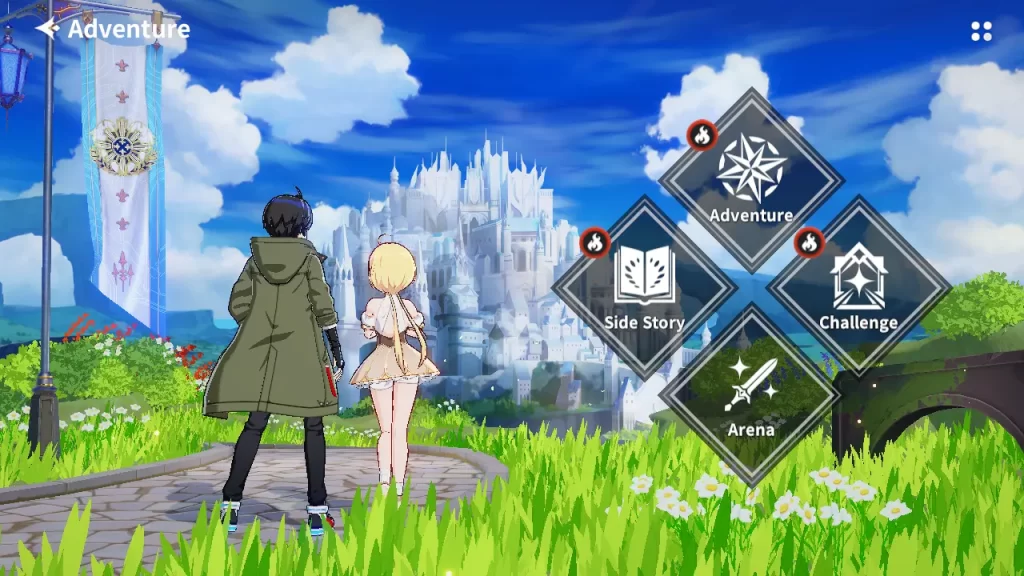
As you start out there isn’t much to do beyond progressing the story, but soon enough you’ll unlock several other modes to play. These other modes are important to learn the lore of the land and the characters in the game, or in the Arena’s case, for acquiring useful gear.
Adventure
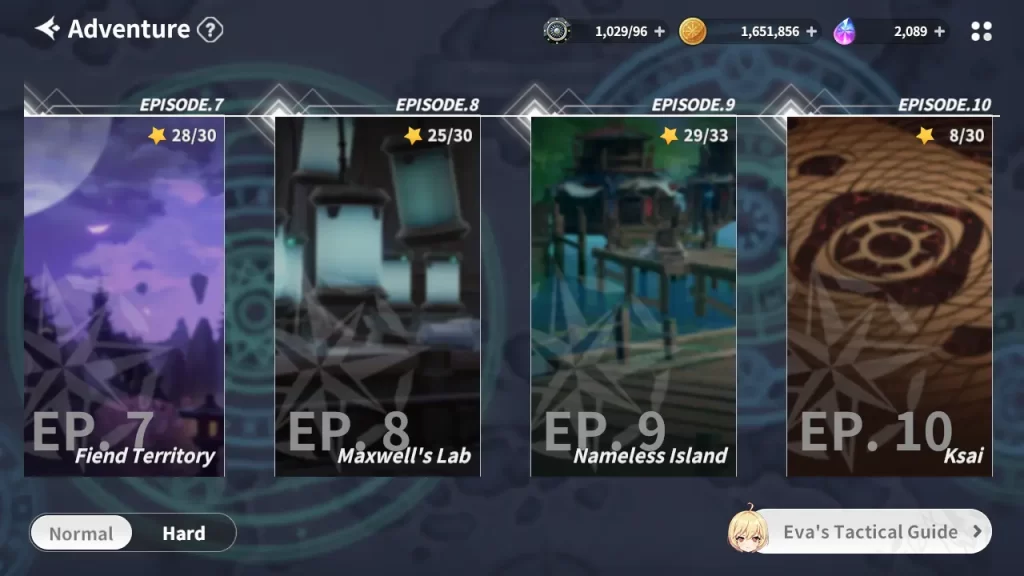
Adventure Mode is the main story of the game. You can get equipment from these battles and early on, they’re a pretty good way to level characters up since for a while, your characters will go up a level every time they win a run, though you will eventually need to rely on Food.
Your main reason to play this though is to get the premium currency, Ether: Each star you get from beating a level nets you a small amount of Ether, which you need to roll in the Gacha or to buy a few
Side Stories
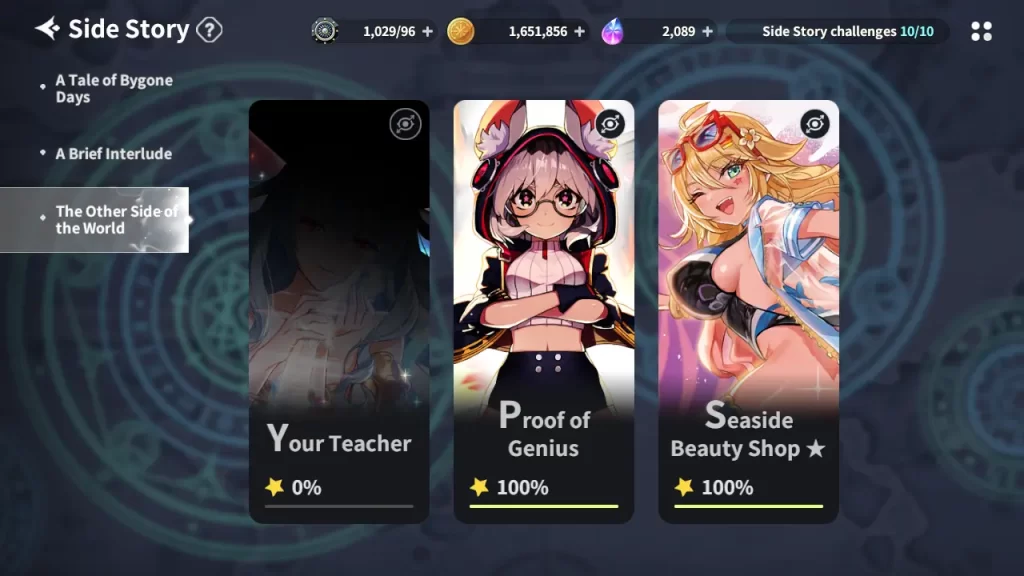
Side Stories are unlocked either by beating Adventure missions, or unlocking certain characters via the gacha. Side Stories tend to be character-specific for one very good reason: Each side story drops Hero Pieces for the character it is centered on.
Thankfully, you’re not usually limited to using the character a Side Story is about (Some missions are an exception), and you can bring a party made of whoever you want, though getting the third star of three in a mission usually means bringing that character or a similar one (If the side story protagonist is a healer, it may ask you to bring any healer as a star objective) to the fight.
A Side Story’s level curve is much sharper than that of Adventure Mode, and will usually start out pretty low but rapidly catch up with your current level in only a few battles.
Arena
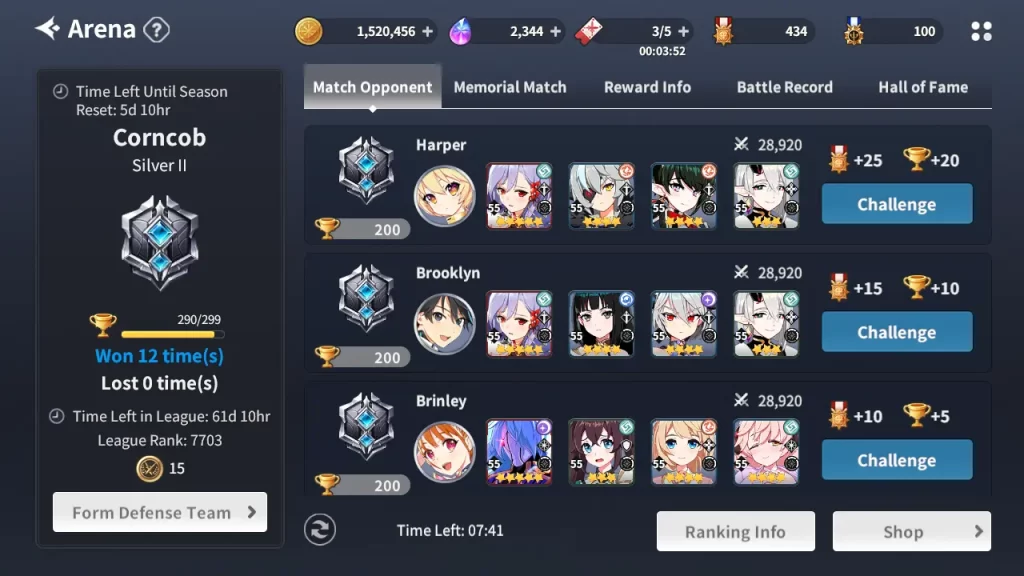
PVP! The Arena is where you go to pit your team against both player-made teams and Memorial Match teams, essentially teams pre-made by the CPU you can unlock by beating Adventure missions.
You can spend the Medals you earn via Arena battles in the Arena Shop under Shop>Resource Shop, where you can buy everything from Legendary Tier armor and gear and rare materials to basic necessities such as food items and gold coins. You have a big advantage here: While the enemy team is merely a CPU-controlled player-constructed defense team, you get full command of your own squad like in normal battles!
CHALLENGES
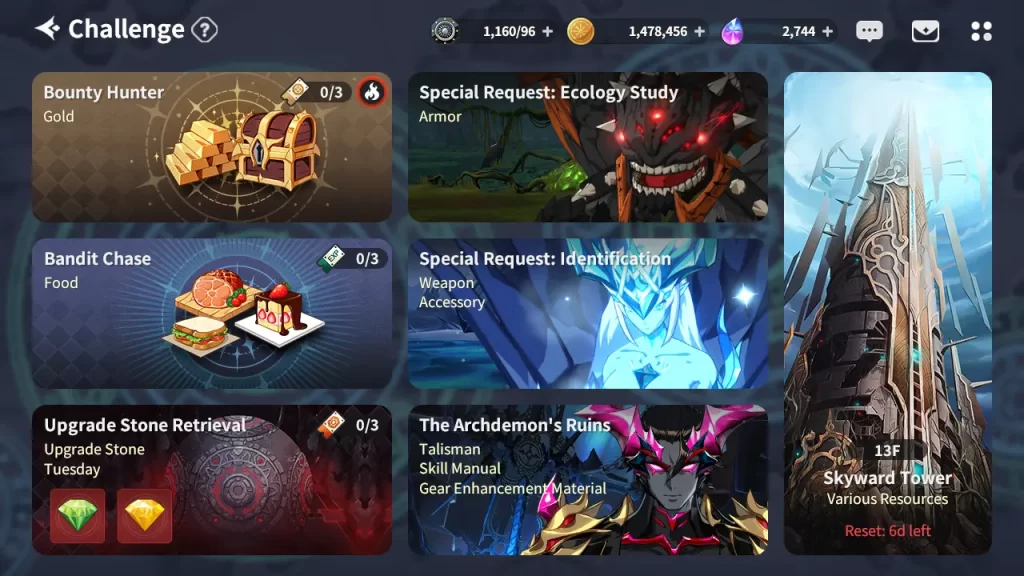
Technically in the same section under Stuff to Do, the Challenges tab has so much stuff in it that it requires its own list in this guide. The Challenges consist of different battles that drop different material and is the primary place for grinding.
Bounty Hunter
Bounty Hunting is where you go to get Gold, and it typically involves a boss fight against a big fat frog sitting on a throne cart in the final round of the battle. Clearing battles in as few turns as you can will get you more Gold. Beating one battle unlocks a harder version of that battle that comes with a better paycheck.
Bandit Chase
Bandit Chase is a good way to level your team: These missions drop Food items, needed to raise a Hero’s level. You’ll have to fight the demi beast Fenrir and her bandit mooks to eat their lunch. Unlike the Hypnotic Frog Emperor, Fenrir hangs back and announces herself with a special attack after you knock out her mooks rather than starting her battle normally unless one of your team members has a higher Speed stat.
Ecology Study
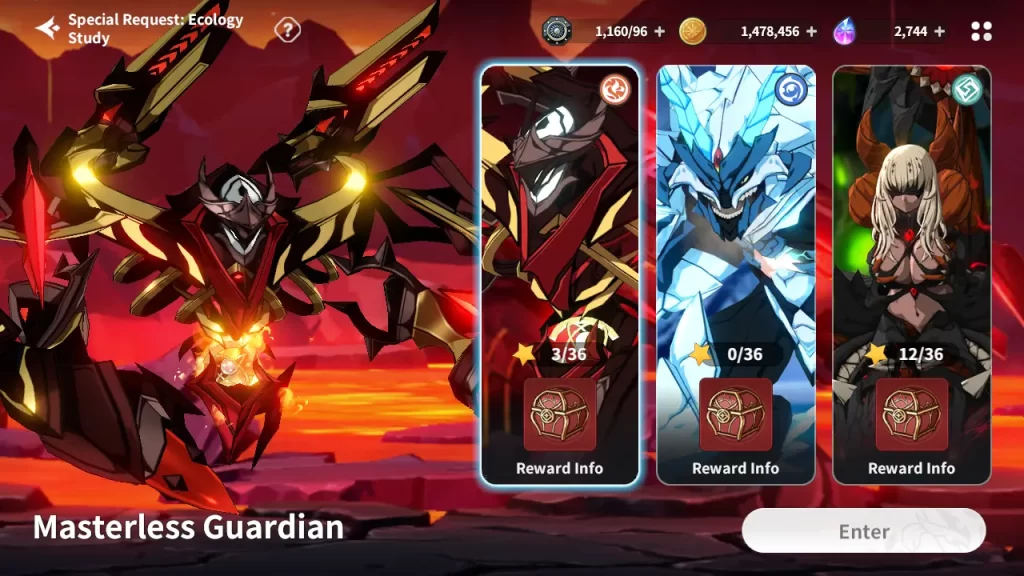
Now for some real boss fights: The Ecology Study fights consist of some pretty mean boss enemies, one of each normal element ie. Fire, Wind, and Water, but not Light or Darkness. Every 4 turns, the boss will enrage, giving it a bevy of boosts and readying it to throw an Ultimate attack in another couple of turns. Each differing boss also has much more HP than anyone from the Bandit Chase or Bounty Hunter missions, essentially the closest thing an early player will find akin to raid bosses in other games.
Identification
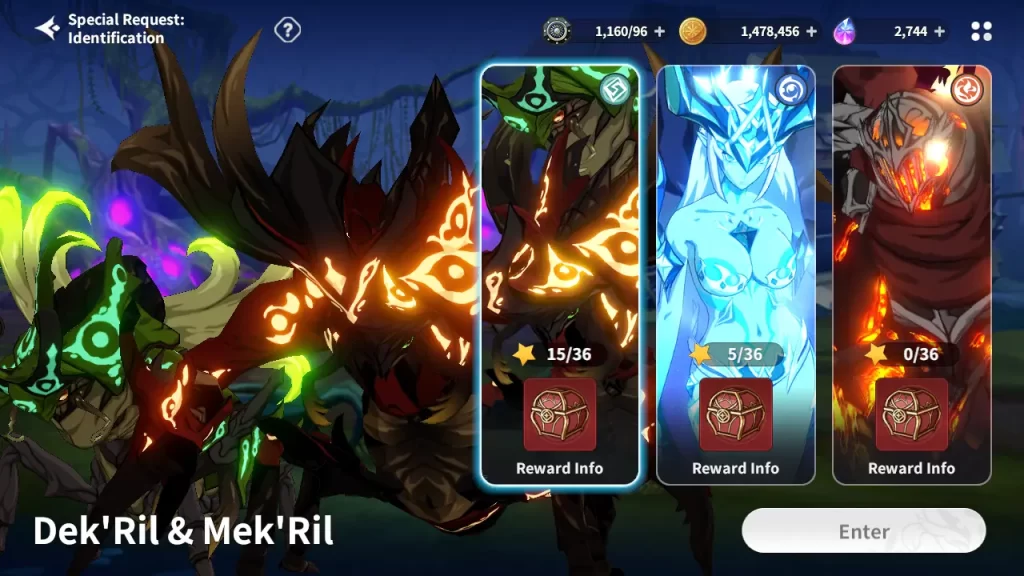
Like Ecology Study, Identification is a set of powerful bosses each with their appropriate element. Unlike Ecology Studies, these fights drop Weapons and Accessories instead. As is usual, pick an element boss then set up a team that counters it hard to do as much damage as possible and end the battle quickly.
Archdemon’s Ruins
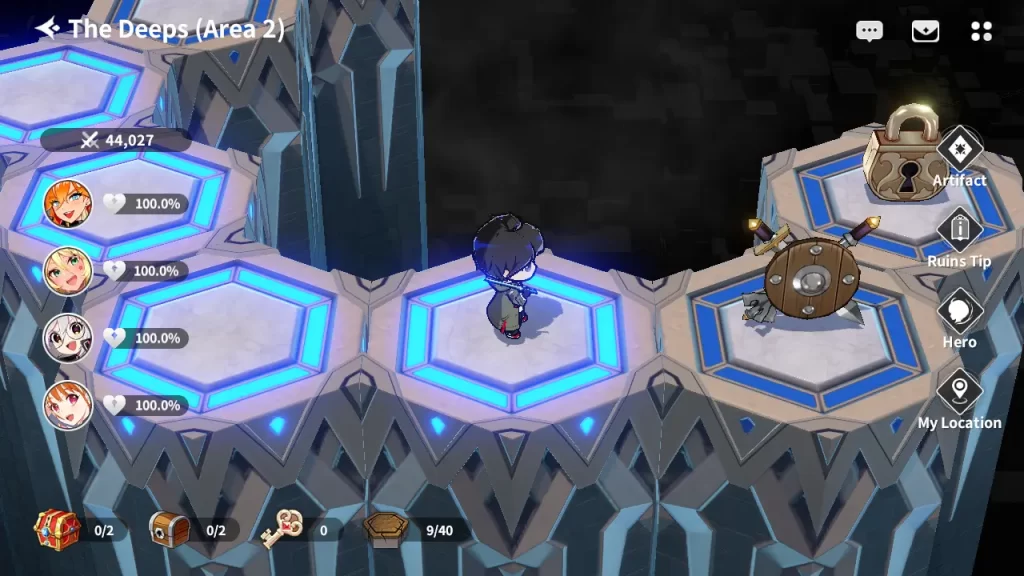
The Archdemon’s Ruins is a maze map where several enemies are scattered. As you fight, your team is afflicted with a debuff or several to act as a challenge. Meanwhile, you can select a buff every time you kill an enemy team in the form of Artifacts, which last for the entire maze run. There are differing tiles you can find on the map, everything from battles to traps to loot and lone random Artifact cards.
This mode is used to gather Skill Upgrade Tomes, among other items, such as high-rarity accessories in the special treasure chests hidden on the map. Make sure you bring a good healer here: While each individual fight may be relatively easy, your team’s HP damage carries on to future battles, and not bringing a healer may mean you end up fighting the boss of the stage with a badly reduced party.
Upgrade Stone Retrieval
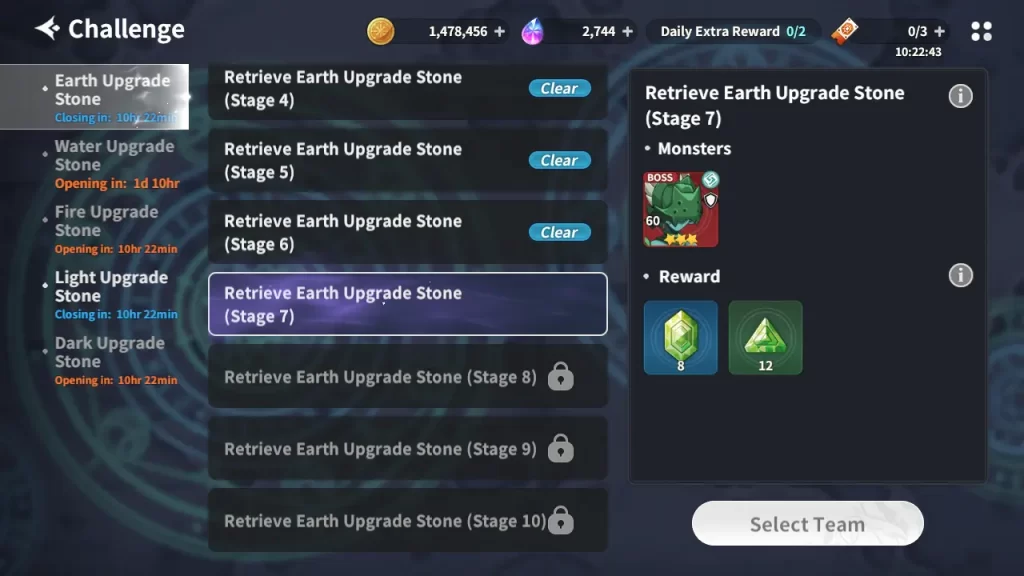
Upgrade Stone Retrieval is where you go to… Retrieve Upgrade Stones. Each mission is on a daily rotation and you are able to get two kinds of Upgrade Stone everyday. Having multiple single color teams will really help with this later on, since each color of Upgrade Stone is guarded by units of the same element as said stone. As a beginner though, you’ll likely only have one team to rely on, so fight smartly or feed your team well.
THE BASE
The Base is where you go at the start of each day: It not only offers daily rewards, but it also has a shop and an expedition system you can check on every day. It also allows you to craft equipment, though that’s only recommended later in the game once the Base is heavily upgraded. Here are its various functions.
Manage Facilities
The Manage Facilities tab is where you go to spend any Antiparticles you have to upgrade the base. Upgrades can include everything from better Antiparticle Generator rewards and improved shops to the unlocking of more auto-battle AI options.
Going down the tech trees in here is one of your long-term goals as a player, as they’ll make the day-to-day easier. Make sure you upgrade the Combat Calculation Module tab all the way as a newbie so you can quickly unlock Auto-Combat settings and Sweeps, which both make grinding easier.
Expedition Team
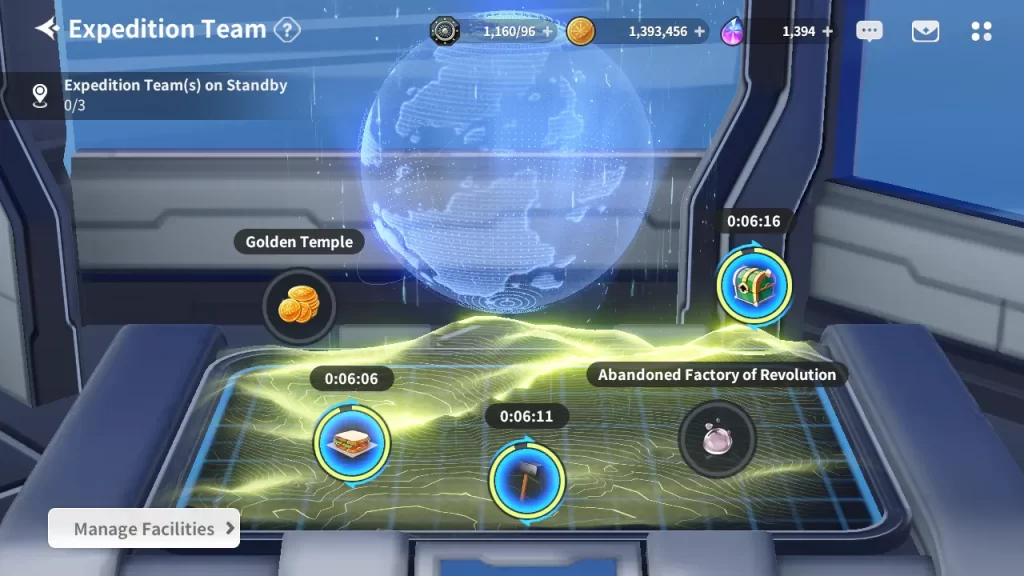
The Expedition Team function acts much like the Commissions from Azur Lane, in which you assign a hero or team of heroes to go do some busywork and gather materials. Thankfully, unlike in Azur Lane, you can still use anyone you assign to look for stuff in battles.
Antiparticle Generator
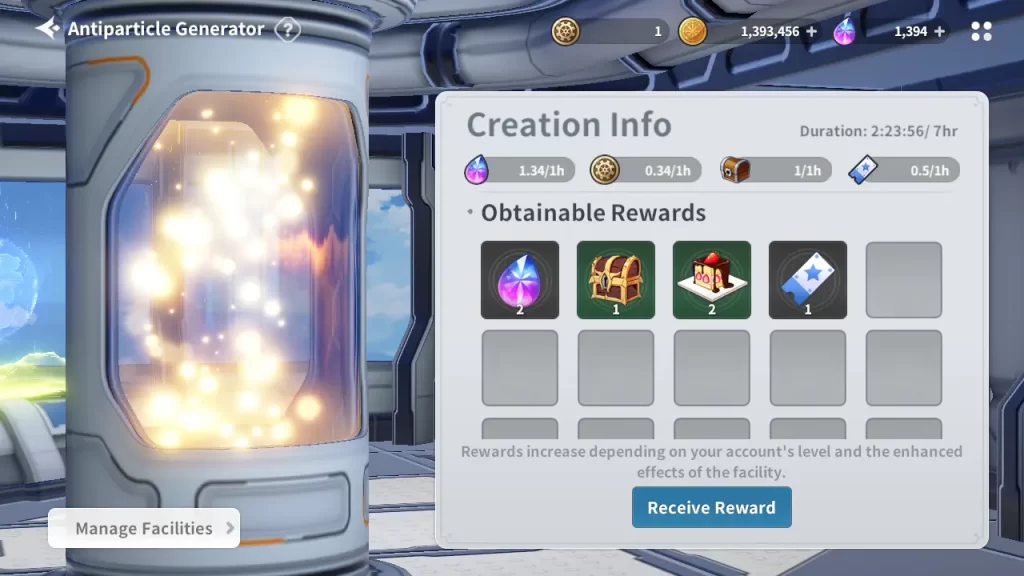
The Antiparticle Generator acts as your auto-reward, giving you Antiparticles to upgrade your Base along with other basic necessities like Food, Ether, and Hammers. The Antiparticles are particularly important early on since you need them to unlock basic functions like auto-battle sweeping and the other facilities in the Base.
Supply Module
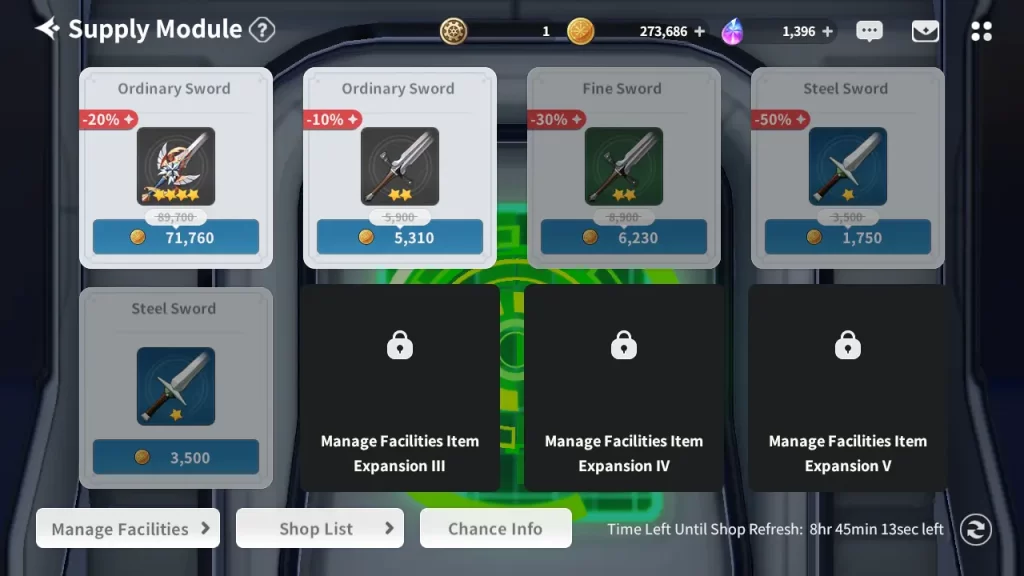
The Supply Module lets you buy equipment for gold. The quality of items is randomized, and anything from one-star grey-to-red tier upgrade fodder to red-tier high-star Legendaries can appear in each slot. Later on, you can buy extra slots to get more chances for higher-tier gear to pop out on sale, which you should save for. If you’re lucky or pray, you can even get a discount!
Oddly enough, you’ll likely want to find some low star high color tier items here since they can be dismantled into Reforge Catalysts and used to Reforge high star gear of the same color tier.
Kate’s Workshop
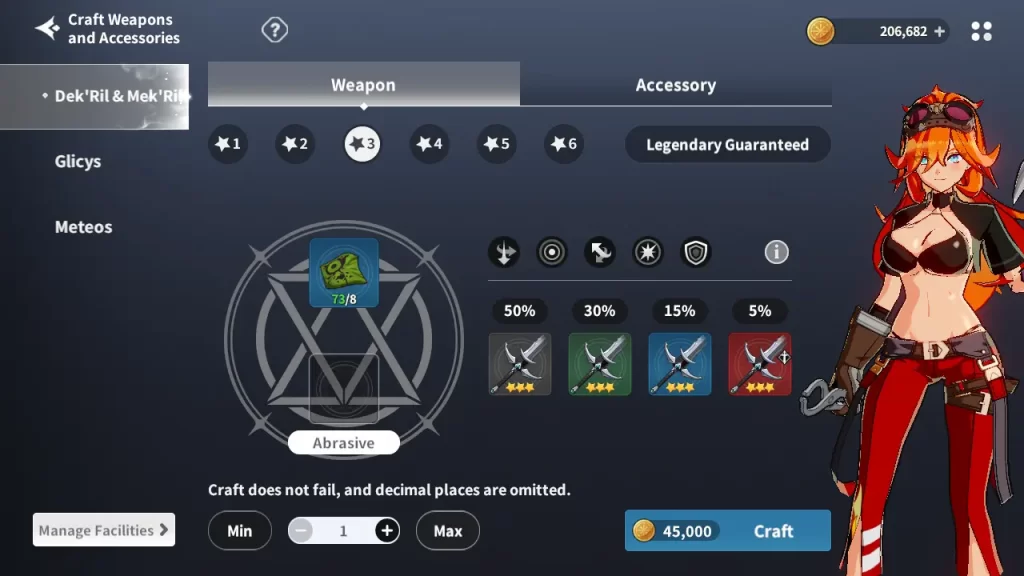
Kate’s Workshop allows you to craft weapons, armor, and accessories, along with other materials for more advanced equipment upgrades. This is best used later in the game once you’ve heavily upgraded it.
At some point, you can unlock the ability to guarantee a Legendary when crafting, which will save you some materials since you’ll burn most of them being slapped around by the game crafting low tier gear you don’t want, not to mention you have other ways to get better gear early on such as saving up for Arena Medals or going through Ecology Study and Identification Challenge missions, or Adventure Mode rewards.
POWERING UP
As a gacha game, powering up your team is important to make forward progress with the story and the game in general.
Leveling Up
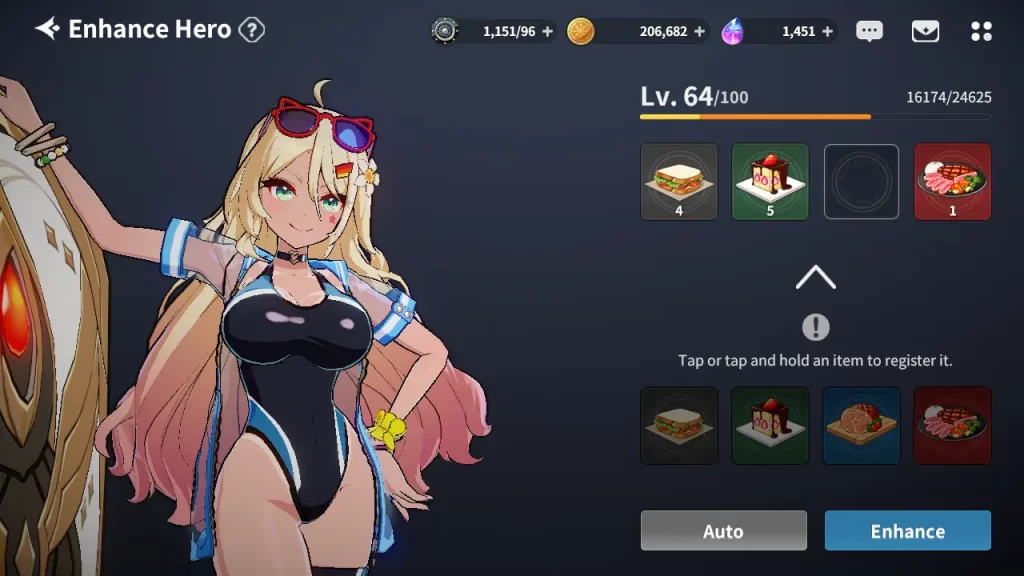
In the Hero Screen, the first thing your eye will be drawn to other than the current character on the screen is the Upgrade Hero button. This is how you level a Hero up other than by fighting, and it is also the simplest to understand: You feed your gacha girls Food items, and their stats go up along with their character level.
Once they reach a certain level, that first level being 20, you can increase a Hero’s maximum level by using Upgrade Stones matching their element, along with some gold. Doing so means you can feed your character Food again, to level them up further. Note that this is in the Info Tab, and there are other tabs to the left of the screen, where the rest of the upgrade methods are.
Transcendence
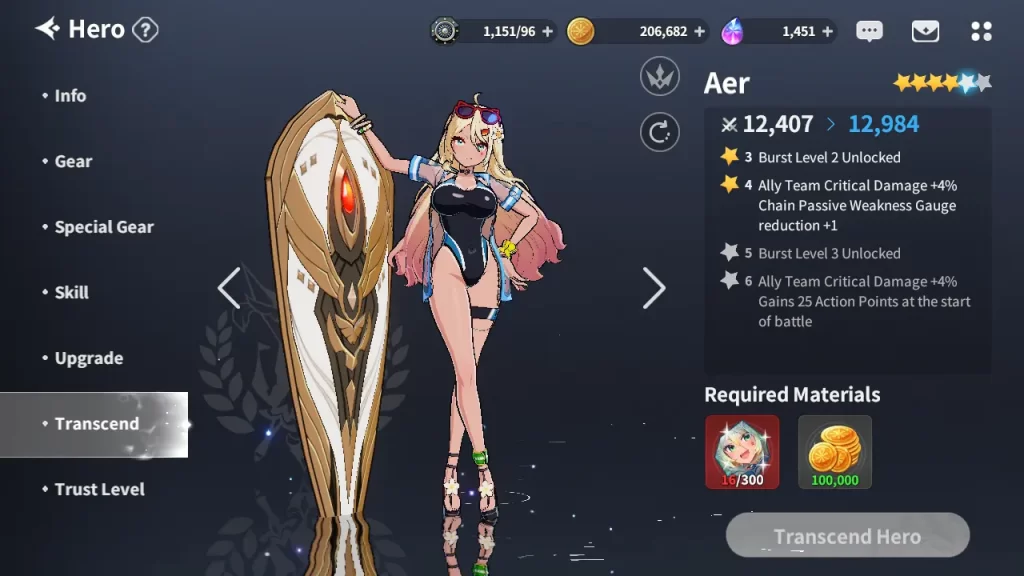
In the Transcendence tab, you’ll find where to dunk all those duplicate gacha shards you’ve found over all your rolls. Transcendence allows you to increase a character’s star level, giving them various character-specific buffs, such as crit boosts for Noa and any team she’s assigned to since her basic attack relies on crits to trigger a second attack. This also unlocks higher-level Bursts for a character later on, once they get past 3 stars.
Gearing Up
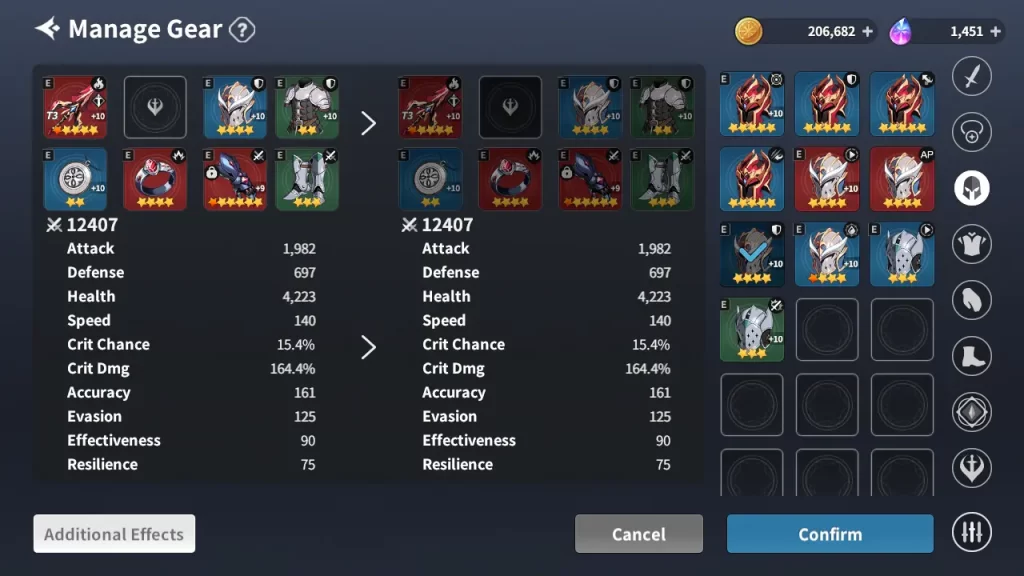
After a mission, gear will drop as a reward, anything from boots and armor to accessories and weapons. The armors often come with fairly small stat boosts, with higher-tier gear having more different kinds of boosts.
Any large boost comes from getting a set of certain gear: Each piece of armor has a symbol which may be a sword, shield, or heart, and getting 2 or 4 of a set can give a much bigger boost than any individual piece of armor and even several pieces with certain individual stats. Like say, an individual armor piece out of 4 gives 1.8% ATK but 2 items from an ATK set give a big fat 25% ATK boost.
A second symbol under the weapon’s set symbol determines which character classes can use it if it has one. Finally, star level takes priority over tier color when it comes to gear power: A 3-star blue or green tier item will be stronger than a red tier 2-star item, given equal upgrade levels.
Upgrading Gear
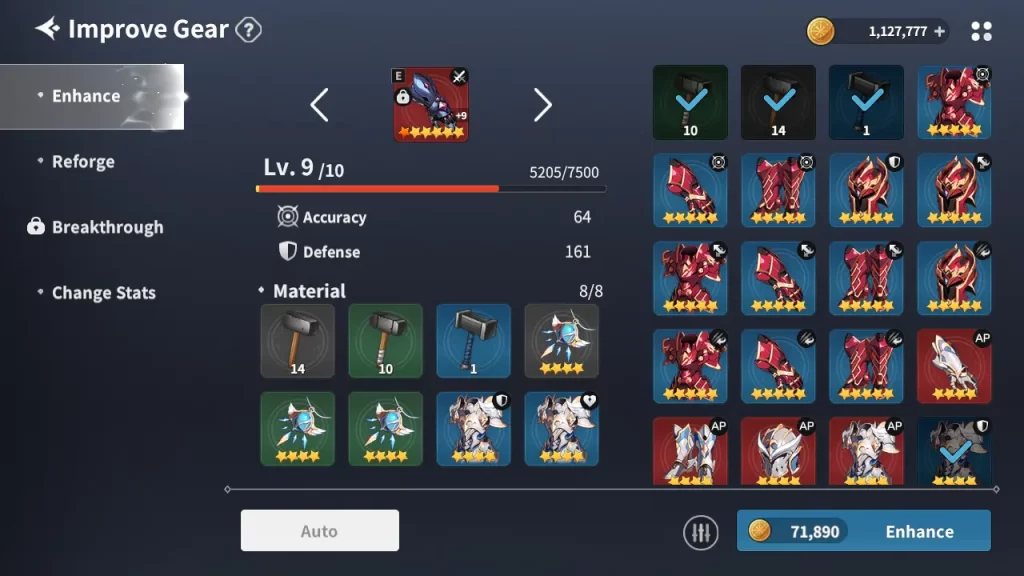
Now you have your equipment, you can upgrade it! There are several ways to upgrade gear: The easiest way to upgrade is to cram it full of Hammers and old junk via the Enhance tab to level it up.
The second way is to Reforge it, using Reforge Catalysts dropped from Item Dismantling, the Archdemon’s Ruins, or as Expedition Team rewards, to improve your gear’s existing Substats. Gear Breakthroughs use Glunite, Exclusive Breakthrough Materials, or duplicate gear to increase an item’s main stat and unique stat a large amount, but only up to 4 times as opposed to Enhancement’s 10, though they stack.
Skills Up
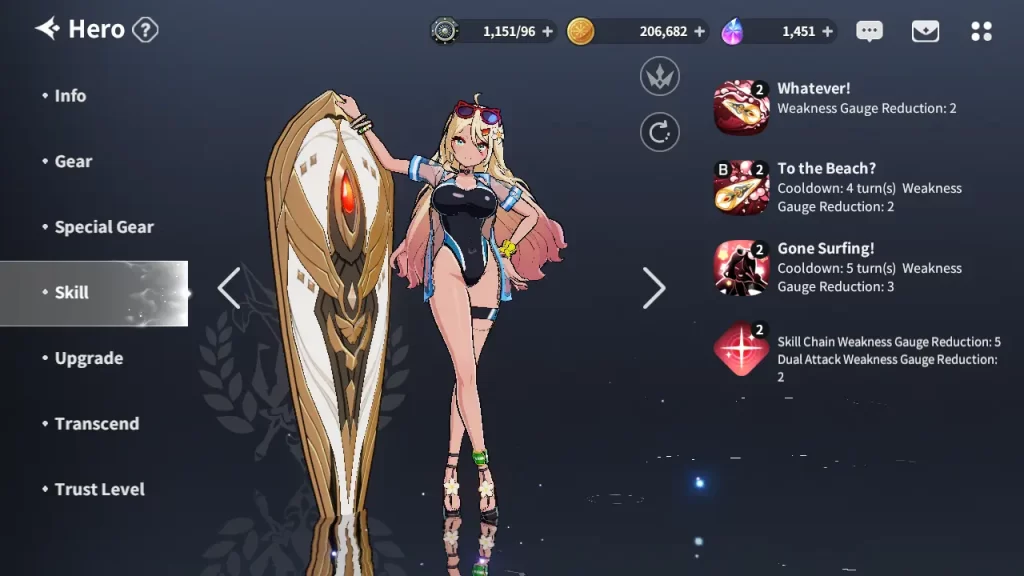
A character’s individual skills can each be upgraded through the use of Skill Books and a measure of Gold. Each skill can be maxed out to level 5, and each individual level gives a specific boost to the skill, which can be anything from a direct boost to damage to additional special skill effects.
This tab is rarely used because skill books are hard to find, but very important to upgrade. It’s also a good place to learn about a character’s skill set since it gives you a description of the skills.
Upgrade Hero
The Upgrade Hero option is another way of powering up your character, available every several tens of levels. While this is simple, in that it goes up 5 levels and directly boosts stats rather than having any weird effects, it is dependent on a Hero’s class: It boosts the stats a class favors for the first 4 levels, and covers for some other stats, often but not always weaknesses, with the final Upgrade.
Strikers get Speed, Attack, and Effectiveness for the first 4 levels then Health, Defense, and Attack at Level 5. Mages get Attack, Health, and Effectiveness for 4 levels then Health, Defense, and Accuracy for the final upgrade. Defenders get Defense, Health, and Effectiveness, then Defense, Health, and Speed.
Rangers get Health, Speed, and Effectiveness, then Health, Defense, and Attack. Healers get Defense, Speed, and Effectiveness, then Health, Defense, and Resilience. The stat upgrades typically get bigger the higher level they are.
This ends our Outerplane Beginner’s Guide. We hope this helps you direct K through the story. If you have your own tips, share them in the comment section below!

