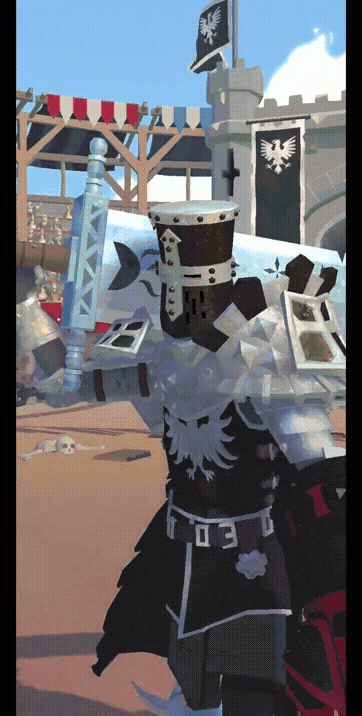
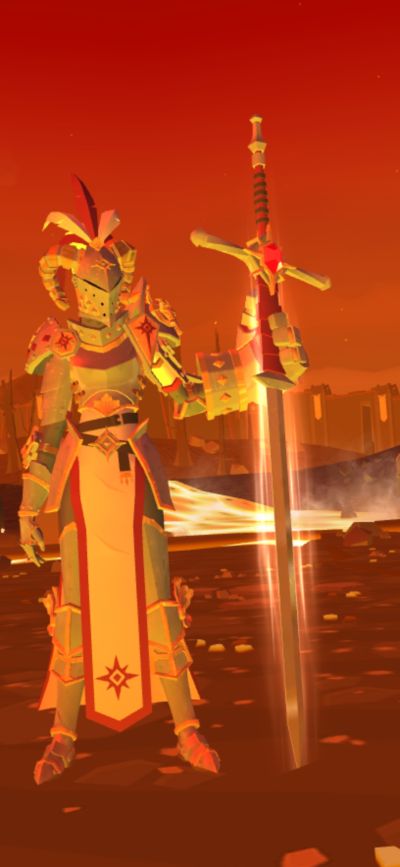
Knights — warriors of a noble cause, protectors of a kingdom, and soldiers that fight for justice. The Order of Rage is one such group of knights that once fought for the safety of these lands, but Lord Karnon, a former Rage Knight, now holds it all in his dark grasp. Animals have become violent, the dead now walk the earth, demons have emerged from the shadows, golems have arisen from the rubble, and other ghastly creatures now clamor for the blood of the innocent.
Among these anomalies are fallen Rage Knights who now possess dark powers similar to that of Lord Karnon. Will you be among the saviors of the world or will you fall prey to the curse of discovering true might? Enter Knighthood: The Knight RPG.

Midoki’s mobile RPG, Knighthood, adds an interesting twist to the turn-based subgenre. As opposed to having a party, your knight is the only person in it where the heroes who accompany you on your journey are more like skills than they are members of the party. Battles are intense as they require careful planning since your character’s actions are limited. At times, the fights can be more difficult than they seem. But that’s why we’re here!
The game has rapidly grown and had its updates over the past few months, and this guide has been written to help any new would-be Rage Knights who wish to unravel the mysteries of the Order of Rage. Are you one such would-be Rage Knight that wishes to find the strength to vanquish their foes? If so, read our in-depth Knighthood guide below!
1. Master Your Fighting Technique
Every RPG has a combat system.
In older titles like some incarnations of Final Fantasy, you wait for a gauge to fill before your character gets to attack or do something. Some tactical RPGs require your character to be in striking range of their enemy. In other turn-based RPGs like RAID: Shadow Legends or Dragon Tamer, your heroes each have an attack or skill that they may use during their turn which happens when their speed bars fill.
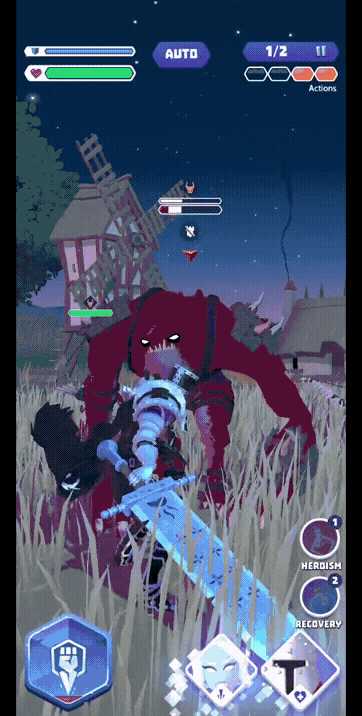
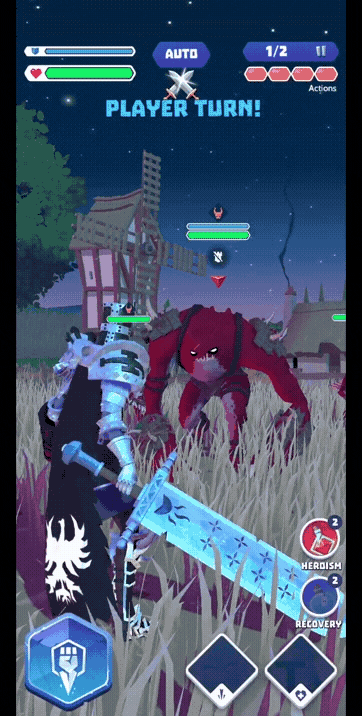
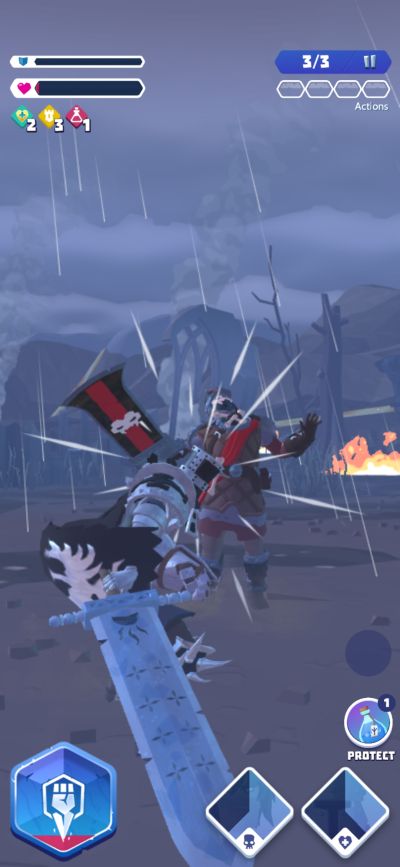
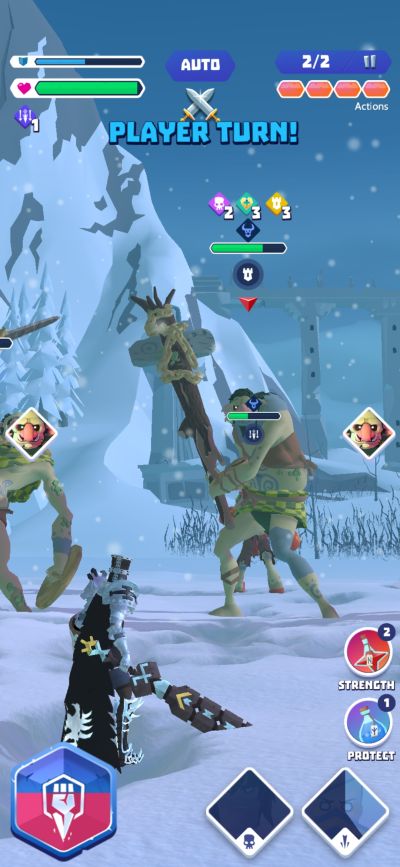
Knighthood’s combat system is a bit different compared to other games. Here, your knight has a maximum of 4 actions. These actions can be used offensively or defensively as observed below:
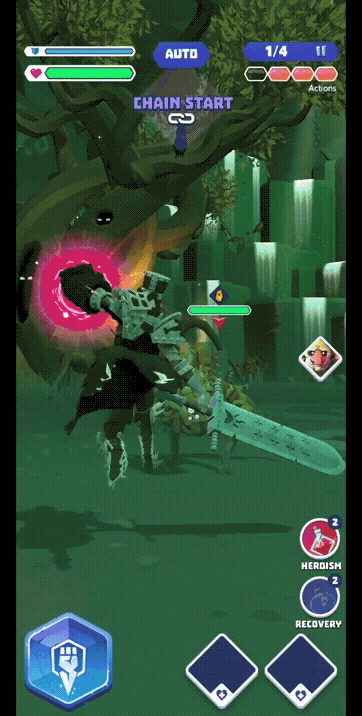
a. Chain Attack
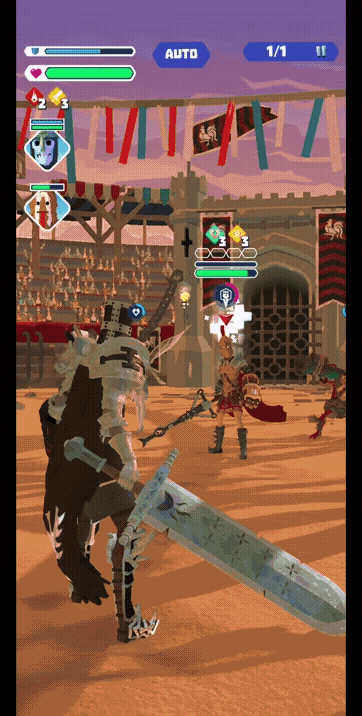
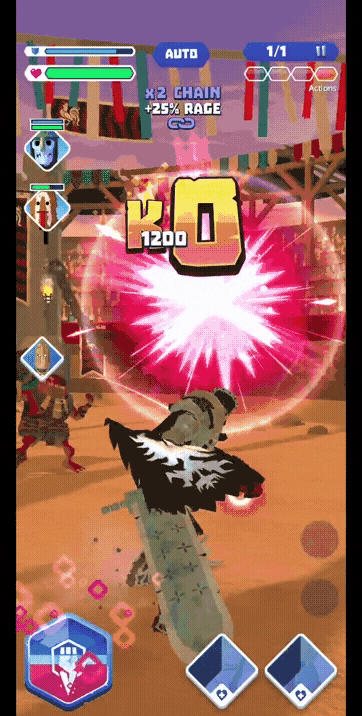
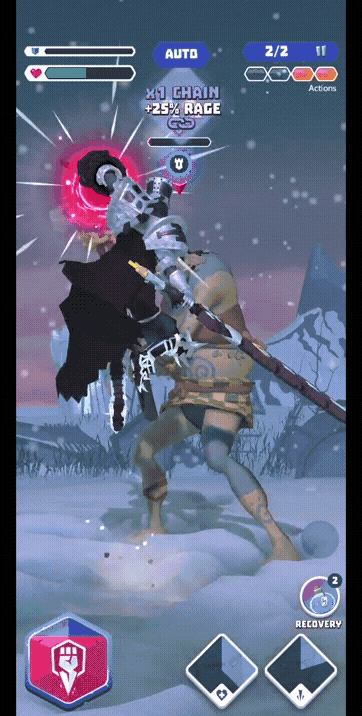
A Chain is a series of strikes done onto a single target. This can be done by simply tapping the screen or by tapping the Punch button. If all actions were used as attacks, the first 3 attacks are called Chain Attacks.
All attacks in a combo are Chain Attacks but not all Chain Attacks are the same as explained in the next few items on this list. Attacks with your weapon don’t build Rage while attacks with your Gauntlet do.
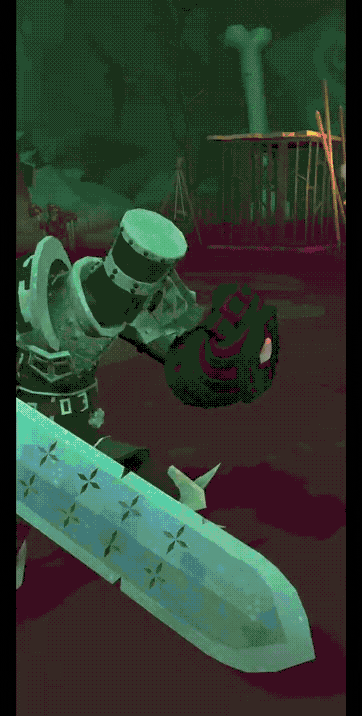
b. Ultimate/Finisher
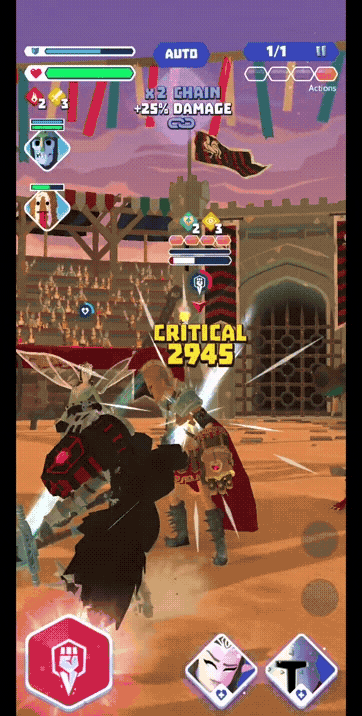
This attack is the most powerful in a combo. The very last attack in a Chain deals considerably more damage than the previous attacks and is quite important in any fight. Other than an attack to end a combo on a single target, these last attacks can be Punches or Swipes, too. Ultimates/Finishers usually come with special effects depending on your Gauntlet and your weapon.
For instance, if you have the Charms or the right Gauntlet, your knight has a chance to cast Protect or Regenerate on themselves or inflict Burn, Poison, or other debuffs on the enemy. These special effects will only trigger if you finish a Chain properly without breaking it. If the Chain is ended with a Punch, it can also build Rage.
c. Swipe
Swiping happens when you make your knight attack the enemies adjacent to their main target. Tapping an enemy’s portrait to the side will allow your knight to Swipe at that enemy.
You may also swipe in the direction of your chosen enemy. Keep in mind that swiping is always a weapon attack and cannot be used with your Gauntlet. Swiping doesn’t build Rage.
d. Punch
Tapping the Punch button or swiping upward will cause your knight to Punch the enemy. Punches are the quickest way to build Rage. Do note that after killing an enemy with a Punch, you may have to either Swipe to keep the Chain or break the Chain and Punch again.
e. Base Power
Attacking with your weapon or Gauntlet will ready your heroes’ Base Powers. Using a hero’s Base Power will, unfortunately, break a Chain, so using it at the very beginning of your turn or at the end of a Chain is the best way to go. Conversely, you may use this as the second to the last action and follow it up with a Rage Power.
f. Rage Power
A hero’s Rage Power is what makes them shine. At full Rage, you’ll be able to activate one of these to damage your foes or buff or heal your knight. It takes a couple of punches to fill up your Rage and execute a Rage Power, but using this at the perfect time during a battle could definitely turn the tide.
g. Use Item
Using an item counts as an action but it neither generates Rage nor readies a hero’s Base Power. However, depending on which potion you take, you could use these to recover health, strengthen your knight, increase your defense for a turn, and many more.
h. Chain Break

Breaking a Chain can prove advantageous if done right. For instance, punching an enemy and killing them then not Swiping to the enemy next to it will allow you to build Rage by using the remaining actions you have as Punches.
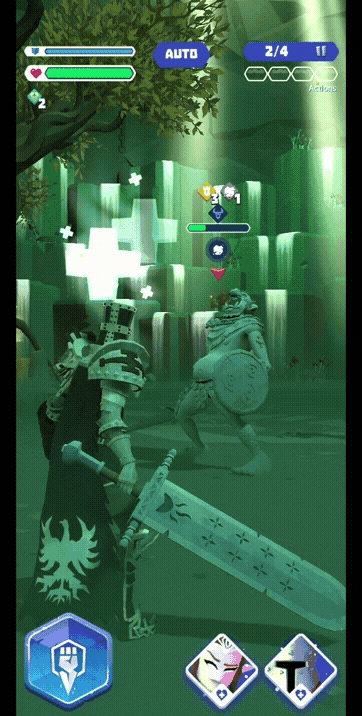
Status effects can also change a fight for the better (or worse if you’re on the receiving end). You might not be able to tell what happens when these things happen. But after reading this section of the guide, you will. Let’s go over what each buff/debuff does:
- Acid
Symbol: Green droplets
What It Does: Deals strong damage over time to the target’s armor after their turn
- Burn
Symbol: A red flame
What It Does: Deals damage over time after the target’s turn, deals more damage to Beast-type and Undead-type enemies
- Poison
Symbol: A purple skull
What It Does: Deals direct damage to the target’s health, ignoring armor, after their turn
- Regenerate
Symbol: A green heart with a cross
What It Does: Target regains a small percentage of health or armor after their turn
- Fury
Symbol: A yellow sword
What It Does: Increases target’s damage (does not affect the damage of a hero’s Base/Rage Powers)
- Protect
Symbol: A yellow castle
What It Does: Increases the target’s defense
- Focus
Symbol: A yellow eye
What It Does: Increases the target’s Critical Hit chance
- Weaken
Symbol: A broken purple sword
What It Does: Decreases the target’s damage (does not affect the damage of a hero’s Base/Rage Powers)
- Expose
Symbol: A broken purple castle
What It Does: Decreases the target’s defense
- Unfocus
Symbol: A blinded purple eye
What It Does: Decreases the target’s Critical Hit chance
- Stun
Symbol: An orange spiral
What It Does: Makes the target skip their turn, does not work in PvP and on some bosses
- Freeze
Symbol: A blue snowflake
What It Does: Makes the target skip their turn, does not work in PvP and on some bosses
There are some buffs/debuffs that only affect monsters:
- Haste
Symbol: A speedy yellow clock
What It Does: Causes the monster to attack 4 times when previously it was 1 or 2
- Dizzy
Symbol: Swirling purple stars
What It Does: Reduces the player’s actions to just 1
- Doom
Symbol: A red skull in a pointed, circular cage
What It Does: Deals damage equivalent to 33% of the player’s health and armor for 1 turn, cannot be dispelled
- Calcify
Symbol: A gray, glowing heart
What It Does: Stuns the caster for 1 turn and makes them immune to all damage but take less damage from hammer attacks and status effect damage, cannot be dispelled
- Grow
Symbol: Yellow upward arrows
What It Does: Monster increases size and damage with every Punch/weapon strike
- Shrink
Symbol: Purple downward arrows
What It Does: Reduces the player’s size and damage, increases the damage they receive
Lastly, there are effects that some heroes can do that don’t have any visual indicator:
- Cure
What It Does: Removes all debuffs from a target
- Delay
What It Does: Resets a monster’s power to 0, does not affect opposing Rage Knights in the Arena
- Dispel
What It Does: Removes all buffs from a target
By fighting anything, you’ll be able to strategize and practice your technique. Just remember that a battle can be decided by a well-timed Punch or a well-executed Rage Power. It’s all up to you how you handle your battles. Sometimes, your own strategy might surprise you.
While fighting smart constitutes most of the gameplay, your gear makes up for a lot of your strength.
2. Arm Yourself Accordingly
Dress to impress! Well, mostly.
As it is in many RPGs these days, it is a character’s equipment that makes up for most of their performance in battle. The clothes make the Superman, as they say. So it’s very important to don an armor set/weapon combo that works for you.
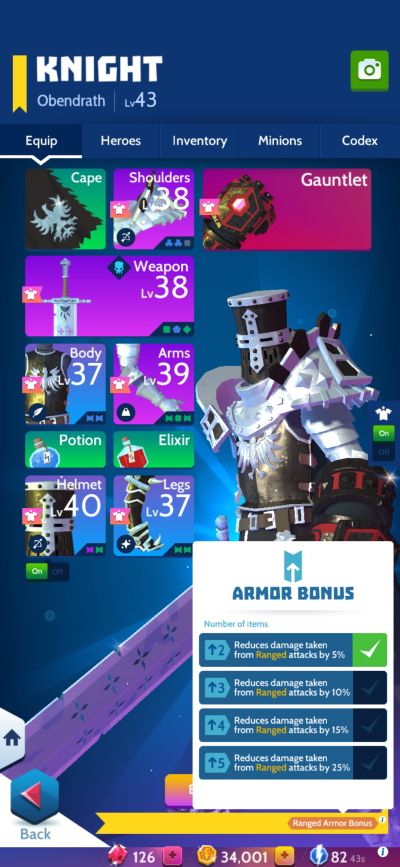
The way armor bonuses in this game works is that if you equip two pieces of the same armor category, you will gain an armor bonus against that specific enemy type. Naturally, the more of these you equip, the more likely you will mitigate the damage type you are defended against. Let’s go over them quickly before we move onto weapons:
a. Armor Types
Each enemy in Knighthood has a type and every one of them deals a certain type of damage. To protect yourself from these, you will need to wear at least 2 of these. If you aren’t sure which enemies you are facing, you can see their type by selecting them in the pre-battle screen (as pictured above). Here are the types of armor you can mix and match:
I. Light

These protect you from smaller, quicker enemies. Usually, these enemies are likely to strike you twice but come with poor amounts of health and armor. Light armor is symbolized by a feather.
II. Heavy
This type of armor keeps you safe from enemies with massive weapons or physique. These enemies are heavy hitters and they usually have the highest health and armor pool in a party (excluding the boss). Heavy armor is symbolized by a boxy weight.
III. Ranged
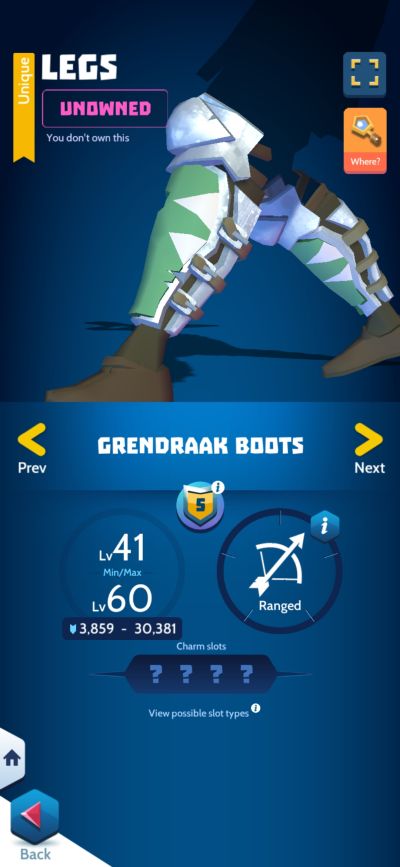
This armor type is probably the most valued one. Ranged attacks penetrate armor and go directly to your knight’s health. Without this, you will feel the pain of being shot by arrows. Ranged armor bears the symbol of a bow with an arrow at the ready.
IV. Magic
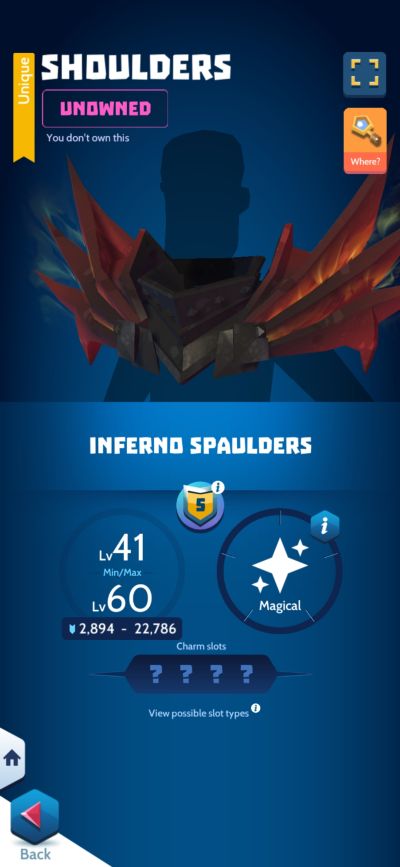
This type of armor protects you from any flasks or bolts of energy hurled at you. Magic enemies may vary between sorcerers and alchemists. Any armor that protects you from these attacks bears the symbol of magic sparkles.
Mixing and matching armor is one thing, but most of the time, nothing beats a good weapon.
b. Weapon Types
Each weapon destroys a certain type of enemy. While reading out their names and looking at the symbols they have on the interface are enough to give them away, let’s take a closer look at each of their characteristics.
I. Dokka (Strong vs Beast)
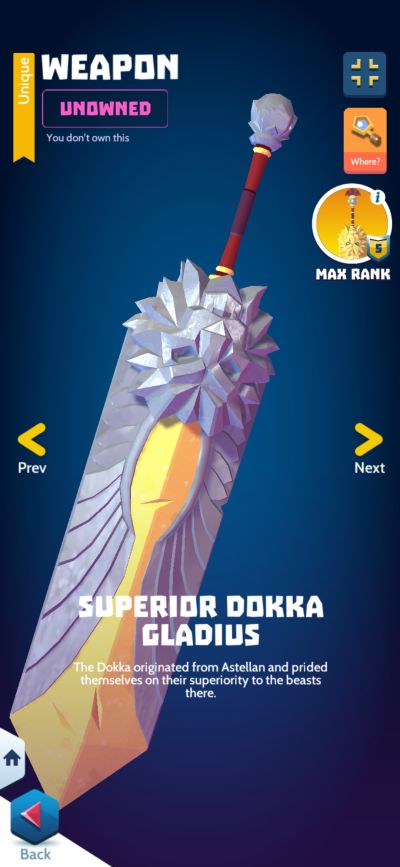
Made by the ancient dog people, the Dokka family of weapons exhibit simple, angular shapes. The weapons look practical and they have little-to-no flair whatsoever. If there is any flair to be had, it’d be an embossed symbol.
As they get leveled up, they are usually adorned with gold parts. Sometimes, they also have animal crests like bulls, eagles, or lions.
Alongside the Purist weapons, they have some of the biggest swords in the game. The Dokka meant business when they wanted to show their Beast ancestors who the superior species was.
II. Galdor (Strong vs Undead)
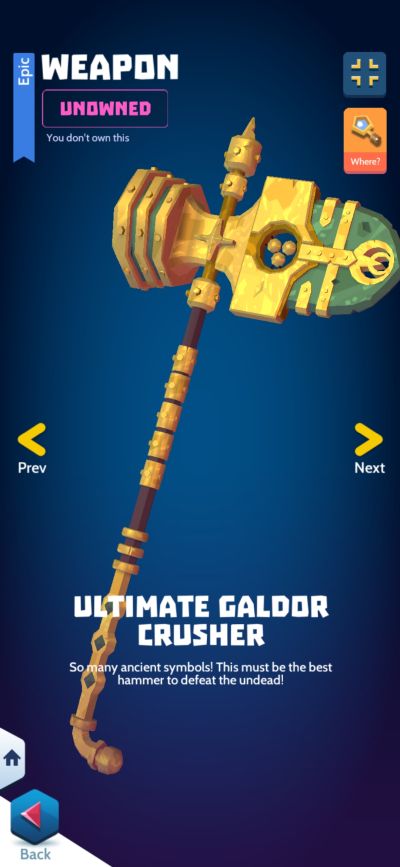
Galdor weapons have a dark-green metal for their blades or hammer heads. They normally have handles that curve at the pommel and bear golden hilts or attachments.
As they level up, they tend to bear symbols that become increasingly complex on the weapon’s main parts (e.g. the hammer’s head). The symbols on these weapons are said to lay the Undead to rest for good.
III. Purist (Strong vs Cult)
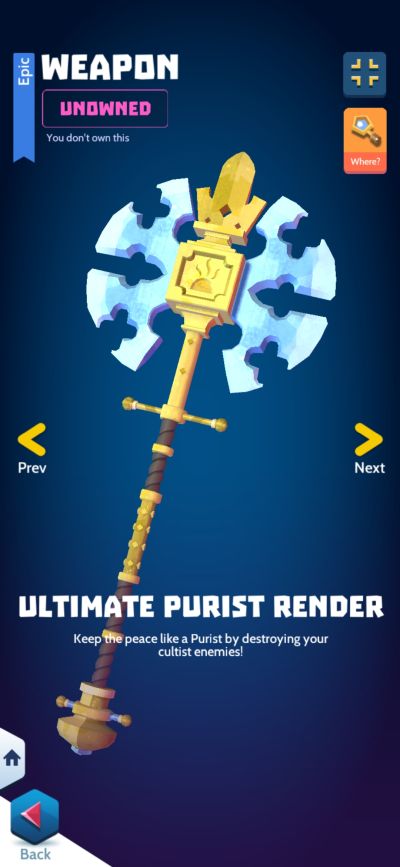
Weapons of the Purist variety have a silvery-blue metal. They are often etched with suns or crosses and are quite ornate in design. As they level up, they tend to have golden accents added on.
Purist swords are among the largest in the game, Purist hammers look more like maces, and Purist axes look like works of art. All these holy symbols and etchings are enough to make any Cultist squirm in discomfort.
IV. Sakroch (Strong vs Troll)
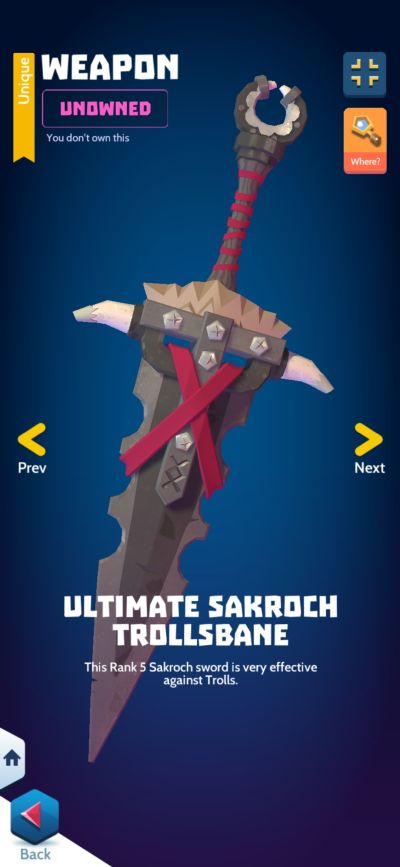
Looking for rough and manly types of weapons? Weapons made by the Sakroch viking tribes are nothing short of that. They are very rugged, covered in fur, spikes, and leather, and the metal they use is dark. After all, Trolls can calcify their skin, so Sakroch weapons tend to look more painful than others on this list.
V. Hellhent (Strong vs Demon)
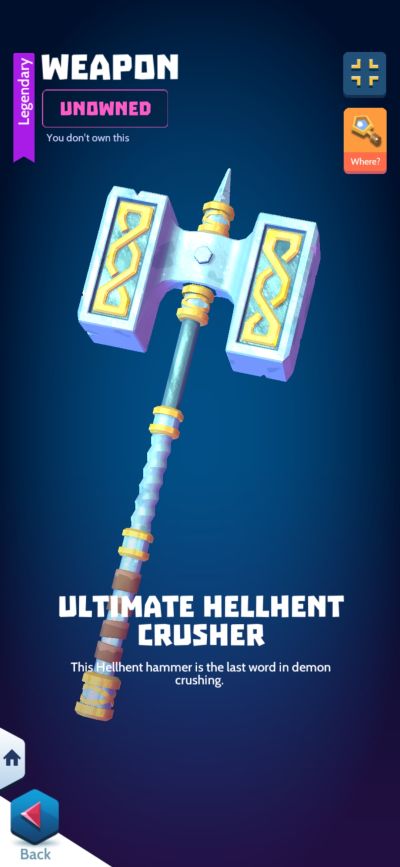
Weapons forged by the Hellhent offer simplistic and practical designs similar to the Dokka. What sets them apart is that Hellhent weapons are less rugged in appearance. The metals they are made of are often bright and shiny. Their handles are short and they sometimes gain yellow accents when leveled up.
Occasionally, they have lines that intertwine with one another crested into the weapon. Such inscriptions are said to draw out the evils that roam across the land. Have you run across a Demon lately? They’ll be shaking inside once they see you pull out a Hellhent weapon.
VI. Tukkah (Strong vs Golem)
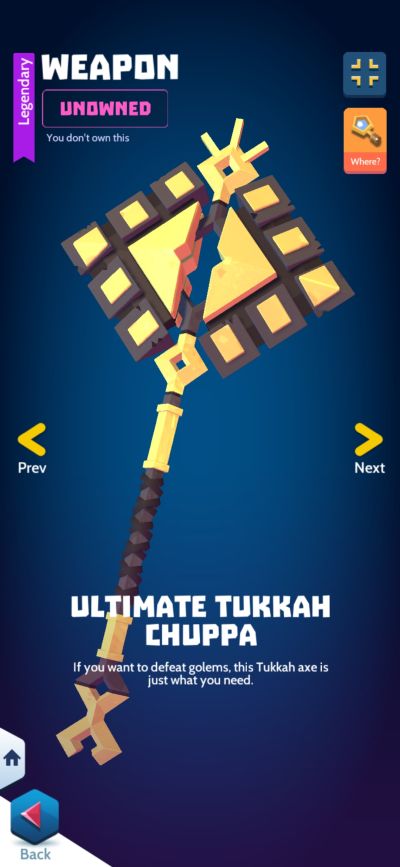
Tukkah weapons are the easiest ones to tell apart from the others. These magnetic weapons are made from a special kind of dark brown metal and are often adorned with gold and/or silver geometric shapes.
The designs of the weapons aren’t always practical (case in point: the Tukkah Axe) and they are called names like “Kutah” or “Klova”. Take a Tukkah weapon and tear some Golems down.
VII. Melde (Strong vs Outlaw)
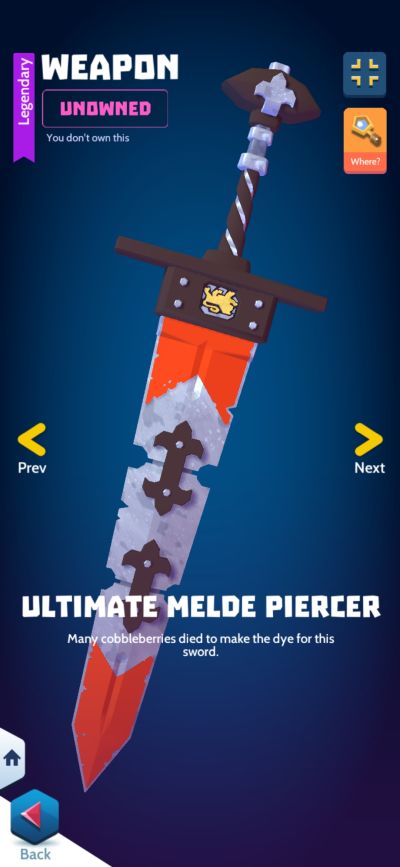
Weapons made by the Melde come with accessories such as straps or braces. For instance, sword or axe blades could be braced together for stability.
They also love putting brightly-colored dyes on their weapons. These bright colors signal to Outlaws that justice is coming and they’re about to get served.
VIII. Goblin (Strong vs Militia)
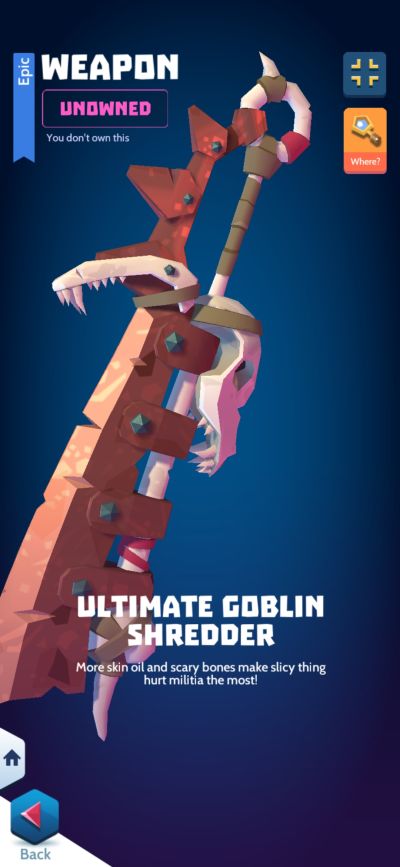
Goblin-made weapons are very shoddy in appearance. Despite the fact that they don’t look structurally sound, their giveaway characteristic is that they are built with splintered wood or animal bones.
After leveling them up, their dark teal tint becomes a rusty red color. According to the lore, the Goblins rub their skin oil on the weapons to keep their Militia enemies sick and infected.
IX. Alfar (Strong vs Goblin)
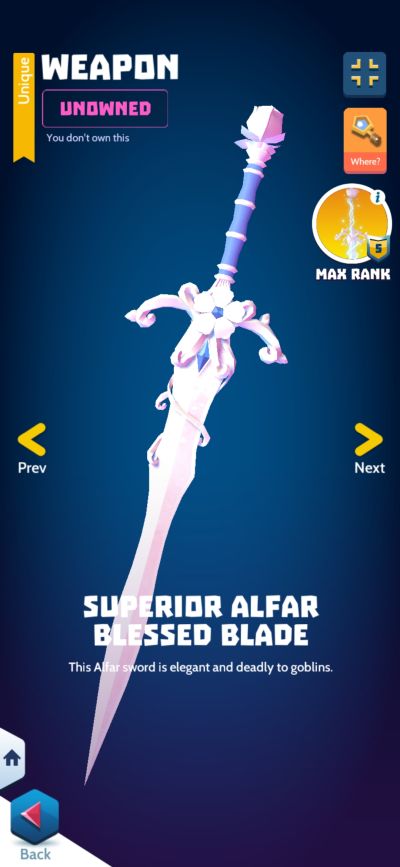
Weapons of Alfar make are the most fancy-looking ones of all. They are made of a shiny, silver metal with golden accents here and there. As opposed to the weapons on this list, they look like they are not at all bulky in appearance.
Instead, they are meant to be wielded with finesse and style. The Goblins know nothing of finesse and style — perhaps it’s time to give them a harsh lesson on these.
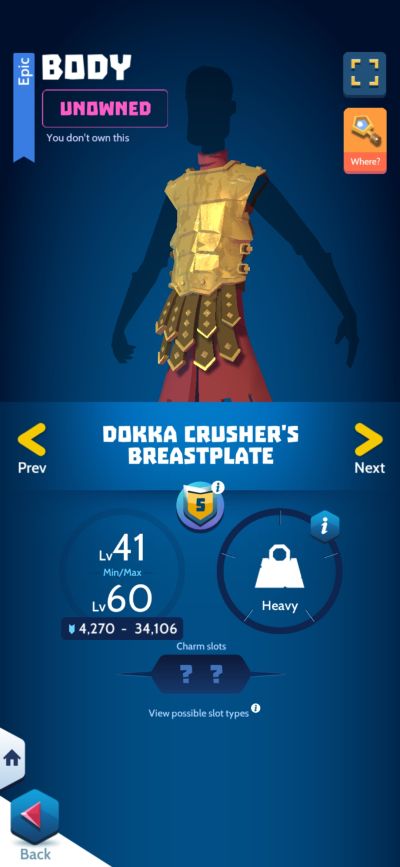
As you progress through the game, you will find that your equipment comes with little shapes under their icons in the interface. These are Charm Slots.
c. Charm Slots
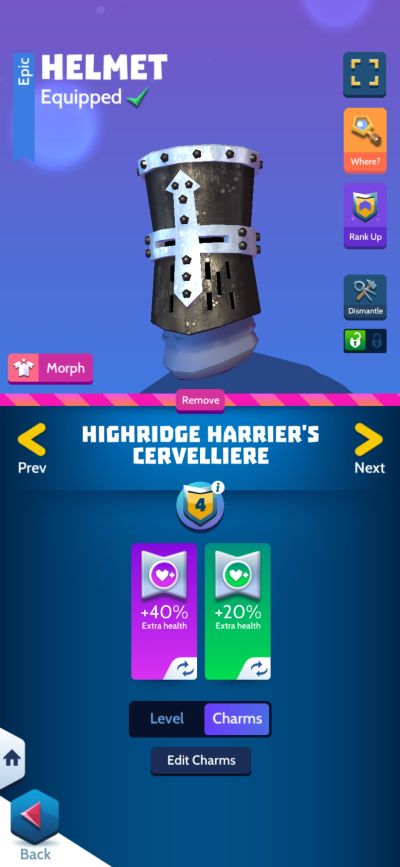
Charms can be obtained by disassembling various equipment pieces. Each Charm type has a unique shape but so many of them do different things. There are Charms that will inflict Poison during Chain Attacks or Finishers, Charms that can protect you from certain debuffs, Charms that give your Minions strength in the Arena, and many others.
Building your equipment with what Charms you have is one thing, but gunning for Armor or Health Charms can go a long way. Equipment pieces that bear a “bowtie” shaped slot will be able to fit Armor/Health Charms. Survivability is a great factor in Knighthood and it won’t hurt to invest in these early.
To put this into perspective, having a Rare equipment piece with such a slot will give you more Armor or Health than an Epic or Legendary piece that doesn’t have any.
With all your equipment now in order, it’s time to address the main feature of what makes Knighthood – Knighthood — the Rage Gauntlet.
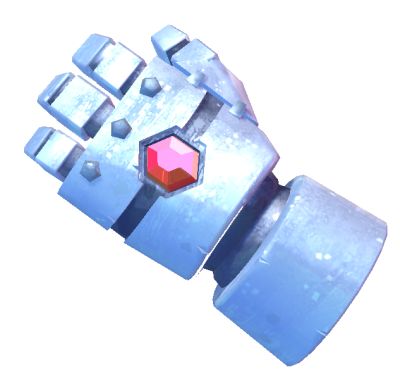
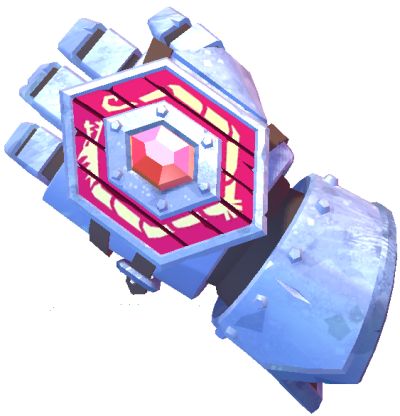
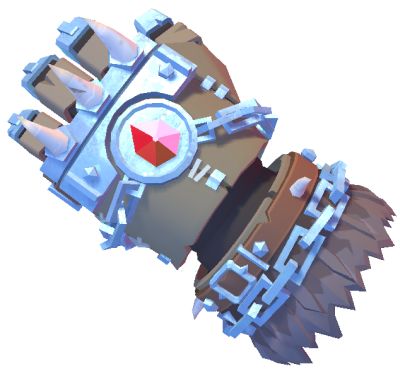
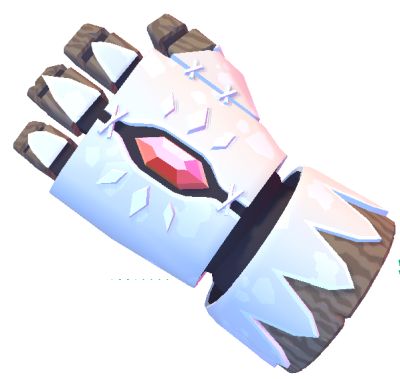
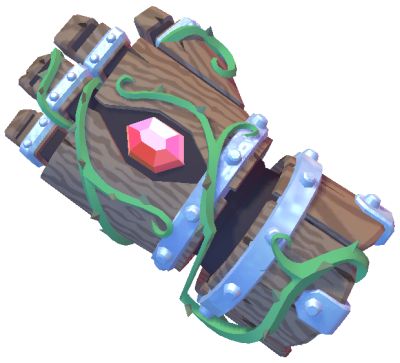
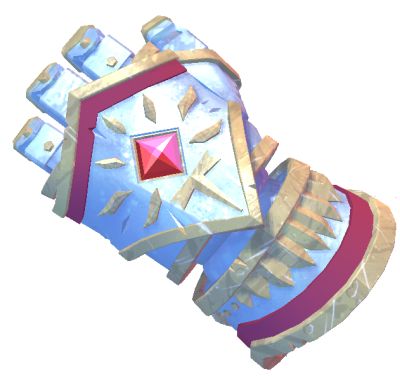
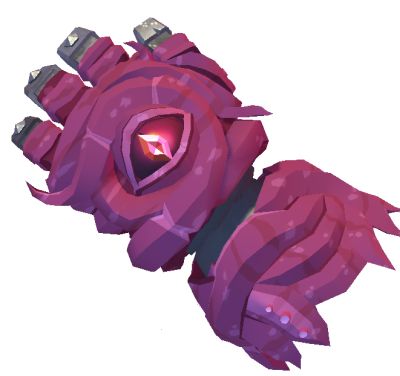
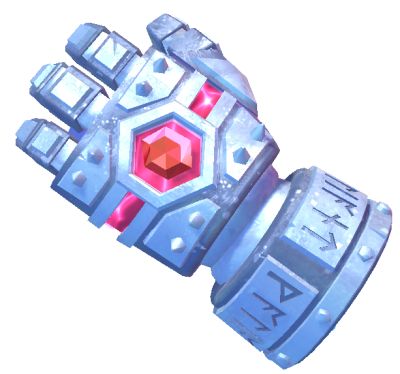
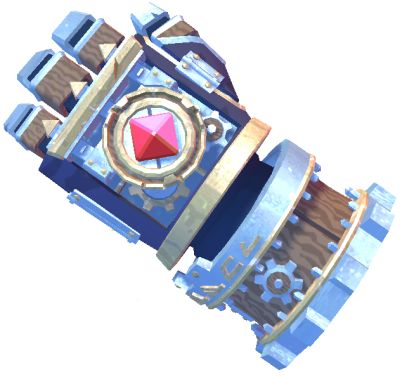
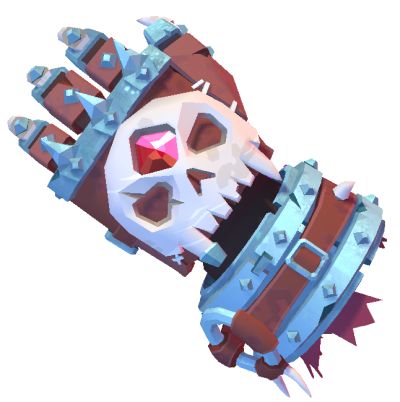
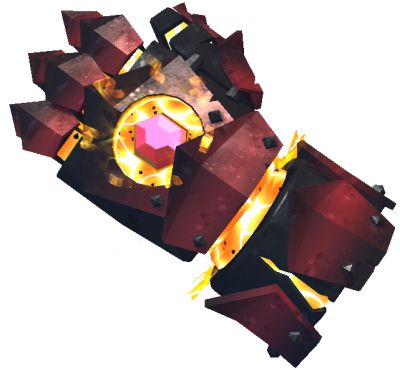
3. Choose A Gauntlet You Are Comfortable With
Now you might be wondering: what’s the deal with Rage Knights and their freakishly huge gauntlets? Do they have a purpose? Why are they so clunky? Is this mandatory for a Rage Knight to wield? To answer the last question: yes. The other two questions will have to remain a mystery, so let’s explain how this all works.
Each Punch, as mentioned earlier, generates the power of Rage. Rage allows the knight to wield extraordinary powers. Since Rage Gauntlets are capable of summoning heroes of yore, the mirror images of these mighty warriors are able to unleash their most famous technique — possibly the one that made them heroes to begin with.
This stored power, unleashed as a Rage Power, ranges from healing, to damaging all enemies, to removing debuffs, and many others. The strength of a Rage Gauntlet varies from type to type, and it’s only you who can figure out which one you like.
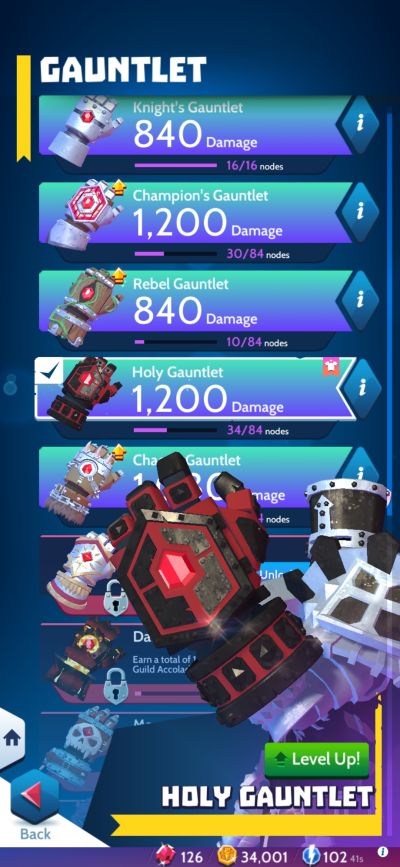
Every Gauntlet in the game denotes a certain playstyle as observed by the parameters they have. These parameters are leveled up by using Gauntlet Cores which you can earn by fighting Roaming Monsters or through the Onslaught Dungeon. Below are the different Gauntlets and what they can do:
- Knight’s Gauntlet
Acquisition: You start with this one.
Rage Gain: Base Power usage.
Weapon Boost: All weapons.
Hero Speed Boost: None
Hero Power Boost: None
Punch Buff: None
Finisher: Stun
- Champion’s Gauntlet
Acquisition: Complete 100 Hunts or buy with 100 Gems
Rage Gain: Taking damage (Fortitude)
Weapon Boost: Axe
Hero Speed Boost: Rogue
Hero Power Boost: Hunter
Punch Buff: Protect
Finisher: Stun
- Chaotic Gauntlet
Acquisition: Earn 500 Arena Crests or buy with 2500 Gems
Rage Gain: Using a damage-dealing hero power (Might)
Weapon Boost: Hammer
Hero Speed Boost: Alchemist
Hero Power Boost: Rogue
Punch Buff: Regenerate
Finisher: Acid
- Holy Gauntlet
Acquisition: Defeat 250 Roaming Monsters or buy with 2500 Gems
Rage Gain: Get healed by your heroes’ powers (Faith)
Weapon Boost: Sword
Hero Speed Boost: Alchemist
Hero Power Boost: Warrior
Punch Buff: Regenerate
Finisher: Burn
- Rebel Gauntlet
Acquisition: Defeat 100 bosses in the Monster Cave or buy with 2500 Gems
Rage Gain: After gaining a buff (Growth)
Weapon Boost: Axe
Hero Speed Boost: Mage
Hero Power Boost: Alchemist
Punch Buff: Protect
Finisher: Acid
- Logician’s Gauntlet
Acquisition: Complete 1000 Onslaught Dungeon floors or buy with 10k Gems
Rage Gain: After using a power that causes a status effect (Wisdom)
Weapon Boost: Sword
Hero Speed Boost: Hunter
Hero Class Boost: Mage
Punch Buff: Regenerate
Finisher: Freeze
- Maniacal Gauntlet
Acquisition: Earn a collective total of 1M Gold or unlock with 10k Gems
Rage Gain: After gaining a debuff from the enemy (Spite)
Weapon Boost: Axe
Hero Speed Boost: Hunter
Hero Class Boost: Alchemist
Punch Buff: Regenerate
Finisher: Poison
- Valiant Gauntlet
Acquisition: Complete 5000 Hero Favors or buy with 10k Gems
Rage Gain: Use a Base Power (Courage)
Weapon Boost: Hammer
Hero Speed Boost: Warrior
Hero Class Boost: Rogue
Punch Buff: Protect
Finisher: Stun
- Lawful Gauntlet
Acquisition: Earn a total of 50k Gems or buy with 20k Gems
Rage Gain: Use a Base or Rage Power (Honor)
Weapon Boost: Hammer
Hero Speed Boost: Rogue
Hero Class Boost: Mage
Punch Buff: Regenerate
Finisher: Freeze
- Maverick Gauntlet
Acquisition: Punch 50k Times or buy with 10k Gems
Rage Gain: Every time you land a Critical Hit (Guile)
Weapon Boost: Sword
Hero Speed Boost: Mage
Hero Class Boost: Warrior
Punch Buff: Regenerate
Finisher: Poison
- Dark Gauntlet
Acquisition: Earn a total of 10k Guild Accolades or buy with 20k Gems
Rage Gain: After getting hit by an enemy’s power (Wrath)
Weapon Boost: Sword
Hero Speed Boost: Warrior
Hero Class Boost: Hunter
Punch Buff: Fury
Finisher: Burn
It’s important to note that every Gauntlet’s name is the same as that of a hero’s alignment. This means that if you are using a Gauntlet matching the alignment of a particular hero (e.g. Holy Gauntlet with Holy heroes like Outis, Tristan, or Azhar), you will boost the strength of their Rage Powers. This isn’t an absolute rule as many of each of the Gauntlets’ powers contribute to the flow of battle in general.
Let’s put your knight aside for a moment and now move the spotlight onto the co-stars of your anime protagonist (or villain) origin story: the heroes.
4. Pick Heroes That Complement Each Other
In every other mobile RPG, heroes are an integral part of the game.
Other than being collectibles, heroes are often your soldiers in battle. But in Knighthood, that is far from the case. Knighthood’s heroes behave more like skills or spells rather than comrades who fight alongside you. They have no health bars and don’t have attacks of their own. Instead, because of how the lore works, they are more or less mirror images or spirits of the heroes who fought years prior to the main story of the game.
Each hero is always paired with another and in any battle, a combination of heroes that complement each other may be quite powerful. To know how a hero can complement another, you must first look at what skills they have. A basic understanding of complementary heroes is to see which skills could synchronize together. Below are samples of hero pairs that go well together and their reasons why:
DISCLAIMER: Some of these combinations don’t work for everyone, but they might work for you.
- Gwen and Rhiannon
Why: Gwen has a chance to stun with her Base Power and Rhiannon deals extra damage to stunned targets.
- Garron and Delphinia
Why: Garron and Delphinia have Delay powers — Garron with his Base and Delphinia with her Rage. You can use these to prevent enemies from using their own powers.
- Brutus and Vordrai
Why: A deadly combination. Brutus can easily fill your Rage meter with his Base Power and Vordrai’s Rage Power is one of the most powerful in the game.
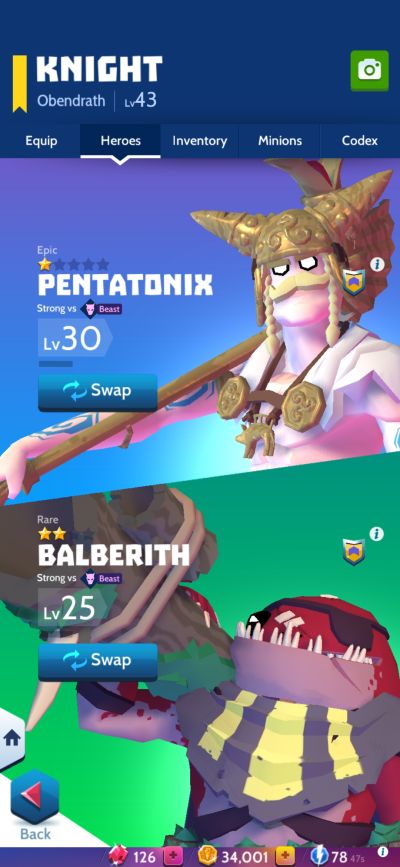
- Balberith and Pentatonix
Why: Both have alternating healing powers — Balberith with his Rage and Pentatonix with his Base. Additionally, Pentatonix deals extra damage to enemies afflicted with Burn which is what Balberith can do with his base power. They’re also both anti-Beast!
Choosing your hero pairs is limitless in combination. There are many heroes that appeal to different types of players and it’s entirely up to you to choose who you will choose to fight by your side. Why not go one step further by grouping your heroes with your Gauntlet of choice? Here’s a hint: what do you think will happen if you use Brutus and Vordrai along with the Holy Gauntlet? Find that out yourself.
Now that you know the potential you can wield, it’s time you take your fight to the foe.
5. Fight Through Conquests For EXP
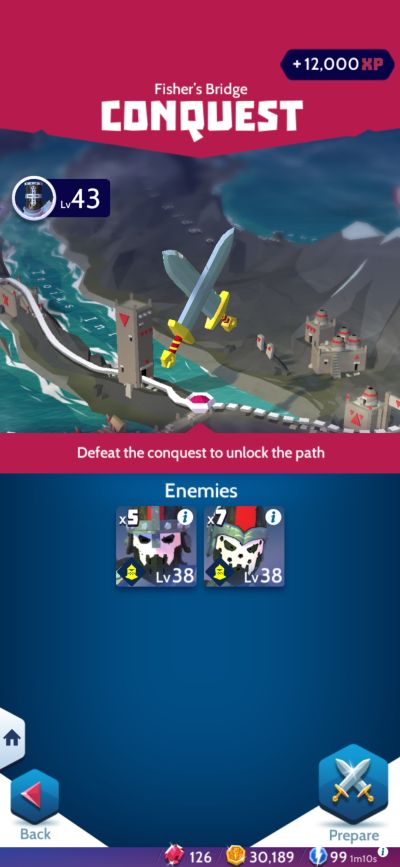
A campaign in an RPG exists to tell a story.
It’s here where you find out where your true motivations lie, who the real threat is, and what you can do to save (or doom if the game allows it) the land. Knighthood’s story is steeped in the history of the Order of Rage where prominent Rage Knights have grown too proud for their own good.
Because of that, they ended up wielding their powers for their own personal gain (maybe except for Sir Rhonwen). With every conquest (a campaign mission), you slowly unravel the story of the game.
But the story of the game aside, the campaign is the best way for your knight to gain EXP. Apart from fighting challenging enemies, the campaign also helps you unlock useful things along the way like mines that provide you with ore and help you level up your equipment, Hunts (we’ll talk about those in a bit), and the chance to fight more Roaming Monsters that will drop better loot. Just like Hunts, we’ll address Roaming Monsters soon.
Conquests are among the toughest missions you can play especially since they test you and push your knight to be at their best. Once you are confident enough, and perhaps after you did some grinding, tackling any of these Conquests shouldn’t be a problem. Of course fighting the enemies in a Conquest requires careful planning and preparation.
If your current Conquest is too tough, it’s time for you to grind a little (or a lot).
6. Fight In Other Modes For More Stuff
Knighthood isn’t without its other modes.
These other modes keep the game from being too easy (if it were that easy to begin with). The different modes that the game offers provides different materials and currencies that you need to get stronger. Below is a descriptive list of some different modes that you can try if the going gets tough as well as why it’s a good idea to give these a try:
a. Hunts
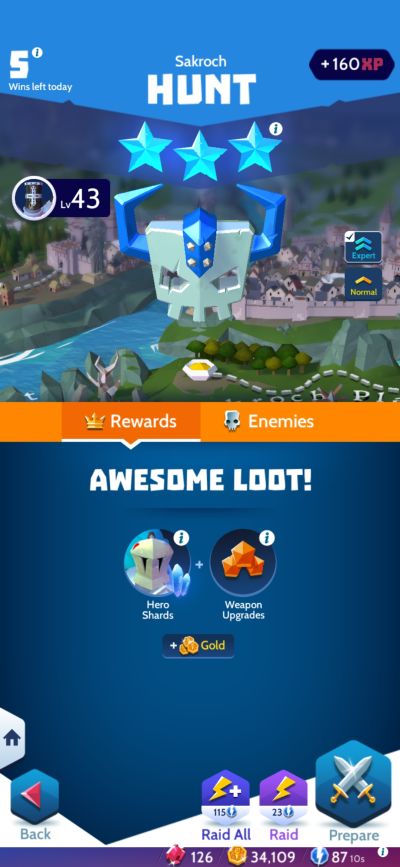
What: Hunts are short missions that require you to fight through three waves of enemies. If you can finish them in a low amount of turns (the turn count varies per Hunt), you get a perfect score. After that, the Hunt can now be Raided where you don’t have to sit through a whole fight.
Why: Hunts give Hero Shards as well as material for equipment upgrades. Occasionally, you might also run into Minions that can assist you in the Arena if captured. These Minions can only be captured by being killed by the punch of a specific Gauntlet.
If you happen to capture a duplicate Minion, they will give you food that matches their monster type instead (e.g. Undead Minions drop Unbread, Goblin Minions drop Rat Burgers, etc.). After completing a number of stars in a province, the Hunt Master will invite you to see her for rare treasures as a reward. Completing 100 Hunts gets you the Champion’s Gauntlet.
b. Monster Cave
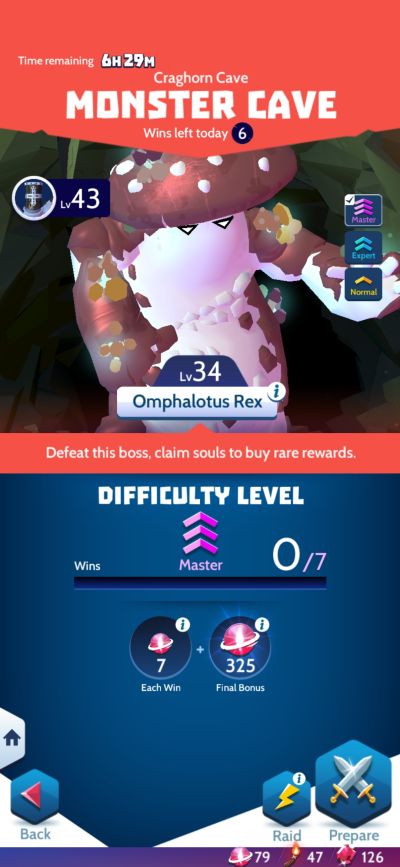
What: Looking to fight some bosses you fought previously? Give the Monster Cave a shot. In 3-round scuffles, you will face a boss monster you have previously beaten (except for Bloodwing).
After defeating the boss monster, you can challenge them again at an increased level. Every battle fills up a meter which allows you to increase the boss’ rank. The ranked-up boss will have more health and damage, but will drop better rewards.
Why: Each encounter in the Monster Cave rewards you with Crimson Souls — a currency only usable in the Monster Cave Shop. This shop specializes in rare items that are needed for equipment upgrades and Hero Shards among other things.
c. Arena
What: It’s PvP time, baby! You fight other knights from all over the world and fight alongside the Minions you have captured thus far. In every Arena fight, the initiator of the fight starts with 2 Actions and always goes first. After which, the battle carries on normally.
After reaching a certain ranking in your ladder, you could get promoted to the next league, remain in your league, or get demoted to a league below. Every week, you receive rewards and if you get promoted to a new league, your rewards will be even more special. Think you have what it takes?
Why: Fighting in the Arena earns you Arena Crests. Arena Crests can be spent at the Champion’s Reward Arena Shop which also has a slew of useful items as well as occasional Arena-exclusive costume parts. Collecting a total of 500 Arena Crests will reward you with the Chaotic Gauntlet. To earn extra crests, try beating all three of your suggested opponents without refreshing. Good luck!
d. Onslaught Dungeon
What: Ready for a real challenge? How about fighting large groups of monsters summoned by powerful leader monsters? The Onslaught Dungeon pits you against 10 floors filled with monsters of varied types led by a main monster.
After defeating the main monster, the floor is cleared and you move onto the next one. There is a catch, however — the heroes you use in each floor cannot repeat. This means that if you used Grimm and Neko at one floor, you cannot use them again until the game resets. You will also stop progressing for the day if you quit or fail against the boss monster.
Why: Beating the boss monsters in the Onslaught Dungeon will reward you with special chests that give Hero Drops, Hero Tomes, and Gauntlet Cores. Hero Drops and Hero Tomes assist in ranking up your heroes, increasing their max level, and Gauntlet Cores are needed to upgrade your Gauntlets.
If you’ve still hit a wall and these modes can’t cut it, how about trying something more adventurous?
7. Track Down Roaming Monsters And Do Bounties
An RPG is more than just random encounters. Sometimes, it takes a few events here and there that make the game even more interesting than it already is.
Knighthood introduces the Roaming Monster feature for Rage Knights who prefer their enemies to-go. Roaming Monsters are special monsters that are usually stronger than regular ones. They possess special skills that regular monsters don’t and are always accompanied by a band of other monsters. Often, the monster types that travel along with the Roaming Monster vary so being prepared to fight is always important.
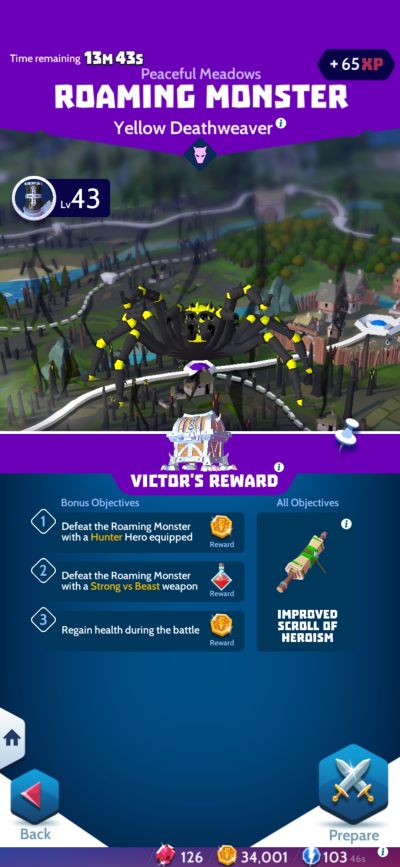
What sets Roaming Monsters apart from regular monsters is that they come with a set of 3 objectives and they only stay on the map for a fixed amount of time. The objectives always change whenever you fight any Roaming Monster and they offer plenty of challenge to the player.
For instance, the Roaming Monster could be a Goblin-type, but you’re required to slay it with an anti-Demon weapon equipped. Each objective has a reward waiting for the player. Should you complete them all, you’ll be given the bonus reward which is usually an item of high-rarity. Here are a few examples of the objectives that may come your way:
- Defeat the Roaming Monster with a Strong vs X weapon equipped
- Punch 3 times
- Recover health during battle
- Defeat X enemies with a weapon attack
- Defeat the Roaming Monster with a Strong vs X hero equipped
- Kill 1 enemy with a Strong vs X hero’s Base Power
- Kill 1 enemy with a Strong vs X hero’s Rage Power
- Inflict the X status at least once
Be warned that after losing or quitting a battle, the rewards that are promised to you by the Roaming Monster will change, so if you’re gunning for at least one of the items on that list or all of them, failure isn’t an option.
However, slaying the Roaming Monster will grant you their chest which contains equipment. If you’re trying to get a specific piece of gear from the Foundry, Roaming Monsters are the best way to grind.
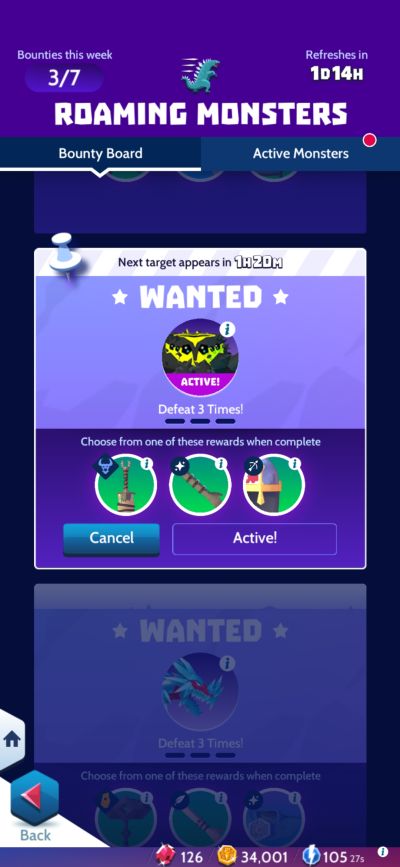
Bounties, on the other hand, are a way to get great rewards. This involves fighting a specific Roaming Monster a multiple amount of times, or even fighting 2 or 3 different ones.
Upon completing a Bounty, you should be able to choose from a prize pool of 3 equipment pieces. The duration of a Bounty depends on how quickly you find and dispatch these Roaming Monsters, so good luck!
Now that we’ve mentioned the Foundry, let’s point out a few ways how you can avoid frustration.
8. Don’t Roll The Foundry Gacha
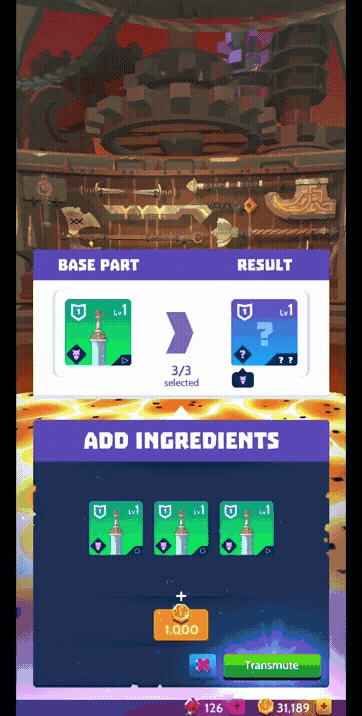
You explore Highgard and then all of a sudden, a new, lava-covered building pops up. The “Dwarven Foundry”, it is called. You enter this mysterious structure and give Sindri a bunch of your gear. He and his brother, Brokkr, cobble it together and you get… something completely random.
You are now frustrated because you were hoping for something else. Is there a way around this? Absolutely.
The way the Dwarven Foundry works is almost like how gacha works. You will need a set of items, give them to the dwarves, and voila — you get a new item. The catch here is if you have multiple kinds of items put together, you run the risk of rolling the gacha. Don’t do this. What you should aim for, instead, is a group of items that are all of a singular kind.
For instance, if you’re trying to make a Unique Purist Sword, you will need 5 Legendary Purist Hammers. If one of those 5 happens to be a Legendary Dokka Hammer, your results will frustrate you if you don’t get lucky.
The Foundry has two functions: it makes equipment and it makes charms. This is the fastest way to get high-tier items if you aren’t opening chests so frequently, which is why we recommended you to Roaming Monsters often in the previous item. Just know that the rarities of each item (Charms included) play a significant role when forging.
Each rarity tier requires the following amount of items of equal rarity. The items’ ranks should be at least equal to or lower than the selected item:
- Common – 2 items
- Rare – 3 items
- Epic – 4 items
- Legendary – 5 items
With further regards to item rank, you will want to keep your items at rank 1 before forging them. The reason behind this is that they get even more expensive as their rank rises. If you don’t wanna see your forge bill hitting the roof, always remember this. If this is a gear piece, you’ll also get the item’s early rank skins along the way.
If you’re looking for even more stuff, perhaps some gear leveling items like Cobalt or Manganese, then perhaps you should buy these from the Champion’s Reward… or maybe join a guild.
9. Join Or Make A Guild For Extra Stuff
Guilds have been a long time tradition in almost any game — they help players get together and play toward a common goal. Be it for PvE or PvP, guilds make playing any game just that much fun.
Just like any game out there, Knighthood’s guild system is quite rewarding. Guilds in the game have their own island and their own little shop in them. This shop is where knights can spend their Guild Accolades (a guild-exclusive currency) to unlock some interesting things.
Some exclusive items available are skins, some equipment pieces, Hero Drops, tomes, chests, shards of Vordrai (a powerful hero we mentioned earlier), and guild capes. To earn Guild Accolades, knights must participate in guild activities such as fighting the Guild Boss.
The Guild Boss is a massive, powerful boss that increases in power each time its life bar gets depleted. The challenging knight must either hold fast against it for 13 turns, defeat all 7 rounds, or lose against it if they want to earn their Accolades.
The catch here is that all this damage gets registered only after the first round. Meaning, it takes a sufficiently powerful knight to actually contribute to defeating the Guild Boss. Find yourself a good guild and get ready to party!
Now, there’s one last thing to address in this guide for beginners…
10. Save Gems For Grinding Purposes

Premium currency! You love it, you hate it (maybe), you absolutely need it. But how much of these do you really need?
Knighthood makes use of gems as a premium currency. You earn these by completing all of your Daily Quests, some of your Side Quests, fighting Roaming Monsters, and others. Either way, gems don’t come easy. Of course, if you wanna get them more easily, there’s the option of sending the developers some love. *wink, wink*
That aside, once you get gems, what do you do with them? Spend them on Gauntlets? Buy skins at the shop? Open chests en masse? No! If you’re going free-to-play, you should hold onto these babies and spend them instead on stamina restoration.
Once you’ve run out of stamina, you won’t be able to chase after those pesky Roaming Monsters. Surely, you’d be out of stamina after doing Hunts, most likely, so this is where the gems come into play.
As you progress through the story, the stamina costs of Roaming Monsters will increase, and despite their loot being more precious (imagine getting Epic equipment from the monsters in the Realm of Fire), you’re gonna want to spend on your stamina regen if you wanna become more powerful fast.
More stamina regained means more fighting and more fighting means more EXP and loot. As we’ve said before, the clothes make the Superman, so make that happen.
To wrap things up, Knighthood is a game of time and patience. The grind will hit you hard but don’t let that affect you. All you need to do is keep your chin up and focus on working toward your goal. Just remember what you’ve learned from reading this guide:
- The way you perform in a fight matters a great deal. Well-timed actions can finish a fight quickly.
- Wear a suit of armor that you’re comfortable with. Go for armor bonuses or bowtie-shaped Charm slots, whichever works for you.
- Pick a favorite Gauntlet. Adjust to its fighting style and focus your Gauntlet Cores onto it. You’ll be knocking enemies out in no time.
- Heroes go hand-in-hand with each other. You just have to read their descriptions and study how they fight. Don’t forget to star them up — they get additional perks if you do.
- Conquests are your main source of EXP. Try them out and if you can’t keep up, the next bullets here should tell you what to do.
- Play other modes if you’re stuck at a Conquest stage. These modes should help you improve your weapons and armor, your heroes, and your Gauntlet.
- Roaming Monsters are very important. Fight them and track them down via Bounties and you should be getting the equipment you need.
- Never take risks at the Dwarven Foundry. If you’re trying to unlock a Unique gear piece, only go for the same item type all the way — never mix them up with other types or you’ll take a step back in your progress.
- Save your gems strictly for stamina restoration. ‘Nuff said.
And lo and behold, a guide to Knighthood: The Knight RPG for beginners. Do note that we did not mention anything about the Mythic Rift or Karnheim in this guide — that’s for you to learn yourself. By that time, you should have enough of the basics figured out to carry you through them. Of course, if you aren’t sure, do try asking questions in the Knighthood in-game social forum (pictured below) or join the Official Knighthood Discord Server!
To find the Knighthood in-game social forum, simply bring yourself to your knight’s campfire and tap the button that looks like a group of people together on the lower-left portion of the screen. If you aren’t quite sure where you’re supposed to report anything, be sure to visit the Tavern. Have fun exploring!
Did we miss any important tips on the journey to stop Lord Karnon’s forces? Have you come across some interesting strategy that would-be Rage Knights can employ in their exploits? Let us know in the comment section down below!