Have you ever wondered what it would look like if SimCity and FarmVille met the wild, wild West? It might sound zany, but that’s exactly what Homesteads: Dream Farm is a Western-themed game that mixes up city building, farming, and everything in between.

Released by Enixan, Homesteads might just remind you of these aforementioned titles, with players being able to tend to fields, produce food and clothing, chop wood, expand territories, build structures, and design the town. The game also has familiar elements from typical home design games, where you can choose the kind of decor you want to place. As a bonus, you can do this free of charge and you can even rotate the decor piece to your liking.
Moreover, Homesteads’ Western aesthetic isn’t merely for show. The theme is seamlessly incorporated into the gameplay where you can craft handcuffs, catch bandits, mine gold, work the quarry, and many more. Later on, you will also encounter other towns, such as the Mexican town and the Native American settlements, which are a staple in most Western stories.
Homesteads is, by and large, a single player kind of game, but you may also choose to join an alliance and help other players with the resources they need. Helping other players can get you rewards as some tasks will require you to visit other players’ towns. Similarly, joining an alliance will allow you to request for resources you need, to which guildmates can donate.
There’s definitely a lot to explore in this game, which can get pretty overwhelming. If you’ve started playing it, you likely already know how the waiting times for farming, building, food production, and similar activities can be a little frustrating to manage. While the game does give you free options to speed up waiting times, the way it’s played overall may tempt you to spend actual money to get to a certain level of progress.
But don’t worry because our comprehensive beginner’s guide for Homesteads: Dream Farm has got your back. With our tips and tricks, you can work around these long waiting times, earn gold quickly, and make your Western town thrive!
1. Group Your Buildings According to their Function (or Lack Thereof)
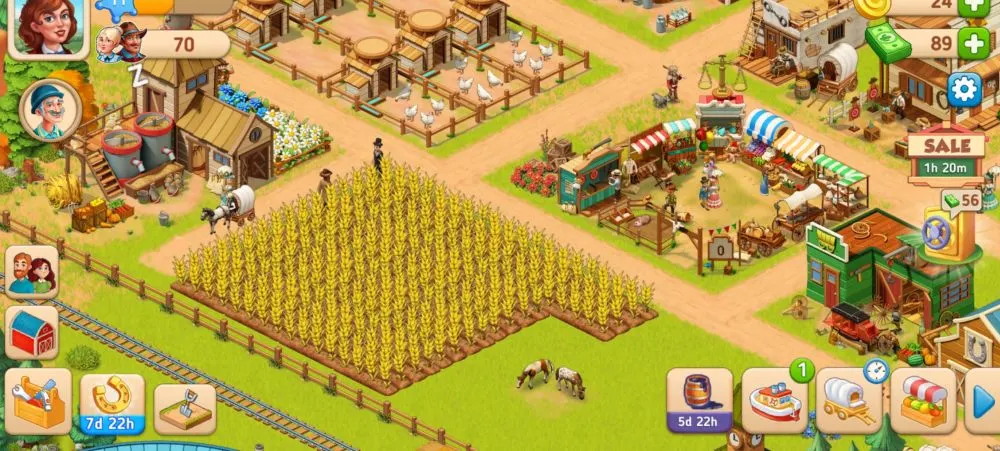
One of the first things you will notice about Homesteads is that, unlike other city building games, you won’t have to start from scratch. Upon entering the game, you will have preset buildings arranged in a preset layout. You basically won’t have to build your town from the ground up in an empty parcel of land.
More than just a bonus of sorts, having a “semi-furnished” town figures into the way the tutorial stages can teach you how to play the game. With certain buildings already in place, you’ll save yourself the trouble of spending for their construction.
However, consider this a fair warning as the tutorial stages themselves may seem a bit overwhelming for new players. Since there are already a significant number of buildings set in town, familiarizing yourself with what each building does can be a lot to take in at first. Additionally, many buildings are used to produce food, clothing, and materials, which are all separate from each other depending on what you’re required to make. The Fields and Paddocks are also considered separate “buildings” that have their own function.
As you play more of the game, you’ll notice that there are generally two kinds of buildings, which we classified into functional and non-functional for convenience purposes:
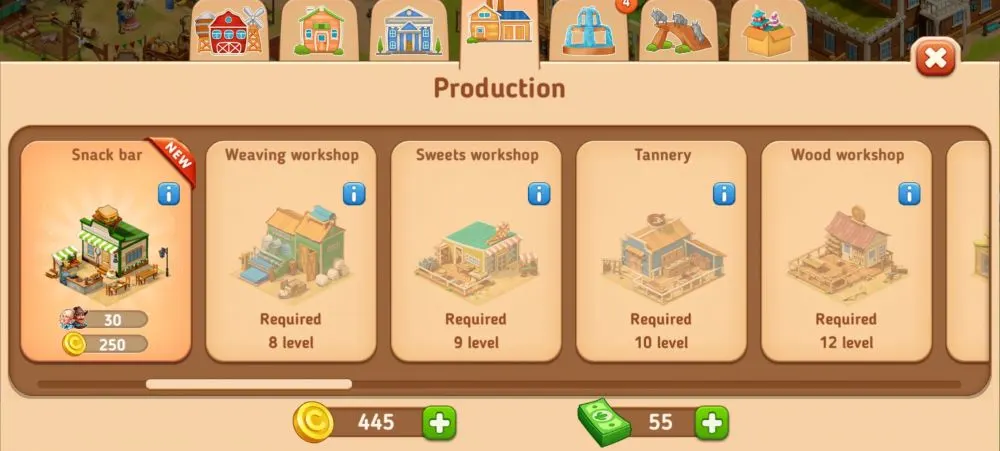
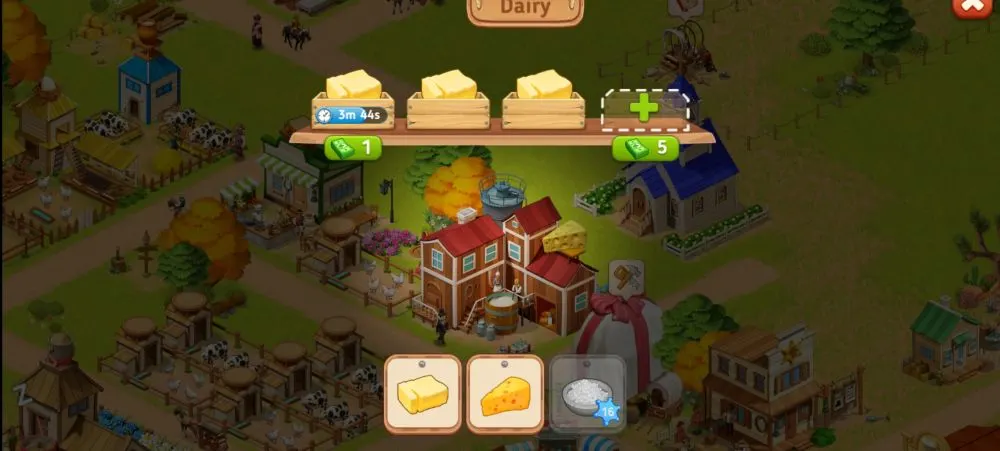
- Functional buildings: These are structures where you can produce feed for animals, food for the citizens, clothes, wood, and other items. In short, these are buildings that you can click and will have a specific function. These include the Snack Bar, Market, Bakery, Wood Workshop, Dairy farm, Tannery, Weaving Workshop, Sweets Workshop, and many more.
Generally, Production Buildings (more on this in the next tip) fall into the category of functional buildings. Buildings that can be restored such as the Sawmill, River Station, Train Station, and Fort, among others, are also considered functional buildings.
- Non-functional buildings: These buildings are those that, well, have no function. They exist mostly to increase the number of citizens that the town can accommodate, though they can also beautify your town. Although these buildings won’t be able to produce items, increasing the number of citizens will allow you to unlock and construct more buildings.
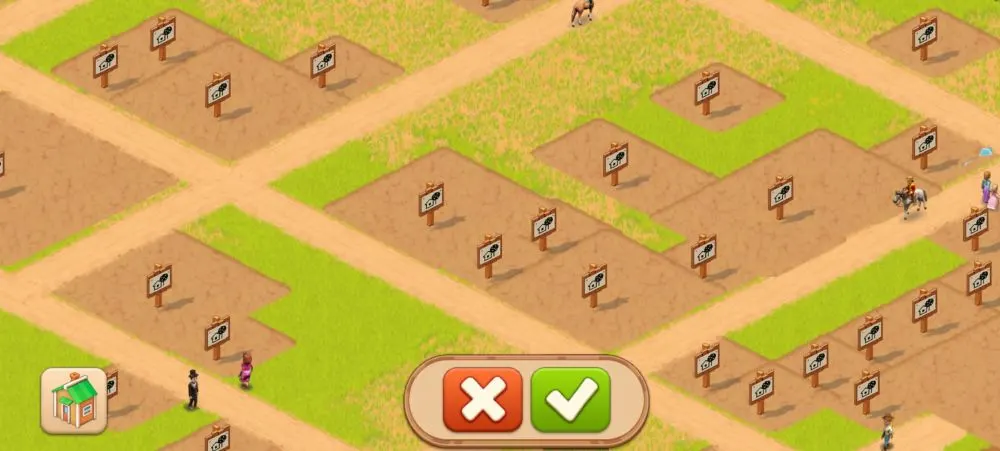
For instance, if you manage to place 23 Field slots in your farm, you will be able to put the 24th slot only if your town can accommodate 172 citizens. There are various non-functional buildings in the game, which generally include Community Buildings, Residential Buildings, Decor, and some Farming Buildings.
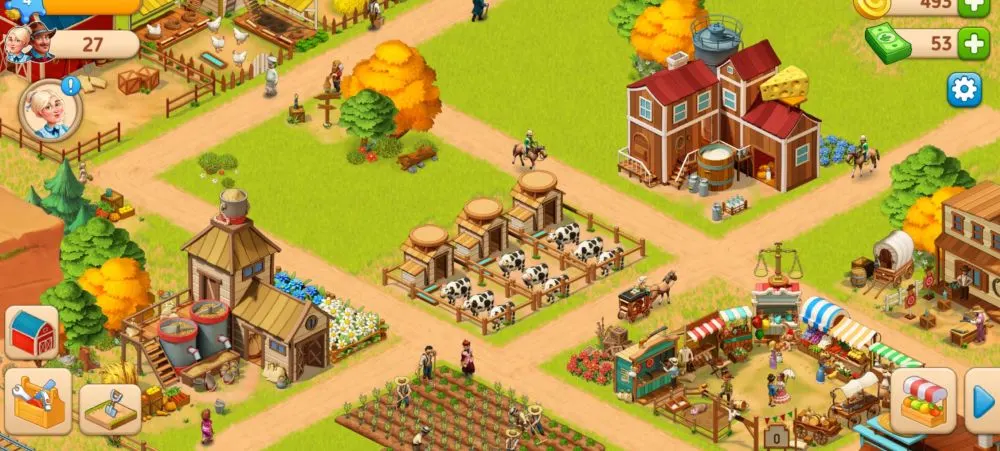
That said, one of the first tips we recommend is to fix up your town in such a way that functional and non-functional buildings are grouped together. This way, you’ll have a much easier time finding buildings that can be clicked for accomplishing tasks or producing items. Keep in mind that some items are connected and may require more than one step to accomplish.
For instance, making a sandwich at the Snack Bar will require you to first produce wheat bread from the Bakery and cheese from the Dairy farm. Having all these buildings close to each other will save you the trouble of searching for them when you need to produce certain items.
Fortunately, as mentioned, Homesteads allows you to arrange the town as you please without spending a dime. Other city building games or home design games typically require players to spend some in-game money to change up decor styles. In Homesteads, you don’t have to worry about this as you can do this freely, provided that buildings are placed within the available territory.
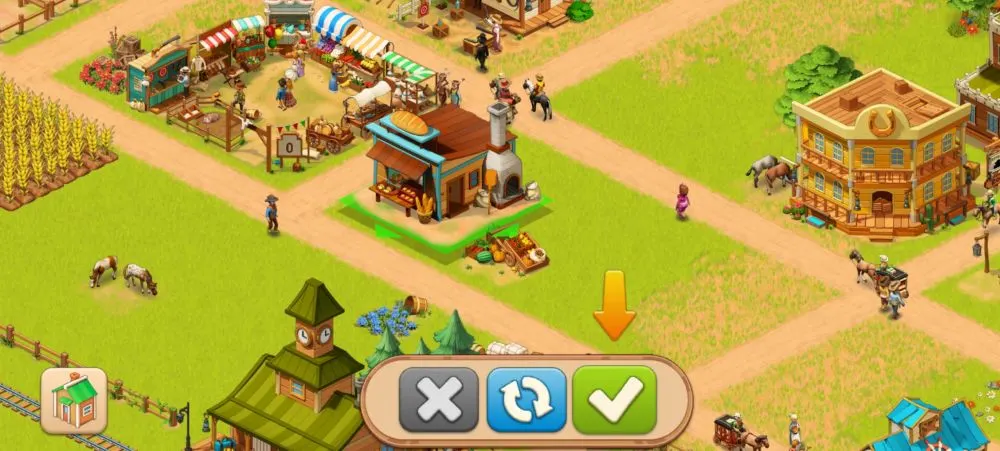
Aside from being able to change buildings and rotate the perspective, you can also move buildings that have yet to be completely constructed. You may even choose from different pavement designs or remove these pavements completely to increase the space in which you can place structures and decor.
Take advantage of these features to build an appealing Western town while making it easier for you to find buildings that are needed for you to gain rewards, complete challenges and activities, and increase your experience points.
2. Prioritize Community Buildings
Now that we’ve classified buildings into what’s functional and what’s not, specific buildings in the game fall under six different categories when you click the building tab. The seventh category is your Decor Warehouse, which you can use to store existing decor until you want to place them in your town again.
With six building categories available, it’s first important to know what each one does so you can plan what to spend on and construct first. It’s also vital to note that spending coins on buildings doesn’t mean that they will be constructed immediately. Not only will you be waiting several hours before they’re built, but you will also need construction materials to fully render each building complete. Aside from being able to wisely allocate your resources, knowing what buildings to construct first will help you manage your time as well.
But first, here’s a general summary of what the six building types are that can be constructed:
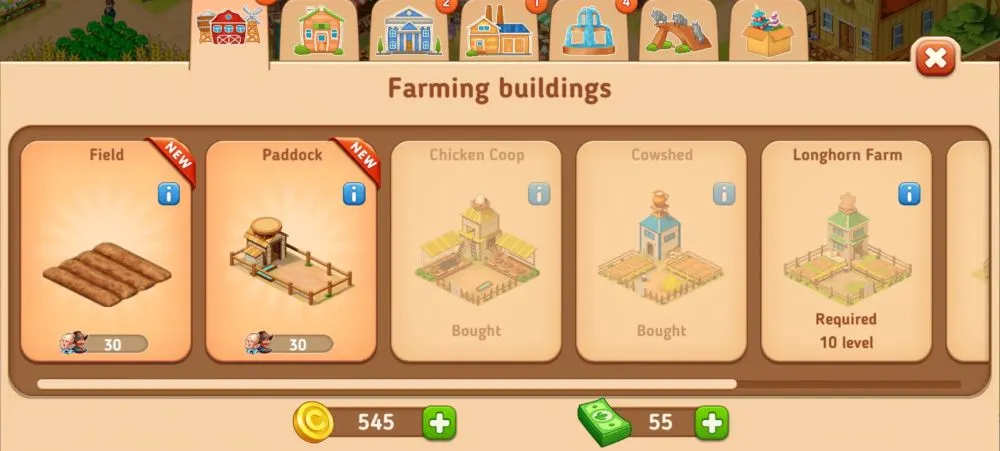
- Farming Buildings: Most of the buildings under this category are required for producing certain kinds of material, such as eggs, milk, leather, wool, and meat. All these are connected to the Paddocks, which create these materials. Fields are also classified under Farming Buildings and this is where you can plant and harvest different types of crops, which are the most basic items for production.
Aside from being used for food, crops may also be used to make animal feed in the Feed Factory (a preset building), which are, in turn, used for the Paddocks. The Fields and the Paddocks are the only active Farming buildings that can be constructed.
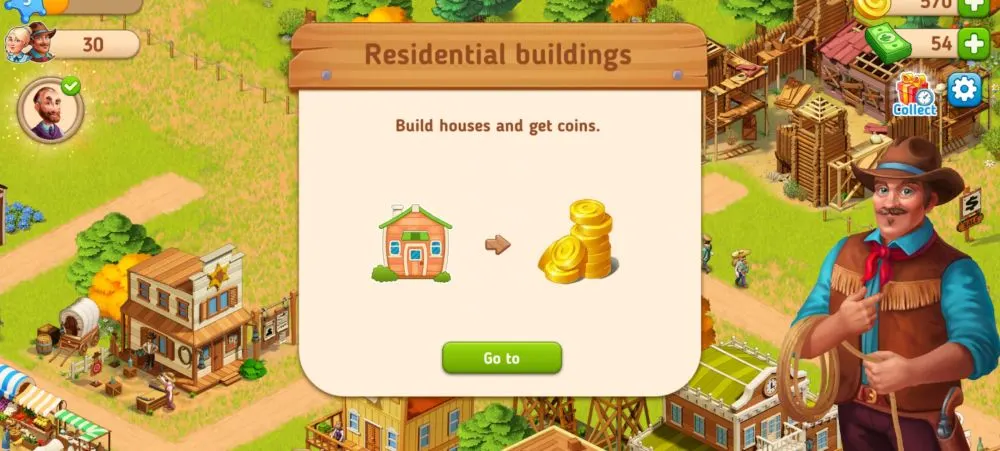
- Residential Buildings: As the name suggests, these buildings include Houses, Mansions, Cottages, and a variety of other residential structures. Residential Buildings are generally non-functional, though they will yield a certain number of coins after a particular duration depending on their level.
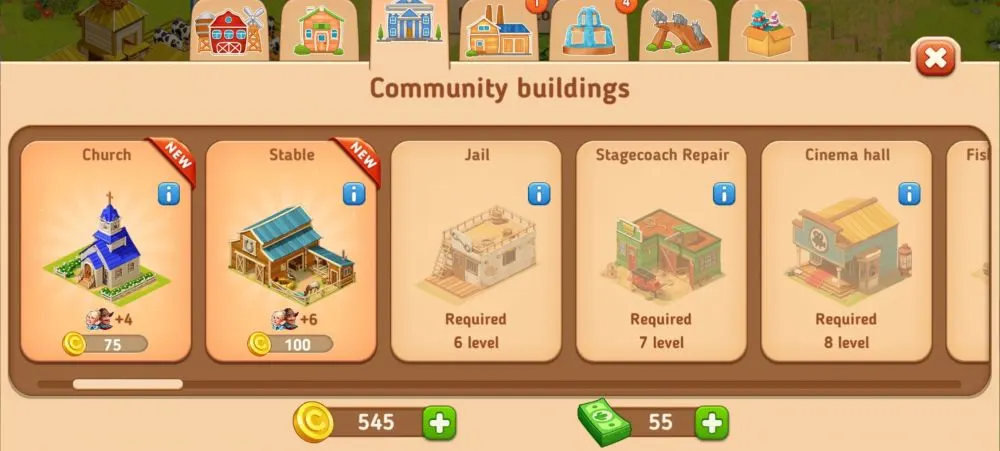
- Community Buildings: These types of buildings are generally non-functional but they’re crucial to increasing the number of citizens your Western town can accommodate. As mentioned, the more citizens you can invite to live in your town, the more buildings can be unlocked, including more Fields and Paddocks.
- Production Buildings: These are active buildings where production takes place. Each item will require certain materials in various amounts to be completed.
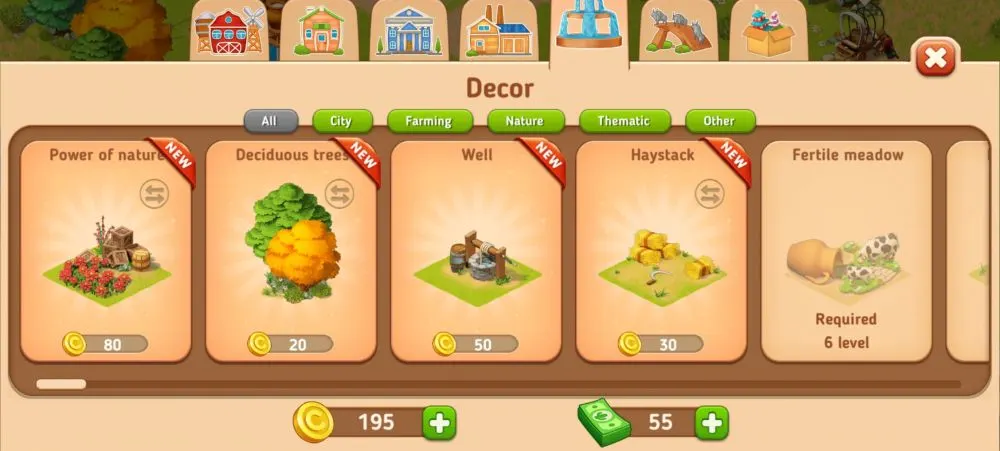
- Decor: These are mostly for decorative purposes and have no function or bonuses. You may find preset decor in town or buy other types if you manage to unlock them.
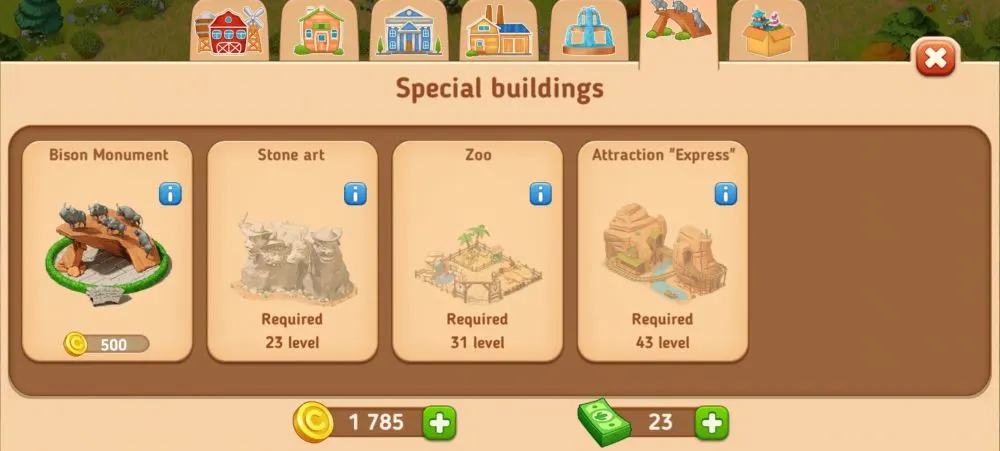
- Special Buildings: These are also mostly decorative, but creating them will gain you some experience points and achievements, which can also give you rewards.
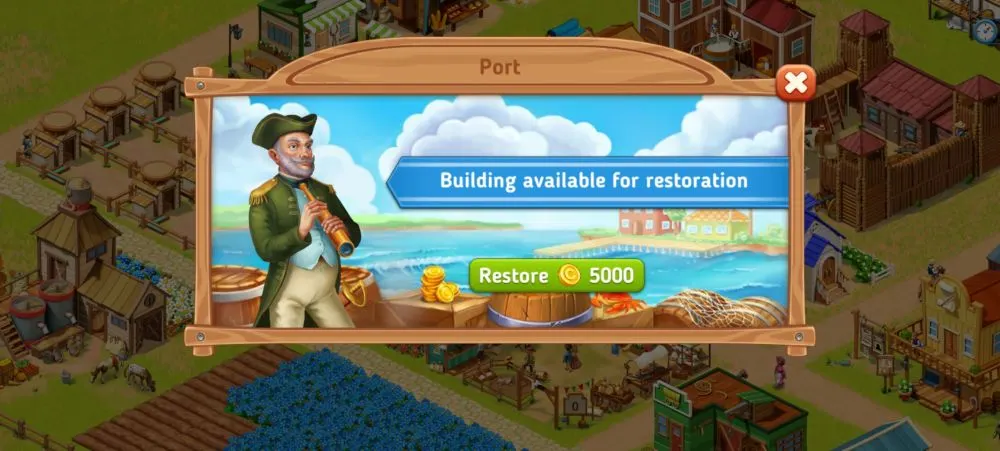
There is another type of building that isn’t found in the Buildings tab, which are Restored Buildings. These are structures that are already found in the town itself but need restoration for them to become functional again. Buildings that are up for restoration typically look like rundown structures. These include the Fort, River Station, Train Station, Port, Sawmill, Mine, Quarry, etc. Restored Buildings can be accessed when you reach a certain level, and you will need to spend in-game coins to make them functional again.
Now that you have an overall idea of what buildings can be constructed or can be found around town, the million-dollar question is: which one should you prioritize?
This is kind of a tricky question to answer but we’ve found that prioritizing Community Buildings can work more to your advantage. With more citizens, you get to unlock more Field slots and Paddocks faster. Production Buildings also require a certain number of citizens to be constructed. With more Community Buildings present, you’ll be able to choose which Production Buildings you want to build as the game can present you with various options depending on your available resources and level. At the same time, Community Buildings will also aid in increasing your production rate at the Fields and Paddocks, which are the backbone of your Western town.
3. Do Not Use Cash for Speedups, Use Them for Extra Slots Instead
As with any other game, Homesteads has in-game currency you can use to spend for certain things. This in-game currency comes in different forms, such as cash, coins, and three kinds of tokens, namely bronze, silver, and gold. Tokens are mostly spent in exchange for Boosters, which will speed up production or delivery times. You can get these tokens from fulfilling Mexican Market orders or claiming them from limited-time challenge rewards.
Most of the time, though, you will be spending just cash and coins. There are several ways you can earn both. Since the game has tons more to be explored, we’ll let you in on just a few of the ways you can do this:
Getting Cash
- Complete tasks requested by in-game characters
- Watch ads from the Moviehouse and the Bank
- Get event rewards and limited-time challenge rewards
- Spin the wheel at the Saloon
- Claim rewards from the Daily Bonus (will double if you watch an ad)
Getting Coins
- Fulfill orders from the regular Market and the Mexican Market
- Plant and harvest crops from the Fields
- Watch ads from the Moviehouse and the Bank
- Collect coins from Residential Buildings
- Spin the wheel at the Saloon
- Claim rewards from the Daily Bonus (will double if you watch an ad)
Between these two primary in-game currencies, coins are mainly used for planting and building structures, while cash is largely used to speed up production and decrease wait times for the Train, Steamboat, Stagecoach, etc. to come back.
Because of the rather long waiting times, you may be tempted to fork over some cash just to speed things up. This is totally understandable, especially if you’re participating in a limited-time challenge, or you simply feel that you want the game to move faster. However, be that as it may, it can be rather difficult to earn cash compared to coins.
Though you may explore the options outlined above (and others you will discover throughout playing), the average cash reward you’d get only amounts to $2 in-game. Although cash expenditure may vary depending on how long waiting times are, spending your cash on speed-ups may not be the best approach as this can siphon your in-game cash faster than you can say “howdy.”
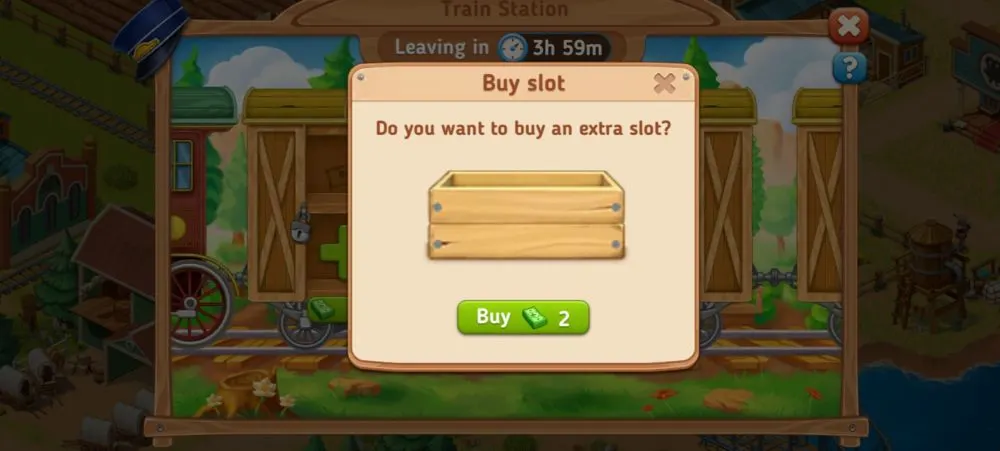
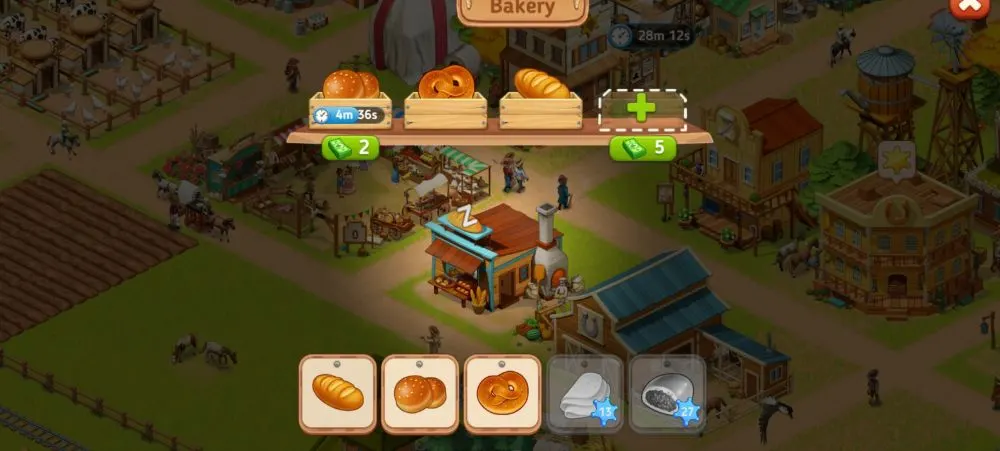
Instead of using cash for speed-ups, the more productive approach is to spend them for extra slots. These extra slots can be found in all Production Buildings, preset and restored functional buildings, and vehicles that deliver materials and other items, such as the Train, Stagecoaches, and the Steamboat.
Having more slots can mean differently depending on what you purchase them for. Extra slots for Production Buildings means you can have more items on queue, allowing you to focus on other aspects of the game or leave it for an indefinite period knowing that you’ll return to as many as six items produced and ready to be collected in your Barn.
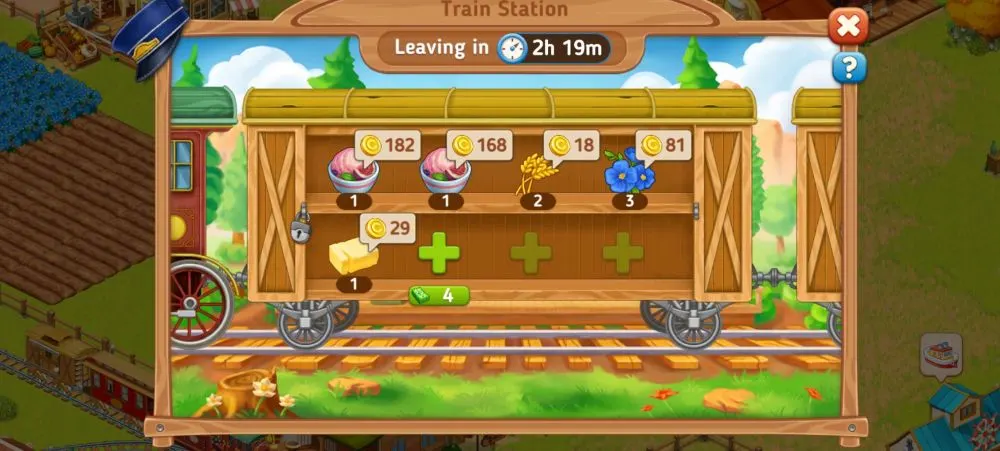
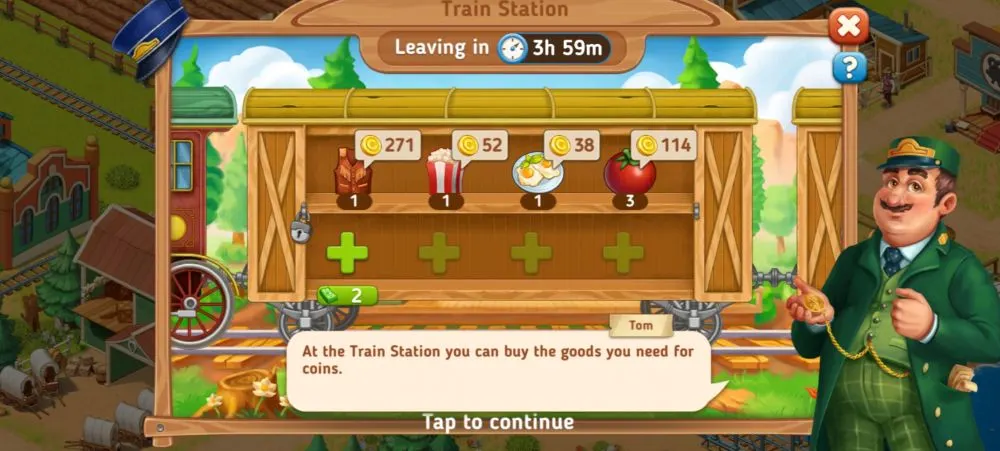
On the other hand, having more slots for vehicles will give you more choices when it comes to collecting materials. Glass, buckets, nails, metal sheets, and other materials are vital when you want to construct buildings or upgrade your Barn. Similarly, the Train Station will allow you to choose from a variety of pre-produced items, which you can purchase for coins. This lets you skip all the production steps needed to make these items.
We’d like to point out that though some items are similar, this doesn’t necessarily mean that their price when purchased from the Train Station are the same. Case in point is the image shown below, where the same items have different prices:
That said, purchasing extra slots is a more long-term and productive investment compared to when you just spend in-game cash for speedups, which you would have to do all over again once you craft new items or plant new crops.
4. Wheat Is the Golden Crop
Speaking of crops, you also have a variety of crops available for planting, 16 to be exact. You may unlock crops depending on your level. Your level can be found at the upper left corner of the screen next to what looks like a blue sheriff’s badge.
Make no mistake that all crops are important. As you gain more experience points, increase your level, and construct more buildings, you’ll be able to make more items, particularly animal feed, different kinds of food, and various clothing.
As mentioned, each item will require one or more items from the Fields, Paddocks, or specific Production Buildings. The first step to completing all these is to plant and harvest specific crops. For instance, if you want to make bread, you’d need wheat. If you want to make corn tortillas, you’d need corn. If you want to make a sandwich, you’d need bread and eggs.
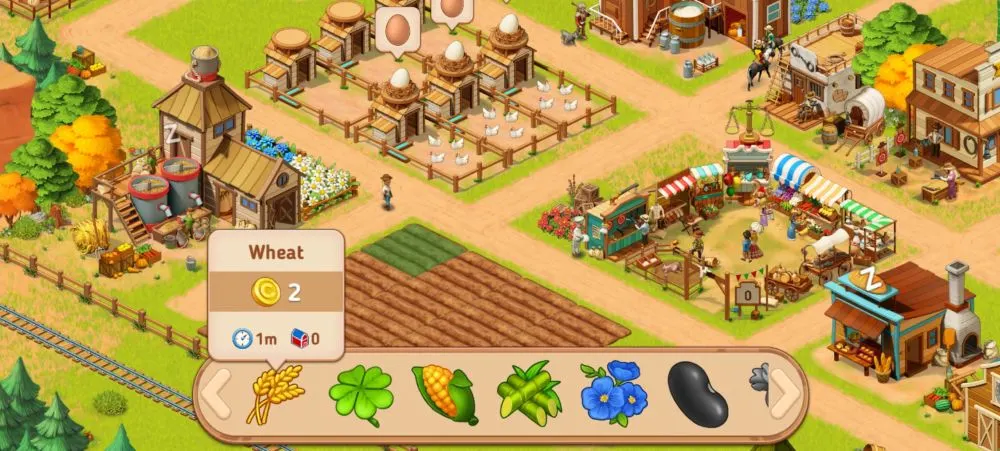
Just like other farming games, one type of crop may cost more to plant compared to other crops, as well as take longer to harvest. In Homesteads, planting crops costs coins and harvesting them will reward you with experience points equal to the cost of planting. Basically, if planting one wheat crop costs 2 coins, you will get 2 experience points when you harvest it.
You may decide to use these crops for producing items, but you may also sell them from the Barn. Selling prices are double the planting cost, thus giving you 100% profit as you’ll be recouping your planting expenditure. For instance, you have 10 coins and planted wheat in one Field slot, which costs 2 coins. Now, you have 8 coins. After selling that one wheat crop from the Barn, you would gain 4 coins, which will now give you 12 coins all in all. You’re now 2 coins richer from having just 10 coins previously.
The same principle applies when planting other crops. Thus, planting, harvesting, and selling crops from the Barn is a relatively quick and easy way to gain both coins and experience, which are crucial in unlocking and constructing buildings.
Initially, you may think that planting the most expensive crop can get you more coins and more experience points. However, the more expensive the crop, the longer the waiting time till harvesting. For instance, wheat only costs 2 coins to plant in one Field slot and 1 minute to harvest, but clover costs 3 coins to plant in one Field slot and 2 minutes to harvest. If you really think about it, it’s more profitable to continuously plant wheat instead.
Let’s do some simple math that takes into account waiting times till harvesting, with just one Field slot available. Similar to our example above, let’s compare how much you’ll earn in 2 minutes by planting either wheat or clover. Since wheat takes only 1 minute to harvest, you’ll be earning a net profit of 4 coins in 2 minutes if you continuously plant wheat and sell from the Barn.
Meanwhile, since clover takes the entire 2 minutes to harvest, you’ll only be earning a net profit of 3 coins in the same duration after selling from the Barn. In 2 minutes, you would have harvested 1 wheat and replanted another, which is why you can theoretically gain a net profit of 4 coins since planting on one Field slot will only take two or three seconds.
In short, spam wheat farming if you’re planning to remain active in the game as opposed to leaving it idle. Again, this involves a bit of math, but we’ve prepared this table to compare how much you can theoretically earn in an hour if you continuously plant crops in 20 available Field slots.
Take note that Net Profit in this table means that we’ve already subtracted the total planting cost from what you can earn. Additionally, we’ve only included eight out of the 16 crops available in the game so you can discover the rest as you play.
As you can see, continuously planting wheat for an entire hour lets you earn more coins as opposed to planting tomatoes, which takes 2 hours to harvest. While tomatoes are the most expensive crops, they won’t yield as much when waiting times for harvesting are taken into account. Of course, planting, harvesting, and selling wheat for an entire hour (or any prolonged duration for that matter) will feel tedious and repetitive, but you are still actively playing and not just waiting around for crops to grow.
This can seem the more engaging route and will allow you to go up the level ladder much faster. You even stand to double your gains and profit if you activate a Booster that lets you harvest crops twice as fast. Boosters typically last for 24 hours, and what you can earn in an hour will just take half the time.
Spamming wheat farming is also a much faster and cheaper route than fulfilling Market orders to gain coins and experience (more on this later).
5. Everything Should be Active Before You Go Inactive
Once you get tired of farming wheat all day or you’ve reached your goal for coins and experience points, you can always choose to leave the game and let it play idly. Not actively playing will still let timers run their due course so when you return, you’ll be ready to harvest your crops, collect the items you’ve been crafting, view a new set of items from delivery vehicles, or access the structures you’ve been building or restoring.
When you’re going to let the game idle for a few hours, it’s best to make sure that all your functional buildings are working to produce something and that your delivery vehicles are already on their return trip. For instance, don’t leave Fields or Paddocks empty, always make sure they’re producing something that you can simply collect by the time you return to the game. As much as possible, collect all materials from the delivery vehicles so they can return with new materials when you log in again.
We also recommend checking the markets for orders you can fulfill so you’ll know which items you’d want your Production Buildings and other functional buildings to work on while you take a break. If you aren’t keen on fulfilling orders, you may also choose to plant crops like carrots or tomatoes, which take longer to harvest, before letting the game idle.
The same principle applies when you’re producing animal feed. Stock up on feed for the alpaca, sheep, and pig as these take the longest to produce. If you’re going to stock up, make sure your Barn has enough room to store your items and materials. Otherwise, you can choose to sell some that you don’t immediately need.
Time management is vital in a game like Homesteads so spend it wisely even while idling. Basically, your goal should be to return to as many items you can collect by the time you decide to play again. This tip can work much better to your advantage if you have extra slots for longer queues and more options for materials.
6. Upgrade Both Your Steamboat and Stagecoach
Inasmuch as coins are easy to gain once you’ve applied our farming tip, the opposite is true when you want to get construction materials. The majority of materials are collected via the Steamboat from the River Station and the Stagecoaches. Similar to the markets, materials can be gained in exchange for crops, food, clothes, wood, and the like.
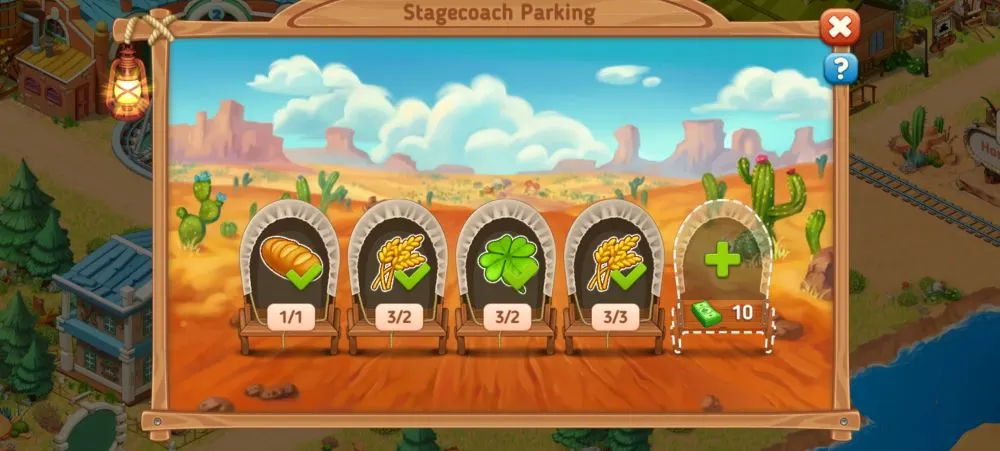
The challenge is that some materials need items that take several steps to produce. During the early parts of the game, you might just be asked to exchange a certain number of crops for materials, as seen in the image below.
But as you progress through the game, you may be asked to trade materials for a scarf, gloves, and other items that are more complex to produce and take longer to complete. In some cases, you may even be asked to make more than one of these items for trading.
Make your production efforts count by prioritizing extra slot upgrades for Steamboats and Stagecoaches. These delivery vehicles can accommodate up to six slots. However, more extra slots means longer waiting times for delivery vehicles to return with a new set of items and materials. For instance, if you max out all six slots for the Steamboat, it will take around four hours before it returns with new materials you can obtain.
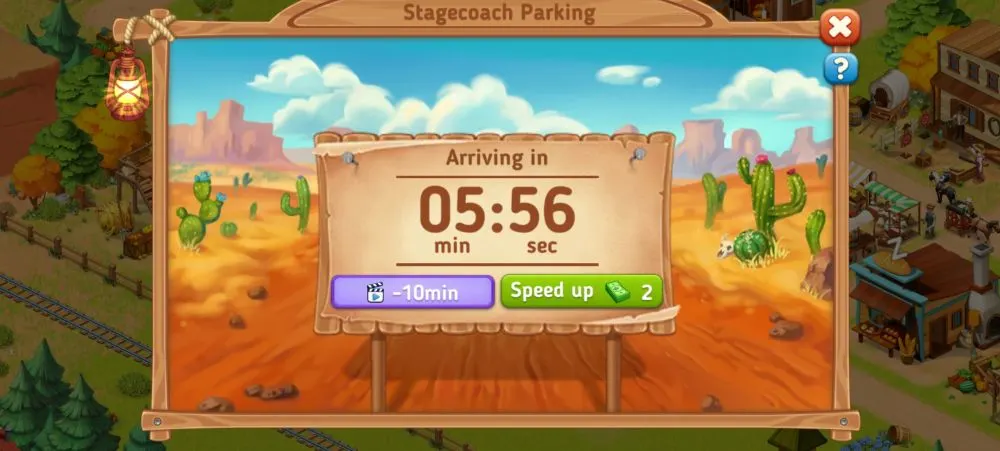
This might sound like a long time, but, fortunately, the game throws you a small bonus by decreasing the wait times if you watch an ad. For both the Steamboat and the Stagecoaches, you may watch a total of three ads. The first ad you watch will subtract 10 minutes from the wait time, the second ad will subtract 20 minutes, and the third ad will subtract 30 minutes. All in all, you can subtract 60 minutes to your total wait time. After that, you will have to pay cash for speed ups, which we don’t recommend.
Since waiting times for Steamboats and Stagecoaches can take up as much as 16% of an entire day, it would be best to maximize all the available slots and finish up their orders first before moving on to fulfilling orders from the Mexican Market and the regular Market.
Of course, there are other buildings and activities you can unlock that will require order fulfillment, like the ships from the Port or limited-time events, but Stagecoaches and the Steamboat are the two delivery vehicles that you will be working with for a long while as you advance in level and experience. Getting them out of the way first means you can focus on other orders that won’t take as long to refresh once completed.
7. Visit the Mexican Market Often
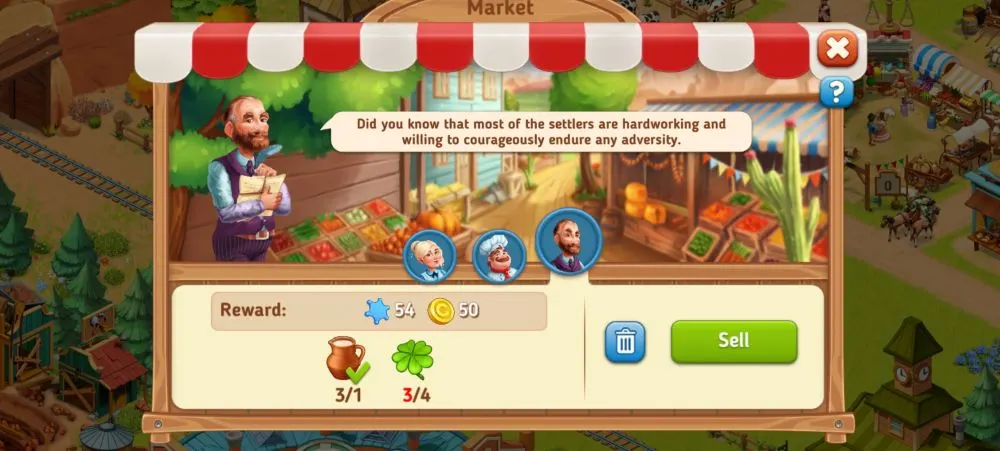
We’ve previously mentioned the Market and the Mexican Market, both of which require you to fulfill orders in exchange for coins and experience or materials and tokens, respectively. These buildings are also important in leveling up and unlocking buildings or other bonuses. During the early levels of the game, you will only have access to the regular Market, which is a pre-constructed building in your Western town.
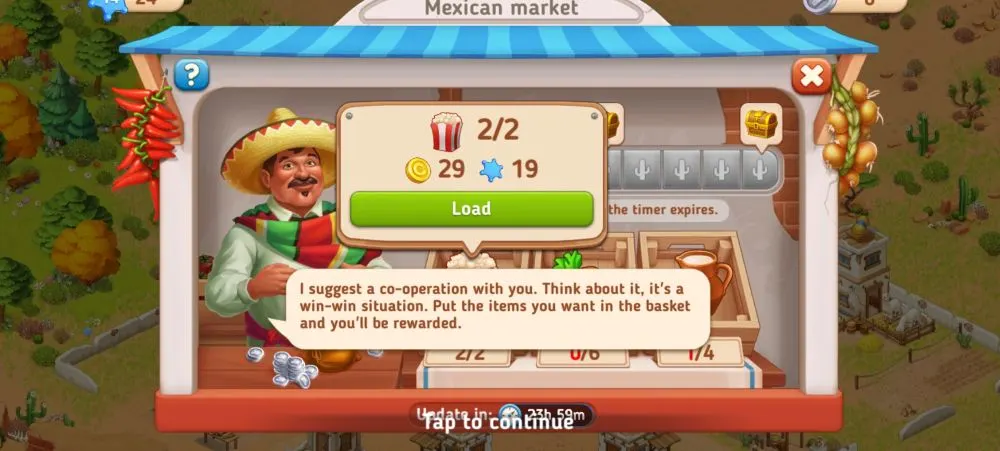
Eventually, you will be introduced to the Mexican Market, which is similar to the regular Market, but with different rewards.
Initially, you may think that fulfilling Market orders is the fastest way you can gain coins and experience points, at least until you apply our previous tip about continuously farming wheat crops. In reality, fulfilling Market orders can take a lot of time and numerous steps in terms of production, especially if completing a batch of orders requires you to make more complicated food items, clothing, or objects. Though you may earn coins and experience, the gains tend to appear much less than what you’ve spent if you compare your earnings with actual waiting times and production costs.
In some cases, you might not even be able to fulfill a batch of orders as the item might necessitate a new building to be constructed or unlocked. When this happens, you may be able to delete the order batch by clicking the delete button. It will then be replaced by another order, but you’ll have to wait before the slot refreshes.
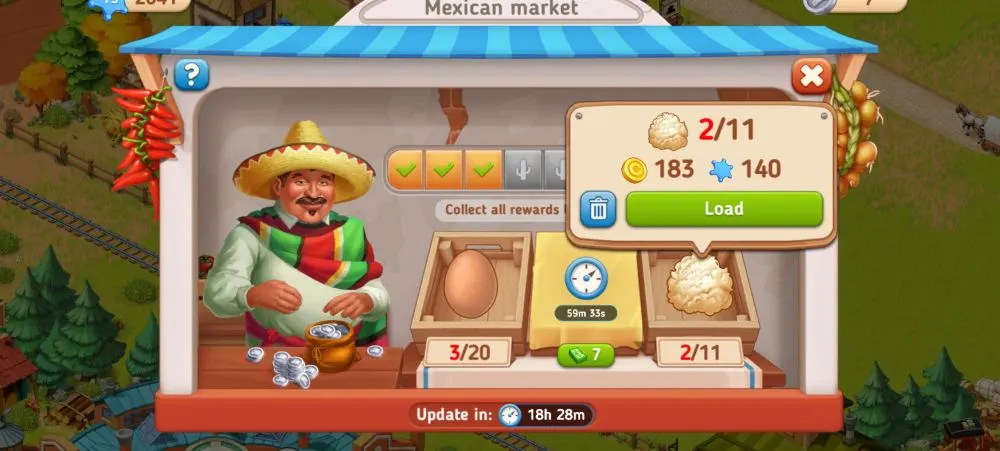
The same is true for the Mexican Market, you may delete orders but there are only three slots available. The Mexican Market is also time-sensitive as it would refresh within 24 hours. After 24 hours, the orders will change and your rewards progress will be reset.
The main difference between the regular Market and the Mexican Market are the rewards you can get. Since the Mexican Market gives you tokens and materials, it’s best to prioritize its orders over the regular Market’s. Additionally, Mexican Market orders are relatively easier to fulfill as each slot only requires one item type as opposed to the regular Market, wherein a batch of orders may require several items in various amounts before it can be completed. In the Mexican Market, fulfilling three orders will gain you a reward, primarily materials or tokens.
These rewards are relatively more difficult to get compared to the coins and experience points the regular Market yields. Farming and harvesting crops is the alternative to getting the same rewards yielded by the regular Market. On the other hand, filling up the slots for the Stagecoaches and the Steamboats are the most common ways to get the same materials offered by the Mexican Market rewards. Alongside tokens, which can be spent for a variety of Boosters to speed up waiting times, Mexican Market rewards are undoubtedly more valuable.
8. Utilize the Train Station for Quick Stuff
Going up levels can be a bane and a boon, a boon because you get to generally unlock more buildings and more items, and a bane because waiting times can take longer and order fulfillment can get more complicated in the production stage. Wouldn’t it be nice to have some kind of shortcut that skips all those long steps so you can just get the item you need at the flick of a finger?
That’s exactly what the Train Station is for: purchasing items with coins so you can have them on hand instantly.
Similar to other delivery vehicles and functional buildings, the Train Station has extra slots you can purchase for in-game cash for a wider selection of items. However, the train will only stay in the station for a couple of hours. Once the timer expires, the train will head off and return after a waiting period, at which point it will have a new set of items you can purchase from.
Available items are chosen by the game at random and, as we mentioned previously, some items can be exactly the same but have different prices. Prices are arbitrarily assigned and some purchases can get you more than just one piece of the same item.
Aside from helping you fast track order fulfillment, purchasing from the Train Station can be extremely useful when you have yet to construct buildings that will unlock certain items. For instance, if you don’t have a Wood Workshop yet, you can just purchase a wheel from the Train Station for later use.
As much as possible, buy from the Train Station whenever you see an item that requires a lot of production steps to make, or an item you can’t make yet. Since purchases are paid for by coins, you can easily recoup your expenses through selling crops from the Barn or collecting coins from Residential Buildings and from other rewards.
9. Expand Your Territory When Able
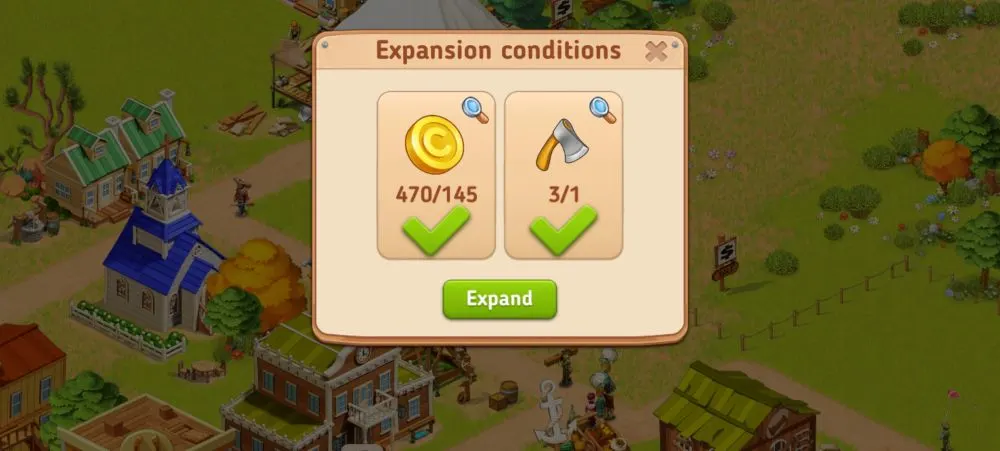
As you acquire more buildings and develop your Western town, you’ll eventually notice that things are starting to feel cramped. That said, expand your territory whenever you can. Territories available for expansion will often have a “Sale” sign around the area. In the early stages of the game, expansion will only cost coins.
However, as you buy more territories, the costs will go higher. On top of that, expansion will eventually require a number of axes and pickaxes, which are not craftable items. Axes and pickaxes can only be obtained as rewards or from delivery vehicles.
You’ll generally start expanding northward or eastward from your town. Between these two directions, there’s more ground to cover when you expand towards the east as the north side will eventually be blocked off by a cliff. If you’re the type who wants to have an organized village or you’d like your territories to look even, going eastward might be the better route to take.
On the other hand, you can expand north then go east, or alternate your expansion progress between these two directions. It really depends on how you want your Western town to look and how you intend to build your town in terms of function and aesthetics.
10. Upgrade the Barn for Better Storage Space
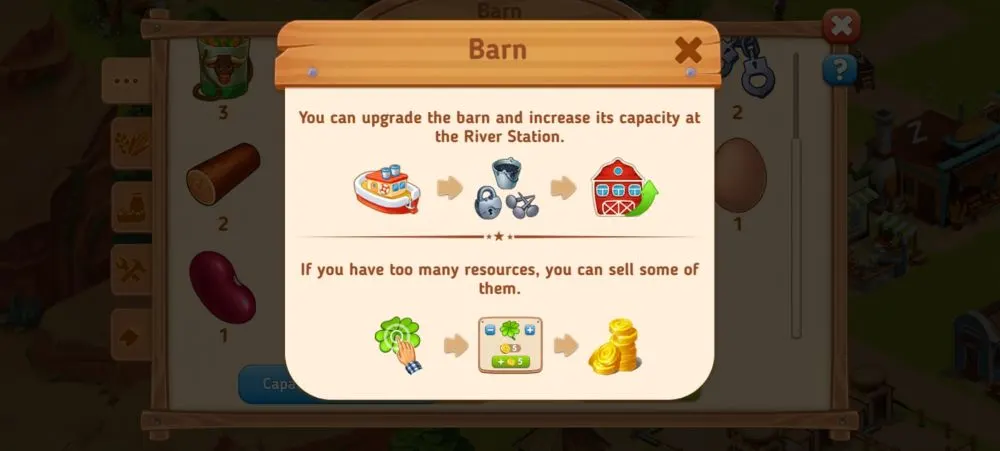
With all these items, materials, and many more that you can collect, you might overlook your Barn. Your Barn basically acts as your storage but it only has a limited capacity, unless you upgrade it. Upgrading your Barn will require a number of materials depending on its level. As usual, the higher the level, the more materials you need.
We would recommend foregoing Barn upgrades in the beginning in favor of using materials for constructing buildings instead. However, you will eventually have to upgrade your Barn, especially if you plan to store items purchased from the Train Station. More items in store means you can easily fulfill orders, craft handcuffs, or fill the Stagecoaches and Steamboat when certain items need to be exchanged.
That said, upgrade your Barn if you’re still a long way from constructing a new building. Otherwise, buildings may take priority over Barn upgrades since you can sell items from the Barn to free up space and earn a small profit at the same time.
11. Take a Walk Around Town and Try Out Other Activities
Since time management is an important aspect of Homesteads, what we’ve outlined thus far are tips that can help you save time while maximizing your progress. However, this doesn’t mean that these comprise the entirety of the game. On the contrary, there are many other fruitful activities you can do while playing. We’ve simply listed down those that tend to take priority over others.
That said, don’t forget to check out other activities in the game. Though you don’t necessarily have to prioritize these and may choose to progress through them at a much slower pace, fulfilling their requirements will definitely help in your advancement as well as keep you active in the game if you don’t want to leave it idle. Here are some other activities you might want to consider accomplishing when you’ve finished the others:
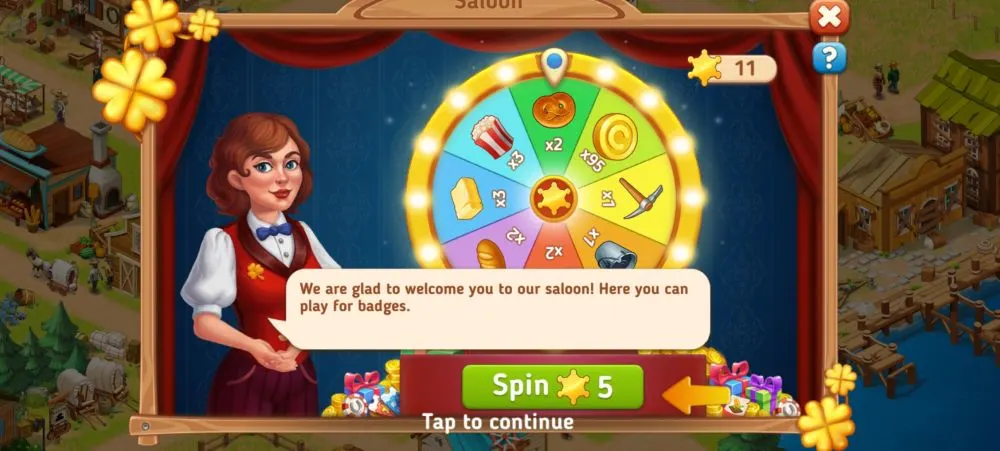
- Spin the roulette at the Saloon: Gains currency rewards, materials, and other items. At least five Badges are required to spin the roulette. Badges can be gained as rewards from the Mexican Market, Daily Rewards, the Moviehouse, etc.
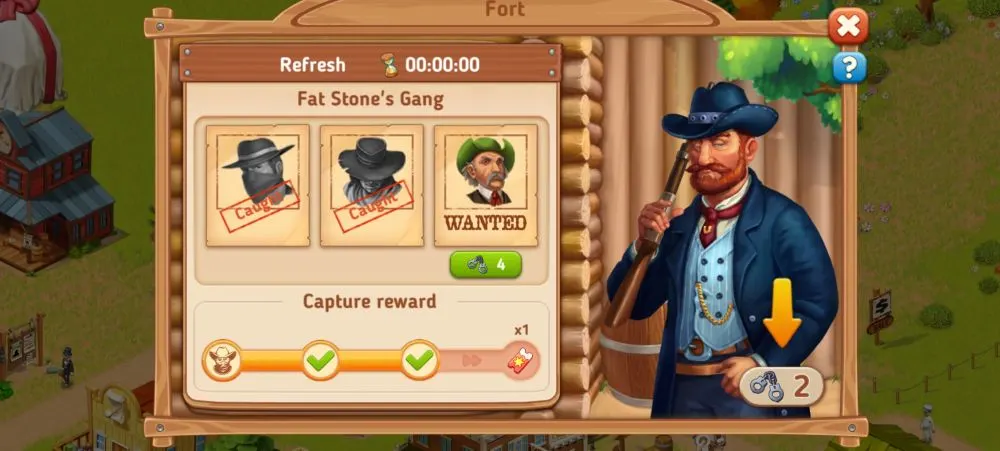
- Make handcuffs and catch bandits: Gains currency rewards, tokens, and Boosters. Each bandit will require a number of handcuffs to be caught. Three bandits will be available for catching at the Fort. Handcuffs can be made at the Sheriff’s office. Each handcuff will require different items to be crafted, similar to fulfilling Market orders.
- Finish tasks: In-game characters will give you a set of requests, which you can complete. These tasks can gain you in-game cash. You may also skip these tasks by paying in-game cash, but at a much higher price than the actual reward.
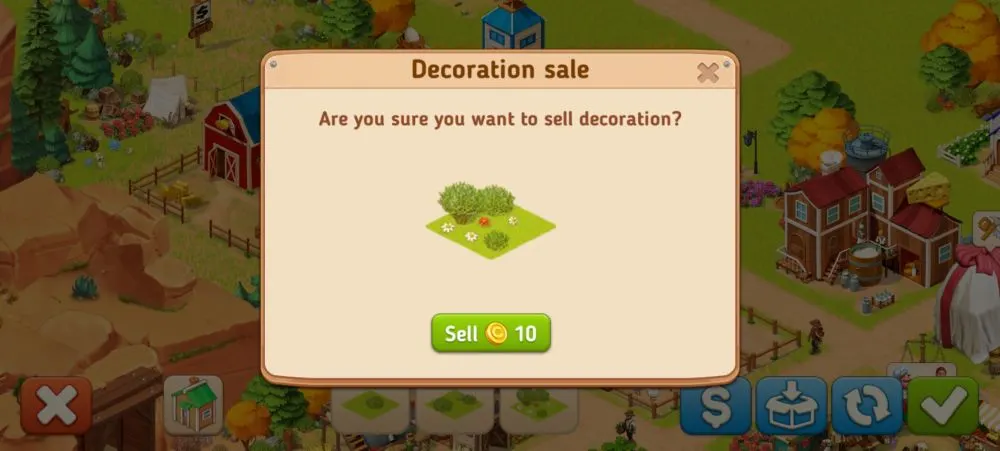
- Sell decor: The town comes with pre-placed decor, which you can sell if you don’t want to keep them around. Selling decor will give you a handful of coins.
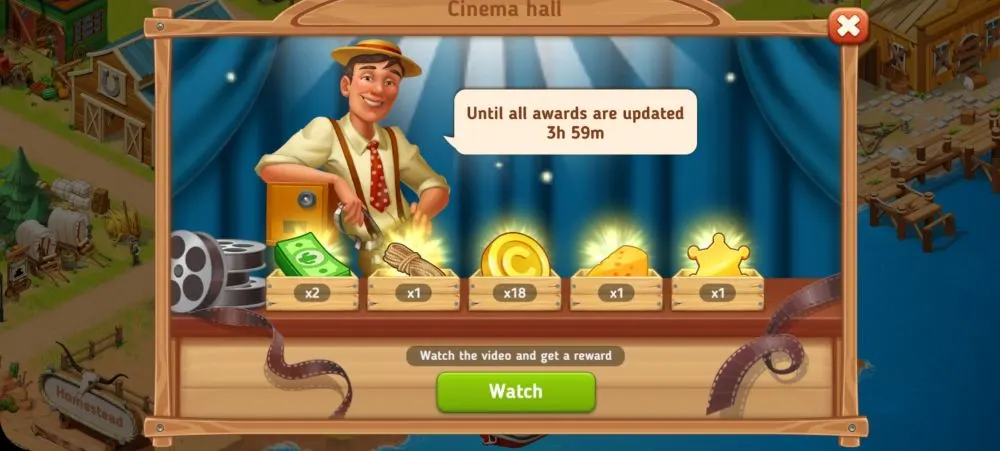
- Watch ads at the Moviehouse: Access the Moviehouse so you can watch ads in exchange for various small rewards. Each ad will have an interval of at least a minute between each viewing.
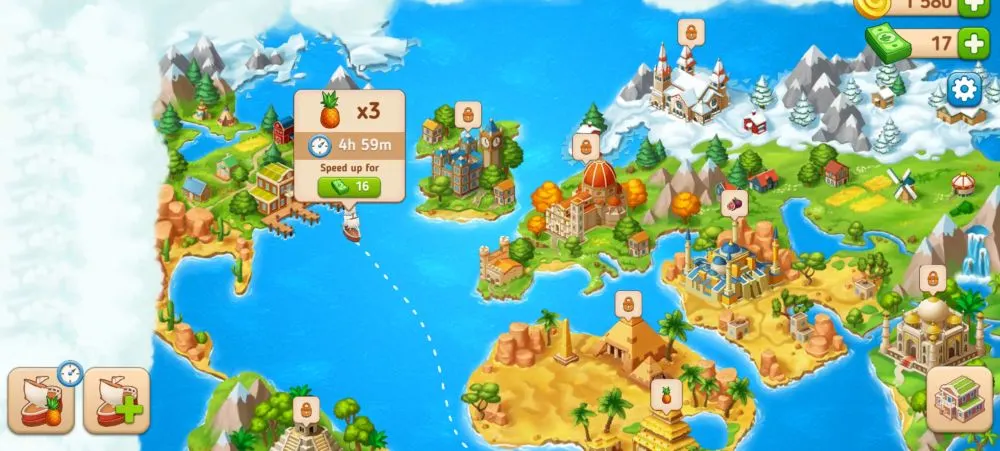
- Import items from the Port: This is similar to how the Stagecoaches and the Steamboat work, except you can only import one type of item from a limited number of ports. The Port is a building that can be restored once you reach Level 18. The building itself will let you access various ports, which can be unlocked depending on how high your level already is.
Extra slots come in the form of ships, which you can purchase for at least 10,000 coins. Return trips can take five hours, or even more. Additionally, you may use treasure items to gain more goods. As usual, speeding up waiting times costs in-game cash.
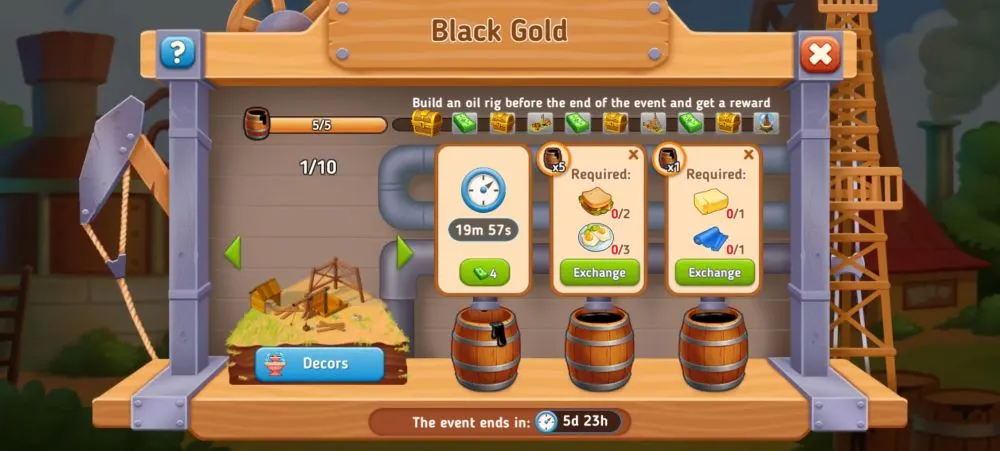
- Participate in time-limited events: This works similarly to the markets, only that the event will last for around a week. You may obtain rewards by fulfilling orders and even get decor.
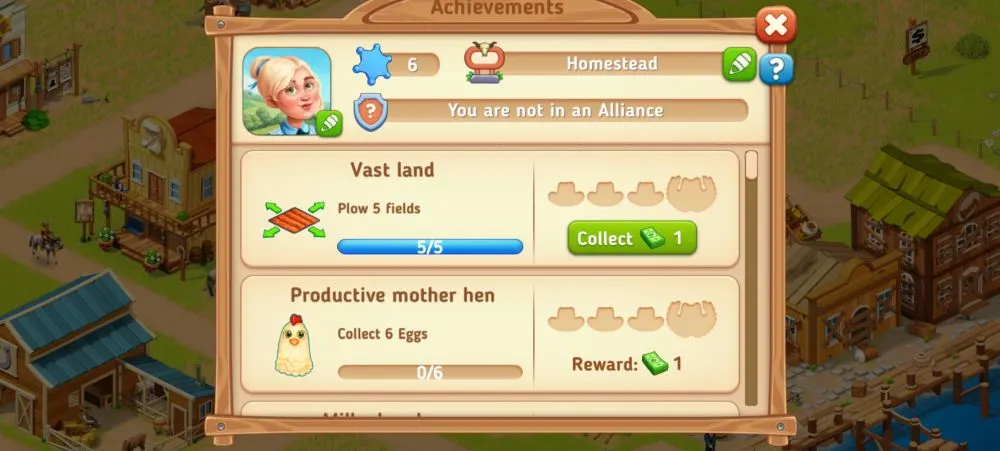
- Complete achievements: The City Hall has two tabs, one for Boosters and one for Achievements. Check out what you need to complete achievements to gain in-game cash rewards, among others.
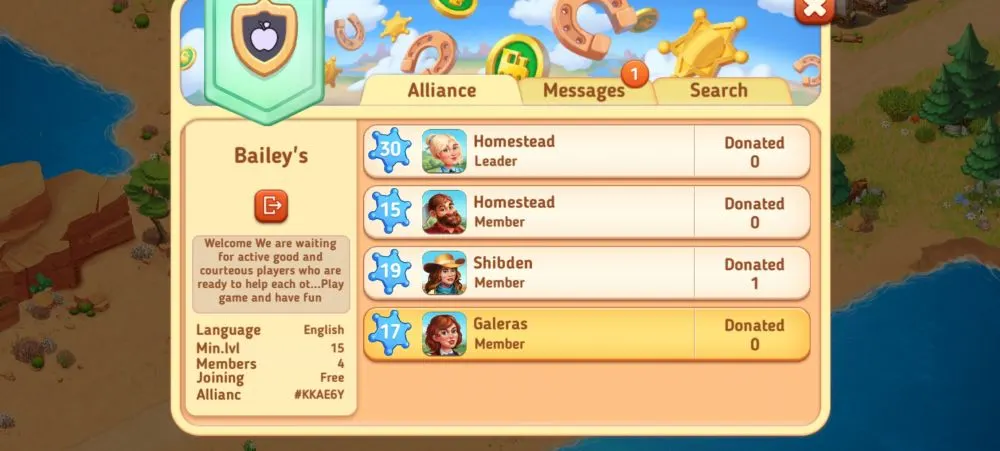
- Join an alliance: You can join an alliance at the Co-op House so you can donate items to guildmates and request for items you need. Donating and requesting for items can give you cash rewards, as well as fulfill related tasks from in-game characters.
With this, we conclude our beginner’s guide for Homesteads: Dream Farm. We hope that with these tips and tricks, you can work around the long waiting times, as well as obtain rewards and expand your Western town at a much quicker pace. If you have other tips to recommend so you can skirt the grind, let us know in the comment section below. Yee-haw!




Sandy
Sunday 9th of November 2025
Should you restore the quarry
Sandy
Wednesday 8th of October 2025
The building that makes lunches for the mines is stuck and wont let me in : /
brigitte
Wednesday 11th of June 2025
i just start to play with my 11 years old. we are able to put cow or chiken one time in the barn. afther one time, the game say we cant. we dont know how to make butter or milk
Trashonne
Tuesday 10th of June 2025
my game does not continue to run if i stop playing. also, all my productions keep freezing and i cant open them up to collect or start.
Happyanne
Sunday 17th of August 2025
@Trashonne, just reload the game - it takes some minuts.
Happyanne
Saturday 16th of August 2025
@Trashonne, I started playing in my (macbrowser)recently, and there are quite some bugs in the game, which I dont think is maintained so much anymore - I simply reload the game,so the freezing anything disappears, and you have to be patient since the reload isnt as fast as you would like, especially not in the middle of the game. So I play my first game on 'crazygames.com', and then the second game on 'homesteads.pley.com'. ;-)
Bear
Sunday 27th of April 2025
I’m not able to join an alliance. I read you go to the co-op house, I put in alliance code, but still can’t join. Can you help?