Congratulations! You now possess the single most important resource in the universe. Is it gold? Uranium? Pseudo-scientific slash magical ore?
Nope, it’s candy, and the endemic life will stop at nothing to get to it.

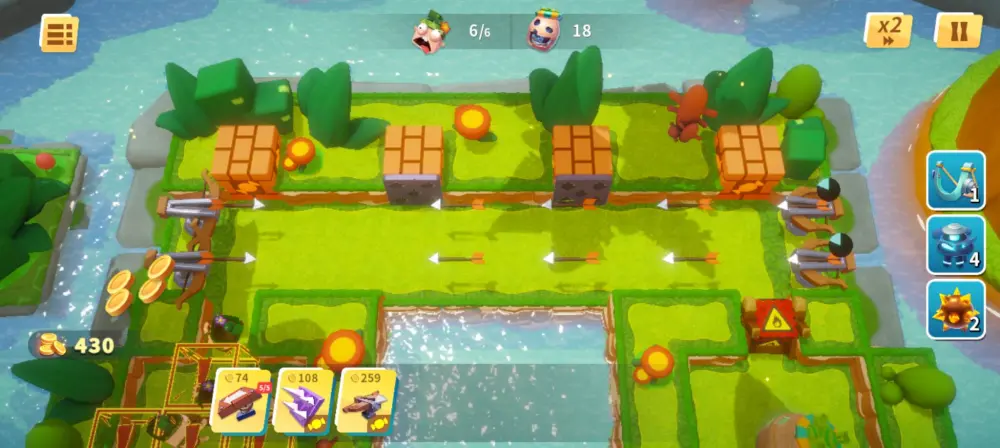
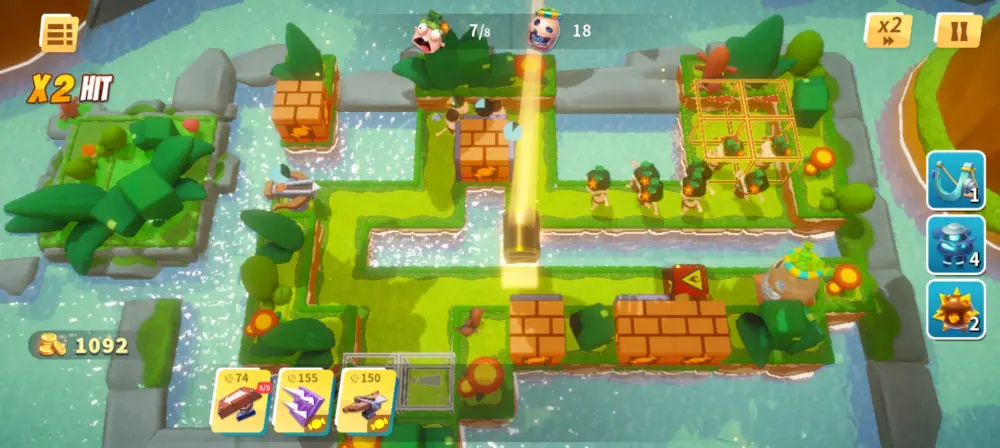
Candy Disaster TD is not a straight-up tower defense. Instead of using towers that lock on and pelt nearby enemies, you’ll instead be mostly using traps that do their own thing whenever they’re off cooldown. That’s not to say there are no attack towers in this game – most towers still do damage and knocking an enemy’s health to zero is still a reliable way to beat them. That said, it’s no longer the only way, and throwing enemies into pits with devious combinations or creating devious synergies with your tools is part of the fun.
Veteran players of Candy Disaster TD should note that this game is a free mobile port of the game’s PC version. That said, Candy Disaster TD on mobile has microtransactions, ads, and a lives system. Candy Disaster TD is available on the Google Play Store and the App Store. If you want the full experience without ads and are willing to shell out a bit more money, you can get the full version of the game on Steam.
Tower defense games can be tricky, and if you’re new to the genre (or to Candy Disaster TD), I bid you welcome to this beginner’s guide! Here, we’ll cover what your traps can do, what your enemies can do, what options there are available to you in the middle of a fight, where to get free stuff, and finally, a walkthrough for the first world.
Master Your Arsenal of Traps
Quick Tips:
- Physics-based system means you can get varied results from the same setup, so it’s important to know what your towers do.
- Positioning: Springboard, Wall Spikes, Mechanical Arm
- Damage: Repeating Crossbow, Spikes, Wall Spikes, Grass Cutter, Power Saw
- Utility: Fan
- Use whichever ones you want; no real meta. However, note that usually, simple is best.
- Enhance, ascend, and refine your towers to shift them toward your playstyle.
All tower defenses require a complete understanding of what each of your tools can do, and this is doubly important in Candy Disaster TD. Because of Candy Disaster TD’s unique take on the tower defense genre, you can get varied results using the same setup. Thus, it’s important to make full use of each of your tools, and to do that, you’ll need to know exactly what they can do.
This section will discuss the traps that you can get in World 1, and how to best use each.
Trap Placement
Before talking about traps, we need to discuss placement.
Traps are either ground-based or wall-based, and you can see which is which in your Traps menu. Now, Ground traps are simple – throw them on the ground and they start working. The catch here is that ground traps must be placed on grass tiles.
Wall traps come in two flavors: faces and replacers. Face Wall traps only occupy one of a candy block’s four faces, meaning you can put up to four Face Wall traps on one block. Replacers, on the other hand, occupy the entire space, meaning you can only put one of them.
Springboards

Springboards are the first trap that you unlock. While they do absolutely no damage on their own, they provide excellent utility by knocking enemies back by two tiles. The first stage of the game will encourage you to place Springboards facing the water, instantly sending any mobs on them to a watery grave. This strategy remains simple and solid throughout the game, but don’t forget that Springboard Traps can also enable a lot of other strategies, such as sending mobs back or throwing them into other lanes. Innovation is the name of the game with this trap.
Because of the Springboard’s unique capabilities, it’s the only tower to be restricted in terms of quantity. You can only have five Springboards in a stage. Note, too, that the Springboard is a ground-based trap, meaning that flying enemies aren’t affected by it.
Wall Spikes
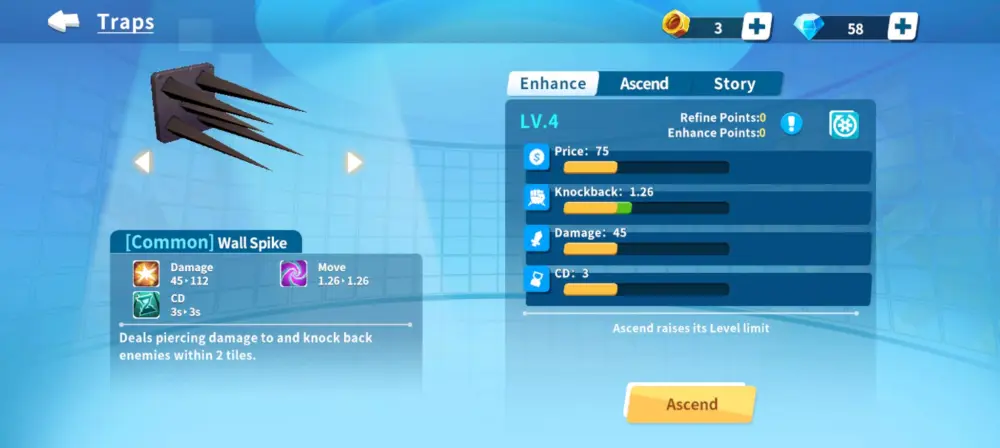
Wall Spikes are a lighter version of the Springboard. This wall-based trap must be planted on one of the four faces of a candy block. Upon detecting an enemy, spikes will rush out to impale the mob, dealing some damage and inflicting light knockback. Wall Spikes can detect and attack enemies within 2 tiles.
Wall Spikes are excellent fortifications if there’s a pool of water or a pit nearby, and they even do damage that lets them pull some weight against heavy or boss mobs. They also have the advantage of affecting two tiles when they extend, meaning that in some cases, they’re outright better than the Springboard.
Good Wall Spike requires judicious placement; careless installation of Wall Spikes can mess up your defenses by pushing enemies closer to your candy stash, allowing them to completely bypass your traps.
Grass Cutter

The Grass Cutter can be bought for free from the Traps Store after clearing stage 1-3.
The Grass Cutter is one of my personal favorites, as it’s simple yet very effective. This trap simply deals damage to all enemies standing on any of its two tiles with no cooldown. And while it’s already powerful on its own, the Grass Cutter can be further augmented via the use of repositioning traps, such as Springboards or even Wall Spikes which will force enemies to tank the Grass Cutter’s damage again. Alternately, you can force enemies into a funnel where they’ll have to walk through all your Grass Cutters. On the downside, the Grass Cutter is a ground-based trap. This means it has zero effect on flying mobs.
When upgraded via gold in a stage, Grass Cutters gain a slowing effect on top of their damage.
Repeating Crossbow
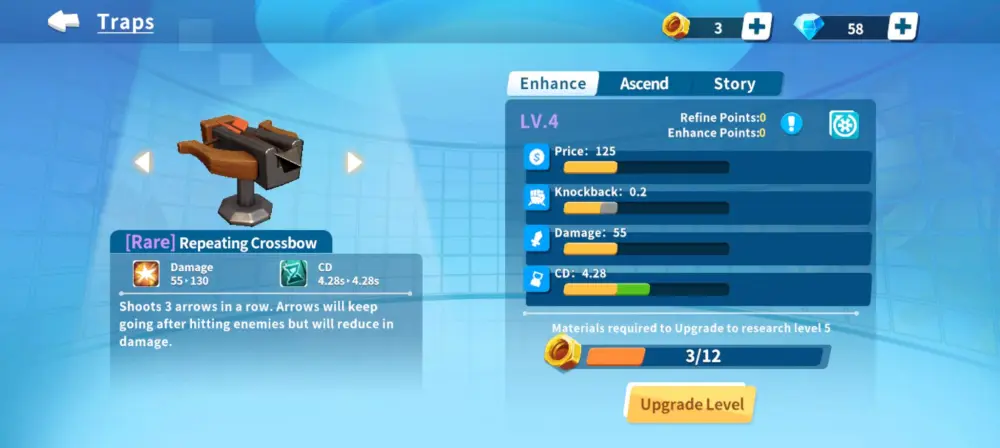
The Repeating Crossbow is a basic attack tower that fires three shots after a set cooldown. The bolts have the unique property of piercing enemies they hit, though they will deal less damage the more enemies they pierce. Note, too, that the bolts have infinite range. They’ll keep traveling until they hit something.
Sure, the Repeating Crossbow doesn’t throw mobs around or do anything flashy. What it does offer is solid single-trap defense and is particularly potent when used in corridors.
Mechanical Arm

Sometimes you want to pull instead of push, and the Mechanical Arm does just that. When activated, a Mechanical Arm will extend and grab the first mob it collides with, then retract and release said mob. This makes Mechanical Arms excellent choices for candy blocks overlooking pits. However, note that Mechanical Arms can only take so much weight. If they collide with an enemy they can’t carry, they’ll attempt to do so anyway, wasting their attack.
Fan

The Fan is an interesting trap. This mechanical gizmo spins and generates a wind current which can speed up or slow down mobs, depending on if they’re running with or against the current. The Fan also has interesting synergies with other traps, as it can boost their damage or even change their course.
When it comes to World 1 towers, the Fan changes the trajectory of Repeating Crossbow bolts and increases the damage of the Grass Cutter and Power Saw.
One thing you should take special note of is that the fan sometimes stops working on low-end mobile devices. If this happens, restart your game, and try to clear the level as fast as possible. You can also try dropping the graphics, but I find that restarting is the most consistent way to get the Fans working again.
Spikes

Spikes are spikes. They pop up when off cooldown and hurt any mob standing on the Spikes’ tile. On the upside, Spikes are cheap and only eat up one tile. This makes them excellent last-ditch defenses, but if you’re relying entirely on Spikes, there’s probably a bigger issue at play.
Just like the Grass Cutter, Spikes are ground-based. They’ll do nothing against flying mobs.
Power Saw

The Power Saw is in many ways like the Grass Cutter – a ground-based, DPS trap. The catch here is that while the Power Saw does a lot more damage per tick, it only inflicts damage while enemies are in contact with the sawblade. Pair this trap with positioning traps, like Springboards or Mechanical Arms, or even create a wind countercurrent via a Fan to ensure that enemies spend the most time possible in the saw – which has the added effect of boosting its damage.
When placing a Power Saw, ensure that it covers as many mob pathing tiles as it can. A Power Saw that only hits enemies a third of the time is a terrible waste.
So Which Traps Should I Use?
That’s up to you. Each of these traps is viable, and experimentation with various traps and combos is a big part of Candy Disaster TD. That said, I used all of them regularly except Fans and Mechanical Arms.
Enhancing, Ascending, and Refining
Traps can also be enhanced, ascended, and refined. Each of these provides powerful passive buffs that can not only augment but define your playstyle.

The first permanent upgrade path is Enhancement. Enhancement requires the use of Power Screws (more of nuts, really) that you get from doing the game. Enhancing a tower gives it stat points that can be invested in that tower’s stats. These stats range from simple base cost decrease to more damage or reduced cooldown.

Next Is Ascending, a powerful upgrade method that raises a tower’s tier and max level. That’s not all that Ascending does though – each Ascension gives you a choice of three random skills that can vastly change how a tower operates and give you even more options when it comes to your defense. Finally, Ascending also gives you five Refinement points, which I’ll get to in a bit.
As you may imagine, Ascension is more difficult to do than Enhancement. You’ll need Ascend Tools – specific to each trap – to ascend that trap. These tools are annoying to get; apart from the handful you get from completing stages on Easy mode and from progression, the rest will come from Very Hard levels. Good luck!

Finally, there’s Refinement. Refinement is almost like Enhancement, except you can reduce stats. Each stat you reduce gives you one extra stat point that can be spent freely. Refinement points are essentially a way to take points from unnecessary stats and put those points where they would make a real difference. For example, I used my Refinement points to reduce the knockdown of my Repeating Crossbows and fed those points into both damage and cooldown. After all, I have Springboards, Wall Spikes, and Mechanical Arms for repositioning.
Know What Your Enemies Can Do
Quick Tips:
- Enemy stats: health, speed, weight (knockback resistance). The bigger an enemy is, the more health and weight it likely has.
- Some enemies have special abilities. These can be both passive and active. You will get a warning if the next wave has special mobs.
I’ve said it before, and I’ll say it again: knowledge is power. Luckily for us, Candy Disaster TD makes it very easy to break down an enemy’s basic capabilities.
Enemy Stats
Enemies in Candy Disaster TD have three major stats: Health, Speed, and Weight. Health is a measure of how much punishment mobs can take; a good rule of thumb is the bigger the mob, the more health it has.
Speed is how fast the mob moves. Always be on the lookout for enemies with high speed; if you’re struggling, I suggest building a smaller array of traps closer to your candy stash to keep these mobs in check.
Third is weight. Weight doesn’t appear on the mob’s stat bar and has to be approximated. Like health, a good rule of thumb is the bigger the mob, the heavier it likely is. Weight directly affects a mob’s knockback resistance. Heavy guys, like Ancient Giants, are barely moved by Springboards and Wall Spikes. No easy kill for you!
Abilities
Some mobs come with an extra ability. This is denoted by a warning appearing on the Next button in the middle of a stage and serves as a wake-up call to shore up defenses against that type of enemy. The more special enemies there are, the more warning prompts you’ll get by the next wave button.
In the early game, you’ll run across the following enemy types:
- Speedy enemies usually aren’t durable, but they’re very fast. Their speed can even lead to them overcoming your physics-based defenses, so be sure you don’t have any weak points.
- Flying enemies don’t trigger ground-based traps and are unaffected by them.
- Elite enemies are especially tough, sporting lots of health and occasionally some extra abilities.
Practical Tactics
Quick Tips:
- Exploit the free repositioning system to catch leaks and minimize costs. 1-second cooldown after moving a trap.
- Pause is your friend. You lose nothing by pausing the game. You can move, buy, and upgrade traps while paused.
- Upgrade your towers for some more punch. Save the upgrades for towers in great positions.
- You can switch towers to and from Auto Mode. Pause is your friend.
- Always study the stage beforehand. Use features such as chokepoints, corridors, and water to your advantage.
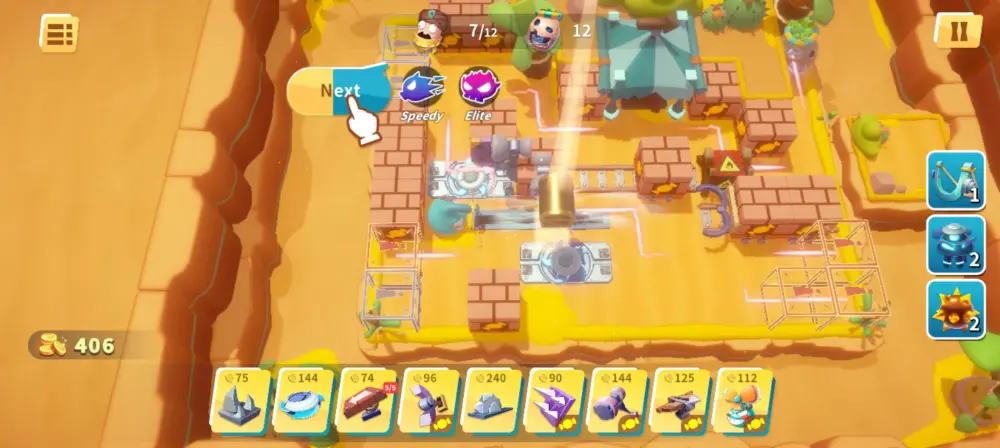
- You can call waves early; the earlier you call them, the bigger the gold bonus. Use your performance in previous waves to judge if you can handle them. Be wary of overwhelming your defenses.
- Open Pirate Loot (chests) to get passive upgrades. You can buy a permanent pass for 588 Diamonds to remove ads when opening these chests. You’ll still need to watch an ad or pay Diamonds if you want to upgrade the bonuses.
Tweaking your traps in the workshop is one thing, but there are some other things you need to consider while you’re in the field.
Free Repositioning!
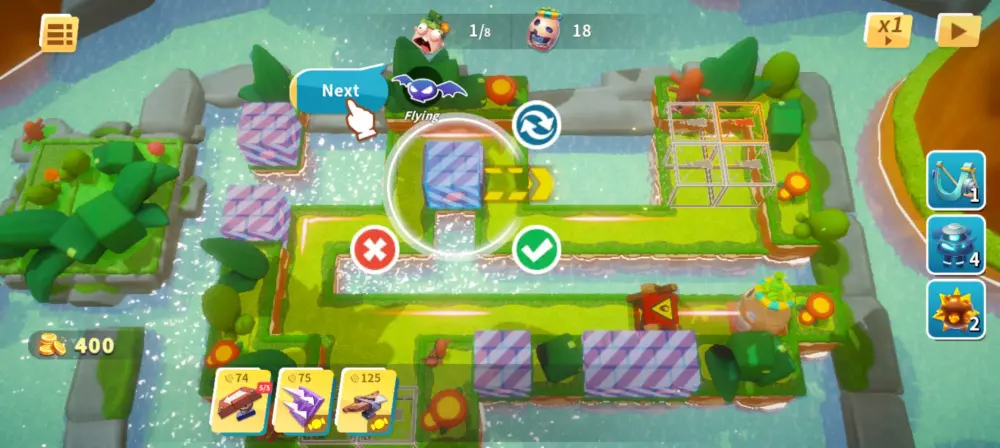
The first, and perhaps most important tip in Candy Disaster TD is that you can move your traps around once they’re placed. The only restriction here is that each trap has a short cooldown period (around 1 second for your basic traps) before it can be moved again.Bad rotation or poor placement? No problem: tap hold the tower and move it as you wish.
Rarely do TD games give you such power, and for a good reason. The fact that you can freely move your traps means that if things go south, you can pause the game and move some of your earlier defenses near the candy stash.
Pause is Your Friend
Are things going a little too fast for you? That’s where the pause button comes in.

This handy-dandy button is located at the upper right of the screen. While paused, everything freezes, allowing you to scan the battlefield with greater clarity. But that’s not all this button is used for; when the game is frozen, you can continue repositioning and placing traps. There is also no penalty for using the pause button, so use it as much as you want!
Upgrading
Traps can be upgraded in the middle of combat. Simply tap on a trap, then tap the orange upgrade button to shell out the gold needed for the upgrade. Traps can only be upgraded once.
If you need to consider whether the upgrade is worth it or not, you can preview the stats of the upgraded trap – they’re the second numbers that appear. For example, Damage 50 -> 100 means the damage of the trap becomes 100.
Here’s the question though – do you want more traps or fewer, but better traps? I’ve found that, for the most part, you can get away without upgrading traps. On the other hand, the extra cost is justified if the trap has great positioning; for example, a tight, one-lane corridor perfect for a Repeating Crossbow means I’ll upgrade it, and a Power Saw will likely receive the same treatment.
Auto Mode
When placed, traps can be switched into auto mode. In this mode, traps will automatically fire whenever they’re off cooldown – and yes, the Repeating Crossbow is on this mode by default. By toggling auto mode on your other traps, you can create new combinations and synergies.
You can use the Pause menu to toggle Auto Mode on and off on two towers, creating a rough timing mechanism.
Carefully Evaluate the Stage’s Layout
Your traps are expensive, but good trap placement that leverages a stage’s layout can allow you to weather even the toughest hordes while ending the stage with a hefty payout.
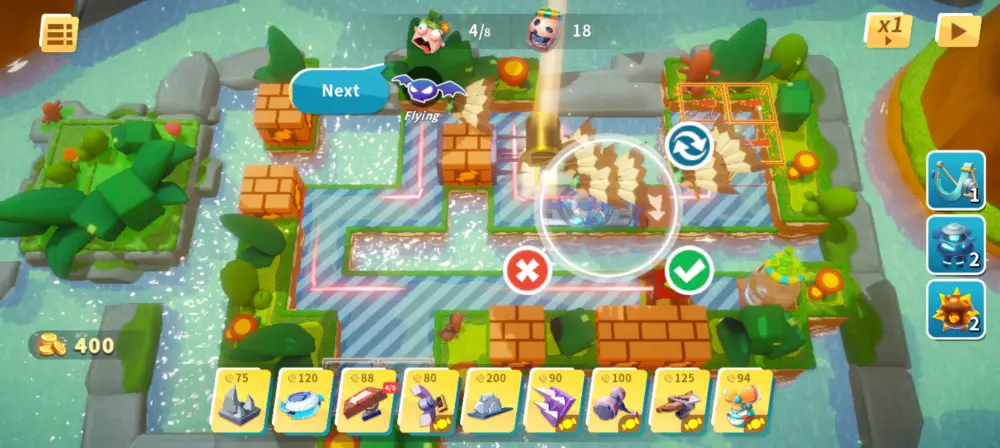
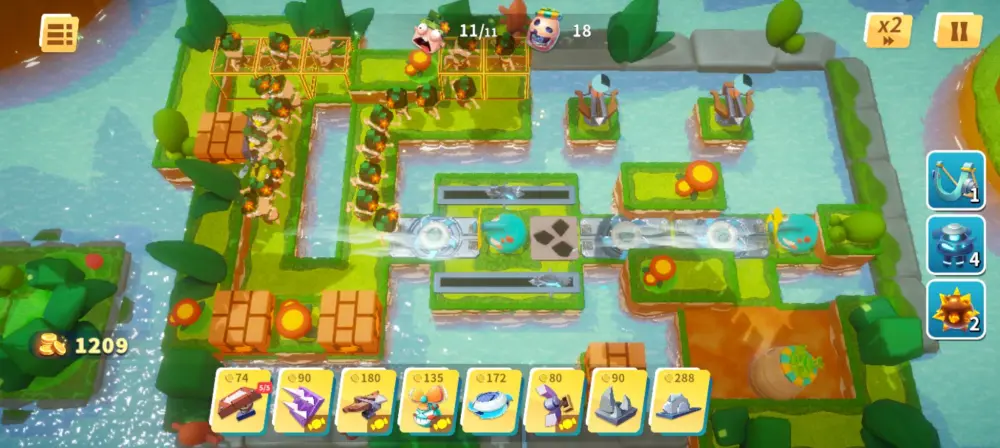
Take this stage for example. We could, in theory, install crossbows on every block and use Fans to move them around. But why spend that much when we can get the same results with some basic traps? To that end, let’s exploit the wealth of water pits in this stage.
As enemies in the bottom spawn points don’t have a choice but to go straight, we can place a Springboard just beside the first water pit for a solid defense. To catch stragglers, I’ve also placed Wall Spikes on the right side of the first block on the left lane. That’s all you need!
Be on the lookout for natural chokepoints where you can consolidate your defenses. In this map, all enemies will eventually have to pass through the left and into the tight corridor to reach the candy stash, so all I need to do is lay down a few Power Saws, Wall Spikes, and Springboards, and bam! Defense complete.
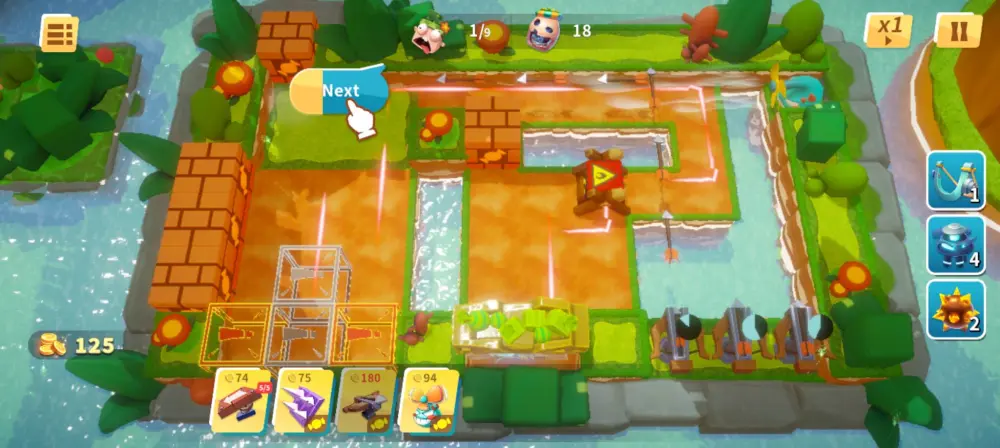
Note Where Enemies are Coming From
While Candy Disaster TD does tell you that enemies come from transparent cubes, one thing that most players miss is knowing which spawn cubes are active for the next round. You can identify these spawn points by their red color.
Maps can have multiple spawn points spread across the level. Keep a watchful eye on these as the later spawn points tend to become active later in the stage.
Calling Waves Early
You always have the option of calling waves early. Doing so nets you some bonus gold to spend on more traps – the earlier you call them, the more you get.
Summoning a wave early is always a tactical choice. If your defenses can clear the previous wave with ease, and if you’re feeling confident in your abilities, go ahead and hit the button. Do be careful though – it’s very easy to overwhelm your defenses via hubris!
Pirate Loot
Occasionally, mobs will drop a golden treasure chest when defeated. This chest contains powerful Pirate Loot, which gives your traps a universal upgrade.

Of course, it isn’t free. While new players start with 3 free choices, any subsequent bonuses will need to be paid for by watching an ad. I highly suggest buying the pass for this – it’s a one-time 588 Diamond payment that permanently removes ads from the base level of Pirate Loot.
Even with the pass, you can choose to watch an ad (or pay Diamonds) if you want an even bigger bonus out of your loot. That’s your prerogative; I find that level one upgrades are plenty powerful on their own.
Free Stuff and Where to Get It
As with most mobile games, there are ways to earn free stuff, and here is where they’re at.
Grind
No, really. Go grind.

Any time you complete a level that you’ve already done, you get 5 Diamonds. This isn’t unlimited though, as you’re gated by your lives – each run will cost you 1 life. As the number of Diamonds doesn’t seem to differ from stage to stage, you can just blitz through the easiest stage you can manage. You can also play through completed levels at 2x speed, so there’s that.
You can also choose to view an ad to triple your gains. Do it.
The Item Shop
The Item Shop offers a lot of free stuff: Daily Rewards, Power Screws, and even Diamonds.

Of course, you will need to watch an ad to claim any of them. They’re not much, but they do add up.
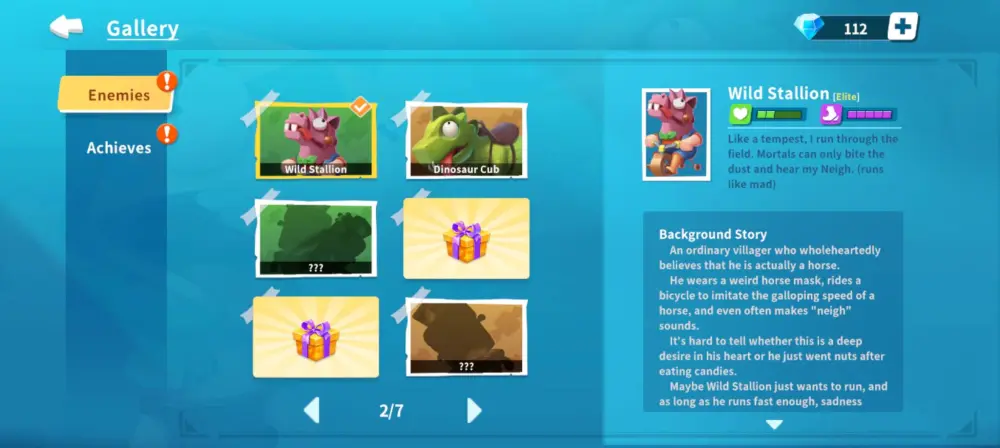
The Gallery
The gallery features both enemy profiles and achievements. Tap on any that you haven’t claimed to get a small sum of Diamonds.
Rewards
Rewards are a one-time bonus based on how much candy you’ve managed to amass. The better you perform in a stage, the more candy you get. Perfecting world 1 stages nets you six candies per stage, so hop to it!

You can get not only Diamonds but also all-important Ascend Tools from the Rewards screen, so check back often.
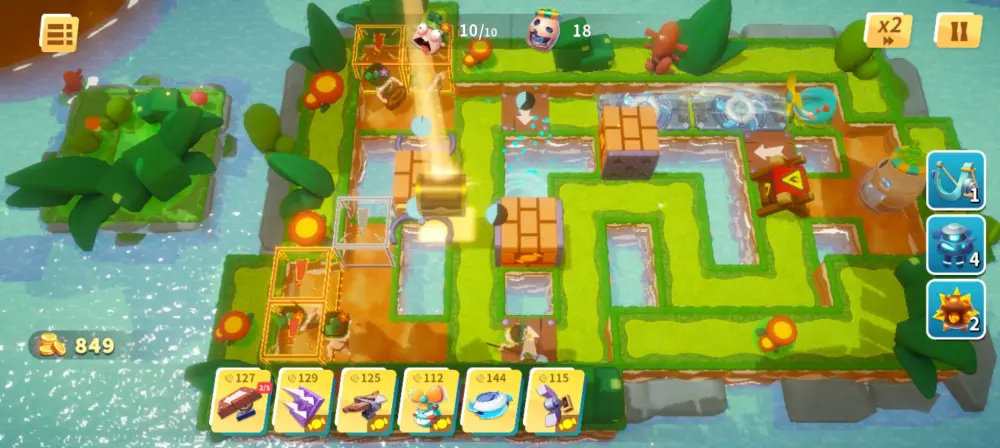
World 1 Walkthrough
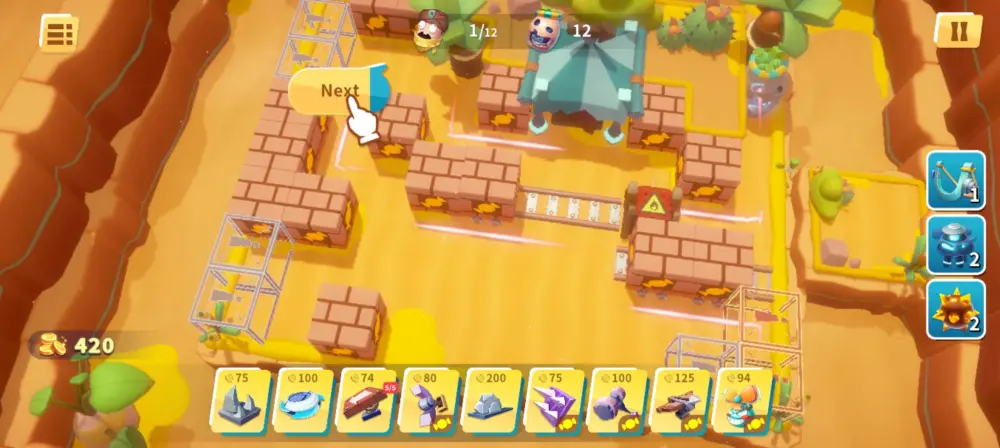
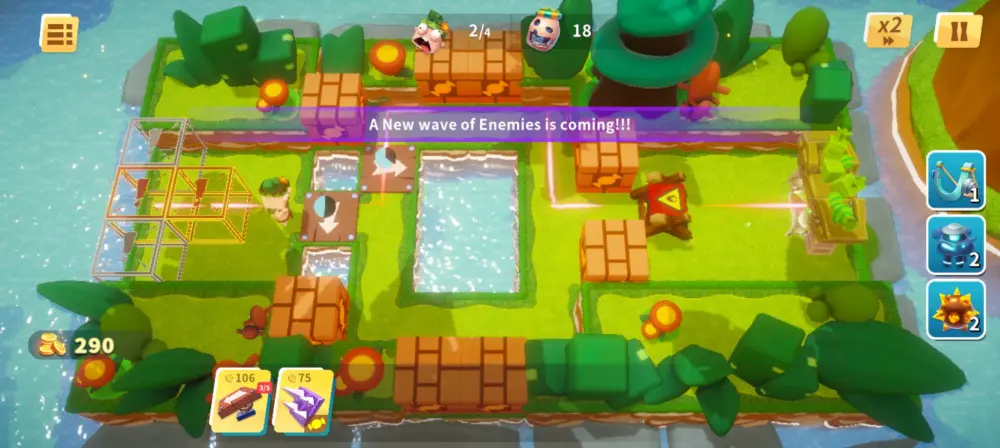
Now that you know what you can expect out of your towers and enemies, and important battlefield maneuvers like pausing the game, it’s time to put all this knowledge into practice. I’ll be walking you phase by phase through some of the game’s earlier levels, which will hopefully teach you enough about maximizing defense while keeping costs low.
To reduce outside factors, this walkthrough will not be using Pirate Loot or stage bonuses, nor will it upgrade any towers while on the field. It will, however, use enhanced towers – I advise you to enhance and ascend your towers any chance you have.
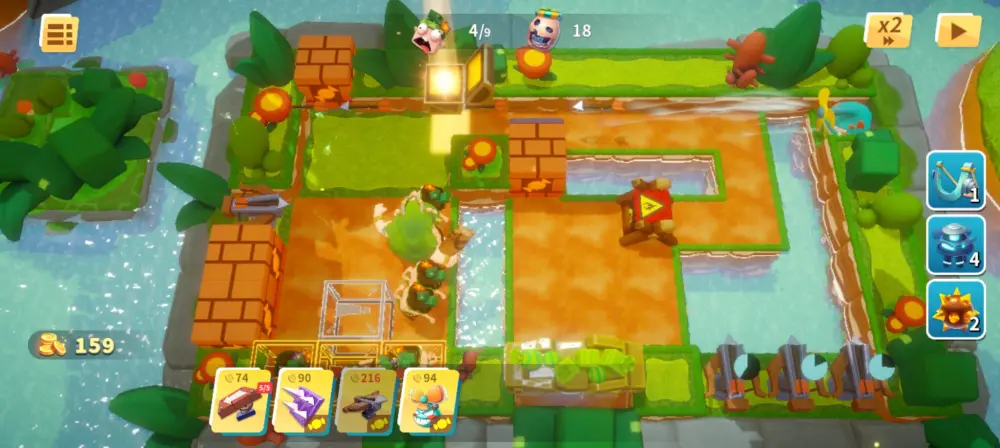
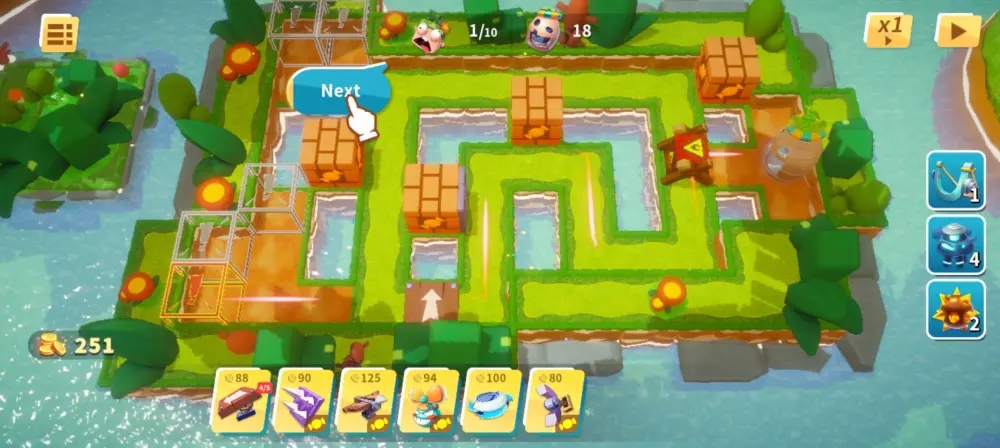
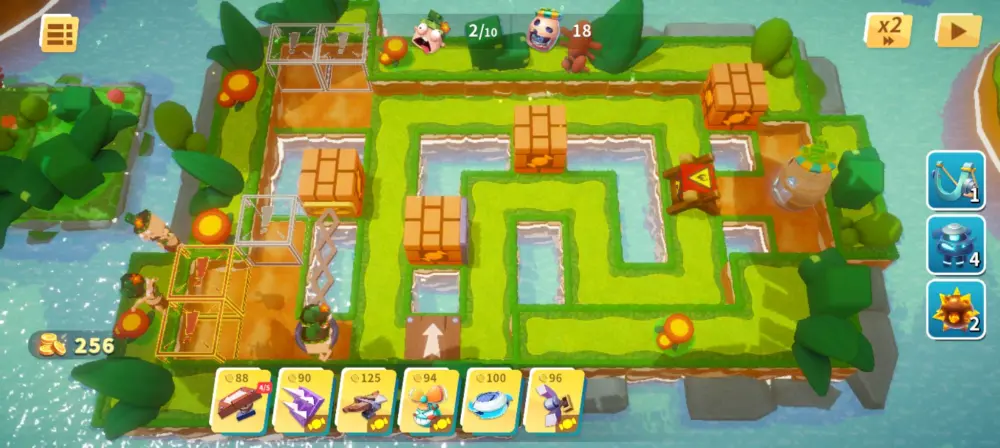
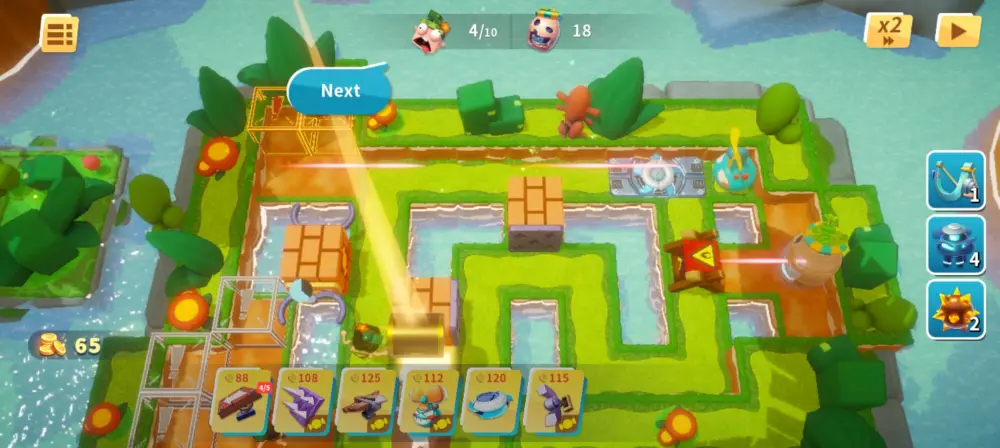
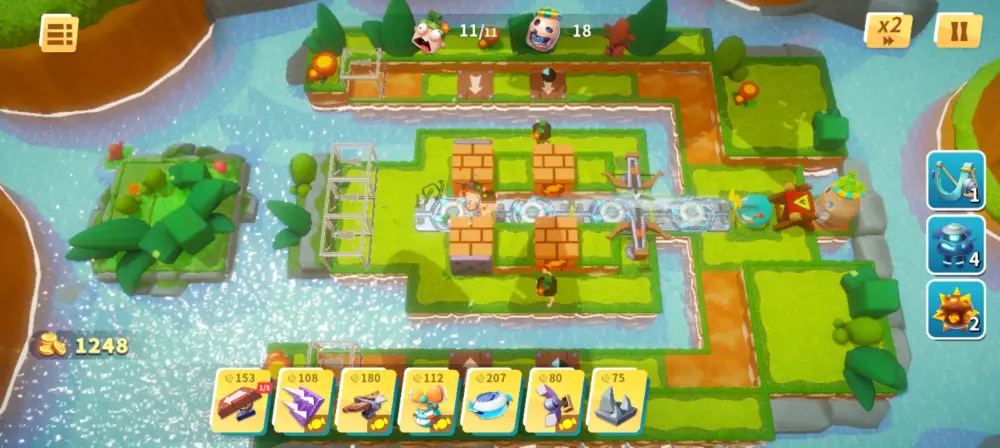
O-Shaped Pond
The first level of the game has a very simple layout. While you do have access to Wall Spikes, you can get by just fine with Springboards.
Place one Springboard on the left chokepoint. Put one more Springboard above, and another one on the path below. If you feel that you need more defenses, you can add a few more Springboards on either side. Either that or move one of your current Springboards to a new location. You can also complement (or substitute) this defense with Wall Spikes at your discretion.

At the start of wave 3, you’ll start running into shielded enemies. These guys are a little more resilient to damage than regular Forest Warriors. Pay close attention to any potential leaks; the chokepoint on the right side of the pond is an excellent spot to put some more defenses.
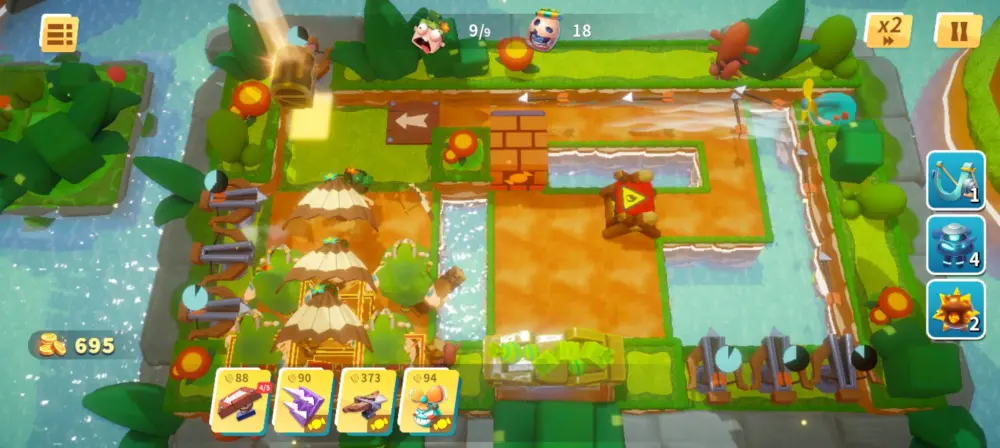
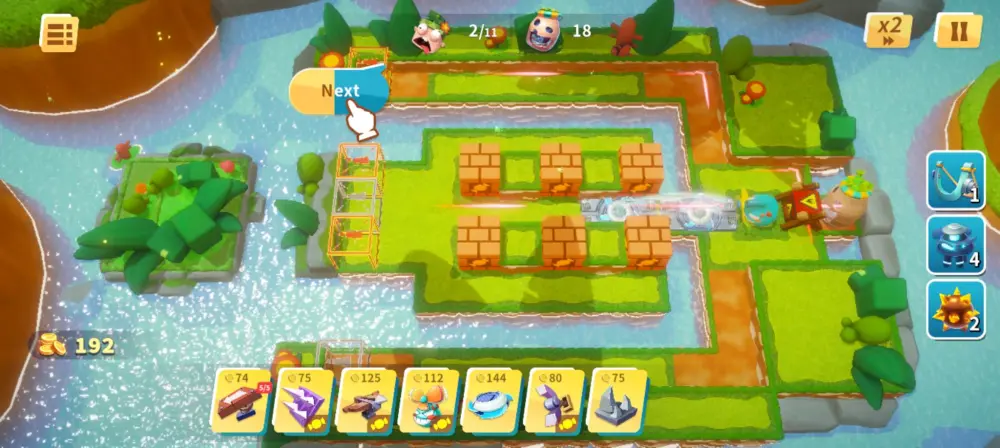
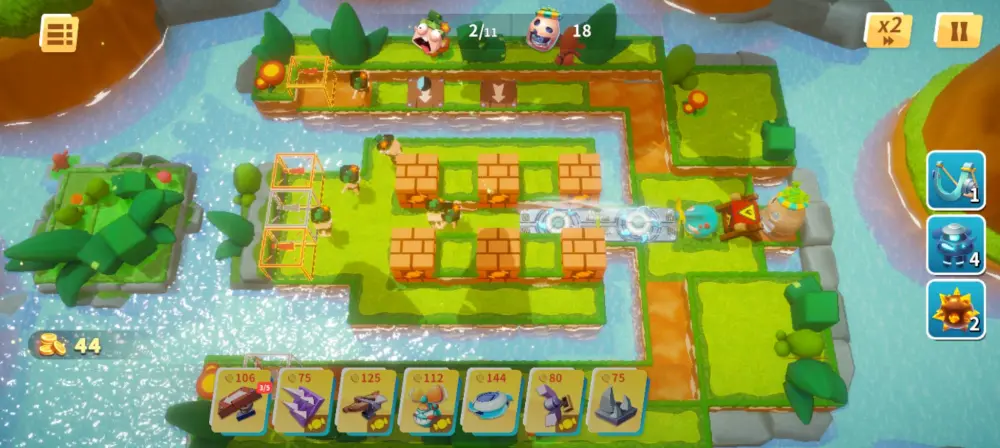
Small-Scale Closed Drill
Clearing O-shaped Pond will unlock the Repeating Crossbow trap, and that’s all there is to this stage. Start by placing a Repeating Crossbow where the game indicates, then put another one on top of it. This will give you coverage over both lanes.
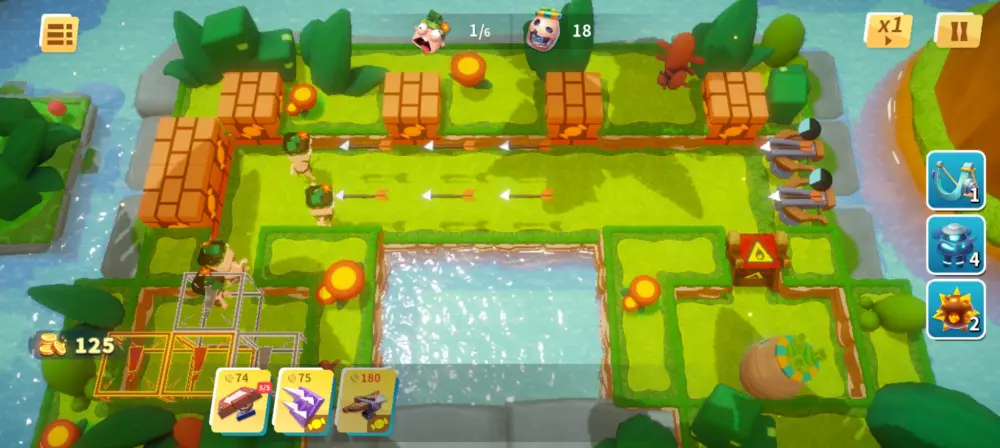
You can complete your defense by adding Repeating Crossbows on the two leftmost blocks. You can also add Wall Spikes to the two blocks near the center to snipe any mobs close to the water.
Wave 3 of this stage will introduce the Forest Hunter, a fast-moving but flimsy enemy. While this enemy isn’t threatening in this map, be wary of him in later, more complex maps.
Emergency Assembly! Charge!
This level introduces Paratroopers, flying enemies that are immune to your Springboards. Put another Wall Spike on the middle block, facing the spawn point. You can also add a Repeating Crossbow to fire down that lane to take some pressure off your Wall Spikes. As the waves progress, add Wall Spikes to the other faces of the top block – except the one facing the water.
Note that there are two spawn points at the bottom. Place Wall Spikes facing the water in the two available blocks near the candy stash – do this before wave 5 to prevent unnecessary life loss.
You’ll also be given three Slingshots to throw enemies back toward the entrance, but you don’t need them. You will be required to place at least one though.
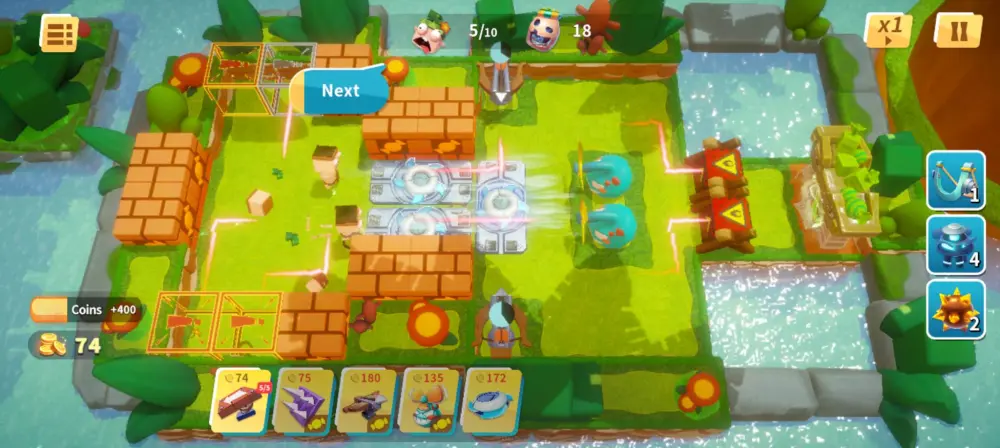
Rally Up for Fan Tutorial
Before starting stage four, I strongly recommend taking the time to enhance and ascend your Repeating Crossbow.
If you’re running on a lower-end mobile device, I also urge you to read my warning about Fans on these devices. Be ready to restart your phone or tablet if your Fans suddenly stop working as you will need them to get a perfect score on this stage – though you can complete it even without the Fan. For reference, this strategy was performed using a lower-end phone, and dropping my graphics to the worst quality gave me enough FPS to keep the fans working.
As the stage’s name might suggest, this level is a Fan showcase. With bad block placement and a wide enemy entry lane, as well as minimal grass tiles for Springboards, you’ll need to rely on a combination of Repeating Crossbows and Fans to get the job done here.
Luckily, optimal Fan placement isn’t tough here – just move the existing Fan to the uppermost right block, then fill the lowermost right blocks with Repeating Crossbows. You can add Wall Spikes to the block where the initial fan was, for some extra damage. You’ll need to rely on this defense as there are barely any grass tiles in this level, and they’re all clumped up in the upper left.
Once you have some extra money, put Wall Spikes facing the top on the topmost row (where the bolts should be traveling) and add Repeating Crossbows (or Wall Spikes, no judgment) to the three blocks just above the enemy spawn point.
To help take some pressure off our top lane, we’ll need some more Repeating Crossbows. Fill the left wall with more Crossbows. You can also choose to add a Repeating Crossbow in the uppermost left block, but that’s a very low priority.
You can also choose to add a Springboard at the upper left chokepoint; in this case, the Springboard throws enemies backward on the exposed lane, so that they’ll be subject to crossbow fire for longer.
Midway through this level, you’ll start encountering Ancient Giants. These lumbering brutes can take quite a lot of punishment and can easily withstand knockback thanks to their large frames. Don’t be surprised if the first giant makes it to the explosive block.
Be warned – the last wave consists of four giants, so make sure you’re defending the tight lane with all you’ve got.
An interesting thing to note is that the Grass Cutter can be bought at the shop before this level. Use them if you feel like it but note that there’s only really one point where you can use Grass Cutters.
Rally up for Grass Cutter Tutorial
This level gives you access to Grass Cutters (if you haven’t bought them yet) as well as a very compact level layout for optimal trap use.
Start by placing two Grass Cutters in the chokepoint, then add a Fan facing one of them. Immediately after you get enough money, buy another Fan to boost the other Grass Cutter. It’s important to do this right away to prevent leaks.
Once you have enough money, place more Grass Cutters in the middle lane, past the initial defenses but still within range of your Fans. I chose to put mine vertically as mobs will be splitting from the path, and they’ll only be exposed to one tile of Grass Cutter even if I put those horizontally.
After that, place two Repeating Crossbows firing into the Fans; this way, you’ll get extra damage and coverage over the center two lanes.
Repeat the crossbow placement for the rest of the middle tiles.
Shimmering! Meandering Water Maze
You’ll gain access to the Mechanical Arm in this level, as well as good placement spots for it.
Take note that there are two distinct lanes in this level: one above, and one below. Fortunately, we only need to worry about the lower lane for now. Start by putting either a Springboard or a Mechanical Arm (whichever is cheaper if you’ve been doing your enhancement) facing the water pit. Do not put both.
While you’re at it, put Wall Spikes on the right side of the same block.
The next wave will double the spawns for the lower lane, so put a Mechanical Arm on the leftmost block to take some pressure off. You can also put Wall Spikes on the middle block facing both lanes.
Wave 4 will switch your defense to the top lane. Put a Grass Cutter and Fan combo on the upper rightmost block and put a Mechanical Arm opposite the leftmost one to snipe incoming enemies. Add whatever extra defenses you want to the rest of the lane. Springboards will do nicely – just be mindful that they throw enemies two tiles away.
Wave 6 introduces the Wild Stallion, a swift and relatively sturdy enemy who excels at rushing past your defenses. Fortunately for us, he’s just as susceptible to instant death Springboards, Wall Spikes, and Mechanical Arms as his lesser brethren – but do shore up defenses, just in case.
Rally up for Trap Combo Tutorial
Spikes become available at this point. They’re not fancy, but they get the job done.
Stage 1-7 has a unique layout: a heavily fortified middle lane, flanked by two poor lanes. To that end, we’ll need to rely on combos for an efficient defense. Start by setting up a Fan and Grass Cutter defense at the far end of the middle lane, near your stash.
Wave 2 starts the trend of this stage, which is sending enemies down your weak lanes. Rather than spending lots of gold defending these lanes, it’s far more efficient to send enemies to the middle island and your consolidated defense. Use Springboards and Mechanical Arms to pull enemies on these lanes to the center. The lower lane becomes active at wave 4, so add repositioning traps there too. Add at least two per lane.
We’ll be using the same Fan-Cutter-Crossbow combination in the middle lane. Add two Repeating Crossbows to the rightmost blocks so that you can fire down the path. You can use whatever defenses you want, just ensure that it ends with the Fan – Cutter combo.
If you’re feeling sneaky, you can align the side lane Springboards with the blocks, then add Wall Spikes to immediately push mobs to the water!
Adventure! Ruins in the Water
You’ll get access to the Power Saw before this level.
Enemies will only be coming from the left spawn point, so use Wall Spikes to one-shot incoming mobs. Place a Power Saw in the lower half of the middle island to destroy any stragglers. Once you have the funds, place a Fan – Cutter combo on the rightmost block, just above the explosives.
Wave 3 introduces you to the Dinosaur Rider, your first elite enemy. This foe isn’t just tough – he can also summon more dinosaurs to attack your lanes and spawns a dinosaur when he dies. Fortunately, he’s the only mob that spawns in this wave. For once, don’t call the next wave early. Take this time to study the Dinosaur Rider and perfect your defenses. Add more Grass Cutters and Power Saws to the right and center lanes.
Once the first Dinosaur Rider has been dealt with, the rest of the stage is simple. Continue fortifying the center and rightmost defenses – you can even add another Fan-Cutter combo in the center island to catch the chokepoint. Do watch out for wave 10 though – it has fliers, so ensure you incorporate at least some Repeating Crossbows. This wave caught me off-guard, hence the lack of an explosive block.
Wave 8 and the final wave will throw more Dinosaur Riders at you. AOE traps like the Grass Cutter and Power Saw will make short work of them.
COOOOOOLEST Nightclub Rave
This is it – the last level in world 1. This will test your ability to exploit chokepoints, create synergistic defenses, and maximize each one of your towers.

Notably, this level has an alternate win condition. If you can defeat Freakin’ Rich before the last wave, you automatically win. But as he’s a boss, he has some tricks up his sleeve: he can shield and buff his minions, or even kill them to restore health to himself. The good news is that his HP carries over in every wave where he appears and that he occupies 2 cells at once, leaving him more vulnerable to your traps.

Start with the Fan – Cutter – Crossbow layout on the left side. You’ll have enough funds to place one Grass Cutter, one Fan, and two Repeating Crossbows. This’ll tide you over well enough, and if you have the funds to place another Grass Cutter, do so.

Wave 4 heralds the first time Freakin’ Rich will join his minions. Don’t worry too much – he’ll attack from the left side. What you do want to watch out for is his shield ability as it buffs regular mobs near him via coins, potentially turning a bad wave into a disastrous one. Shore up more defenses in the last chamber of the left path if you’re not confident. Do note, however, that in my case, the Grass Cutters and Repeating Crossbows were more than enough to beat him.

Freakin’ Rich will return on wave six, this time with an added ability to buff a single enemy via spotlight, vastly increasing their size and resistance to knockback. Be careful as wave seven consists of Wild Stallions, and a buffed one can ruin your day. Again, add more defenses to the lowest left chamber just to be sure: in my case, I added a vertical Grass Cutter and a Repeating Crossbow.

Wave 8 will open the right-hand path. Freakin’ Rich will also join his minions here. Take advantage of their single file movement by placing another Fan – Cutter – Crossbow combo covering the left lane. Do not install Wall Spikes along the corridor as those will push enemies into the right lane.
At this point, your defense should be good to go, and Freakin’ Rich will fall at any time. If not, add more defenses to his lane, and watch him go down!
The Quest for “Candy”
Everyone wants some of your candy, and you’ll need to hop from planet to planet to ensure that your stash remains safe. Fiercer foes await, so be sure to step up your game and innovate with your traps!
That wraps up this beginner’s guide to Candy Disaster TD, and I hope you were able to get a solid foundation for your future battles for Jick’s candy! If you have anything to add or suggestions of your own, make your voice heard in the comments below!