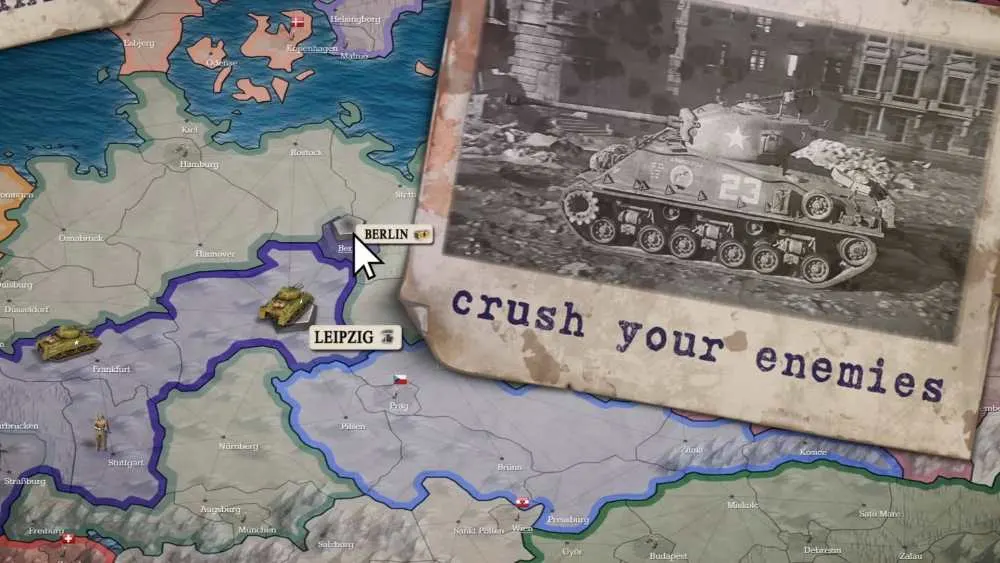
It’s the Second World War, but not as the histories tell. The Germans have failed in their invasion of Poland, and the Reichstag is dismantled by Polish and French troops in the year 1943. Libya and Great Britain fight over the shattered remnants of France, and the Libyans are winning through their pioneering use of concentrated air power.
A disunited Canada burns as its fractured territories fight each other in a horrific, pointless war, with the USA simply waiting for its turn. The Nazis set up a base in Antarctica, and everyone wants to kick them out. Nukes fly, and the Second World War ends in the 1950s with truly global atomic devastation.
When players are involved in the shaping of history, historical accuracy inevitably goes straight out the window, in favor of chaos and madness. Well, to be fair, the real World War II wasn’t exactly all sunshine and rainbows either. Welcome to our Call of War guide!
Call of War is a multiplayer grand strategy war game set in the eras around the Second World War. Whether it becomes competitive or co-op depends solely on how many people join or stay in a game room, and whether or not those people make Coalitions with each other. And whether you’ve made any of them mad or not!
There are quite a few scenarios available, from a map of the world as the 30s and 40s knew it, a smaller Europe-only beatdown, a secret Nazi base in Antarctica with other nations coming in to get rid of them, or even a weird map where Canada, the USA, and the South American continent are split into states and murder each other.
It is, in all honesty, one of the most glacially slow games out there, with moves often taking several hours and sometimes even a whole day or two to complete, and each individual game only unlocking endgame equipment for research after 20 whole real-life days. As such, it is a game of political tension with your fellow players, with moves thought out in advance, and communication with your allies becomes every bit as important as your individual war planning and logistical ability.
WAR DEPARTMENT
As a game set during the general era of the Second World War and the very, very early Cold War, war is what you’ll likely want to do, and what you’ll expect from your neighbors. Here are some tips pertaining to warfare, especially involving the use of specific units.
Watch The Roads
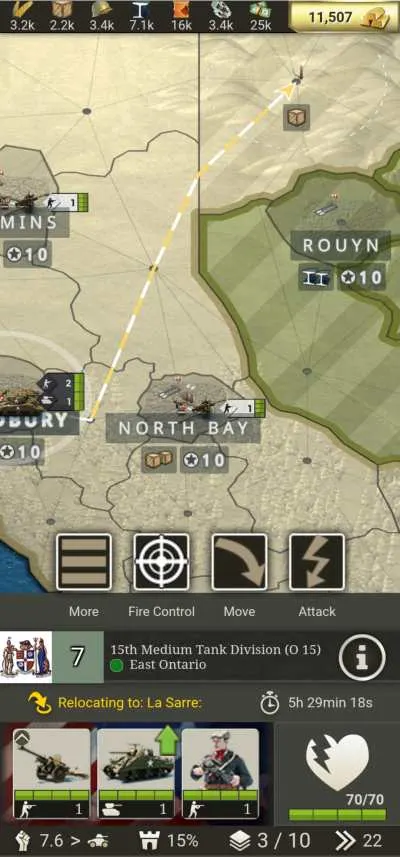
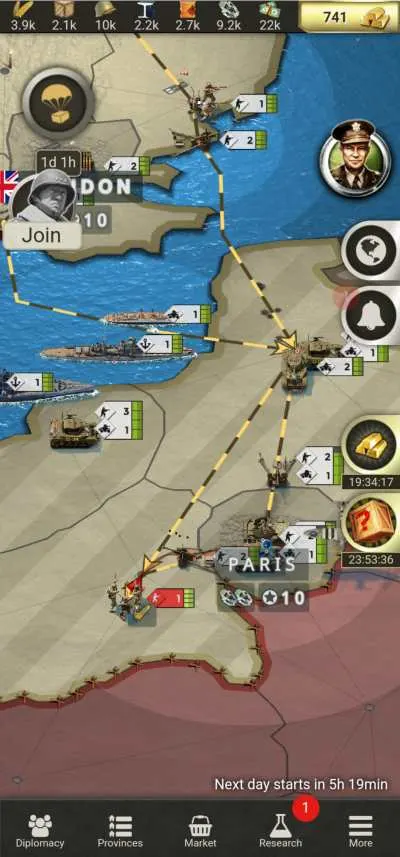
If you zoom into the map, you’ll notice that each province has a single node from which many lines shoot from, leading to other nodes in other provinces. Those lines are roads, and the roads are more important than measuring physical distance between provinces to know the true distance to a province. If two provinces look like they’re next to each other but they have no roads directly linking the two, then your units will have to travel through another province that does have a road link to their destination.
How To Fly
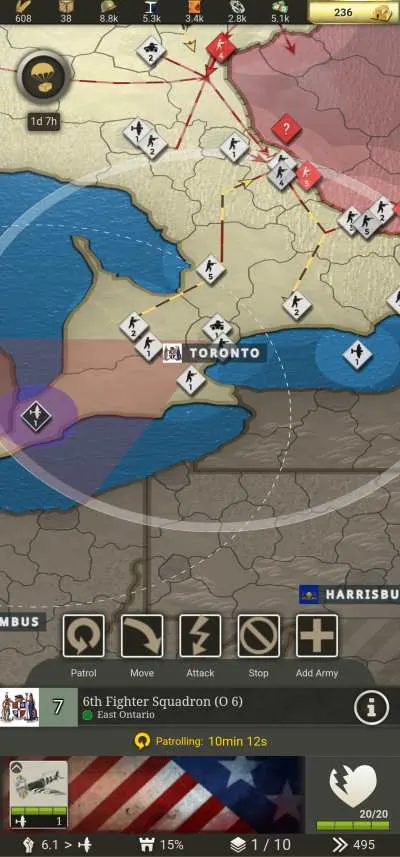
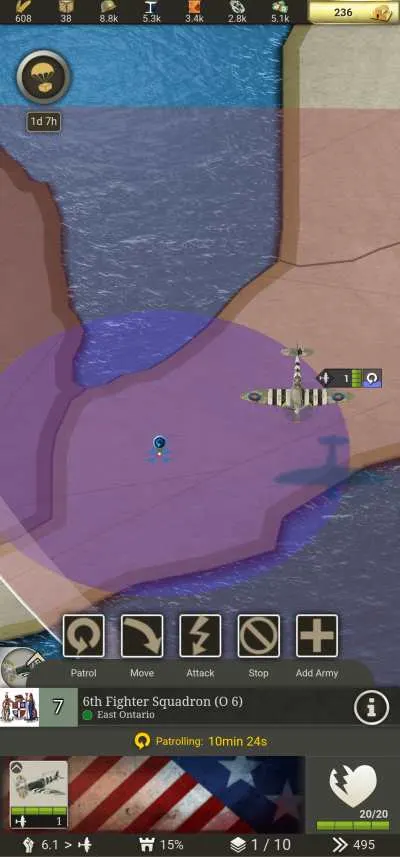
While naval and ground combat are fairly straightforward affairs, controlling air units is a bit more complicated. When commanding aircraft, there are three things to look out for: The location of your Airstrips, the range of the plane from said Airstrip marked by a white circle, and their engagement arc marked by a red pie slice. Planes can only take off from airstrips, and if you want them to go far, they’ll have to hop between airstrips to reach the place, refueling when they land.
The Engagement Arc is a pie around the airfield that gets made once you pick a destination for your plane within it. Flying within that red pie slice means your plane doesn’t need to refuel every time you tell it to move. With level 1 Airstrips, making use of the Engagement Arc is very important, since using it to let your planes Patrol over the enemy instead of attacking them is usually faster, since you don’t need to wait for the plane to land, refuel, then fly straight to the target.
As the airstrip gets improved though, refueling times get cut, to the point that if the enemy is nearby, you might as well use the attack command directly. If your plane has to travel for an extended period without any Airstrips nearby, it will do so inside a highly vulnerable Transport Truck with very low HP.
As a side note, even if the sprite isn’t showing a Truck, a plane refueling at an Airstrip or Aircraft factory still has the stats of a Truck, meaning it has far less HP than its plane form and is incredibly vulnerable.
Artillery Barrage
One of the two most important units in the game are Artillery, both towed and self-propelled. Their ability to bombard enemies safely from range allows them to cause damage more quickly since they don’t have to run all the way to the enemy to do it. They’re basically safe DPS against enemy armies, who you can then tie down and keep in artillery range using direct attack units such as Infantry, Tanks, and Armored Cars.
As for naval combat, Battleships and Cruisers fill this role, and you can place them near the enemy’s coast so anyone trying to intercept your Transport Ships at the shoreline get bombarded by naval guns first. Combat is usually going to consist of artillery softening up the enemy and units which counter the target moving in for the kill.
Here are the different types of ground-based Ordnance units, since Battleships belong in the naval section.
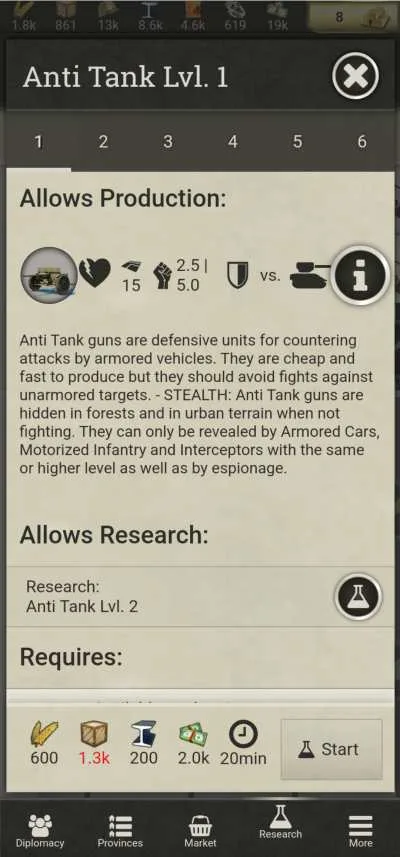
Anti-Tank Guns are exactly that: towed anti-tank guns. One more reason the Tank Destroyer is a bit on the unused side, since Anti-Tank Guns are a much cheaper option which can be used early on to make Light and Medium tanks flinch when thinking about attacking a City. They’re direct fire units, so they’re mostly used to defend Provinces, and they can enter Stealth in Forest provinces.
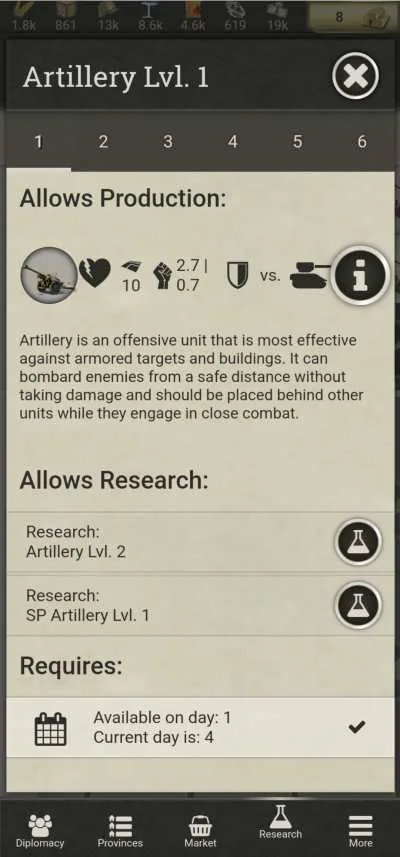
Artillery is the absolute bread-and-butter offensive and defensive unit along with infantry. While they’re slow-moving towed guns, their attack range means they have to travel a shorter distance to attack enemies, and do so safely provided they have escorts with them.
Enough artillery in a single unit can mulch attackers before they even get close, severely weakening them before they make contact with the Artillery unit, which should ideally have other beefier units like Infantry and Tanks (Medium or Light, Heavy if you’re purely using them on defense instead of occasionally splitting them for province capturing) attached to it.
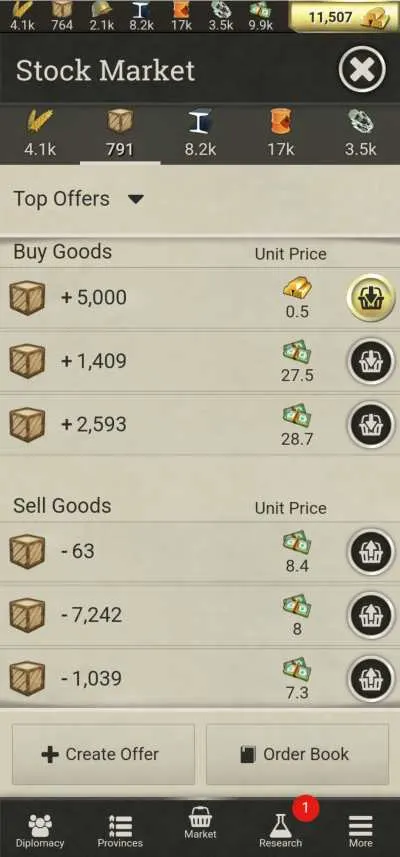
Proof of Artillery’s prevalence in the meta is the rather obscenely high price for Goods in the Stock Market, especially in games that have many active players around, since most of the Goods resource tends to get dumped into mass Artillery, with a smaller portion going to aircraft..
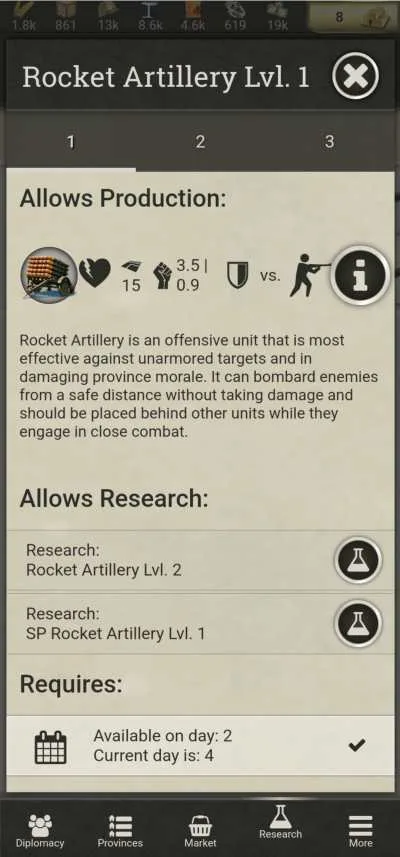
Rocket Artillery is built from Secret Labs instead of Ordnance factories. In essence, they’re the same as Artillery except their damage is strong against Unarmored targets instead of Light Armored targets. They’re harder to rush down with Motorized Infantry, which Rocket Artillery can mulch.
That being said, you can usually do the same thing by making more conventional Artillery. Rocket Artillery cost Rares instead of Goods (Among the other things Artillery normally costs), but you need those Rares for aircraft.
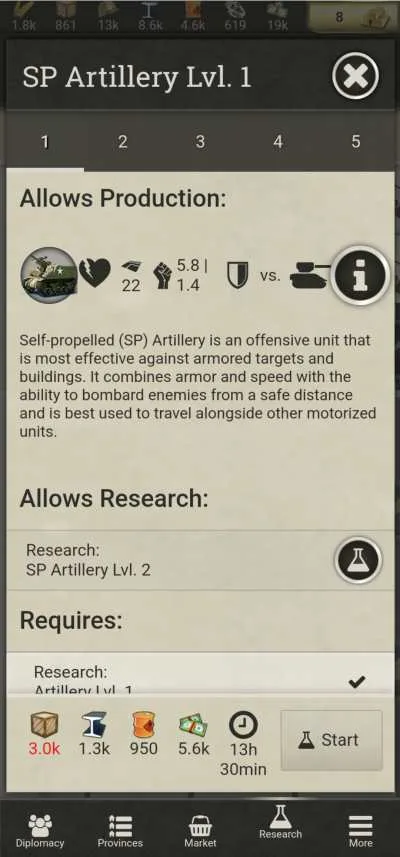
Take an Artillery gun, stick it on top of a truck, tractor or tank hull, and you get Self-propelled Artillery. They’re basically Artillery but faster and with the Light Armor type, meaning they’re less likely to be rushed down by Motorized Infantry. They’re more expensive than towed Artillery, so think before making them.
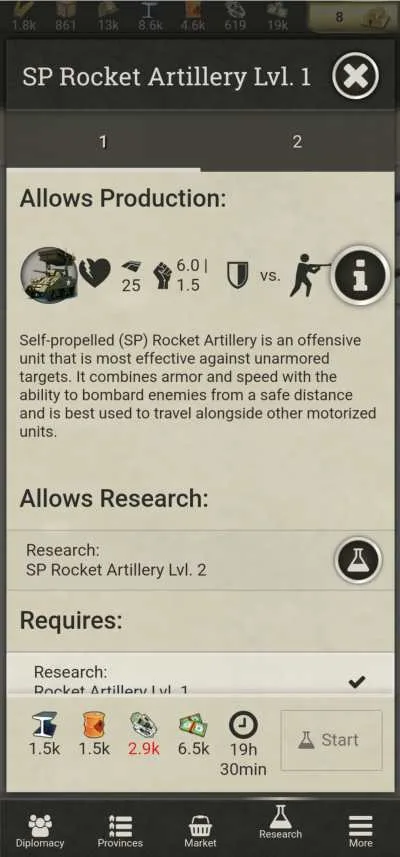
You can stick an Artillery gun onto a tank’s hull, and you can do the same thing with a rack of rockets. Self Propelled Rocket Artillery are similar to Self-propelled Artillery, except again, they bully Unarmored targets like Infantry. They’re built from Secret Labs instead of Ordnance Factories. Again, just use the Rares for more planes.
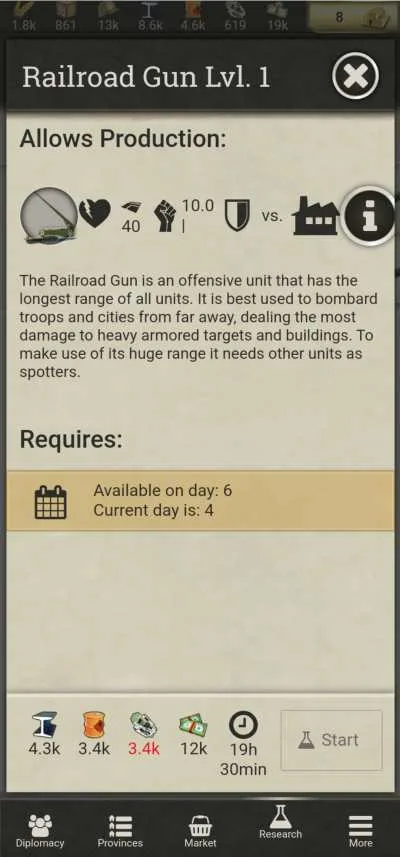
Railway Guns are comically gigantic artillery pieces with longer range compared to normal Artillery or Rocket Artillery units. They do damage to Structures and Morale with their huge shells, much like Strategic Bombers do. They’re also good for wrecking Heavy and Medium Tanks. Again, they’re built in the Secret Lab instead of the Ordnance Factory, and cost Rares instead of Goods.
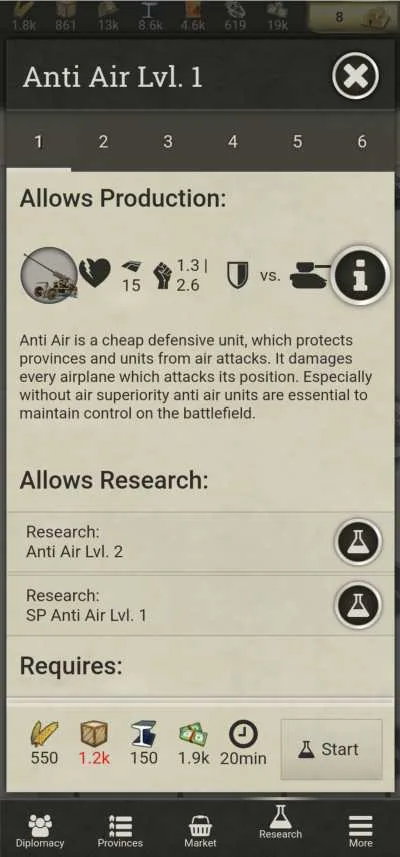
Anti-Air guns are meant to deter enemy aircraft from attacking their position. Unfortunately, their high Goods cost (In spite of the game calling them cheap) makes them a much less desirable option compared to Interceptors, which are more expensive overall but cost less Goods, which means you can use the Goods to make Artillery too. AA guns can make planes think twice about attacking your ground units, but the usual best pick for fighting planes is more Interceptors.
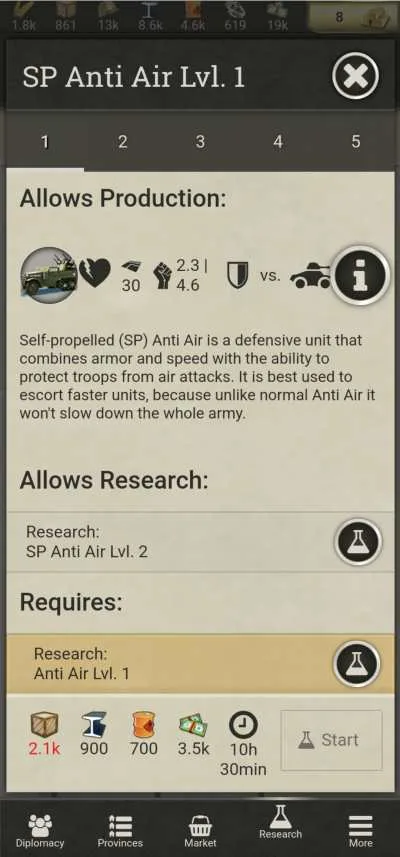
If Anti-Air guns are bad, Self-Propelled Anti-Air guns are even worse, costing even more Goods than Anti-Air guns and still not being fast enough to react to sudden air attacks. After all, flying is still faster than tank tracks. They have the same job, direct-fire counter-attack against aircraft. Again, just use Interceptors.
Air Defense
The other most important unit in the game are Interceptors, as they’re your main scout unit, and enough of them can make it difficult for enemy players to hit you with aircraft. These fighter aircraft not only travel much faster than ground units (Often taking minutes to fly distances ground units would take several hours to reach), they can also detect stealth units of equal or lower level than they are.
They can only fly within a certain range of a Provincial center with an Airstrip or Aircraft Factory on it, so make Airstrips in places where you expect attackers, or near a spot you want to scout out before you strike. Heck, put them down everywhere if you can pay for it! Aircraft in general are also a good way to easily sweep through AI players, and annoy human players who forgot to invest in Interceptors, as the writer can attest to when their war against the Libyan blitzkrieg went sour.
Here are the different types of aircraft:
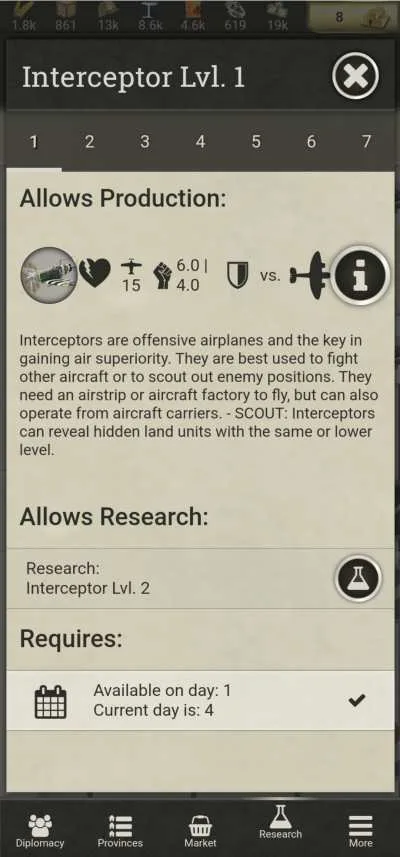
Interceptors, as mentioned, are the most important aircraft in the game, as sufficiently oppressive air patrols can prevent the enemy from using deadly ground attack aircraft on your ground units, while leaving you open to rain bombs all over the enemy. They make excellent scouts thanks to their ability to spot Stealth units of equal or lower level, and their high speed. They’re small enough to be put on Aircraft Carriers.
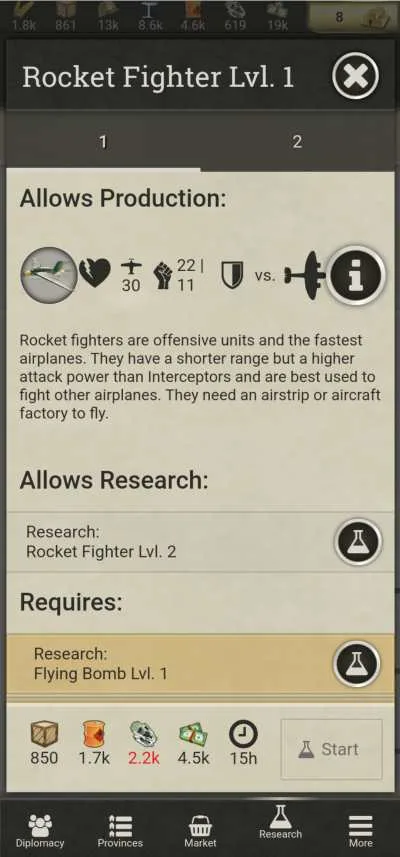
Rocket Planes are researched from the Secret Lab instead of the Aircraft tab. They are essentially much faster, heavily armed, but very short ranged Interceptors, only able to fly a short distance from an Airstrip. They do much the same job as Interceptors, but are better at defending their area than scouting ahead, because of their poor range but quick response time.
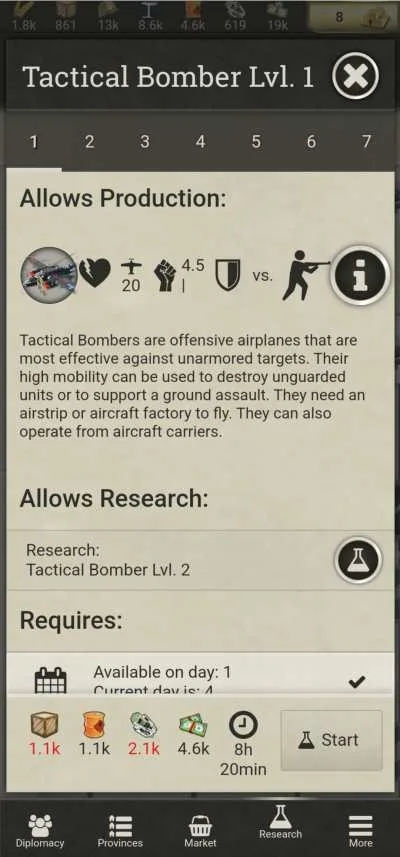
Tactical Bombers are planes made to bully unarmored units such as Infantry, Motorized Infantry and most importantly, Artillery. Have them placed in large single squadrons so they can delete specific enemy units (Like that Artillery unit behind those Tanks your ground units can’t get past) from existence in a tactical manner.
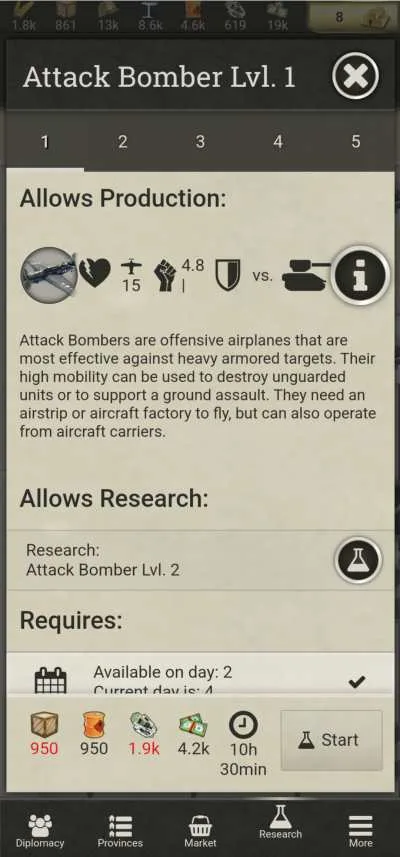
Attack Bombers are very similar to Tactical Bombers, except for their damage type: They hit harder against heavily armored units such as Tanks and Heavy Tanks. You use them in much the same way, in big squadrons to wipe Tank units out in a single shot, or to severely damage stacks of armored vehicles.
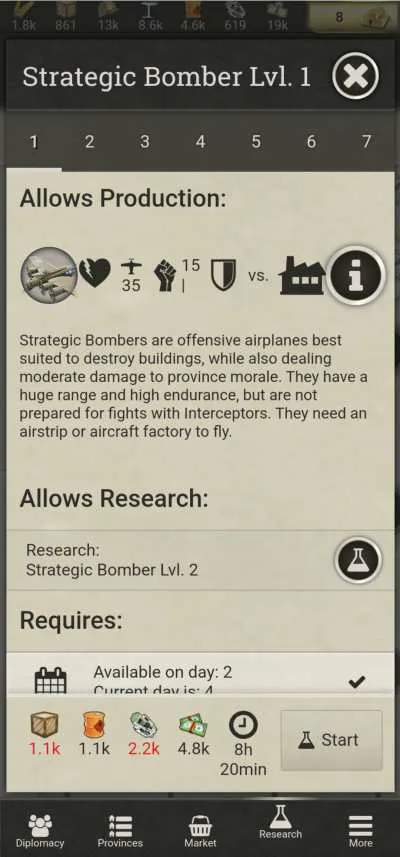
Strategic Bombers are built to damage Structures in Provinces, softening up Fortifications, slowing down construction of units, and damaging the Province’s Morale. They’re a more direct, violent option compared to using Spies and Economic Sabotage.
But compared to the smaller Attack Bomber and Tactical Bomber, are much easier targets for Interceptors. If one of your Cities get hit by a Strategic Bombing Group, expect production there to halt until you repair whatever it is they demolished.
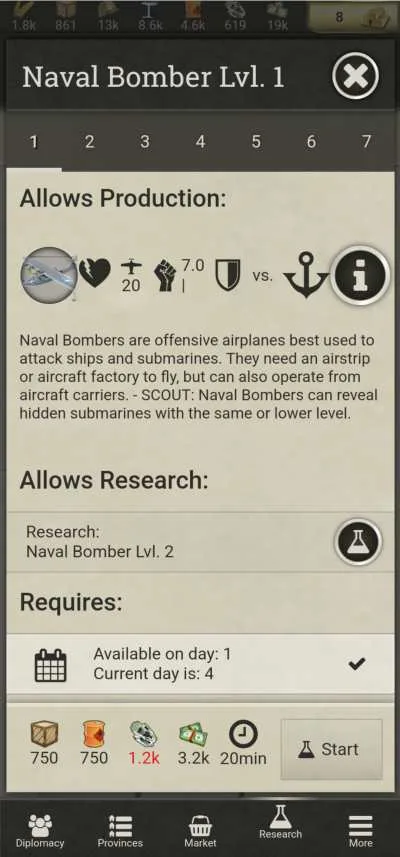
Don’t be fooled by the Allied sprite for Naval Bombers being a PBY Catalina flying boat: Naval Bombers cannot land on water! Naval Bombers work similarly to Tactical Bombers, in that they’re used to quickly knock out single units, this time being Warships and especially Submarines. They can detect Submarines the same way Interceptors can detect Stealth units, and just like any other plane, they need an Airstrip, Aircraft factory or Carrier to fly.
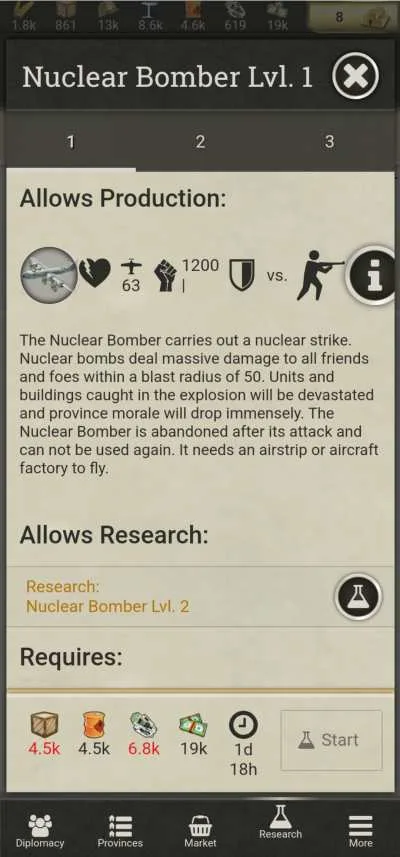
Nuclear Bombers are essentially Strategic Bombers but with an incredibly spicy weapon. Nuclear Bombs will absolutely obliterate any Province it lands on, severely damaging Morale and flattening any Structures within.
In a radius the same size as an Artillery gun’s range, all units, yours or theirs, eat a ton of damage, usually wiping the poor fools from existence. If a Nuclear Bomber drops its grim payload, said Bomber stops existing since it’s a single use unit. This is another reason to spam Interceptors, since you don’t want that happening to you.
Unlike other aircraft, they are built from the Secret Lab, but need an Airstrip or Aircraft Factory to operate similarly to Strategic Bombers. Upgrading them is odd, since it has separate upgrade trees for the bomb and the plane carrying it.
Infantry for Capping and Bulk
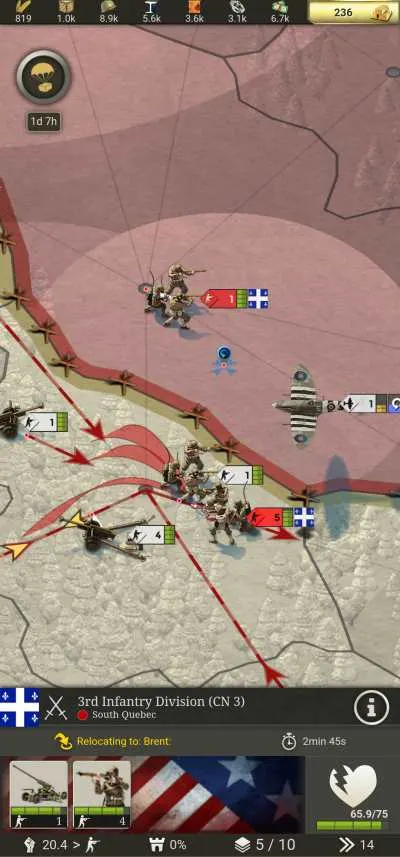
South Quebecian riflemen and AA unit counterattack after East Ontarian aggression, Great Canadian War, 1939
Infantry are the usual way to hold unprotected Provinces. They provide bulk to your armies, allowing them to soak hits while the Tanks or whatever else you brought bring their firepower to bear. You’ll need them much more in the first few days to capture territory quickly while you bulk up your combat forces for when the enemy brings their units to counterattack.
You can attach them and Tanks to Artillery units to protect them in case they get attacked, since Artillery has little recourse against direct combat units getting in their face. There are many types of infantry:
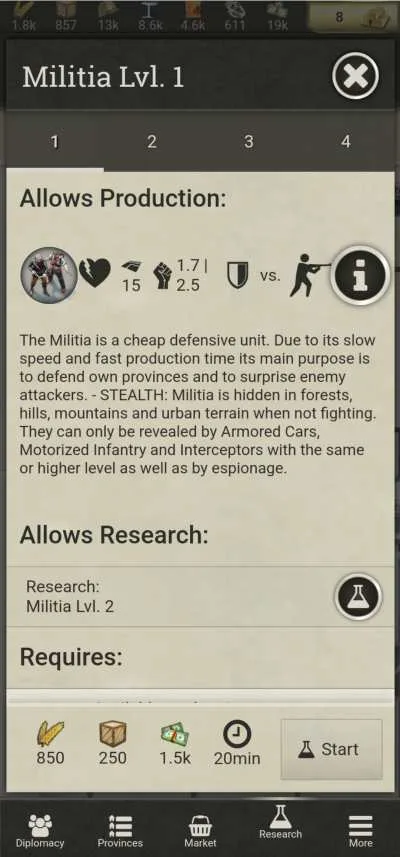
Militia are the cheapest type of infantry, essentially civilian partisans and volunteers armed with whatever is at hand, and motivated by the will to protect their families behind them. They can enter Stealth in terrain such as Forests, Hills, Mountains and Cities, and they can be built very fast in a pinch. The downside? They’re slower than snails, making them really poor for attacking. This means you use them to bulk up a province defensively and catch enemies by surprise, or establish a garrison.
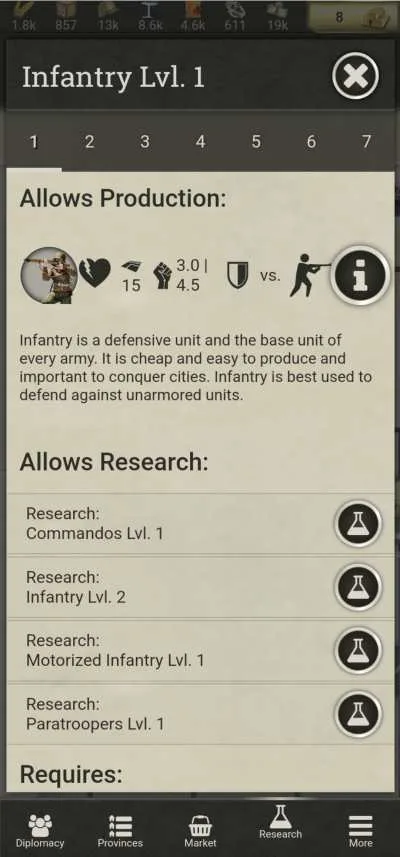
Infantry are the basic kind of… Infantry, still fairly slow but good enough to attack with. Professional soldiers armed with proper weapons and wearing actual uniforms, their job is typically to protect units they’re attached to, and work well in conjunction with towed Artillery. Infantry and Artillery will usually make the backbone of an army.
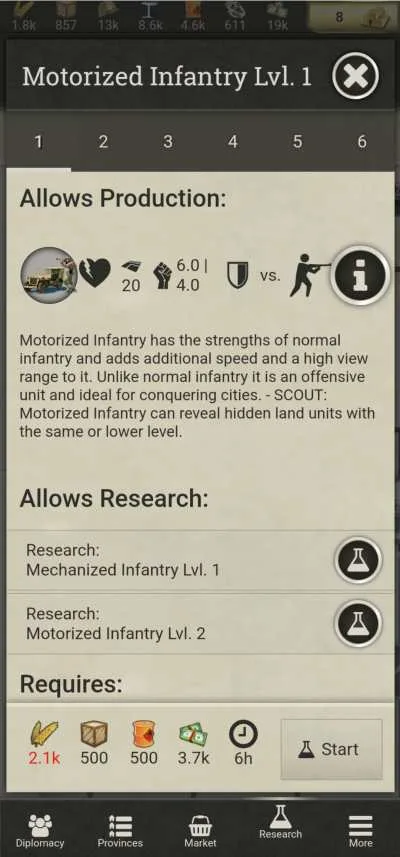
Motorized Infantry are a big jump in price, costing nearly twice as much food as an Infantry unit. Equipped with trucks, Jeeps, Kubelwagens or whatever else they can drive, they can move much faster than either Infantry or Militia, allowing them to do things like strike cities quickly or rush down Artillery units before they can do too much damage. One big advantage they have over heavier Mechanized Infantry is their ability to see Stealth units of an equal rank.
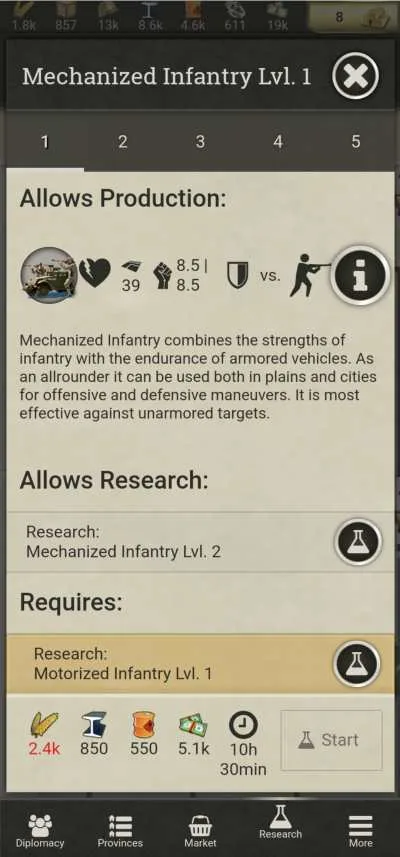
Mechanized Infantry are similar to Motorized Infantry, except they are counted as having Light Armor instead of the Unarmored defense type and are generally tougher overall. Their halftracks take less damage from small arms fire, allowing them to not only move quickly, but also bully Infantry and Motor Infantry they run into.
Of course, their armor type makes them more vulnerable to Artillery (Though the Artillery is still in trouble if it has no allies to defend it when the Mechanized troops make it to strangling range), and if they fight any Tanks, they’ll get toasted in their own halftracks.
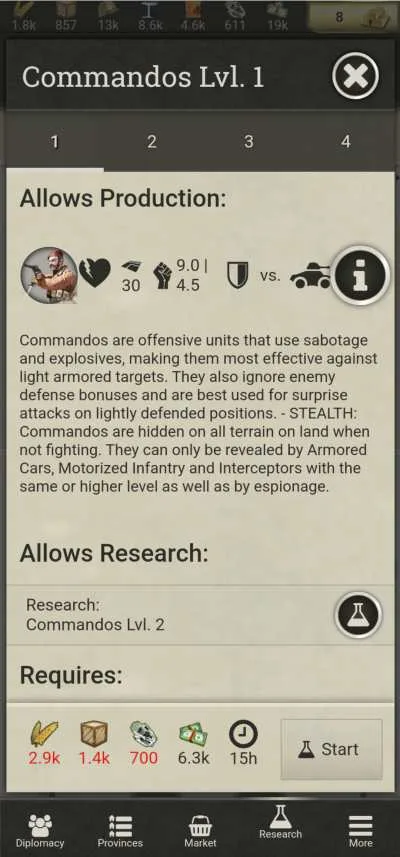
Commandos are as expensive as they are powerful, able to ignore enemy defensive bonuses (Such as those from Terrain, Bunkers or Fortifications) and having close stats with heavy Mechanized Infantry. They’re one of the better options for raiding territories, but are actually poor at holding the good ones: Unlike all other infantry units, they lack a defense bonus in Cities, instead getting bonuses from Forests and Mountains, albeit much better ones than most Infantry type units get from Cities. They can ruin the day for any enemy passing by a Forest, since they have Stealth, and can detect Stealth. Think of them as Militia but after eating a whole pack of Panzerschockolade.
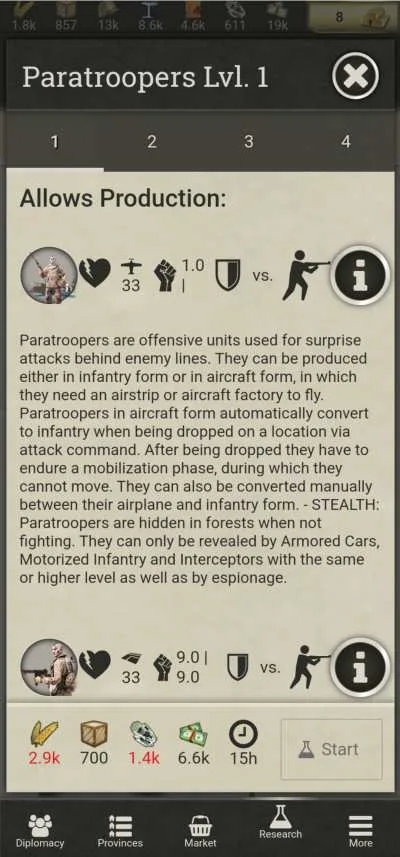
Paratroopers get the blessing of aircraft, allowing them to deploy very quickly anywhere within range of an Airstrip, mere minutes as opposed to driving or marching for a few hours. Paratroopers can either be built as a plane or as a ground unit, and can switch between forms at your command.
If you use them to attack while in plane form, they will turn into their infantry form right over the enemy’s heads. They will fight and defend the area, but for a while they will be unable to move after landing. In that state, it might be a good idea to reinforce them before they get overwhelmed by the defenders they had just bypassed.
The infantry you’ll use most often are Infantry and Motorized Infantry, since they’re balanced enough to be both used on offense and defense without completely annihilating your wallet.
Vehicular Combat
If Infantry tend to be used on defense (barring the more expensive types), Vehicles are often used on offense thanks to their speed. You’ll mostly be using Light Tanks or Medium Tanks in conjunction with Armored Cars depending on your economic situation: If you have loads of Goods, you’ll use Light Tanks, and if you have loads of Rares and especially Steel, you’ll use Medium tanks. Again though, keep in mind the sheer importance of Artillery and aircraft.
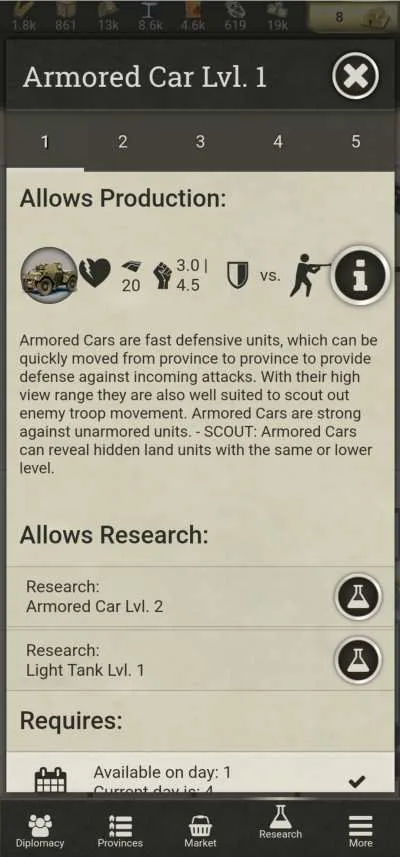
Armored Cars are Light Armored vehicles which move quickly, can detect Stealth, and can be used to shoot Infantry thanks to their damage vs Unarmored enemies. You can also use them to rush Rocket Artillery units down much like Motorized Infantry does to plain old Artillery. You usually start with one in every City tile you own, or more Infantry. At the very least, you get one in your Capitol.
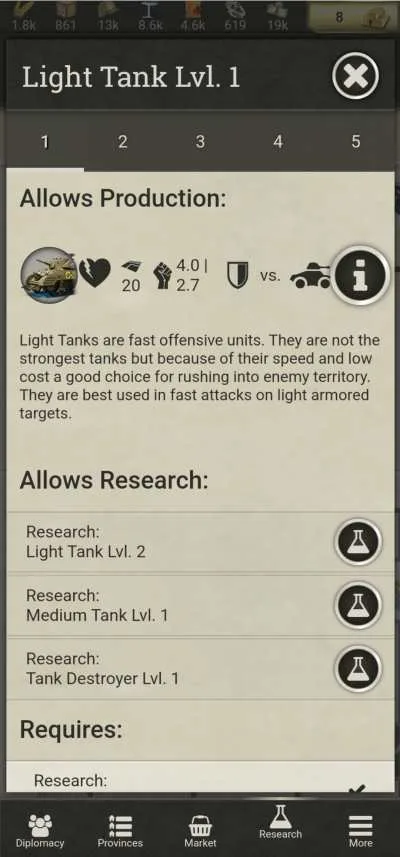
Light Tanks are Light Armored units used to fight other Light Armored units. They can be used to protect Artillery from Mechanized Infantry, and soak shots from the enemy. They’re able to completely shut down earlygame Armored Cars, and are a tiny bit less vulnerable to Attack Bombers compared to Medium Tanks. But as soon as they see a Medium Tank, they’ll melt like a puddle.
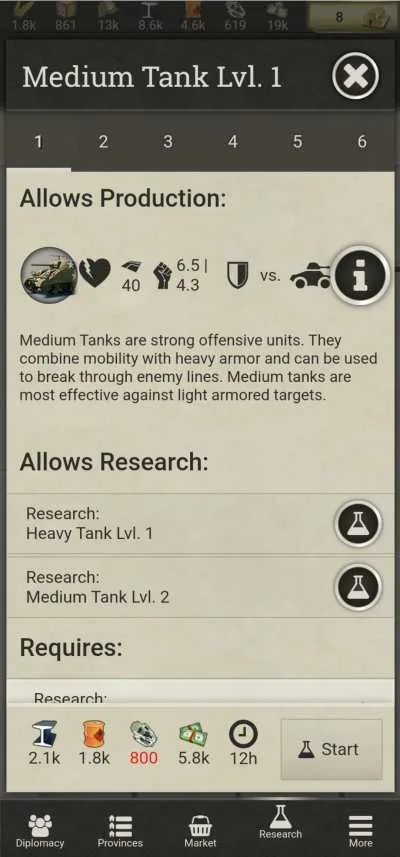
Medium tanks are used in much the same way as Light Tanks, except they have the Heavy Armor type and can take hits from Artillery more safely. You use them to rush into Provinces while Artillery fires behind them, protect your Artillery, and soak shots from the bad guys and roll over the defenders. Light Tanks are usually the better choice since they’re mathematically cheaper, but cheap is a relative term: If you find yourself running low on Goods but swimming in enough Rares that even after making an air force you have some to spare, make Medium Tanks instead.
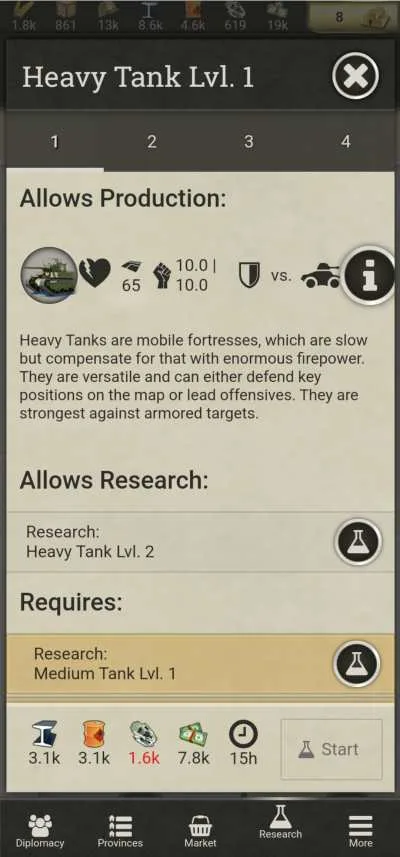
Heavy Tanks are essentially fat Medium Tanks, and are a bit redundant. The game says they’re useful on the attack, but their slowness and the existence of Artillery and Medium Tanks makes them rather bad for it, especially since their low speed means they spend more time under barrage.
If you have money to spare, they can be a nasty surprise on the defense, but only if planes don’t bomb them to death first. If you have both the Rares AND Steel to spare, they might be useful to lock down some important provinces and buy time, but you might be better served with more Medium Tanks.
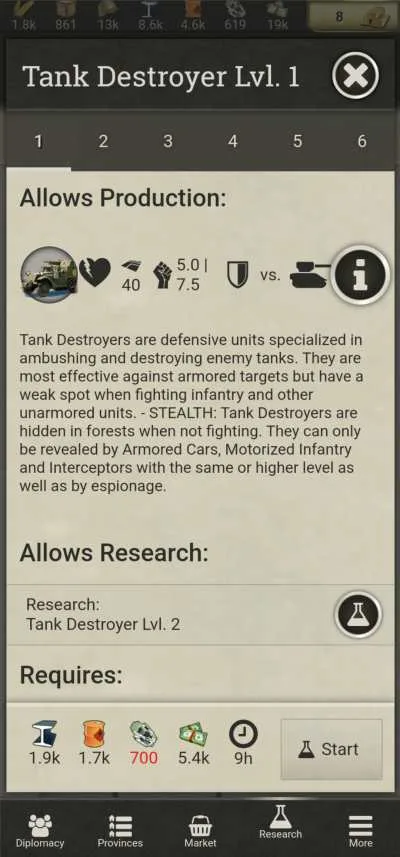
Tank Destroyers are rather redundant much like the Heavy Tank. They’re a direct combat unit that hard-counters Medium and Heavy Tanks, which you should be doing with Attack Bombers anyway. They do very little to Unarmored units, so Motorized Infantry can dance all over their wrecks. Even worse, Artillery will eat them for lunch even if they DO get in strangling range. If you really want a direct counter to Medium tanks, just let them walk into some cheap Anti-Tank Guns.
Naval Blockades
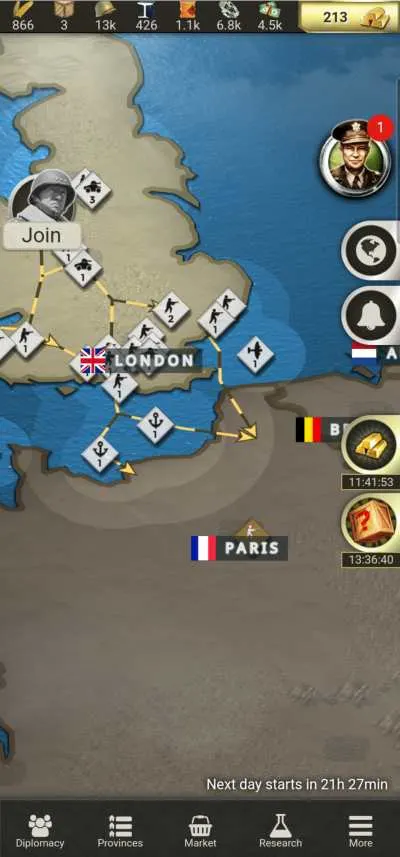
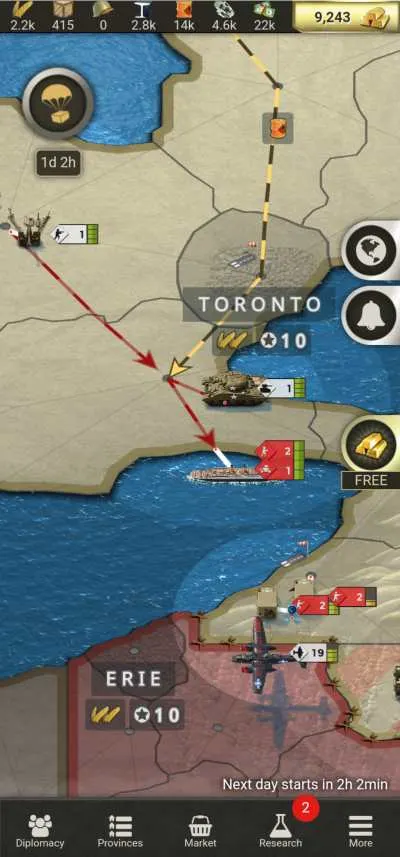
Ground units typically need to travel across the ocean via vulnerable Landing Ship units, automatically made when they travel through water. Such ships are easy prey to Submarines and other ships, and might even be threatened by enemy Artillery, Railroad Guns, and aircraft in coastal positions. You should always place escort ships, especially Destroyers, and if not those, Cruisers or a mix of Interceptors and Naval Bombers in the path your Transport Ships will take or are expected to take.
That way, you can attack any incoming threat and allow your Transport Ships to drop their rather hostile cargo on the enemy’s tender nether regions. This goes both ways: Having Submarines and Destroyers near places you expect an enemy attack can prevent the enemy from landing THEIR troops in your territory. Here are the different kinds of warships available to you.
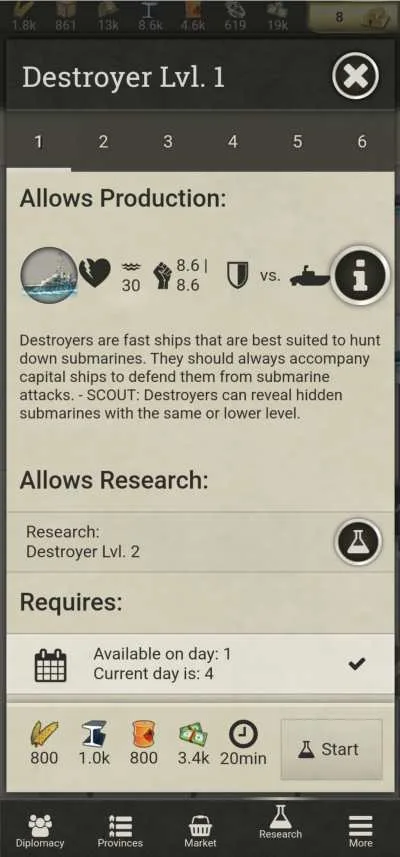
Destroyers are scout ships used to make Submarines think twice about attacking your larger capital ships. They can detect Submarines of equal or lower level than them, then dump depth charges over their heads to kill them. They’re fast too, so you can use them to scout the shoreline.
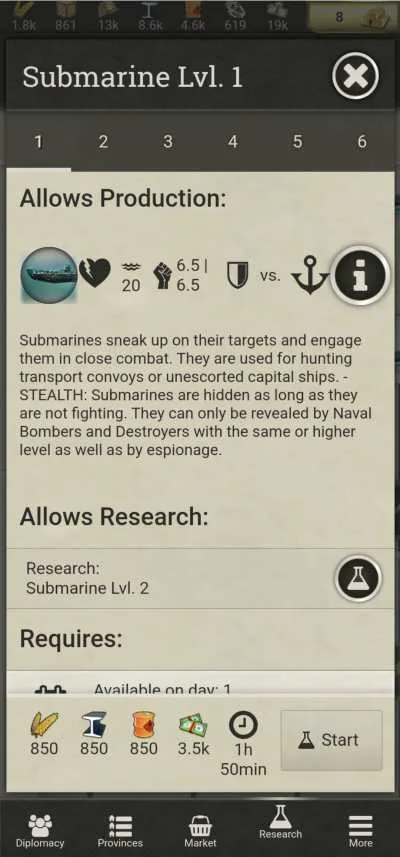
Submarines are direct-fire warships that enter Stealth whenever they’re not attacking, or aren’t within view of an enemy Destroyer or Naval Bomber that is of an equal or higher level than the Sub. You’ll typically use them to attack undefended capital ships like Battleships and Carriers, or place them in areas where you expect Transport Ships to pass through.
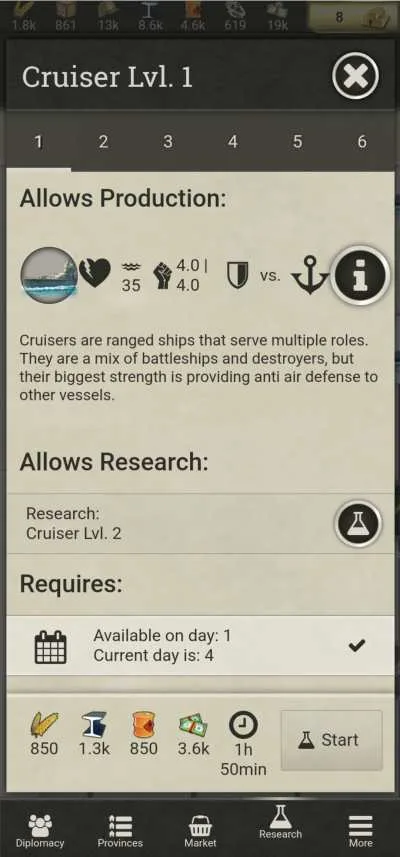
Cruisers are anti-aircraft warships with some measure of shore bombardment ability, having a long range attack akin to Artillery. This makes them harder to attack from the air, but their bombardment ability isn’t as powerful as the next ship on this list.
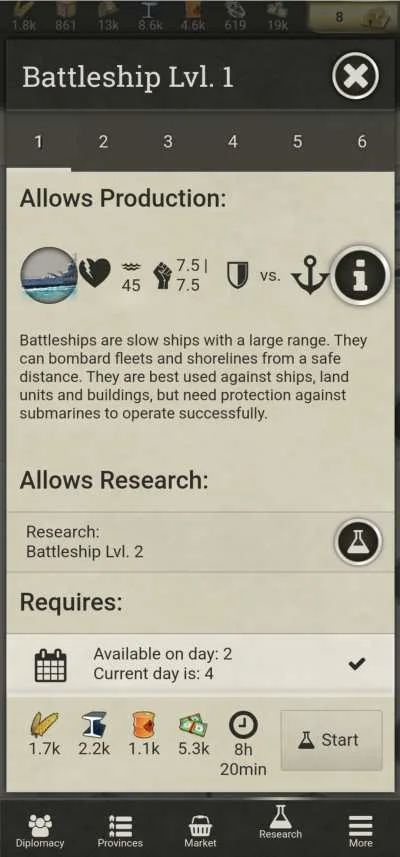
Battleships are large warships, large enough that you can give them their own name when making them! They’re best used for locking down Cities along the shoreline, preventing them from making units without said unit eating battleship shells first. The unfortunate writer knows this, mostly because it was used on them after they had used it on someone else, and it was just as effective and irritating for the writer as it was for their victim. Karma!
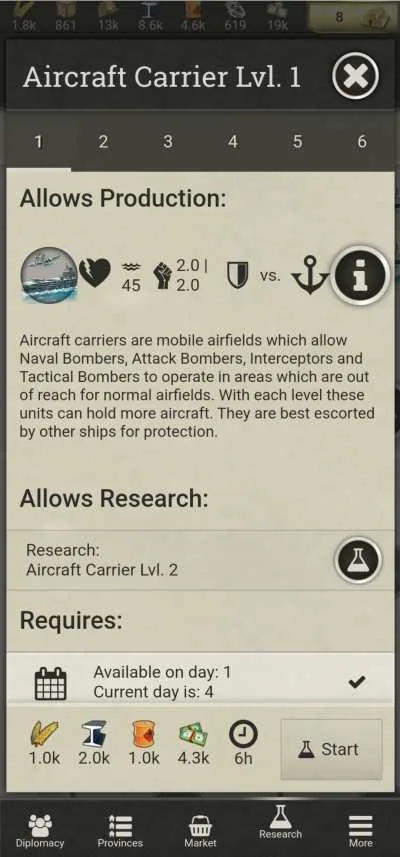
Aircraft Carriers are essentially mobile water-borne Airstrips. You can store several small aircraft (Interceptors, Tactical Bombers, Attack Bombers and Naval Bombers, but not Strategic Bombers or Nuclear Bombers) in a Carrier, then move the carrier within range of an island you want bombed, or have Interceptors and Naval Bombers patrol in unexpected areas around the ocean.
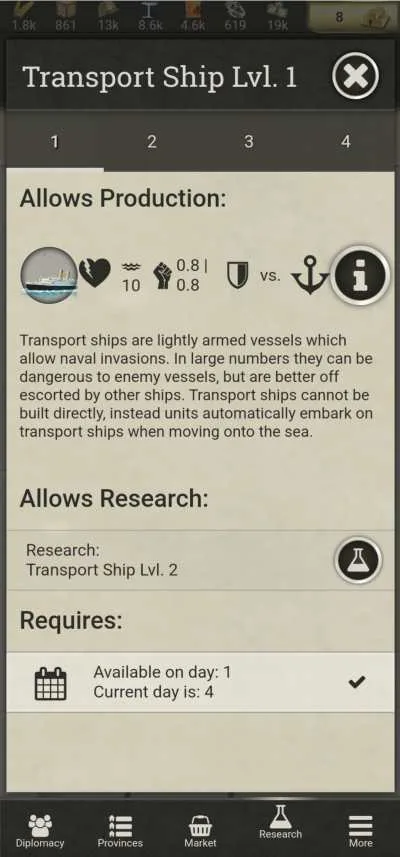
Transport Ships aren’t made in Ship Factories. Instead, they are automatically spawned when ground units reach the shore in an effort to cross water. They’re very vulnerable, so keep their transport lanes protected by your warships, especially Destroyers to keep Submarines away.
Glorious Wonder Weapons
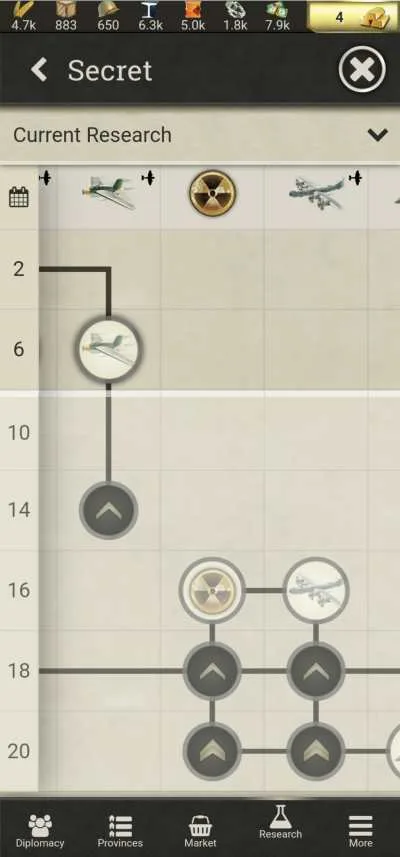
You’ll notice there’s one last factory you can build in Cities: The Secret Lab. Secret Labs construct units that are, for lack of a better term, wunderwaffles. Some of them act similarly to other units from other factories, and as such get listed in their respective unit type so they can better be compared with their more conventional peers. Some of them though are so weird to use that they get this section here.
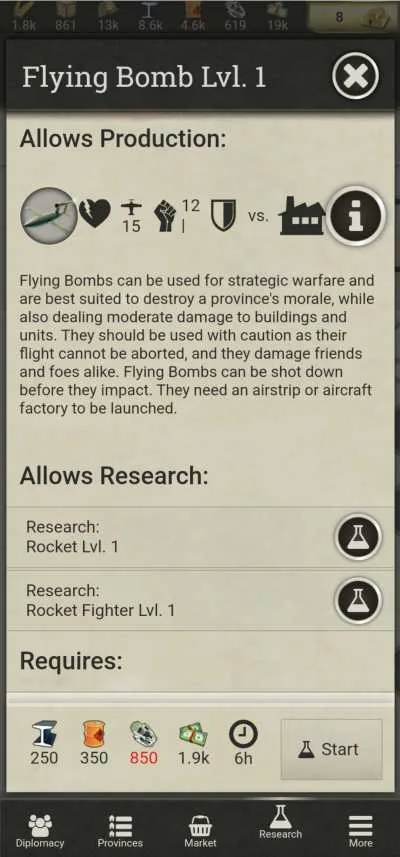
Flying Bombs are single use missiles which cause heavy damage to Structures and Province morale, and anything it hits directly, like the local garrison. They need to be launched from an Airstrip or Aircraft factory.
They can hit friendlies so use them to open an attack and send your troops in afterward, and be careful where you point them! The only way to stop them reaching their target is for them to get shot down on the way there, usually with Interceptors or Rocket Planes.
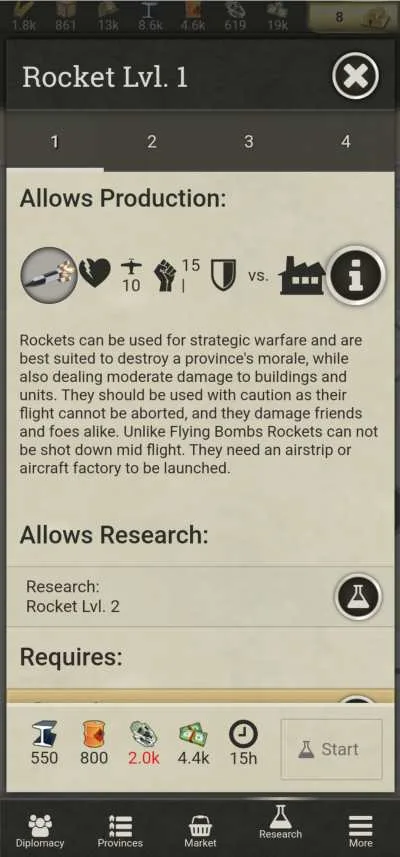
Rockets are basically Flying Bombs, but completely and utterly unstoppable, even by your best pilots. They hit Structures the hardest, while making the Province it just crashed into a bit more miserable and damaging whoever happens to be inside.
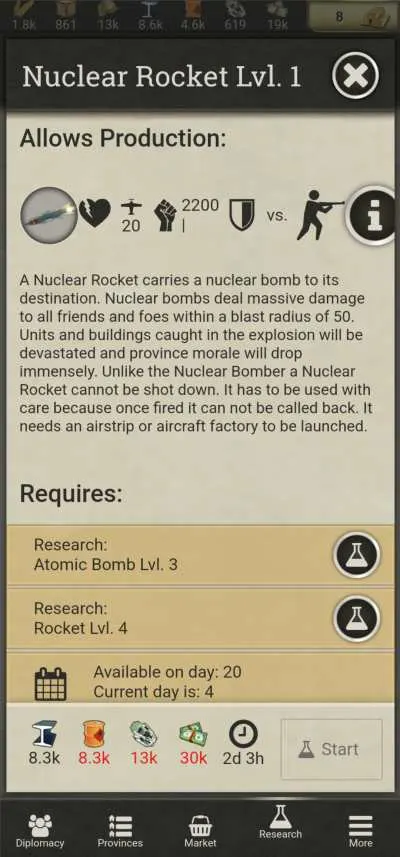
Nuclear Rockets are the best way to lose any friends you made with the AI. Completely irreversible when launched, a Nuclear Rocket will utterly erase anything within Artillery range of its impact zone, dealing thousands of damage to anything that isn’t a Submarine fleet and dropping the Province’s morale to zilch. Pray the game ends before anyone unlocks these!
NATION BUILDING: LOGISTICS AND INFRASTRUCTURE
Behind every powerful war machine are good logistics officers counting beans and doing everything in their power to make sure the men are fed, the factories do their work and everything makes it to the front on time.
Hearts and Minds: Lategame Propaganda Offices
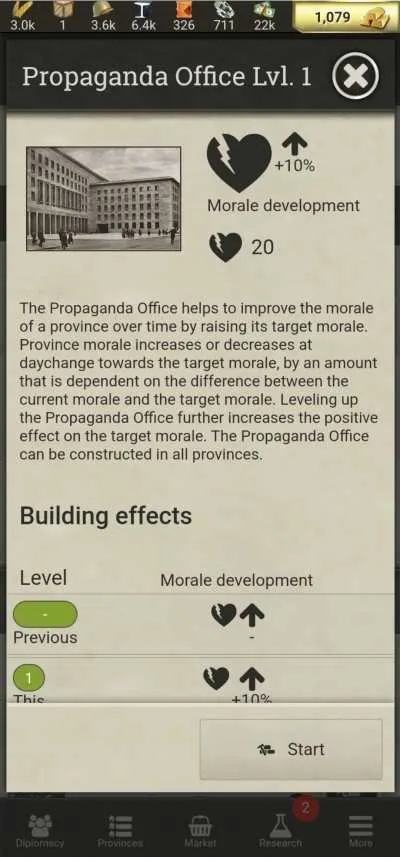
Morale works in a strange way in Call of War: Morale’s effects and whether it goes up or down is affected by multiple factors, such as a Province’s neighbors, the presence of a Propaganda Office structure, and its distance from its Capitol. The fact distance to the Capitol affects Morale means Propaganda Offices are something you build later into the game once you’ve conquered territories far from your Capitol, since far away territories will have their morale drop every day as opposed to rising thanks to Capitol proximity.
Capturing a Capitol city increases all your Provinces’ Morale by 10%, but losing it will cost you a painful 20% across your whole nation. Morale affects production speeds, income from the Province, and if it drops below 30%, a Province can outright rebel. The effects of a rebellion can include the Province turning back to its original owner, joining a neighboring country (particularly funny or annoying if they join one of your allies, depends on whether or not you wanted to give that province away anyway), and converting or killing any garrison inside that’s too weak to stop them.
The last part can be halted by placing a strong garrison in the province (The further below 30% Morale, the more troops you need), though eventually you’ll need to build a Propaganda Office there since a strong garrison in a rebelling province does not improve Morale, it just means the citizens are too badly beaten down to do anything, and that includes contributing to the war effort!
Industrial Setup: Prioritize Special Resources First
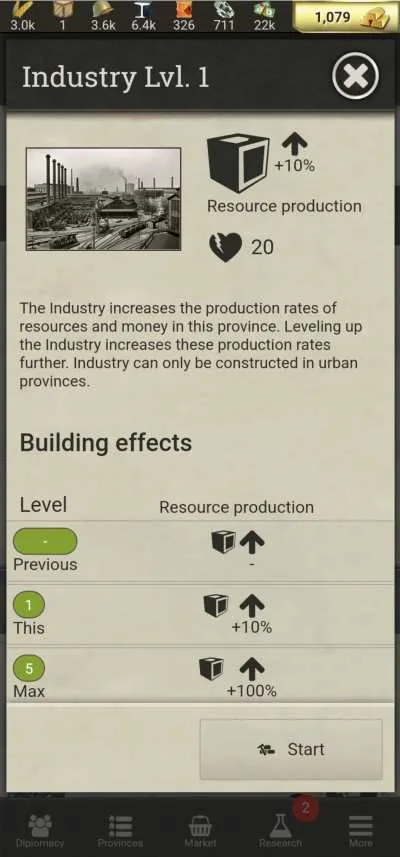
In the Provinces tab, you can check which provinces make special resources like Food, Goods, Oil, Steel and Rares. Most provinces make only Manpower and Cash, but some of them make these special materials. Prioritize them as the first places to set up the Local Industry structure, since that increases whatever resources they make on a province-by-province bases.
This way, you get a materiel boost early enough to start building your military up. Of particular note are Rares and Goods: Those are the main resources needed for Artillery and Aircraft heavy armies, which tend to be quite effective in war due to how Artillery and Interceptors work. On the other hand, a Recruitment Station is best used in places that lack special resources, since those tend to have a higher base Manpower production.
Future Defense: Fortifications
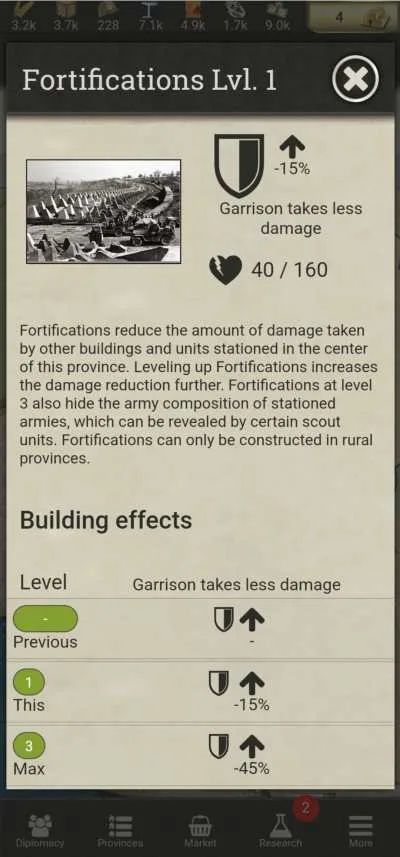
If a province is near a potential enemy, or if it’s merely something you want to prioritize protecting, you can set up Fortifications (or in the case of Cities, Bunkers) there. Fortifications lessen the damage your army takes from enemy attacks, and lessens the damage enemy bomber aircraft do to the Province’s morale and resource gathering ability.
The first part about it lessening damage taken by your troops means they last longer in case of invasion, allowing you to move reinforcements to the area and either save the province, or wipe out the successful but exhausted attackers and retake the area with a violent counterattack. Preferably the former because the enemy might use those Fortifications against you if they’re still intact by the time the province fell.
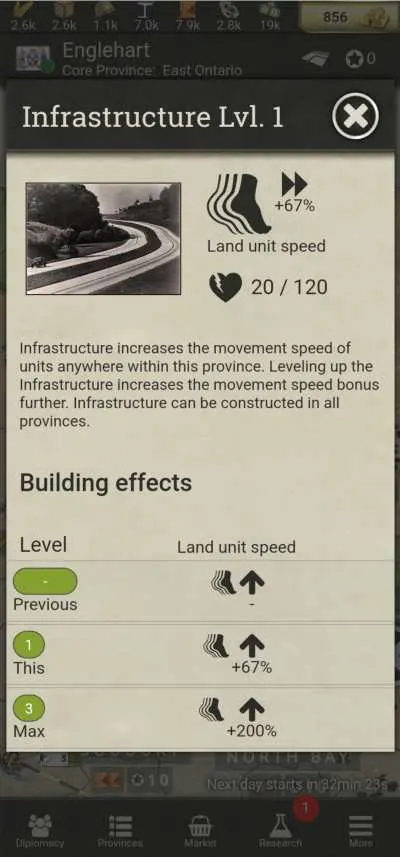
Infrastructure: Logistical Trails
The Prussian military used their trains to deploy faster than the French in the Franco-Prussian War, and the German Blitzkrieg flourished in the good roads of France and Poland, and fell over miserably when bogged down in the Soviet Union’s unpaved, muddy paths, not withstanding their endless fuel shortages.
Infrastructure upgrades improve the roads and trains in a Province, allowing troops to move faster through them. While they seem less important early on when you’re just attacking your neighbors, things change when you find yourself in a couple of situations.
For one, once your empire grows nice and wide, suddenly the troops from your older cities have a much longer way to go to the front. Another situation is if you have allies that need help, and their front rather far away from you. Infrastructure upgrades in commonly traveled paths for your troops can cut travel time down significantly.
Not only does this allow your troops to move along quickly, infrastructure may be the difference between your allies coming in at the perfect moment like in an old war movie, or your allies watching horrified as they arrive to your fallen capital too late to save the people within.
INTELLIGENCE AGENCY
In any war, knowledge is every bit as precious as ammunition. Not just knowledge of enemy positions or numbers, but of their plans and the enemy’s goals.
Spicy Spy Time Is Midgame
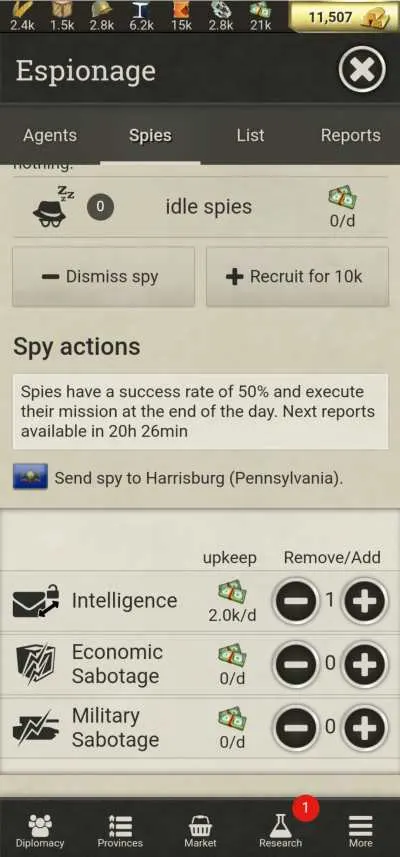
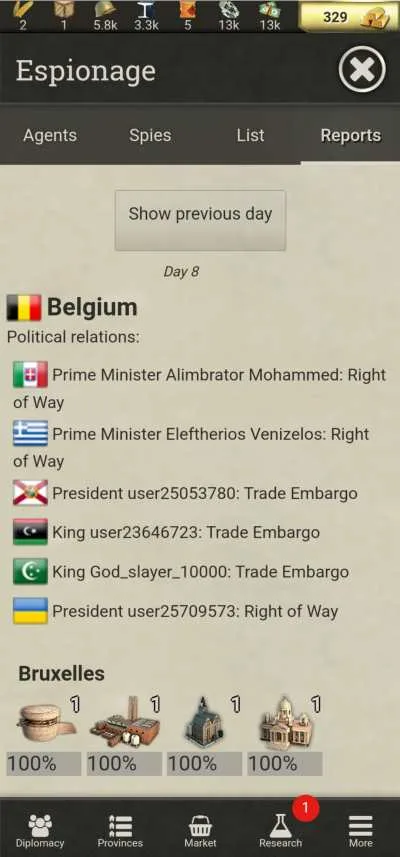
Spies aren’t so much for scouting enemy units, but for political and overall strategic-level and operational-level knowledge. They have 4 abilities: Intelligence not only tells you everything about a province, such as the structures within and whatever it happens to be building, it also informs you of diplomatic ties and even internal chat messages between that nation and its allies.
Economic Sabotage will ruin the Morale of a province, slowing down production of resources there. Military Sabotage will cause problems with any units stationed there. Deploying a spy in your own Territory allows them to perform Counter-Espionage, which informs you of any spy activity happening in the area they cover and lowers its chance of success.
Spies are most useful against active human players, as their message history with their allies may inform you of weaknesses in their army positioning, or their economy, or simply if they plan to tag team you in a double invasion some time in the future. Each Spy costs 10k Cash to hire and an upkeep cost of more Cash every day.
Spies are best deployed later in the game once everything starts going nuts, as deploying them too early will likely cripple your Cash supply and make it harder to defend against enemies rushing you. Spies working in conjunction with Interceptors will allow you to more easily know the enemy’s plans.
How Vision Works
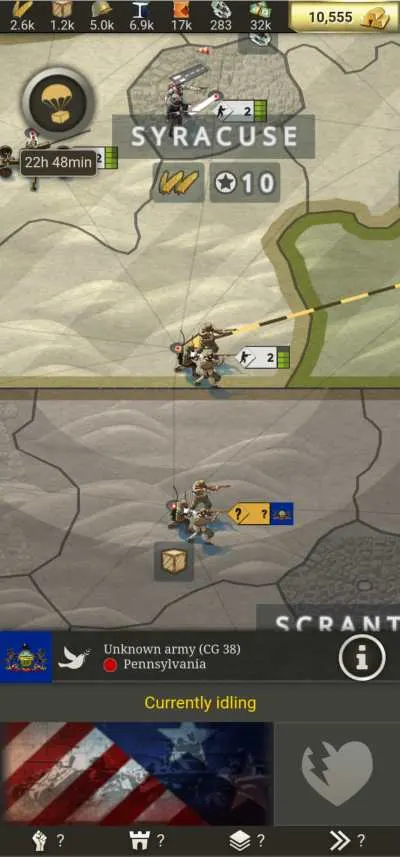
You’ll notice that unit vision actually has two ranges: An outer range, and an inner range, indicated by a circular clearing of fog of war around the unit. The outer range will tell you where the spotted unit is, but not where it’s going, what kind of unit it is or how many are in that unit. If they enter the inner vision circle, you will be able to see what kind of unit they are and their movement path.
Even bombarding a unit within the darker vision circle will not reveal what kind of unit it is or its size, so planes become important so you know whether to avoid an enemy unit or fight it. This also applies to the vision you and your allies share with each other if you have Share Map Vision as a relationship, so it might help to send scout planes to aid your ally’s vision in case they’re at war but you don’t have the strength to aid them directly.
Only Share Map Vision When The Other Guy Does It Too
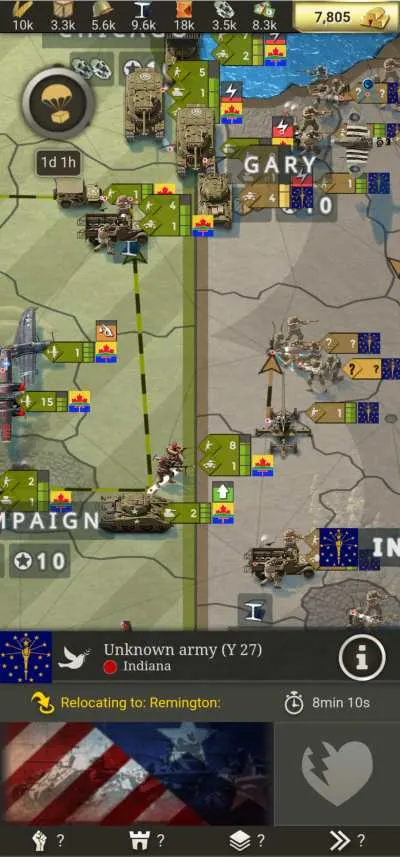
Never ever let other nations see your units if you can help it. That will allow them to pick weak spots they can invade. Especially do not let nations near you see your units, since nearby countries are the ones in the best position to invade you because of the incredibly long wait times being based on distance.
This can also be a good way to guess where a nation’s units are concentrated, at least early on: Where there’s stripes, there’s a fight, so the warring nations naturally have to focus their troops they don’t get overwhelmed by their respective enemy.
Then you can perhaps hop in behind your target! That being said, if someone reveals their map vision to you via the Diplomacy tab, you can take that as a real gesture of goodwill and do the same, though it’s always best to talk with the other player first via the Diplomacy tab to ascertain their intentions.
FOREIGN AFFAIRS DEPARTMENT
Diplomatic Relations, The Steamiest Kind
Diplomacy, assuming you find yourself in a proper game without too many bots or sleepy players, is something you’ll need to learn to survive. There are several different kinds of Diplomatic Relations available to you with every nation:
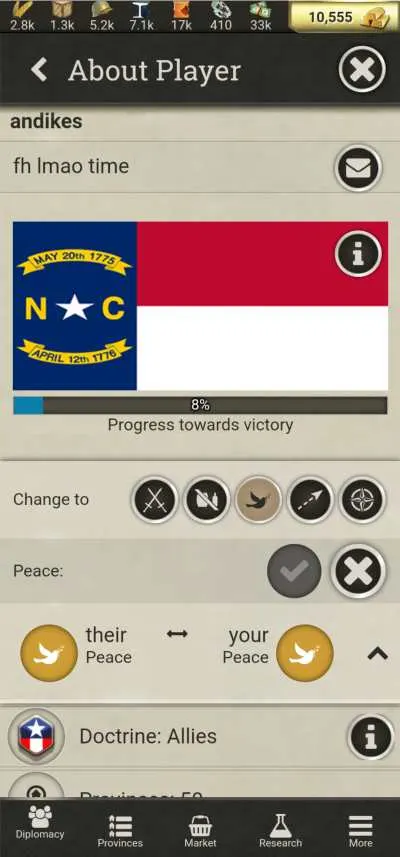
Peace, the default state of affairs. You are unable to see the other guy’s territory, and sending ground troops is ill-advised if you want to keep the status quo, though you can send planes to scout them out without immediately starting a war. That being said, doing so is risky and you may want to pull back those planes before the other guy wakes up and decides to declare war over such a blatant violation of territory. Their land is tinted a peaceful, quiet beige.
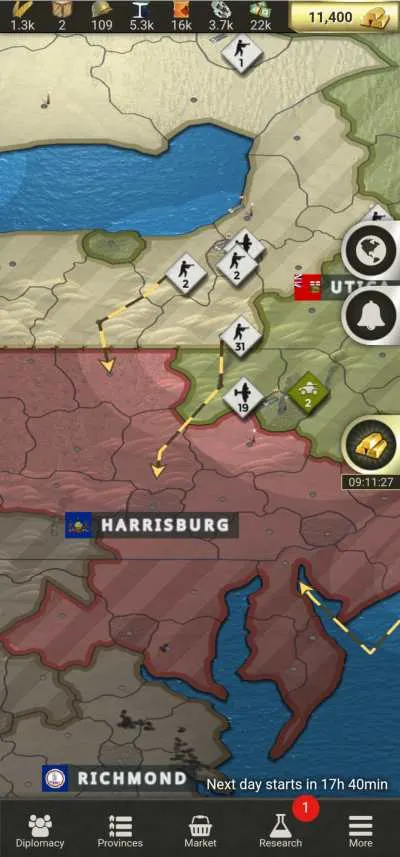
Right of Way is the first step of a proper alliance. You still cannot see the other person’s troops and territory, but you can move troops freely through their land, now marked with a green tint. This not only helps both parties defend each other when they’re in trouble, but allows one aggressive party to attack someone next to their ally while having the ally cover said aggressive party.
You should try to get a lot of these during early game, if the game has a number of inactive or AI countries: Making allies raises your popularity in a country, making them much less likely to slap a Trade Embargo on you once you start rolling over their neighbors, or actual players.
Map Vision is the next step of an alliance, only recommended if you’re playing with someone you know very well, or have had proper, clear talks with the other player via the Diplomacy tab’s messaging function.
Or if you join a Coalition, since Coalitions get a shared victory and therefore have less incentive to backstab each other. This allows the party with it turned on to show their troops to their ally, allowing both sides to more effectively plan out their war strategies and immediately respond to enemy attacks.
As if both parties have this turned on, one side will immediately know if the other is under attack. Never turn this on unless the other guy does it first, if you don’t know them in any way. After all, you don’t want a sneaky, underhanded foe to suddenly invade your country’s weak spot, not without at least learning theirs first!
Shared Intelligence is the final step of an alliance, only available between Coalition members. It’s essentially Shared Map Vision, except now your or their spies tell your ally what they’ve seen or heard too. This means you can more easily coordinate with them during wars.
Then there’s a Trade Embargo, which is economic warfare. Neither of you can sell each other anything via direct trade or the Stock Market. While it is mostly an annoyance in player to player interaction (If a player doesn’t like you, they might just declare War immediately as a Trade Embargo may make it too obvious that they’re after you), it is one of the AI’s most powerful weapons against overly aggressive players: If players invade countries, especially via an undeclared war, certain AI-controlled nations may dislike that.
If your nation’s popularity in a country drops too low, they have a chance to slap a Trade Embargo on you. Too many AI nations doing this will really make it hard for you to use the Stock Market tab, as you’ll notice markedly higher prices for resources there. You can check your global Popularity (If it averages 30%, you’re in deep trouble) and see if anyone threw an Embargo at you via the Diplomacy tab.
And last but not least, War, the most fun and entertaining of all diplomatic relations. To you, not to the brave souls you heartlessly send to the meat grinder. War automatically happens once you invade the enemy and take one of their provinces or attack one of their military units, but can be declared beforehand.
Declaring war beforehand seems like a completely dumb idea that just warns your opponent and lets them mobilize, but it does have a use: In a game with lots of AI nations, undeclared wars tend to damage a player’s Popularity much more than a declared war. Highly aggressive players may find themselves suddenly waging war against several AI nations at once if countries that hate them also happen to be next to their territory, or get barraged with Trade Embargoes otherwise.
If you are attacking a human player though, not declaring war might be your best option, or declaring it right as your Artillery enters bombardment range. Ending a War typically means you have to enter a Ceasefire, which is similar to a Trade Embargo, or total annihilation of the other side.
You can ask for a nation to give you a certain type of Diplomatic Relation via the Diplomacy chat’s Trade option, or you can simply set your relation toward a nation yourself. The former allows you to ask for a relation back, while the latter might get taken advantage of by an unscrupulous player. Again, it is best to chat with the other player first before changing to more positive Relations, unless they’re AI. Not like the AI can say anything, and your Popularity is all you need to know with AI.
Diplomatic Talks
So you allied with a random player you met in a game. They’re kinda quiet, and they haven’t replied to your messages, but they returned the favor when you gave them Right of Way through your country. Great, nothing left to worry about right? Then you wake up the next day and your entire country is painted red. Oops!
Unless you’re with a friend who you had planned to be your ally before starting a new run, never ever trust other players, ever, especially ones who you notice do a ton of invading and don’t reply to messages. Right of Way and such is fine, but in the end, you’re always looking out for number 1, and so are they, unless you’re in the same Coalition.
Giving another player Right of Way or Share Map Vision essentially allows them to walk their troops through your country, which a smart yet ruthless player (It’ll work on the first guy they do it on, but if anyone sees them do it, other players may decide to deal with them first for it) may use to get into better attack positions before waging war on you.
The only time (other than when you premeditate a new run with a friend) you can trust an ally even a little bit is if you’re both in a Coalition, thanks to the shared Coalition victory goal encouraging cooperation between its members, or if they are willing to talk with you.
Ironically, the AI are far more trustworthy since they’re more predictable, and allying with AI can help economically as a high popularity in a nation (And a high global popularity in general) means you don’t have to worry about a trade embargo barrage making Market access difficult.
Know Who’s Online
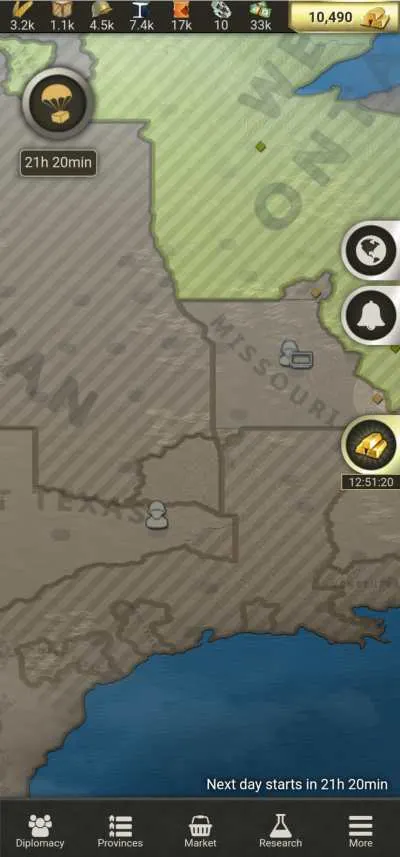
Timezone shenanigans mixed with the game’s slow nature means there’s a pretty decent chance you might catch your opponent in their sleep, or players may go inactive after a day or two since they have since joined a game where they have a better starting advantage or more talkative players. You can see who’s online in two ways: Go to the Diplomacy Tab and check for the small circle near a country’s flag icon: A red circle means offline, a green circle means an active player.
The second way is to zoom out of the map and look for icons: A head silhouette icon means an active player, and a head silhouette icon next to a computer screen is asleep, and currently being run by an AI. Ais, while occasionally unpredictable in their fighting ability (Sometimes they fight like idiots, sometimes they send a terrifying doomstack of 15 or 30 units to punch through your line), they are highly predictable politically, with their Popularity bar being a good way to measure how much they like you.
Either way, they’re the easiest to conquer, though if there’s way too many offline players it might be time to move to a more active game room. Or stay, if you’re new and learning the ropes or just want a relaxing five minute comp stomp every couple of hours. This also allows you to see who the real threats are, since active players are either your biggest enemies or your best potential allies. Usually the former though.
OFFICE OF FINANCE
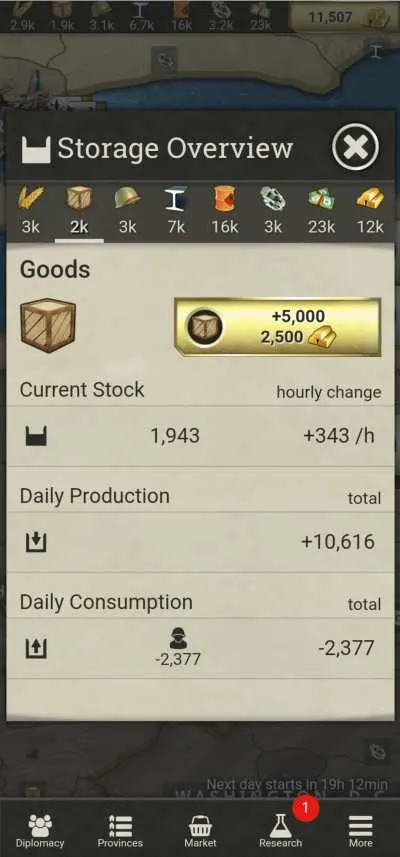
Oil, Steel, Goods, Food, Rare materials, and just as important, time. These are the ingredients to make a perfect little army. Planning your resource expenditure and using the Market is the key to building and maintaining an effective military, beyond unit composition of course.
Save Your Gold
Every day, you get some free Gold, which you have to grab by watching advertisements. This persists throughout all your games, as opposed to resources which are locked to only one game at a time. Now it would be tempting to use this gold to get an edge over your enemy, but let’s face it, even after spending a month watching ads, there’s no way you can outspend a country who has their national budget tied to their player’s credit card.
Ironically, the best way to use this gold is to make it so that not even you can spend it: Save up gold to make a Custom game with Gold use disabled! Now you never have to worry about someone swiping their way to victory, and you won’t be able to do it either.
That being said, you’ll need to do it via a browser, as the Mobile app lacks this option, though you can tie your Mobile account and progress to the browser version so you can play on both with the same account. There is also using the gold to unlock blueprints. These blueprints unlock a new level of unit in the Research tab permanently for future games.
Have A Build Plan for the Day
You’ve got a limited amount of resources, especially at the beginning, because of how slow resources are gathered early on before you have high level Local Industry structures. You should spend it wisely, so you don’t wind up finding yourself unprepared for enemy attack. Figure out what your current objective is for the day ,whether it be to shore up defenses in an area, construct some buildings, research a certain unit you want to make stronger, or perhaps rid the world of whatever nation offends your taste buds with their strange cuisine.
Then build accordingly, and then plan your moves after they’re built. This is less complex than one would think, since the game’s very slow nature allows you time to think. If all else fails, make more artillery! You can’t go wrong with more artillery.
Use The Provinces Tab To Make Life Easier
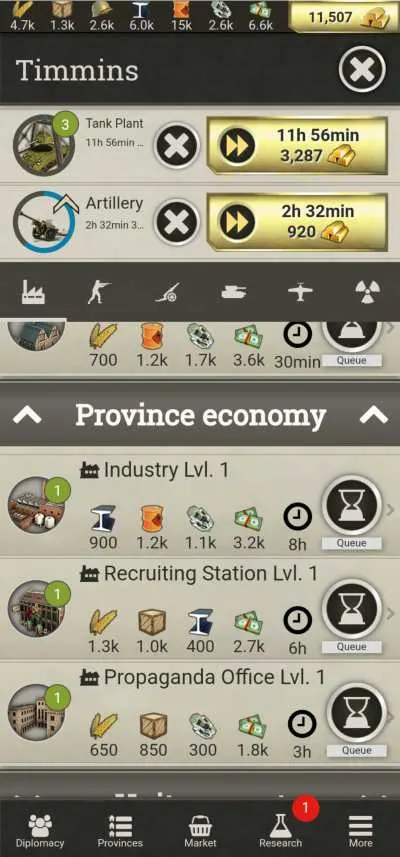
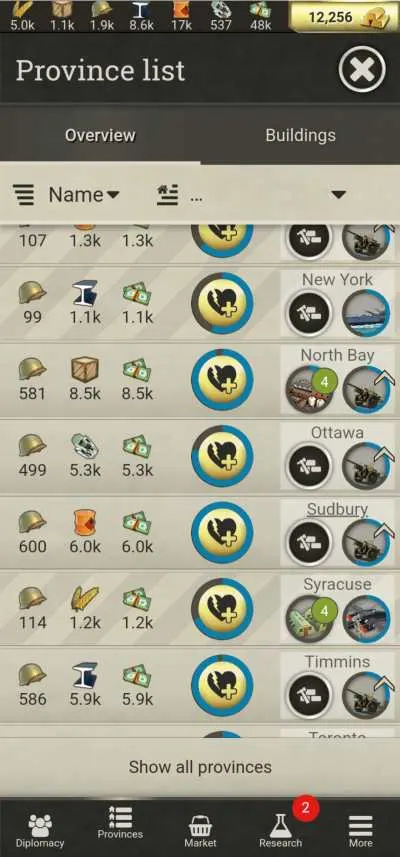
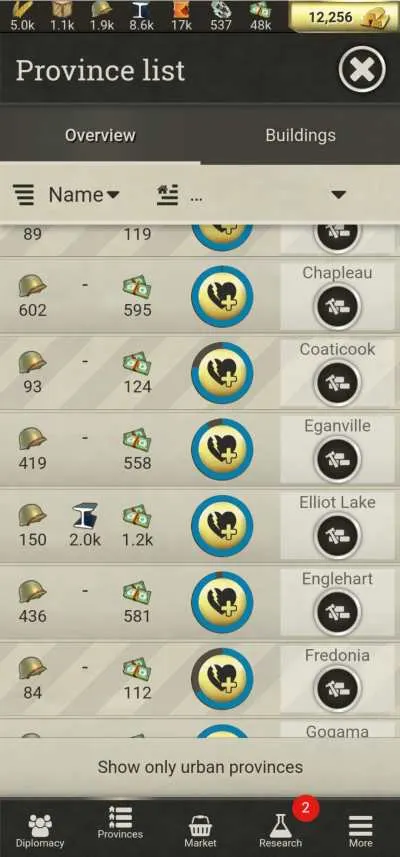
If you’re building anything other than Local Docks, Airstrips, Fortifications and Propaganda Offices for newly conquered areas, you can do it more easily from the Provinces tab. It gives you an overview of all the provinces you control. It shows you the province name, and the resources it brings you.
To the right of each province is the Construction and Production icon, which tells you if they’re doing anything at the moment. You can use this to easily find all your cities instead of scrolling all over the map, then telling them to go make soldiers or increase productivity by constructing or upgrading a Local Industry structure there.
International Trade
The Market tab is a useful way to convert anything you have a surplus of into other resources, by trading them for Cash then using said Cash to buy other resources. You can check the per-unit price, which is helpfully arranged to show you the best deals other nations are offering. Food is typically the most expensive since most tasks and units require it.
Even if you don’t need food to construct an Interceptor, you still need it to build that Aircraft Factory, build the forward Airstrip (Mechanics need to eat too!) that new plane is going to land on, and to feed the aerospace nerds designing better planes in the Research tab. As such, Food not only costs a lot, it also pays a lot if you happen to have many provinces that produce it. Rares and
Belay The Research Until You Have An Army And Good Factories
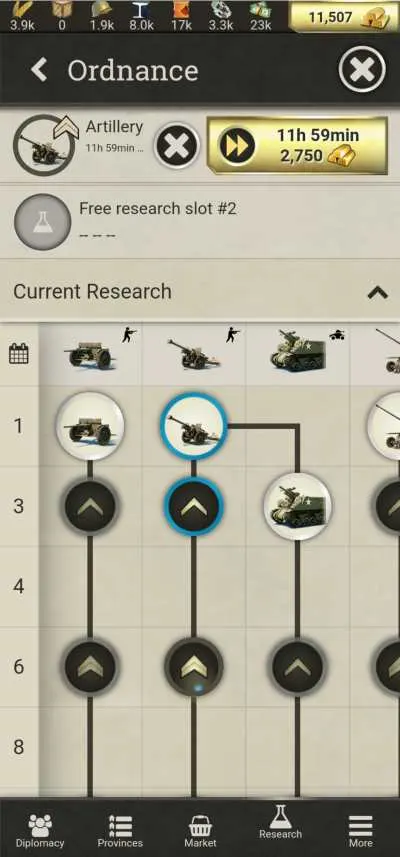
One would think that researching a new unit tier is always a good idea. After all, a higher level unit is stronger right? Try not to level your tech tree up too fast too early: High tier units take longer to build than low tier units, sometimes painfully so. And you can’t build lower tier units than what you upgraded, so you’re stuck with those longer build times.
Before you can safely upgrade your tech tree, do your best to make sure your cities have high level Factory structures so they can cut down build times enough to make the equipment update worth it. Make loads of cheap lv1 units early on, so that you have better ability to control the map.
After all, a P-51 Mustang takes a whole day to make, and while it’ll wipe the floor with those old biplanes your opponent is using, that single Mustang can only be in one place at one time. And in the time you make a new one, they’ve made 4-5 more biplanes, and cover a much wider area. Or they can bunch together to send your Mustang falling out of the sky. Now your ground attack planes are just as useless! Now that you have a ton of low level units, you can do some Research in the Research tab, and commence the next step.
Upgrade Units Once You Have an Army
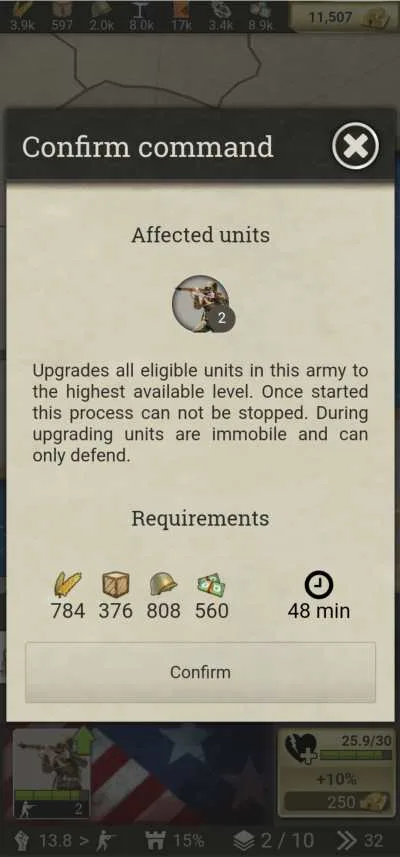
It is typically cheaper and faster to upgrade existing units than build them from scratch once you’ve researched a new unit tier, so always upgrade your troops when you have the chance to. Usually if they’re simply garrisoning a town and doing nothing. While units being upgraded cannot move for a while, they will still defend whatever province they’re guarding. Do this in conjunction with making newer units anyway, since stopping to upgrade your front units might slow down your assault.
Once your new units are very close to the front line, have your older units move back or shore up defenses, then upgrade them while the freshly upgraded units take up the attack. Again, do this later on when you have enough land to do it safely. If you select a unit and do not see an Upgrade button, press the More button to bring it up.
And here is the end of our Call of War guide. If you have your own tips or just want to talk with your fellow players, leave a comment in the comment section below!



COW noob
Thursday 30th of March 2023
wow this is super useful thx i thought i was good at C.O.W but then i read this and........
Chuck
Sunday 23rd of October 2022
Well done. Thanks.