“Ladies, gentlemen, and everyone else! Are you ready for some mechanical carnage? It’s Tuesday Night, and you all know what that means!”
“Armored Squad! Armored Squad! Armored Squad!”
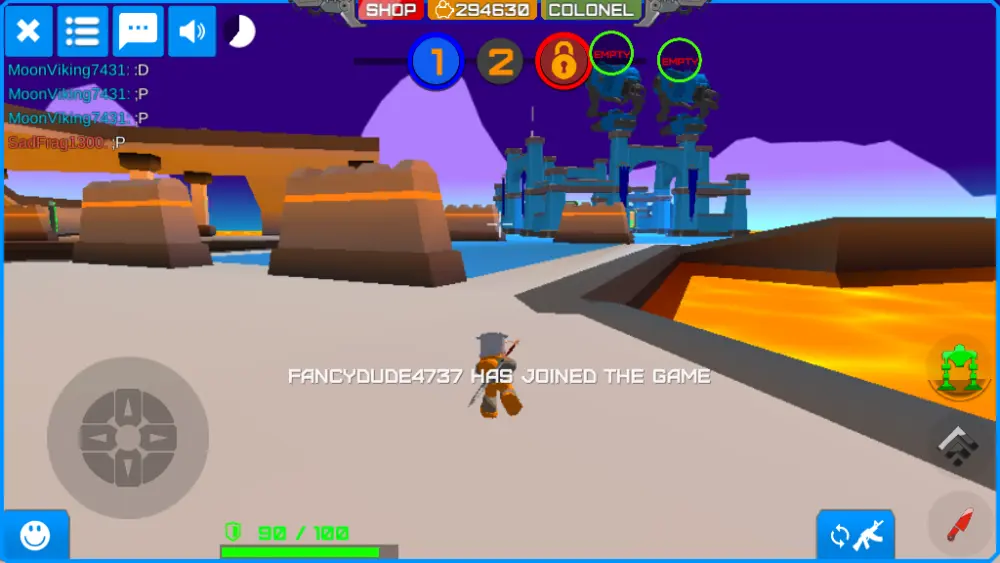
The arena doors open. The crowds cheer on the vidscreens inside your cockpit. As you and your opponents enter the field, the battlespace generates itself from thin air. Burning lava, swinging blades, moving platforms, gun turrets, and oddly enough for summer, Christmas trees as far as the eye can see. Blue and Red team take their positions.
“Let the explosions BEGIN!”
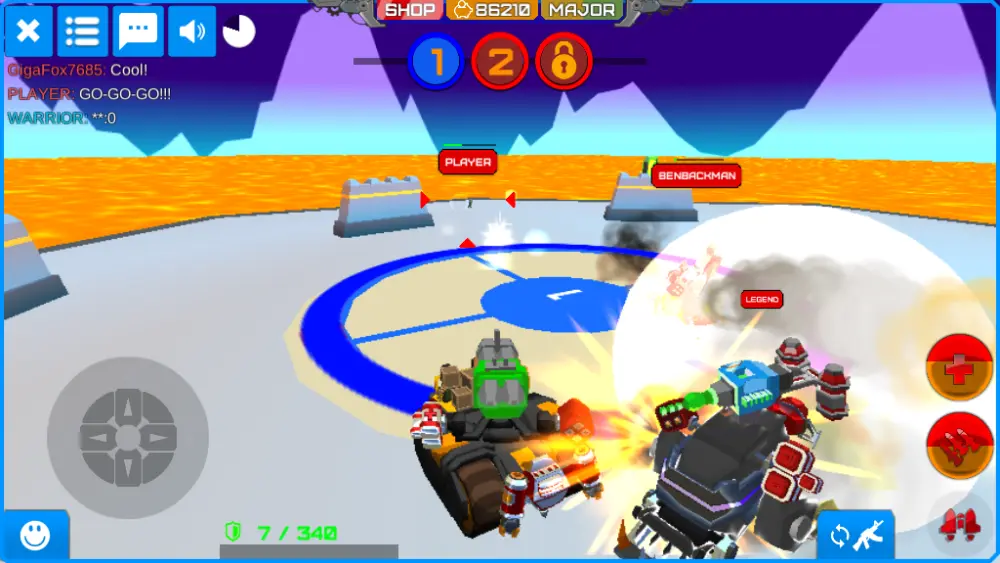
And so they do! The walkers, tanks, armored cars, and whatever else everyone is driving converge on the objectives and chokepoints, bits and pieces flying everywhere as munitions and ordnance are sent in every direction. Missiles, lasers, bombs, shells, bullets, chemical weaponry, flame, and various futuristic affronts to the long-forgotten Geneva Convention turn steel into slag and scrap.
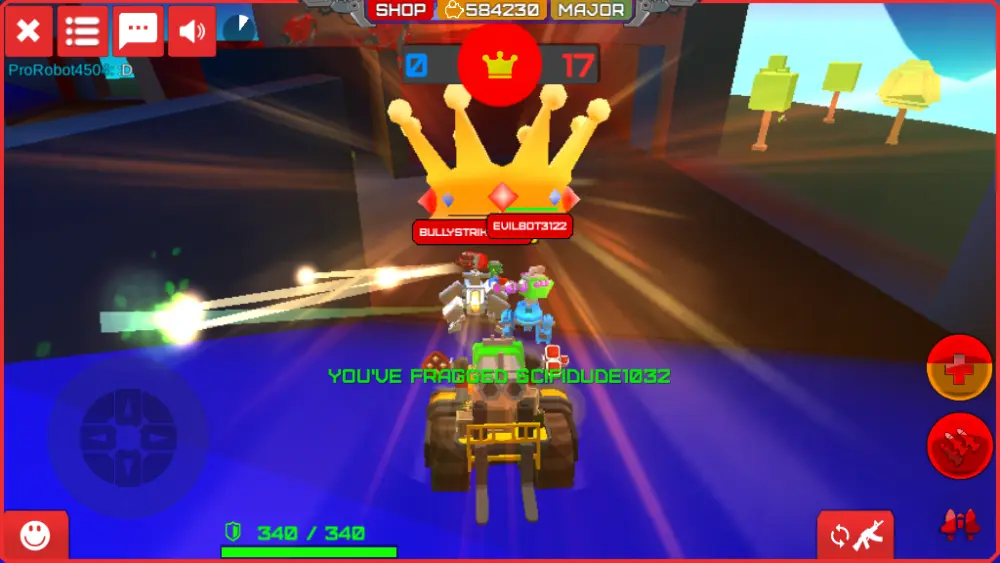
Pilots eject from their ruined machines, not protected by any rules thanks to the advanced technology that keeps them alive after they are not just killed, but even utterly destroyed. And they do get destroyed, some blasted to red mist with various Mech-caliber explosives, or stabbed, gunned down and generally eviscerated by other bloodthirsty Pilots waiting for their Mech repair timers.
Those killed are glued back together as they await their respawn times and are sent back to battle after a designated time as per the rules. This allows for added carnage as the competitors, Mech or no Mech, have little beyond managing their respawn times to incentivize being passive.

The battle ends, and you stand atop your Mech victorious. You magnanimously thank your opponents for a good match, and at least some of them do the same. And now you spend three times as much time in the garage than you do in battle, making the most of your spoils. Welcome to Armored Squad and our beginner’s guide!
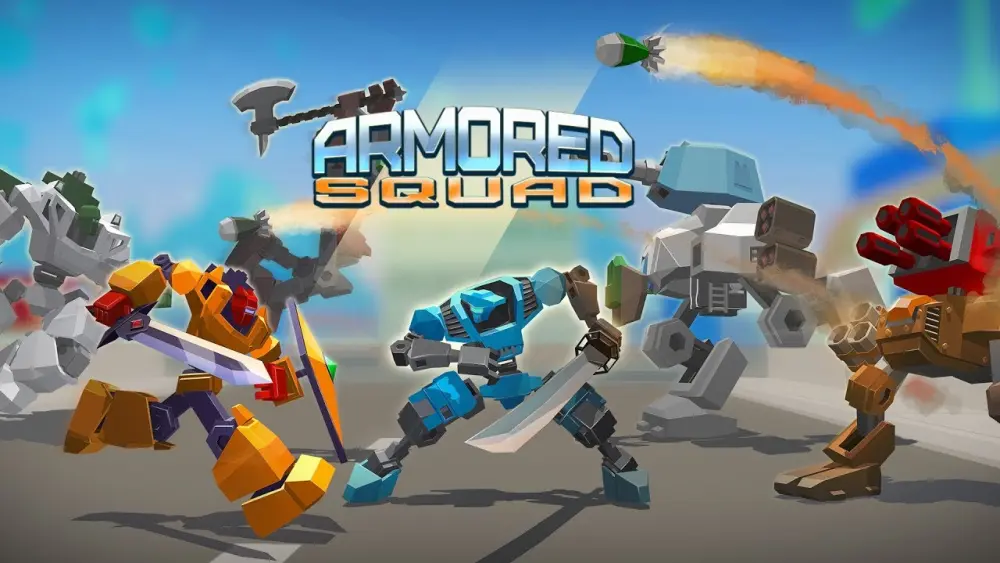
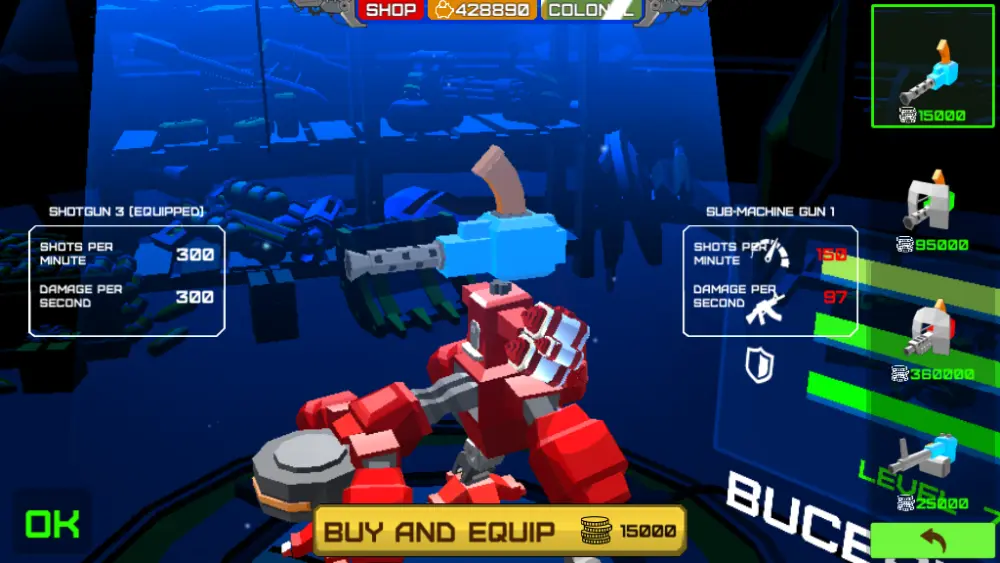
Armored Squad is a customization-heavy Mech combat game where even your Pilot can get in on the action. Similarly to games such as Mech Arena and Little Big Robots, you can give your Mechs some extra kit of your choosing, though Armored Squad is far and away more extensive with its huge arsenal of killing implements, auxiliary tools, and utility devices. Different Mechs also have different gear slots available to them, so some Mechs might be able to mount say, side weapons, but not auxiliary tools or main weapon boosters, or might have all of them available but require a higher tier and get thrown into more difficult battles.
And unique to Armored Squad is your ability to eject and fight as a Pilot, with them having their own choices for modification and set of viable tactics as you try to survive long enough to respawn near the front line as opposed to all the way back in the base.
GENERAL TIPS
Unlike a lot of mobile games which tend to lean heavily towards out-of-combat care for characters or one’s account, with multiple differing leveling systems for single characters or taking care of towns as a way to take care of a squad, Armored Squad is pretty light on things to do outside of blowing Mechs up and fulfilling mission objectives. That being said, it has its own quirks when it comes to making your Mechs stronger.
Watch A Ton Of Ads
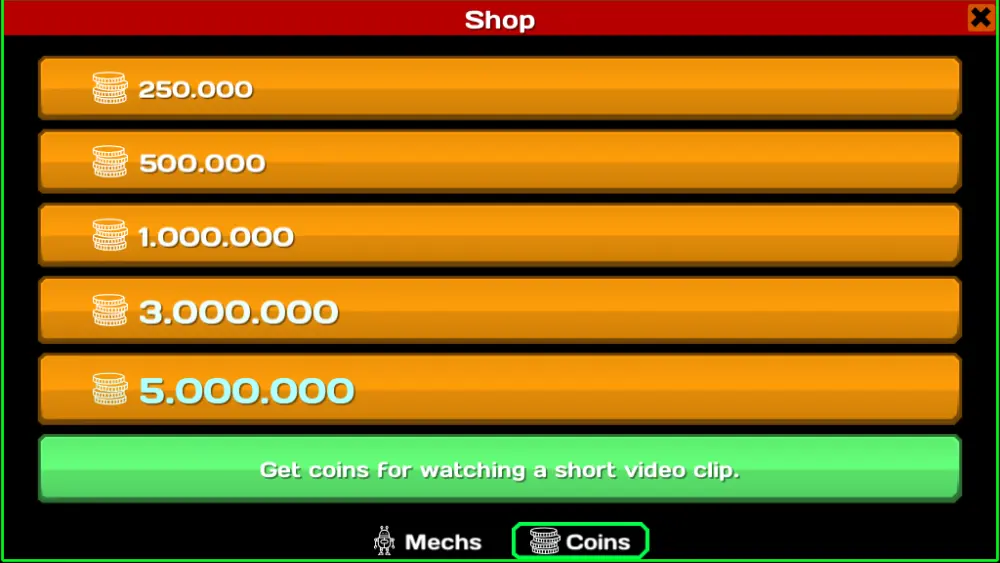
The quickest way to make money, faster than winning matches in single or multiplayer, is simply to watch a ton of ads. A single advertisement, which usually lasts 30 seconds to a minute and has no cooldown unlike most games that let you watch ads on command, nets you 70000 coins, while winning a match, which can take far longer tends to net you around 40-100k coins, averaging around 60k a match.
Singleplayer is very easy, but nets you around 6k a match, and the ads there only triple the reward, which is still 18k, far less than 70k for an ad watched through multiplayer match breaks or the Mech Shop’s coin tab. Watch a ton of ads to get your loadout, then fight for fun instead of profit!
Pick A Favorite Mech For A Level and Stick With It
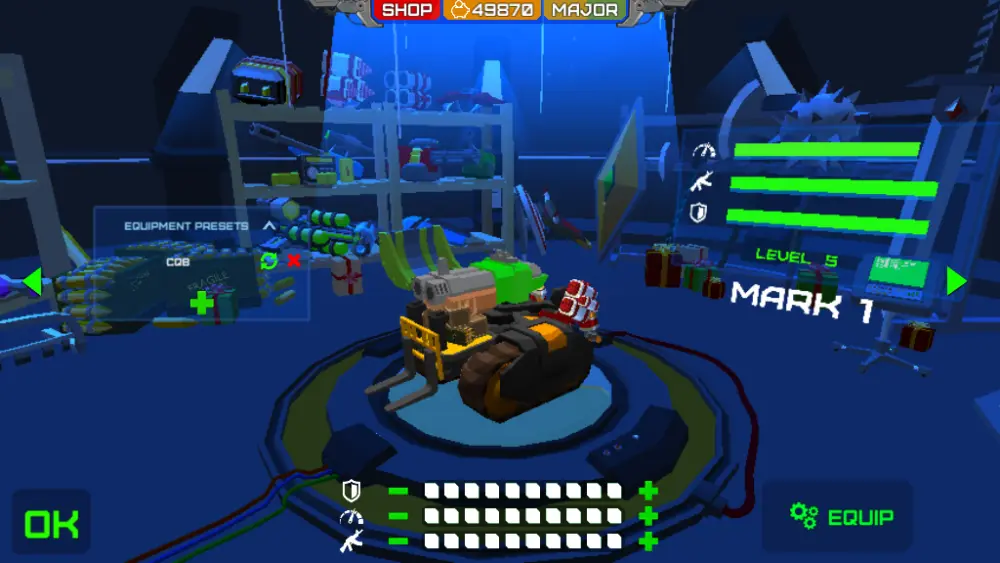
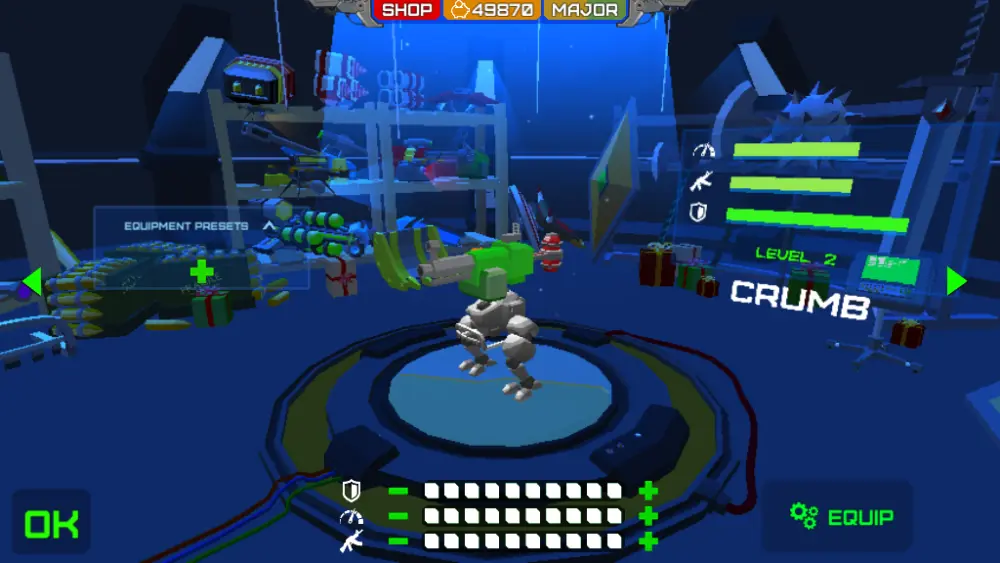
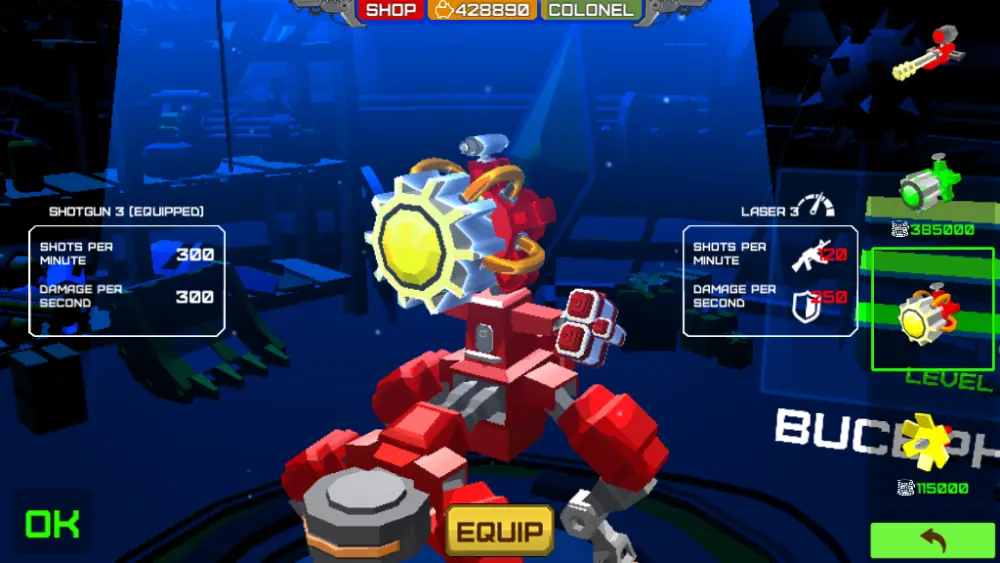
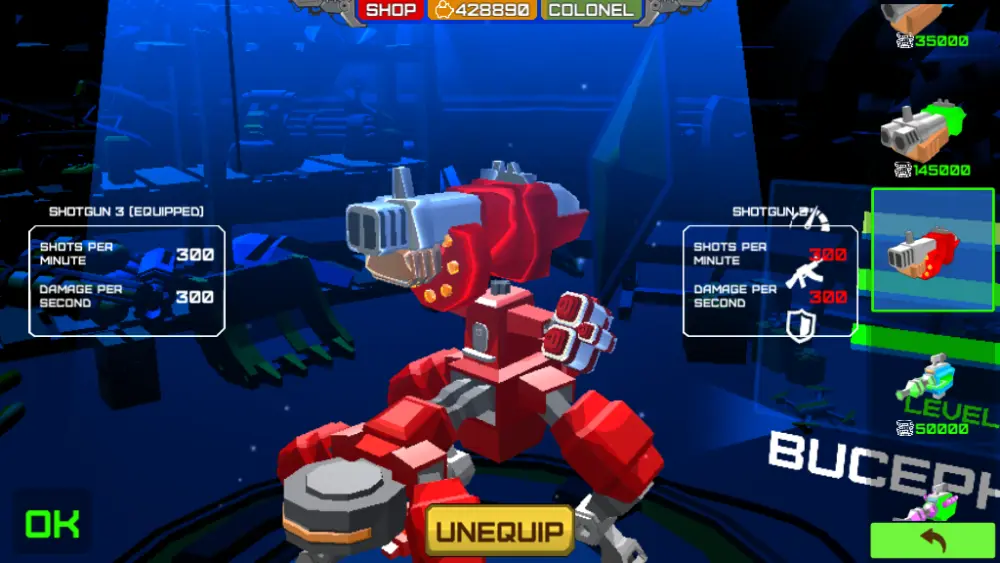
Each Mech comes with a Level number which determines what kind of Mechs it’s allowed to fight. This means they will normally fight Mechs in and around their level, so fights stay more or less fair. Performance-wise, this means the Mech you drive isn’t actually as important as the gear you put on it, though each Mech does have a different set of equipment slots, which affects what and how much stuff they can carry. Any equipment bought for a Mech can only be equipped on that Mech, and if you want to use the same gun on a different Mech, you have to buy that gun again for that Mech.
Knowing this, you are better off picking one Mech for each level (Or heck, just one lonely Mech and worry about unlocking everything only when you get bored with it), giving it all the love, care, and man-made vehicle-portable war crimes you can, and using it for that battle tier, buying more equipment should you wish to change roles every now and then.
The Real Grind Is For Parts and Rank
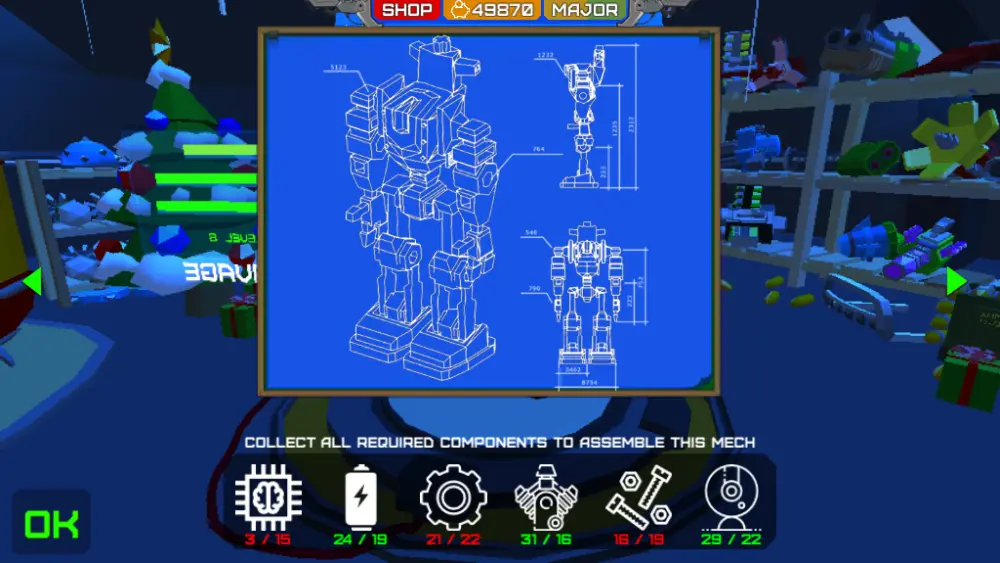
So Coins are no issue as long as you can stomach a ton of ads. Great! Here’s the thing though, higher-tier Mechs can only be unlocked and bought once you reach a certain rank, and certain Mechs also require Parts to unlock which only drop from destroyed Mechs.
You can do fine sticking to a single tier, though if you don’t care that equipping higher tier parts means you’re fighting Mechs that can equip them too and you just want to see a Cannon 3 blast the world to rubble, then ranking up is the only way to see that Cannon 3 in the garage instead of having to pick it up mid-battle. This is the real reward for playing the game rather than Coins, so keep an eye out for parts dropped by dead enemies!
COMBAT TIPS
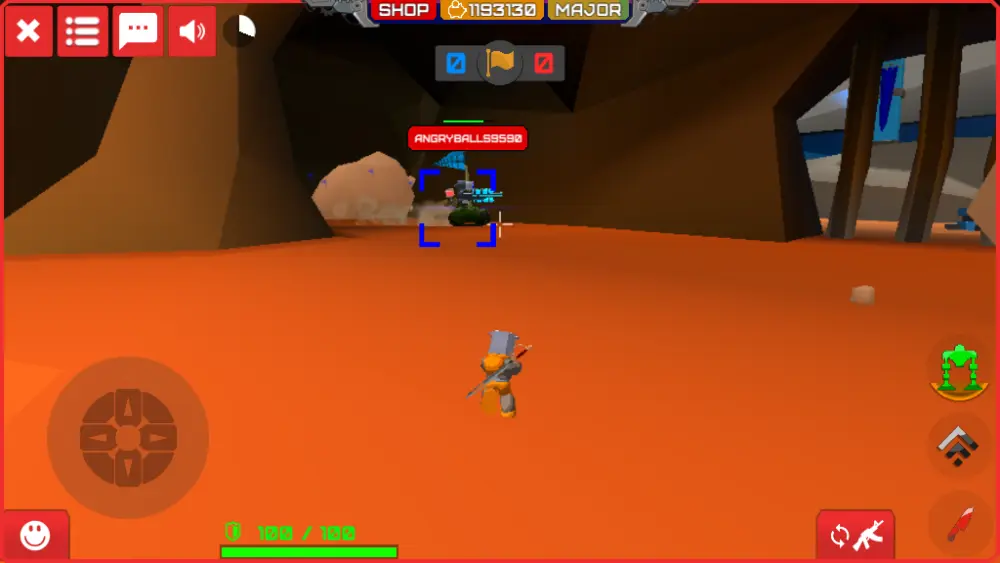
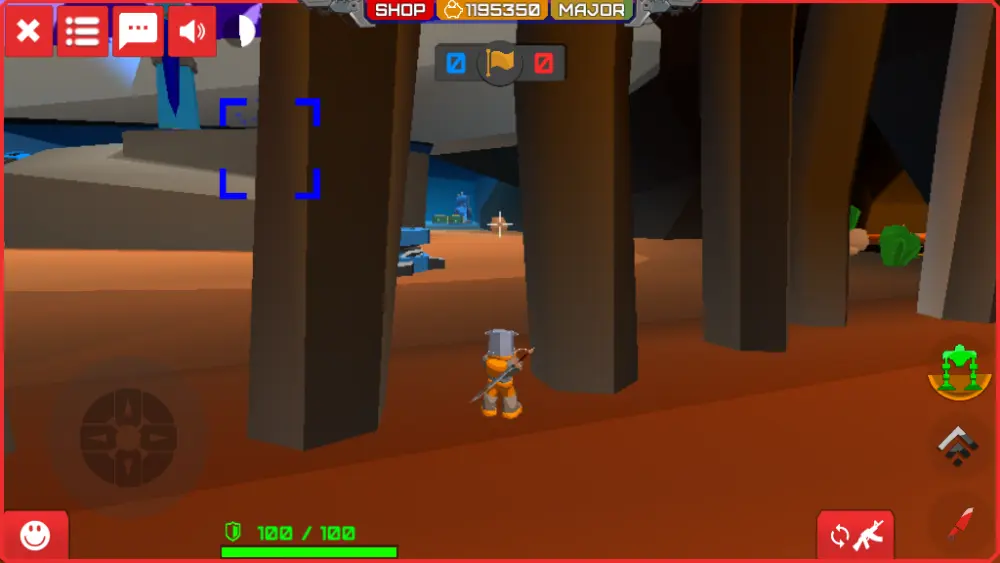
As a mostly PVP-oriented game, Armored Squad is all about combat. You get in there, shoot things, avoid getting shot, and try to complete a mission objective whether it be capturing control points, killing the enemy, destroying their Tower, or even sending a giant soccer ball through a goal. Map knowledge, identifying threats as you see them even in a crowd of enemies, teamwork, and proper use of weaponry are the keys to victory.
Know The Map
The more you know about a map, the better you will be at achieving mission objectives and racking up kills. Always take note of points of interest such as high places that can be reached by a Pilot’s ejection systems, areas with important pickups such as health packs, sniper weapon pickups on good vantage points, or the 3x Damage buff.
There’s also knowing the lay of the land around mission objectives, such as water/lava puddles nearby, pickups in easy reach from control points, and the location of ammo boxes near your tower. Knowing the layout of a map also lets you plan flanking avenues or figure out which path to take to get to the objective quickly.
Identify Your Targets
When fighting, it’s important to know what your opponents and teammates bring to the table in any game. Armored Squad is no exception, and a player should at least be able to identify what sort of weapons and equipment the enemy is carrying so they can use their own current loadout to counter them however possible, if at all so. It’s not as complex as it looks: If someone’s carrying a Shotgun or any sort of melee weapon, back away from them to minimize the damage you take.
If you see other players flying around with jump jets and Jetpacks, be ready to aim up during any close combat encounter. If you see an opponent with a flamethrower, prioritize them since they’re a huge threat to most things you have to protect like friendly Pilots and the Tower, but aren’t particularly effective against Mechs and as such are easy but high-value targets.
Know Your Build And Your Build’s Role
When making a build for a Mech, you are rarely able to make a so-called perfect killing machine, even if you watch a thousand ads and splurge only on the most expensive items on the massive list of gear the game sports.
Most weapons have something they’re bad at and something they’re good at, and the many, many pieces of auxiliary support equipment allow you to build a vehicle for a certain role. Plan ahead whether you want to build for killing, support, survivability, mobility, a specific game mode if you’ve unlocked a lot of items for your favorite Mech, or just plain trolling.
Attack From Odd Angles
Whether via Jump Jets and Jetpacks or from sneaky side paths and high vantage points, you typically have an advantage if you attack an enemy from anywhere that isn’t directly in front of them. Hit enemies from unexpected angles so they have a harder time reacting to you, and if you’re fighting up close, keep moving so they can’t get a bead on you. This way, you take minimal damage compared to the beating you’re giving your targets.
Sniping? Let The Enemy Run Into Your Crosshairs
A tip specific to slower-firing long-range weapons like Sniper Rifles, letting the enemy run into your crosshair instead of trying to chase them with said crosshair is a much less stressful way to snipe enemies.
This turns long-range manual shooting into a game of timing and prediction instead of accuracy, making it so that rather than taking large amounts of twitchy gamer skills and a really obedient thumb, sniping just takes a bit of patience and brains! Know which direction the enemy is likely to move and pop some tungsten into their chassis.
Stick With Your Teammates

Sticking with your team is a good way to keep yourself and your teammates alive. Concentrated strength in numbers can do a lot to push through objectives, whether it be control points, an assault on an enemy Tower, or just killing enemies in a good ol’ Team Deathmatch.
Of course, unless you’re trying to heal someone with a Support Module and Healing Generator combo, we don’t mean bunching together into Grenade bait: Instead, you should keep teammates in your line of sight at any distance so you can easily check if they need assistance, and try not to get annihilated by AOEs if you do need to get really close.
Load Up Defensive Turrets and Use Placeable Items
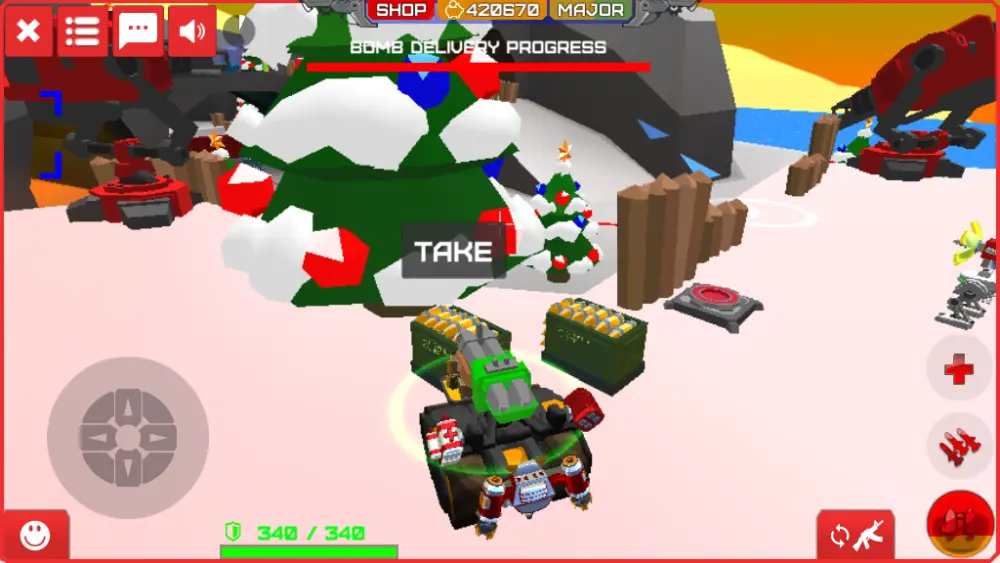
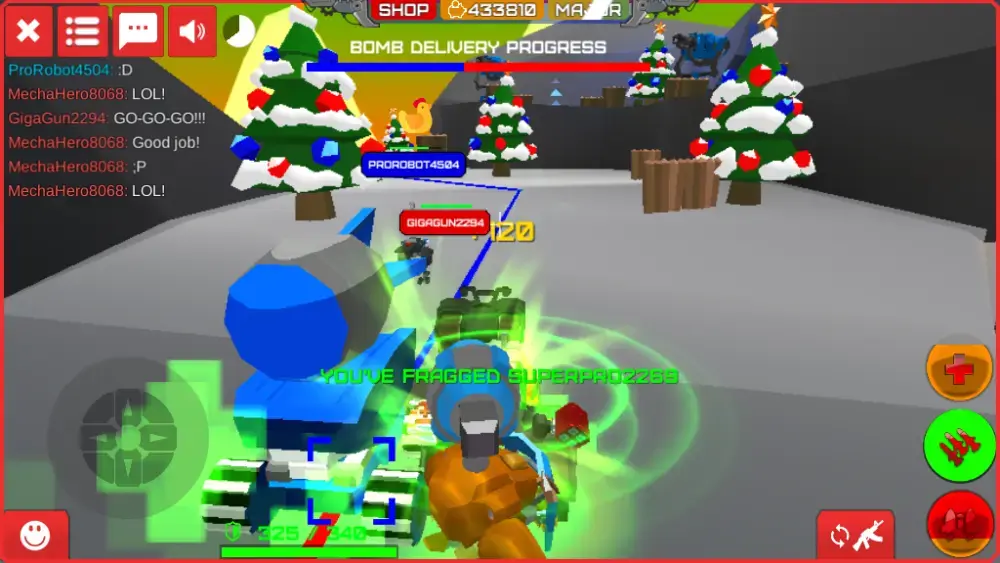
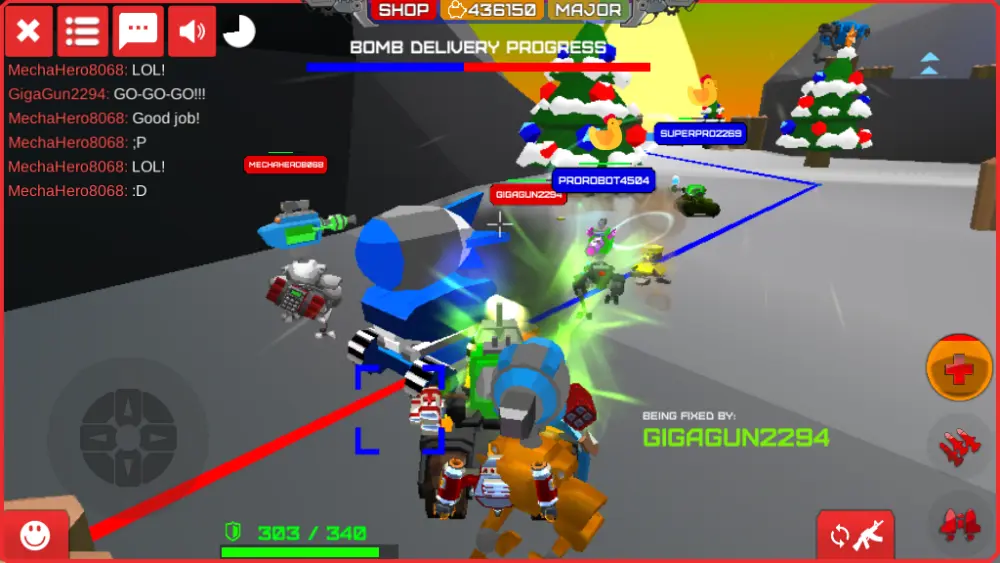
In most maps, large Defensive turrets are placed in strategic locations to protect objectives from the enemy. They usually start the game empty. If you find one of the boxes pictured, pick it up and deliver them to the turrets to instantly fill them with ammo. You will also notice various things like small jump pads and huge riot shield walls.
Go over to the ones the same color as your team, and you’ll notice you can pick them up and place them down! Strategic placement of these items can help the team massively, such as placing jump pads near objectives so your friends can reach them easily, or shield walls around your flag in Capture the Flag games to protect it, or in front of the Bomb to deter the Blue Team from pushing it forward.
So Your Mech Blew Up…
… And your Pilot jumped out from the burning wreck. As a Pilot, your usual lot in life is to wait until your Mech’s respawn timer finishes while trying not to die until then. That’s because surviving as a Pilot allows you to respawn your Mech on the spot so you can get back into the fight ASAP. That being said, Pilots have a couple options beyond just picking a nice hiding spot and praying they don’t get blown to bits.
Invest In Your Pilot
If you go one machine backward behind the Crumb, you’ll see the Pilot in your hangar. Much like any Mech, you can customize your Pilot, though weapon selections are fairly basic and you instead have access to Pilot-specific abilities such as summoning decoys, a cannon for yourself, or a Chameleon Device.
Don’t just leave your Pilot stuck with their dinky little handgun: Give them a proper weapon and some extra kit! The writer personally suggests the Sniper Rifle as a fully charged shot from a Pilot can still blow half the HP of most Mechs into nonexistence, and it lets your Pilot be a threat at a distance and take advantage of their tiny hitbox. You can also give your Pilot a Melee Weapon.
Pilot Melees work differently compared to Primary/Secondary slot Melee weapons as a Pilot’s sword or rake takes up its own inventory slot and has its own dedicated attack button, much like those on late-game humanoid Mechs that also have dedicated Melee slots. Melee swings, Shotguns, and Machineguns are best used to kill other Pilots, though you can use them to attack Mechs if you somehow get near one without getting pasted.
Especially if that enemy Mech got badly damaged trying to blow up your own machine! You can also bring a Healing Gun so you can support those trying to protect you. Few things are more satisfying than blowing up an enemy Mech, contributing to an objective, or helping the team as a clever, well-equipped Pilot!
Use Your Tiny Silhouette
As a Pilot, you are very hard to hit even with the game providing aim assist and your big fat nametag blowing your position to anyone within line of sight of your puny little squishy self thanks to your absolutely tiny hitbox.
This lets you move through smaller crevices Mechs can’t fit through, hide behind cover and teammates more effectively, and take advantage of long-range vantage points with less risk of eating a shot from enemy attacks. Use your small size to escape or make life miserable for anyone who thinks you’re easy meat.
Different Ejections for Different Plans
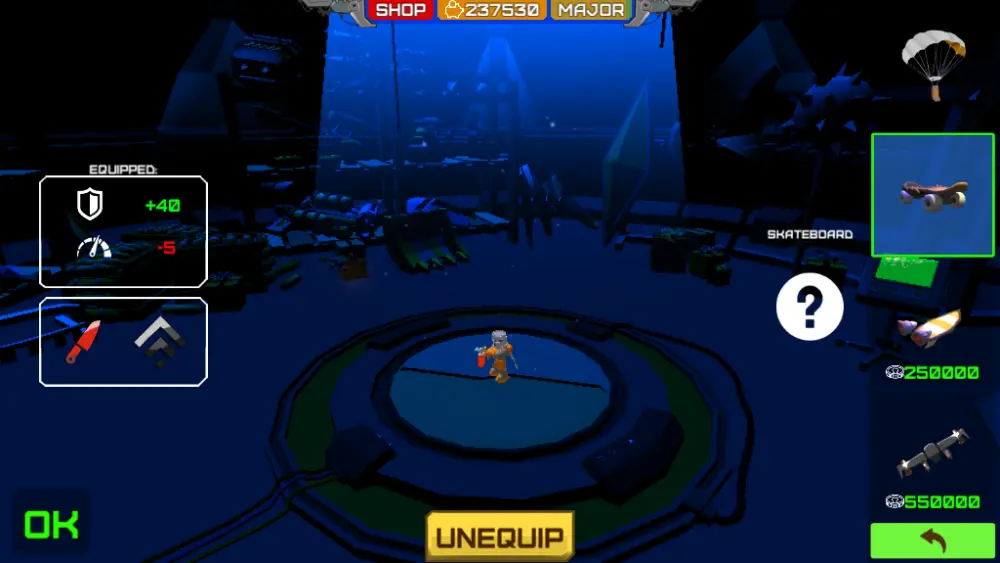
Your Ejection System lets you do some crazy things depending on which one you picked. The bone-stock Parachute launches you out of your Mech and sends you very high up. You can use this to your advantage if your Mech lacks Jump Jets: You can send your Pilot to abnormally high vantage points by having your Mech get blown to bits nearby, in which case you can respawn your Mech in that high spot and start pelting enemies from above.
If your Pilot uses a Blowtorch as one of their main weapons, the Skateboard or one of the other ejection systems that provide speedy forward movement are good options so you can immediately do revenge rushes against enemy Mechs and cut them open with the Blowtorch’s maniacal DPS, though it’s probably a screaming banzai charge at that rate.
If you died near the enemy Flag in Capture the Flag, the Skateboard is also a great way to nab the enemy Flag and get a bit of a head start, hopefully running into a teammate who can grab the flag for you once the Skateboard wears off and someone blasts you to red paste.
If you want to be a distraction, the Wing Jets allow you to move through the air in a quick and agile manner, whereupon you become a tiny, annoying, and incredibly hard-to-hit target until you touch the ground. By which time your friends might have arrived!
Weapon Pickups Still Work!

As A Pilot, you’re still able to pick up items! While Health pickups won’t do much for you unless you’re wearing the heavily armored helmet, everything else is still free game. Your Pilot can still grab red tier weapons so they can hit as hard as a Mech and they can still nab the Triple Damage pickup to surprise enemies with a funny amount of HP depletion.
Don’t hesitate to pick up guns, in particular, to augment your firepower as a Pilot, and make sure you grab everything you can if you’re on the enemy’s side of the map to deny them precious Health pickups and other items. Just be careful when picking up Melee weapons: Unlike other weapons, they don’t scale down to match the Pilot’s size, making the Pilot much easier to spot.
Try to Survive, Hide in Cover and Run To Your Teammates…
If you die as a Pilot, not only do you have to respawn all the way back in base, but you also have to wait for the full respawn time of your Mech from the start even if the timer was almost done when you died!
As such, you need to avoid dying as much as possible, so make good use of cover, hide, avoid unnecessary fights, and try to get to your teammates as much as possible so they can protect you. That way, your Mech respawns closer to the front line and can do more work. That being said, the closer you are to the front when your Mech comes back, the better!
… Or Be A Distraction!
The complete opposite of the tip we just discussed, you have the option to be a distraction! As a Pilot, you are a very juicy target: Not only does your death ensure your Mech takes longer to get back into the fight, your HP is pathetic, and greener enemy players usually think they can kill you easily even if you’re wearing the heavy armor helmet piece and zipping around with a Skateboard or Wing Jets, even though they’re wrong.
This means at least a few guns will usually be trained on you if you find yourself in a big fight. You can use this to your advantage by using yourself as bait so your teammates in their Mechs take fewer hits and can damage the enemy for longer.
Of course, a distraction that dies 2 seconds into a gunfight is not very distracting, so you should still take advantage of your tiny hitbox and move from cover to cover while taking potshots or making very calculated charges against enemy Mechs. Besides, if they ignore you, just pull out your Blowtorch and get to work!
GENERAL RANGE WEAPONS
These weapons work best at medium range, and apart from the Grenade Launchers are relatively easy to keep trained on the enemy. They’re still useful up close or at a distance too, though they lack the punch more specialized weapons have at their effective ranges. Again, the Grenade Launcher is an exception, since it trades ease of use for powerful damage at any range provided you can aim it well.
Machine Guns, Autocannons and Plasma Guns
Consistent DPS
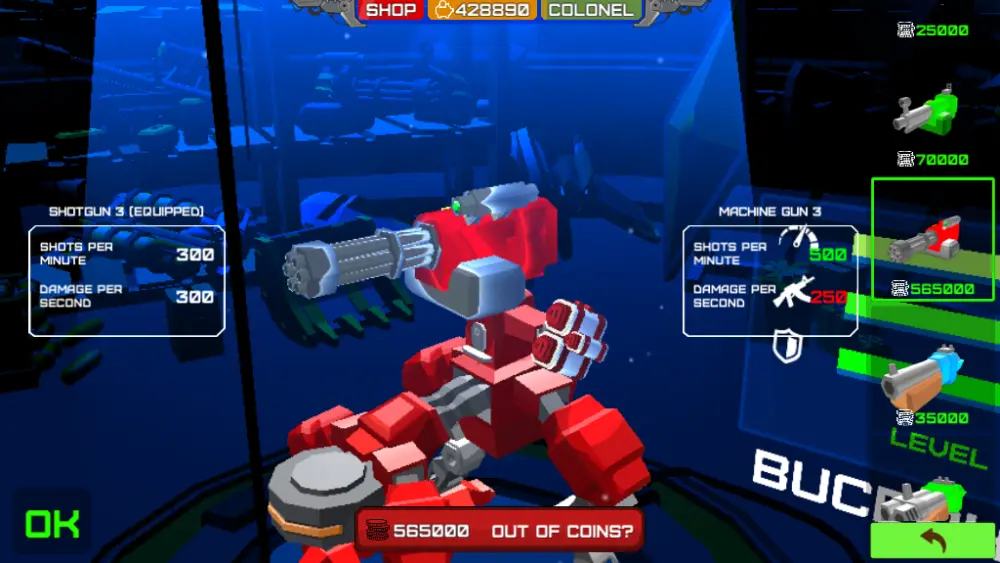
The Machineguns and Sub Machineguns are exactly that: rapid-fire guns with narrow spread and consistent DPS. They aren’t the most powerful in terms of pure damage-dealing murder ability, but they are easy to aim at most of the usual ranges you’ll expect fights in, and your opponent can’t get away from one easily.
That being said, Machineguns can get out-DPSed by a lot of things should you make the mistake of standing still, so take advantage of the Machineguns’ ease of use by moving around a lot while sawing your opponent in half with bullets. Plasma Guns are highly similar, with high fire rates and consistent DPS. Autocannons are similar to Machineguns, except you put them in a side weapon slot as opposed to either Primary or Secondary weapon slots.
Lasers
Consistent DPS, Hitscan
Imagine a Machinegun but hitscan and with a solid beam, and you get Lasers. They have a lower fire rate than Machineguns of equal tier but similar overall DPS. You use them much the same way, keeping them trained on the enemy at most normal combat ranges, and they have similar strengths and weaknesses. There is a Freeze laser available with higher tier Mechs that can slow down enemies at the cost of its DPS.
Grenade Launchers
High DPS, High Difficulty
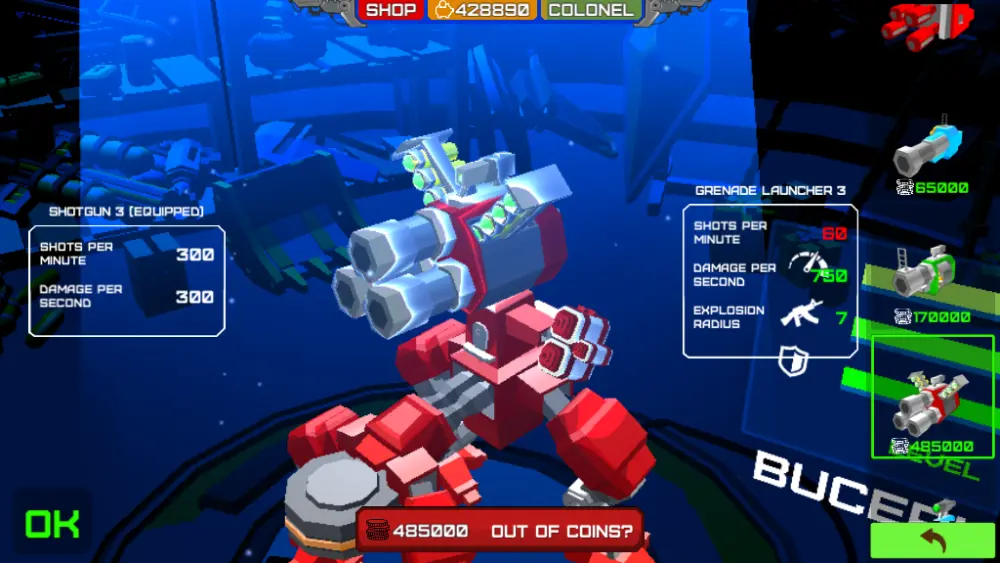
Grenade Launchers have some of the highest raw DPS in the game, beaten only by the Slicer. Unlike the Slicer, Grenade Launchers are ranged weapons with some AOE and fire relatively fast. This would make the Grenade Launcher one of the most powerful weapons in the game right?
Yes, if you know how to aim properly: While Grenade Launchers have higher DPS than their cousin the Cannon, Grenades are very tough to aim since they don’t explode immediately when hitting the ground, instead lingering for a while until exploding on their own or hitting a target directly. Even with their high fire rate and good AOE, you’re gonna miss pretty often if your opponent moves a lot since the explosion delay gives the enemy loads of time to run from the AOE blast zone.
Cannons and Bazookas
Consistent AOE Damage

Take Grenade Launchers, and trade their raw crazy damage for the ability to explode on impact with terrain, and you get Cannons. Highly reliable medium-long range weapons, Cannons are a popular choice and you’ll see them often. Their DPS beats that of Machineguns of equal tier, though Machineguns are still more reliable in close ranges thanks to their far higher fire rate.
Since they can explode on impact, you don’t need to aim directly at enemies using the Cannon: You have the option of turning off the aim-assist and shooting enemies in the foot so even if you miss the direct impact, the splash damage from the shell hitting the floor will still hurt dodgy opponents. Bazookas are quite similar, straight-shot rocket launchers with AOE equipped in the side slots rather than the Primary/Secondary slots.
Missile Launchers
Homing AOE Attack

One of the nastiest weapons in the game, Missile Launchers are auxiliary weapons mounted in the side slots, running on a cooldown as opposed to overheating with excessive use. They are particularly deadly against slow-moving or unaware targets and Pilots thanks to their AOE, high damage, and homing guidance, but even against faster targets they’re a great way to apply pressure and force them to move.
They do have one tiny downside: An obscenely obese price tag, with the highest tier Missile Launcher costing 700000 coins. Some whole Mechs don’t even cost that much! That being said, that’s just 10 ads worth of your time!
Sticky Bombs
Medium Range AOE Attack, Area Denial
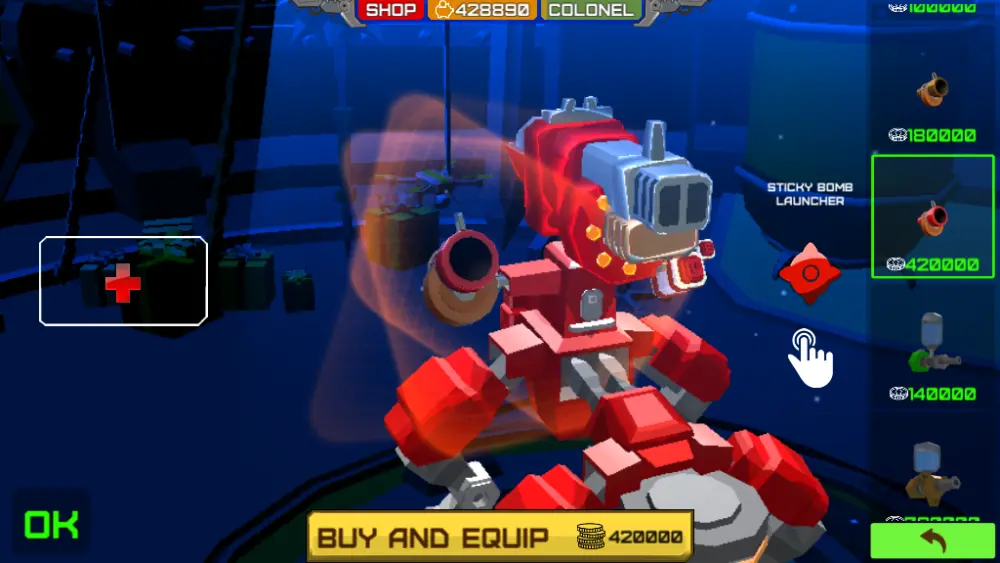
Sticky Bombs are a great way to keep people away from a control point or from the Bomb in Bomb Delivery matches. Holding down the detonator button will cause any Stickybombs in the field to explode, damaging nearby enemies.
You can spam them at a control point or near the Bomb to deter enemies from getting closer, though beware of tankier foes carrying defensive equipment such as Forcefields and Healing Packs who might attempt to roll through the damage anyway. Get ready with a follow-up attack against such targets!
ASSAULT WEAPONS
These weapons are best used right in the enemy’s personal space, favoring tankier machines and highly aggressive or sneaky ambush tactics. They suffer the further the enemy is from you, so beware of enemies equipped with mid-range weapons playing keep-away.
Shotguns
Close-Mid Range Combat, Consistent DPS
Shotguns are powerful close-range weapons with high spread, possessing both a high DPS and easy consistent aiming… provided you’re in the enemy’s face. The high spread ensures you’ll hit something when you fire, though that spread also means not all your projectiles will hit the enemy should you engage them beyond fisticuffs range.
They’re also good at destroying fortifications like Brick Walls since the large size of those targets means you can hit them with all your pellets even at Sub Machinegun ranges. Shotguns can be used to counter Melee Weapons since even if Shotguns work best point blank, you can play keep away by spraying melee units who are forced to chase after you and they risk being blasted to bits or retreat. Get in their face and blow their Mechs apart with a wave of canister shots!
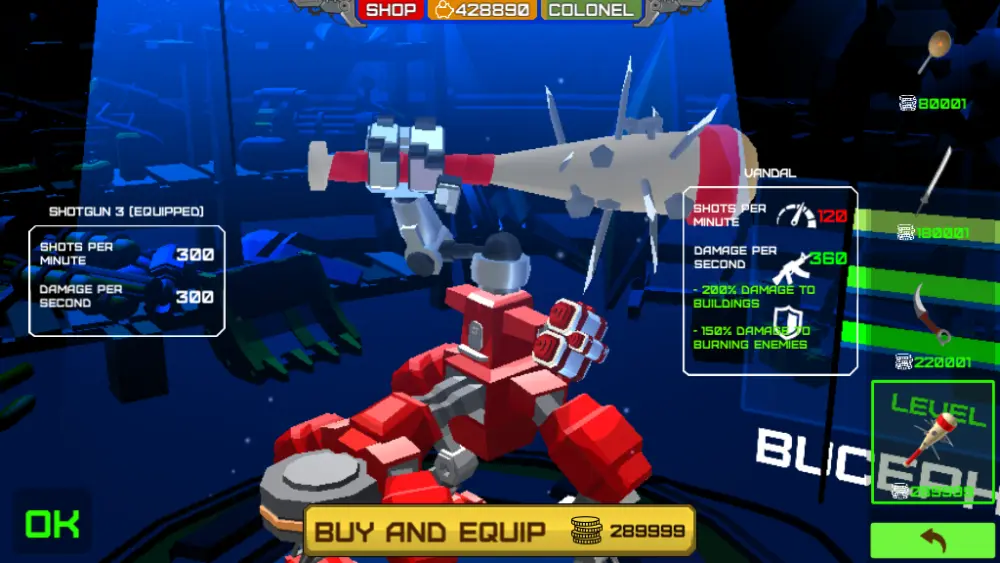
Frying Pan, Slicer, Stabber, Vandal
Close Range Combat, Wide Area Attack, Anti-Structure
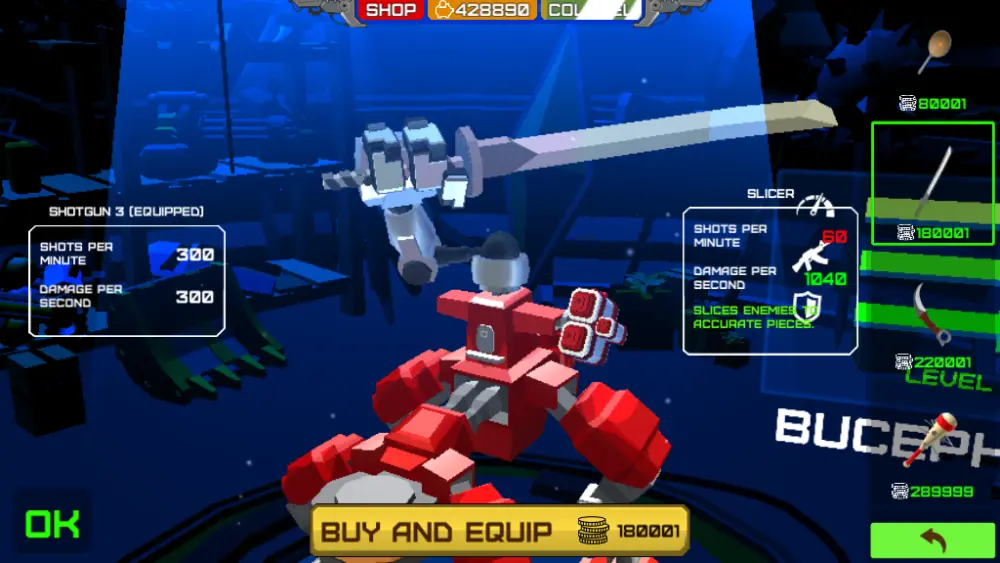
Primary/Secondary slot melee weapons like the Frying Pan, Slicer, Stabber, and Vandal have wide swings and excel in ground combat, often having very high DPS and wide swings. The Frying Pan has fast swings allowing them to easily splat escaping Pilots and faster Mechs. The Slicer has the highest raw DPS but swings slowly so enemies have a small window to run and counter you with a Shotgun.
The Stabber is very weak but can kill other Mechs instantly from behind. And the Vandal is a siege weapon with lower DPS vs Mechs, but extreme DPS vs fortifications and structures such as walls, turrets, and Towers.
There is very little a slow, ground-bound, or medium-long-range gun Mech or a Pilot can do once a melee Mech gets within banzai range, though melee weapons have a bit of trouble against airborne enemies because melee weapons typically make sweeping slashes instead of overhead swings.
Circular Saws
Close Combat, Continuous DPS
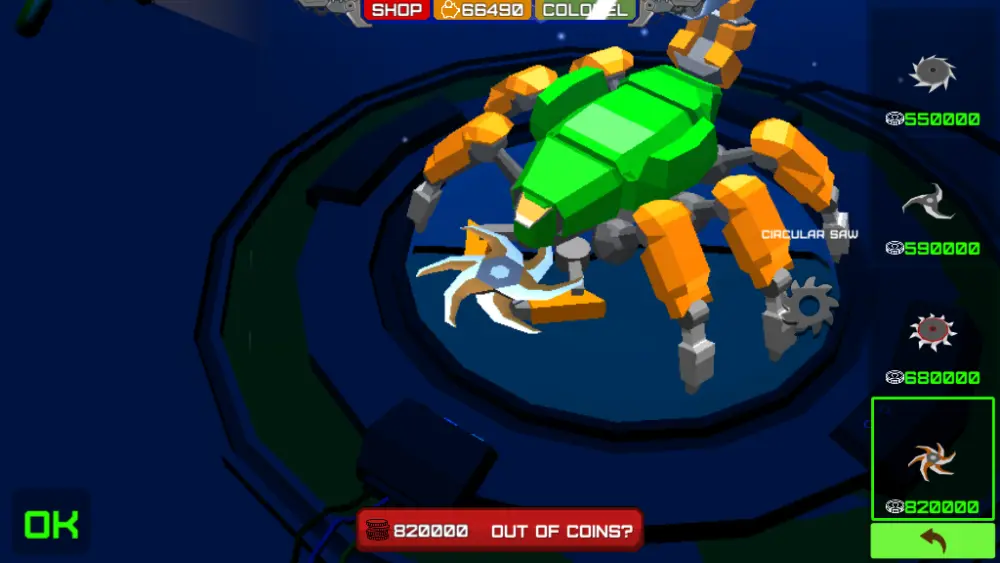
Circular Saws are melee weapons that require a dedicated Circular Saw slot to equip. They deal continuous damage for several seconds once activated. Saws work well with any item that boosts forward speed so you can rush enemies down with them.
Flamethrowers
Wide Area Attack, Damage-Over-Time Debuffer, Anti-Structure
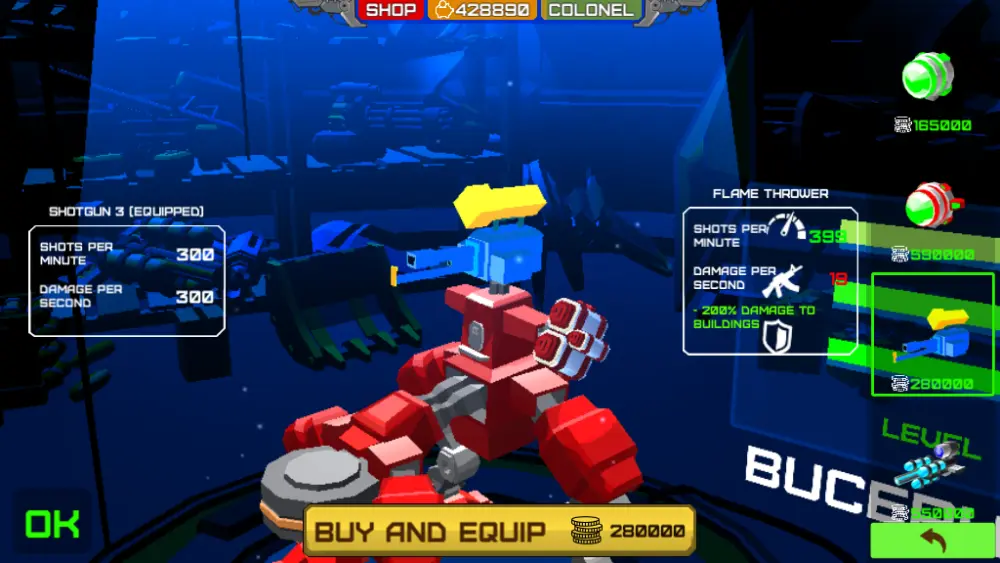
Flamethrowers have 3 jobs: Burning fortifications down, finishing off severely damaged Mechs, then torching their escaping Pilots alive soon after. Flamethrowers are the ultimate in consistent damage thanks to their large projectile hitboxes, fire debuff, and extreme firing speed, which is expected when your gun is essentially a fire hose.
The tradeoff is its relatively short range and low direct DPS, so the damage is consistent and incredibly difficult to escape, but slow. Just beware of the Fire debuff, since it can make healing suffer noticeably thanks to its damage over time effect, and can kill you long after you’ve killed the guy burning you.
Where flamethrowers truly shine though is busting down fortifications: Flamethrowers get a lot of bonus damage vs structures, and letting a flame Mech get within range of your Tower is a good way to lose a Tower Defense match.
Cluster Bombs
Wide Area Attack
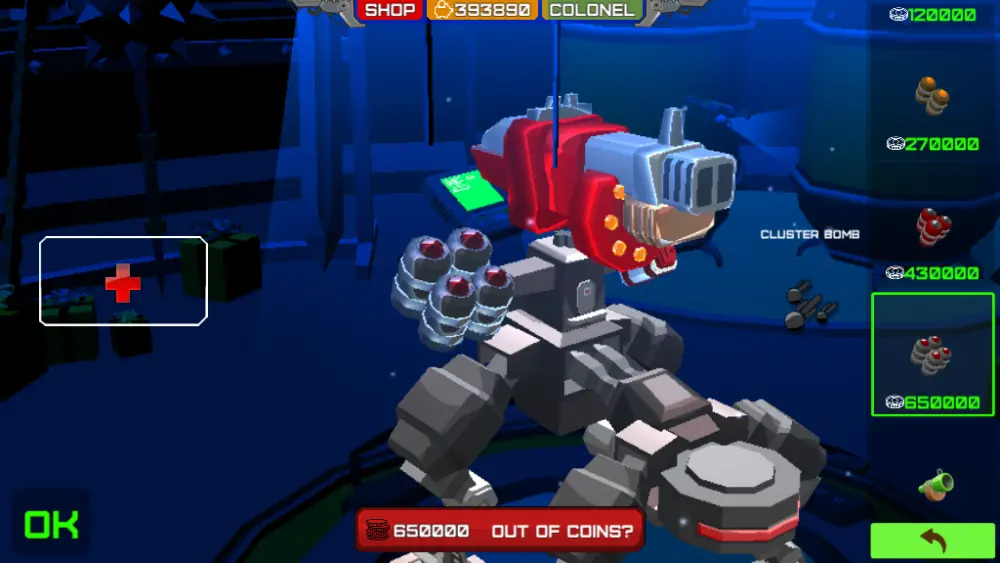
A short-range auxiliary weapon, the Cluster Bomb launches a set of… Cluster Bomb a short distance in front and above you, raining multiple explosives over a fairly wide area. One should consider this an ambush or close combat weapon: It isn’t the most reliable way to hit anything despite its AOE due to the long delay between launch and impact despite its close range.
Catch them off guard, launch a Cluster Bomb over their head from behind, then gun them down with your main weapons while they panic looking for you. It also works well on stationary targets provided there isn’t a ceiling to block the initial projectile.
Mortars
Arcing Attack
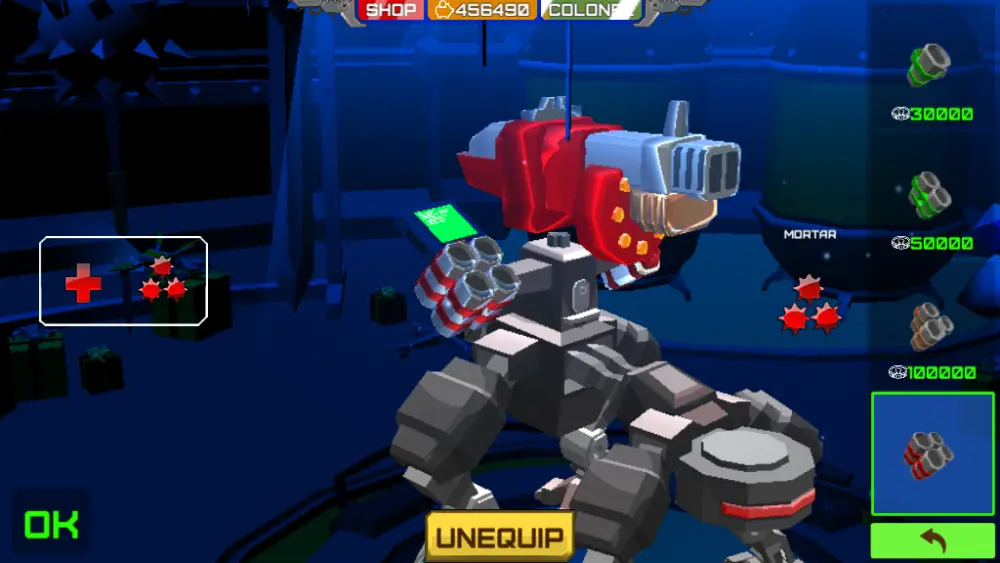
Mortars are very similar to Cluster Bombs in use, but trade a wide area of effect for more and faster damage. Mortars fly faster than Cluster Bombs and explode on impact with the ground, making them a bit easier to aim at the close ranges you’ll be using them compared to Cluster Bombs, despite their narrower effect area.
Kamikaze
Self-Destruct Explosive Attack
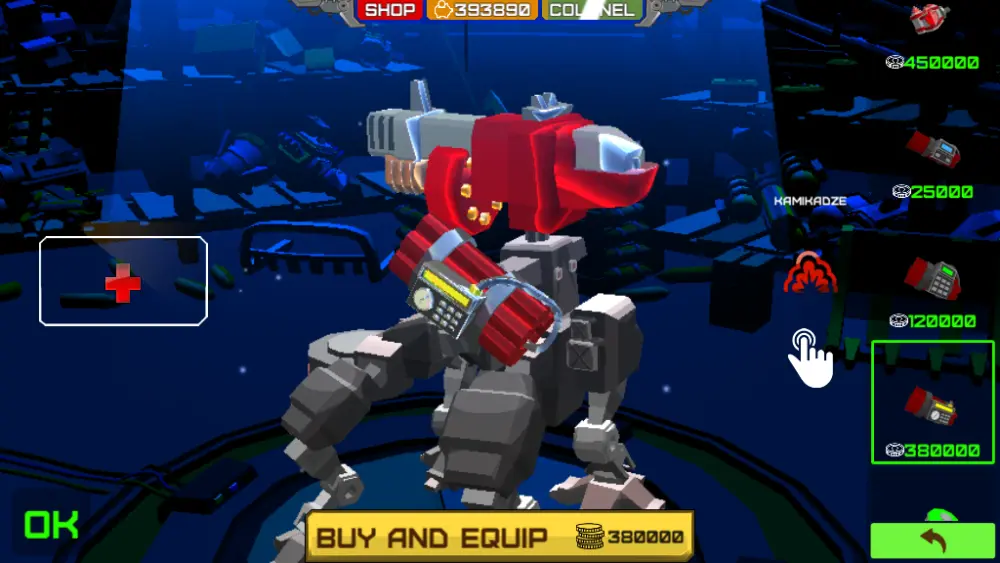
It’s a giant bomb strapped to your Mech. Do the math! The tier 2 and 3 Kamikaze bombs can be deactivated at the last second, in case you accidentally fat-thumbed your kablooey button. You can use this as a last-ditch effort to get enemies out of a Control Point or away from your Tower, in pieces. Or simply to surprise and/or spite someone who’s kicking your butt at close range.
Blowtorch
Extreme Close Range DPS
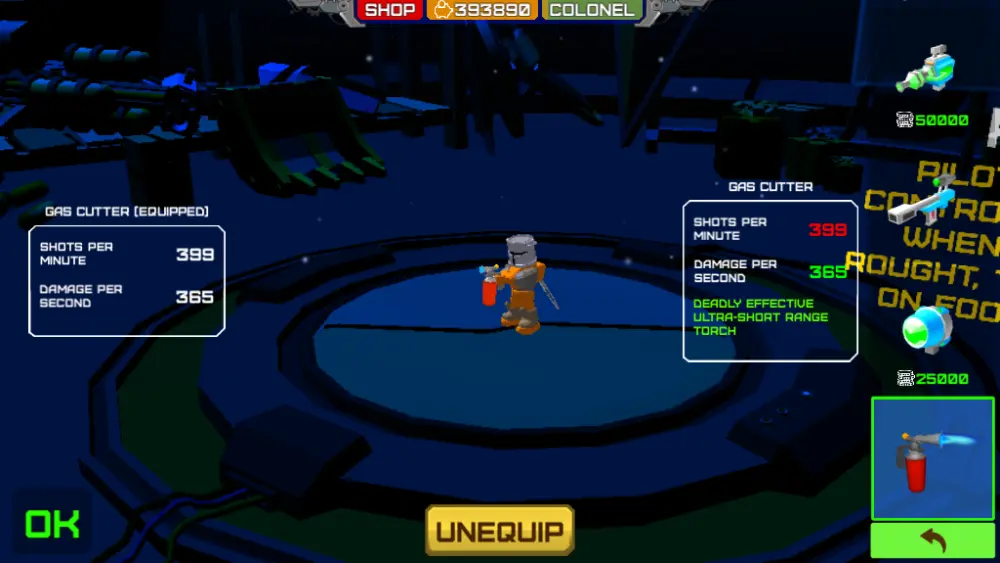
A Pilot-only melee weapon meant to be used in a main slot as opposed to a Pilot’s dedicated melee slots, the Blowtorch is very hard to use but rewards particularly careful yet bloodthirsty Pilots with some pretty good DPS. It has an incredibly short range even compared to melee weapons and deals rapid, powerful damage the moment it touches an enemy Mech.
Most of the difficulty with using this weapon comes from the fact you can only equip it on the Pilot: Not only do Pilots have very low HP, but they also can’t even match the slower Mechs in speed without using special ejection systems like the Skateboard, so they can’t exactly run up to a Mech to torch them apart. As such, those special fast-movement Ejection systems are practically mandatory for effective Blowtorch attacks.
Retractor
Offensive Utility, Pulls Enemies
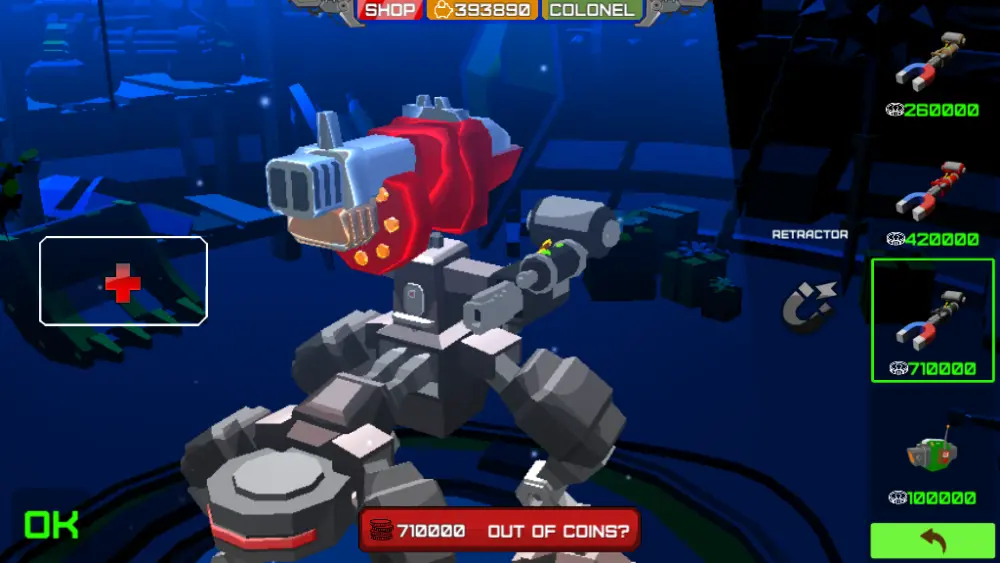
Less an assault weapon and more an assist device for such weapons, the Retractor is an Equipment slot item that deals electrical damage while pulling a target toward you. Naturally, you use Retractors to prevent enemies with longer-range weapons from escaping your Shotgun or Slicer. You could pair it with a Snorkel and pull other players underwater if you enjoy particularly hilarious kills.
Melee Weapons, Torch, and Tool
Auxiliary Melee Attack
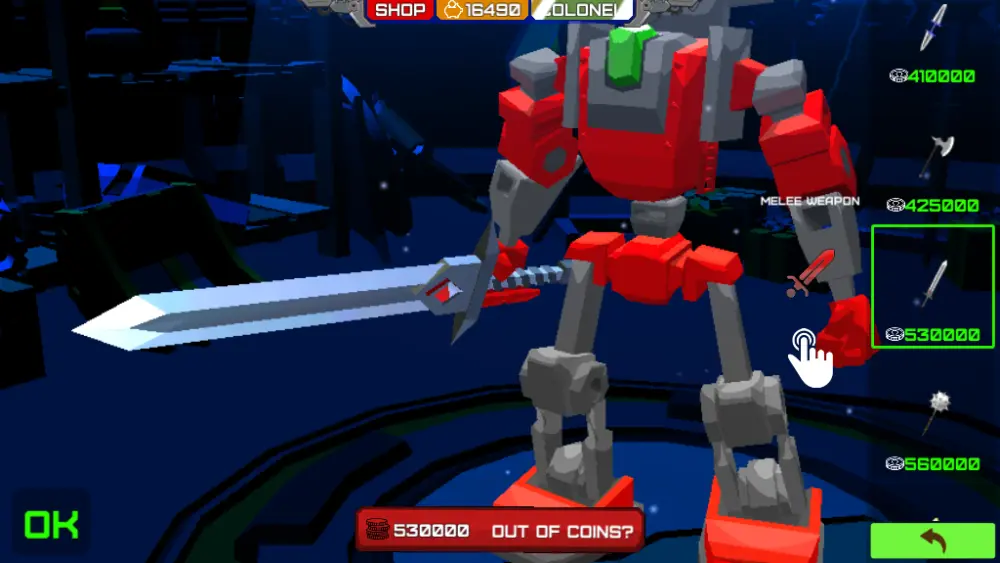
The highest-tier Mechs and the Pilot get dedicated melee Weapon slots. Normal melee weapons like swords and axes have wide, powerful swings. Claws and other smaller weapons come with fast combos. The Torch sets enemies alight. The Tool, basically an oversized wrench, can be used to repair allies or attack enemies. The Pilot only has access to basic Melee weapons, while humanoid Mechs can have the more advanced ones like the Tool or Torch.
Boomerangs
Auxiliary Short-range Attack
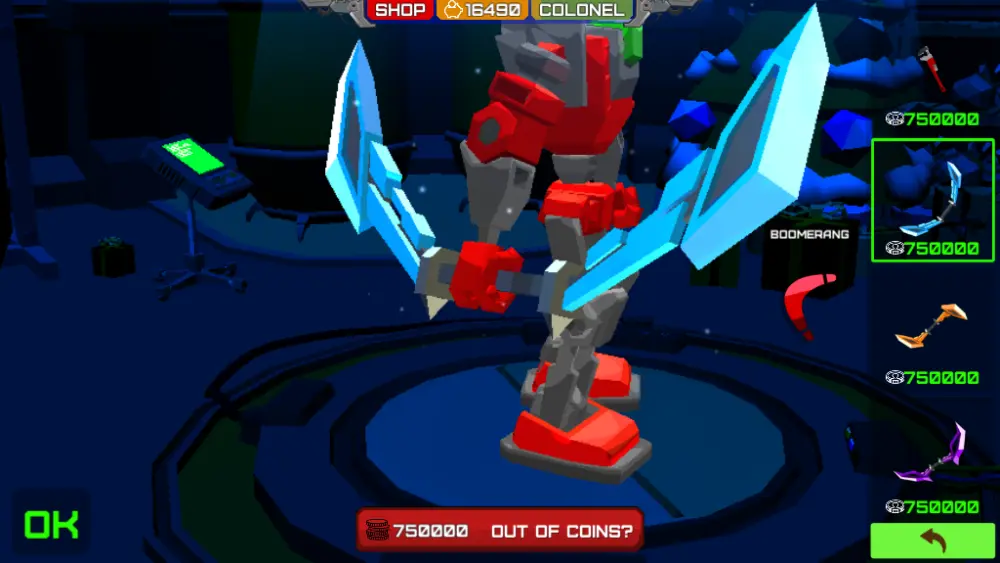
Also belonging to the dedicated melee slot on top-tier humanoid Mechs, Boomerangs are a short-range throwing weapon. They require skill and timing, as they deal extra damage on the return trip.
LONG RANGE WEAPONS
As the category implies, these weapons are best used from a long distance, or at least have a better shooting range than most weapons. On the other hand, getting caught with only these in hand while a Scorpy with a buzzsaw or anything else with shotguns or a Slicer gets in your face is a near-death sentence.
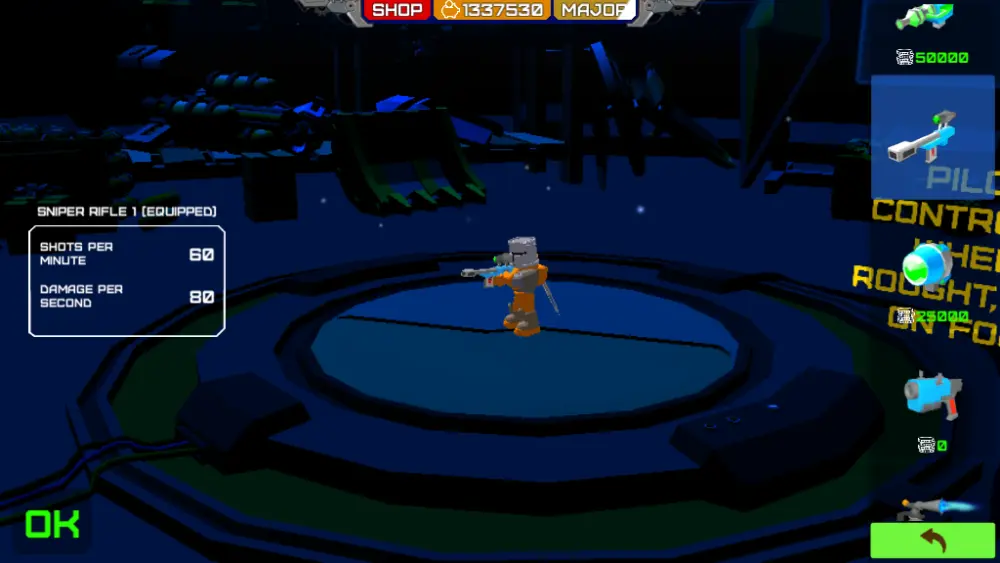
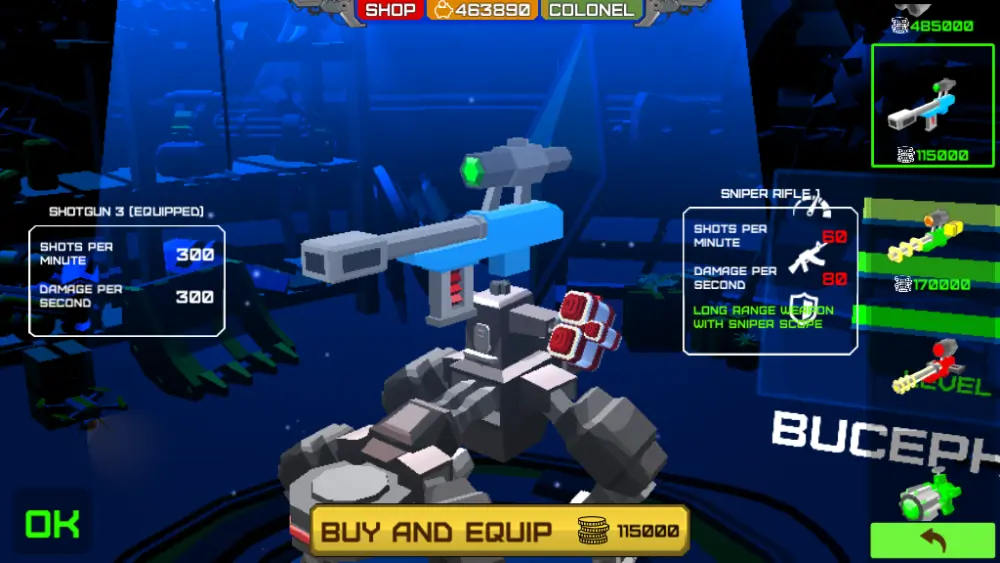
Sniper Rifles, Freeze Rifles, Acid Rifles
Long-Range Burst Damage, Poor DPS When Unscoped

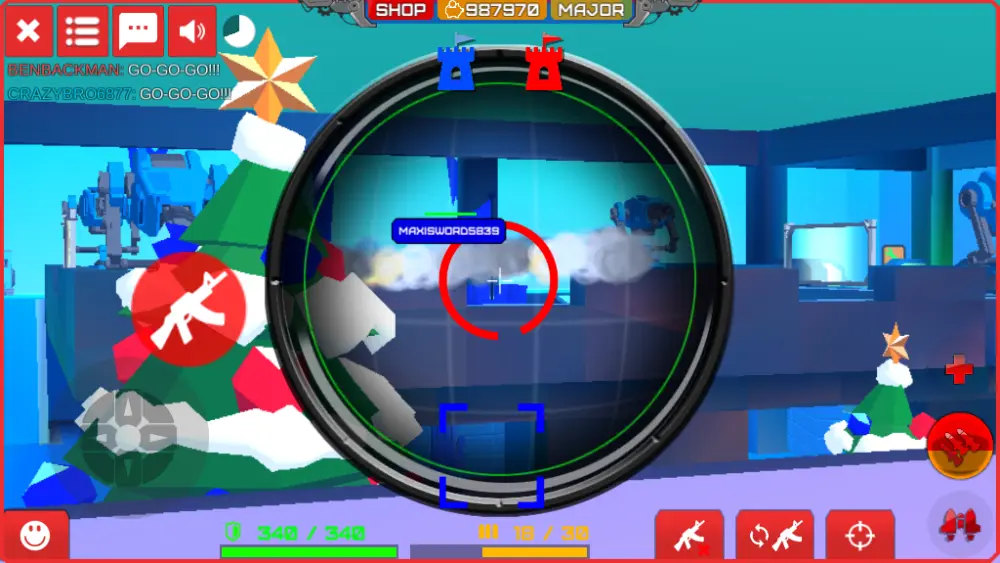
Sniper Rifles come with scopes, and you’ll need to learn to use them no matter what you main since advanced sniper weapons are the most common weapon pickup you’ll find in the game. While they can autofire like most weapons, they are at their strongest when scoped in and fired manually.
Sniper Rifles come with a special scope button, which when pressed zooms the screen in and fills a power bar. The rifle can be fired before the power bar is full, but a full bar on a Sniper 3 will typically reduce a Mech to a sliver of HP in a single blow.
Once the bar is full, press the fire button on the left side of the scope to blow a giant hole through your enemy. They’re great Mech weapons but they’re also one of the best Pilot weapons in the game since shooting enemies from halfway across the map is one of the funniest ways to take advantage of a Pilot’s puny tiny baby hitbox. A good way to use a sniper rifle is a fully charged shot followed by a quick partial-charge shot or two to get rid of that final millimeter of HP. Freeze and Acid Rifles work similarly, trading some damage for debuffs.
Howitzers
Mid-to-Long Range AOE Damage
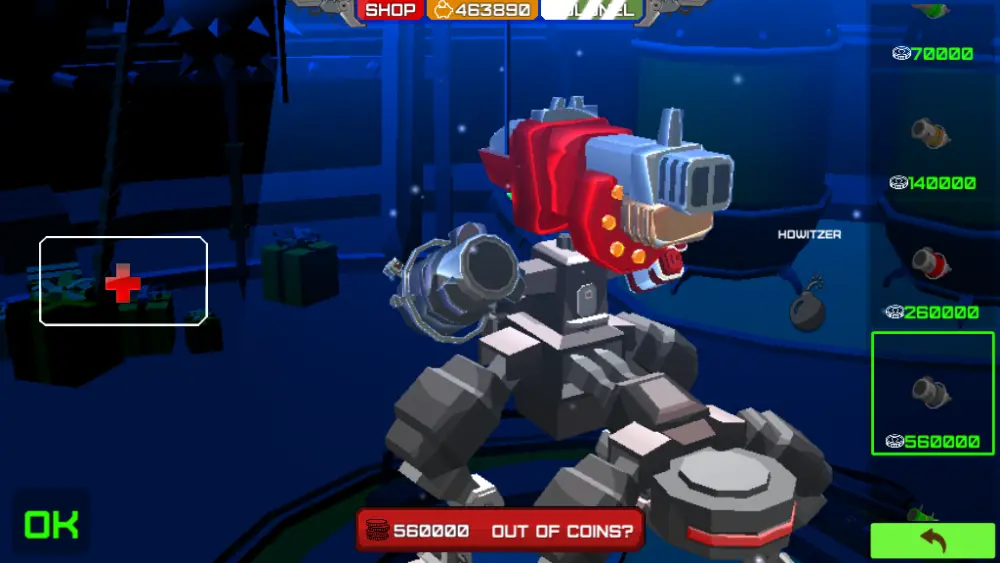
Howitzers are long-range arcing shot auxiliary weapons equipped on side slots. They lob a powerful bouncing explosive over a medium range, with the bounce lengthening the projectile’s overall travel range. You can either use them to shoot enemies from a distance or get in close to a wall and lob shots over it to hit targets like Towers or cowardly enemies. Use them as artillery, and rely on your other weapons if the enemy gets too close. Or run away!
SUPPORT GEAR
Support equipment and weapons are for helping teammates live longer and kill faster. Whether through healing or disrupting the enemy in ways beyond just damaging them, having a support-oriented Mech on the team can prove a great way to turn the tide.
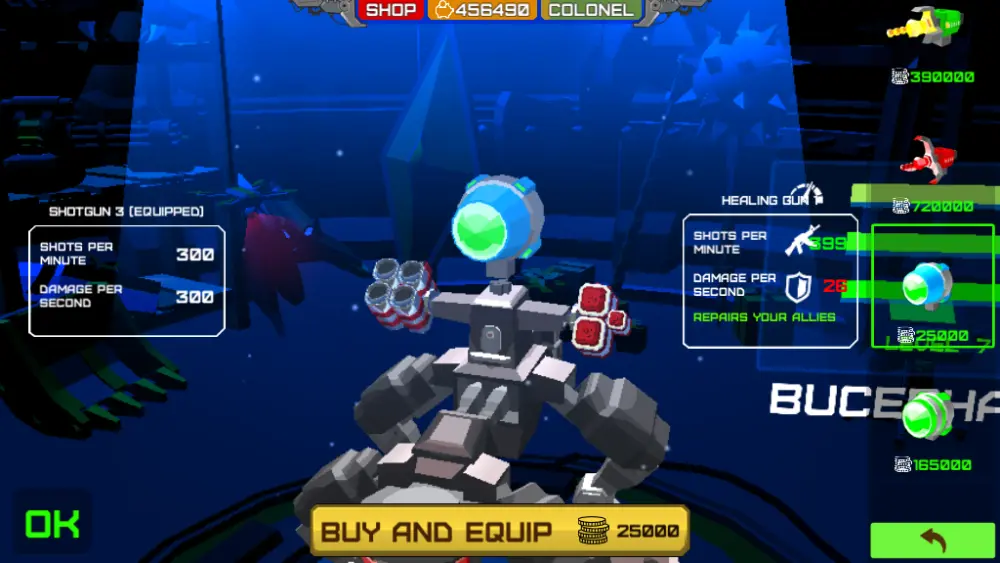
Healing Guns, Disintegrators
HP Recovery, Consistent DPS

Healing Guns are rayguns that can deal small amounts of damage to enemies while healing allies., as their name implies. If you’re rocking one of these, you’re likely hanging back keeping your angrier, more murderous teammates alive.
Since they work similarly to Lasers, they have similar strengths in combat, mainly the consistent ability to hit targets at any reasonable range. Their cousin, the Disintegrator, is a more selfish offensive version, which instead acts as a lifesteal raygun and heals only yourself as opposed to teammates while dealing substantially greater damage.
Freezer
Wide Area Attack, Slowdown
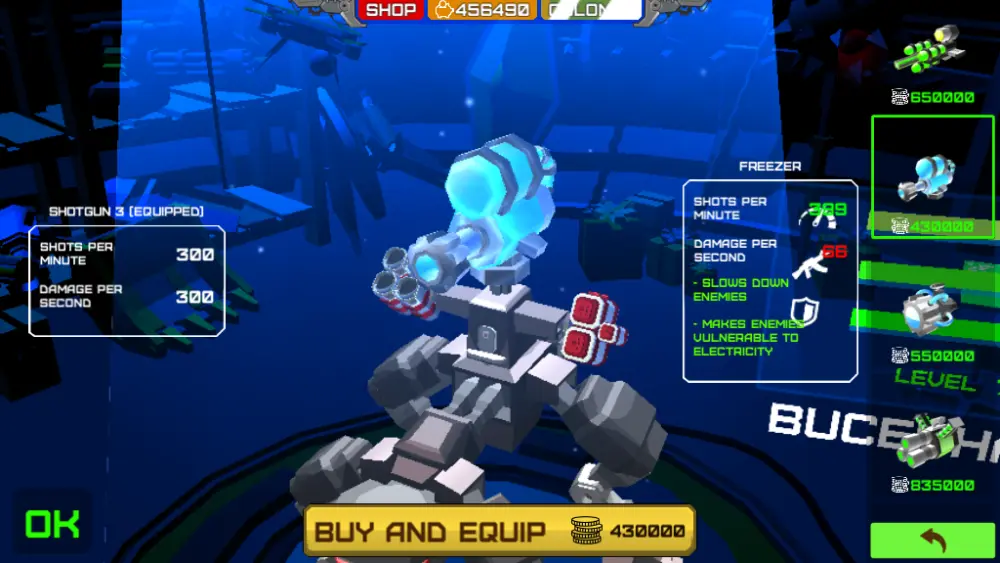
Take a Flamethrower and fill it with ice. Now you have the Freezer, a weapon with a similar range profile to the Flamethrower: A short, wide cone of rapid-fire irritation. While the Flamethrower is best suited for busting through fortifications while other teammates try to keep you intact, the Freezer is better for direct combat support.
You aim it at Mechs instead of Fortifications, and those Mechs will slow down and become sitting ducks for your buddies. They can be a nightmare in Gold Rush, Capture the Flag, and Mechaball, where speed and unimpeded movement is essential.
Repulsor
Close Range Attack, Disorientation, Knockback
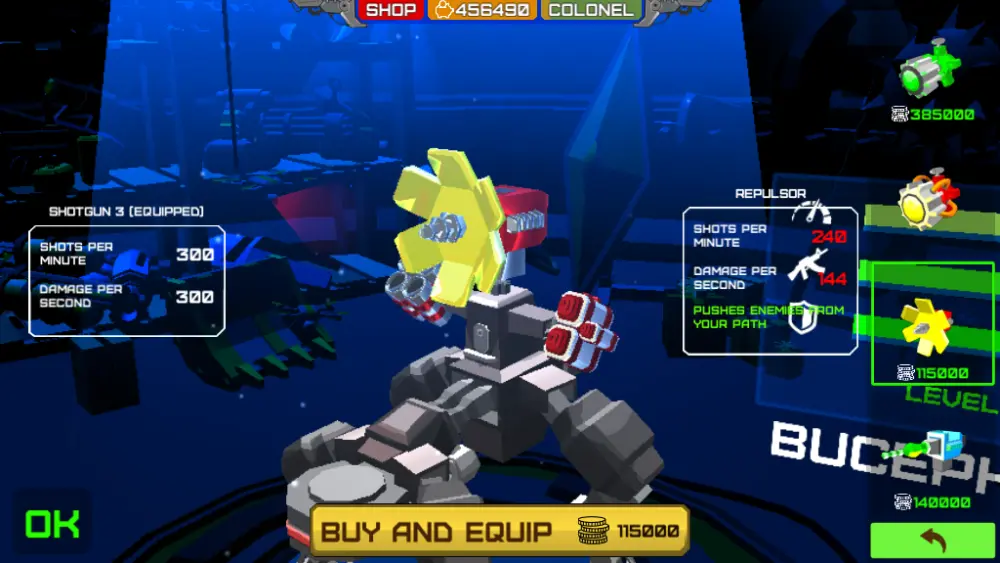
Do you want enemies off your Control Point? Do you enjoy watching Mechs melt in lava or sink in the ocean? Do you prefer driving your opponents mad as opposed to merely putting them out of their misery? If so, the Repulsor is for you. The Repulsor has pretty lackluster DPS for something with a similar range profile as the Shotgun: Short but wide. What it does have is knockback and tons of it.
You won’t kill anything quickly using Repulsors, but you will likely be the most annoying thing on the map as you disrupt, confuse, disorient, and generally highly inconvenience enemies by pushing them all over the place.
Repulsors excel in breaking apart tight enemy formations so Support Module Mechs can’t heal each other, kicking enemies off of Control Points, and shunting Blue Team away from the Bomb in Bomb Delivery Mode so they can’t push it forward. If the map has a lot of water and lava, use it for a good laugh.
Fire Hose
Close Range Attack, Knockback, Supportive utility

Take the Repulsor’s ability to be extremely annoying, and add the ability to make teammates like you. Now you have the Fire Hose, which is not actually named in-game because of a UI bug. It has near nonexistent DPS compared to the Repulsor’s unimpressive but still viable damage ability, trading firepower for various utilities such as the ability to put out fires and make enemies weak against electrical weapons such as the Shocker.
Healing Generator
Area Healing, Self-Healing
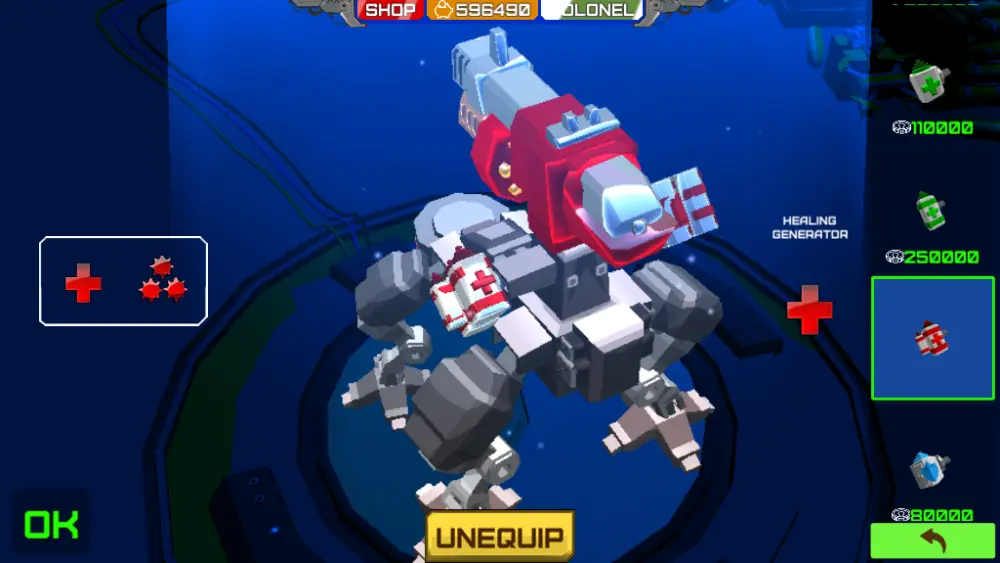
Healing packs are great items whether or not you’re a loner stalking the enemy or a team player holding the point down with the squad. They’re very simple: Healing packs heal you and nearby teammates over time. The highest-tier Healing Generator is surprisingly powerful, able to out-heal the DPS of some lighter weaponry while having enough juice to refill your HP bar roughly halfway through.
This is good because they have pretty long cooldowns and you should use them wisely. You can use them to save yourself or a teammate, consolidate a push, or simply annoy the enemy by not dying when they expect you to.
Sentry Guns
Defensive Utility, Distraction, DPS
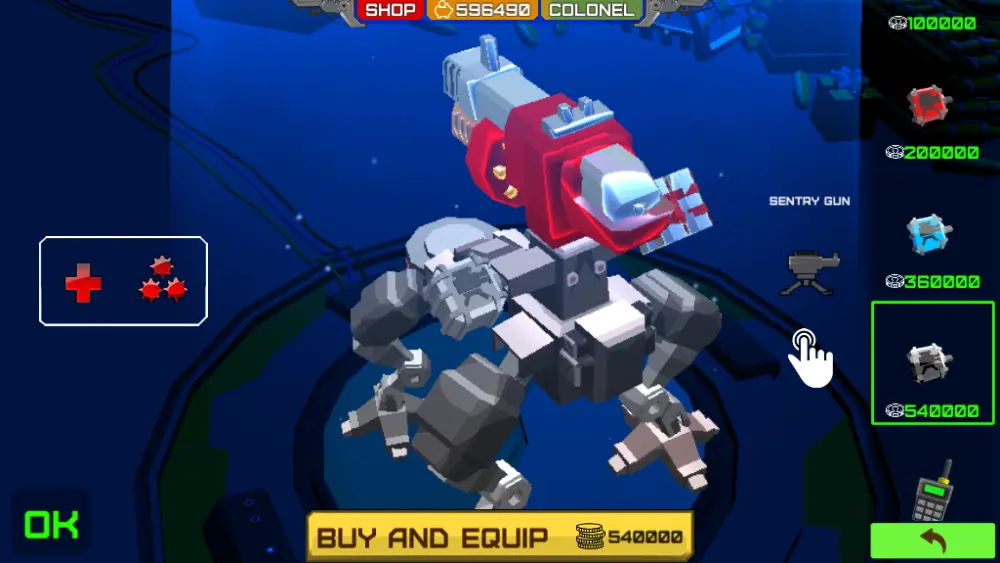
Sentry Guns let you drop a little turret behind you, with tier 2 and above Sentry Guns also letting you drop a Dispenser which heals nearby teammates and recharges their pickup weapon ammo. They’re a giant annoyance in both Tower and Control Point modes, with strategic Sentry Gun placement a great way to give enemies a headache as they try to attack your Tower or Control Points.
You can also use them as a general distraction in any other mode. They can also be used to defend in Capture the Flag, though good Mech Pilots won’t stay long once they grab the flag, and aren’t likely to get killed by Sentry Guns alone.
EMP Emitters and EMP Cannons
Offensive Utility, Disabler
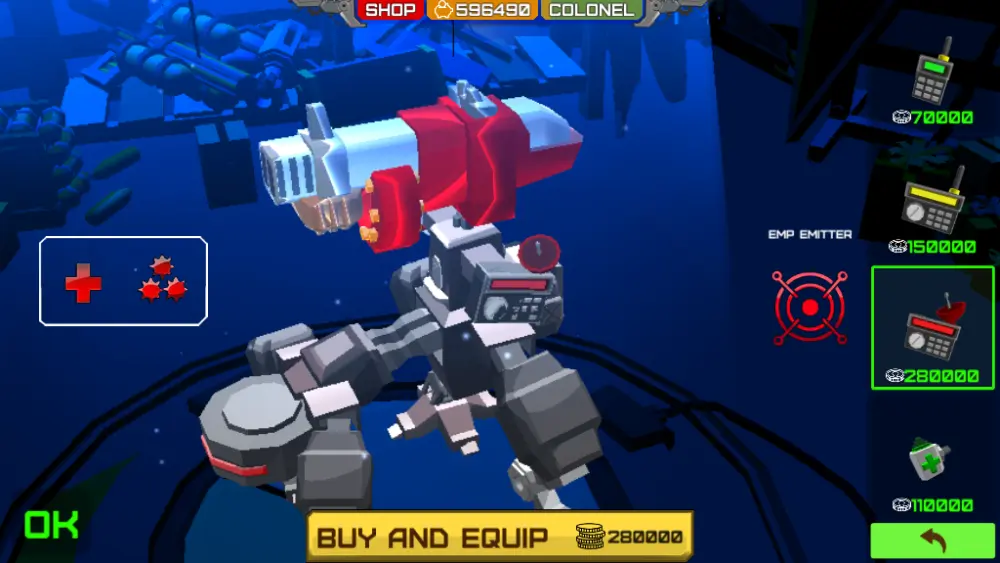
EMP weapons are a more subtle way to confuse your opponent than the pure, unmitigated evil of Repulsors. Electromagnetic pulses cause Mechs to lose access to their special abilities for some time, which might not be noticed by inattentive players until their Healing Generator suddenly fails to save their burning 2HP butt.
A disabled piece of gear is blocked by a bug icon, rendering the button useless for a while. While EMP Emitters disable enemy gear around your vehicle, EMP Cannons do damage while disabling a single target’s systems at range. The higher an EMP weapon’s tier, the more systems are knocked out by the pulses.
Forcefield Generators
Defensive Utility, Debuff Immunity
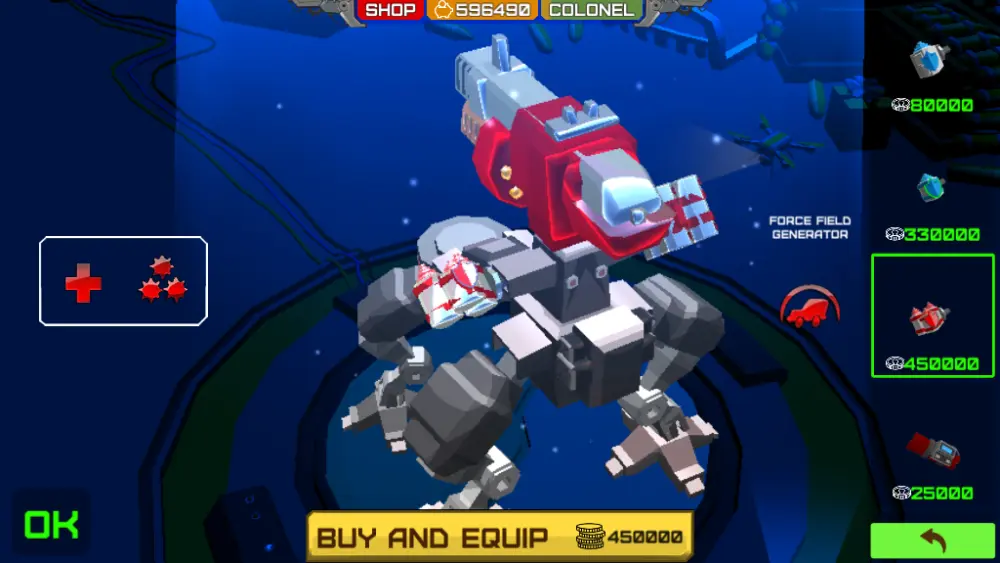
Forcefield Generators are great for tanky builds. Not only do they block a percentage of damage, but they also allow your Mech to shrug off most debuffs and even backstabs from Stabber users when activated. While Healing Generators are pretty strong in lower-tier matches and for support use, Forcefield Generators pick up their stride in the later tiers since you unlock the higher-tier ones later than you do the high-tier Healing Generators.
They also work well for free-for-all deathmatches and Mechaball, since you have nobody to heal in FFA matches, and keeping Freeze away in Mechaball is a good idea.
Grappling Hooks
Mobility, Escape
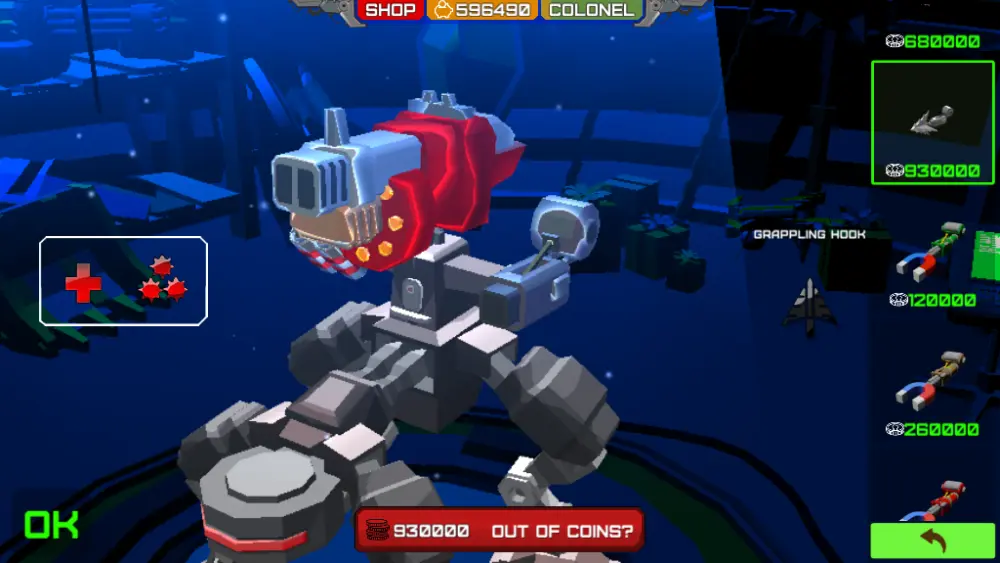
If you want a long-range high-speed method of travel, Grappling Hooks are your friend. They fire a hook at a piece of terrain and pull your vehicle toward that spot. You can use it to get on high ground without using Jump Jets or your Pilot’s parachute, attack enemies from unexpected angles, or escape from the enemy.
Miners
Area Denial
Miners are a weapon from the Equipment Slot that leaves proximity-fuse landmines behind you. While they’re different from Sticky Bombs, their use case is similar: Fill a Control Point or any other important objective with mines so the enemy can’t get close without being blown sky-high.
Cloak Generators
Offensive Utility, Escape, Stealth
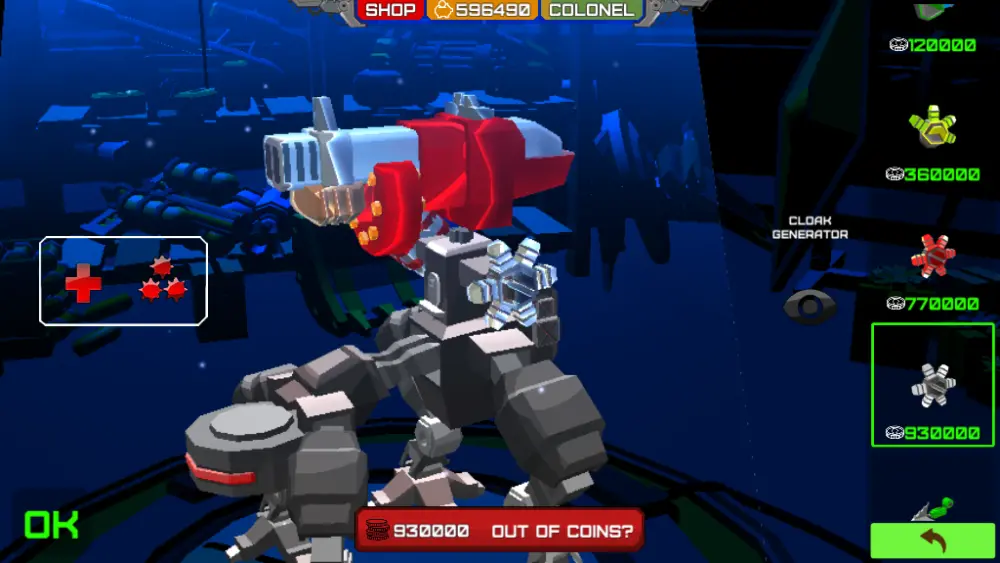
One of the most expensive pieces of support gear to exist, Cloak Generators are a Stabber user’s dream come true. As their name implies, they cloak your Mech in a stealth field, rendering it invisible to the naked eye. This lets you ambush foes or escape enemies with poor focus, though be careful: The utter chaos of any fight may inadvertently decloak you through a stray bullet, so pick your ambush opportunities carefully!
Support Module
Supportive Utility
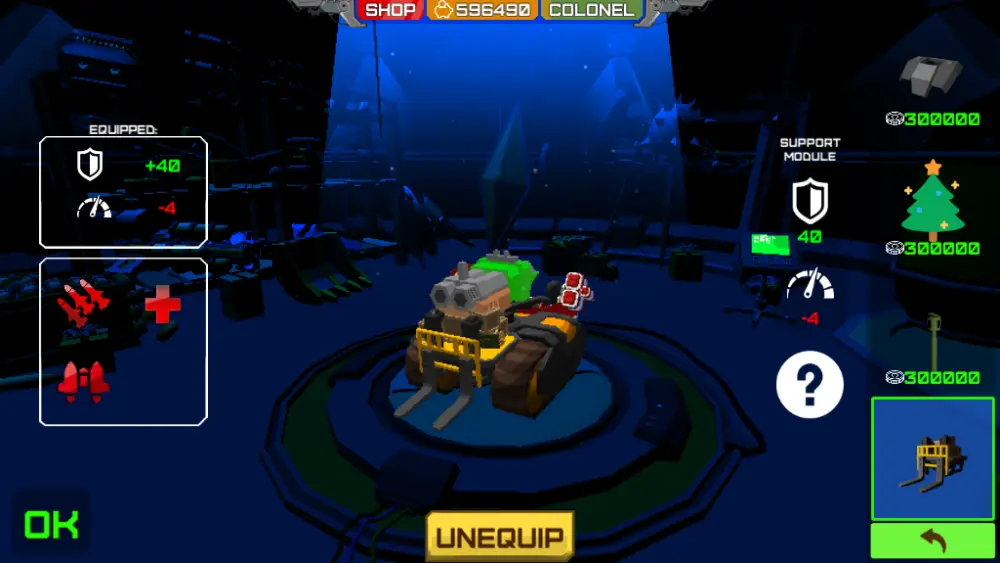
Equipped in the Armor slot of most Mechs, the Support Module, essentially a forklift, is a piece of kit that turns your vehicle into a rolling passive healbus, and also lets you slowly fill Large Turrets with ammo without relying on Ammo Boxes scattered across the map.
The healing isn’t nearly as powerful as what you’d find from Healing Generators, and you can’t heal yourself with a Support Module, but the Support Module is passive and doesn’t have a cooldown, allowing you to hold down a point with the team just by existing next to them. It also gives your vehicle extra armor and the ability to carry Brick Walls of the same color as your team, though you typically want to keep Brick Walls where they are.
Personal Teleporter
Quick Travel, Stealth Travel, Escape
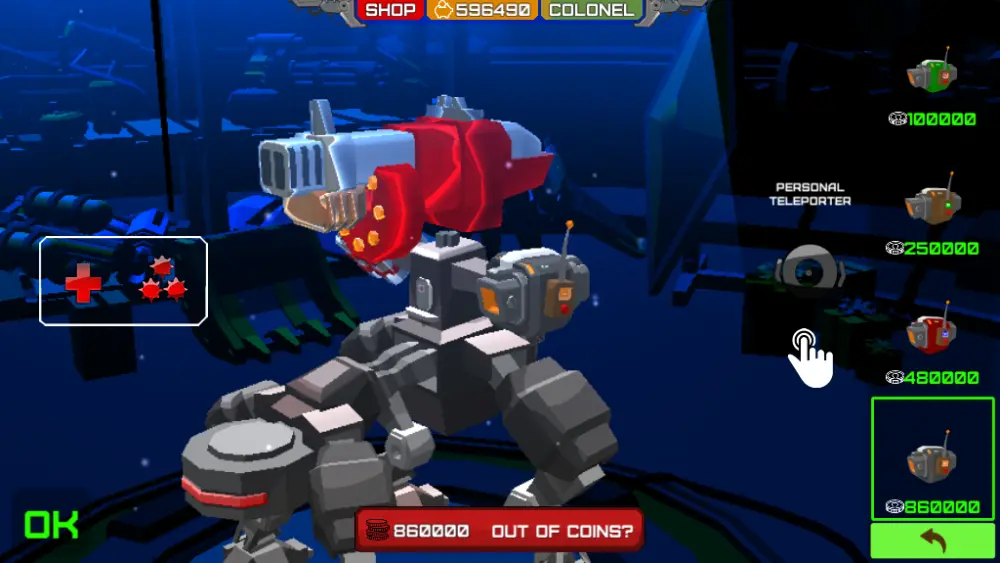
Perhaps even more sneaky than the Cloak Generator, a Personal Teleporter can act both as an escape tool and a way to attack and heavily pressure enemy objectives and positions, albeit one that requires an initial setup effort. You can launch a Personal Teleporter beacon by tapping the ability button, then warp to that beacon by holding the ability button.
Where you place a beacon and when you use it depends on what you want to do with it. Placing it near a safe area, perhaps near a Repair pickup, turns it into a quick escape plan. Placing it near a control point, the enemy flag, or the enemy tower allows you to attack that place rapidly as long as the enemy doesn’t notice the beacon and blow it to heck.
Weapon Coolers, Weapon Boosters
Weapon Power Improvement
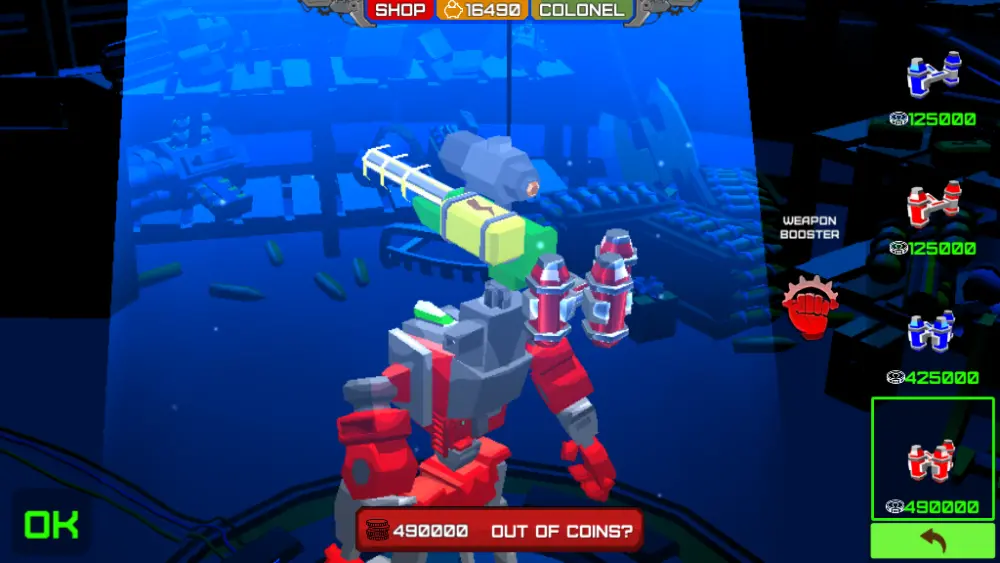
Only equipable on machines with a dedicated Turret slot, Weapon Boosters, and Weapon Coolers can vastly improve the power of your Primary or Secondary weapon. Weapon Coolers passively keep your weapons from overheating for longer, being useful on rapid-fire weapons like Shotguns and Machineguns.
Weapon Boosters temporarily increase the damage dealt by weapons when activated, being great on slower, harder-hitting weapons like Sniper Rifles, though they still work great on fast-firing guns.
Jump Jets, Jetpacks, Boosters, Impulse Boosters
Mobility and Movement
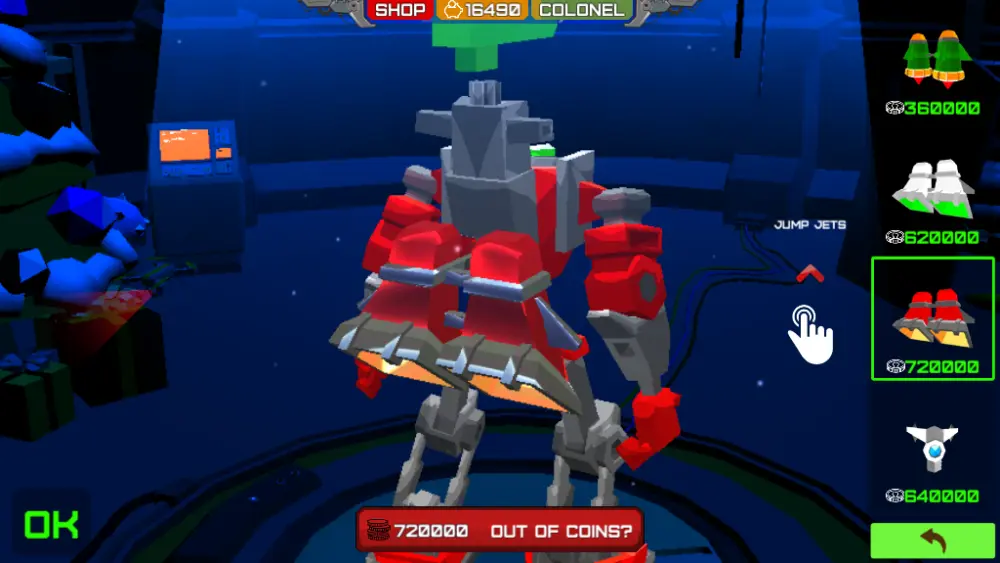
Jump Jets and Jetpacks are used by Mechs to get some airtime and go over obstacles, while Boosters are used to get a ton of forward speed, and Impulse Boosters allow your Mech to do sudden dodges. Jump Jets and Enhanced Jump Jets allow your Mech to jump, while Jetpacks hover your Mech over the ground for a short while.
Jump Jets get better altitude and are easier to control if you want to go over obstacles, while Jetpacks are worse at navigating tall obstacles but can be used to confuse enemies during close combat and force them to aim up, and work better against wide obstacles like lakes and puddles.
Boosters on the other hand are great for initiating close assaults or escaping from enemies. Impulse Boosters are best used for close combat to keep yourself out of the enemy’s crosshairs.
Shields
Knockback, Anti-Ranged Defense
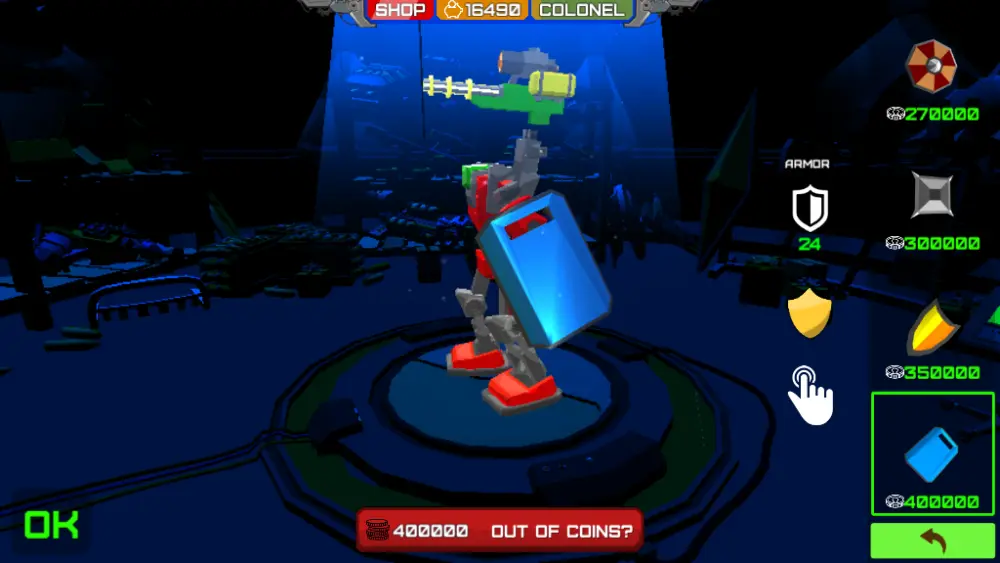
Shields, equipable only on high-tier humanoid Mechs in their Armor slot, are different from Forcefield generators in that they block against all ranged bullets but not debuffs, and they do nothing against melee attacks or explosions. Holding the ability button instead of tapping it allows the Shield to release a burst of energy instead, pushing enemies away.
Snorkel
Water Travel
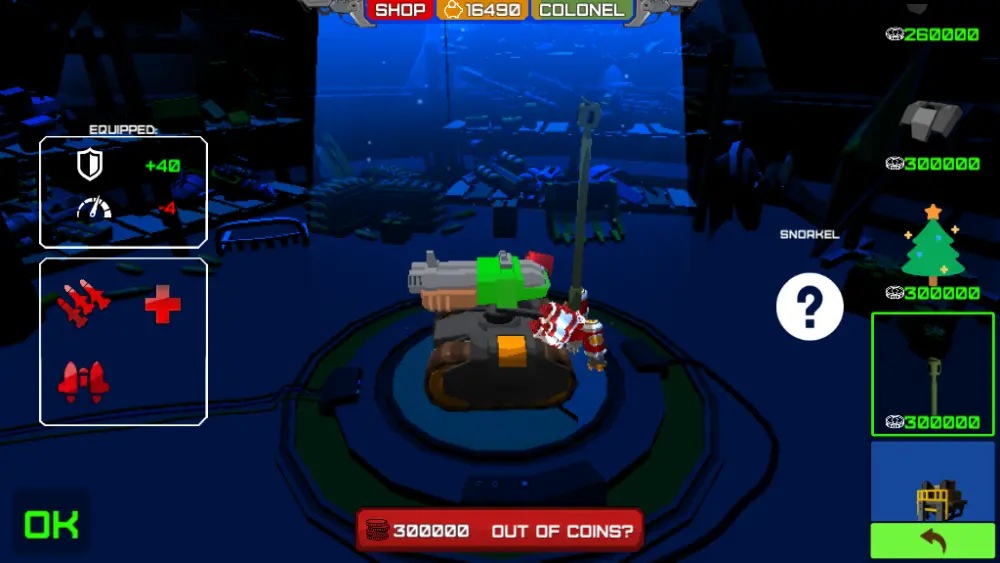
An item used on low and mid-tier Mechs, especially short ones, which allow them to traverse shallow water safely. They can be used to stealthily swim in puddles, and paired with the Retractor can help you pull enemies that lack Snorkels or are too short to swim to a watery grave. Just know that they provide no armor boosts at all, so be careful in direct combat!
And this ends our Armored Squad Beginner’s Guide. We hope this helps you send the enemy to the scrapyard. If you have tips of your own to share, leave them in the comment section below for others to see!