What can that one hand do? In Hunt Royale, the answer is a list of fun things.
You can slay monsters, clear dungeons, beat bosses, and fight against or side by side with other players in rounds after rounds of conquests. With its simple landscape layout, Hunt Royale offers loads of action that you can dive into right at the palm of your hand.
There’s no doubt it’s a descendant of the top-down shooter genre. But BoomBit Games, the studio behind Hunt Royale, has injected it with their creative formula.

Hunt Royale has developed distinct appendages, making it essentially a beast of its own kind. Those appendages are various PvE, PvP, and Co-op modes, all with their different twists and parameters creating a variety wide enough to evade monotony.
If you have played games like Archero or Survivor.IO, you’ll be able to take Hunt Royale head-on. They follow the same base mechanic, wherein matches or stages start out slow. You first need to collect XP, select a buff upon leveling up, and become powerful enough to do the main objective.
The variety of modes in Hunt Royale is what sets it apart from other mobile Action RPGs. When there are different modes, there are different objectives, and naturally,
Our goal in this guide then is to give tips, tricks, and strategies on how to beat the popular modes in Hunt Royale and some general knowledge to make you hunt-ready. Assume your positions as the quest for being a better hunter in Hunt Royale begins!
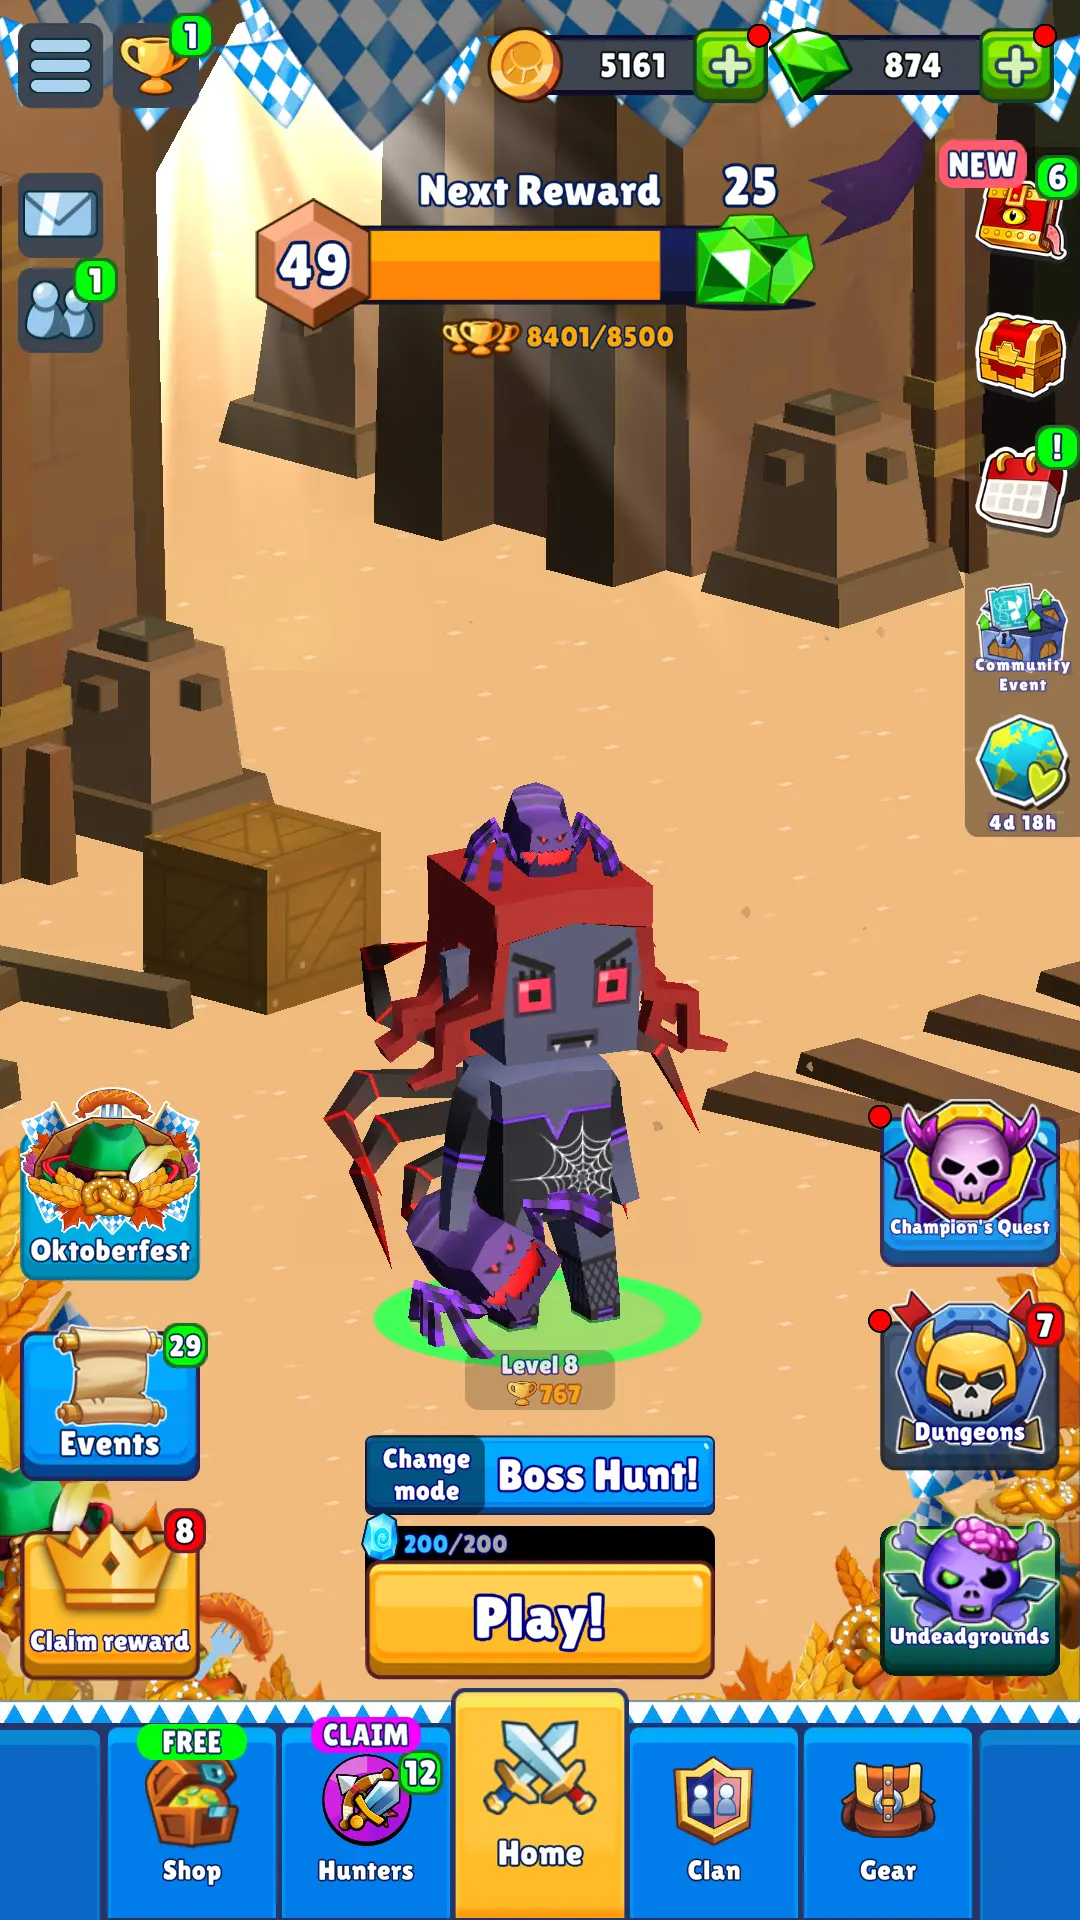
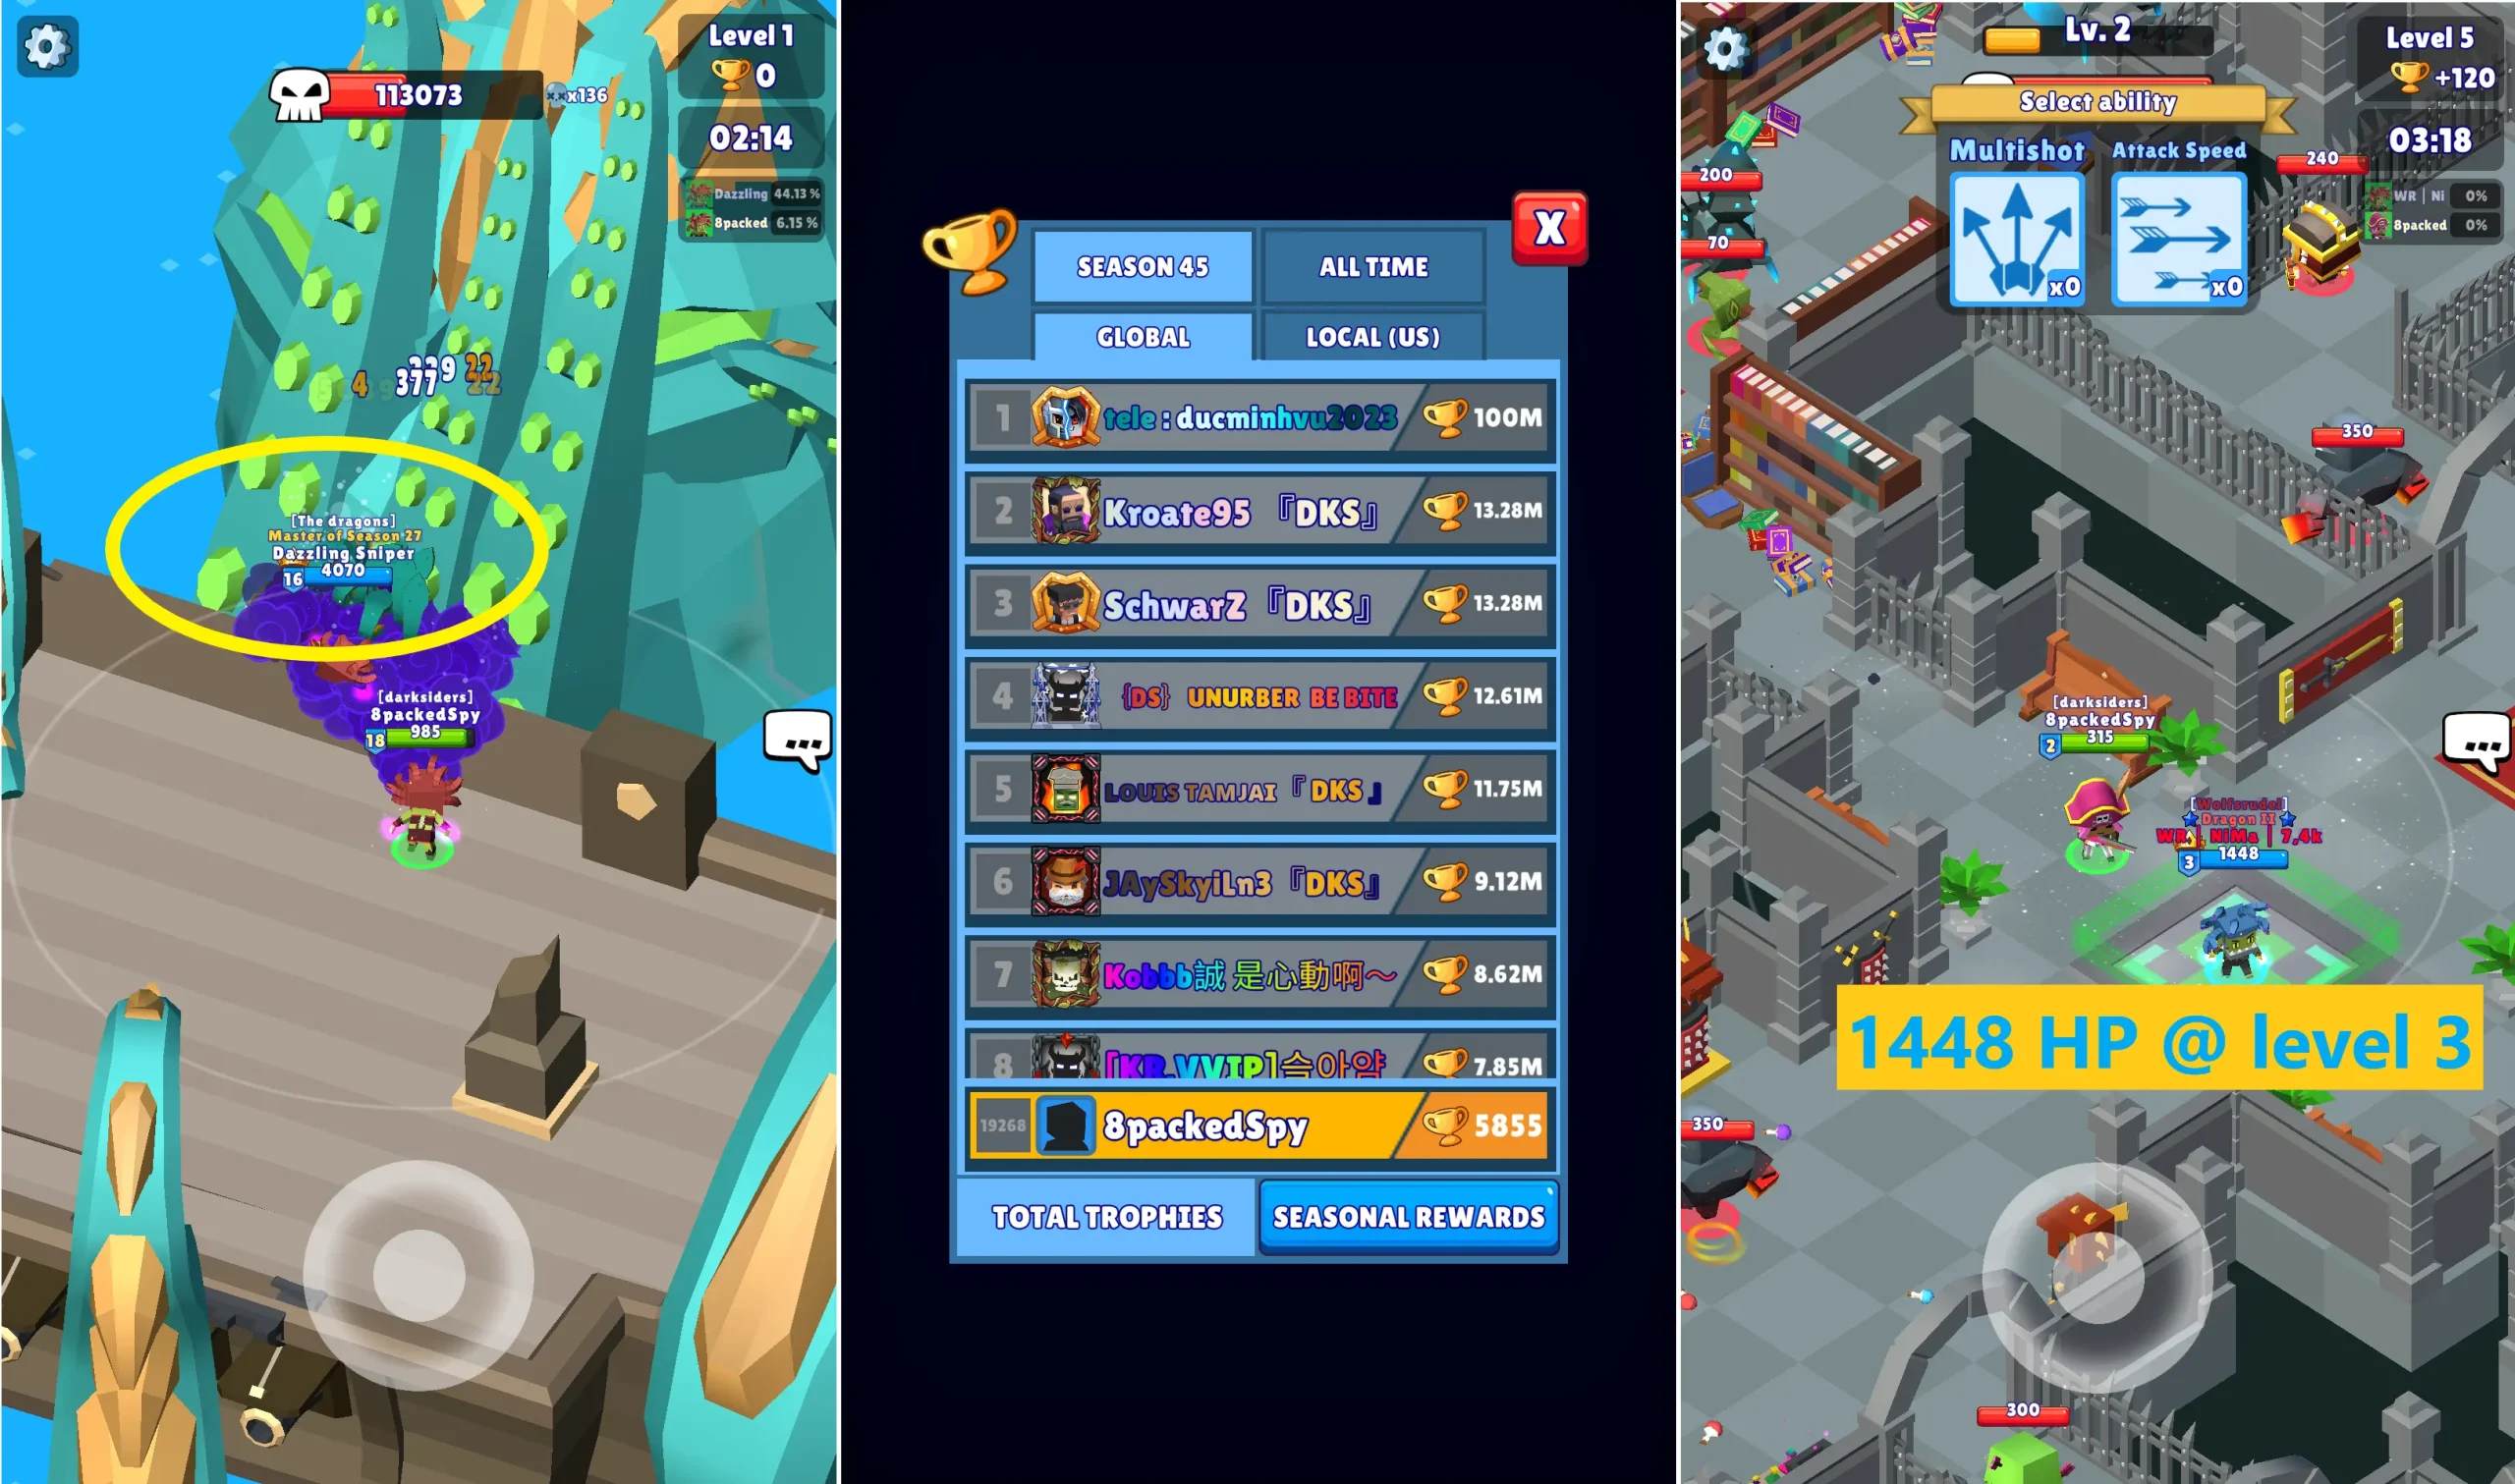
1. Understand the different regular modes available
To enjoy each hunt is your main mission in Hunt Royale but you can turn the fun up if you see purpose on the side too.
Modes in Hunt Royale offer different sets of bounties, chances for chests, tokens, Trophies, and dungeon gems. Accumulating the rewards for all hunt modes shall then be your purpose.
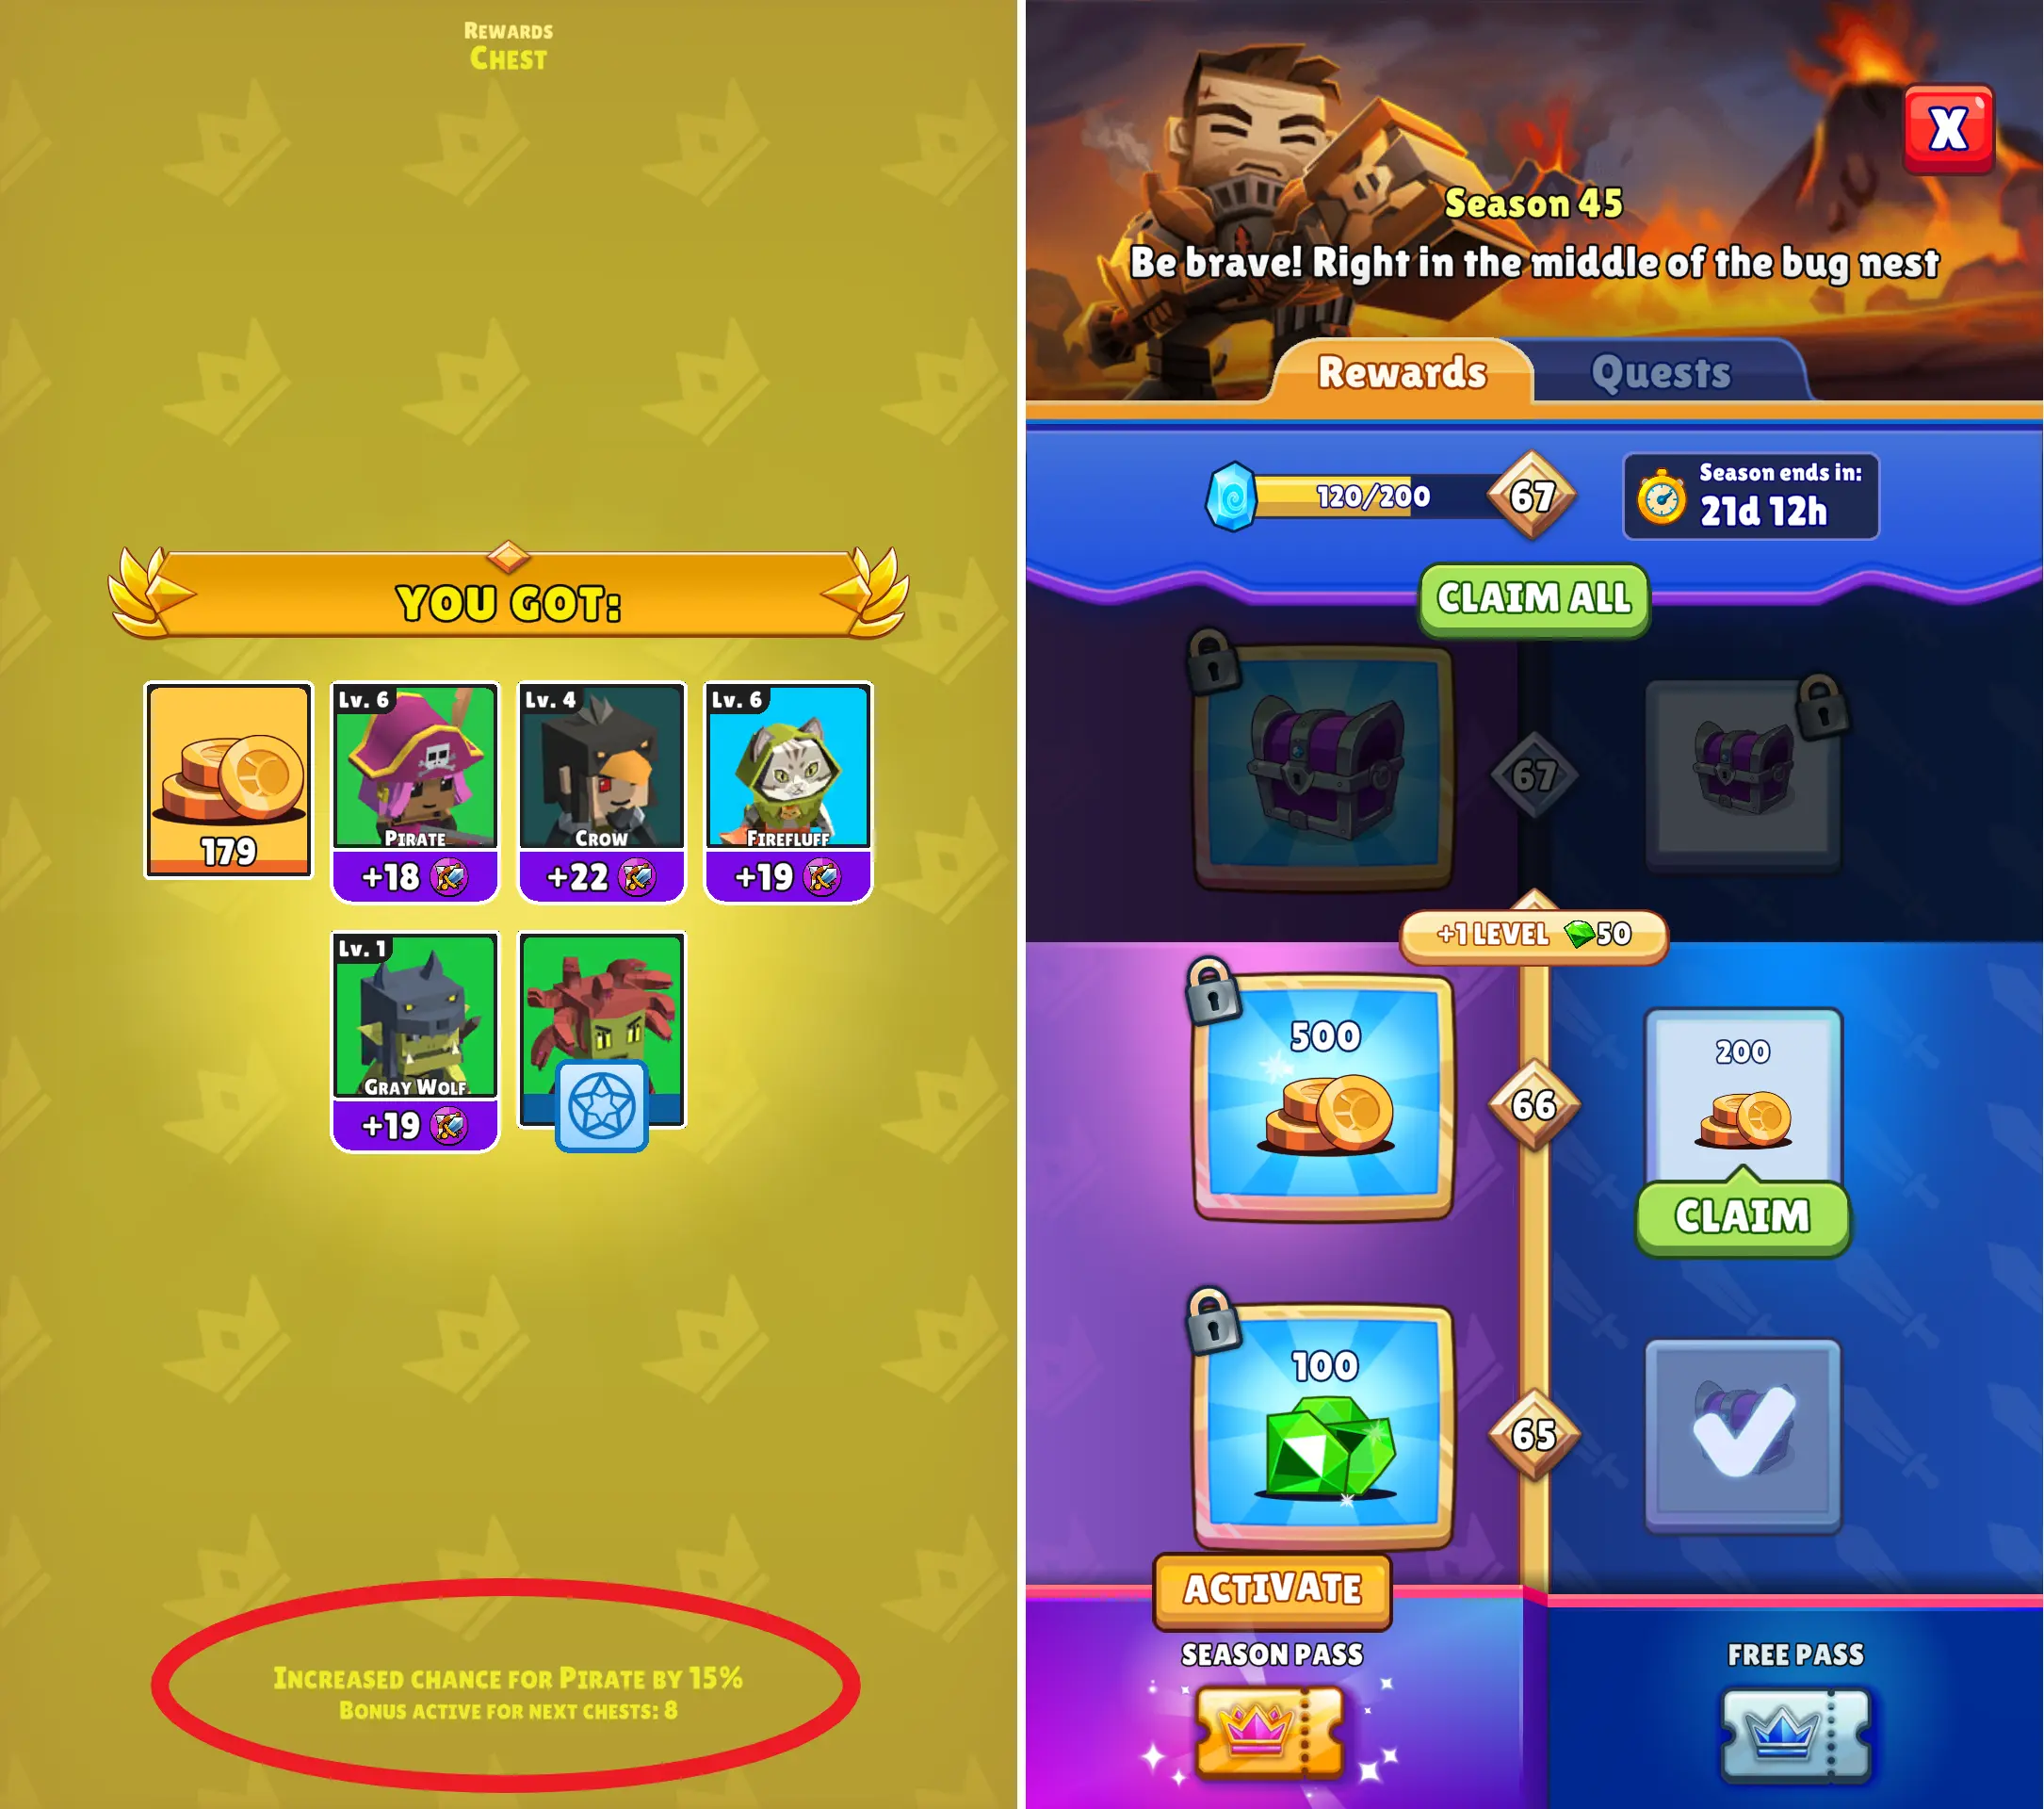
The tokens you get from finishing hunts are your way to advance through the various, “mini’’ battle passes in Hunt Royale. Reaching checkpoints gets you an array of rewards, so try to reach them by earning tokens. Apart from quests
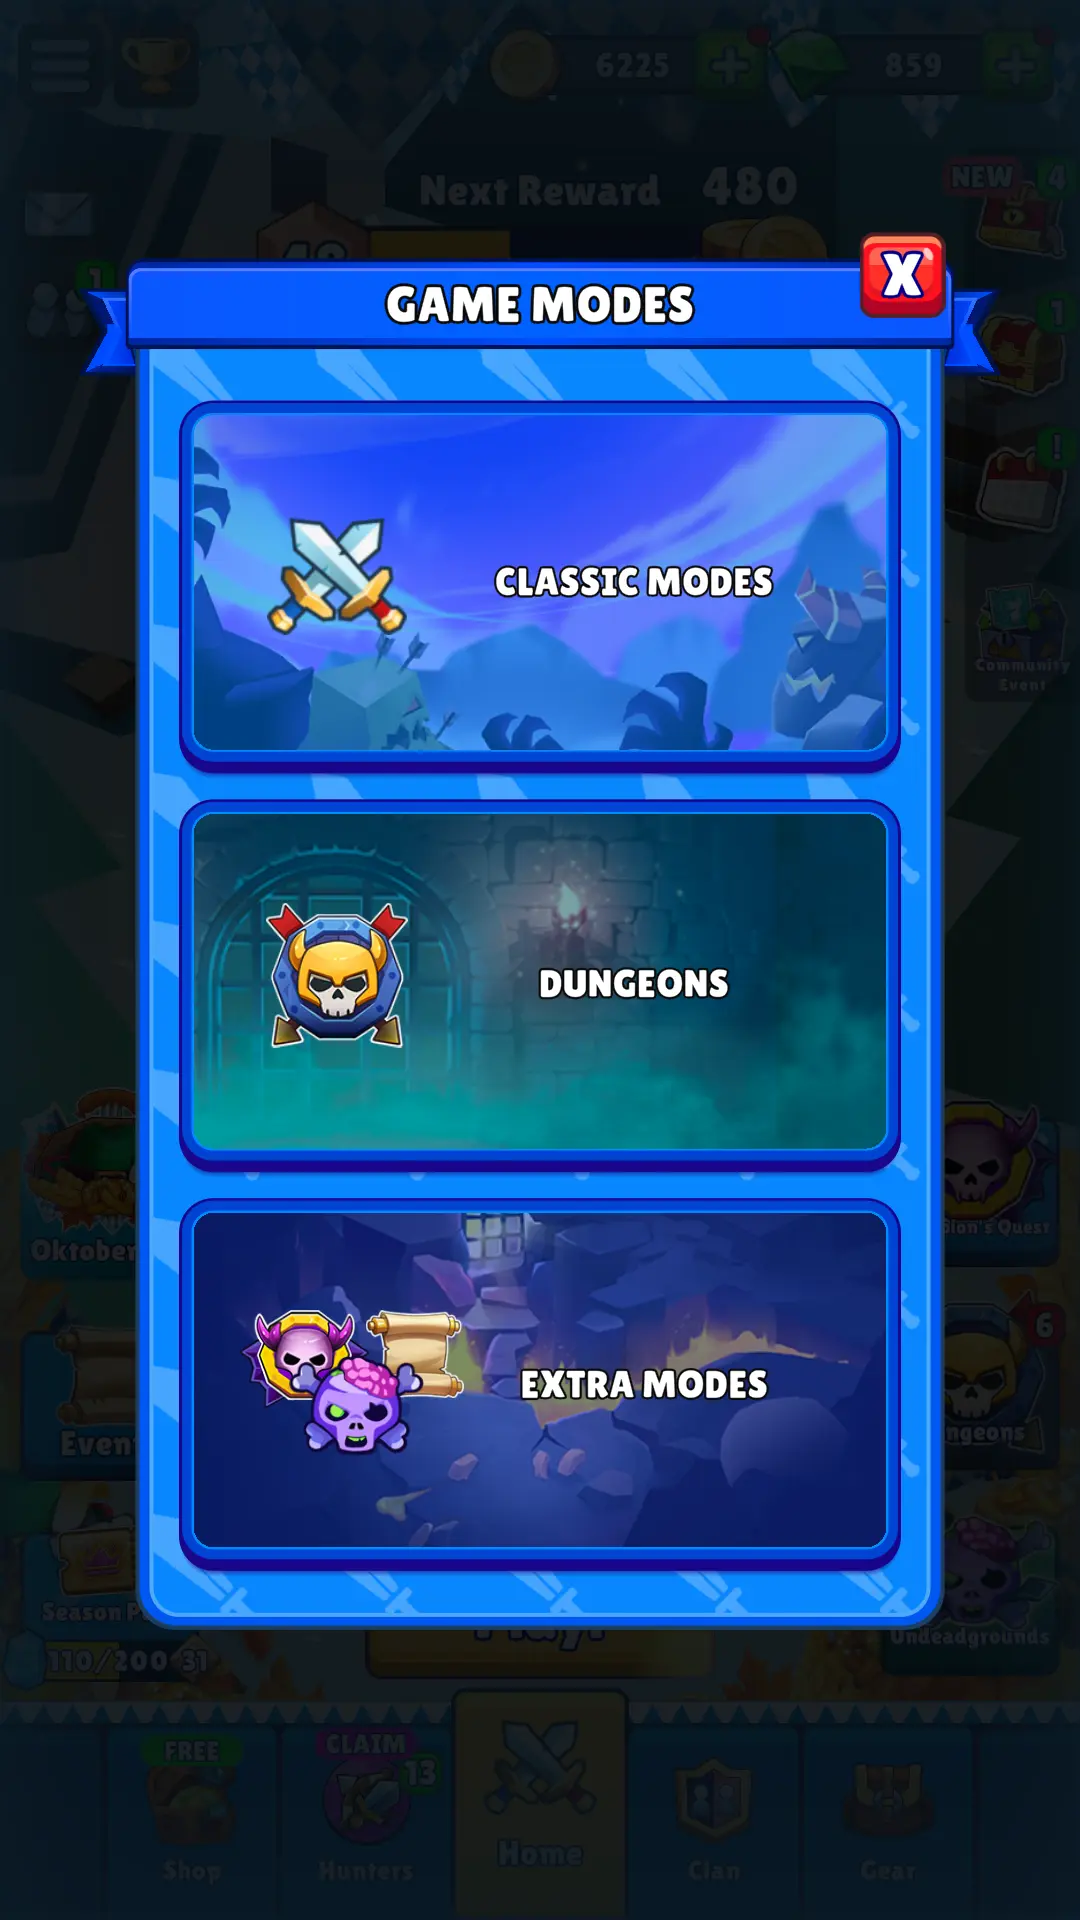
The fast-paced nature of each match in Hunt Royale can certainly make us all just tap through and go on to the next, but let’s put a bit of science and strategy into understanding the modes better. Let’s tackle first the options within the Classic Mode.
CLASSIC MODES
All match types in the Classic Modes cluster grant Season Tokens and Trophies. There will be a small chance to get gems from the dungeons you have already unlocked. Winning nets you more of these resources so let’s take a peek at each and line them up with some best-practice tips.
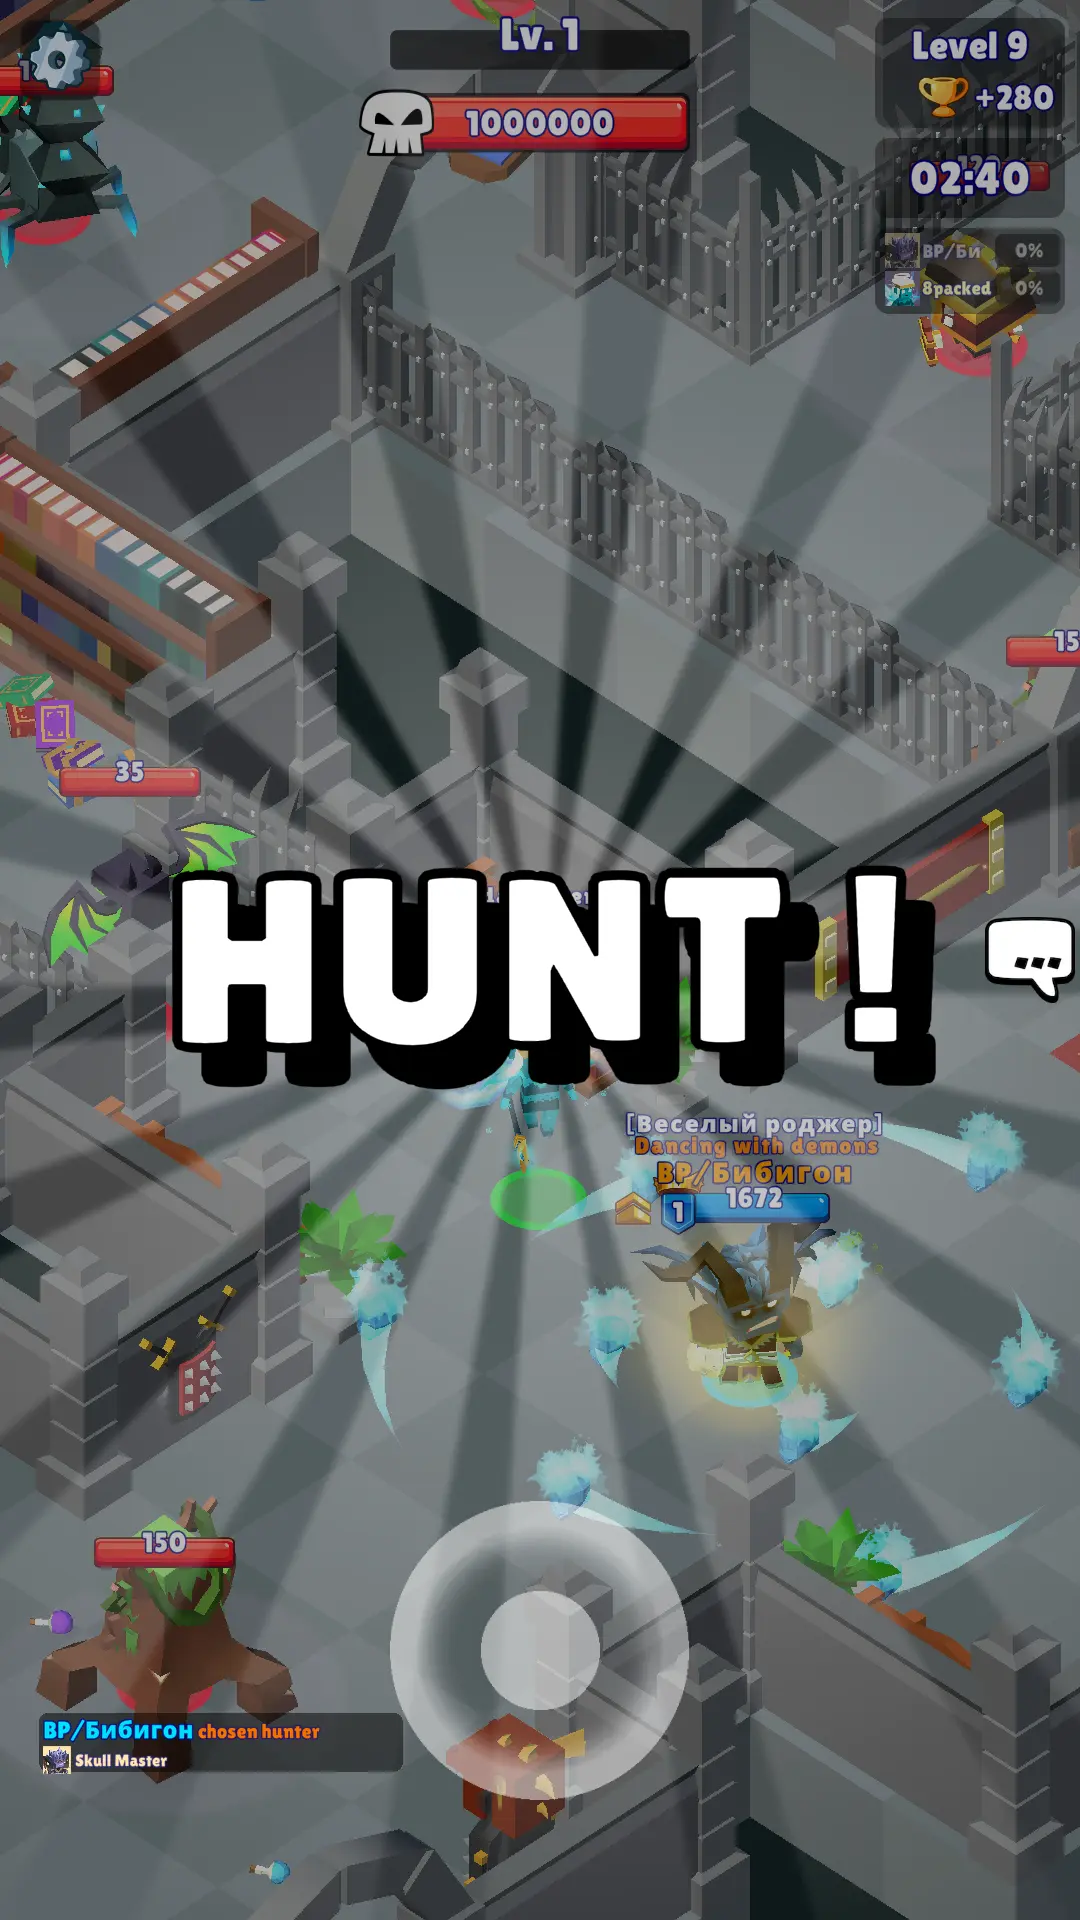
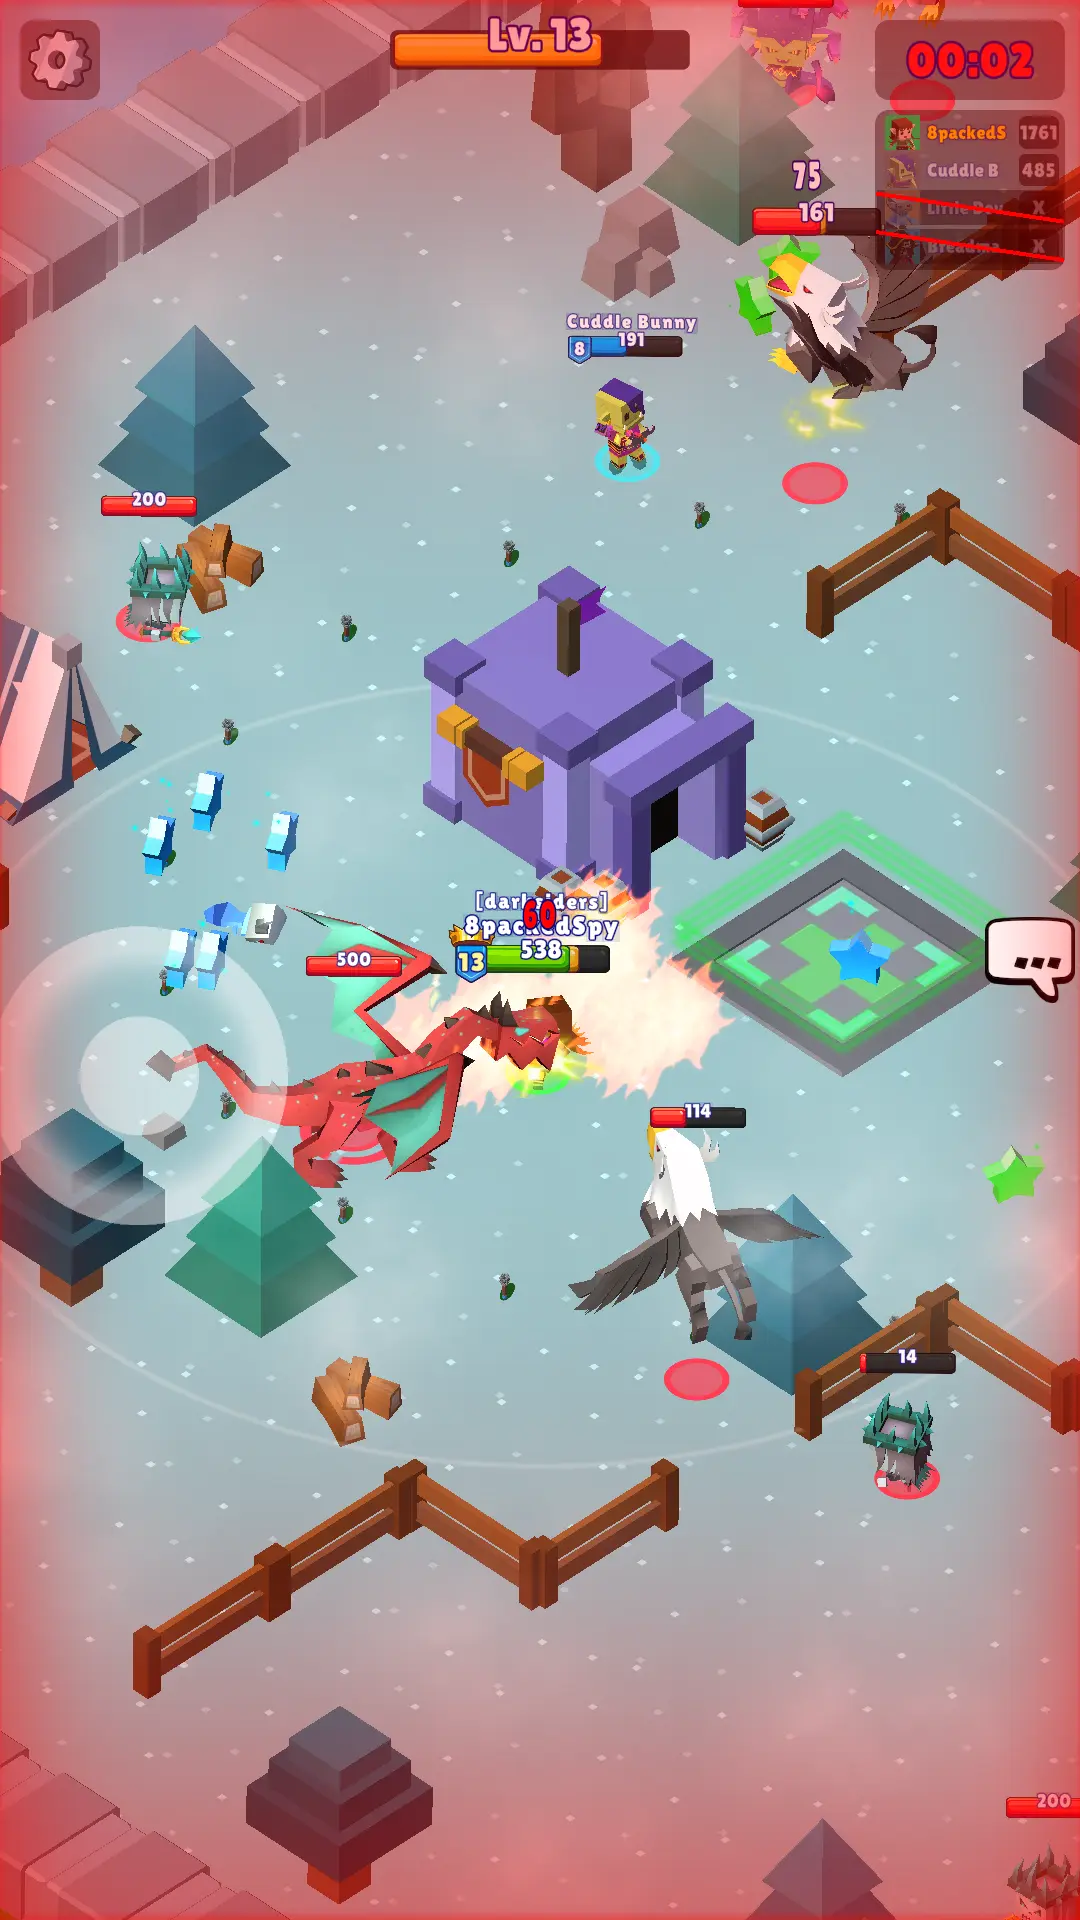
HUNT (PvE) – Compete against 3 other players where your aim is to outlive or outscore them. The 2 with the most points are the winners; the bottom 2, are the losers. That will determine who will get the ad-helped Victory or Support Chests accordingly.
– At the start, immediately move away from other players so you can solo monsters in peace.
– If another player “shares” your mobs, carefully close in and out of the mob to time the XP drops.
– Check your rivals’ HP. If you see ones with low health, lure mobs to them or to the healing pad.
– Keep your grind time efficient; always take the option to finish a match early if your 3 rivals get slain.
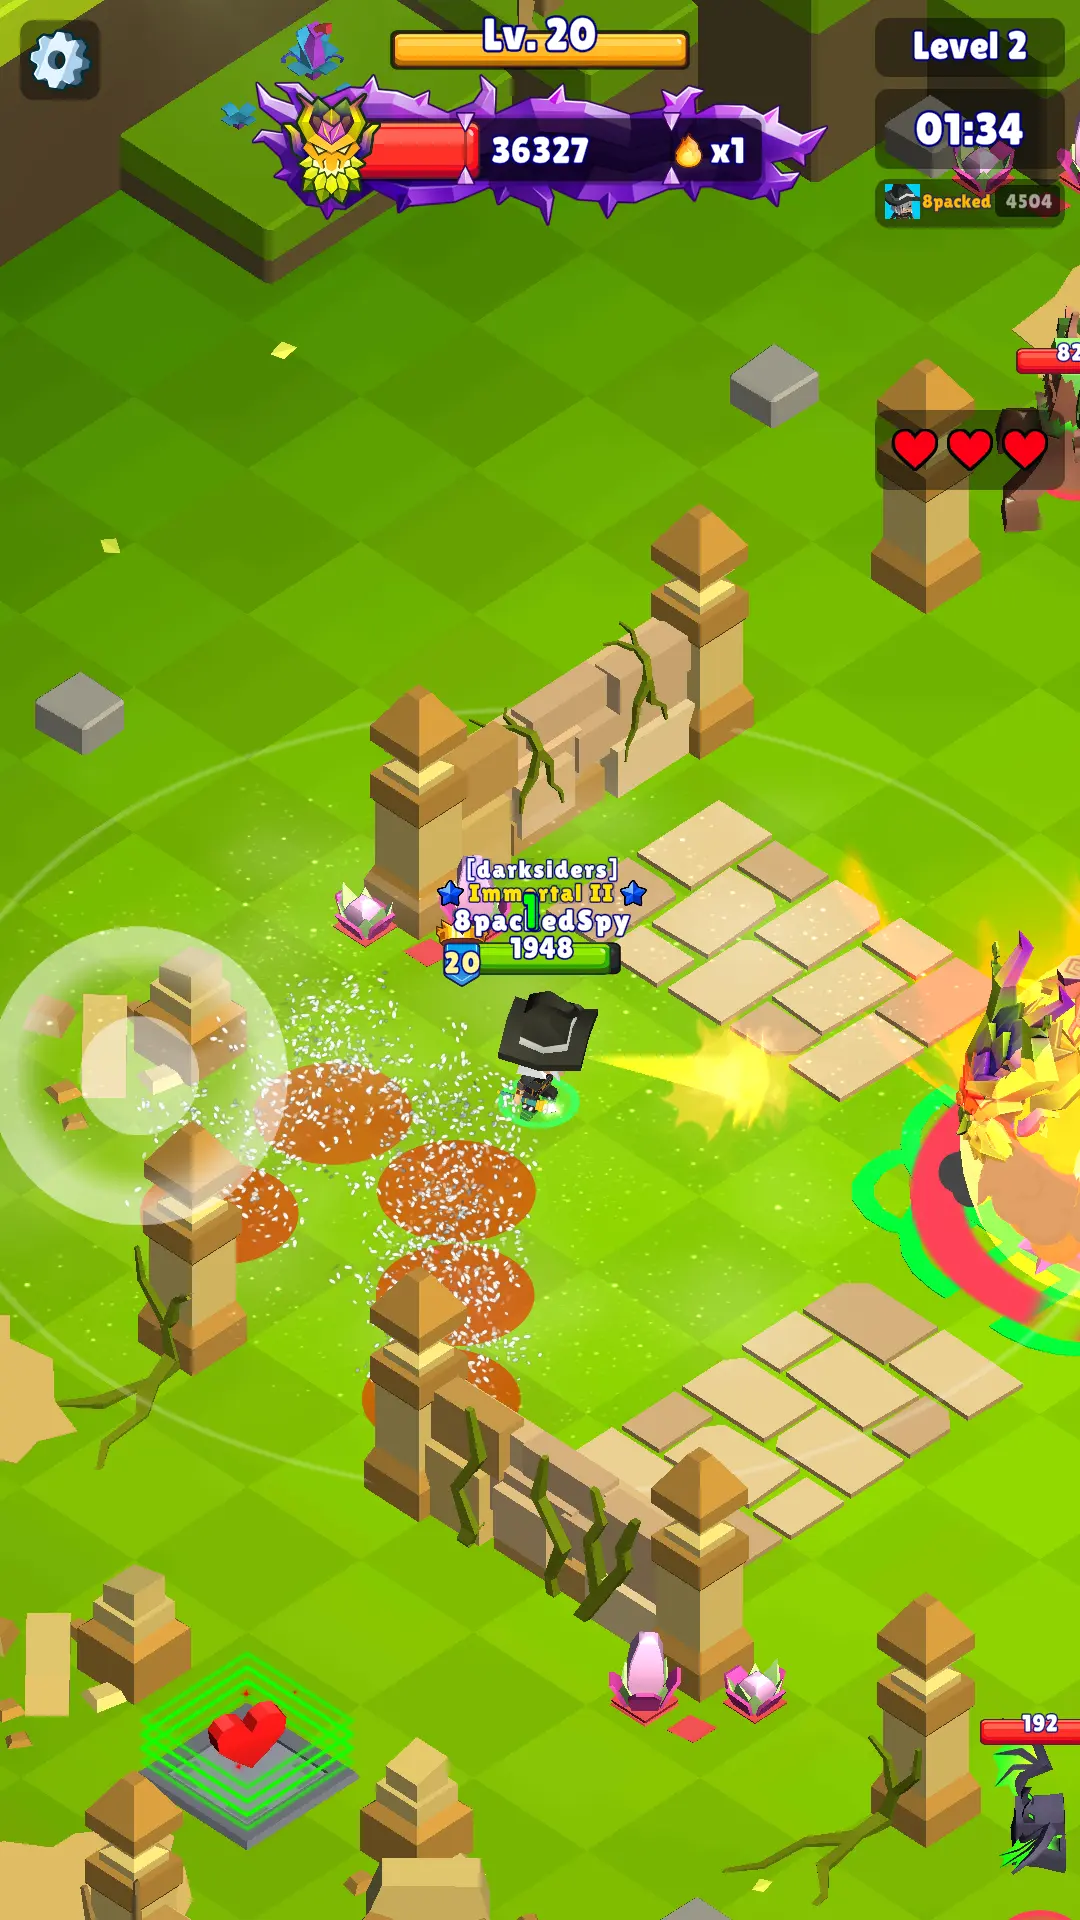
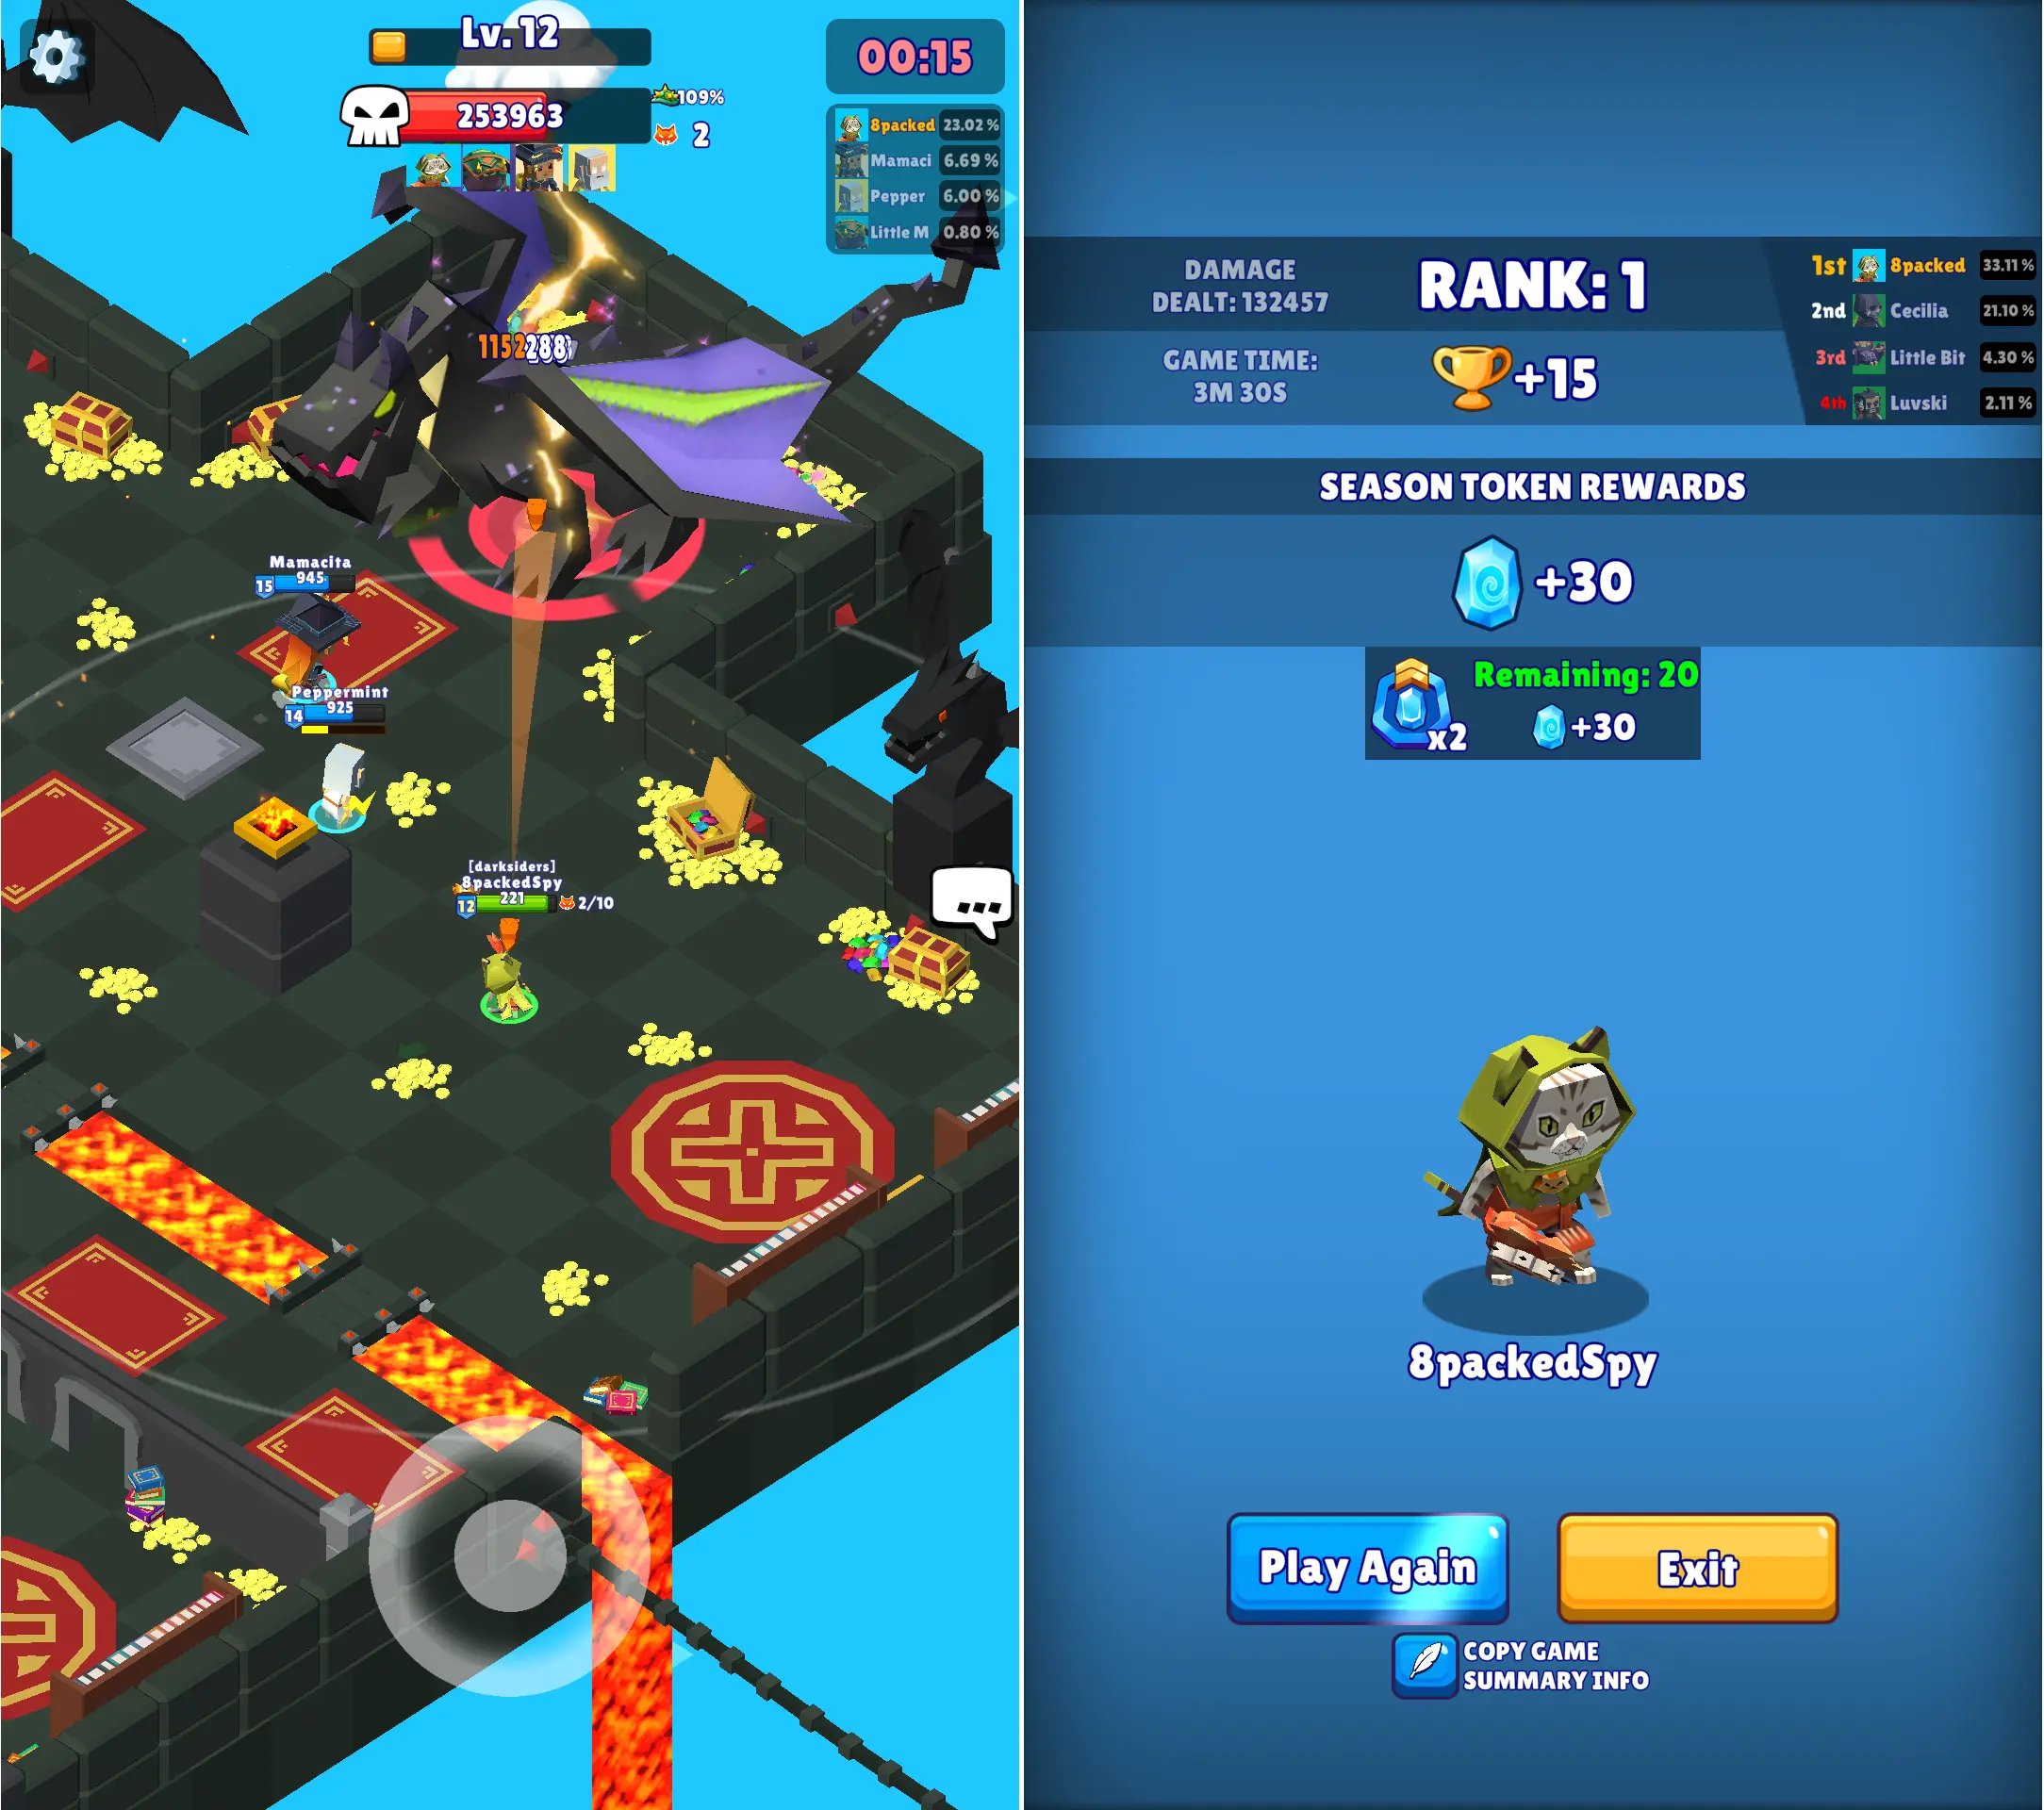
PROTECT THE KING (Co-op) – Team up with a random player to defend an NPC unit. Monsters will come in waves and they become increasingly strong wave after wave. You can respawn if you get slain but the match ends if both players are dead at the same time.

– Think as a team player. Since most prefer to pick direct damage dealers, going in as a tank or healer is smart.
– In case you don’t have a tank or healer yet, go for a damager that can get a slow/stun/knockback.
– If you don’t have a control effect-inducing Hunter either, at least get an AoE damager.
– Do not use the heal pad until your health is critically low.
– When teamed with a stronger ranged damager, don’t hesitate to become the staller.
Stalling tactics in Protect the King
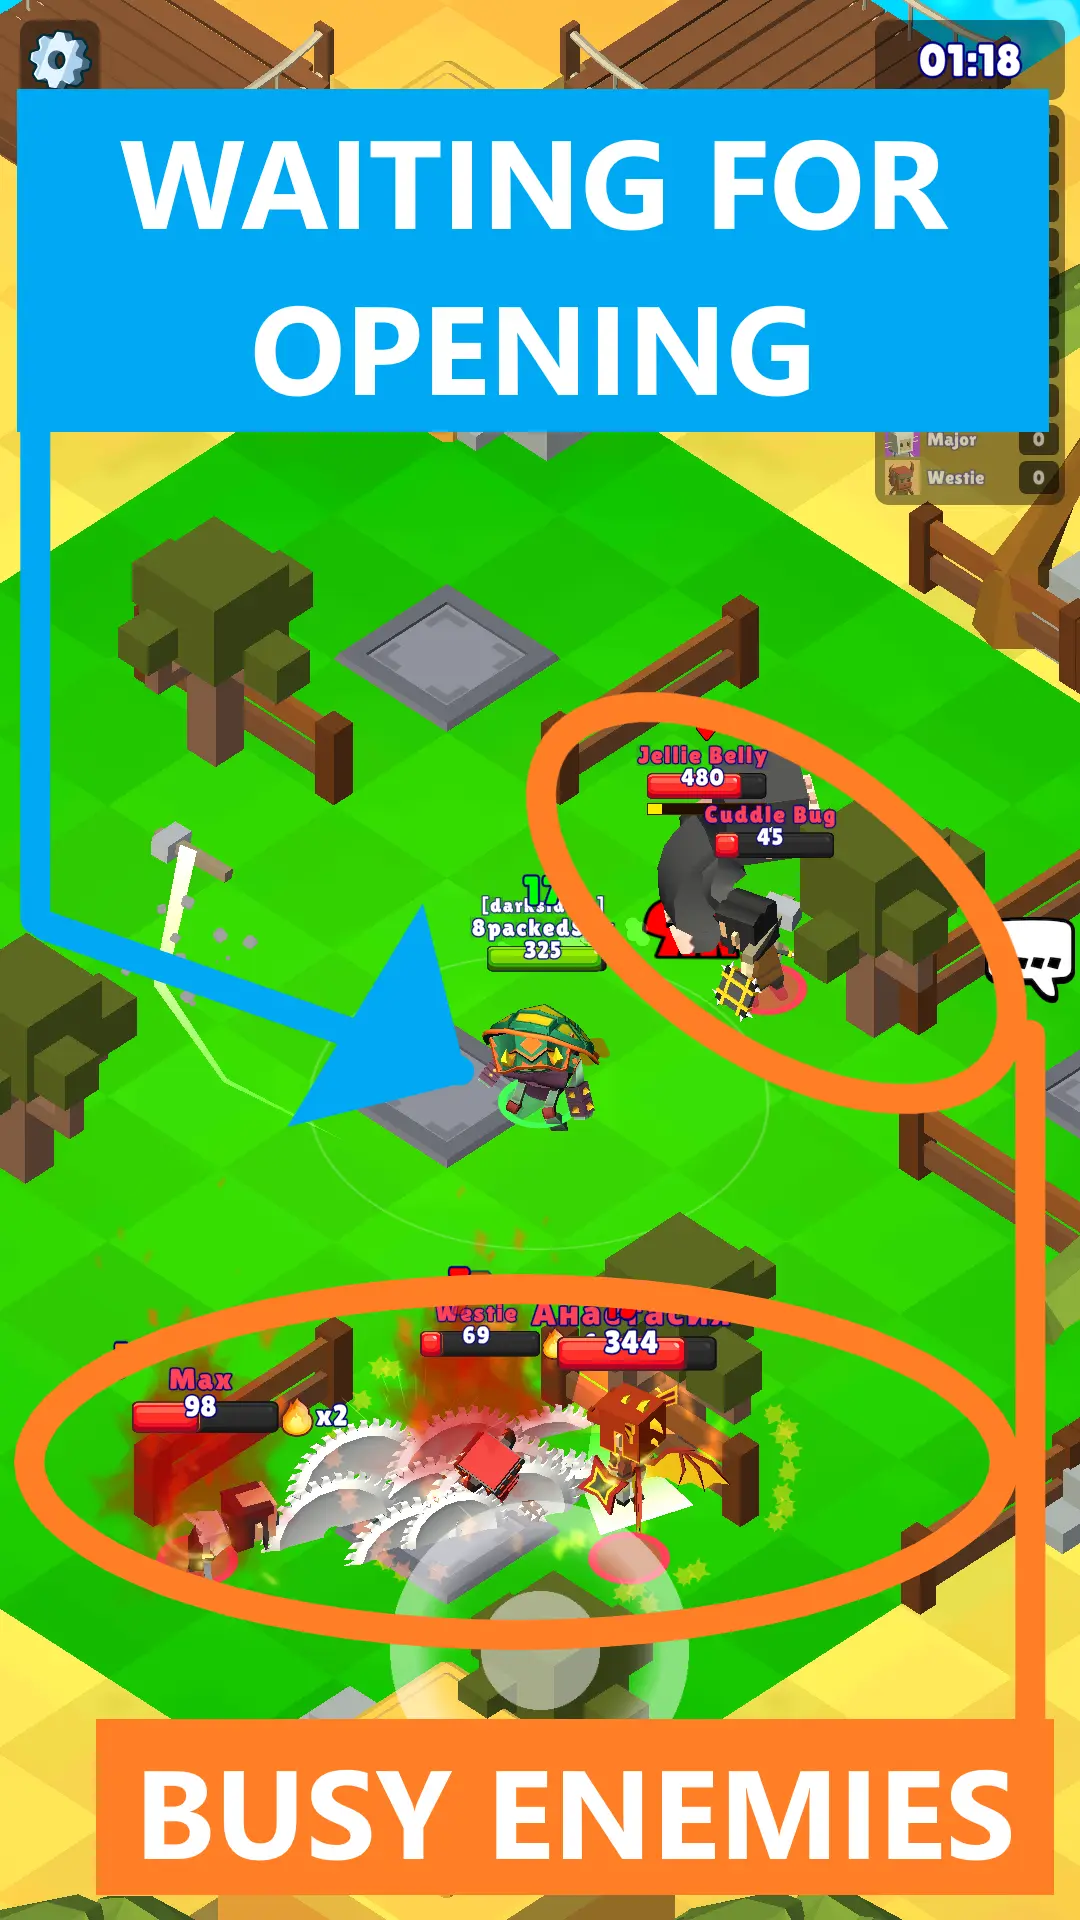
1. Zigzag dance: Use the open space where the bridges meet and move with a zigzag pattern. The aim is to keep enemies outside of the walls and make them convene there for easier reaping. Weaving through will allow you to dodge most attacks from ranged enemies or melees with a long backswing.
2. Wall pulling: The longer wall where the pads are aligned can be used to trap enemies. If the mobs are still outside of the wall, quickly position yourself against the wall near the level upgrade pad and lure monsters to the corner there. This is extremely useful for buying time when a slain partner has yet to respawn.
3. Back to the bridge: Whenever zigzag dancing gets too dangerous, especially when too many monsters with AoE damage are around, you can pull the mobs back to the other side of the bridge. If done correctly, you can reroute both waves to one side, drawing them away from entering the wall. You usually need a tank or a very agile Hunter to do this.
Protect this King is the most convenient way to gain kills toward the Bestiary’s checkpoints. If you’re looking to put work in a session to bag Season Tokens and gems, this is the mode for you.
BOSS HUNT (PvE) – Be deployed with 3 other players, gain EXP from mobs as usual, and ultimately fight a boss. The boss need not be slain but take note that it is only a partial co-op match. Only the top 2 damage dealers will be deemed winners.

– Find a good balance between the time to gain levels and fighting the boss.
– Split from the other players so you can solo farm EXP efficiently.
– Grab 1 to 2 More XP for quicker leveling or, better yet, get a hero with that permanent ability.
– Try to hog the Power Tome to increase your DPS and secure the lead.
Disclaimer: If you have a beefed-up, maxed-level Hunter with a complete set of permanent abilities, you know that you can already jump the boss from the get-go so the tips above no longer apply.
BOUNTY HUNTER (PvP) – Fight in a 10-man battle royale-style match. There are no XP pick-ups and skill upgrades so Hunters come in at their base form, carrying their general levels/awakening, gears, and permanent abilities. Only the score leader is declared the winner.
– Send your best Hunter and pick the permanent abilities that support its main strength.
– Run away from Hunters who are obviously stronger than you
– Take advantage of any opportunity to do some assistive damage; it will earn you points.
– Try to deny other Hunters from getting health refills or “camp” areas where the heals spawn.
Bounty Hunter is the busiest mode in all of Hunt Royale and the strongest players can be seen here. If you have a new account or have been inactive for a while, don’t be surprised if you’ll just be food. Simply put, this is the pubstomping place for players with extremely advanced Hunters and gear. You’ve been warned!
DUEL (PvP) – Puts you in a 1v1 against another player, where your choice of 3 hunters must be your opponents’. Practically, there’s no tip to share about improving one’s chances of victory in Duel (except, perhaps, to grab the Power Tome before engaging). It is a match of raw power—the richer player with stronger, better-leveled, and well-equipped Hunters will win.
There are a lot of other modes in Hunt Royale and given their impact, they do deserve their own sections. We will discuss Champion’s Quest, Dungeons, and Undeadgrounds later in this guide.
2. Focus on the modes that fit your phase
With many modes choose to from, it’s particularly easy to get immersed in Hunt Royale. Where you immerse in, though, will matter if you wish to build a strong account.
If you run a quick search looking for Hunt Royale guides, the modes you will likely be pointed to will be the Dungeons and the Daily Maze. If you barely have any leveled-up heroes or a set of reliable Power Stone-enhanced gears yet, taking on those modes will be a struggle.

It will be wise to postpone engaging in modes (and difficulty settings) where you cannot be efficient yet. Check our recommendations below on what’s generally good to do, depending on the maturity or overall readiness of your account.
Please note that the Gear Power range are mere approximation. They have gaps to represent what a player’s skill level and knowledge can bridge despite being over or under.
Newbie |a few Hunters unlocked but not yet leveled up to open perk slot 1 | approximate Gear Power range: 0 to 500
Focus on the most basic mode of all, Hunt. The variety of the enemies in Hunt mode will help you get used to the many types of monsters, their attacks, and movement patterns.
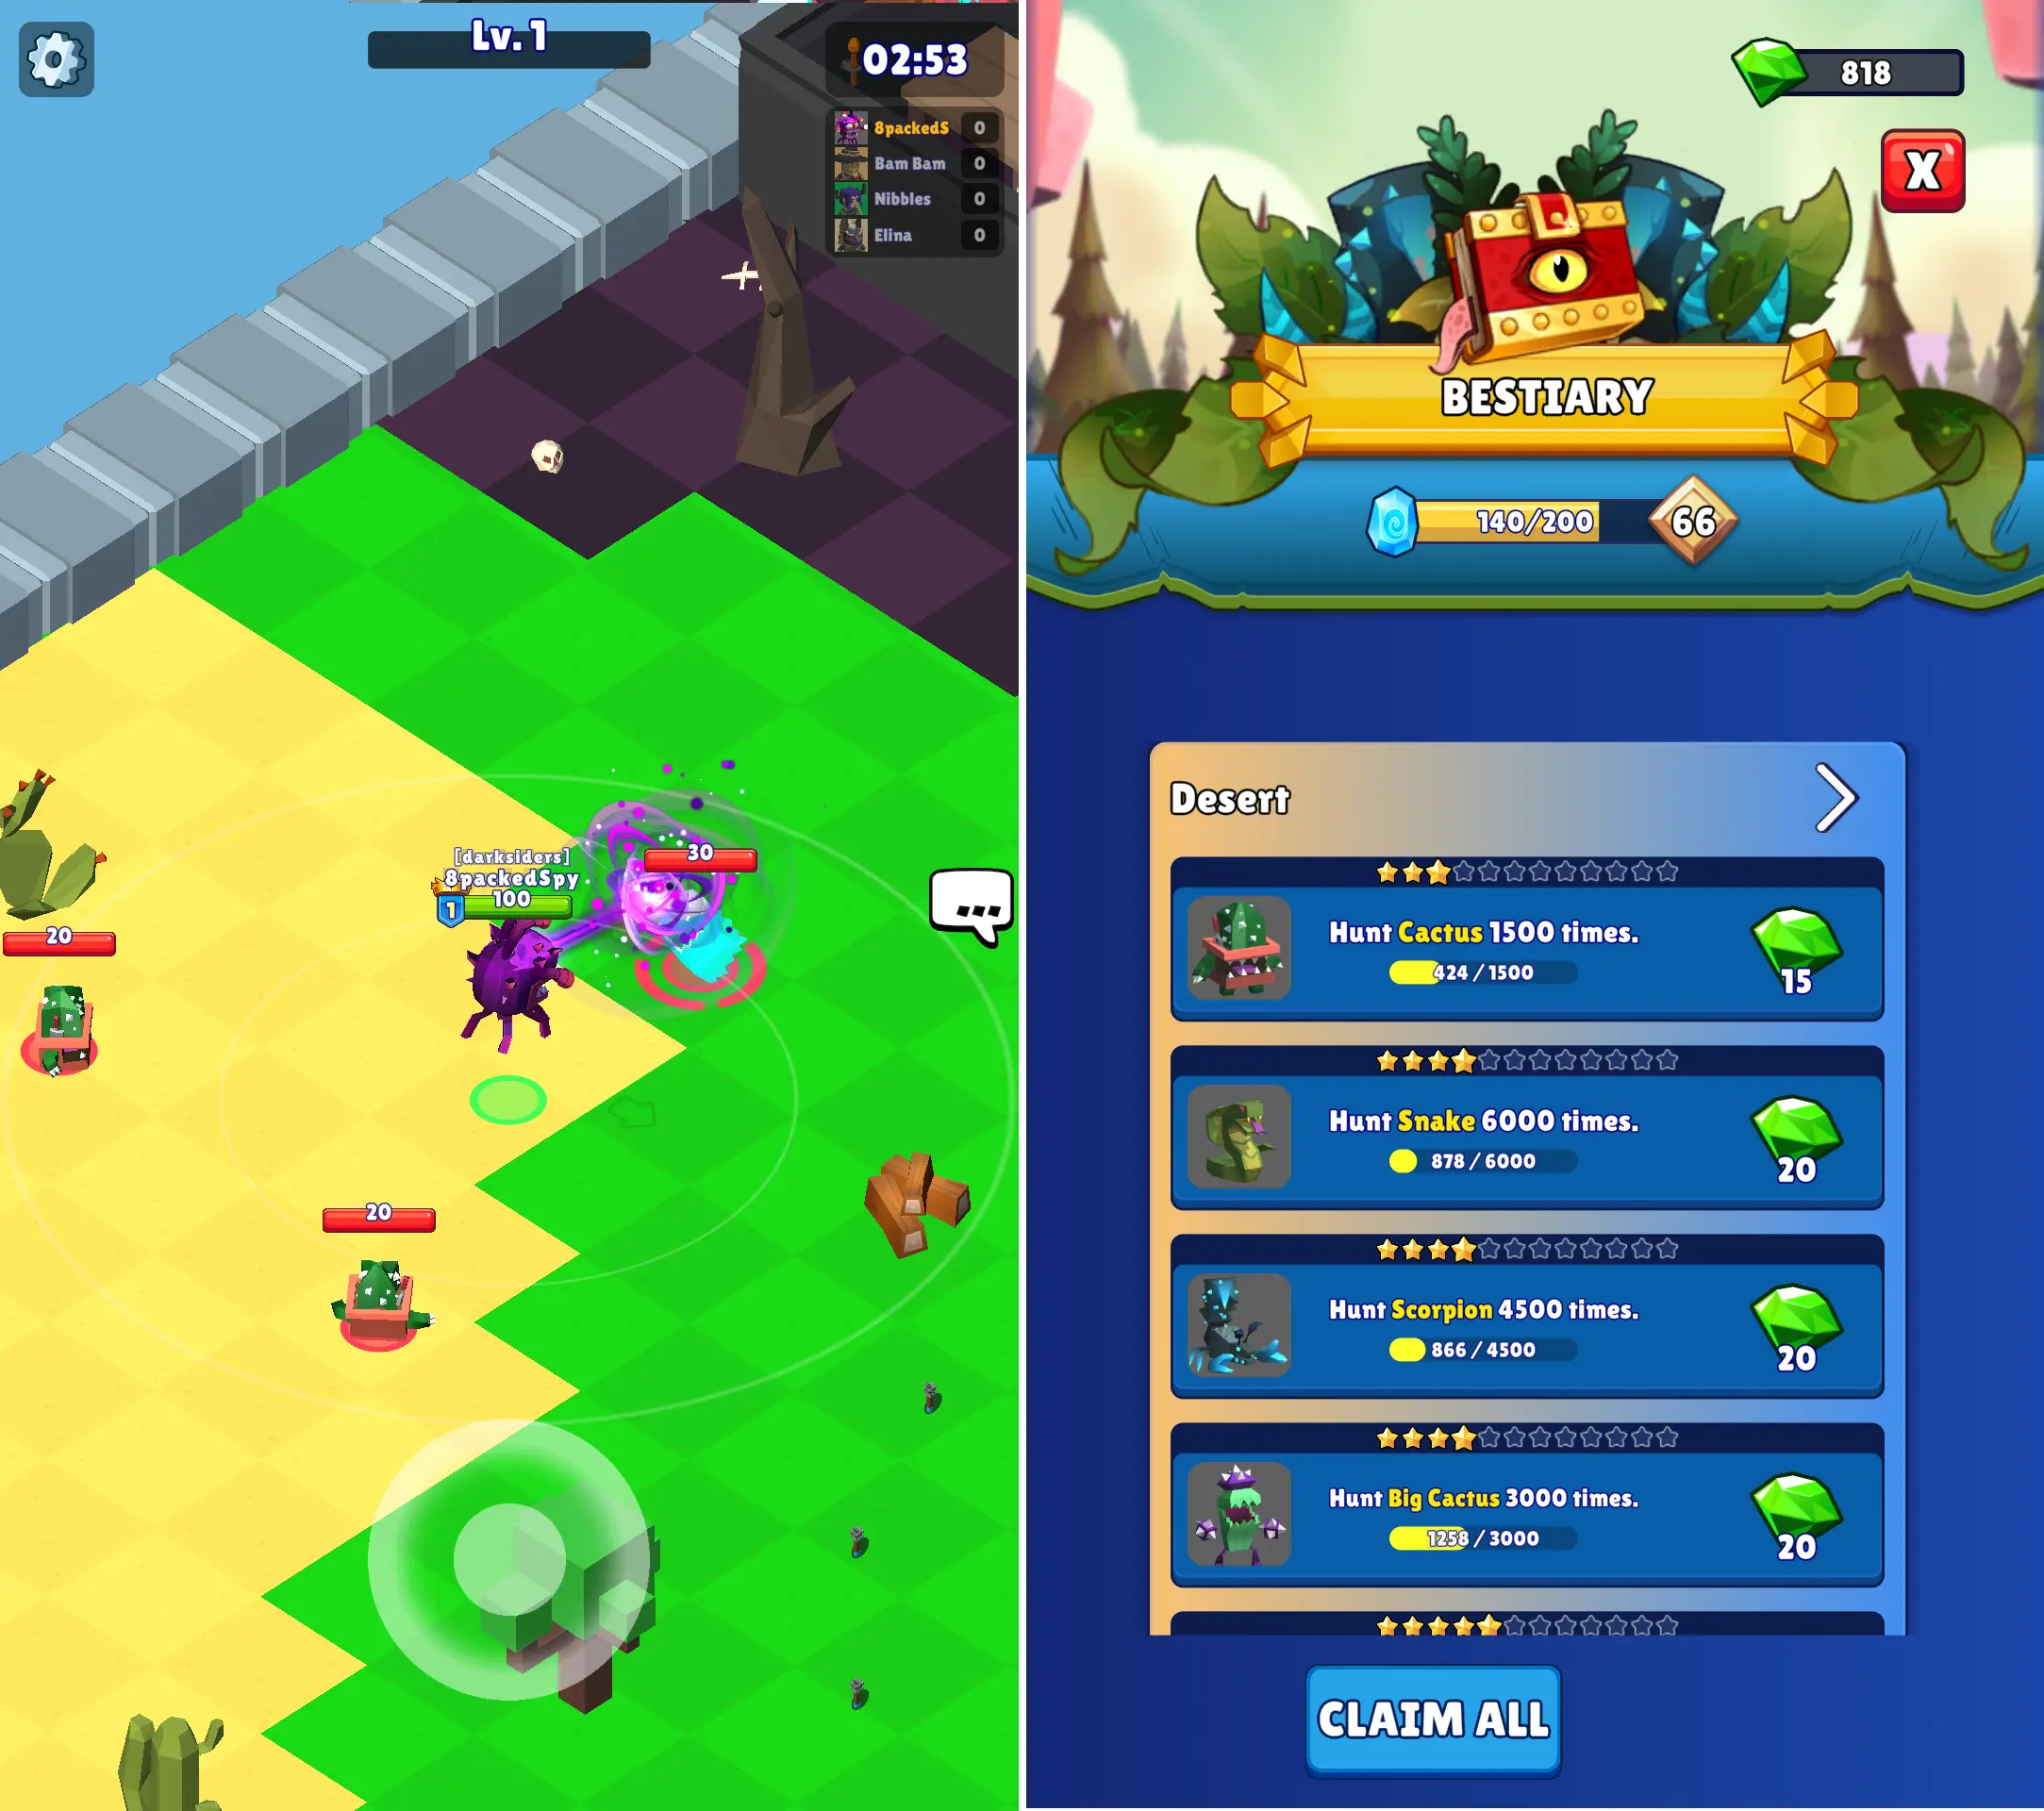
This knowledge will help you deal with them effectively in further Hunts or their scaling versions in Protect the King. Being able to identify them will also get you synchronized on what you need to kill to meet the checkpoints in the Bestiary to earn extra gems.
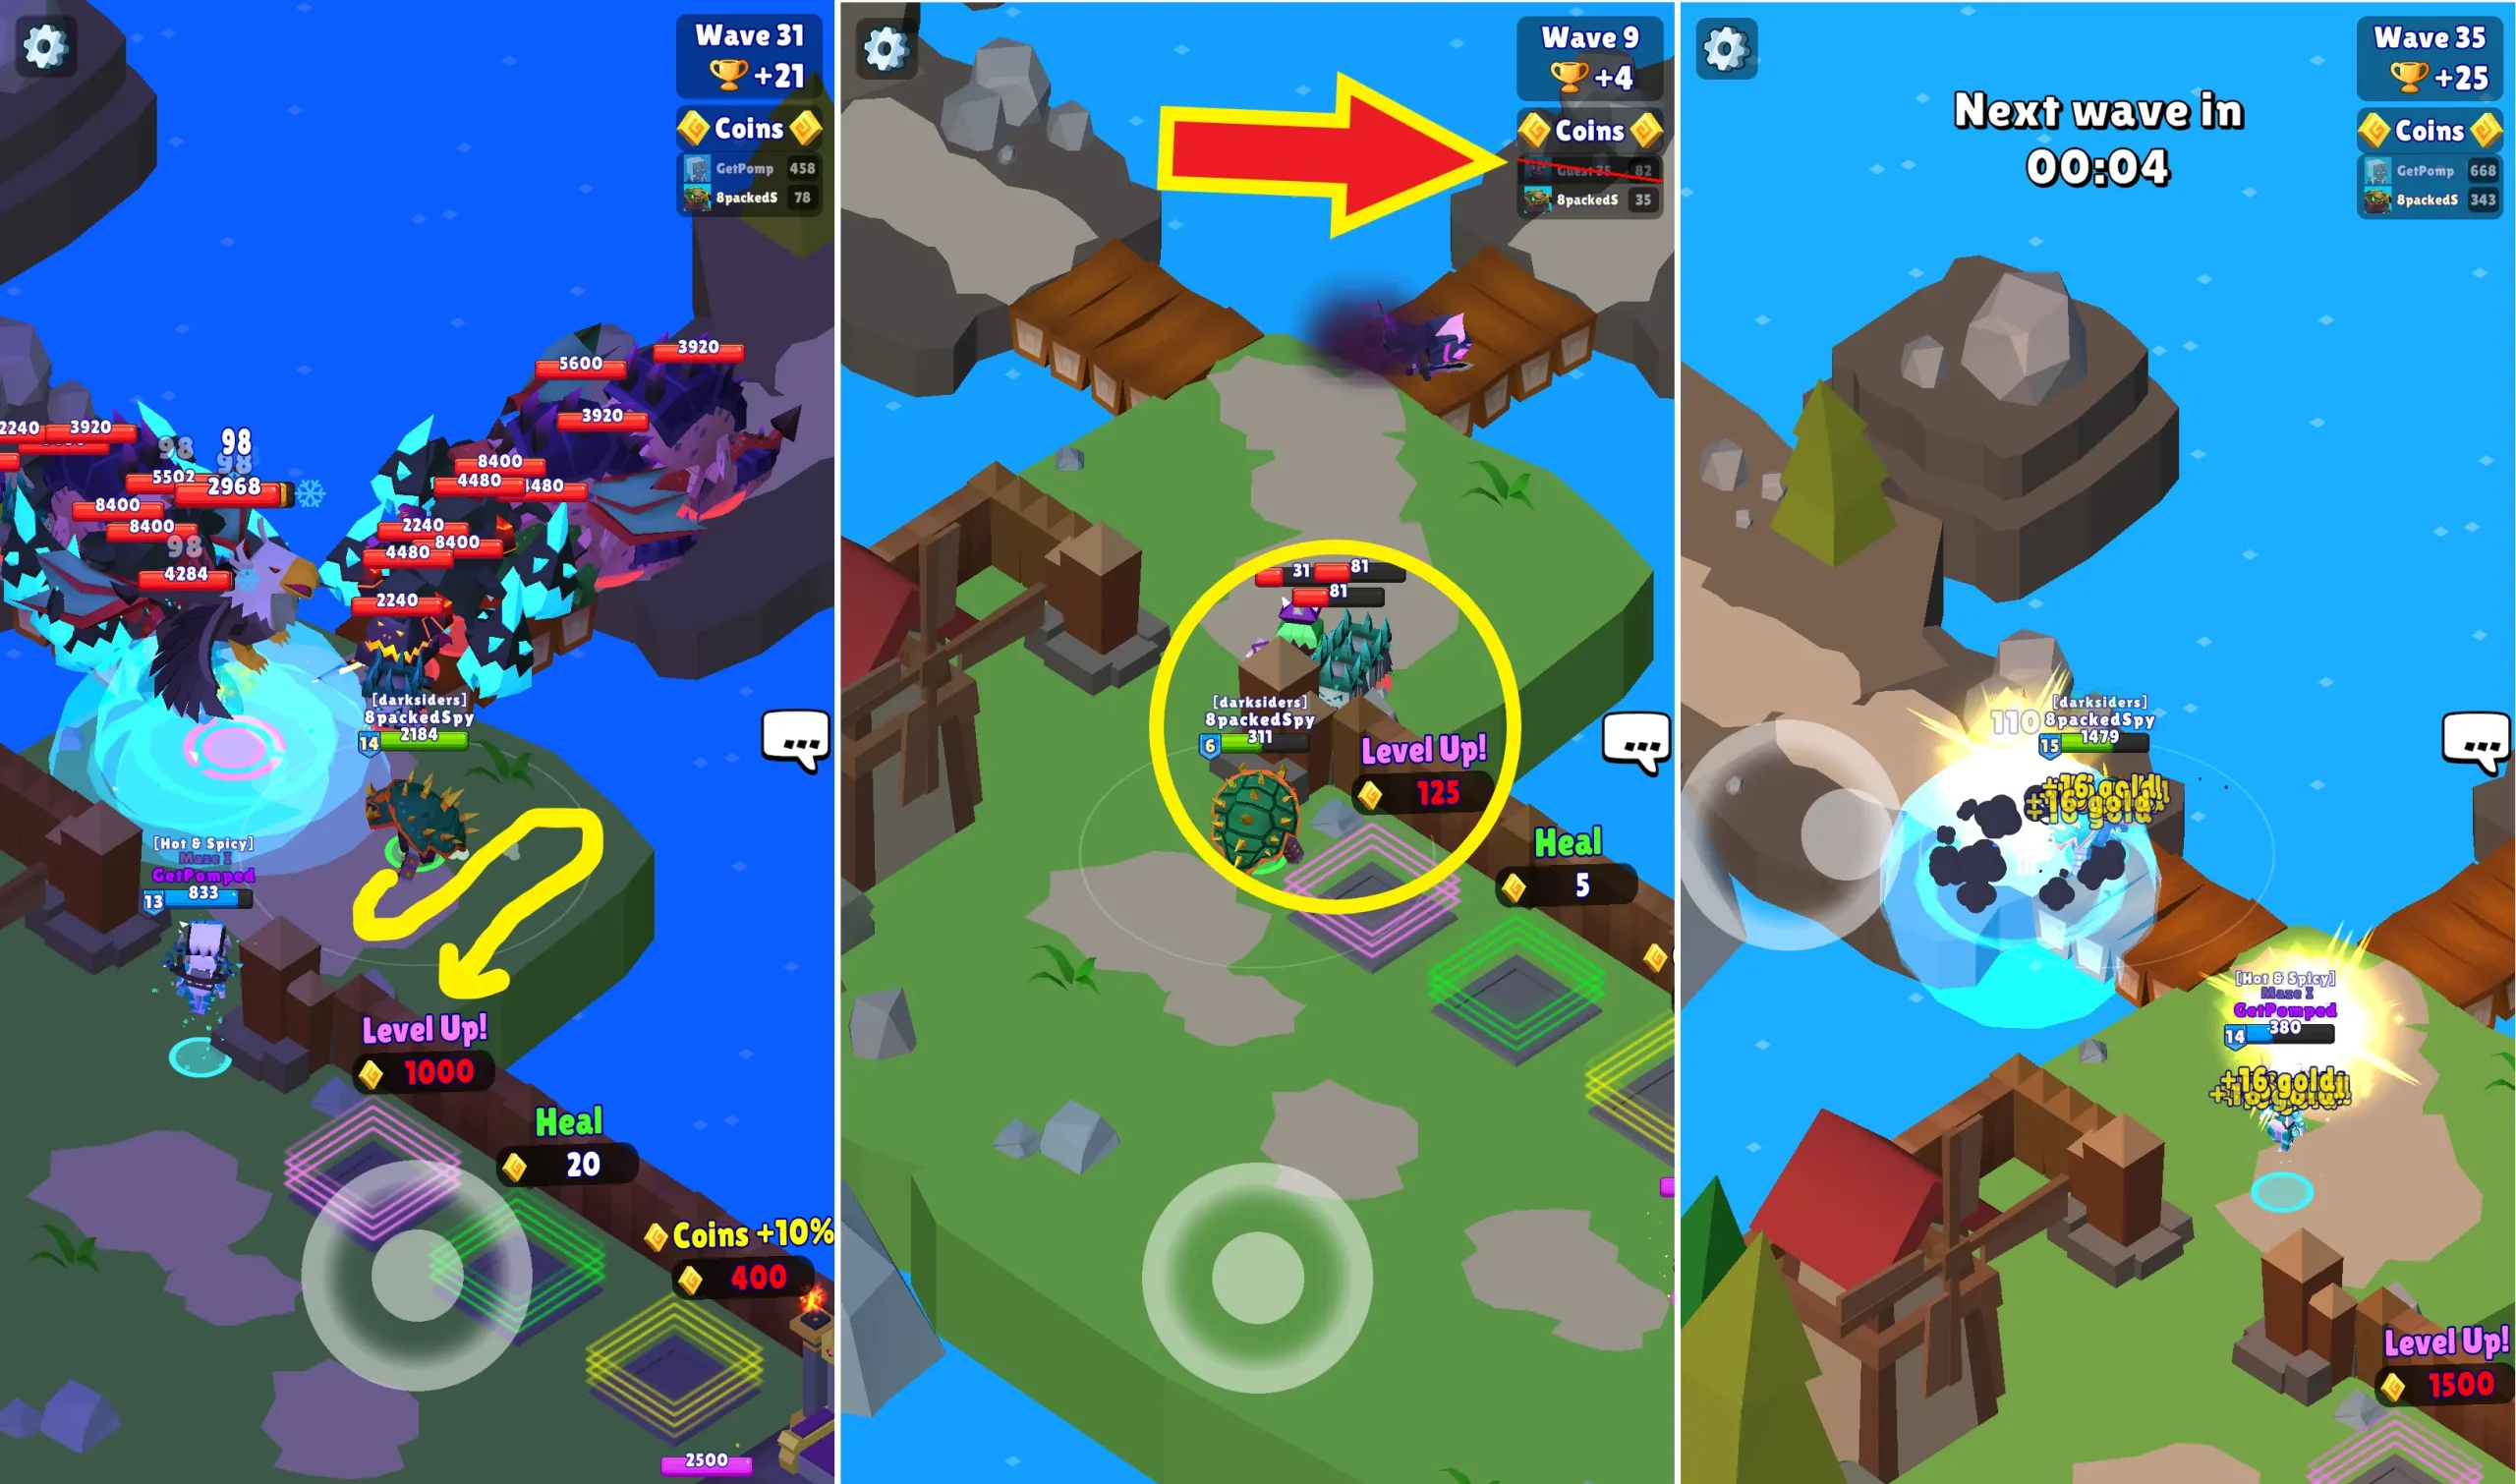
Also, it’s good to familiarize yourself with how the Trophy Road, Season Pass, and Dungeon Passes work. You earn Trophies from every mode so progress through it is rather a passive development. The passes, meanwhile, you’ll have to tackle the quests to gain extra tokens and push your way up.
Novice | has more Hunters now and resources to level them up and open perk slot 1 | approximate Gear Power range: 650 to 1000
At this point, you’re probably winning half of your Hunts. If you’re still struggling, check the tips in the first section of this guide. The point is, you’re now more capable in Hunt, Protect the King, and may even have what it takes to not be the last place in Boss Hunt.
With better results in all modes, you’ll be able to advance through the Trophy Road better, so that means more resources. Actively pursuing to finish Season Pass and Dungeon Pass Quests will also greatly help, with chests, gems, tokens, and other currencies claimable.
It’s now time to level up your favorite Hunters. The universal recommendation in Hunt Royale is to focus on leveling up just 5 Hunters beyond level 5. This is to funnel the chances of getting permanent abilities or perks only for them.
However, that practice can bring a disadvantage toward your capability in the Dragon’s Dungeon. If you begin playing Dungeons and you aren’t being paired with players that can carry you, having just 5 decently leveled Hunters means that the rest will be weaker; it will limit your capability to clear it all the way to level 10.
Still, it’s a good idea to start hunting in the Dragon’s Dungeon so you can be familiar with getting the right timing between leveling up and fighting the boss. Know that there is always a chance that you’ll be paired with a strong player grinding for tokens which makes for an easy level 10 clearance.
Intermediate | plenty of leveled-up Hunters with 1 to 2 perks enabled, a Gear for every slot, and some level 1 to 3 Power Stones | approximate Gear Power range: 1100 to 1450
Stick to the Dungeons and, when available, the Champion’s Quest. The gems, Power Stones, and item drops from them will enable you to reach further into those modes or make your future runs easier.
You shall now be strong enough to finish the Dragon’s Dungeon with a player around your capabilities. Just make sure to carefully plan your picks, selecting the good ones for Levels 1 to 5 and the better ones for levels 6 to 10.
In case you feel that your firepower is yet inadequate, check if you have already collected a few Power Stones. Putting just two stones on offense slots (weapon and ring) can exponentially improve your performance.
One Purple stone (life drain on attack) can guarantee that you will need no trips back to the healing pad—provided that you deal a good DPS at around 300 per hit. Note that health regeneration is disabled on Level 7, so you may want to use the wall hug trick and use a ranged Hunter there.
Red (burn stacks), Green (poison stacks), or Blue (chance to summon tentacles) stones will augment your damage. You won’t have to rely on raw DPS with the help of just one of them.
Once you build up Gear Power and have utility perks on several Hunters, begin pushing toward the Undead Grounds. If the Floor you’re attacking has a permitted Hunter you already have 1 to 2 perks on, attempt to conquer it, keeping in mind the timing needed to evade attacks and a healthy dose of hit and run.
Advanced | has more than enough Hunters complete with 3 perks and gears with 2 Power Stone slots | approximate Gear Power range: 1600 to 5750
There’s a good chance that every floor in Champion’s Quest has a hero you’ve already groomed up. Take advantage of that fact and fight at the maximum difficulty level that your Gear Power and capabilities allow.
With the current status of your Hunters, you’re also now in a position to comfortably solo the Dragon’s Dungeon (though it’s better to run a Co-op to help weaker players). Clearing the Kraken’s Ship and Yeti’s Tundra is no longer a hit-or-miss; just keep on observing proper time management at later levels.

Your main goal at this point is to gather Maze Gear, which you can collect from the fourth Dungeon, the Maze. Pick Hunters accordingly who can thrive in whatever conditions and parameters each level has—in particular, those that do not allow regen.
If you have a friend or clan mate that you can team up with, you’d be able to fight it through the Maze. A coordinated approach is always advised to avoid any conflict in applying status effects (e.g., let the one with stronger Poison and Burn effects exclusively use them on certain floors).
Imba | has a wide array of Awakened Hunters and multiple sets of endgame-grade equipment with 3 slots | Gear Power range: 6000+
Quite frankly, if your account is already imba, you won’t need guides anymore! You can plow through Dungeons with ease and rerunning the Abyssal Maze is all about beating your previous runs.
With Hunt Royale ever-evolving, you may want to challenge yourself with the side quests along the Extra Modes cluster, the Daily Maze at Insane Difficulty, in particular. It’s also time to test your endurance in the Endless Champion’s Quest or to push further into Chaos Dungeon and Dark Forest.
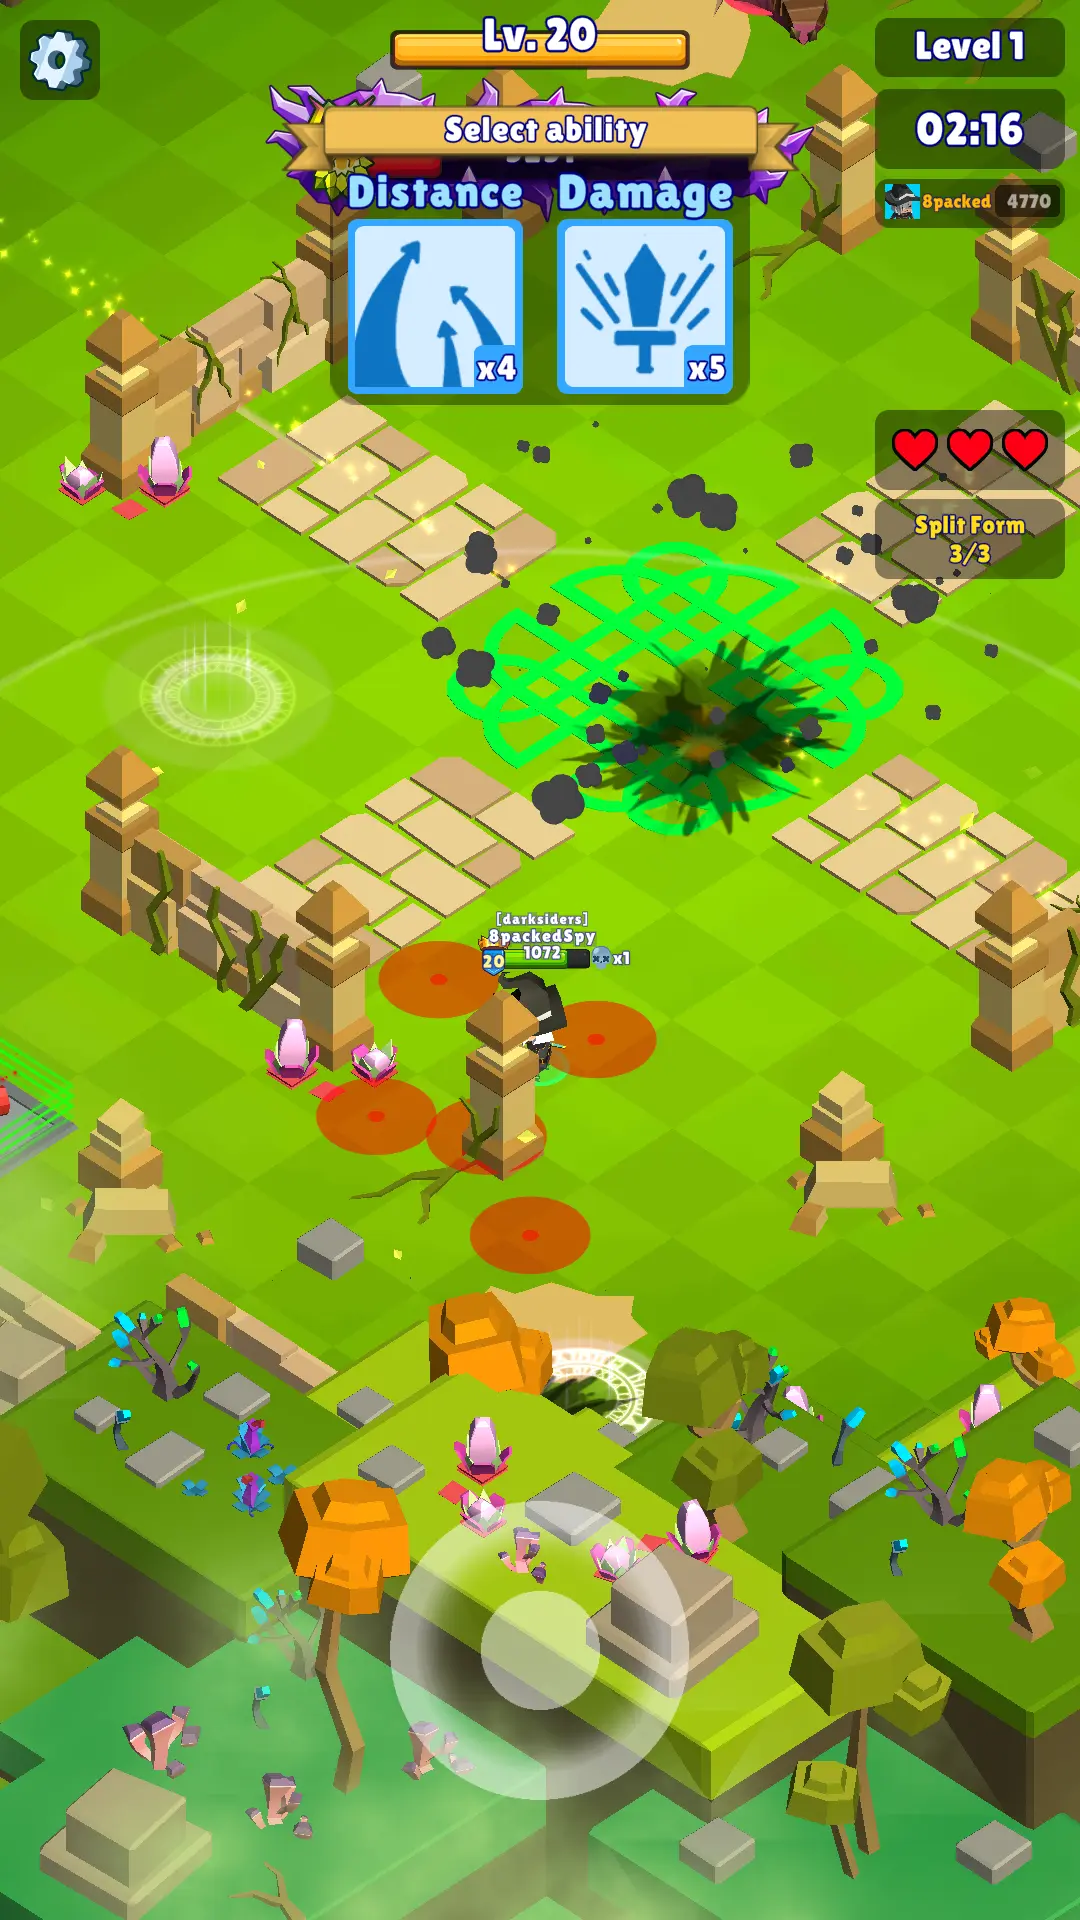
3. Know which perks to prioritize
Every Hunter has a base strategy to dominate a match. That relies on their general design in terms of attack range, attack type, and specialized roles, if any.
The most common strategy is to increase DPS or damage per second. That’s done by stacking damage –giving perks while racking up those that increase attack speed or add damage instances.
Since Hunters are designed differently, DPS is not the only path there is or at least the approach to it varies from Hunter to Hunter.
Given the vast unique perks for all the Hunters, we’ll limit the discussion to general perks or those that are available to multiple Hunters. To better highlight which purpose they greatly serve, we’re categorizing them below and listing them according to their impact and effectiveness in decreasing order.
DPS main perks
- Multi-shot: Adds 1 projectile every pick-up. Although it has diminishing returns from the second pick-up and onwards (projectiles will no longer do 100% damage each), it can still apply a full stack of status (freeze, poison, fire, or chance to spawn tentacle) and the probability to proc a Death Strike.
- Demon Pact: Gives you +15 attack damage in exchange for losing 50 max health. This perk provides the best raw damage increase but the trade-off makes it a double-edged blade. Limit taking them unless you’re already confident with your ability to maneuver and evade or you have already really good gears.
- Damage: Grants +5 to attack damage. The hybrid variation, HP & Damage (+3 damage, that some Hunters have is a better alternative.
- Attack Speed: Gives a direct increase in attack speed. Related variations that fully stack with it are those that increase the movement or attack speeds of summons.
- Damage Reflect: Returns 150% of the damage you take from any source. The amount reflected is calculated before any damage reduction or defense. Although it is a counter-attacking tool by design, the fact that it can inflict damage when taking any makes it a superb perk that serves both DPS and anti-DPS formats, especially for tanky Hunters.
DPS helpful secondary perks
- Distance: Extends your attacking distance by 2 yards. While it does not increase damage nor attack speed, being able to start attacking or damaging enemies from afar lets you start engaging earlier, thus opening the DPS equation sooner. Be wary to not take any Push Back perks as the knockback may bump off targets you have already acquired.
- Movement speed: Serves the same tactical purpose as a distance upgrade; being able to move faster lets you acquire/re-acquire targets quicker. This is usually much more helpful to melee Hunters.

Quick Clearance
- Radius increase perks: Expands zone your attacks can deal splash damage to. This equally distributes your current attack damage, so whether you go pure, raw damage, or rely on Death Strike procs, perks like this will be extremely helpful.
- Death Strike: puts a certain programmed random occurrence (proc) chance that all damage instances from you or your summons can kill non-boss monsters. This includes damage inflicted by Damage Reflect.
- Ricochet: Lets your attacks hit another viable target. A great tool for dealing with multiple enemies at once but the bounce will only look for targets within your natural attack radius/range so it begs to be paired with the distance perk.
Crowd Control
- Dizzy Chance: Stuns non-boss monsters that sustain damage directly from you or your summons for about 2 seconds. Perfect in scenarios where stalling counts a lot like Protect the King.
- Push Back: Enemies you hit have a chance to be knocked back. Practically an upgrade to the “standard” stagger that happens to monsters that you hit for the first time since the micro distance it creates can be repeated. A great alternative or helper to Dizzy Chance especially in Undeadgrounds.
Survivability
- Dodge: Gives you a 15% chance to dodge incoming damage instances, excluding those from statuses like Poison and Fire. Further pick-ups after the first will have diminishing returns but the increase in dodge chance will amp up your survivability nonetheless.
- Life Steal: Recover health equal to 20% of the slain monster’s maximum HP. Each instance of regeneration can only heal up to 20% of the Hunter’s total health pool. Despite the limit, it is the best sustain perk in the game and it is advised to only take this perk just once.
- Damage Reduction: Reduces the damage you take from all instances by 10%. Multiple pick-ups will stack, but damage can only be reduced to a minimum of 5. A must-take for non-stealthy melee Hunters and the best survival perk in nearly all modes.
- Celestial Pact: Increases your health pool by 150 while losing 5 damage. The biggest health boost perk in the game and essentially buffers the effect of 3 Demon Pacts.
- HP Up: Increases your health pool by 50 points. An underwhelming pick-up, but will stand as the better option to take if offered with a perk that will not enhance your Hunter’s offensive capabilities.
Some Hunters have perks unique to them and you can check what each can do if you are not too familiar yet. You can do that by checking a hunter and then tapping Abilities.
If you’re not familiar with the difference between being strategic and tactical, Hunt Royale presents a scenario to explain that exactly. That will be through perks or the abilities/power-ups you obtain each time a Hunter levels up in a match.
As a rule, if you do not yet have a set of Legendary Gears or your current Hunter doesn’t have three permanent abilities slots yet, picking the perks that fit the objective of the hunt is extremely important.
Meanwhile, if your hunters are already beefed up, perks are to be seen as further refinements to your already lethal weapon. The need to go purist (or to purely pick perks that serve one strategy), diminishes as you become stronger.
Consider perks as the building blocks that will complete your war machine or cover any holes/vulnerabilities. They are the tactical building blocks for solidifying your chosen strategy.
Once you have Awakened your Hunters, you will have the option to exclude perks as they level up. This function is particularly helpful to lessen the chance of being offered a pair of perks that make you veer away from the best strategy possible.
Excluding perks that will inevitably hybridize you is most useful in Endless Undeadgrounds and Dungeons. Being able to secure only the crucial perks will help a lot in your success and survival in modes that have a scaling difficulty.
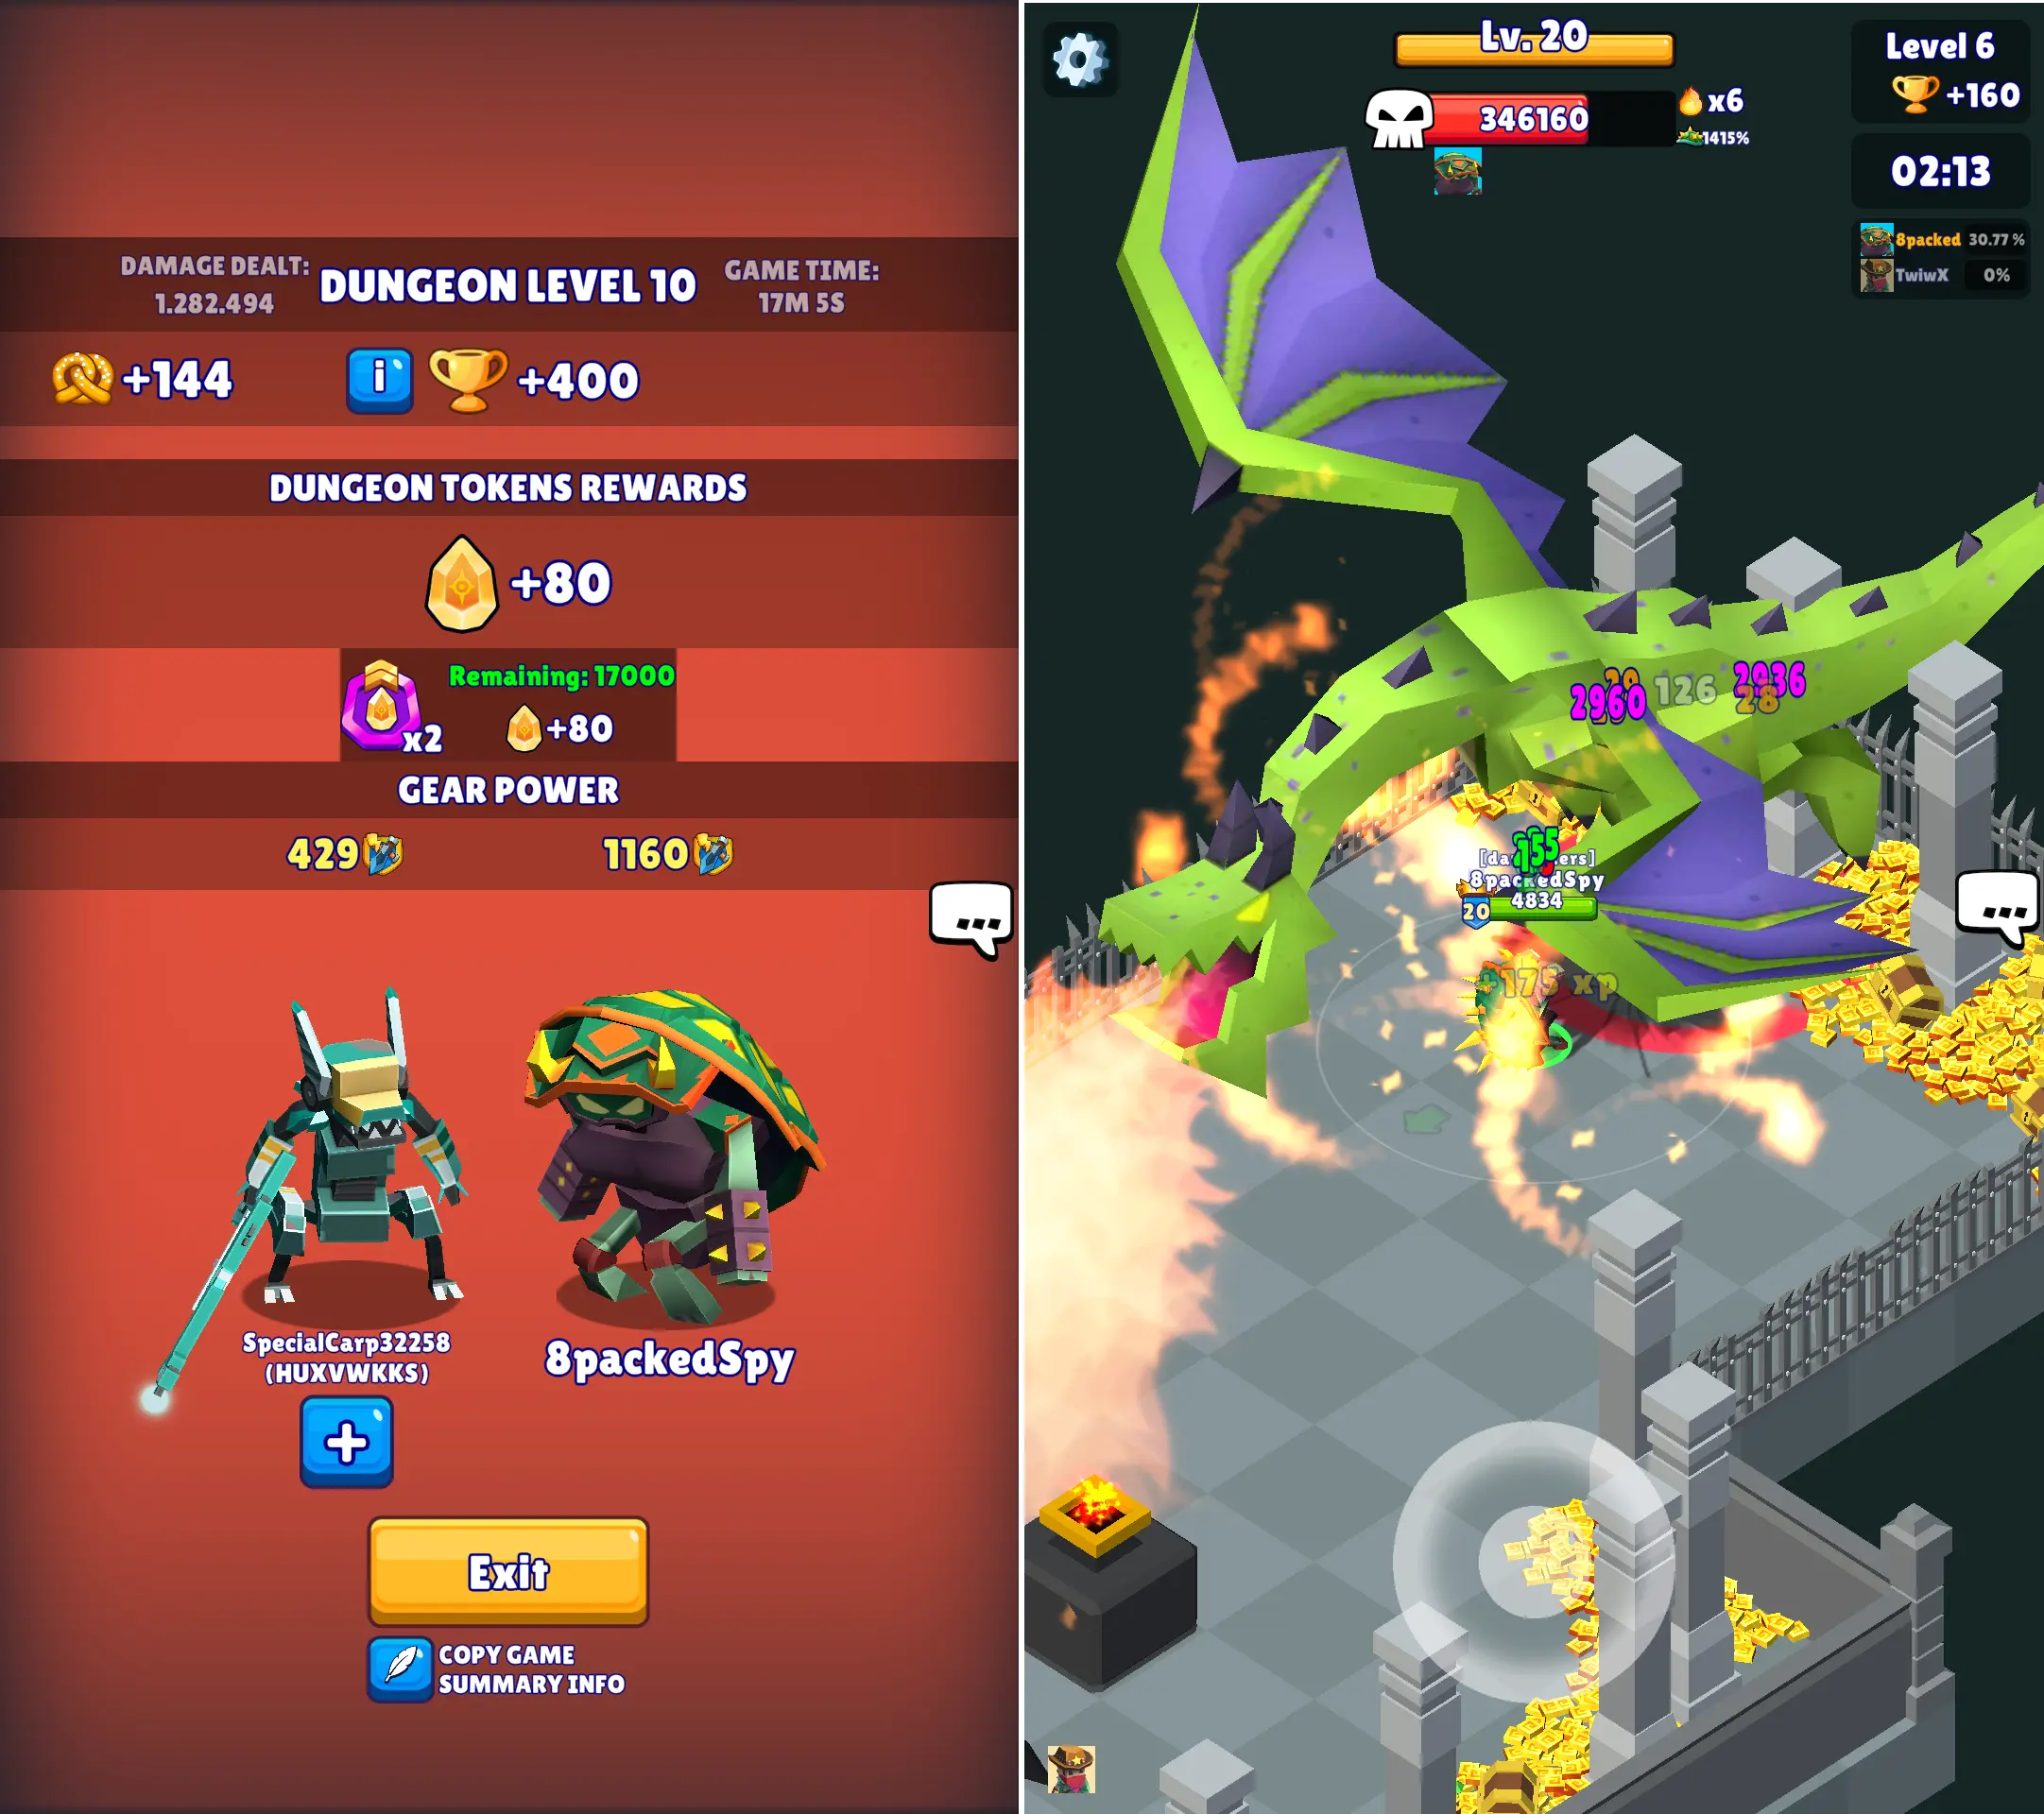
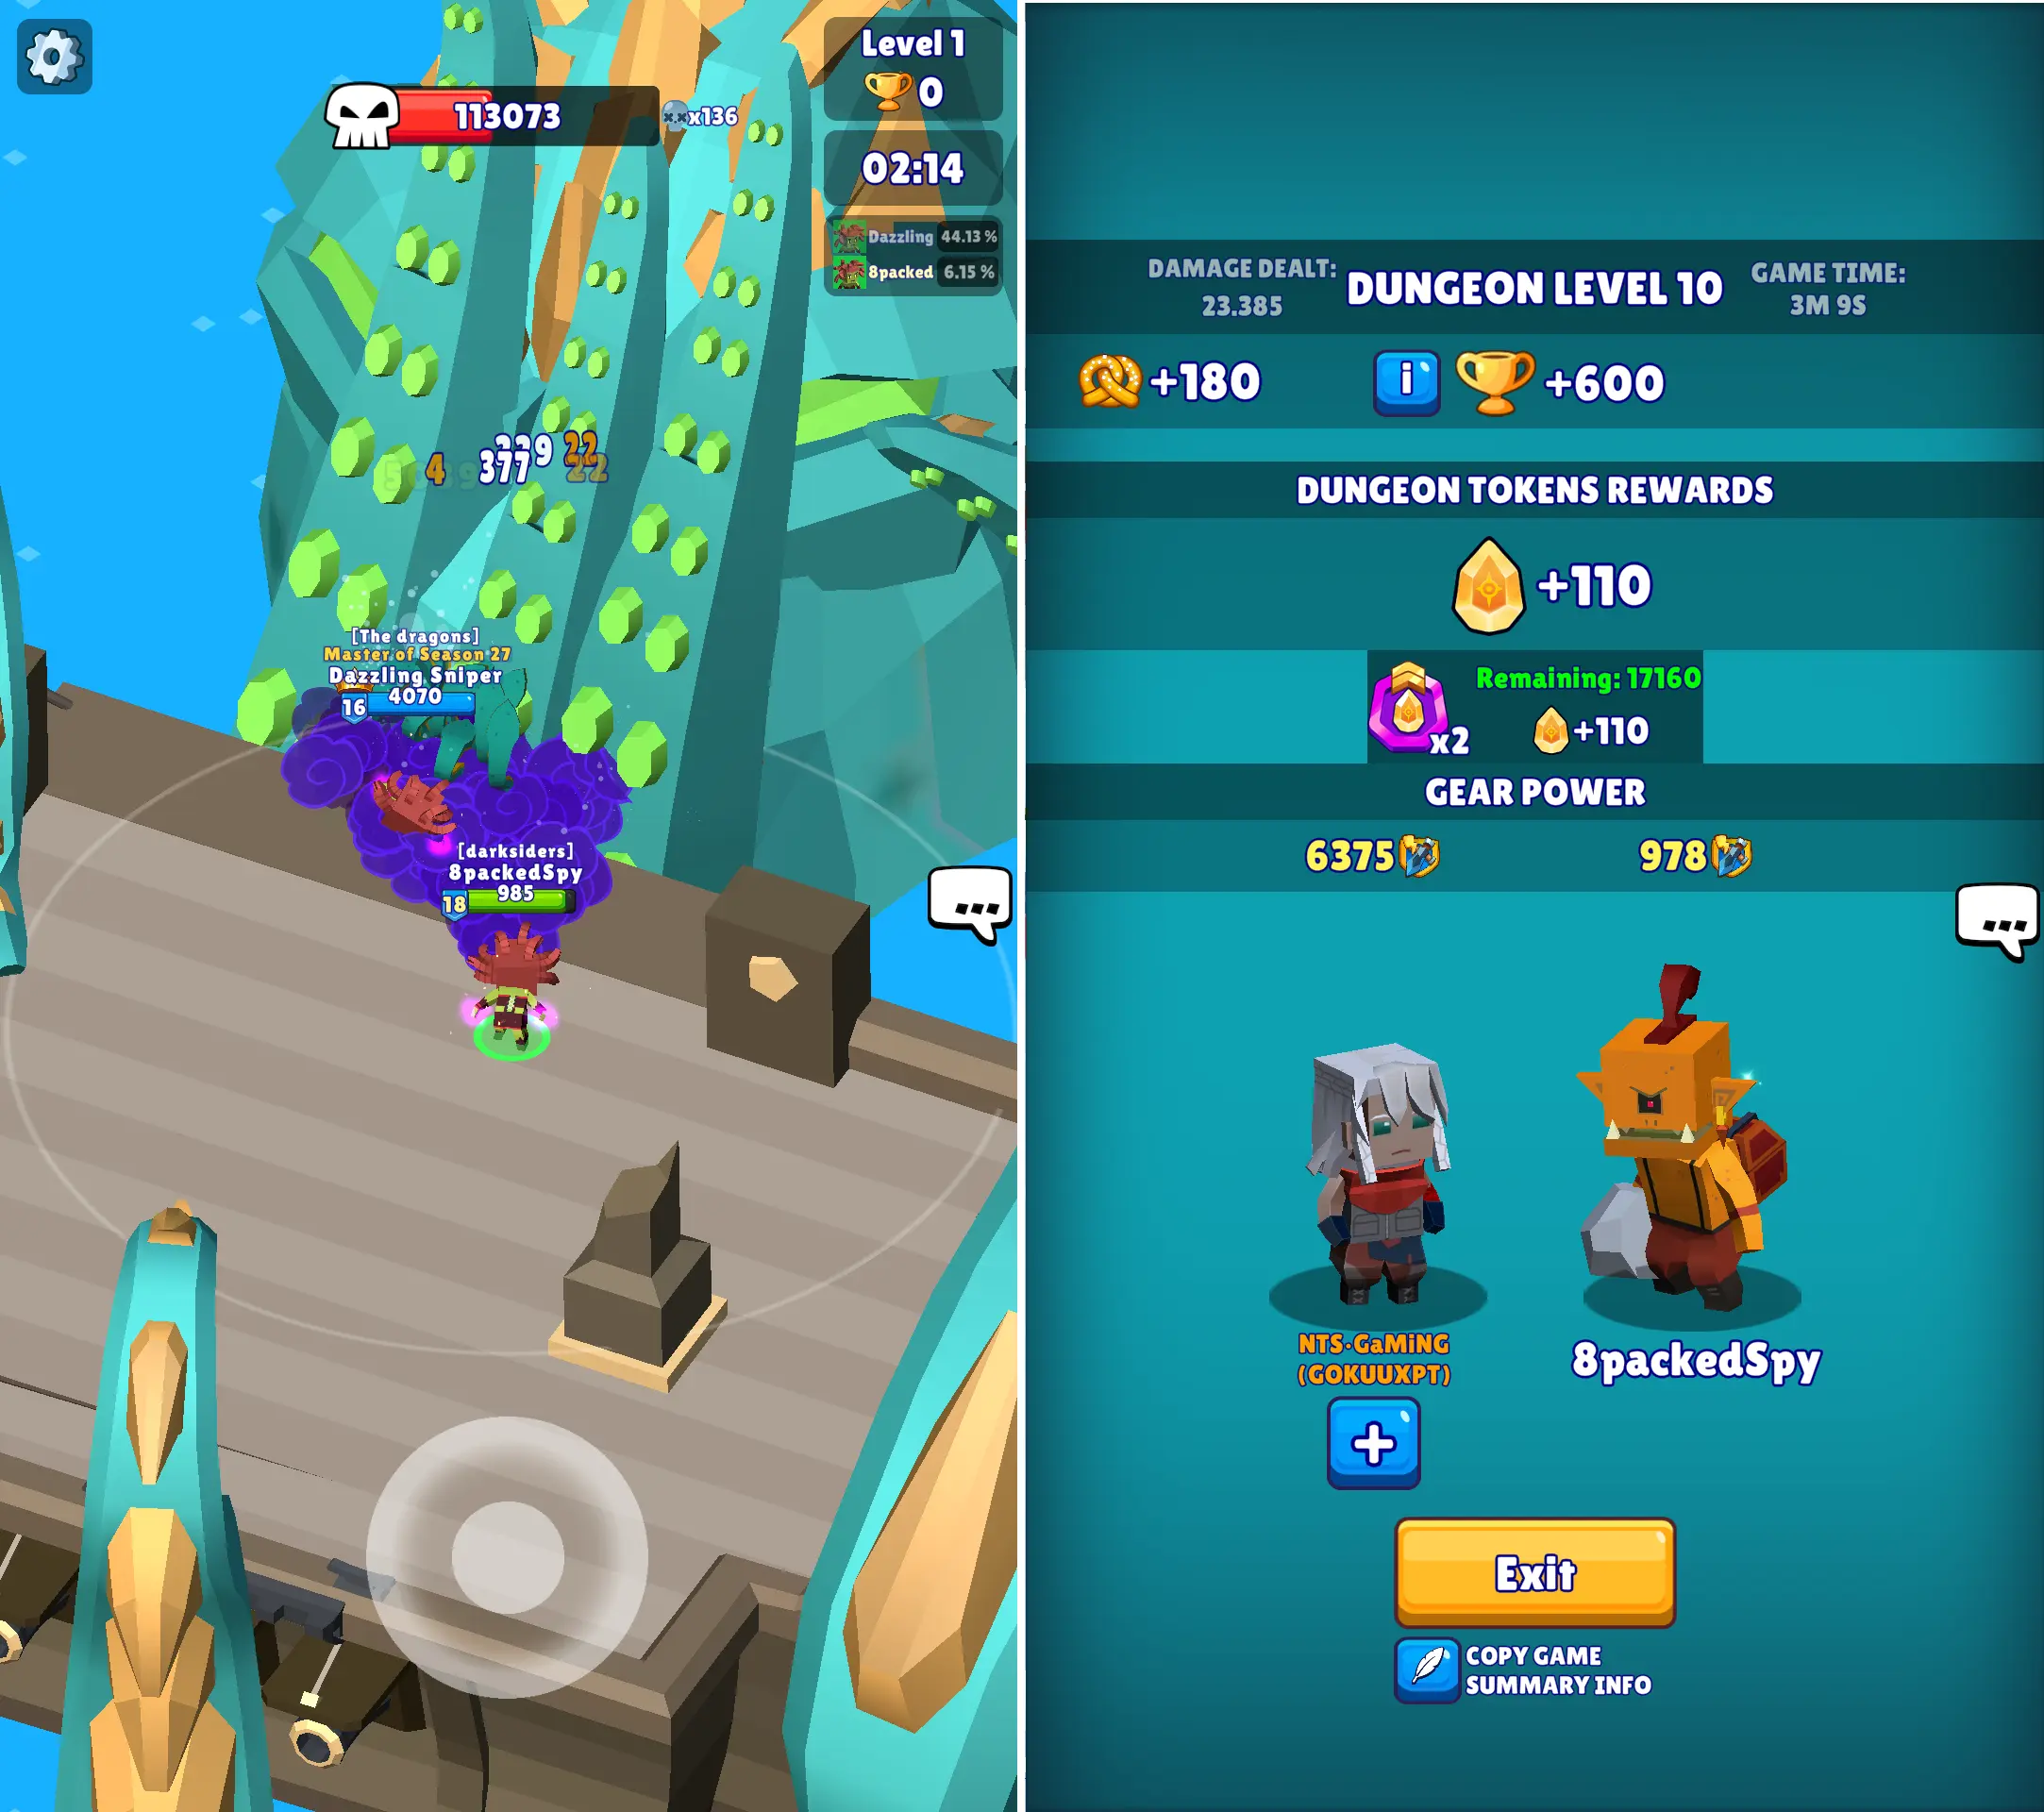
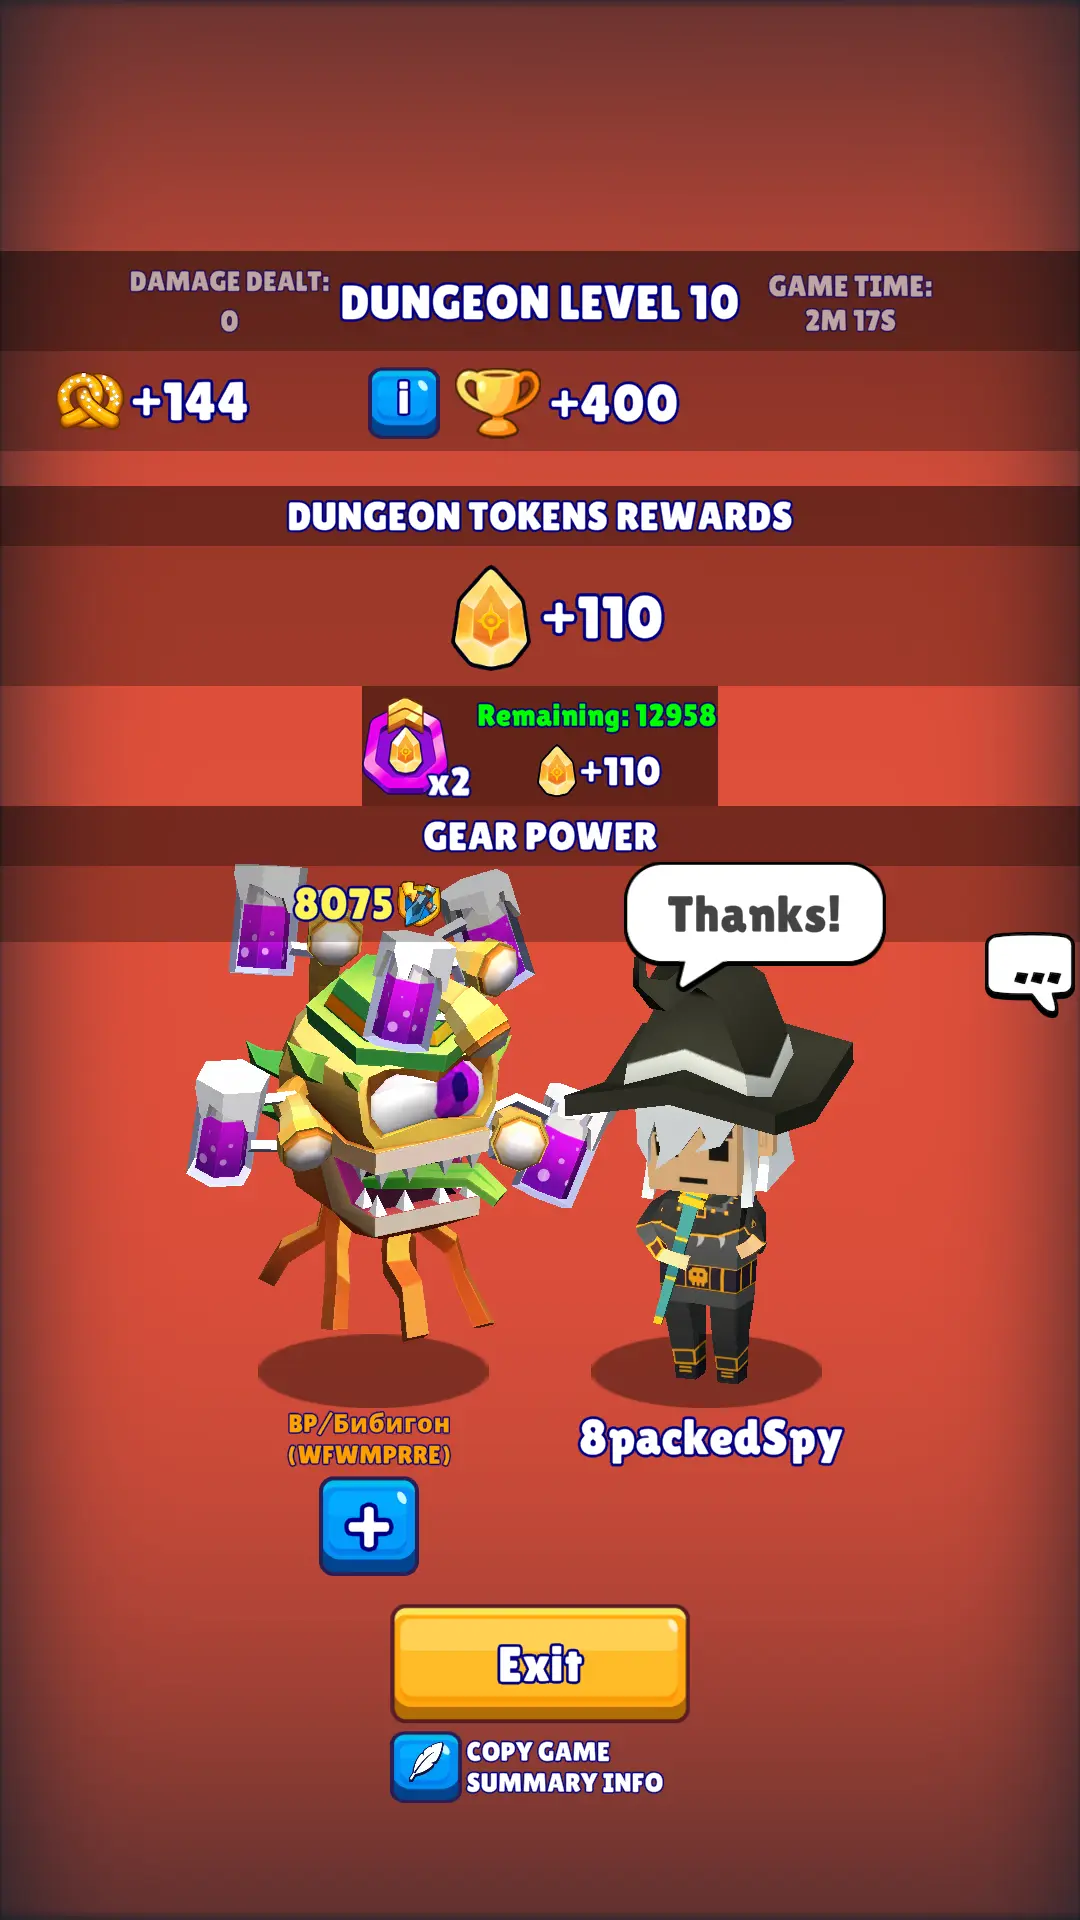
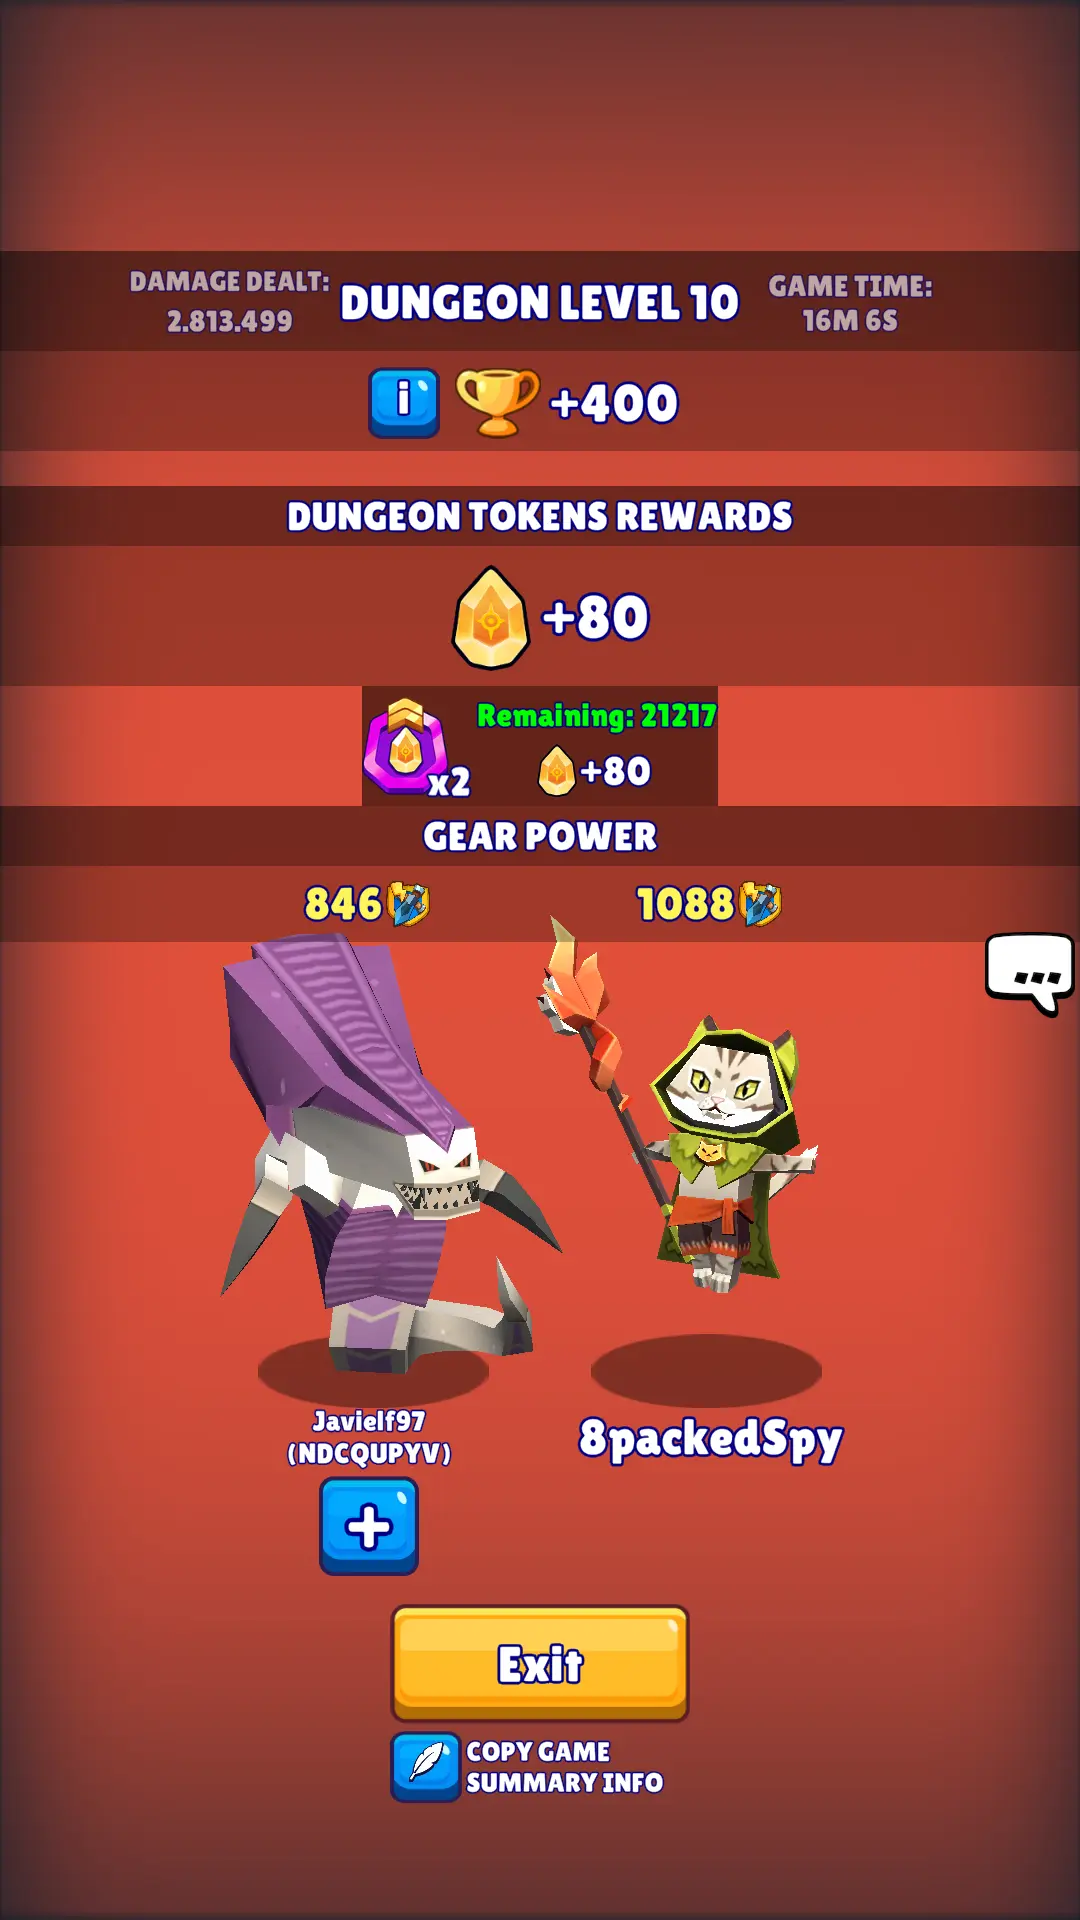
4. Dealing with Dungeons 101
Powerful accounts have one thing in common: they have multiple sets of Legendary and Mythic Gears obtainable from the Maze Dungeon. That is simply why the Dungeons hold the key to building powerful accounts in Hunt Royale.

But before one can reach the Maze Dungeon, the journey requires dozens—if not hundreds—of times clearing the Dragon’s Dungeon, Kraken’s Ship, and Yeti’s Tundra. As such, we’d like to focus on those roots of the dungeon grind.
By beating dungeon levels, you can earn gems that you can use to buy chests, stand a chance to get free gear, and haul a bulk of Trophies. Fortunately, this grind is something you don’t need to do alone (hint-hint: always choose Co-op).
It’s a two-man show; the game will pair you with another player and the matchmaking time is decently fast. The best part of it is that the chance to be paired with strong players is amazingly high.
There is a good chance you’re about to be carried if you’re paired with someone who:
– Has a title, usually from the player’s performance in a previous season
– Belongs to a clan shared by the top players in your country or globally
– Picks a rare/limited hero complete with skins
– has Hunters with a health pool that is just way too much at the start of every level
Some advanced players like to keep it simple but are already strong enough to easily solo the Dragon or the Kraken. So if none of the telltale signs above is present, our first tip in dealing with the Dungeon is to ALWAYS use level 1 as your observation point.
Whatever dungeon you pick; Level 1 is a safe stage. As long as you can access a dungeon already, you can comfortably beat Level 1—provided that you’re not using a fresh, newly acquired Hunter that is yet unleveled. This holds true even if your partner is unfortunately AFK (yes, that can happen).
Upon assessing how strong your partner is, adapt your strategy from that point on. If you’re teamed with someone who rushes to the Dragon right away (or skips the wood collection of fighting the Kraken), then you’re set for an easy, 10-level-clearance.
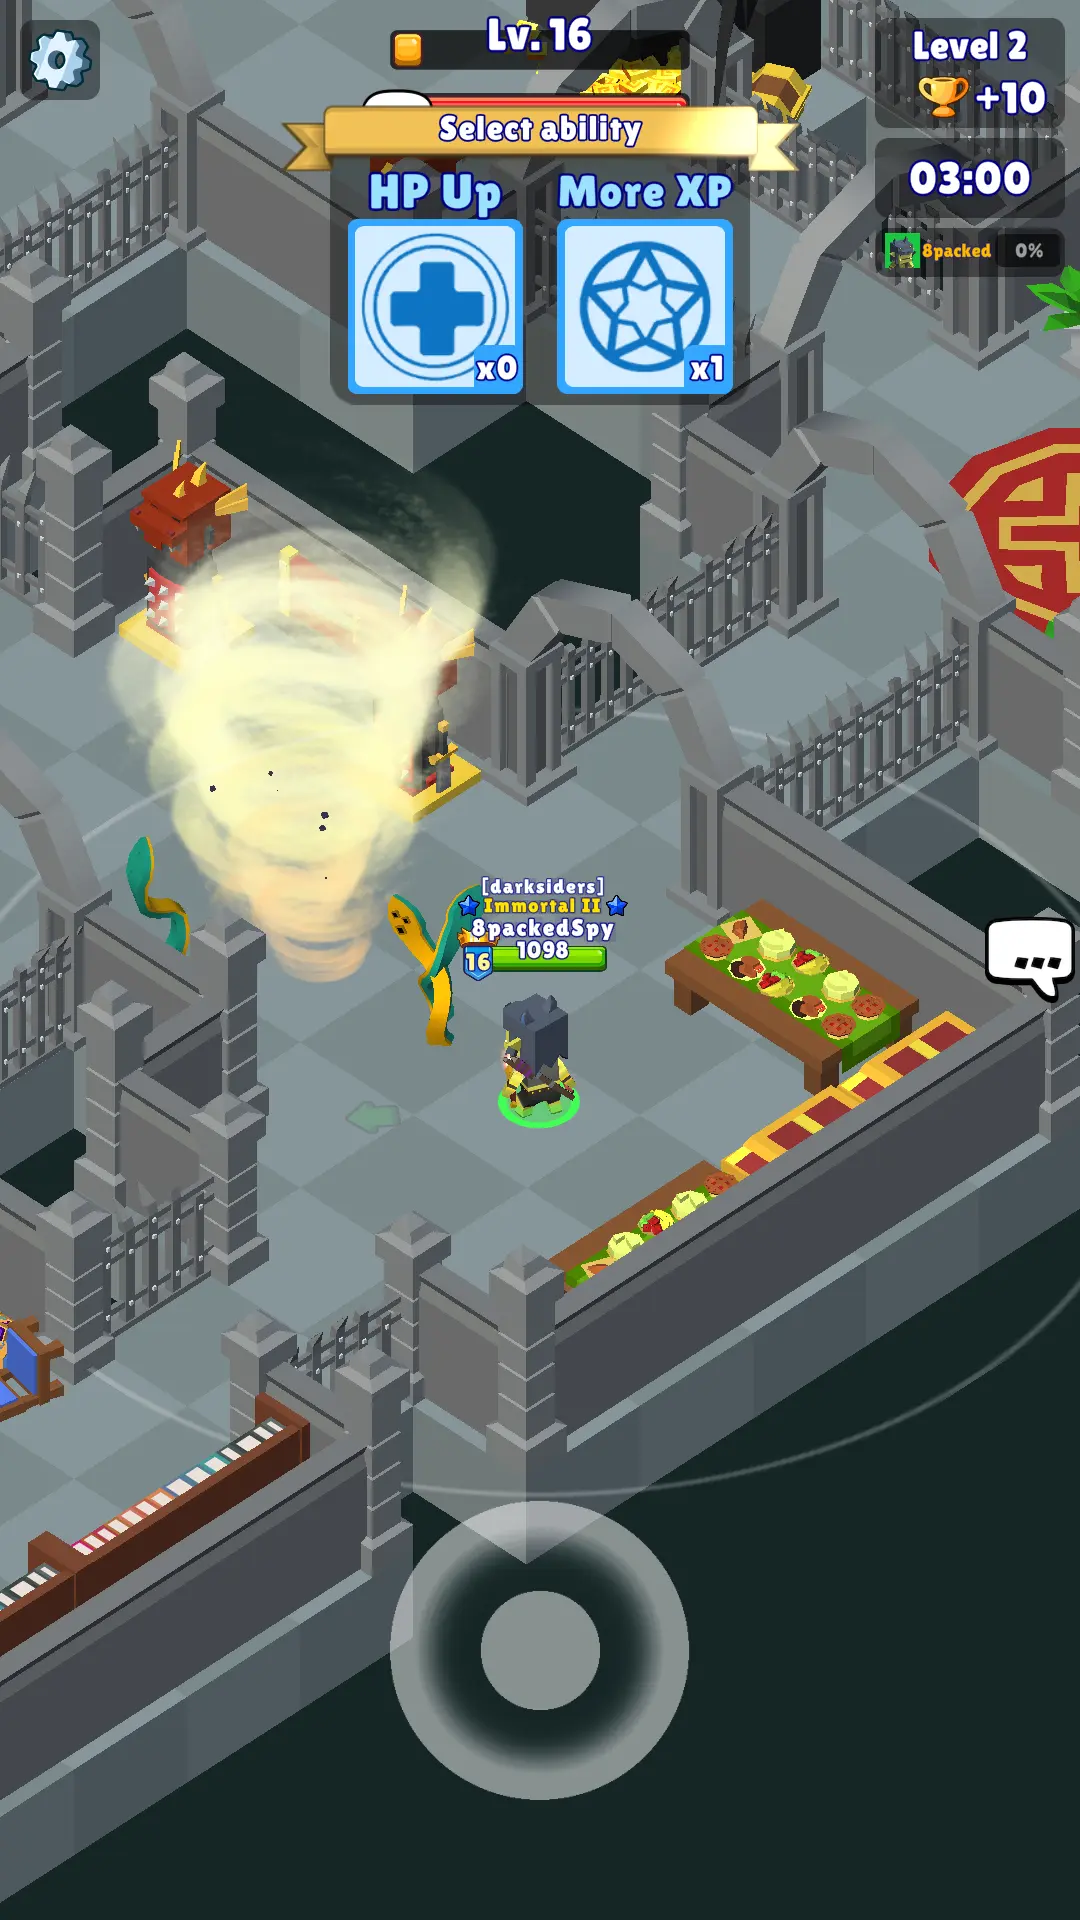
Alternatively, if you’re paired with someone who took little time to gain levels in Level 1, position yourself as the support. The best that you can do is to clear mobs at a different area where your partner is (for efficient coverage and XP gain) and ALWAYS pick the More XP perk when it comes up.
Note that XP is shared between you and your partner. Dedicating your efforts to keep slaying monsters will ensure that your partner gets the levels that he/she lacks while soloing the boss.
Besides focusing on gathering XP, if you are getting carried, the best that you can do is to pick your next hunter quickly. These players are out to grind efficiently, don’t be a reason for delay. Oh and of course, don’t forget to thank them.
In case you’re assigned someone who needs to get to level 18 or above before engaging the dungeon boss, it will be nice to choose More XP at least twice, especially if you get offered early.
Very likely, you will need mutual effort toward leveling up and damaging the boss. The boost from an early More XP pick-up will greatly help your leveling speed as you proceed to build up your DPS (or HP and Damage Reflect in case of a non-stealthy, melee-ranged Hunter).

If you’re already capable of carrying in the dungeon you’re in and you realize that you’re paired with a weak partner, instruct them nicely to just kill monsters. Inexperienced and unknowledgeable players tend to attempt to attack the boss not knowing they’re only wasting time and effort.
It’s a popular practice in Hunt Royale for stronger players to help the weaker ones, especially newbies. As you assume the role of a carry, don’t lose sight of the need to gain levels quickly, increase your DPS, and approximate the time you need to eliminate the boss.
In summary, dealing with the Dungeons is all about efficiency, reading your partner, and adapting your strategy based on the team-up you find yourself in.
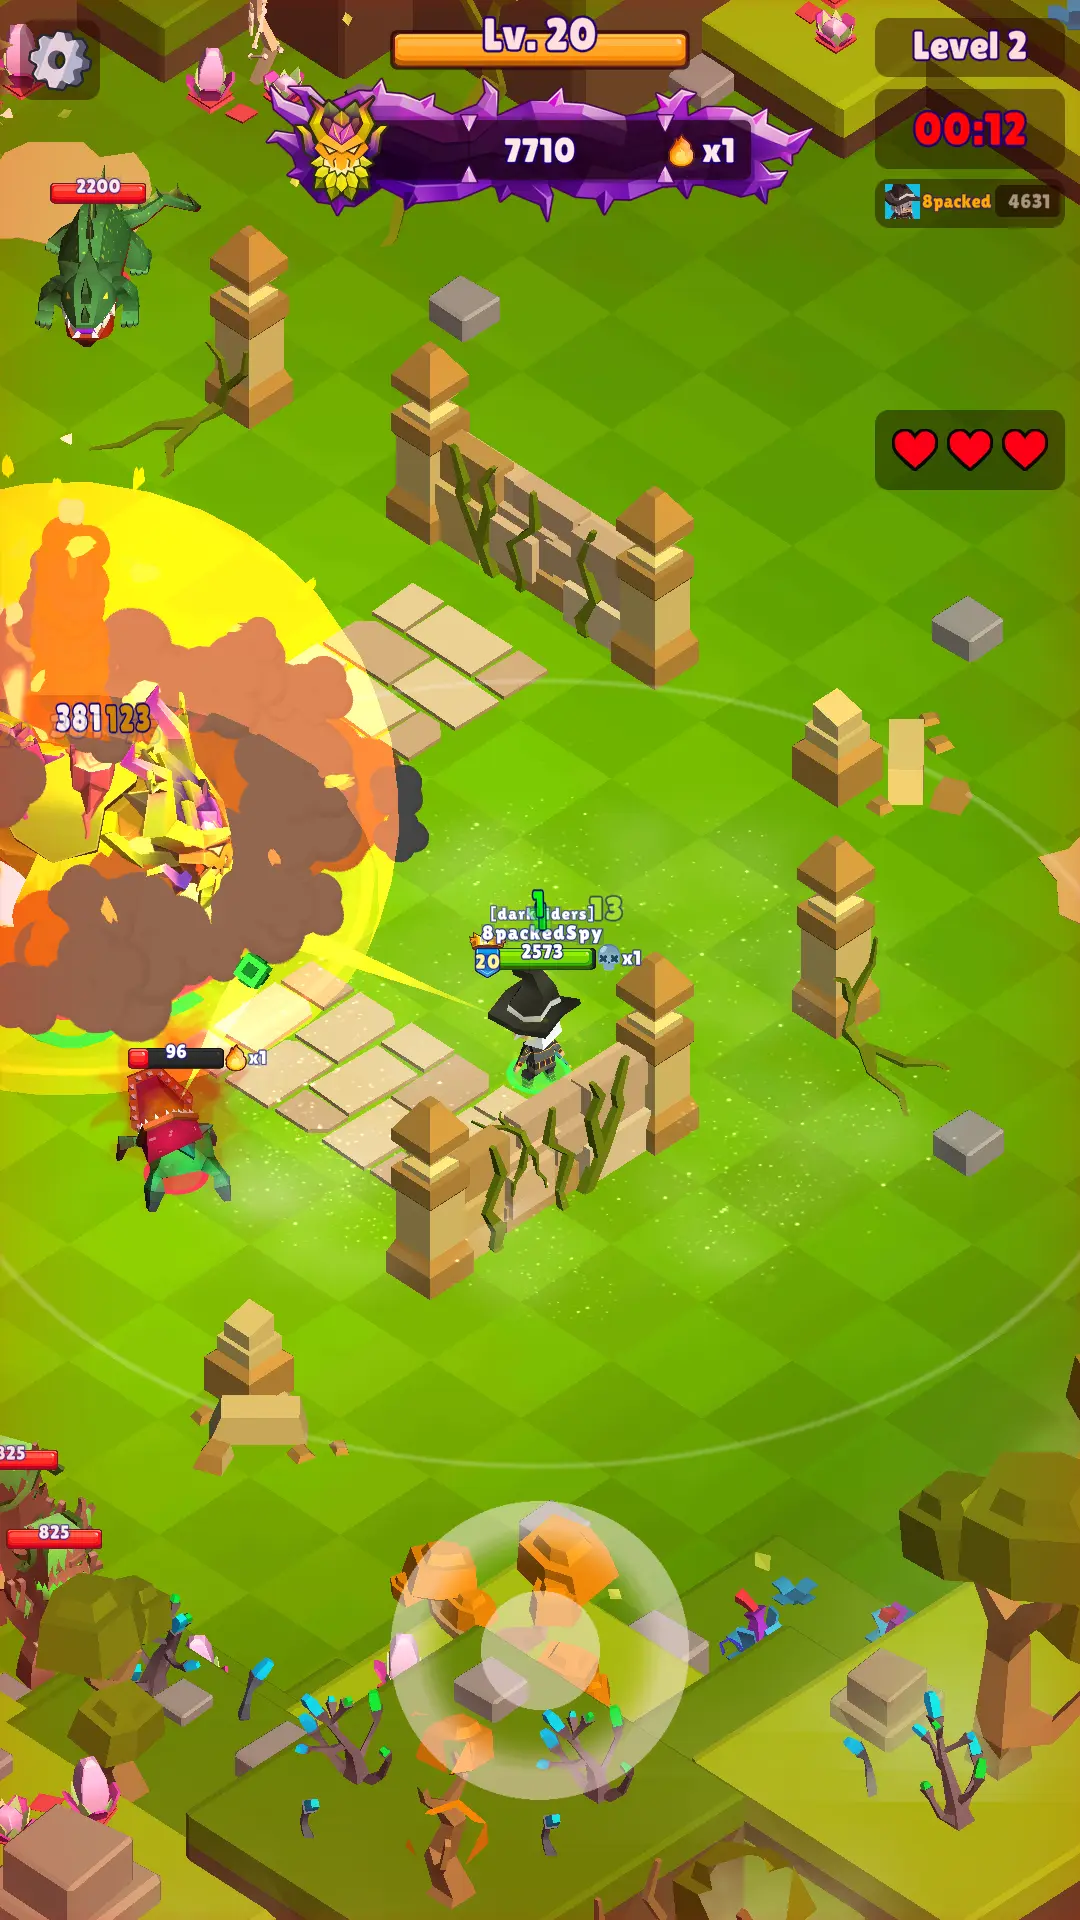
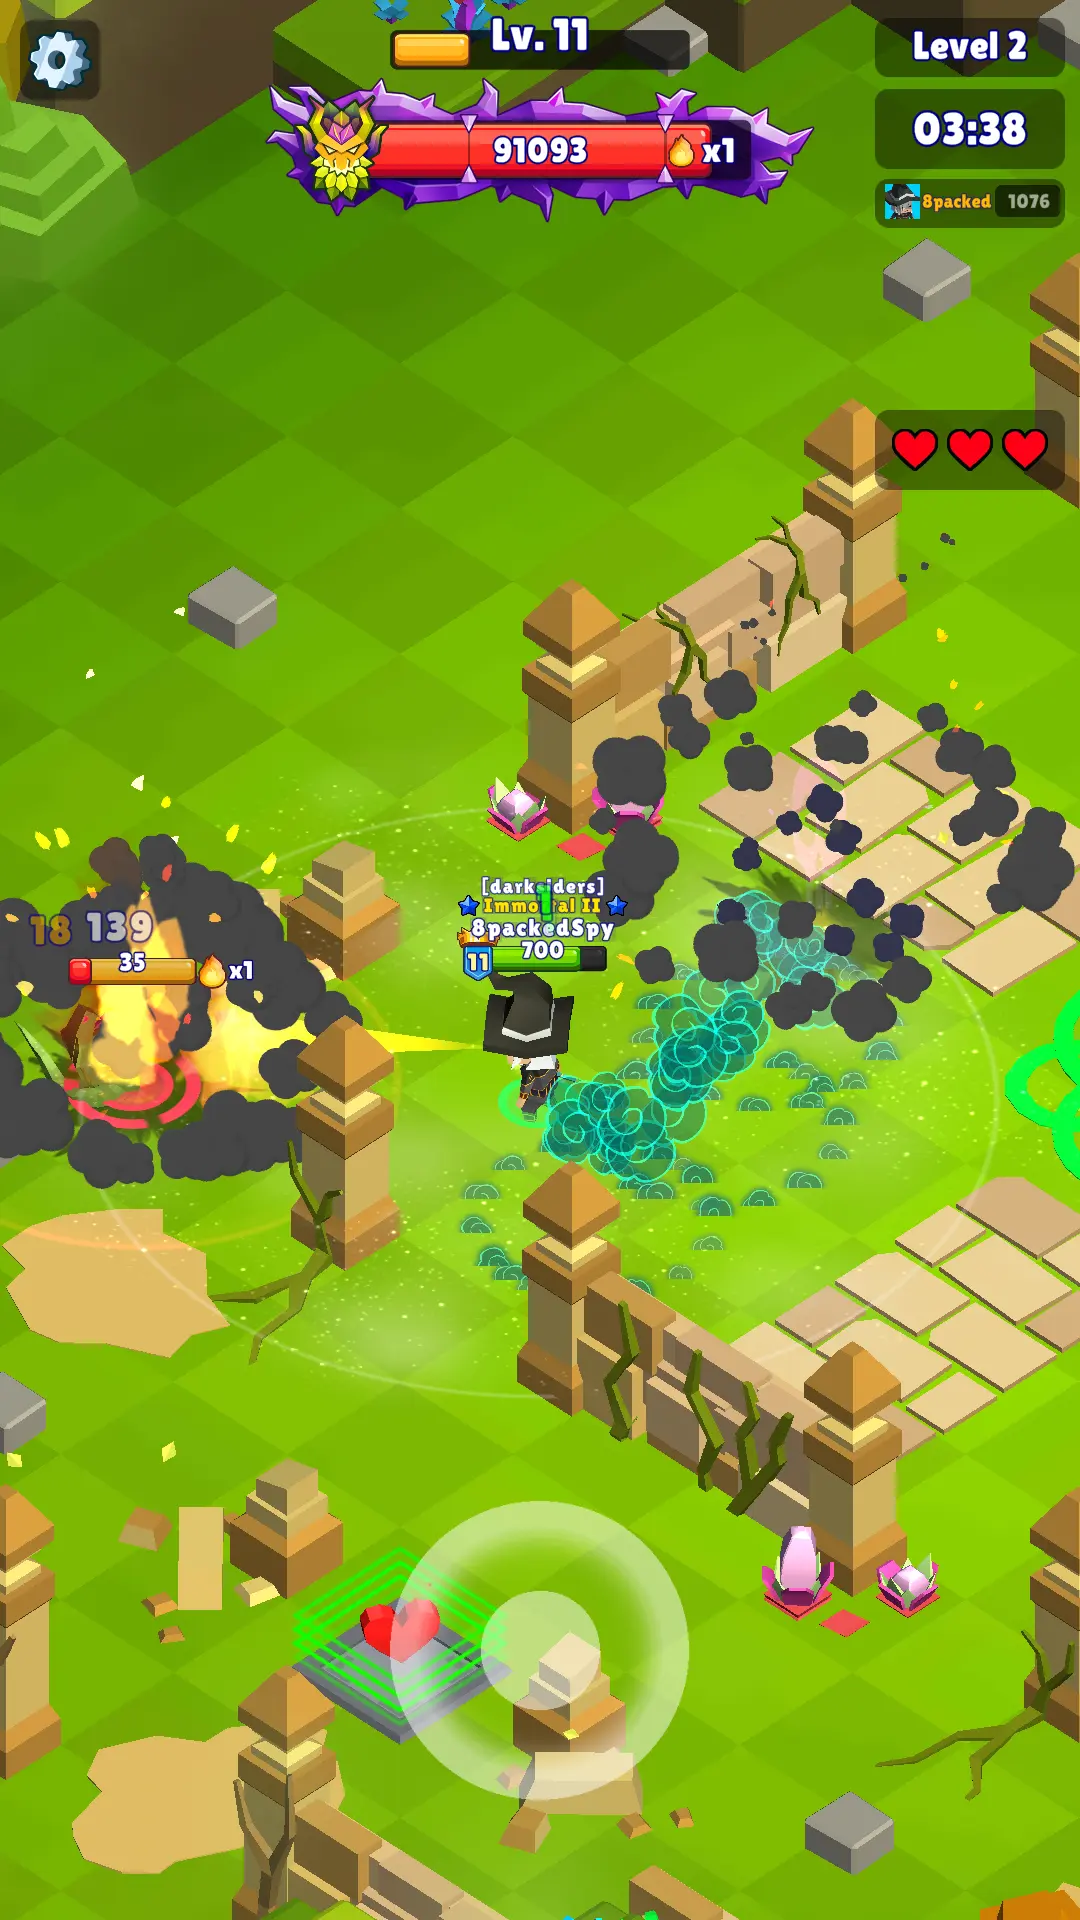
5. Fighting Leshy: How to beat the Champion’s Quest
Leshy is the boss that you have to fight in Champion’s Quest and it requires strategy and some Gear Power to fight him. You will only be allowed to use preselected Hunters and if you have not promoted the general level of any of them, it will be a tough challenge.
It’s possible to win against Leshy even if you are yet under-equipped, at least at the base form/beginner level. A systematic approach while using the most leveled Hunter will let you beat him. Pick the one who you already have Permanent Abilities for.
Here’s what you need to know what you need to do to beat Leshy.
Leshy has five different skills/nukes and most of them can inflict poison:
1. Upward root spikes – hardest to dodge and may hit a bit outside of their marked hitboxes. When the spikes shoot up, they’ll also be able to briefly block horizontal projectiles. It also has a global range so you need to stay on your toes wherever you are.
2. Poison bombs – three poison bombs will be lobbed and they have a bigger AoE than the root spikes. They are easy to dodge given that they have perfect hitbox and marking, add to that, the bombs fly a bit slow. Like the roots, these bombs have a global reach.
3. Cleaving attack – hits a wide, cone-shaped area in front of Leshy. A breeze to dodge as it has a cowl-up time and that it is practically a close-range skill. This will only trigger when you are within his basic attack range.
4. Circular attack – hits the entire circular area around Leshy. There’s no reason to get hit by this since it takes about 3 seconds for the attack to happen. Leshy is much more likely to use this during Split Form. This will only trigger when you are within his basic attack range but not directly standing on his front.
5. Carrion flies – throws carrion flies in an area that lingers for a few seconds. While this is the only skill of Leshy that does not inflict poison, its DPS shall not be ignored, especially earlier in the fight. Leshy will have access to this skill after you burn the trees down.
Note that being poisoned will continuously chip your health bar and they can stack. You will need to get the heart/heal to remove it. At the Beginner level, if you get poisoned while still in high health, you can weather it through until the heart respawns if you have consumed the previous.
Leshy has four phases that he will automatically switch through at certain health levels. Although you don’t exactly need to heavily alter your strategy across those phases, take note that he maintains the ability to use his three skills all throughout. So beware!
The first phase is just a plain presence in the middle of the map. When the hunt begins, don’t engage Leshy right away. From your starting point, move around to draw the attention of ALL the monsters from the four corners and then stop to attack them, while staying alert to evade Leshy’s skills.
Keep the draw aggro tactic from that point on as it is the efficient and correct way to gain XP. From your second luring onward, you can just collect the monsters from three corners and engage them as you move into the zone of the fourth.
At around level 8 to 10, you’ll have enough firepower to remove 1 segment of Leshy’s health bar. Once you have chipped off a full segment of Leshy’s health bar, he will enter phase 2. A shield will envelope Leshy and he will become non-attackable.

To remove the shield, you must move and stay in the zone of the three corners of the map to burn the trees. As long as you’re touching the yellow-bordered area, the burning will progress. Stay in the zone until the yellow marker fills while being dodgy enough to avoid Leshy’s skills and the attacks from monsters.
Resume attacking Leshy as soon as you’ve burned the trees down. This time, though, small lamps will spawn around Leshy and you will need to destroy them as they will eventually offer him healing. Picking a Hunter with an AoE damage or ricochet will passively take care of them.
Keep on herding mobs as you attack Leshy to advance your level. Note that you need not be level 20 to finish him off; remember that there is a time limit to get the job done.
When Leshy’s final health bar segment is down to half, he will enter his Split Form phase. Deal with them one at a time, ideally starting from the left OR right side. Never start from the top as the precious seconds you will waste in reaching the two other smaller Leshies will all work against you.
Upon killing the three smaller Leshies, it will all be like phase one again. Focus on dealing damage to Leshy to bring his health down to 0!
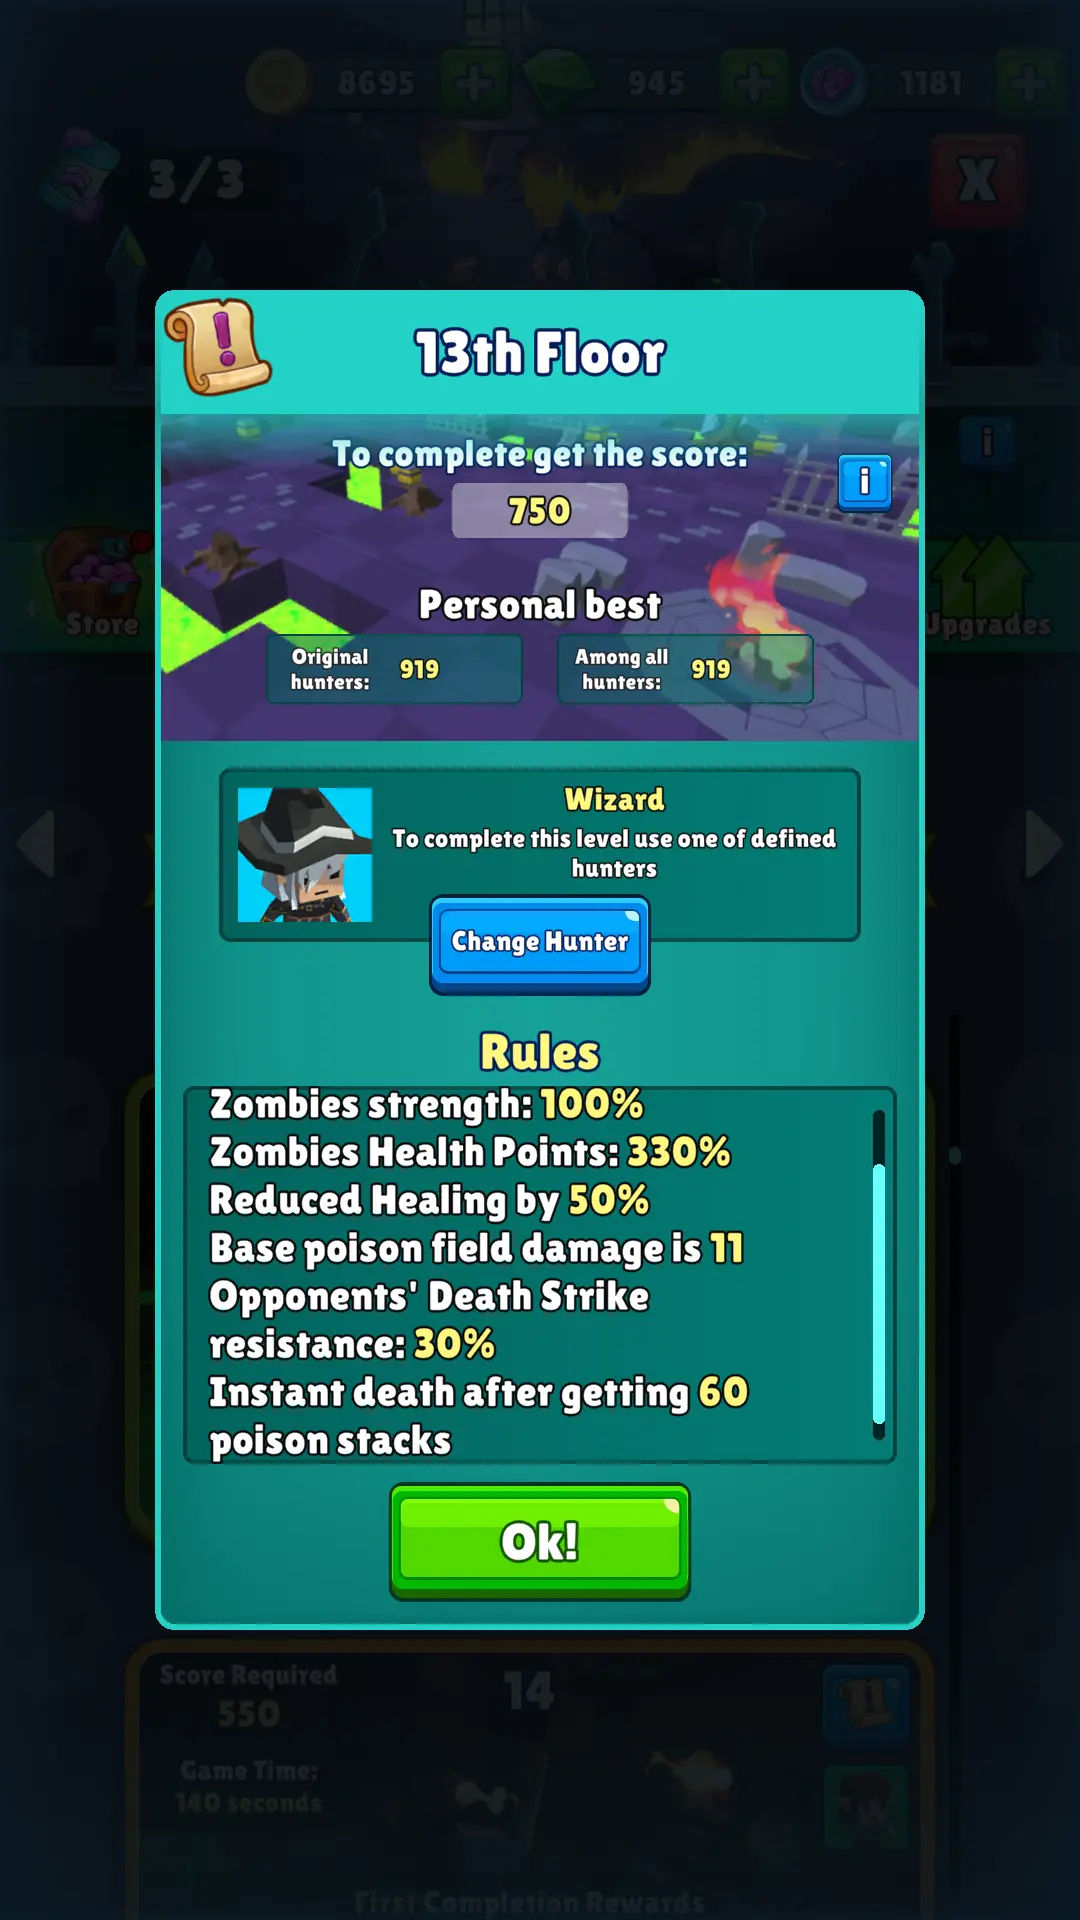
Taking on Leshy at Easy level will be difficult if you do not yet meet the Gear Power recommendation, let alone have not sufficiently leveled up any of the four allowed, preset Hunters (Wizard, Gorgon, Captain Hook, and Angel).
Even if you play it perfectly—from the herding, perk selection, and avoiding boss’ skills—it’s just plainly impossible without enough Gear Power. You can likely send Leshy just to half of his health bar.
Bringing the right gear for the mode at hand is crucial in ensuring victory, not just in Champion’s Quest. This is especially true if your account is just around the intermediate level. We’ll briefly touch gears and Power Stones later in this guide.
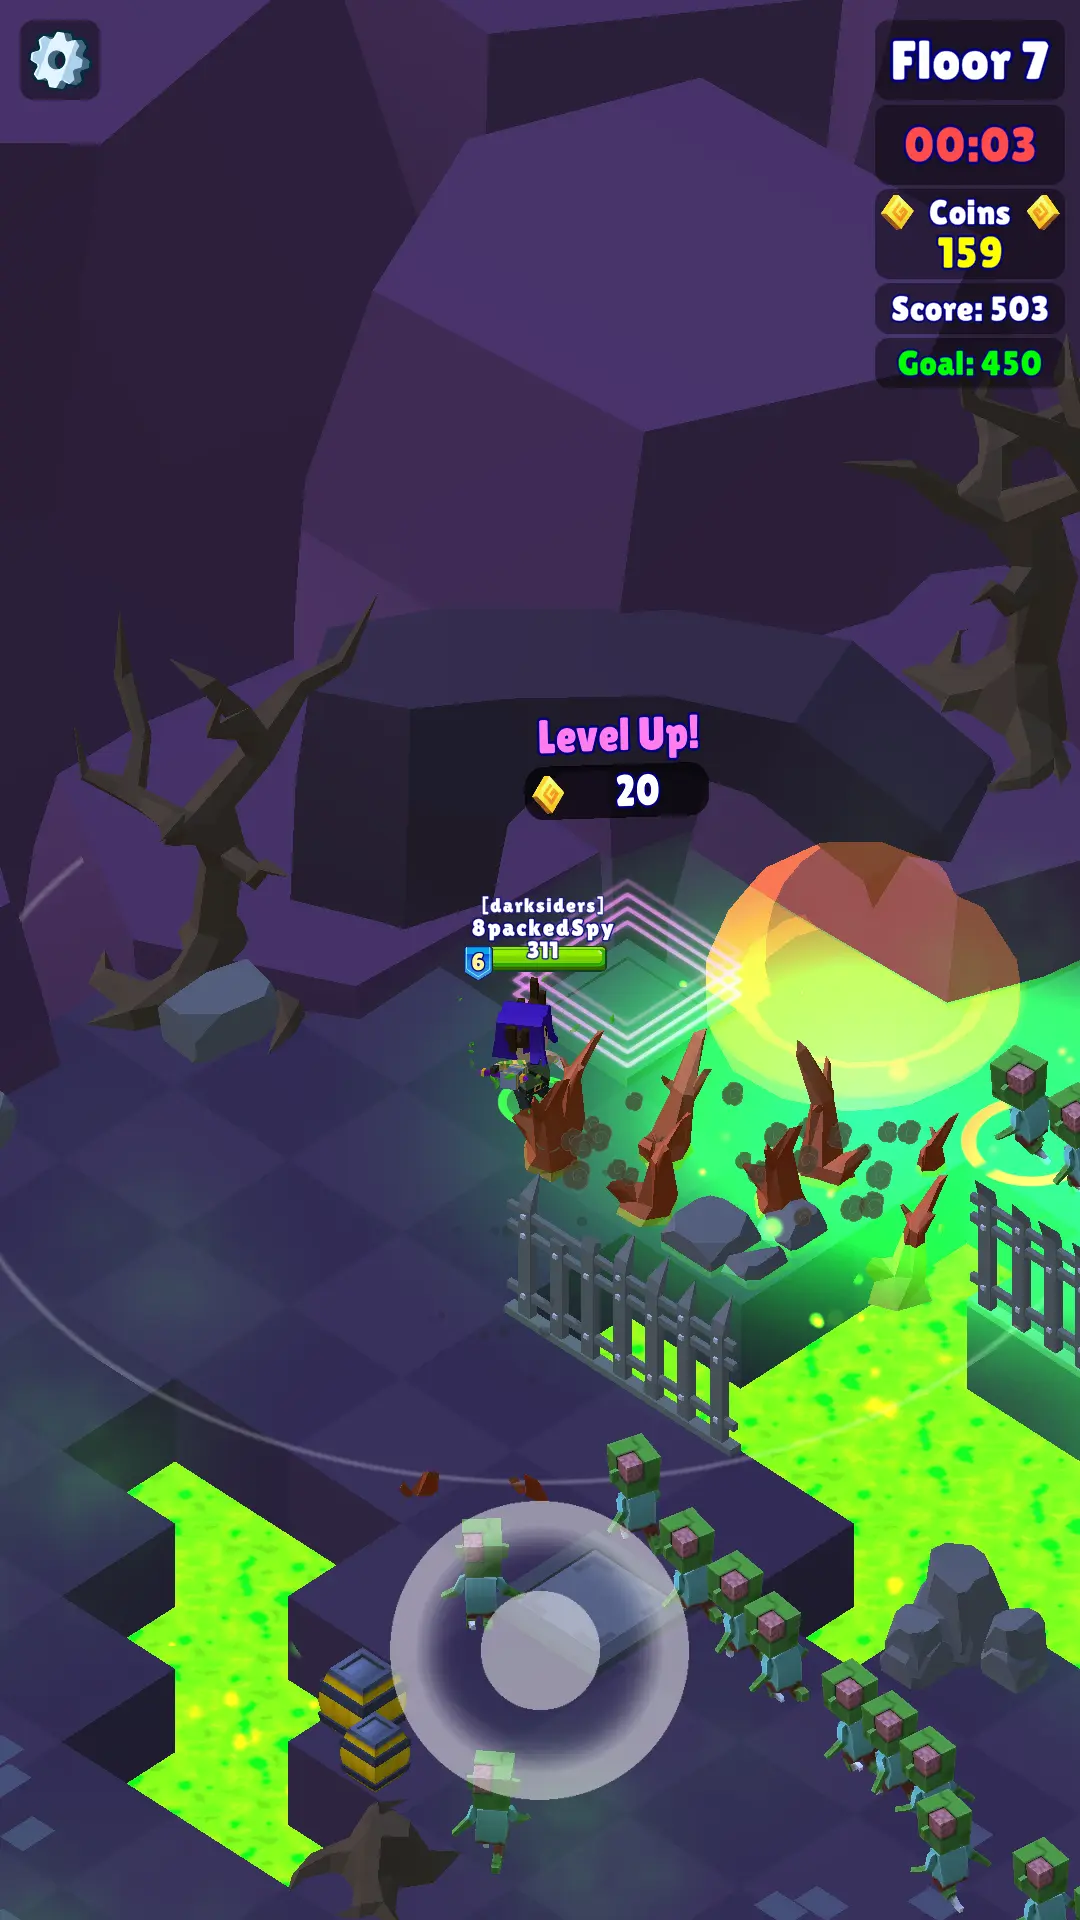
6. How to thrive in Undeadgrounds
Fighting against hordes of zombies through floors that get progressively harder to beat—that’s the brand of action in Undeadgrounds. To beat a floor, you need to reach a certain score within the time limit using only one of the allowed Hunters for the first-time clearance.
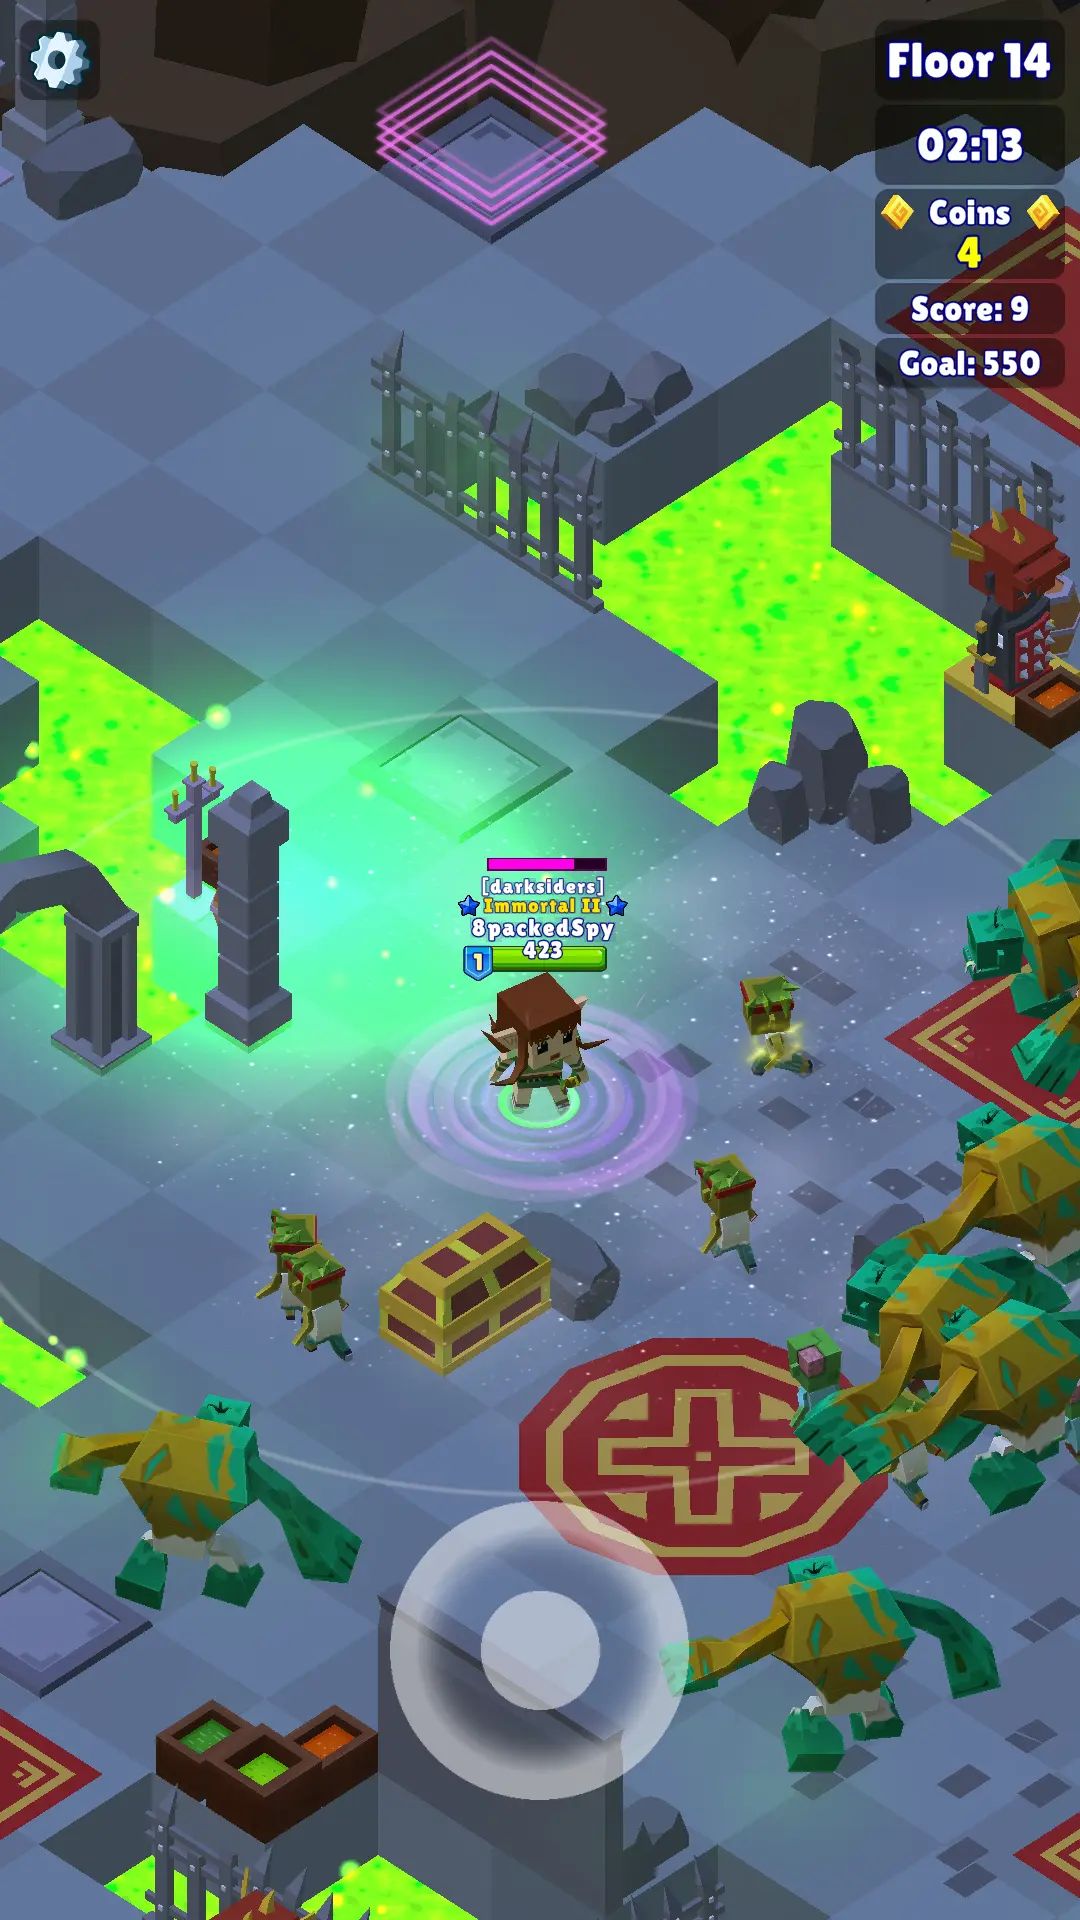
The limited drafting restricts weaker accounts from reaching higher floors. Naturally, you’ll want to give it a shot if one of the allowed Hunters is someone you already have leveled up and have activated perks for.
Speaking of which, bonus XP from permanent abilities and gear does not work in Undeadgrounds. Make sure to first switch to those that increase DPS or survivability.
Each floor is a challenge especially when your account is not yet all geared up. However, if you’re like us and enjoy pushing against all odds, here’s what you need to keep in mind when battling through the Undeadgrounds:
– Every floor has different rules; make sure to pick a hunter that will not be severely hindered. Be sure to take into account rules against regenerating health, decrease in poison damage, enemies having resistance to effects like Death Strike, and other potential parameters.
– Rush to get the Power Tome ASAP and return to it when it respawns. Since it’s unlikely to farm enough coins to buy 3 upgrades quickly, let your movement be tome grab > upgrade > upgrade > tome grab.
– Using an upgrade pad back-to-back times for the first time will cost you 120 gold (at default prices). Move around and use different upgrade pads to buy perks; the price only increases on used pads. This means that you can get 4 upgrades just for 80 gold.
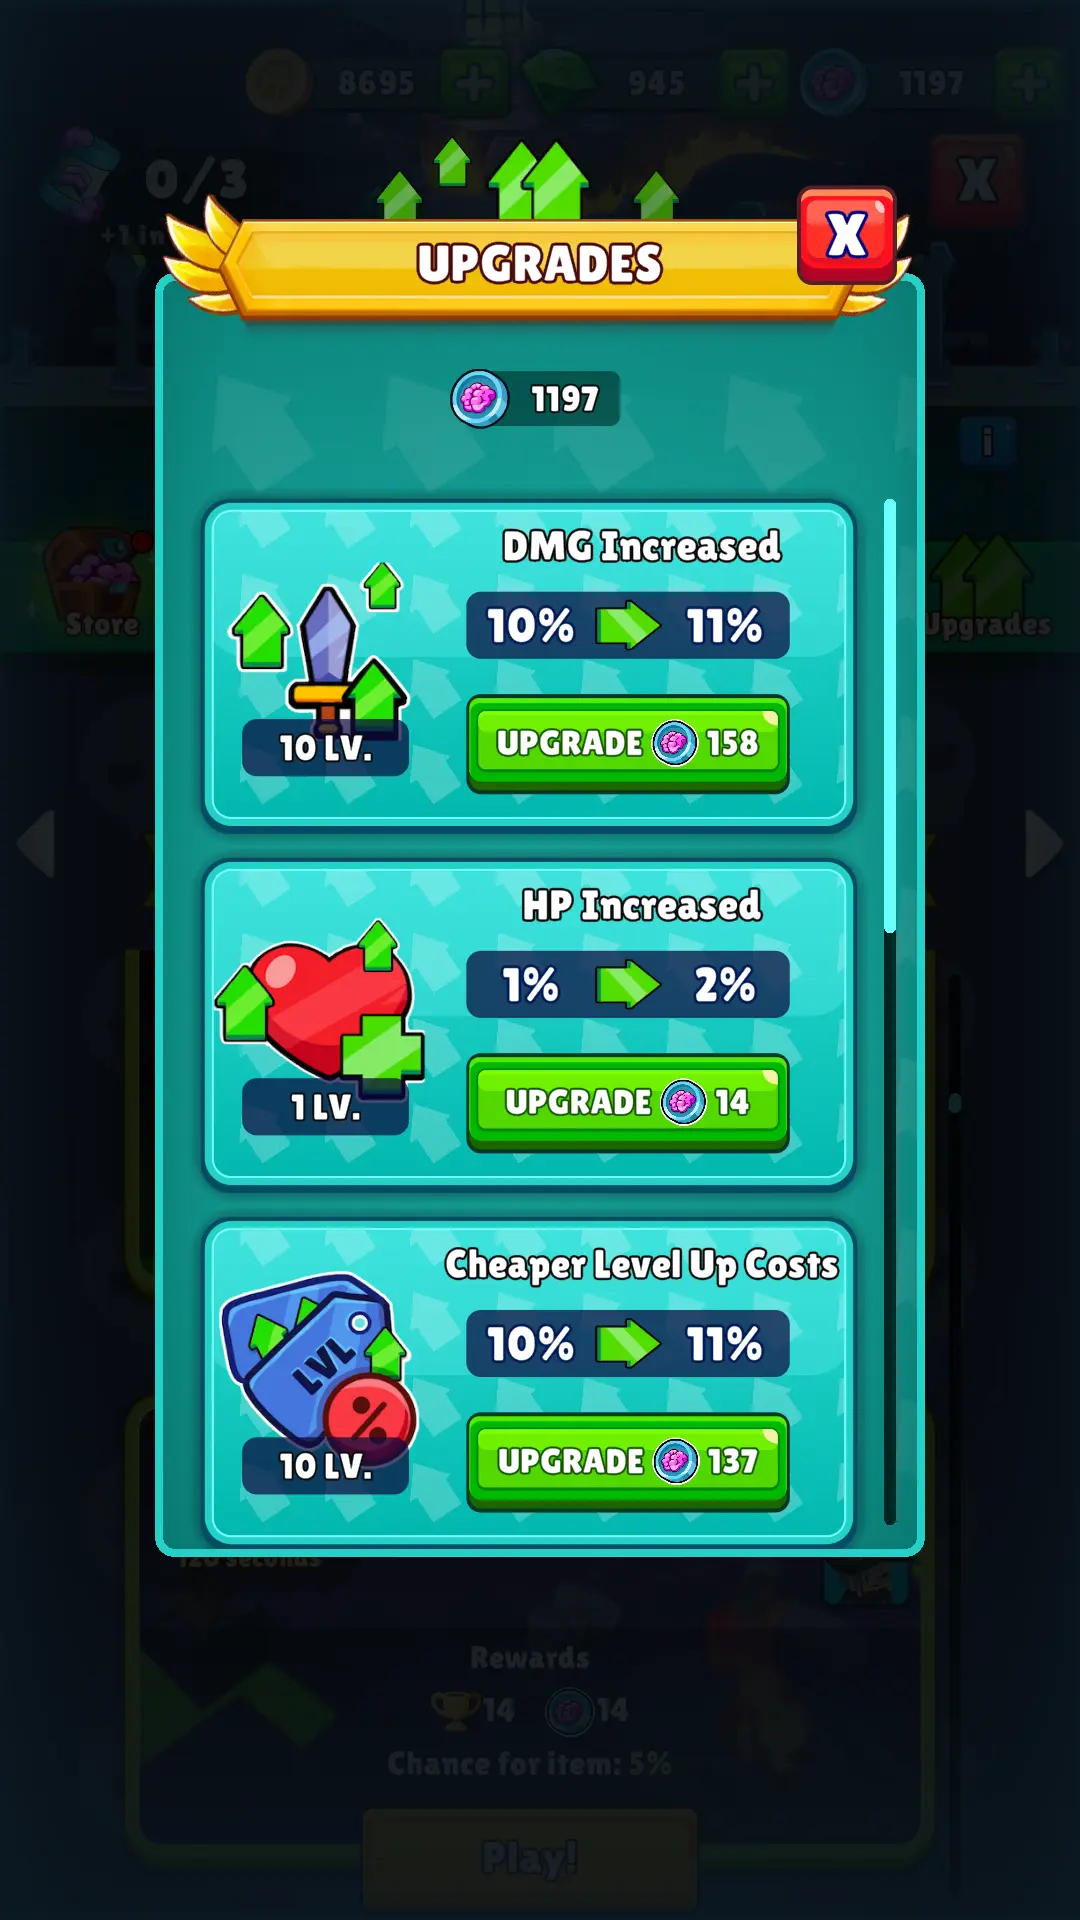
– Consider using some Brains to buy upgrades. Aim to upgrade Cheaper Level Up Costs, Faster Book Spawn, and DMG Increased.
– Don’t relax when you have achieved a good DPS already because the poison puddles can still catch you off-guard. Don’t get trapped; remember that at least 2 puddles are meant to spawn where you are.
– Stay calm when moving through the horde; hug the walls and edges of barriers when you do. Doing so will let you use the same strip of land twice when you get cornered.
You’ll be able to pick a Hunter of your choice for the floors you’ve already cleared. Once you have reached higher floors that give a decent chance for item drops, consider rerunning them.
When rerunning a floor, pick a Hunter with a strong AoE attack and has access to Death Strike or perks that help with quick clearance and crowd control. Also, try to prepare an entire set of gear loaded with Power Stones dedicated to decimating zombies!
As we mentioned earlier, the Hunter choice limitation is the main challenge in Undeadgrounds, so manage your expectations. If you can’t reach higher floors yet, that’s fine; grinding is better done in the Dungeons and Champion’s Quest, after all.
7. Tackling the other Extra Modes
BATTLEGROUNDS
In Battlegrounds, you will be categorized accordingly based on your current Gear Power. On the clustering seen below, if your Gear Power is within the 1200 – 5999 range, you will automatically be in League 3. That is regardless if you have played this mode before or not.
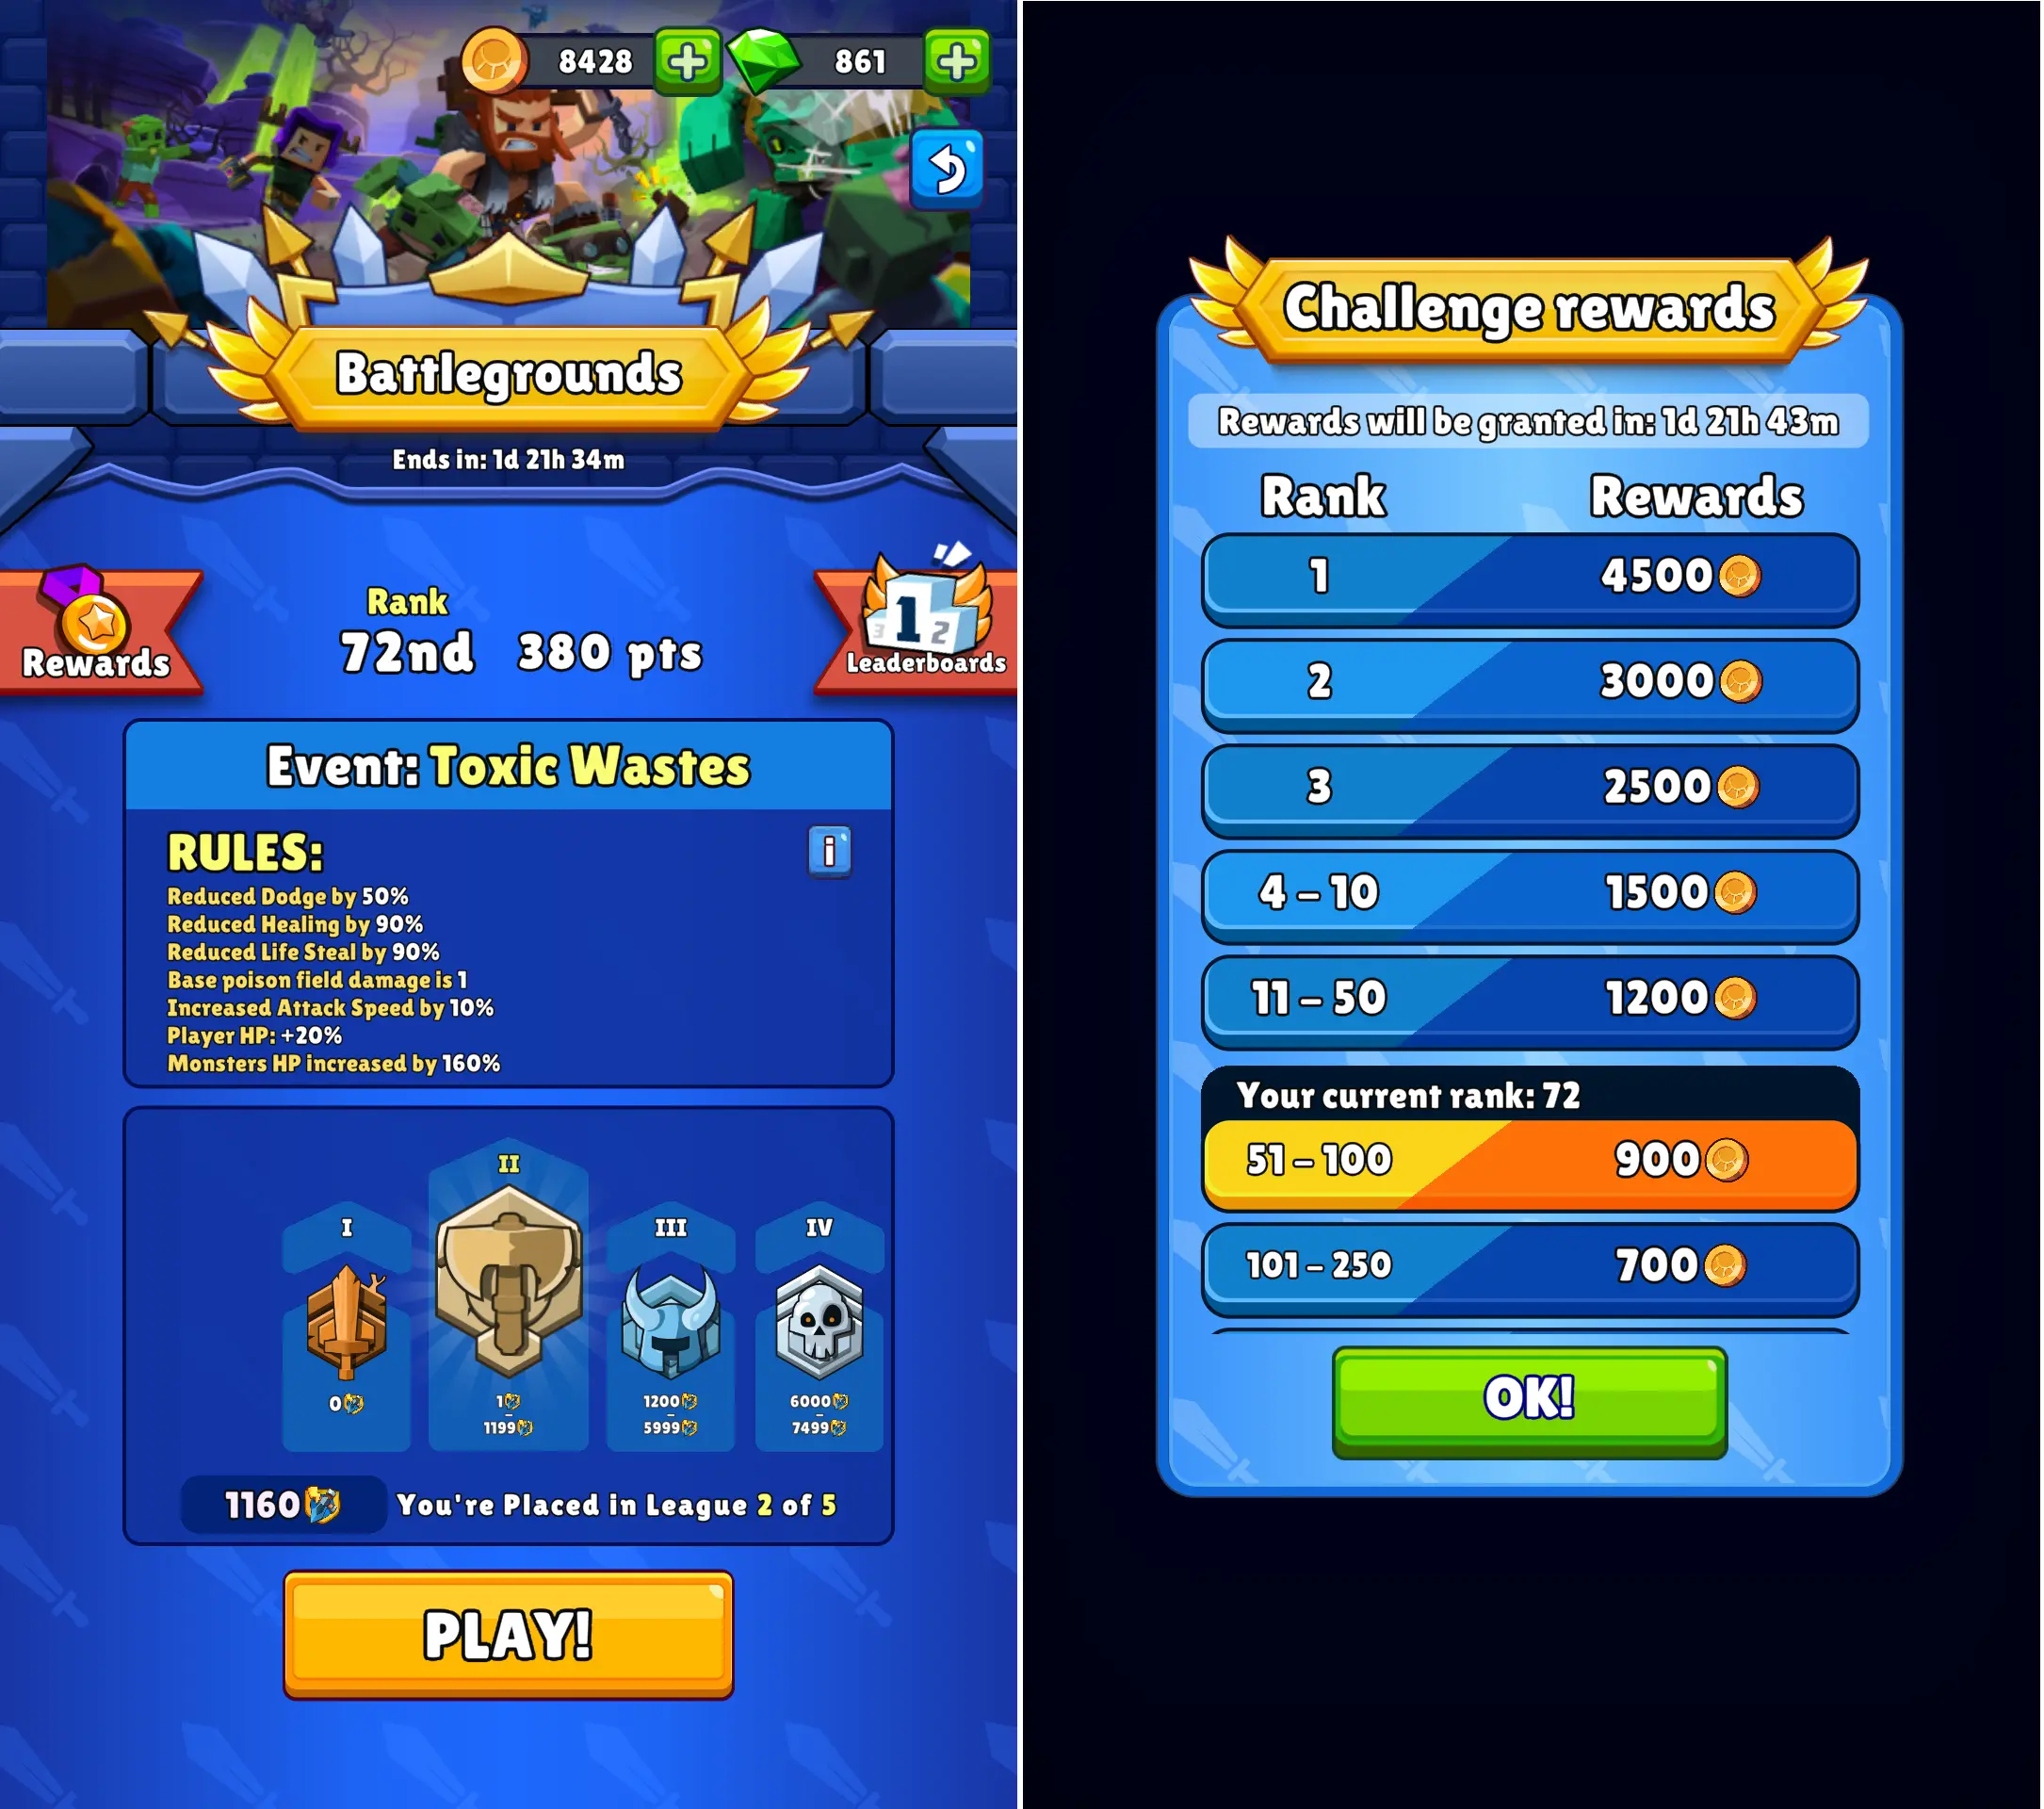
The Battlegrounds use the terrain and most of the mechanics of Undeadgrounds as you will fight the same three types of zombies: Walkers (1 point), Runners (2 points), and Tank (5 points).
Enemies appear by waves and are released in preset time intervals. Although the game positions this angle as a threat, it actually works on the positive side since you will be aware when the ranks of zombies will be replenished, thus letting you plan your next move and escape paths better.
Given by how comparably little the potential rewards are, Battlegrounds is more of a vanity feature where strong finishers can be ranked and given a title eventually. The bulk of coins upon ranking well is surely a welcome addition to your coffers!
DAILY CHALLENGES
Daily Challenges are totally random and whichever mode is available, they come as adaptations of other modes but with adjusted parameters. Think of adjustments like increased HP of monsters, decreased damage for your hunter, and reduction of all healing effects.
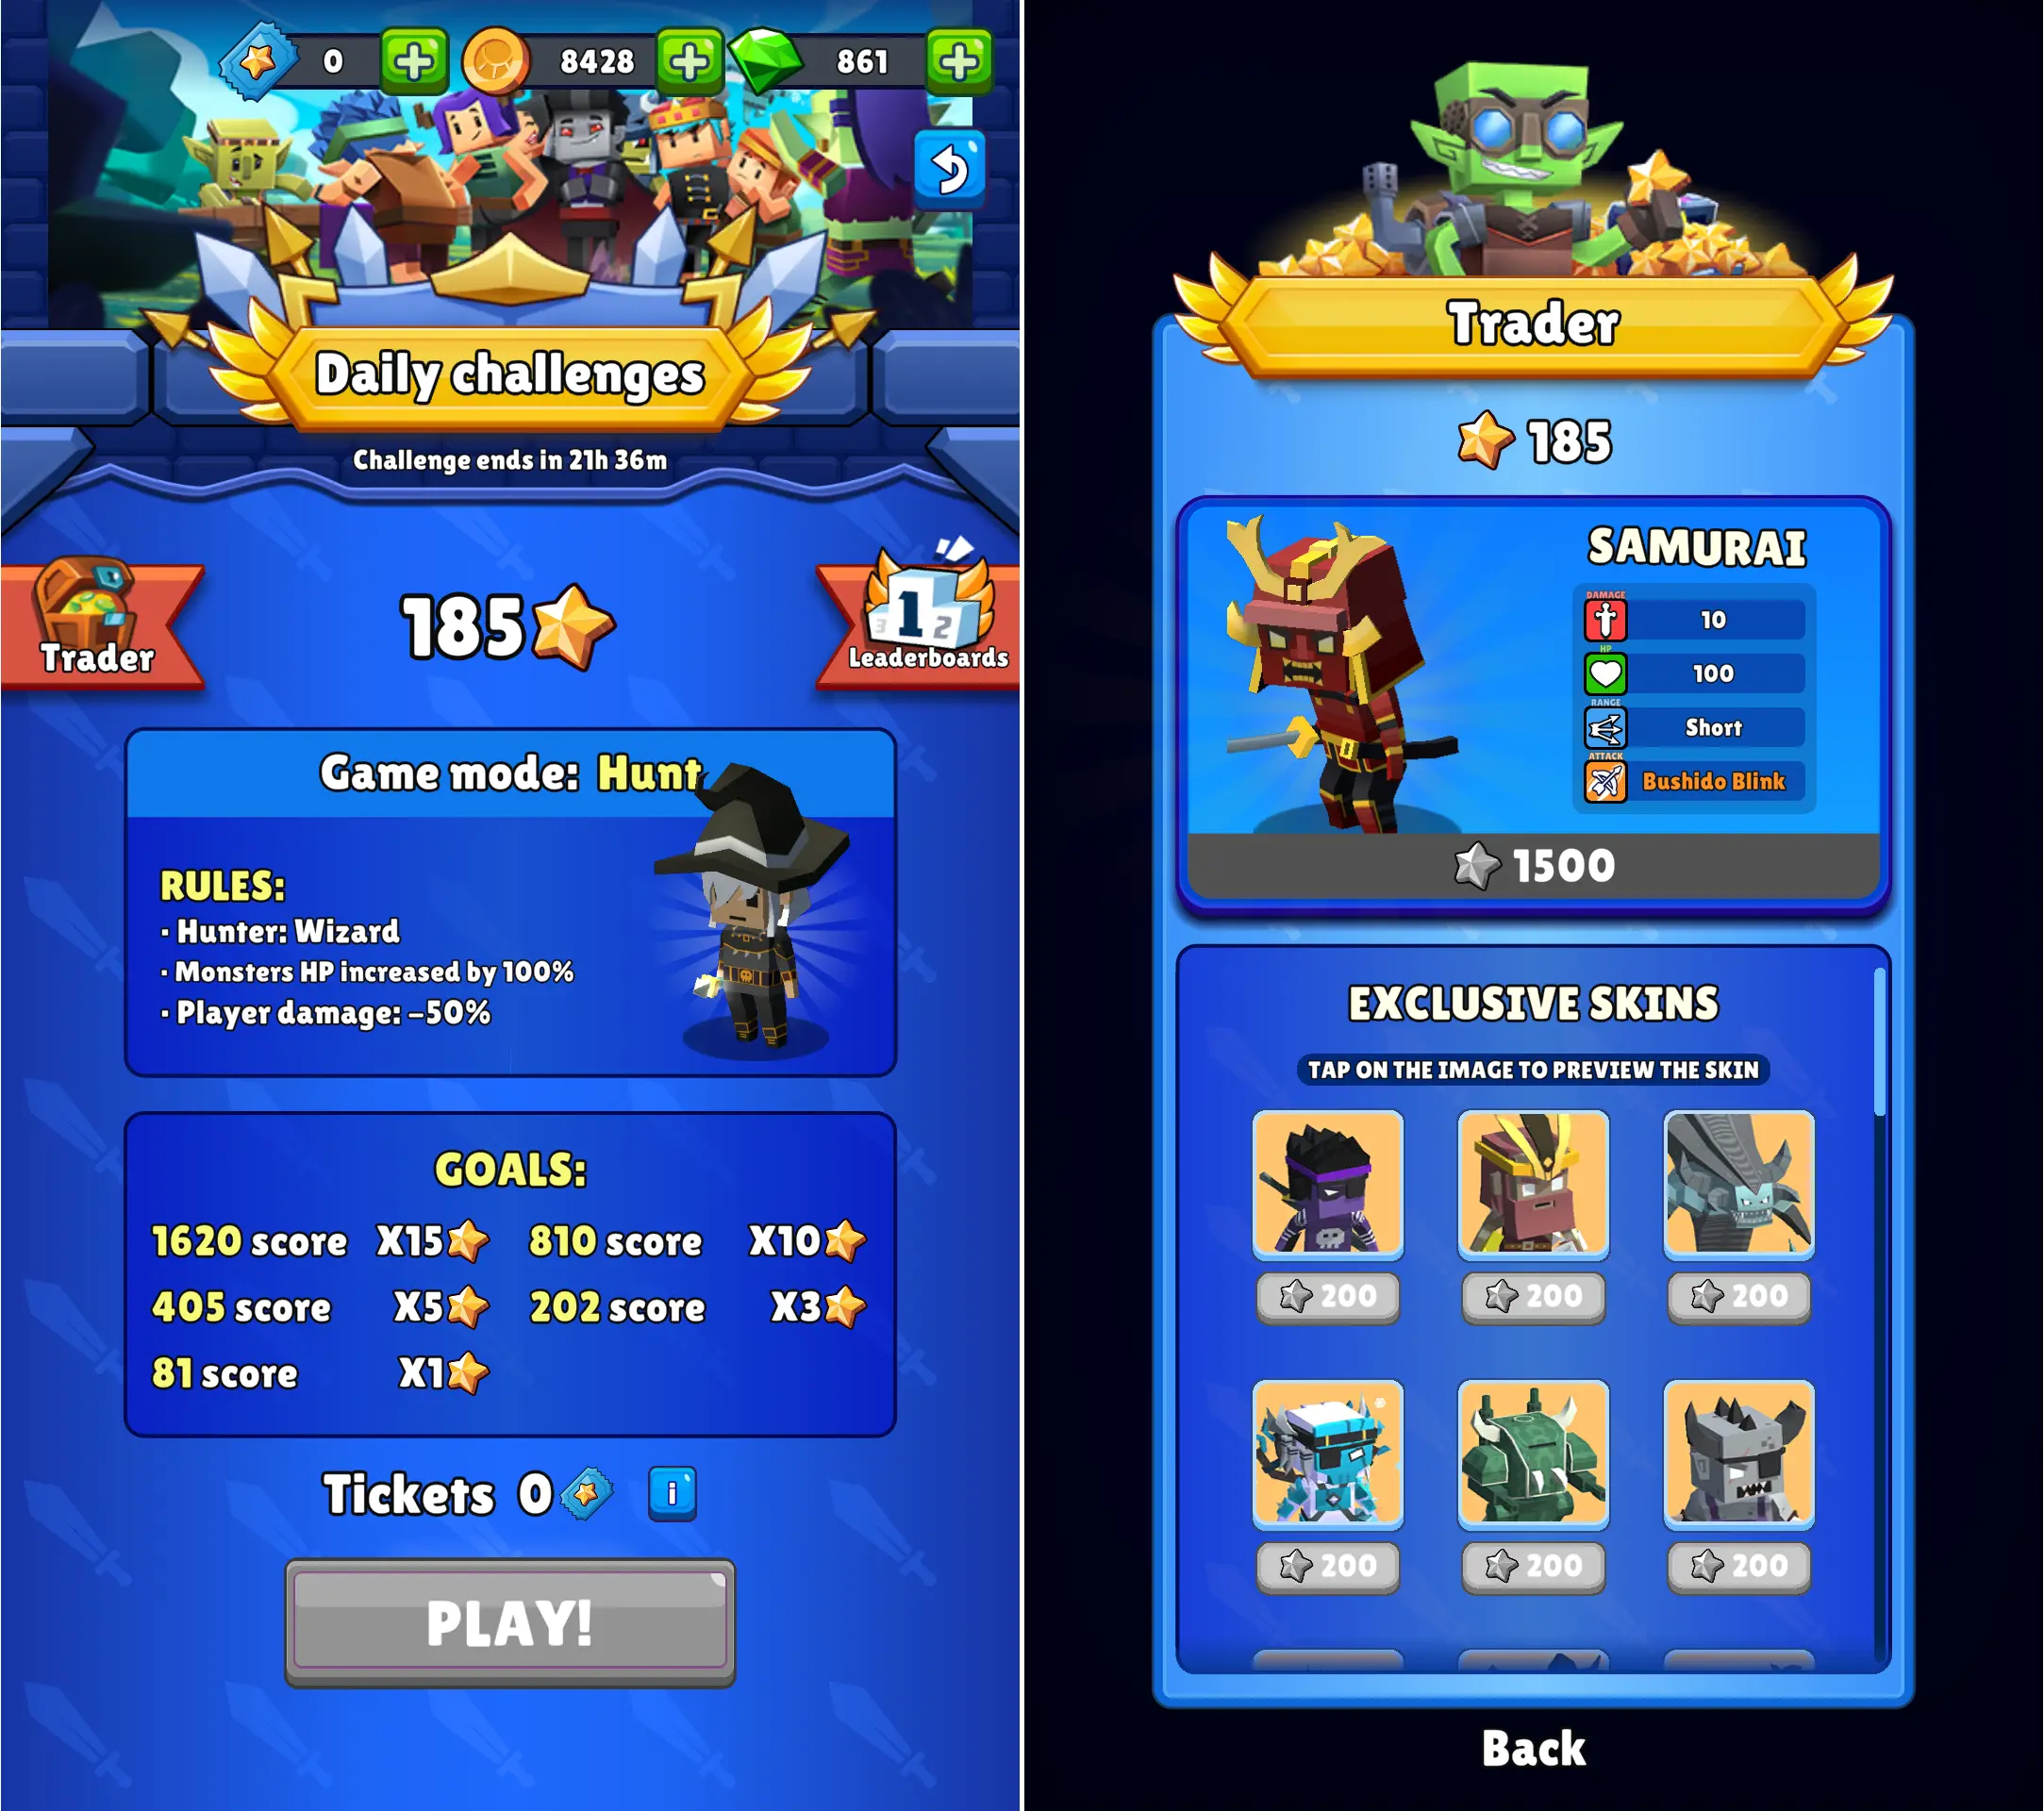
Basically, the sliders are adjusted to make it more difficult than their vanilla or default versions. What you get in return for braving them are Challenge Tokens (stars), which is practically a F2P path to gain the Samurai.
MOUNT RACE
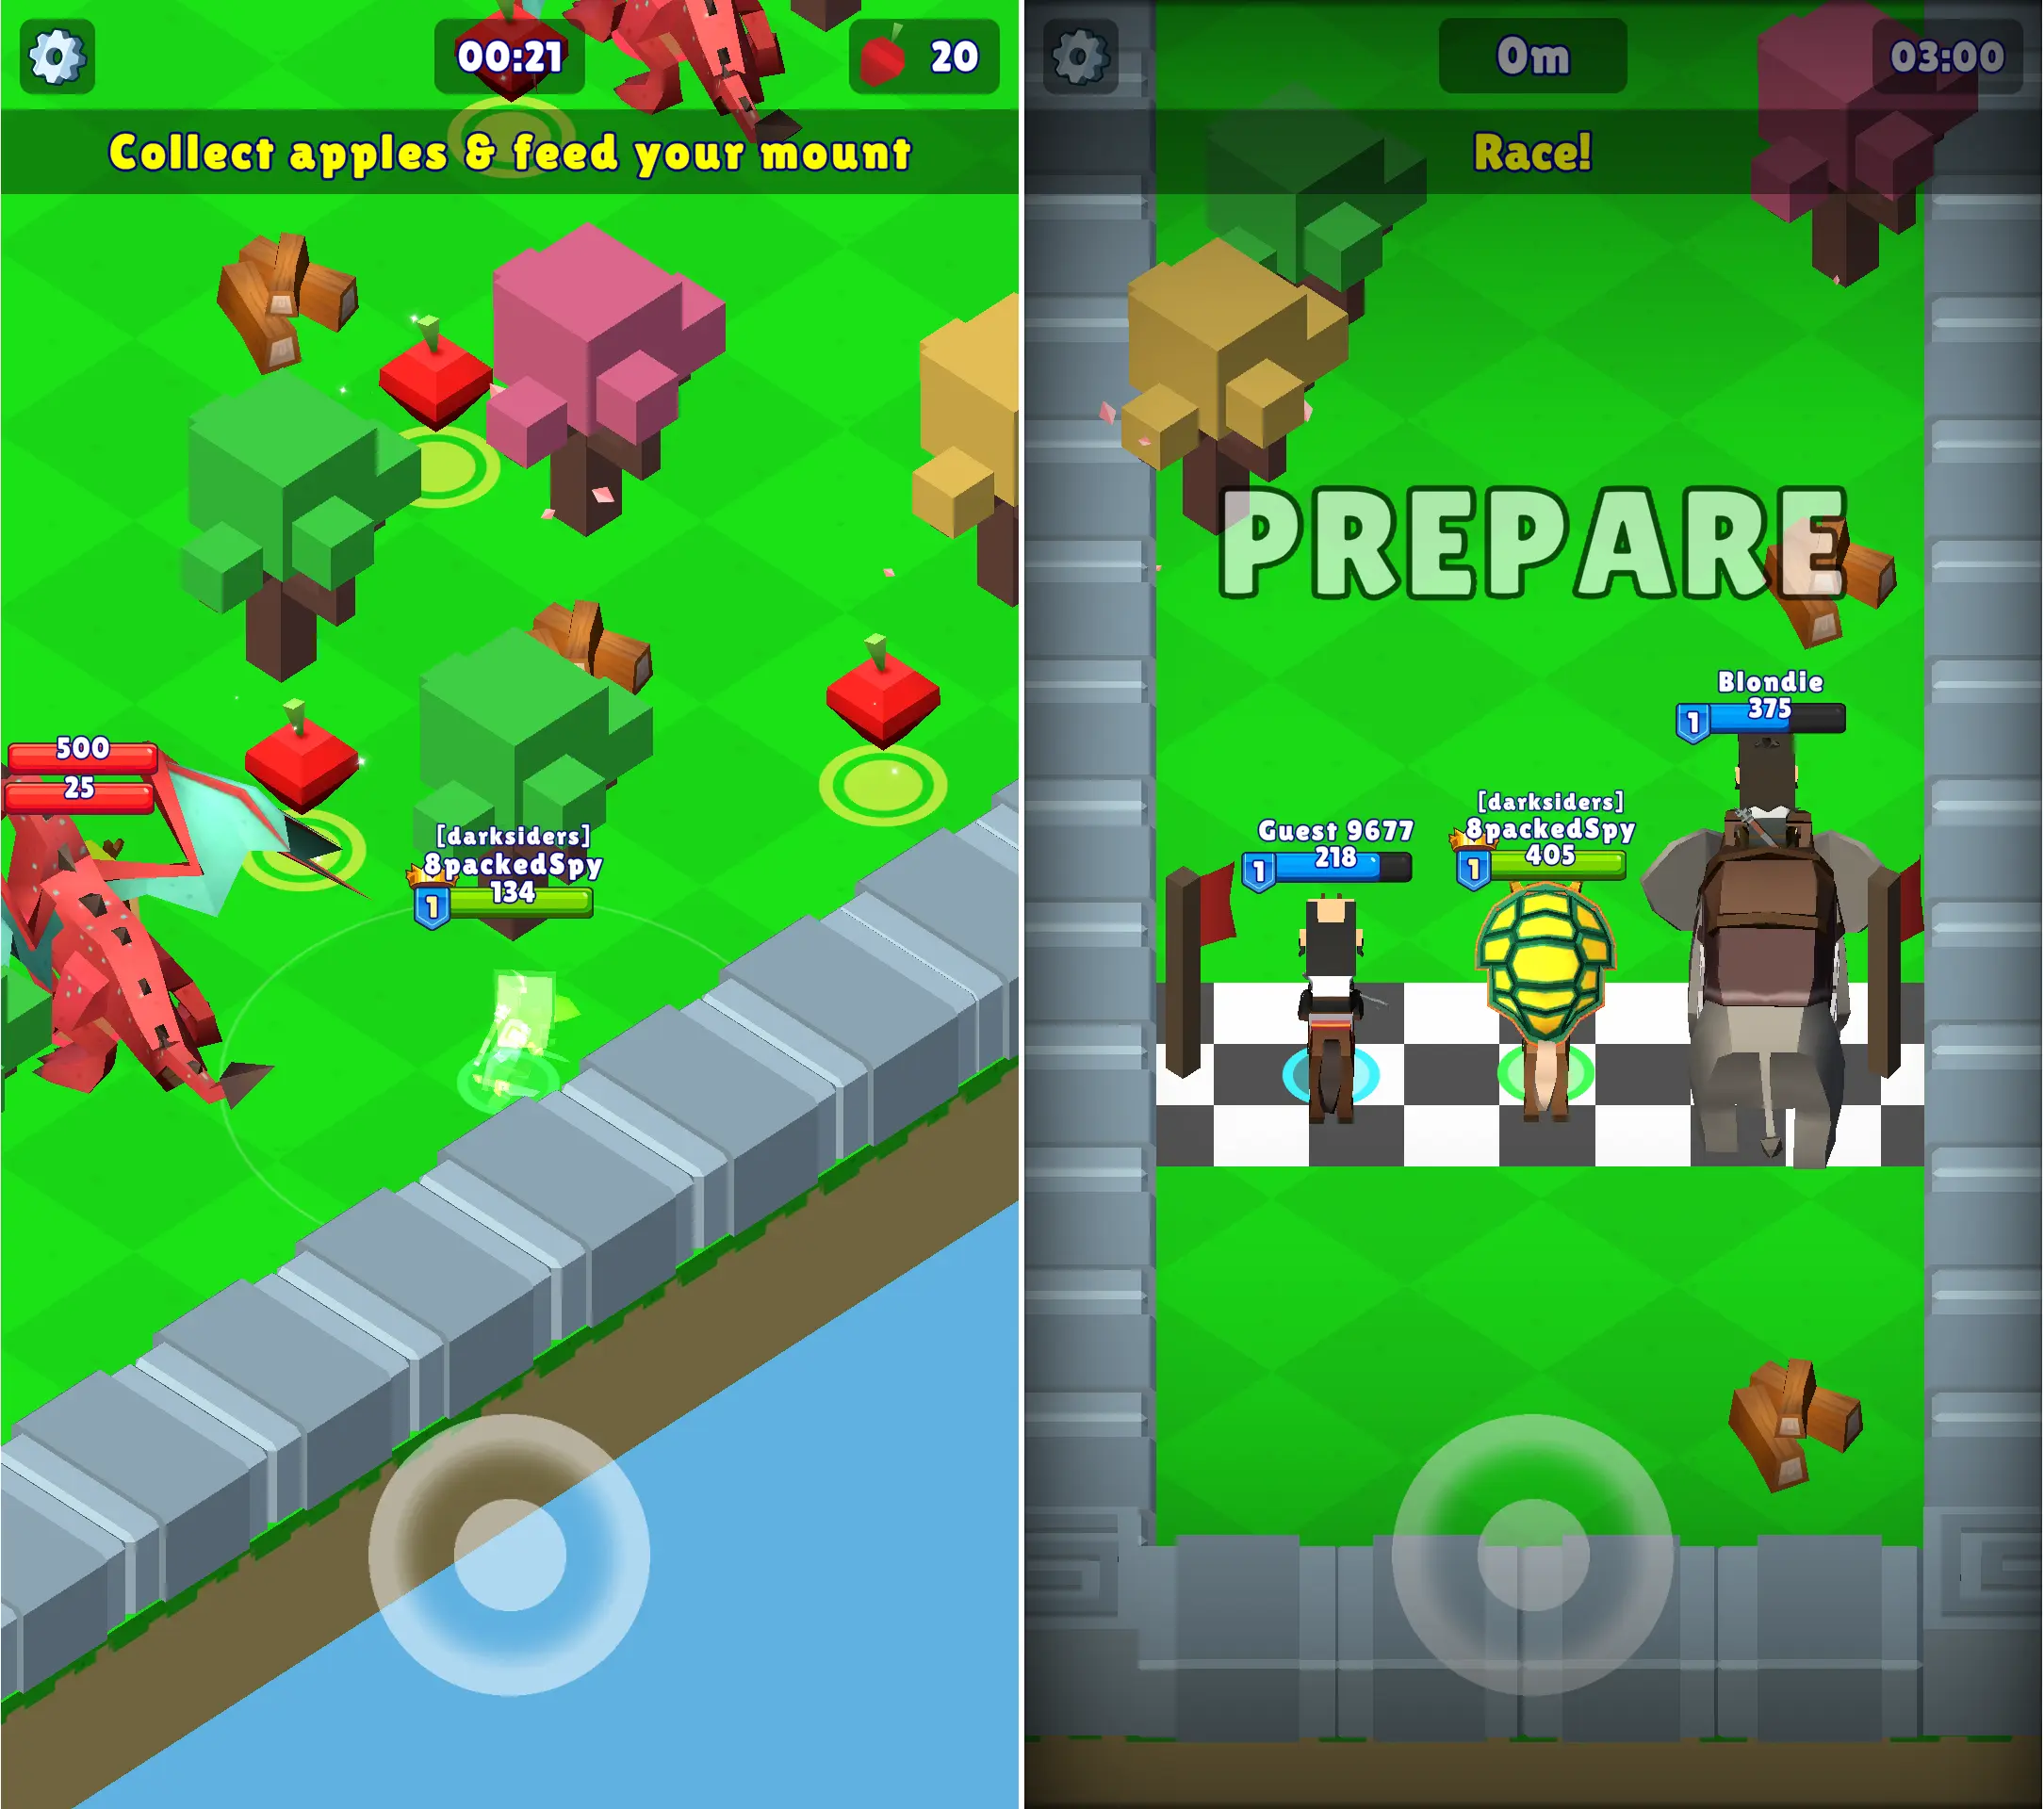
– Pick your best-leveled Hunter, ideally a ranged one so chasing and damaging your target mount will be easier. The top recommendations here would be Abyssorb and Skull Master who can both move and attack at the same time.
– Get a horse for a mount; white horses have the best combination of high health and speed. If you are sending a leveled-up, tanky Hunter, even the brown one would do.
– Send a stealth-capable Hunter to the second mission. This is to ensure that you can collect all the apples you need without needing to tussle against the mobs.
– For the race proper, pick your tankiest hunter, take the shortest, open routes, and try to avoid the melee and projectile attacks of the monsters along the track. The best Hunters for this would be the Barbarian, Mutant Turtle, or Dragon Knight.
SURVIVAL
– Just likehow you would approach Dungeons, carefully plan your Hunter picks, slating the weaker ones in the first stages and then the better ones for later.
– Know that the best picks here are Hunters who can outrange enemies and able to damage multiple targets per attack. Melees can still thrive but only if you have 3 survival perks equipped,
– Never trade shots with a monster. Avoiding hits is more important than landing any because there is no natural means to regenerate health.
– Even if you are using a healing-capable hunter or you have someone with Life Drain or Life Steal, do your best to move around, dealing damage without getting damaged.
– Anticipate the projectiles coming from the ranged, static monsters. You may need to prioritize eliminating 1 to 2 of them so you’ll have a bigger room to herd and cull the moving ones.
DAILY MAZE
– Check who is the preselected Hunter. If it’s someone that you have and you’re quite confident that you can use it well, go to the maximum difficulty you can already access.
– In case the preselected Hunter is new to you, spend a ticket to get acquainted with it. Play on Easy difficulty first to get used to its attack and the timing you need to hit and run. Remember that it is extremely important to land hits without being hit in the Daily Maze.
– Stay patient and deal with enemies just one at a time when possible. You will have to be contented to land just 1-2 hits before repositioning to attack again. Don’t be greedy with attacks even if you have a form of a Life Drain or Life Steal.
– When you level up and you’re presented with two underwhelming perks, tap the gear icon at the upper left corner and hit Save and Leave. You can reenter the maze without spending a ticket and the two perks offered to you will be rerolled. This trick can be repeated infinite times until you get the good perks you desire.
– Always use the barriers, walls, and corners to shield yourself from enemy projectiles and make them funnel to a path that will lead them straight to your line of fire. This is particularly helpful when dealing with the mobs summoned by bosses.
SHRINE DEFENSE
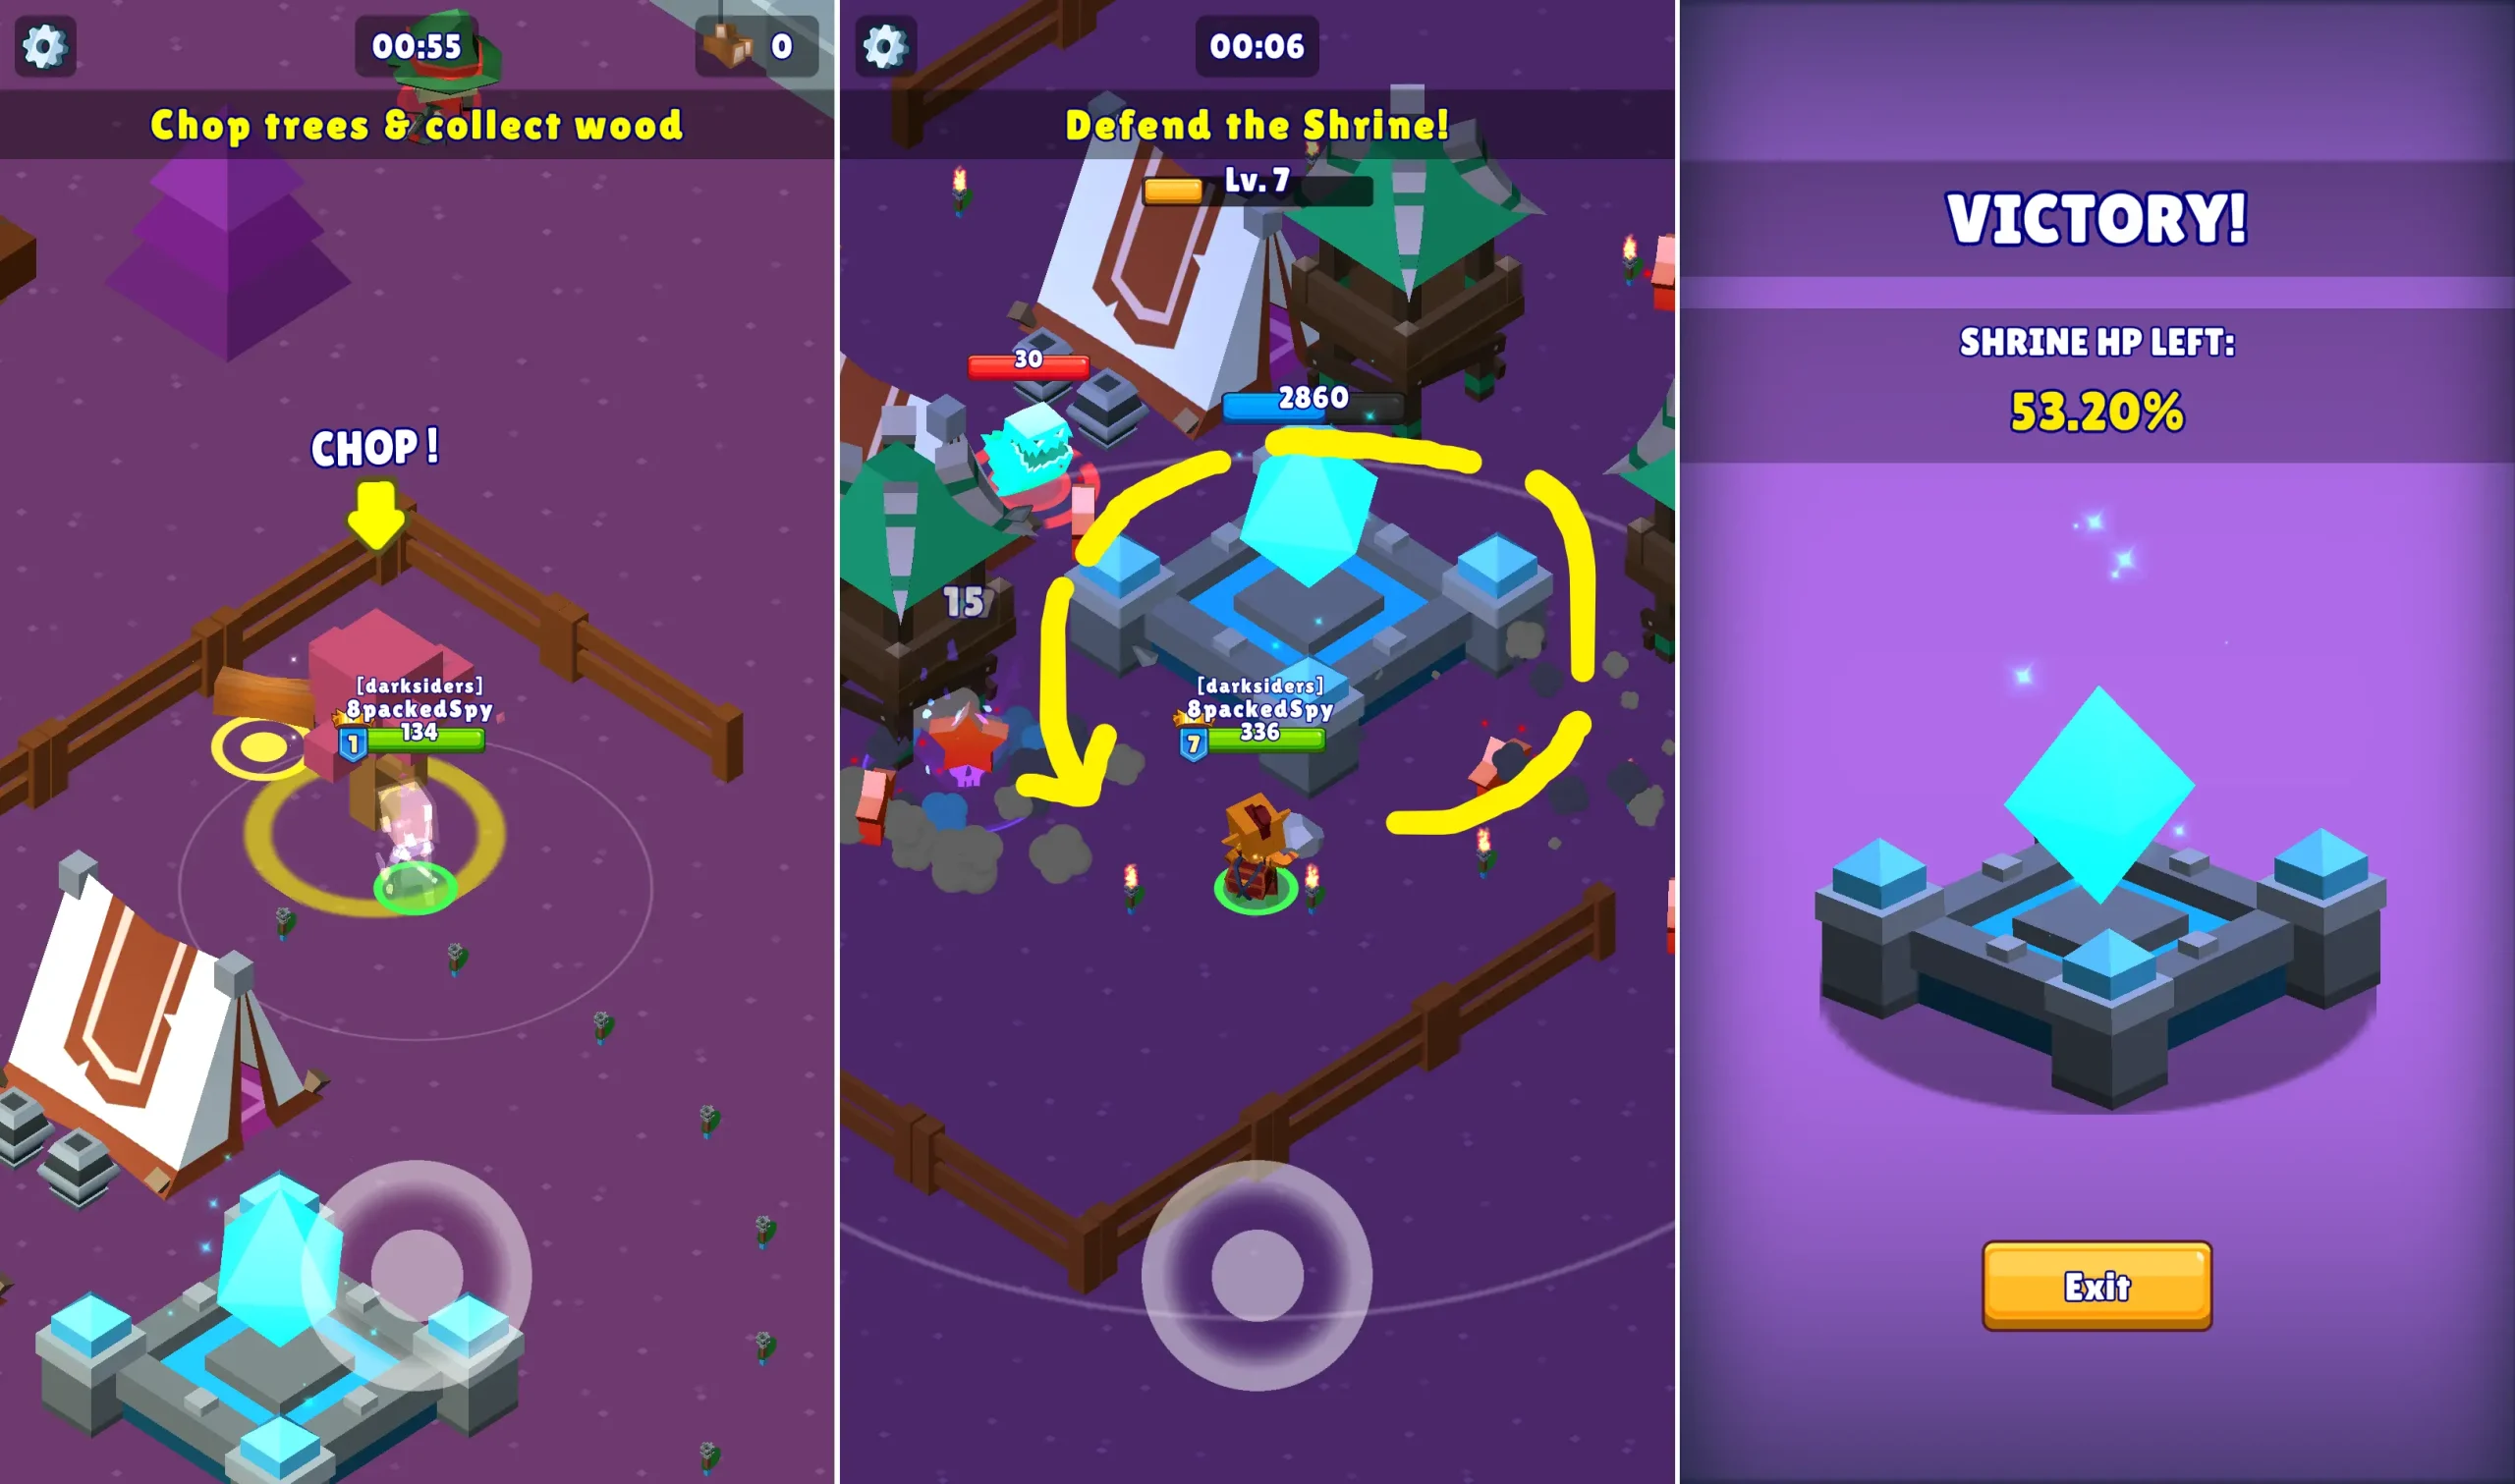
– Hunters with stealth work best during the wood collection phase. Stealth will not be broken when only chopping trees, thus letting you collect wood in peace.
– In case you don’t have a stealthy hunter, try to avoid wasting time having to attack the archers. You need to Focus on chopping trees to collect as much wood as possible.
– When chopping trees, use the natural cooldown in between attacks to collect the wood. Collecting this way will save you precious seconds from still having to pick the scattered wood; you’ll be able to start on the next tree quicker.
– If you’re able to collect 45 wood, build three Arrow Towers. Otherwise, build one Fire Tower and an Arrow Tower.
– Hunter selection is unimportant in phase 2. Just make sure to plant the towers on the corners of the shrine so each can cover two sides.
– For defense, pick ranged Hunters that can attack over obstacles. Rocky is cut perfectly for this chore, you can win with him even if he is yet at a low level and perk-less.
– Focus on eliminating monsters that are close to the shrine; never pre-engage mobs outside of the fence nor waste time picking XP stars that are far away.
8. Gears and Power Stones
The gears that matter in Hunt Royale are the Maze Gears. They’re special because even just the Rare ones have two Power Stones slots already.
Power Stones hold the—well—real power, as they drastically increase the potential of any Hunter. There are already a lot of other online resources about Power Stones so we’re keeping this one focused on their utility and basic know-how.
Where to obtain Power Stones?
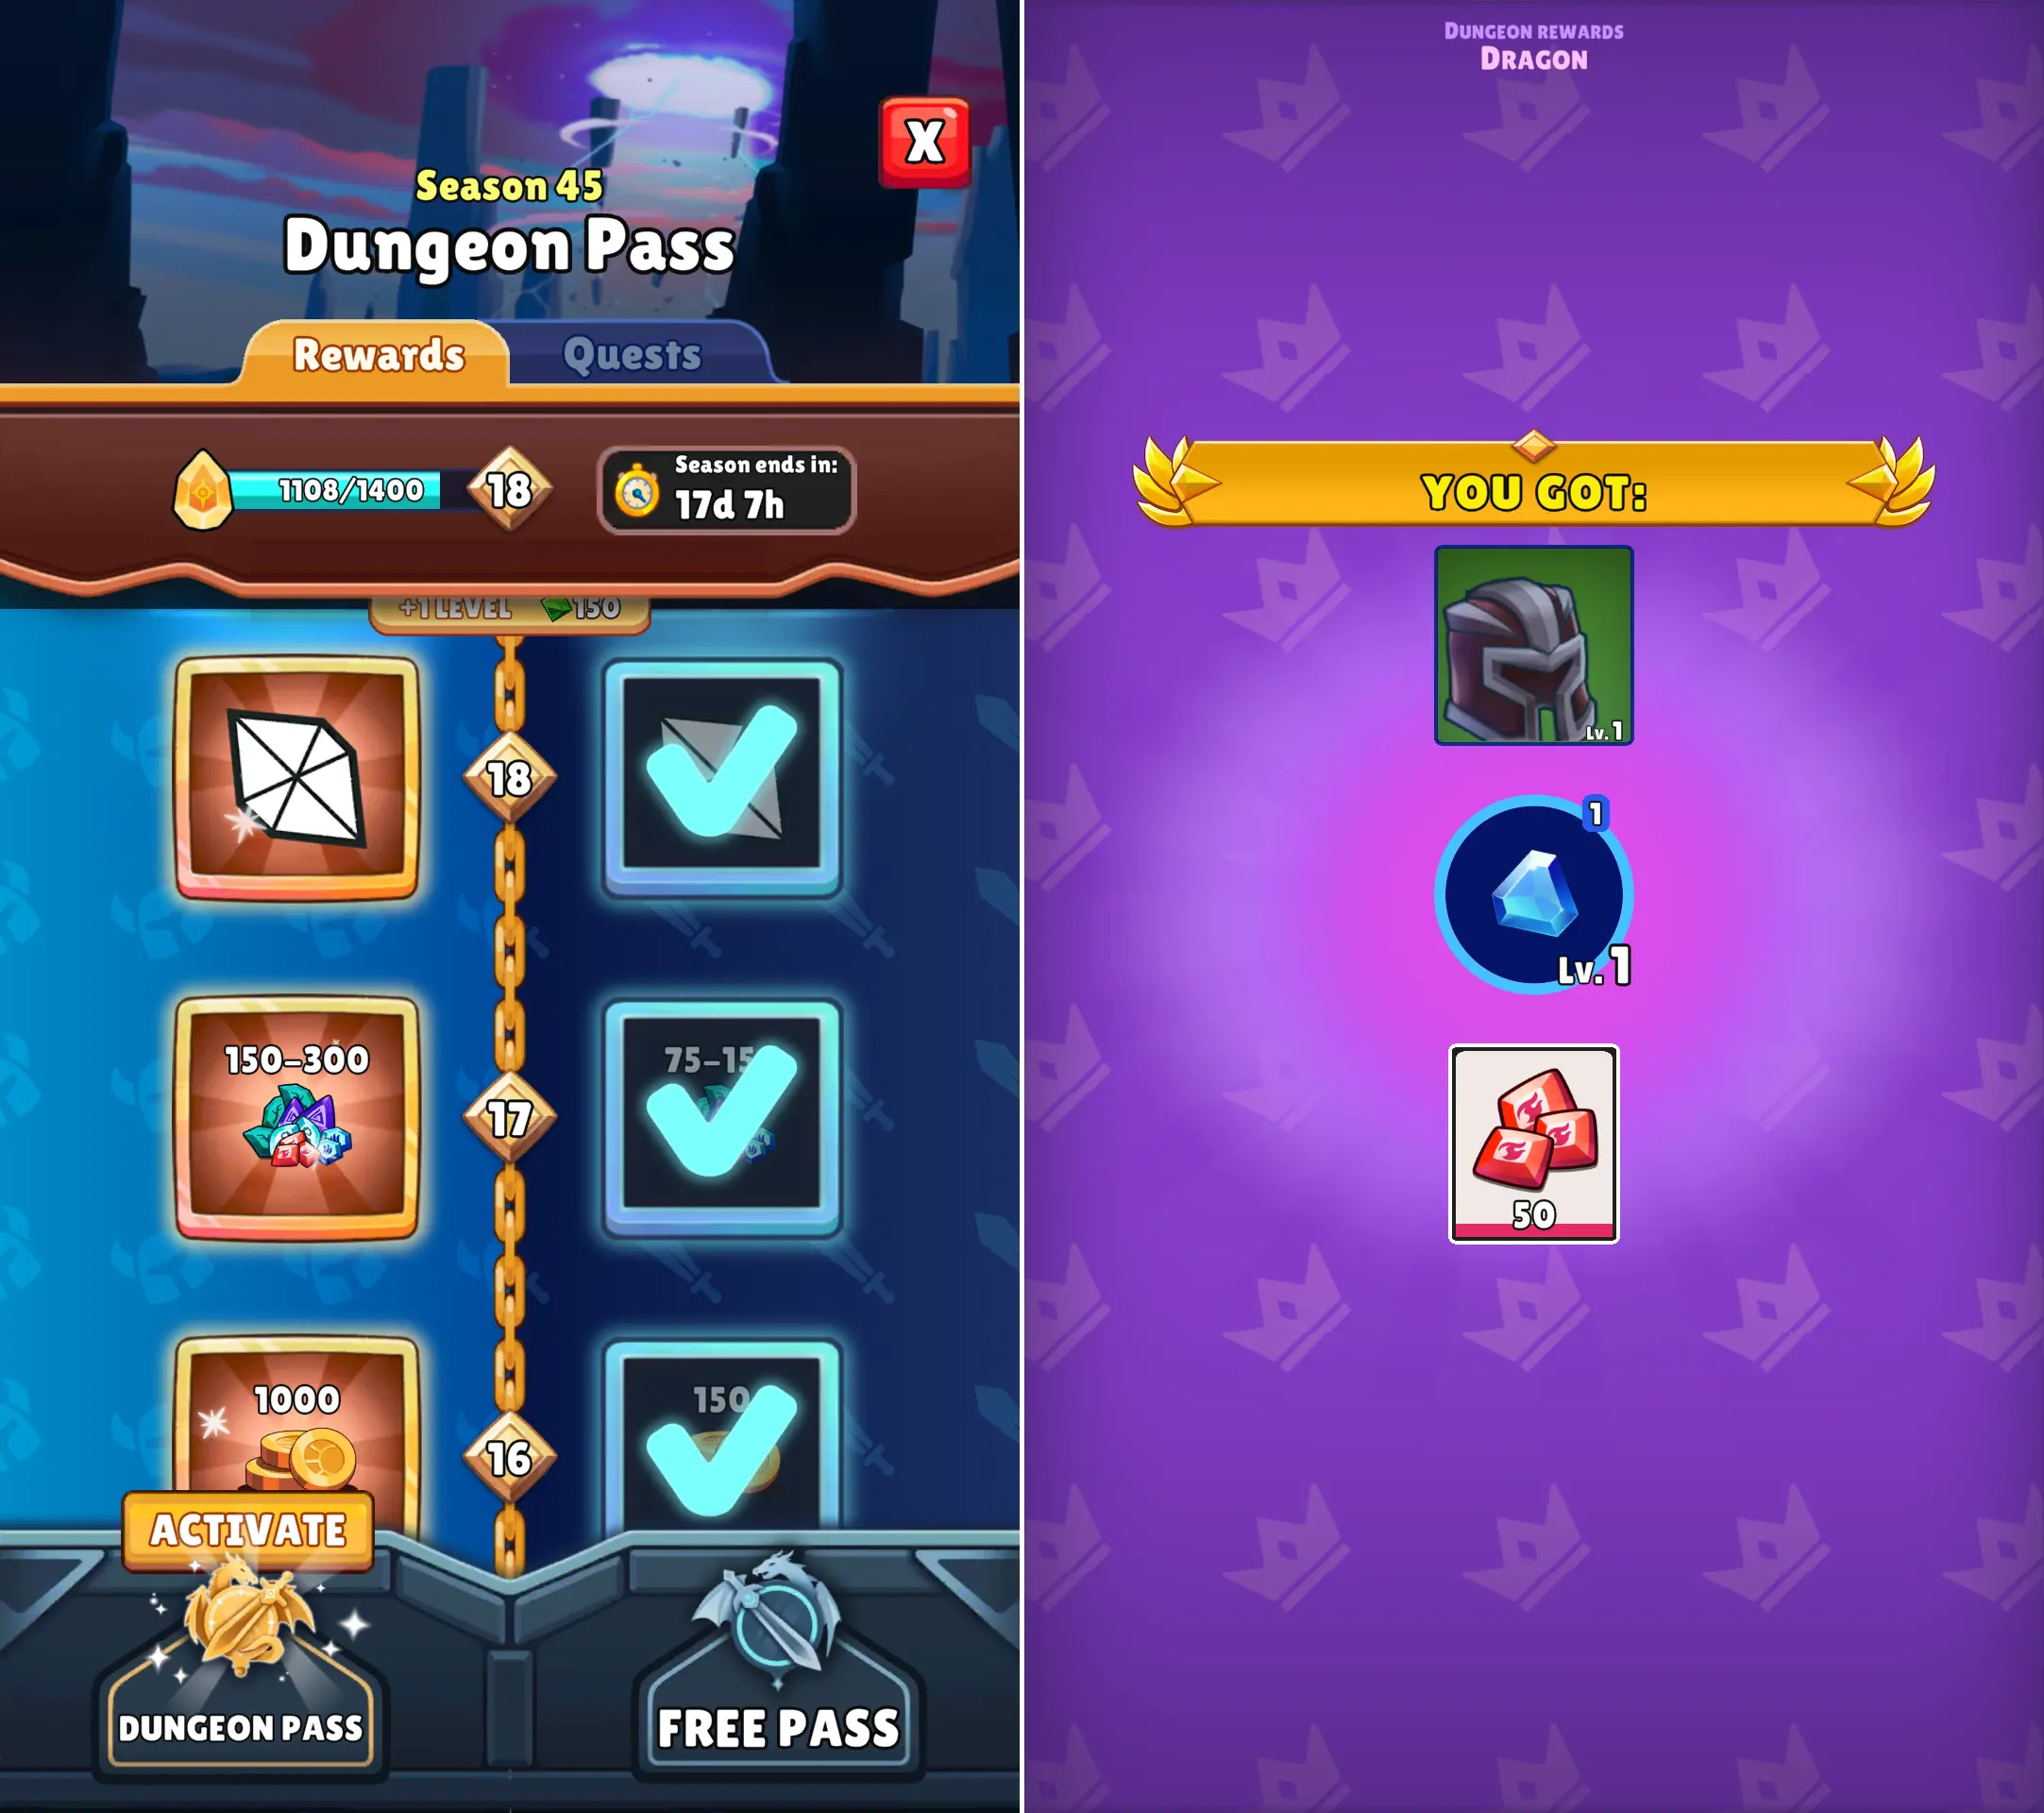
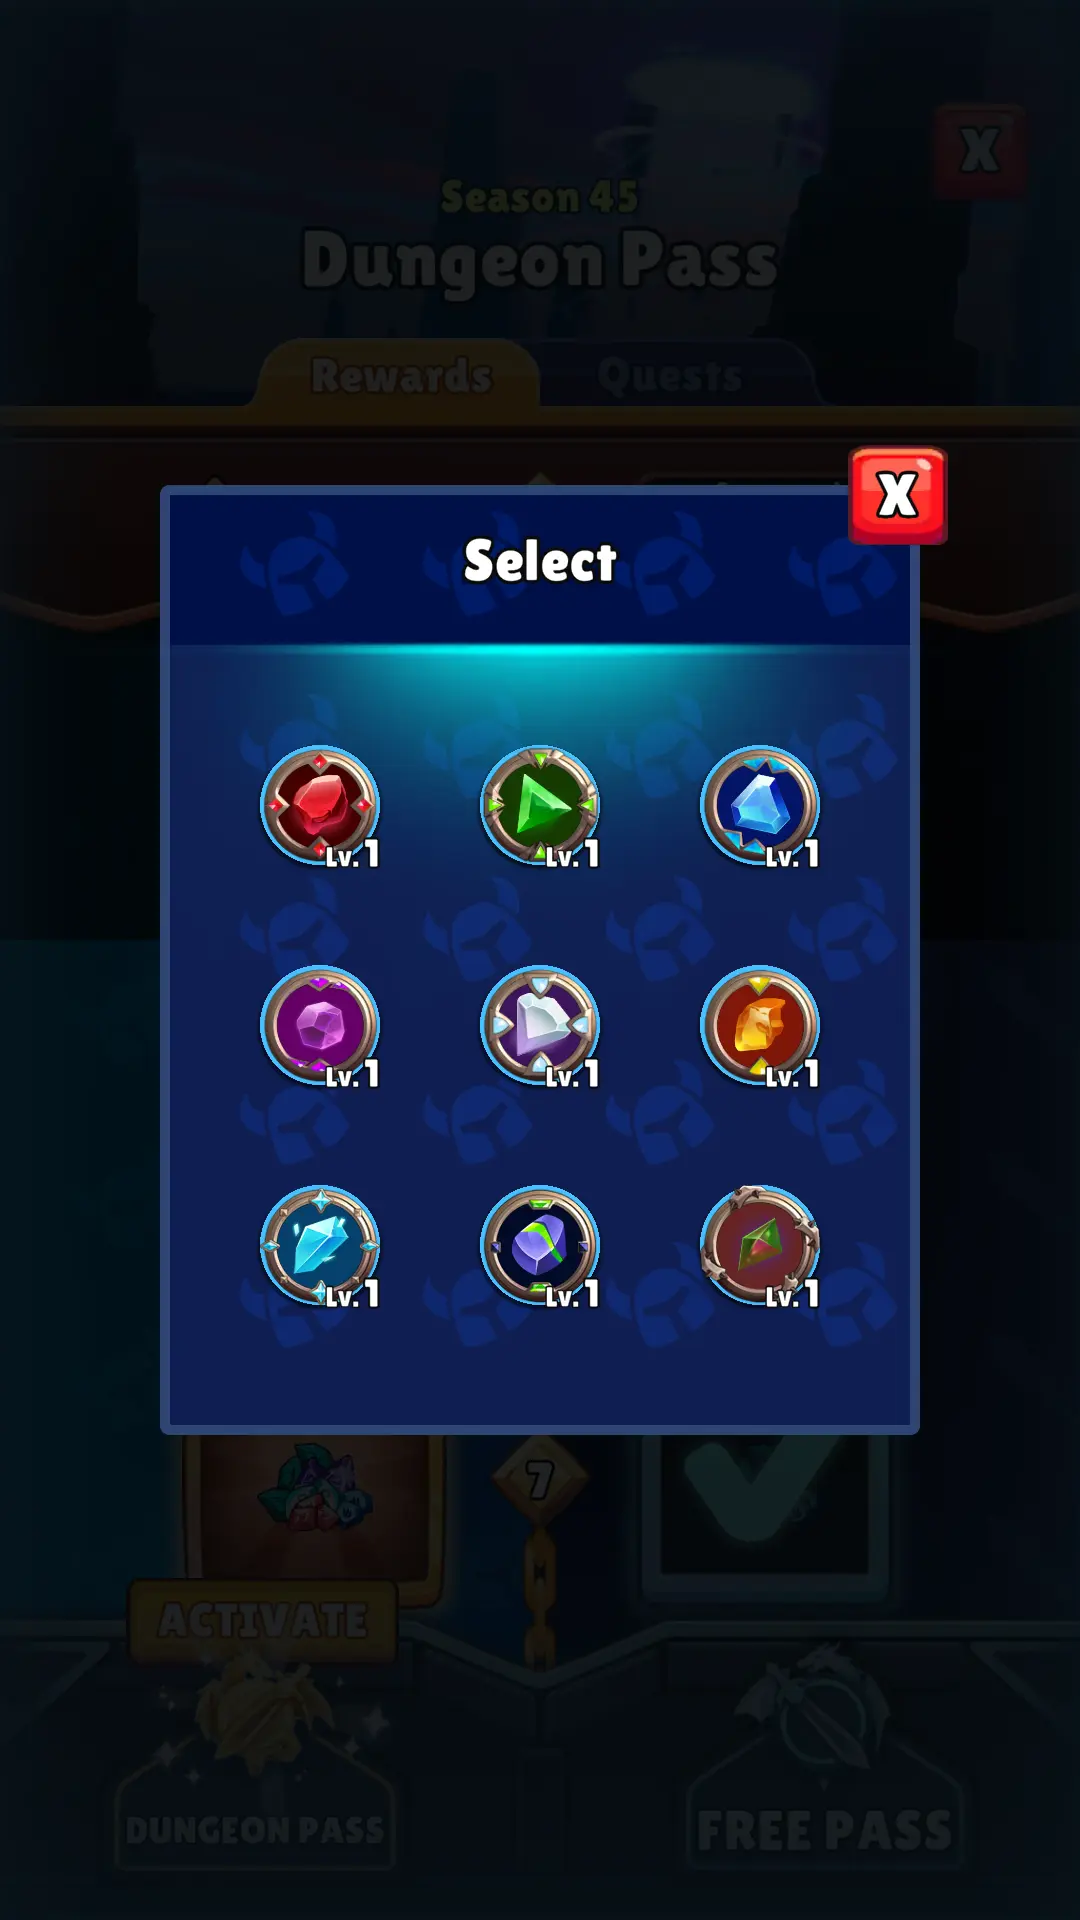
The Dungeon Pass has checkpoints that let you pick a Power Stone of your choice. Although it will take a while and hefty grinding to reach them, those are the only certain means to obtain stones.
There is also a slight chance of receiving a Power Stone when you clear dungeon levels. Just like gear, you don’t have the beat all 10 levels for the chance to drop. But, of course, go for the full finish for more Dungeon Tokens, Trophies, and dungeon-specific Gems.
How to craft Power Stones?
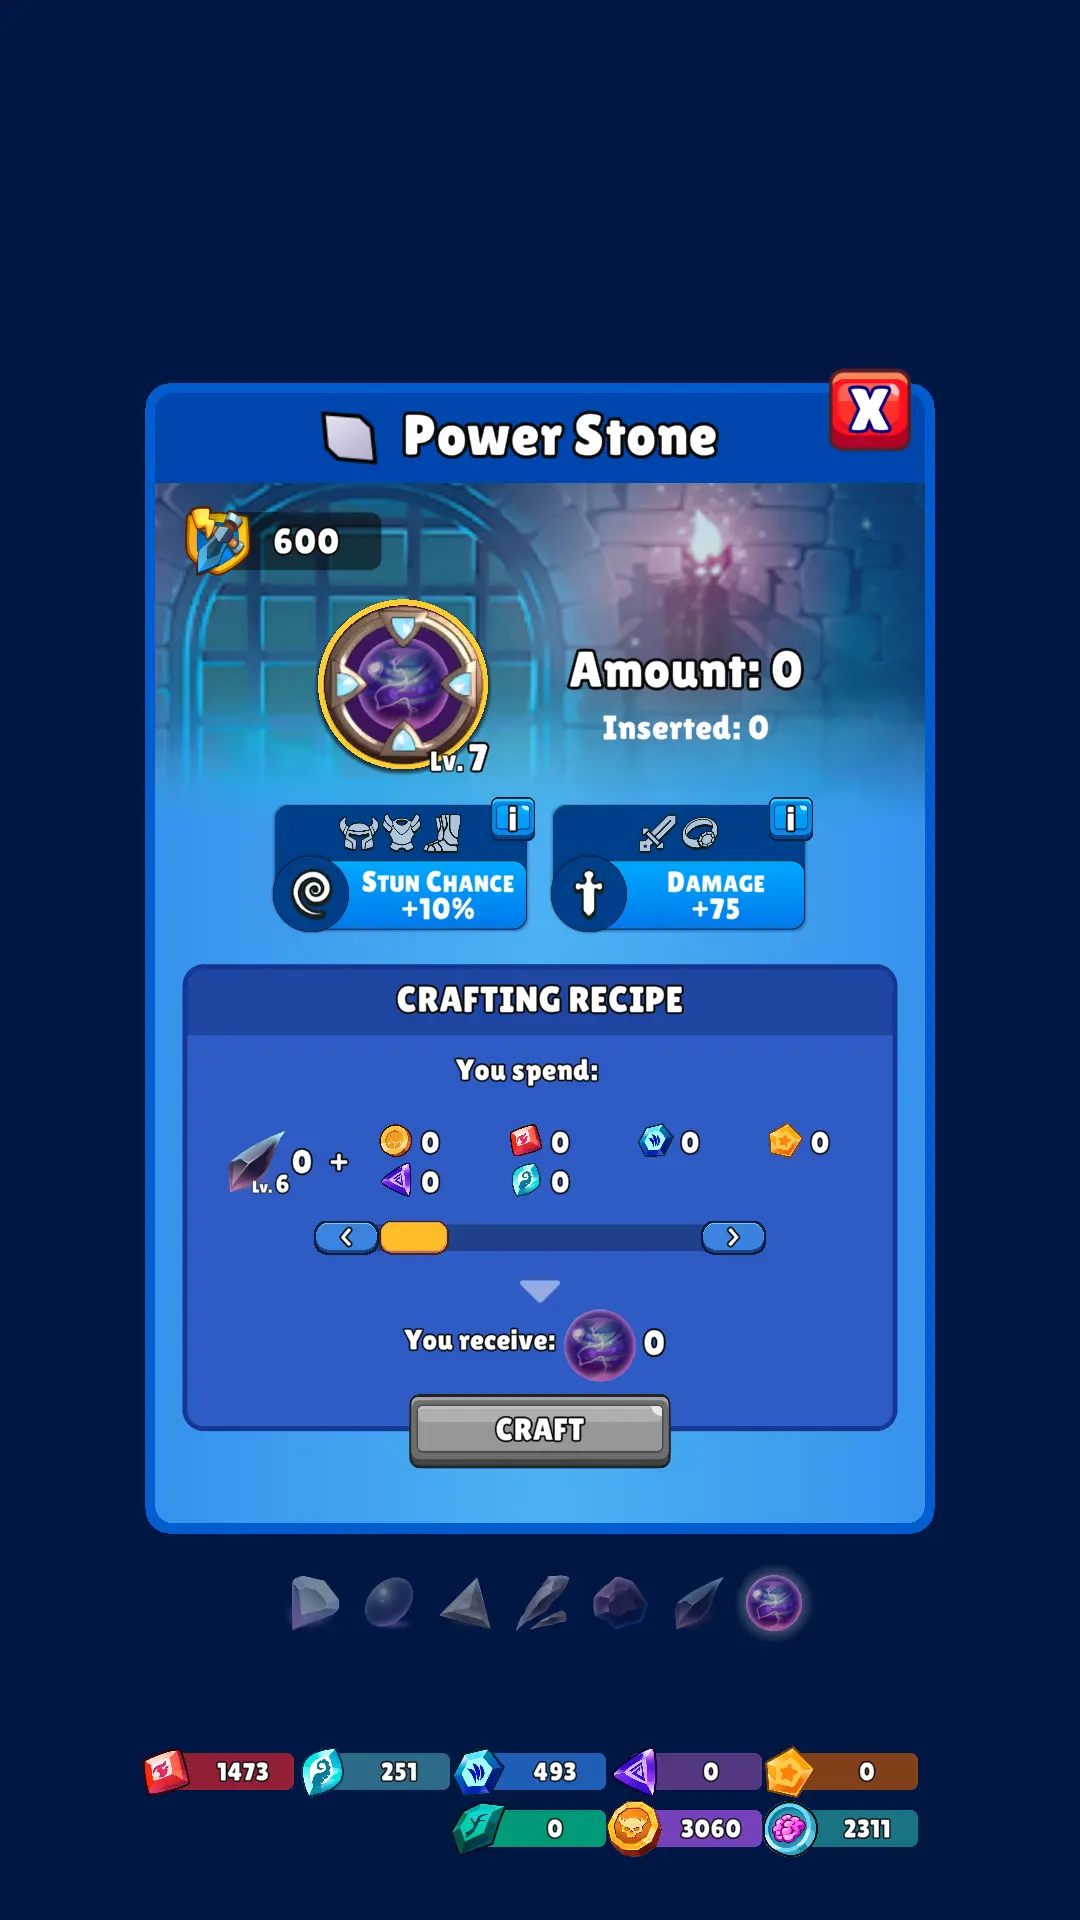
Crafting only applies to Power Stones from levels 2 to 7. To craft a Power Stone, you need 3 pieces of stones that are a level lower than what you’re crafting.
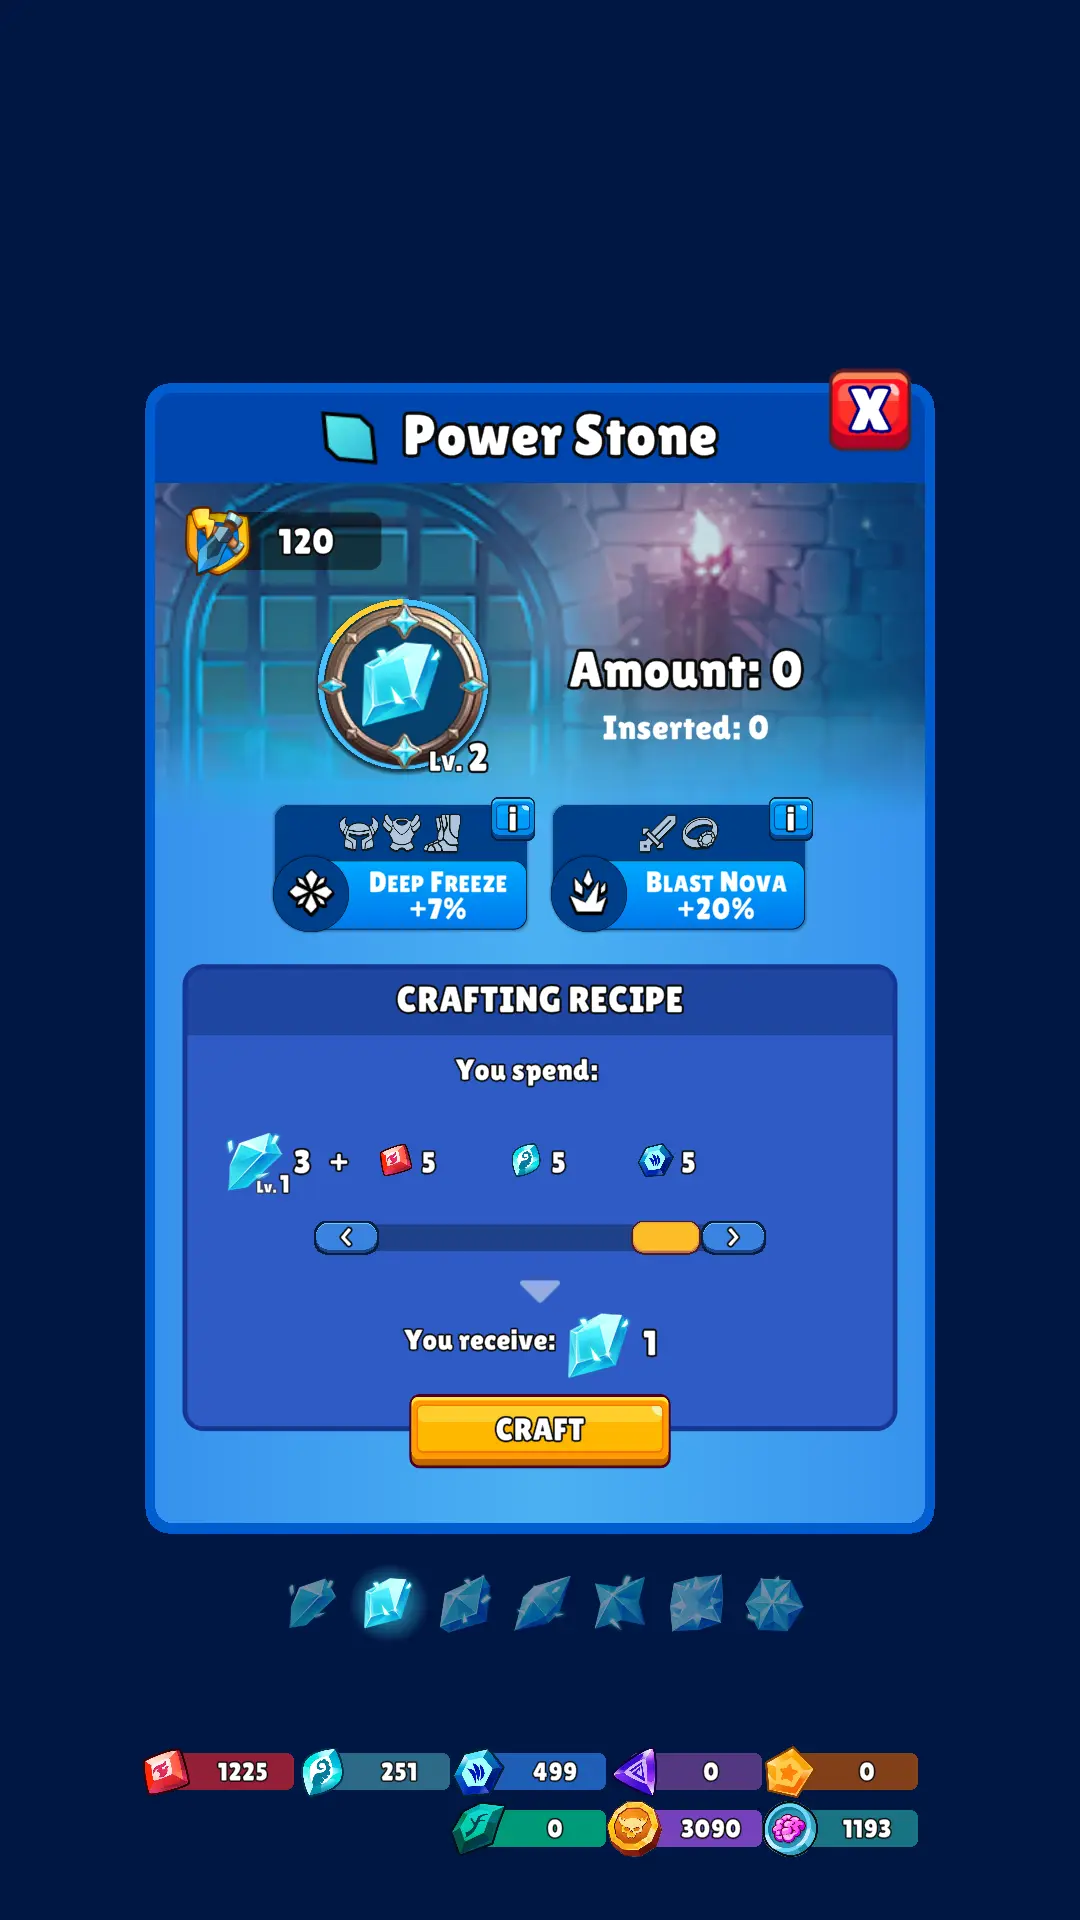
An increasing amount and types of dungeon-specific gems and Champion’s Coins will also be required. Given that you’re giving up 2 stones in the process to gain a stronger one, you should weigh the benefits versus what you will lose, especially if your build requires the same type of Power Stone in different slots.
What are the best uses for each Power Stone type?
The best way to approach this question is to highlight the fact that every stone has an offensive or defensive effect, depending on the slot they will be put in. Seemingly versatile but they’re not; they rather skew toward better, specialized functions,
Some stones are generally better off as attack enhancers and they are the following:
Green (Poison): Your attacks will put a stack of Poison to enemies. The amount of stack-per-hit relies on the percentage of Poison you can inflict in total. For example, if you only have level 1 Green Power Stone equipped, each attack will put a 30% Poison stack. It will take at least 4 attacks from you to put 1 full stack.
Poison inflicts a progressive DoT that intensifies based on the number of stacks and actual attack damage. That means the more stacks you apply and the higher your direct damage is, the more intense each poison tick becomes.

It is incredibly powerful when you have a very high attack speed or if you are using a Hunter that has a lingering attack (e.g., Gray Wolf) or always multi-hits (e.g., Spider Queen, Phantom, etc.). If you mix it up with a tentacle build, each attack from a tentacle will be counted as a +30% stack too.
Red (Burn): Similar to Green except that it inflicts Burn stacks instead. Another difference is that a level 1 stone puts +40% stack instead of just +30%. That means you only need to land 3 attacks to build 1 full stack and in just 5 hits, you will deal 2 full stacks.
Every 10 full stacks of Burn will trigger an explosion, making it a quicker killer than Poison. Burn is basically a combination of DoT and burst damage.
Despite the better damage promise, there is a potential drawback in a Co-op scenario if 2 players both utilize Burn build but are far apart in stacking capacity. The player with lower stacking capacity will end up consuming the stacks and prevent the explosion-per-attack effect that could’ve been possible just with the stronger player hitting the same target.
Blue (Tentacles): Each attack instance has a chance to summon a tentacle upon impact. The chance to spawn depends on how much you have in total; a level 1 Blue Power Stone only holds a 25% chance.
Each tentacle lasts for 3 attacks or persists for 2.5 seconds if the intended target dies upon spawning. Tentacles will deal your attack damage and inflict Burn, Poison, and Disease effects from other Power Stones or natural effects from certain Hunters.
In general, Blue Power Stones are damage helpers and are best used at higher levels, when you have three 3 offense slots to dedicate. At lower levels, if you only have 2 slots yet (ring and weapon), you’ll be better off using a combination of Green or Red for damage or perhaps Purple for sustain.
Some stones give a tactical advantage:
Purple (Life Drain): Heals missing health back for a portion of every damage instance you do. This essentially converts any Hunter into Life Stealer.
Even a level 1 Purple Power Stone can exponentially increase survivability, letting you hold better in Champion’s Quest, Undeadgrounds, and Dungeons. Except, of course, on floors and levels where healing is barred.
When installed on a defense slot, it works like the More XP perk, making it a good crutch for earning levels in Champion’s Quest or if you want to flash-farm XP in Dungeons.
Azure (Ice): On an offense slot, it gives a chance to emit a Blast Nova that deals AoE damage to a wide area around your hunter when attacking. It can also automatically proc defensively when there is an incoming damage instance.

When combined with Life Drain or Life Steal, enemies hit or killed by the Blast Nova will trigger the regeneration effects.
Meanwhile, if slated on a defense slot, Blue Power Stone presents a chance to put attackers in Deep Freeze. This effect essentially makes the Blue Power Stone the only stone that combos with itself on offensive and defensive ends.
Pearl (Stun): On defense slots, brings a chance to stun attackers; on offense, gives raw damage.Pearl Power Stones are mostly useful late-game when you have high-level pieces.
The stun chance can help with survivability in the Abyssal Maze where it can get quite tricky to time evasive maneuvers while dealing with fast-moving monsters.
There are also stones that are niche and situational:
Earth (Bonus damage): Earth Power Stone is positioned defensively for its Poison Resistance properties. However, the right way to deal with poison-based threats is to simply avoid being poisoned.
Most PvE battles that have poison in the equation incorporate a decreased stack threshold for instant death. The per-tick damage of poison itself remains manageable for regeneration-capable builds.

For offense, Earth Power Stones are best used when wearing a complete Champion’s Quest set because they amplify the Earth Damage the set provides when fighting against bosses. In effect, it’s most suitable for slaying its source, Leshy.
Rotten (Anti-zombie): Putting a Rotten Power Stone on defense slots will reduce damage taken from zombies; on offense, a damage amplification + outright damage bonus.
Every dynamic of Rotten Power Stones can only be felt in Undeadgrounds, Extra Mode > Events > Battlegrounds, or whatever future events there may be that will be based on fighting zombies.
Yellow (Speed): Gives an attack speed increase in offense slots and a movement speed boost on defense.
Even at higher levels, the effect they give is simply underwhelming, easily outclassed by a couple of Movement Speed and Attack Speed perk pick-ups. It’s a unanimous perspective that Yellow Power Stones have no place in any build for whatever purpose or hunt.
And that caps our Hunt Royale guide!
We hope you enjoyed reading the tips, tricks, and strategies we have stacked in this article!
Hunt Royale is a game that has evolved a lot through the years. We have played it in early 2021 when it was still just weeks old and we were amazed to see how much it changed.
It was a daunting task to dive back right into it, but in the name of getting our community hunt-ready, you know you can count on us!
With how complex Hunt Royale is now, it’s virtually impossible to capture every major area of the game in just one article. As such, if there’s something that we’ve missed here or if there’s info from one of the sections that you wish a clarification for, you know the drill. Our comments section below awaits!
Thanks for your time checking our Hunt Royale guide! May your hunts always yield loots as awesome as you are!
Axamillion3
Friday 4th of February 2022
Is there a level cap to skills or can you get, lets say, 20 levels in a skill?
For instance: Spider queen has Death Strike. Can I get 20 levels or will it only count the first 5 levels?
Justin McQueen
Monday 9th of August 2021
What is the suggested best thing to spend gems on?
Max Lee
Tuesday 11th of January 2022
@Justin McQueen, 150 gems box
Max
Sunday 11th of July 2021
Amazing guide ! Great jib keep on going 😁😁
Oliver simon
Wednesday 26th of May 2021
i love this game i play it all the time when i can!!!!!!!!!!!!!!