Can you imagine riding a wagon thoroughfare that stretched for about 2,000 miles, hunting and foraging for food on the way, and trying to survive the harsh environment—not to mention avoid getting sick with more than a handful of diseases such as cholera, dysentery, and smallpox? That’s how the 19th-century pioneers journeyed west through the Oregon Trail with nothing but the smell of adventure and fortune on their heels.
Well, okay, they brought along provisions, too. But it was the thought of adventure and fortune that drove the pioneers to travel from Independence, Missouri to Oregon’s Willamette Valley, cementing in history what would be famously known as the Oregon Trail.
Between 1840 and 1870, the formal Oregon Trail was used to primarily trade fur and, during the California Gold Rush, many of the settlers continued south of the trail to seek gold in the mines of California after the discovery of gold nuggets in Sacramento Valley.
However, when the first Transcontinental Railroad was completed in 1869, the trail was no longer used as frequently and soon after became obsolete since riding a train significantly reduced the travel time from several months to just about a week.
Regardless, the journey of the early settlers continues to be considered an important part of American history that embodied the spirit of grit and determination. And while you won’t exactly be experiencing the journey itself, The Oregon Trail: Boom Town is a fun town-building game based on the story of the Oregon Trail.
As a reimagining of the classic educational games from The Oregon Trail series, which intended to teach schoolchildren about what it’s like to live like a 19th-century pioneer, The Oregon Trail: Boom Town plays more like a combination of base building, farming, and crafting. The game takes place in the town of Independence where your main objective is to supply and send out wagons along the Oregon Trail.
You can get the wagons to move from point to point upon giving them the necessary provisions that will allow the pioneers to continue their journey. Supplies like corn, wheat, eggs, dairy, and many others are produced in the fields and different buildings in town. Each time a wagon moves from one point to the next, you get rewards in the form of gold, cash, experience points, and others.
The primary method of acquiring raw materials for items is by farming them. This can be done in the fields for wheat, corn, cotton, beans, herbs, berries, etc. More materials will gradually become accessible to you as you level up.
Animals can also produce other materials when you begin to build farms such as cow farms, chicken farms, sheep farms, beaver farms, and others. Like other raw materials, farms will become accessible as you continuously level up.
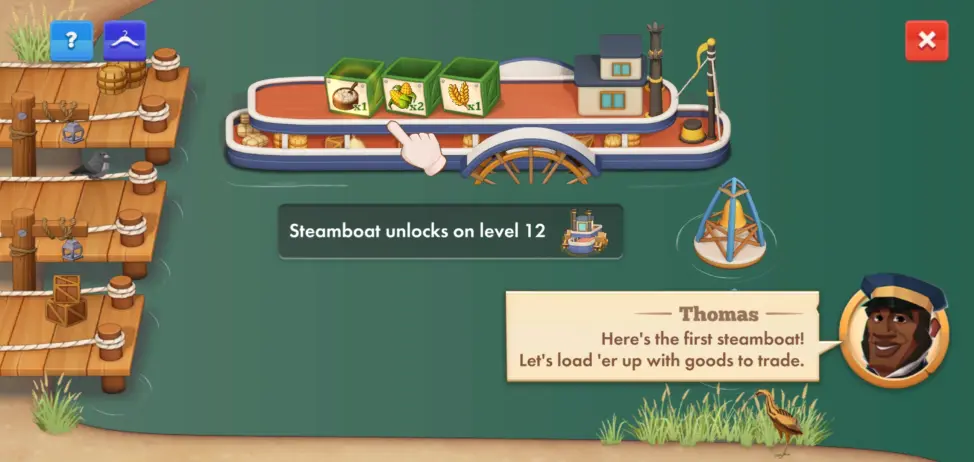
You also get to load supplies on steamboats and send them down the river in exchange for construction materials that will help complete buildings as you expand your town.
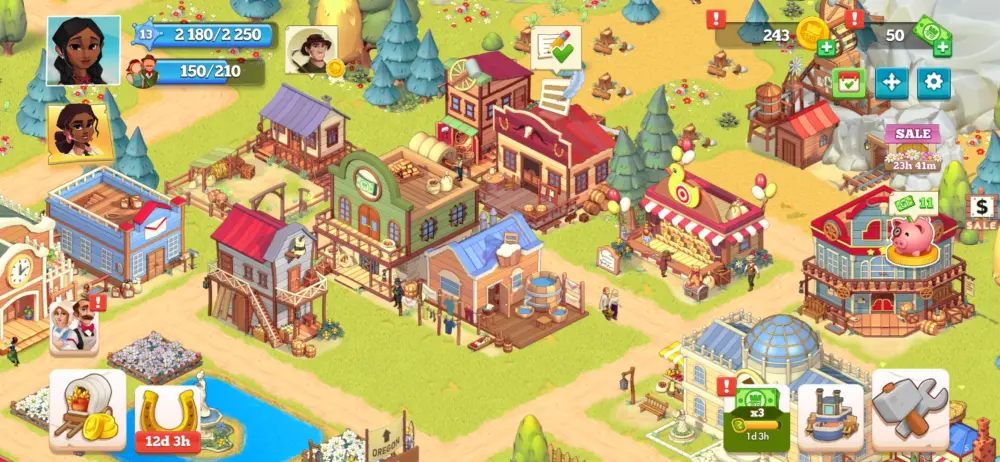
You aren’t exactly referred to as the mayor, but you will inevitably take on the role as it’s also your job to oversee the town’s expansion, which includes constructing buildings, overseeing the population, beautifying the area, and purchasing more tracts of land to increase your territory.
From time to time, you’ll also encounter areas within the vicinity where people need help, and you can only offer your aid once that zone has been cleared.
Building a thriving town and supplying provisions to the pioneers takes a lot of hard work, so we’re here to help you out! Our beginner’s guide for The Oregon Trail: Boom Town includes tips and tricks about how you can properly manage your buildings, farm and craft more supplies, get as many rewards as you can, and contribute to sending out as many pioneers down the Oregon Trail!
Understanding Buildings
Before anything else, it’s important to know what the different buildings in town do exactly. Buildings are classified into 7 types, with each one having a specific purpose. Generally, the game will tell you which buildings you can make depending on your level or how much resources you have. Some buildings are “passive” in the sense that you don’t have to interact with them further once they’ve been constructed.
On the other hand, some buildings are “active,” meaning you will continuously have to use them to make items or interact with them for extra rewards. Thus, we’ve divided this section into active buildings and passive buildings, which ones are under these categories, and what they do.
Active Buildings
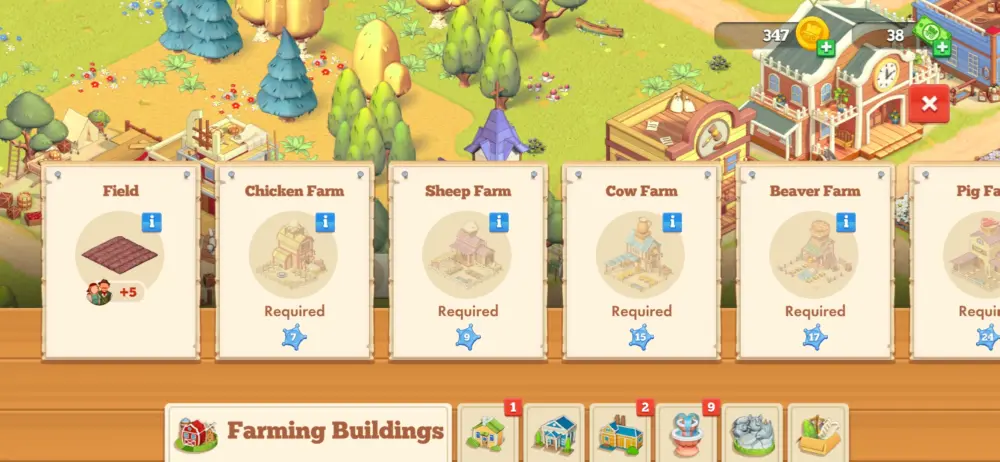
Farming Buildings
As its name suggests, these are buildings where you can farm items that can be used to craft more complicated materials and supplies. Basically, this is where you primarily get raw materials like crops and items produced by animals. Farm Buildings include the following:
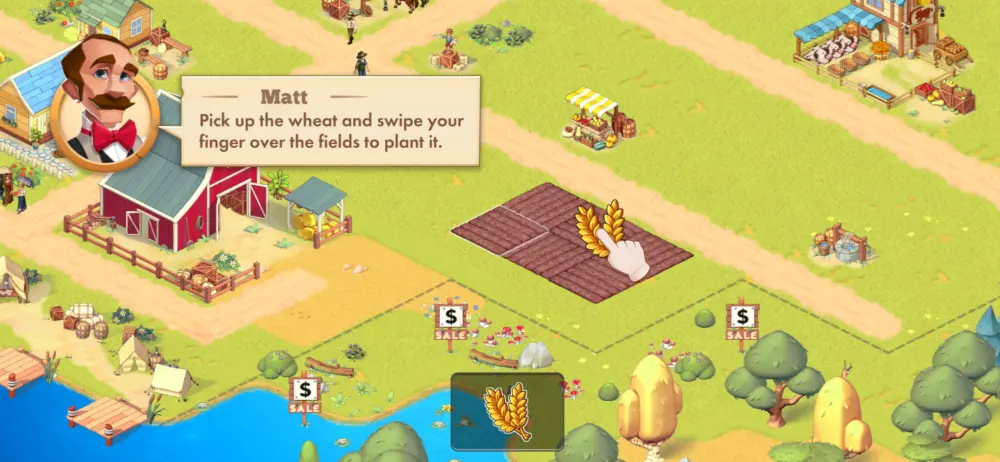
- Fields: Where you plant crops. As mentioned, with the exception of wheat, all crops require gold to be planted. Crops have varying waiting times before they can be harvested.
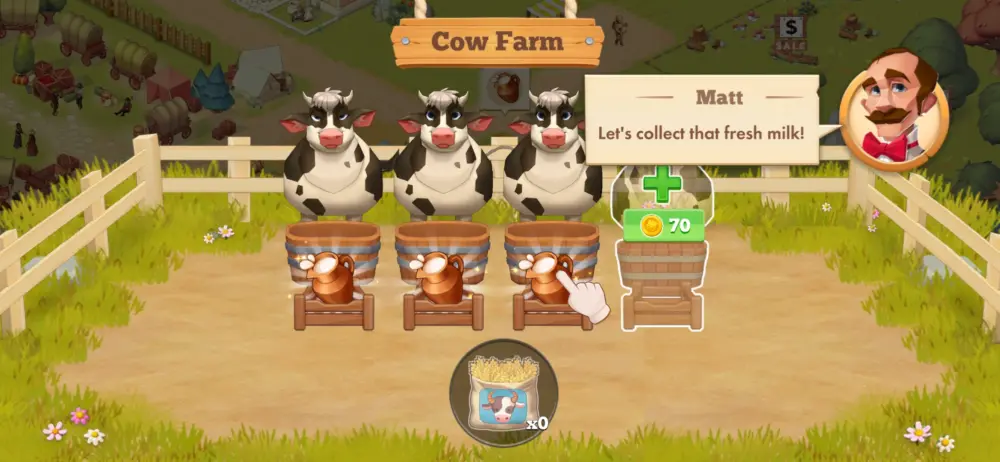
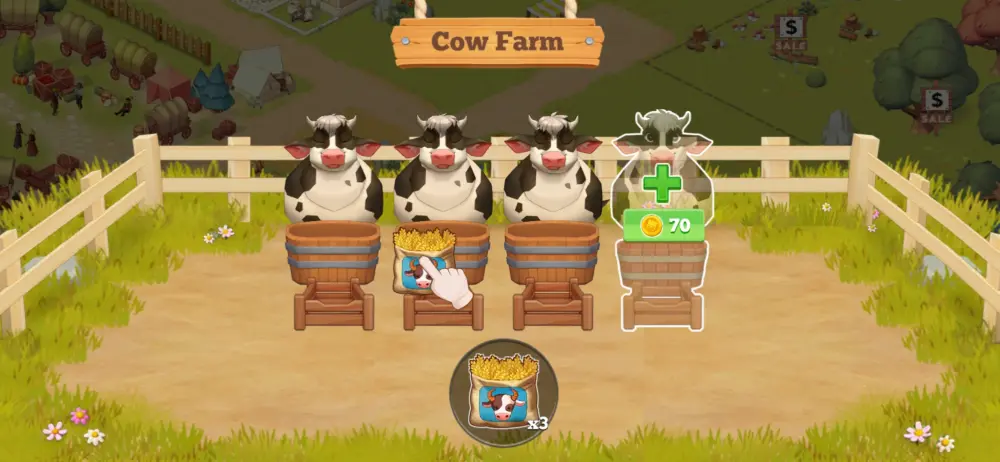
- Cow Farm: Where milk is produced by cows.
- Chicken Farm: Where you can get eggs from chickens.
- Sheep Farm: Where you can get wool from sheep.
- Beaver Farm: Where you can get fur from beavers.
- Pig Farm: Where you can get meat from pigs.
- Bee Farm: Where honey is produced by bees.
The items produced in both the fields and the various farms are used in the Production Buildings, which we’ll touch upon in the next subsection. Similar to the fields, animals in the farms also have varying waiting times before they can complete the production of items.
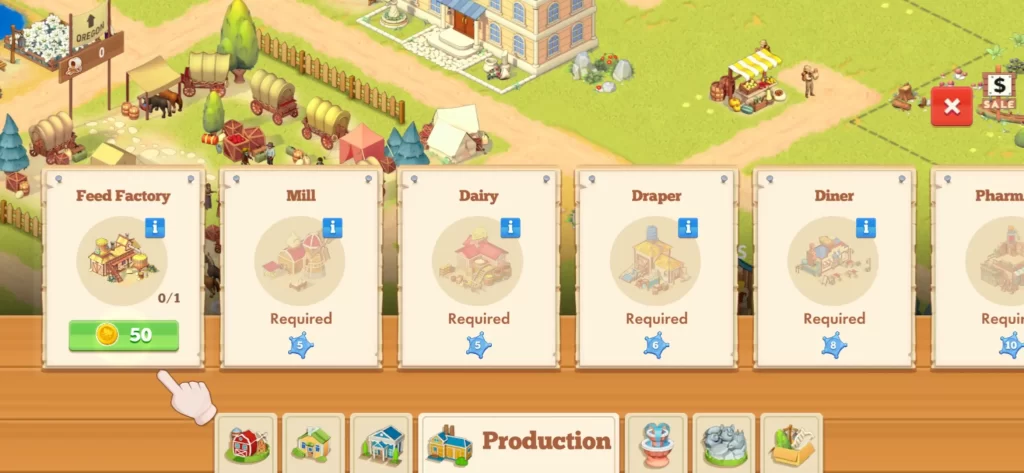
Some animals, like cows, sheep, and chickens, for example, need to be fed for them to produce milk, wool, or eggs. You can make animal feed in the Feed Factory, which is classified as a Production Building. Different animals require different feeds, and different feeds require different items to be made, primarily crops that have been harvested.
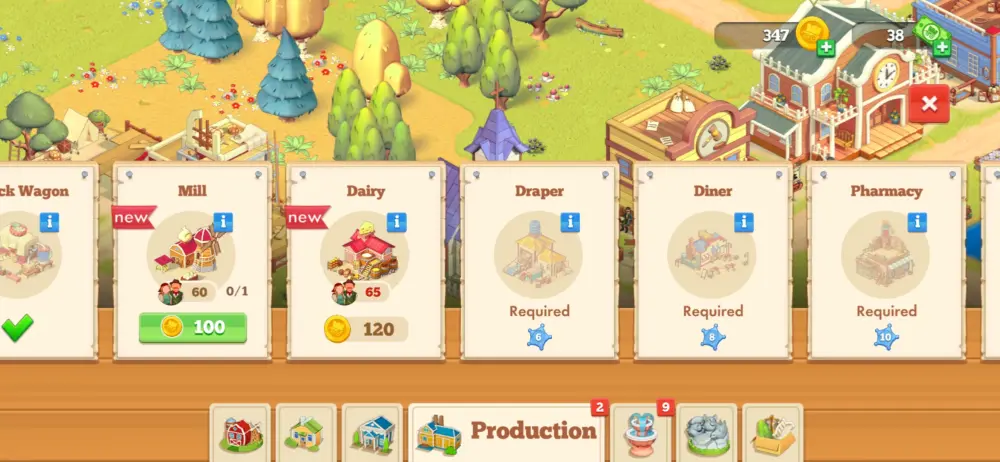
Production Buildings
Production Buildings are where you can basically craft a myriad of items and make all sorts of different food. Simply put, this is where the raw materials from the fields and farms are processed and brought together to create a whole gamut of supplies that can be sent out to the wagons and steamboats, or sold to the townsfolk or in the Barn.
As your level increases, some items will have to be processed in more than one production building to be completed. Like the farms and fields, processing items have varying waiting times depending on what you’re making.
Here’s a quick list of the many Production Buildings that you will encounter in town:
- Feed Factory: Where you can produce feed for farm animals.
- Chuck Wagon: Makes tasty bowls of porridge.
- Dairy: Where milk is processed into cheese, butter, ice cream, etc.
- Draper: Where wool is processed into yarn.
- Diner: Makes comfort food, mostly breakfast items.
- Pharmacy: Produces medicines and supplies.
- Bakery: Where bread and other pastries are made.
- Tailor: Creates stylish clothes.
- Foundry: Where metal ores are melted.
- Smithy: Where metal is forged into durable items.
- Wood Shop: Where carpentry is accomplished.
- Tannery: Where leather products are made.
- Mill: Where crops are milled.
- Confectionary: Where cakes are baked.
- Candy Workshop: Where sweet treats are made from sugar and chocolate.
- Jewelry Shop: Where accessories and trinkets are made.
- Chophouse: Where meat is made into hearty meals.
- Fish Shop: Where seafood lovers can get their fill.
- Music Store: Where musical instruments are produced.
- Pottery: Where dishes, cups, and other utensils are made.
- Flower Shop: Where you can get an assortment of flowers.
- Chinese Restaurant: Where townsfolk can try out Chinese cuisine.
- Perfumery: Where perfume is made.
- Paper Goods: Where paper supplies are made.
- Jam Factory: Where jars of fruity jam are produced.
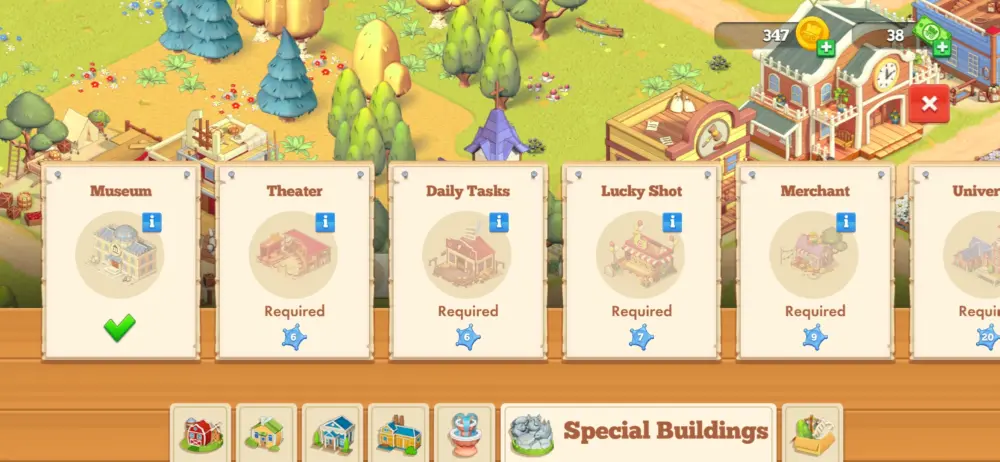
Special Buildings
Special Buildings don’t produce anything, but you can still access and interact with them. Each of these buildings has their own purpose, which we’ve listed below:
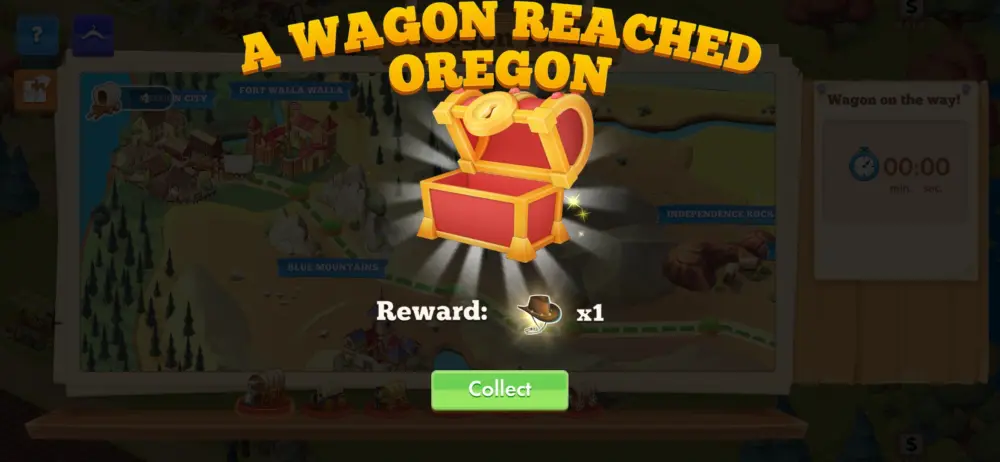
- Museum: This building is where you can keep special or rare items that are classified into a collection. These rare items can be obtained whenever wagons reach Oregon. Some examples of these rare finds are the Cowboy’s Hat, Miner’s Scale, Spurs, and many others. If you acquire all the items of a certain collection, you get rewards in the form of cash.
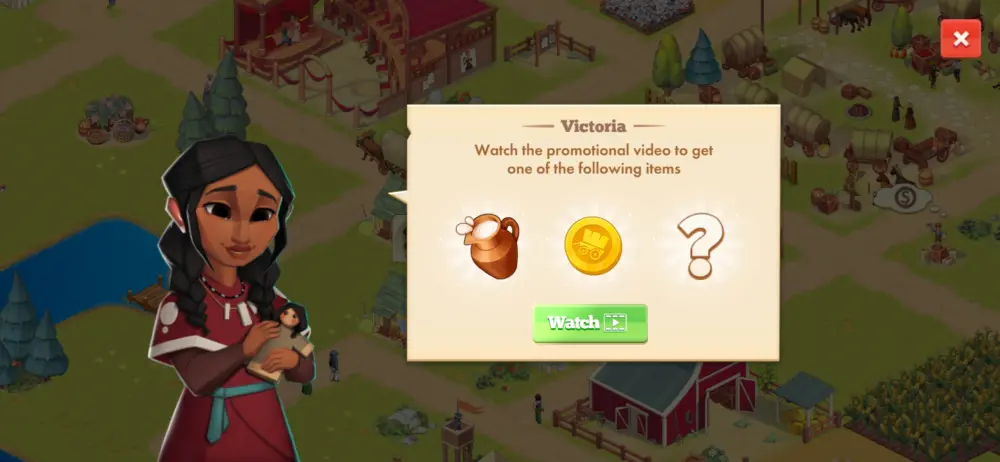
- Theater: This is where you can watch shows, which is basically the in-game term for ads. The rewards pool (which consists of 5 different items such as gold, cash, Lucky Coins, supplies, etc.) is refreshed after an hour. After watching an ad, you can get any one of the 5 items from the rewards pool, but you can’t choose which one. You can watch another ad after a few minutes.
- Daily Tasks: This is where you can see the Daily and Weekly Tasks you can accomplish to gain rewards. There are 4 Daily Tasks and 7 Weekly Tasks. By completing a set of Daily Tasks, you complete 1 Weekly Task. Tasks that have been completed will gain different rewards, primarily in the form of cash or gold. Daily Tasks reset every 24 hours so you have ample time to complete them.
- Lucky Shot: In exchange for 5 Lucky Coins, you can play a game where you get to “shoot” (click) ducks that have a corresponding reward. Rewards are at random and you won’t know what kind of reward is behind every duck. To get more Lucky Coins, you need to help out friends or participate in events.
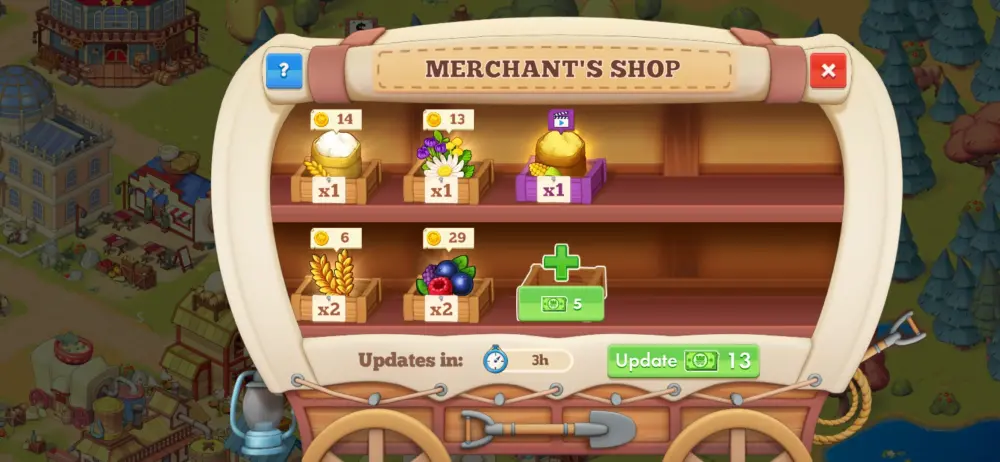
- Merchant’s Shop: If you find yourself lacking materials or don’t have enough slots to produce them, you can visit the Merchant’s Shop to see if any of these items are offered. Materials and items can be bought using gold. You can increase the item selection pool by purchasing more slots with cash. You may also manually update the item pool in exchange for cash or wait until the shop updates its wares after a few hours.
- University: This is where you can learn how to make more complex items by upgrading your technological know-how.
Storage
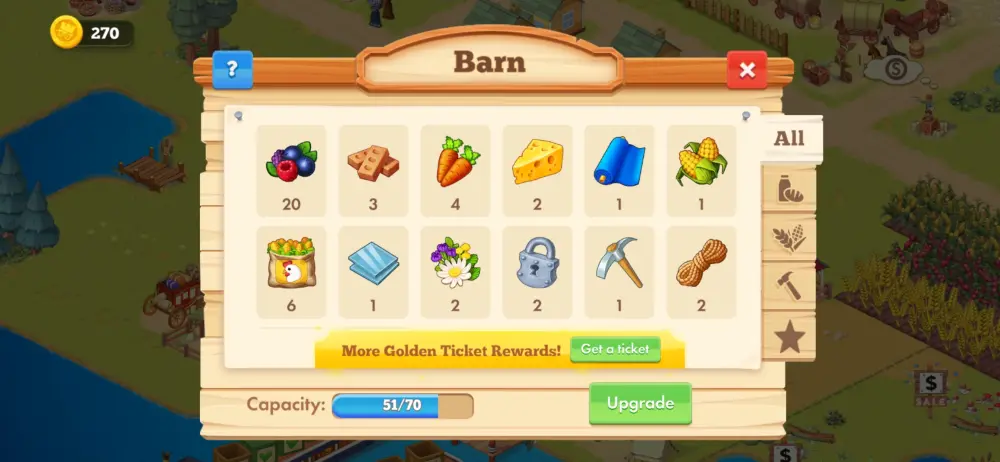
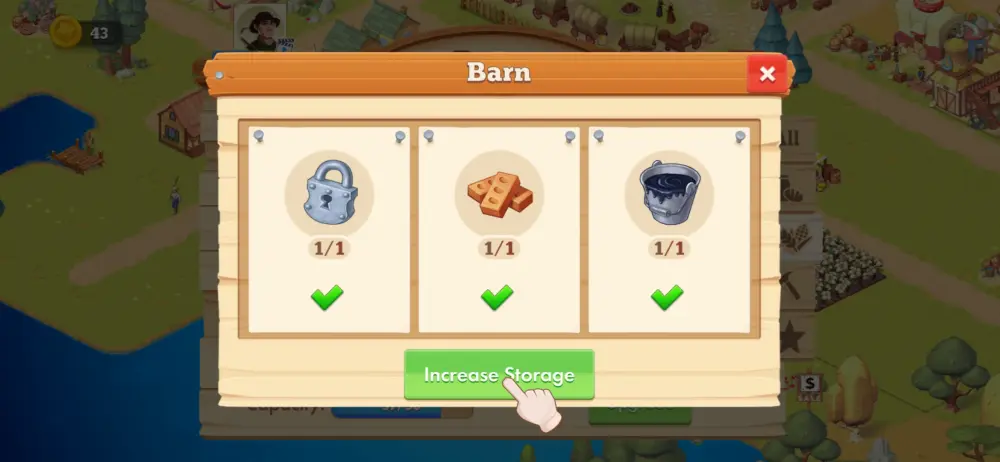
This specifically refers to the Barn, which keeps all of the items you’ve farmed, crafted, and acquired from steamboats or as rewards. Essentially, the Barn is your all-around inventory. Keep in mind that the Barn can only hold a specific number of items unless you upgrade it, which entails having enough construction materials that are acquired as rewards for sending out steamboats.
If you have a surplus of items that you feel are simply taking up space in the Barn, you can directly sell them off to get gold. Items are sold for double the price of their preset worth, wherein each item is worth a different price in gold. Basically, the more complex it is to make an item, the higher its value when sold in the Barn.
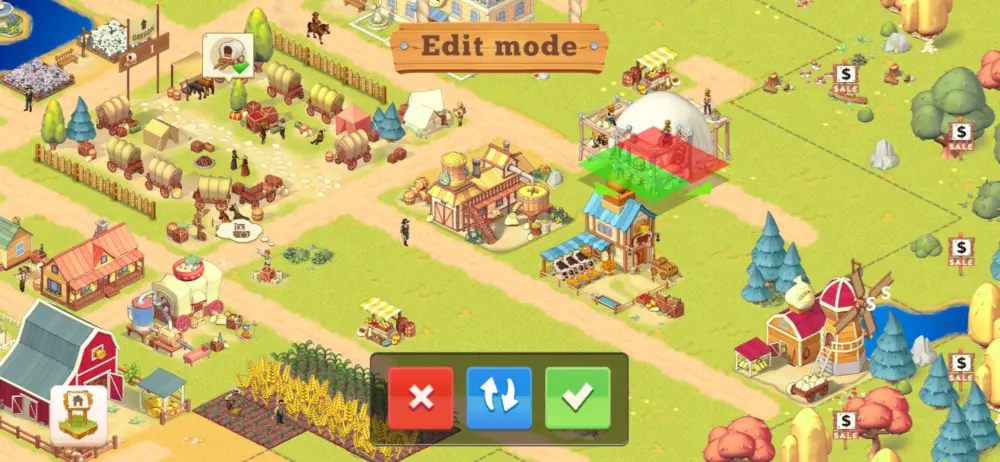
Since there are many active buildings that go hand in hand, it’s best to lay out your town in such a way that these buildings are all close to each other to access them more conveniently. If you want to change the location of a building, you can simply long press on it to activate the Edit Mode and drag it to another area.
With all these active buildings close by, you save time scouring the map for where they are and quickly proceed to producing the supplies you need.
Passive Buildings
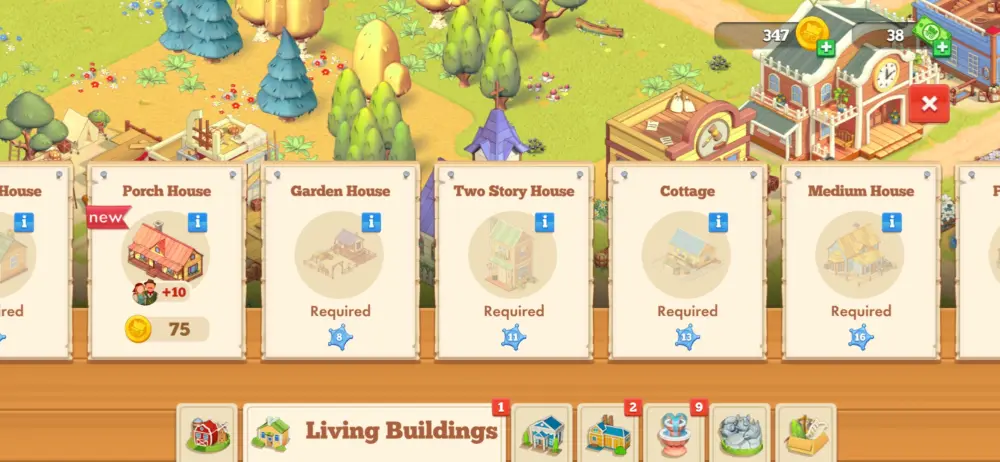
- Living Buildings: These are buildings that increase the population in your town. Some active buildings require your population count to be a certain number before they can be constructed. Living Buildings are composed of different kinds of houses, such as cottages, starter houses, duplexes, and even mansions. The bigger the house, the more expensive it is. However, bigger houses bring more people into town. Living Buildings work hand in hand with City Buildings.
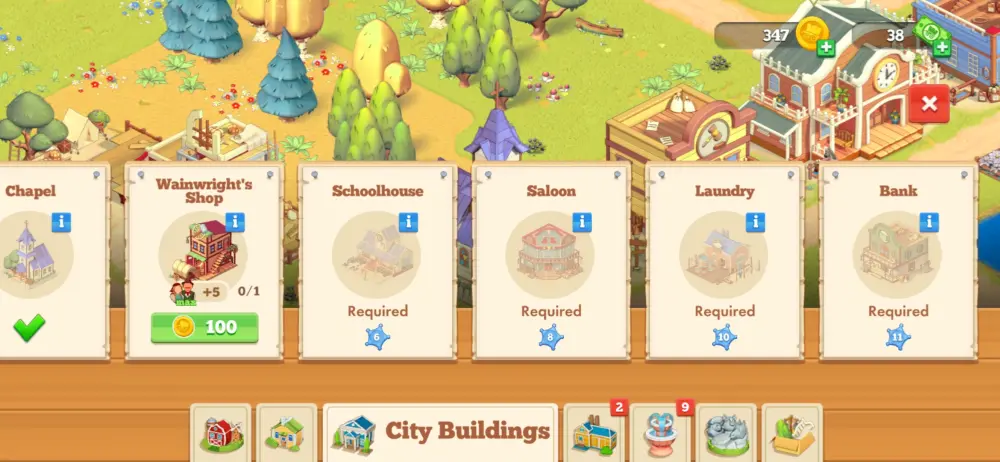
- City Buildings: These are buildings that increase the population cap of your town. If Living Buildings fill the population count, City Buildings basically increase the number of people that the town can accommodate. City Buildings are mostly those that raise the quality of life in town.
Some examples of buildings that fall under this category are the bank, saloon, school house, library, chapel, hospital, hotel, jail, and many others. If your town is getting crammed with people, make more City Buildings to accommodate more settlers.
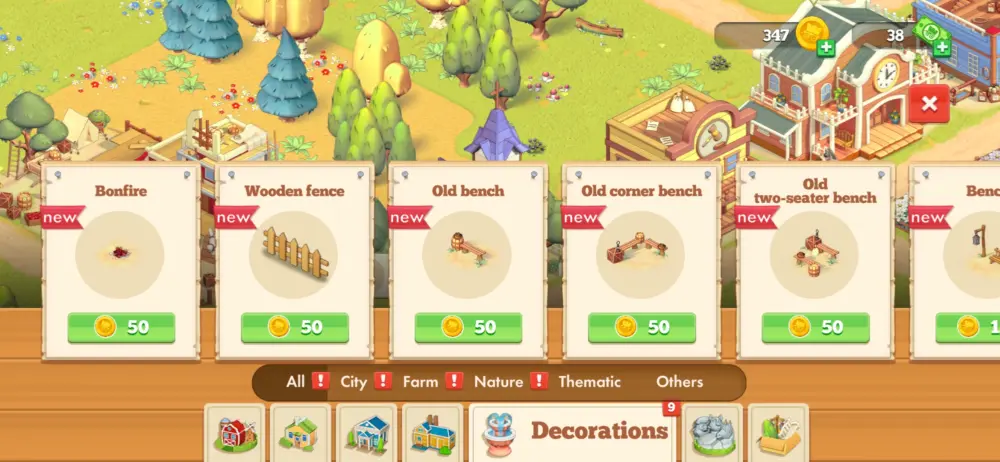
- Decorations: As its name suggests, these are items that are simply made to beautify the town. Other than that, they don’t really do anything, though you can get rewards for spending coins on decorative buildings.
Similar to active buildings, placing passive buildings close to each other can minimize confusion, though you don’t have to place them all in one clump, especially if you’re constructing decorations. For instance, you can reserve a part of your town’s territory to accommodate Living Buildings as though you’re laying out a small village while also sprinkling some decorations around them.
City Buildings, on the other hand, can be in another part of town close to the Living Buildings. Essentially, you might want to consider having an “active” part of town and a “passive” part. However, laying out your town in a way that’s most convenient or appealing will still depend on what you feel is best.
Expand the Town
With all these talk of buildings and the town layout, do you even have enough space?
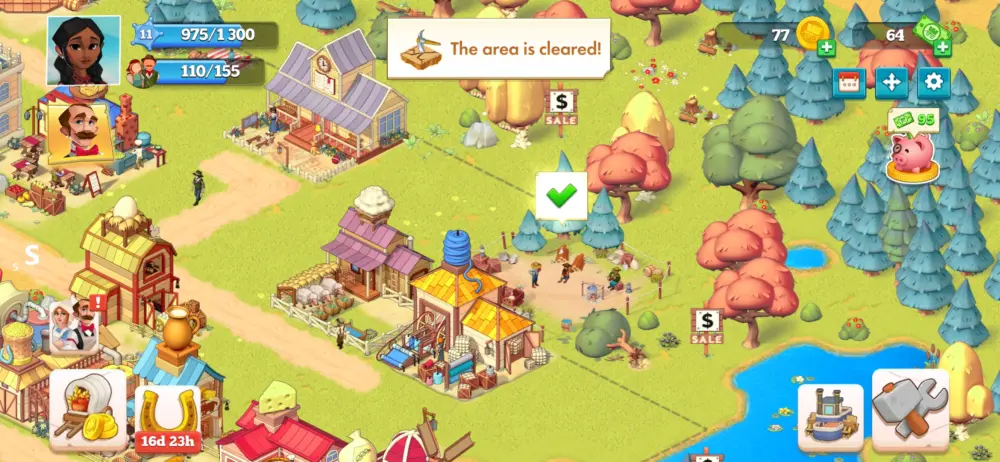
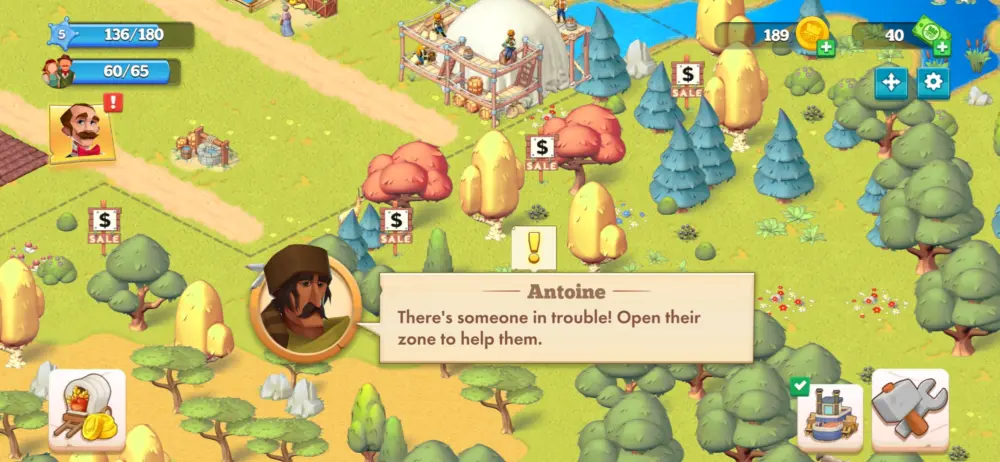
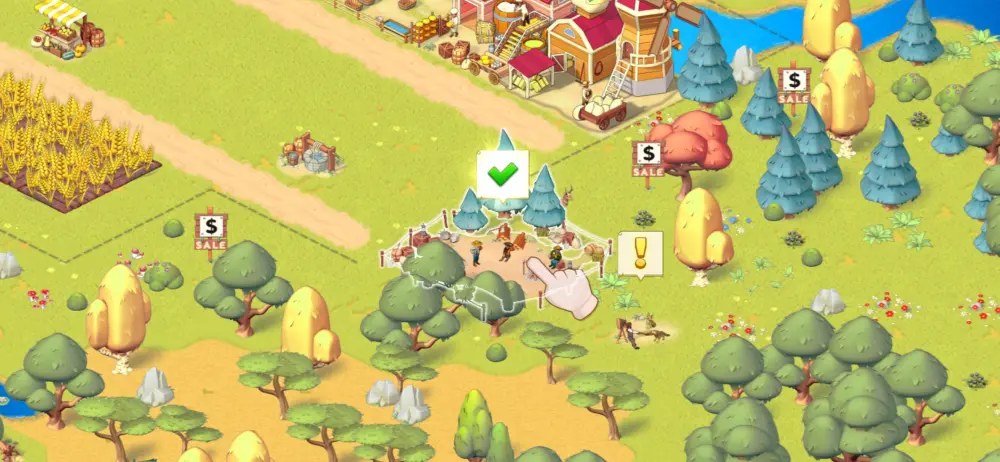
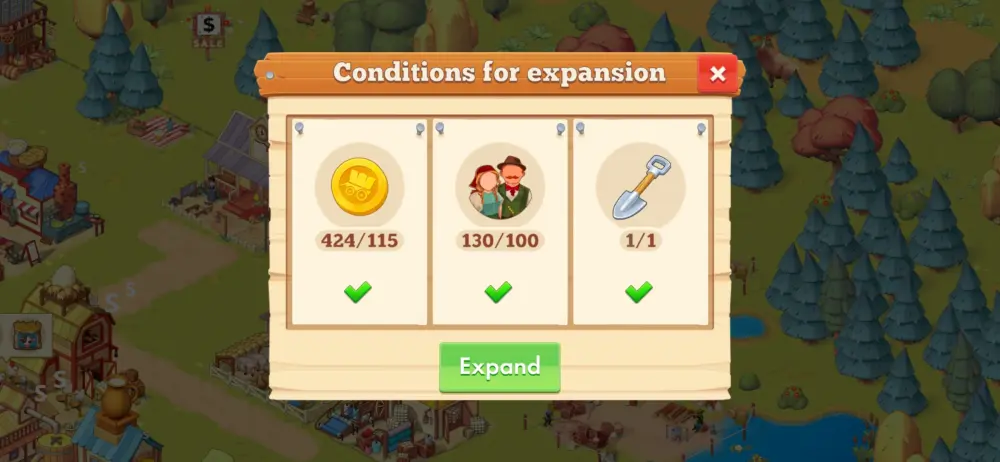
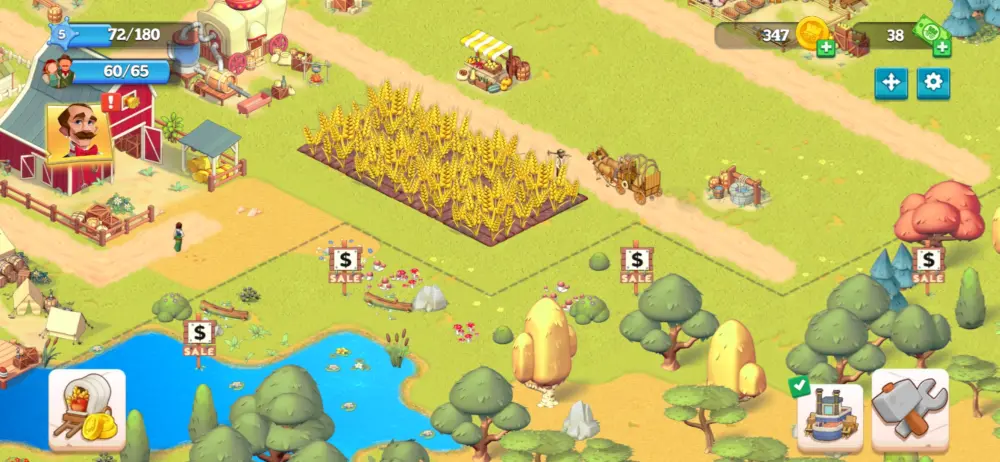
The good news is that you can expand your territory by purchasing tracts of land in exchange for gold and other materials. Land that’s available for purchase will have a “Sale” sign on it. Land that’s farther away from your main territory can only be accessed when you’ve purchased other land tracts close to it. Of course, the more land you purchase, the more expensive succeeding purchases become. For instance, if you’ve bought a tract of land for 90 gold, your next purchase will require 100 gold. In some cases, you will need other materials like a shovel to buy land.
Population count is also important when purchasing land as it’s also a requirement. Basically, you can only purchase more land if you have enough people residing in town. If you lack people in town, constructing Living Buildings will increase the population count.
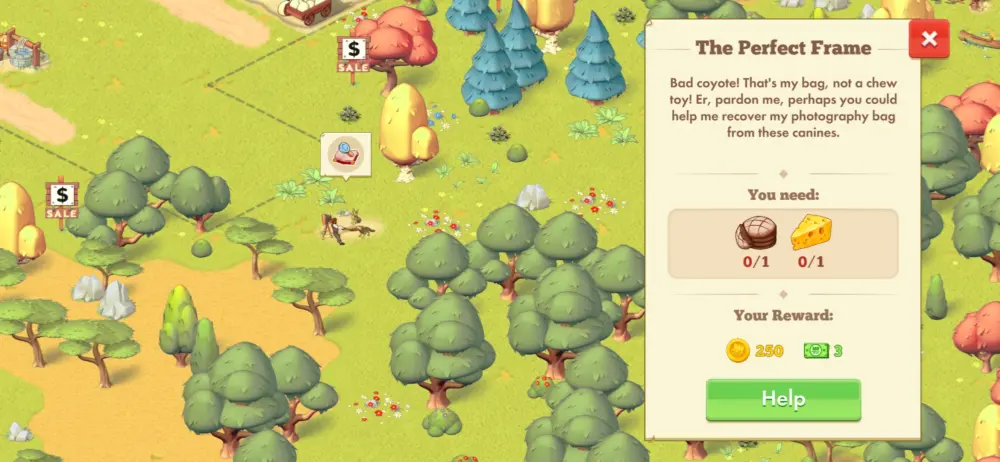
Upon purchasing land and clearing areas, you’ll encounter some people in the outskirts who need assistance. To help them out, you need to give them their requested supplies, for which they will reward you with gold and cash. Once you’ve helped them out, you can purchase the tract of land they were on, provided you have enough resources.
Regardless of how you’ve laid out your town, gradually expand your territory when you have the chance. Expanding eastward seems to be more advantageous as there’s more land available in that area compared to up north, which will eventually be closed off by mountains. If you expand eastward, you also get to encounter more people who need help in the outskirts, which means a higher chance of getting rewards.
Load and Send Out Wagons
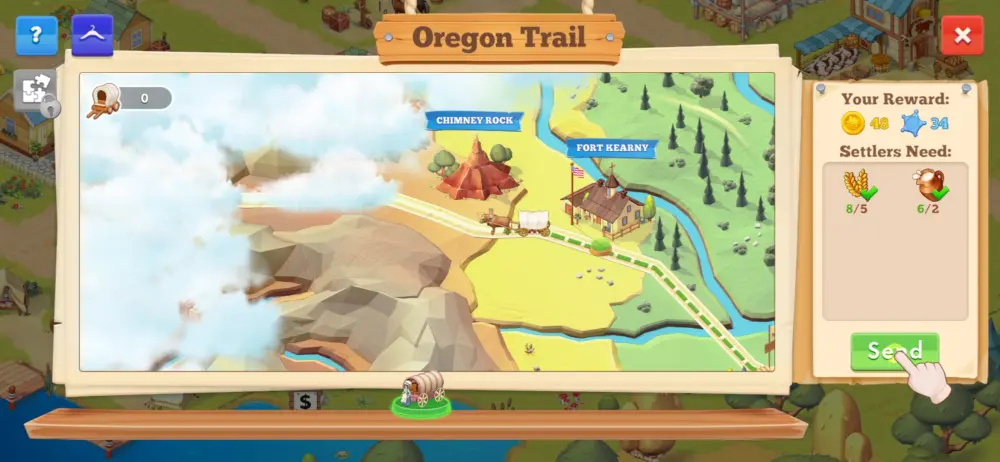
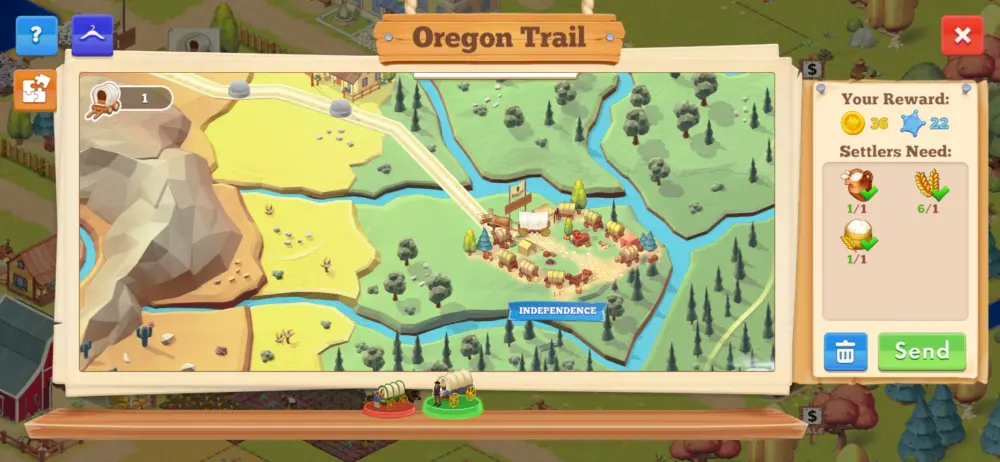
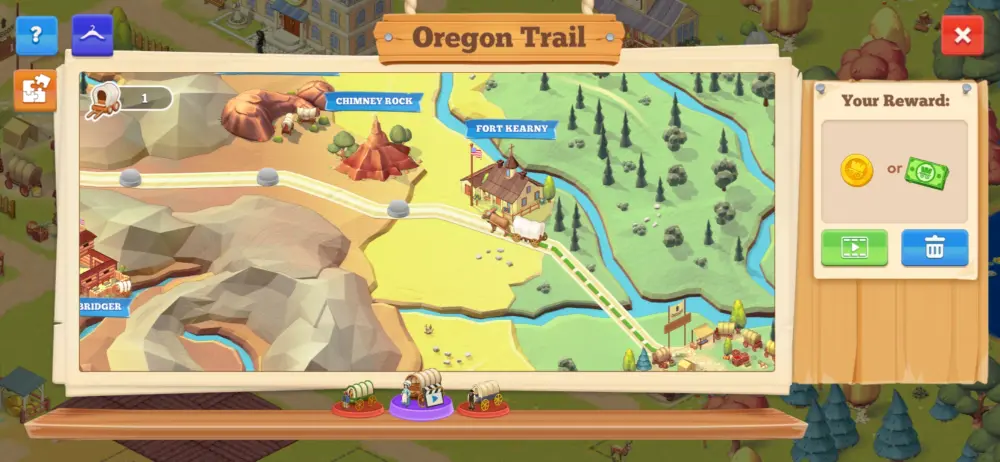
We’ve previously mentioned that your main objective is to send out wagons down the Oregon Trail, and you can only do so by providing these wagons with supplies. At the beginning of the game, you start with just 1 wagon and you can keep track of where it is on the trail by clicking the wagon icon on the lower left corner of the screen.
Each time you provide it with the requested supplies, the wagon moves from one part of the trail to the next. Your job as the player is to farm and craft all the requested supplies so the wagon can reach Oregon. Once it does, you get a larger amount of rewards compared to when the wagon simply moves from one point to the next.
As you gradually level up, more wagons will traverse through the Oregon Trail, which means you’re going to have to make more items to supply them. When you’re already managing multiple wagons, it’s best to have an organized plan that will make sure you’re maximizing all your resources and crafting all the necessary items without having to wait for too long. With more wagons you need to supply, here are a few simple but helpful tips to get most, it not all, of them all loaded:
- Check out all the needed supplies for each wagon before farming for or crafting anything. Take note of which wagons are requesting the same items so you can properly divide your fields and produce the necessary raw materials. Keep in mind that every item has a waiting time before they can be harvested or acquired, whether these are created in the Farming or Production Buildings. By checking which wagons require the same items, you’ll be able to calculate just how many of these you need all at once.
- If you don’t have enough gold or slots to produce all the required items, load wagons that have the easiest items to make. These can include stuff you can generally plant on the fields, or materials that only need one item to be produced.
- If you’re low on gold, you may also decide to prioritize loading wagons that are closest to reaching Oregon. Check where they are on the trail and see which ones have traveled the farthest. Keep in mind that gold is needed to plant crops, except for wheat. Once a wagon reaches Oregon, you’ll be rewarded with a rare item that you can keep in the Museum.
- If you find that a particular supply request for a wagon is beyond your capacity to accomplish, you may click on the Delete button (next to the Send button) so that specific wagon will change its requested item list. The caveat is that you have to wait 12 minutes to get a new batch of requested items for that wagon, or pay cash to skirt the waiting time.
Choosing to delete an item request may be more advantageous if an item in the list is something you can’t produce until later, likely because you’re lacking the Production Building for it. Instead of letting the wagon just sit there, you might have a better chance of sending it out with items you can make when you simply choose to delete the current request.
Wheat is Just Another Word for Gold
Since gold is the basic currency for buying almost anything in town, there will come a time when the gold you’ve acquired from rewards won’t suffice. One easy and simple trick you can do to get more gold is to simply plant and harvest wheat, then sell them off in bulk in the Barn.
Wheat is the only crop that you can plant for free, and each field planted with wheat can be harvested after 2 minutes, which is the shortest time any crop can be harvested. One wheat crop is equivalent to 2 gold when sold in the Barn, so you can basically earn gold without spending any capital at all.
For instance, if you keep planting wheat for about 30 minutes in 15 field slots, you would earn an easy 450 gold. Of course, the more field slots you have, the more wheat you can plant and the more gold you can earn in just a short amount of time. This is something you can do while waiting for supplies to be completed in Production Buildings.
Keep Feeding the Animals
If you’re not partial to selling off surplus crops in the Barn, you can always use them to produce animal feed in the Feed Factory. By continuously feeding animals in the farms, you get to acquire at least the raw materials they produce and stock up on those.
After all, raw materials from animals are often required as wagon or steamboat supplies so you’ll never run out of uses for them. Some of these raw materials are also required to produce other more complicated items that take time to make. Feeds themselves have varying production times, and so do animals when they eat. If you stock up on items that animals produce, you’ll have an easier time loading up wagons or steamboats.
Send Out Steamboats
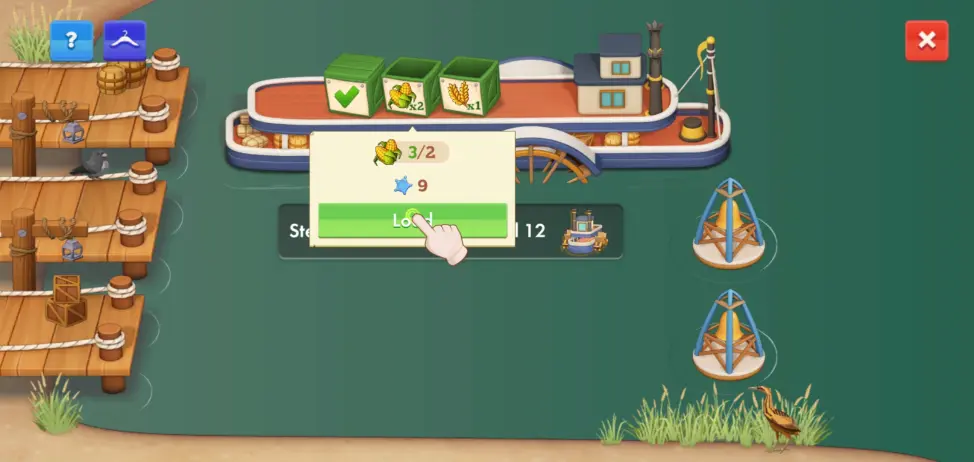
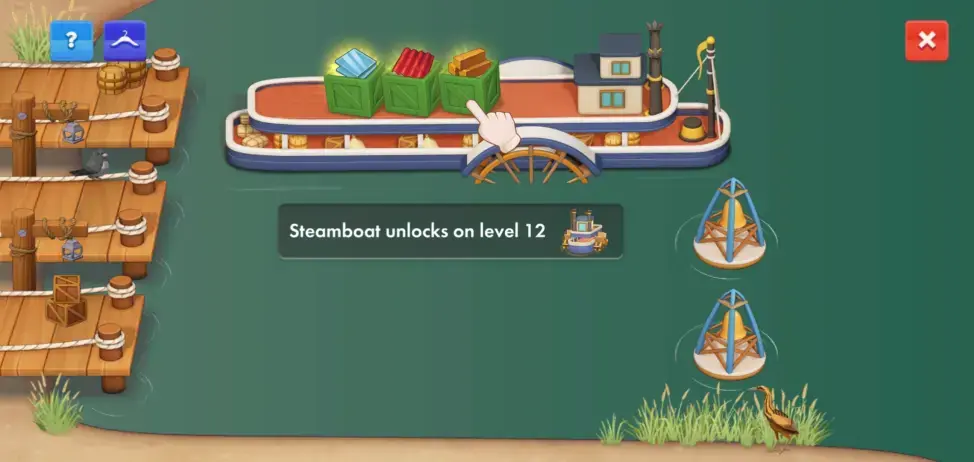
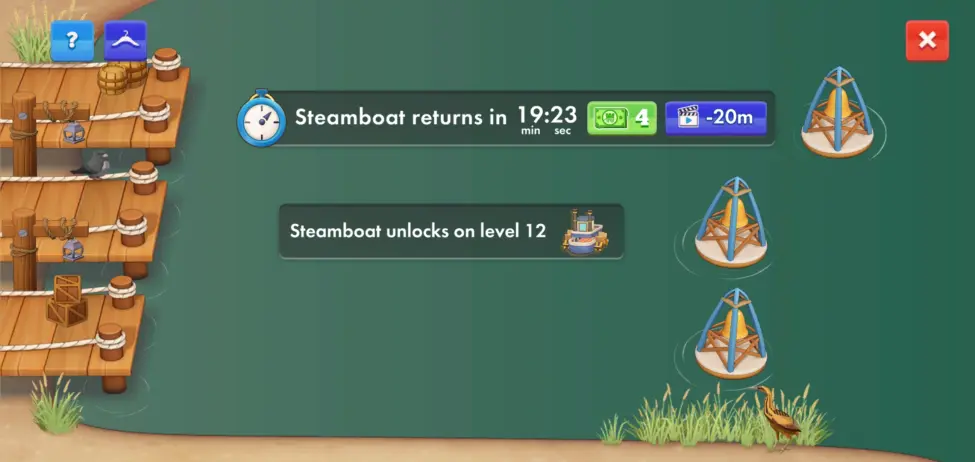
Speaking of loading steamboats, this is just as important as sending wagons out on the Oregon Trail. Like wagons, steamboats have a list of items you can load into them and the boat won’t leave the river pier until every requested item has been loaded.
However, unlike wagons, you can’t change the list of items the steamboat requires, though you can ask friends to help you load 1 item, preferably the one that’s hardest to make or takes the longest time. Otherwise, you may buy the missing item with cash so you can load it into its corresponding slot.
However, we don’t recommend spending cash for these missing items as they usually cost a lot and you might as well just produce them in town even if this takes more time and more steps.
An alternative would be to check out the Merchant’s Shop to see if the item is for sale there, or visit the Theater to see if it’s included in the reward pool. If all else fails, you might carefully consider spending cash to load an item if you’re only missing one more for the steamboat to sail off.
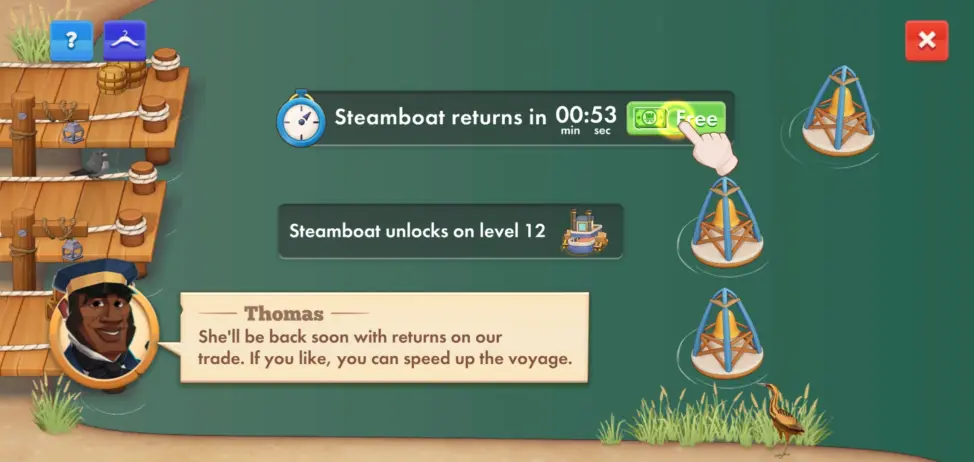
Once the steamboat is fully loaded and sent down the river, you’d have to wait between several minutes to a few hours before it can return with construction materials. You can pay cash to have it return immediately, though the cost will vary depending on how much waiting time is left.
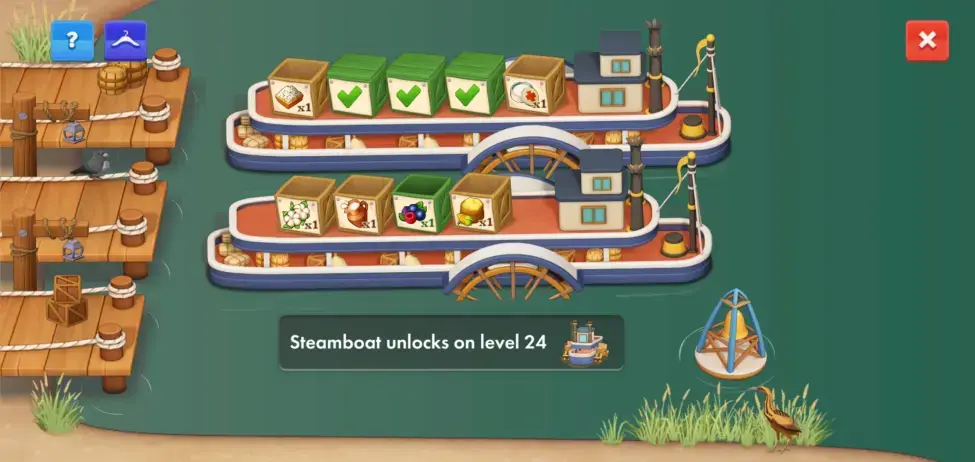
Later on, you will have a chance to purchase 2 more steamboats upon reaching a certain level, thus giving you the opportunity to acquire more construction materials in the long run.
Construction materials such as glass, bricks, tiles, etc., are needed to complete the construction of some buildings or to upgrade the Barn. Without these materials, buildings that require them will remain incomplete and can’t be used. Later on, as you purchase more land, you’ll need some construction materials to complete the transaction, and you can only get these from steamboats.
That said, send out your steamboats as frequently as you can. You can cross check the list of items that steamboats need against what the wagons are requesting so you know what to produce for both.
Talk to the Townsfolk
As the de facto mayor of Independence, speaking to the townsfolk has its benefits. There are two ways you can do this:
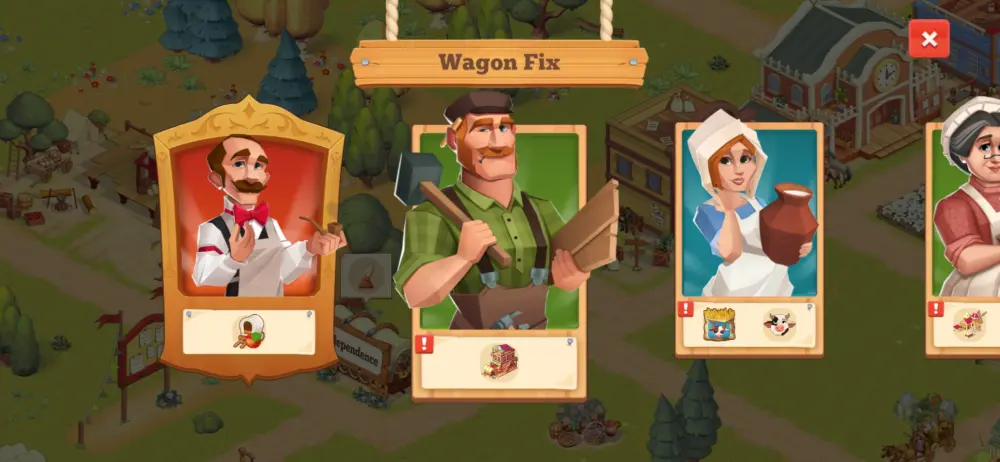
- First is by clicking on the icon on the upper left side of the screen that displays a picture of any of the townsfolk. Clicking on this icon will give you a list of different townsfolk that each have different requests that are akin to tasks. Some of these tasks may ask you to construct certain buildings, produce a specific number of items, or even find rare items that you can display at the Museum. Tasks between townsfolk vary and fulfilling them will reward you with cash.
After you accomplish a list of tasks from a specific person, this will be replaced by another villager with another list of requests. Often, these requests align with the next steps you need to do to expand your town so check them out regularly not only to get rewards, but also to be guided on what you need to produce or build next.
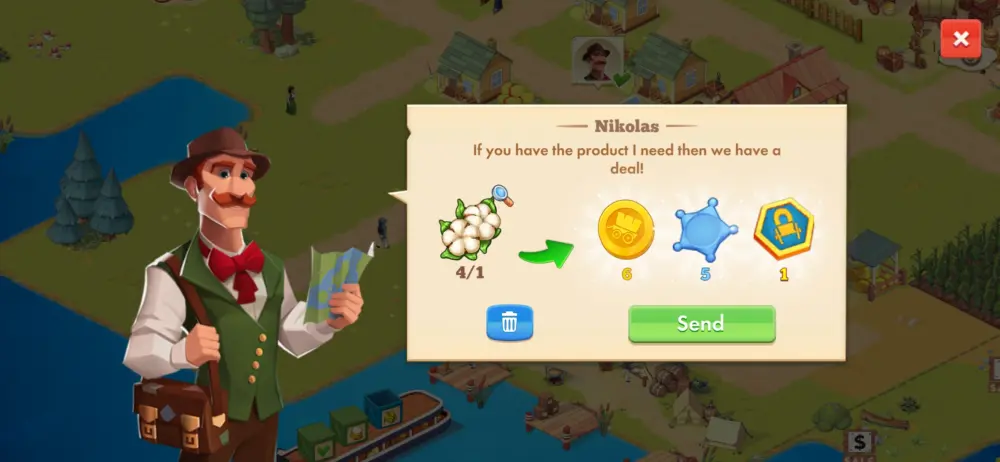
- Another way you can talk to townsfolk is by checking any of the Living Buildings. If an icon of a villager appears on top of these Living Buildings, that means someone has a request. If you click on the icon, you’ll see that they might request for simple supplies like crops, raw materials, food, etc. Fulfilling these requests will reward you with gold and experience points.
However, keep in mind that these requests will only be accessible for a limited time and may disappear after a while, so make it a point to check out what the townsfolk need and supply them with it. If you can’t fulfill a request, you can always press the Delete button and the request will disappear. Otherwise, you can wait for it to vanish naturally after some time.
Be an Overachiever
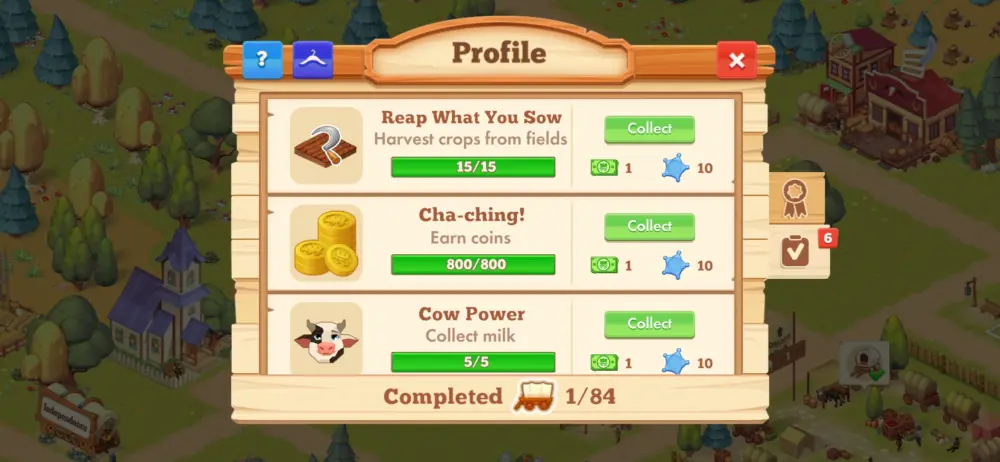
Aside from getting rewards from fulfilling Daily Tasks or requests from townsfolk, you can also check your Profile to see a list of achievements you can accomplish. There are a total of 84 achievements you can fulfill, which can range from collecting a certain number of eggs to sending out steamboats a number of times, upgrading the Barn, logging in daily, increasing the population, purchasing land, and a host of others.
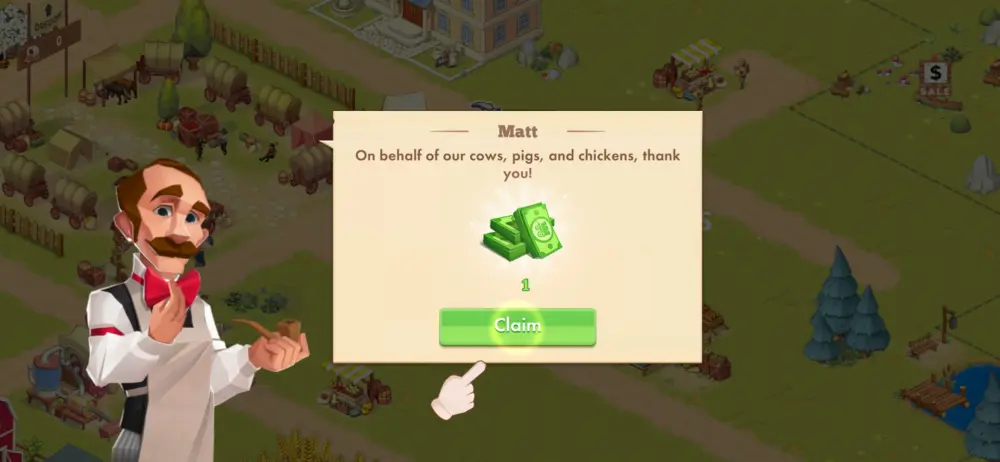
Each time you accomplish an achievement, you get a small amount of cash and experience points. Check out your Profile regularly and bring out your inner overachiever to get bonus rewards!
Use Cash to Speed Up
Other than gold, cash is another type of currency you’ll encounter in the game. Compared to gold, cash falls more along the category of premium currency since it takes more effort to earn and only comes in small amounts. It’s safe to say, then, that cash is a little more precious than gold and should be spent mindfully.
There are many uses for cash such as the following:
- Purchasing more slots in Production Buildings and the Merchant’s Shop
- Purchasing missing items for wagons and steamboats
- Speeding up construction, production, and the steamboat’s return trip
- Speeding up the waiting time to refresh a wagon’s item list after being deleted
- Instantly complete townsfolk requests
- Refresh the item selection pool for the Merchant’s Shop without having to wait
While there are also many ways to earn cash, what you accumulate might not be enough to cover all these expenses consistently over time. That said, which of these aforementioned instances should you spend cash on?
We recommend spending cash mostly on speedups, particularly speedups for building construction or when completing the production of one or two items. Compared to other waiting times, building construction and material production take much longer. Unlike other activities in the game, you can’t watch ads to speed up construction or production (more on freebies from ads later) and spending cash is the only way to get them done instantly.
However, this isn’t to say that you should burn your cash and complete every ongoing building construction and material production this way. What we do recommend are the following:
- Specifically spend cash for the immediate completion of Production Buildings. Crafting items is the main activity of the game and you won’t be able to accomplish this if you’re missing any of the Production Buildings. Loading wagons and steamboats, as well as fulfilling tasks or requests, will be delayed if you’re missing an item you can’t produce.
You can choose to spend cash to buy those missing items to complete the item request list, but this is a temporary solution that isn’t sustainable in the long run. It’s better to have Production Buildings on hand so you can continuously craft what you need without spending cash. - Spend cash to immediately complete the production of 1 or 2 items that take the longest to make. Sometimes, when loading wagons or steamboats, you only need that 1 item to send them off. If it’s an item that requires a long waiting time or multiple production processes, you can spend cash to instantly complete it on the last stage of production.
An example is making yarn at the Draper: it goes through 3 production processes, namely making sheep feed, feeding the sheep to make wool, and processing the wool at the Draper to make the yarn. At the Draper, you can spend cash to immediately finish its production. Sure, you’ll have to wait for the first 2 processes to get done, but making 1 sheep feed can already feed 3 sheep, which gets you 2 more wool for the same duration.
Spending cash in the final stage of production for 1 item missing to send off a wagon or steamboat is way cheaper than just buying the item altogether as the cost of the latter takes into account the total cost of production from start to finish.
Of course, patience goes a long way when playing and you won’t always have enough cash to speed things up. When you’re about to log off the game, make sure every active building in town is producing at least 1 item so by the time you get back, all you need to do is collect all the finished materials, then load all the wagons and steamboats you can.
Get Bonuses by Watching Ads
As with every mobile game these days, The Oregon Trail: Boom Town has ads you can watch in exchange for various rewards. While ads don’t always appeal to players, the good news is that in this game, ads are not forcibly watched and you can often choose to spend cash to complete an activity rather than watch an ad if you don’t feel like it.
We’ve already discussed what the Theater does in an earlier section, but this isn’t the only way you can get bonus rewards through ads. From time to time, you’ll be offered the choice to watch ads in exchange for the following bonuses or rewards:
- Reduce the waiting time for a steamboat to return. Here, you can watch multiple ads whose increments in reduction time will increase the more you watch. For instance, the first ad you watch will deduct 10 minutes from the waiting time; the second ad will deduct 20 minutes; the third ad will deduct 30 minutes, and so on until you’ve managed to cut down the entirety of the steamboat’s arrival time.
- Send off a wagon immediately. Occasionally, the game will select a random wagon that you can fully load simply by watching an ad.
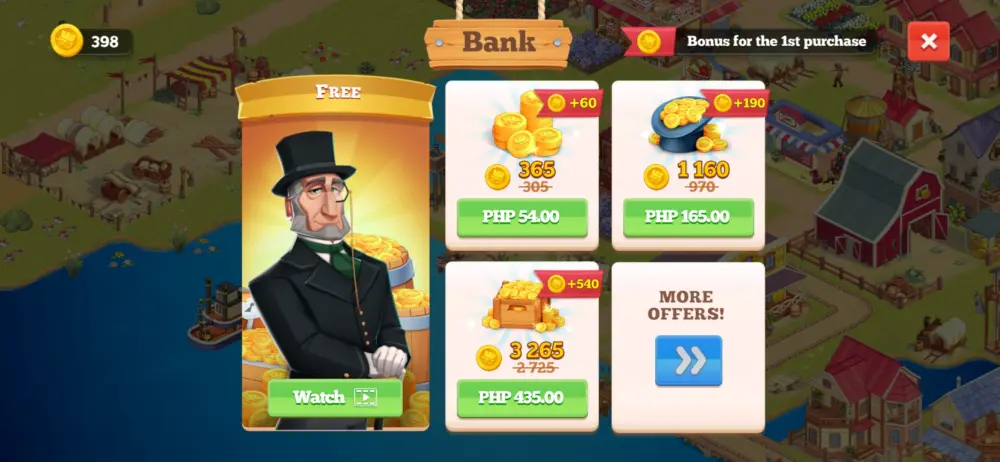
- Free gold and cash in the bank. It’s a small amount but every little bit helps!
- Free item from the Merchant’s Shop. Instead of paying for an item for gold, you can watch an ad to obtain it. However, the item offered is at random.
- Instantly fulfill a townsfolk’s request by watching an ad.
Ads are only offered from time to time so try to take advantage of them when they’re available. It’s a minute of your time at most so there’s no harm in watching them if it means some instant rewards.
With that, we conclude our beginner’s guide for The Oregon Trail: Boom Town! Saddle up, make your town thrive, and aid in the journey of the pioneers along the Oregon Trail!
Do you have more tips and tricks to share? Let us know in our comment section below!


Kate
Monday 24th of March 2025
How can I help a friend when visiting their town? I try to tap on creates on ships, but nothing happens.