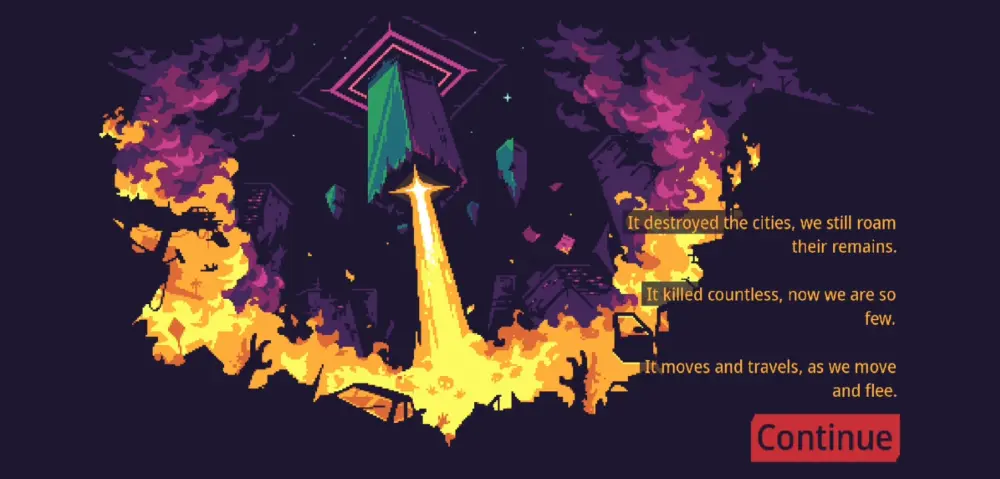
It came from nowhere. It ravaged cities, ruined civilization, and exterminated almost all of mankind. This massive structure, a tower stabbing out of the sky toward the ground below, is proof of humanity’s eradication and the end of the world as we know it. Many who have found the entrance to its insides have explored but never returned. Nobody knows how big this thing is, but one thing is for sure: it has to be destroyed.
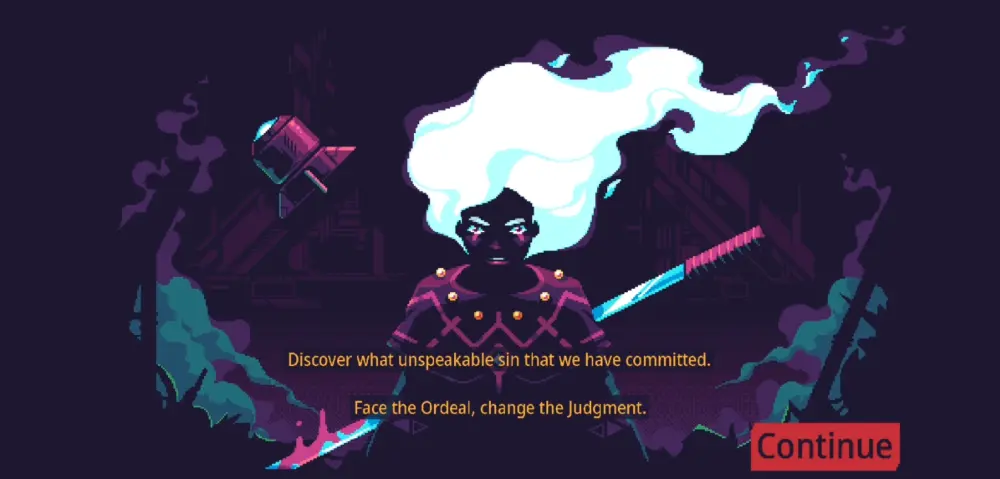
A lone warrior woman, Kyhra, from a mysterious tribe, seeks to quell the annihilation or perhaps restore the world to its former glory. She shall be the one to face the Ordeal and change the Judgment that humanity has faced, to uncover the seal to her past, and to fight for the many who still long for tomorrow. With her sword, her gun, and her faithful robot companion, she steps forth to claim her destiny. Join her on her quest and leap into the depths of the hellish sky machine known as the ScourgeBringer.
From the makers of Neurovoider and Dead End, Flying Oak Games brings to you a fast-paced, free-flowing roguelite, ScourgeBringer. Dive into a post-apocalyptic adventure where only your wits and quick reflexes will keep you alive. As Kyhra, you will need to fight your way through thousands of foes and collect their blood to become stronger. This game is a member of the roguelite genre, so plenty of dying and learning is expected!
If you’ve just started joining Kyhra on her quest for humanity’s salvation and you’re having a hard time defeating the creatures within the ScourgeBringer itself, give our guide below a thorough read!
Roguelites at a Glance
The term “roguelite” is often seen in different corners of the gaming subculture nowadays.
While it is similar to”roguelike”, the two terms are not the same. Roguelikes involve games that are similar to the original game called Rogue which featured examples of the following mechanics:
● Permadeath — Your character is erased upon death and you have to start anew every time.
● Procedurally-Generated Levels — No two levels are the same and each one is created randomly.
● Top-Down Turn-Based Combat — Your character moves about a grid and the monsters make moves after your character does.
● Exploration — Finding treasure at every level is oftentimes rewarding.
● Monster Hordes — You will be fighting lots and lots of enemies.
Roguelites, on the other hand, play very much unlike roguelikes. They would mostly change the turn-based RPG feel into something else like a bullet hell, a beat-’em-up, a shoot-em-up, or in ScourgeBringer’s case, a side-scrolling platformer. These also mostly have a carry-over system where after your character dies, there is some way to make your next run slightly easier than the last through some in-game currency. Some examples of notable roguelites are Hades, Pocket Rogues, Enter the Gungeon, Binding of Isaac, Otherworld Legends, Wizard of Legend, and Soul Knight.
ScourgeBringer is one such game that lands in this category. Playing this game will indeed require some quick thinking and reflexes, so if you’re new and would like to get familiar with how this all works, read on!
How to Play ScourgeBringer
Despite having a theme and aesthetic akin to Hyperlight Drifter, the gameplay is reminiscent of hardcore platformer titles such as those from the Megaman X and Castlevania franchises. If you’re a player into performing combos until your enemy is reduced to a pulp, just like in titles such as Devil May Cry or Bayonetta, then you’ll be in for a treat.
But we’re getting ahead of ourselves here.
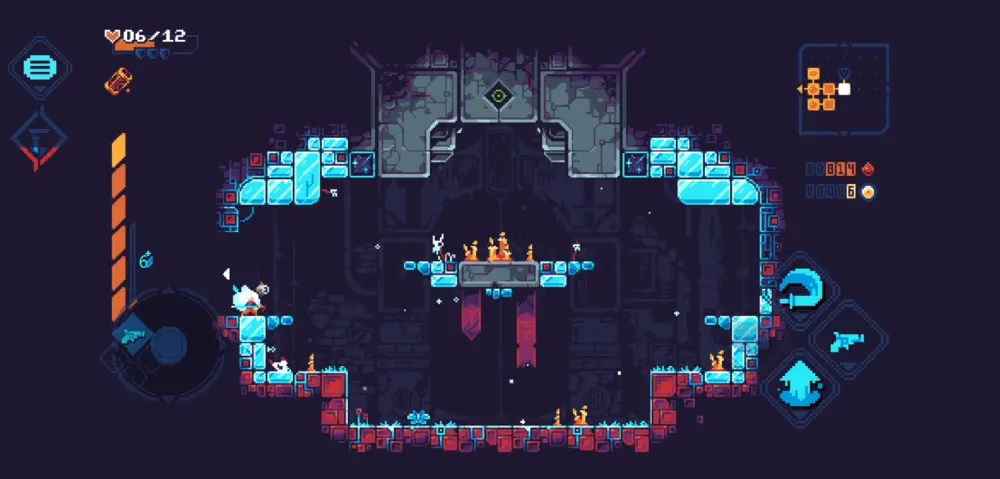
Despite its simplistic controls, ScourgeBringer is a fiendishly fast game where one false move could end your run in a heartbeat. That said, this doesn’t mean that the game is entirely hostile to beginners. Practice makes perfect, and here are a few reminders of how to move our dauntless heroine through the traps and hordes of monsters that dwell within the ScourgeBringer itself.
1. Running
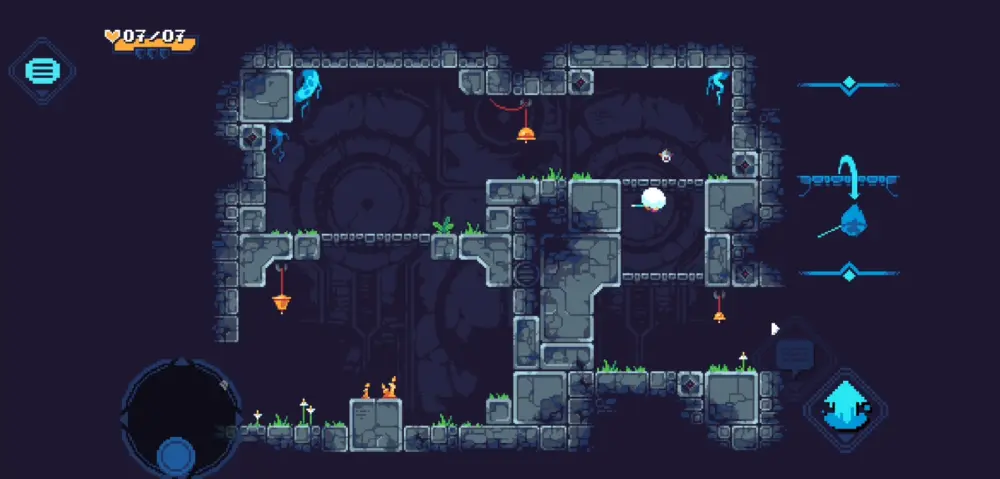
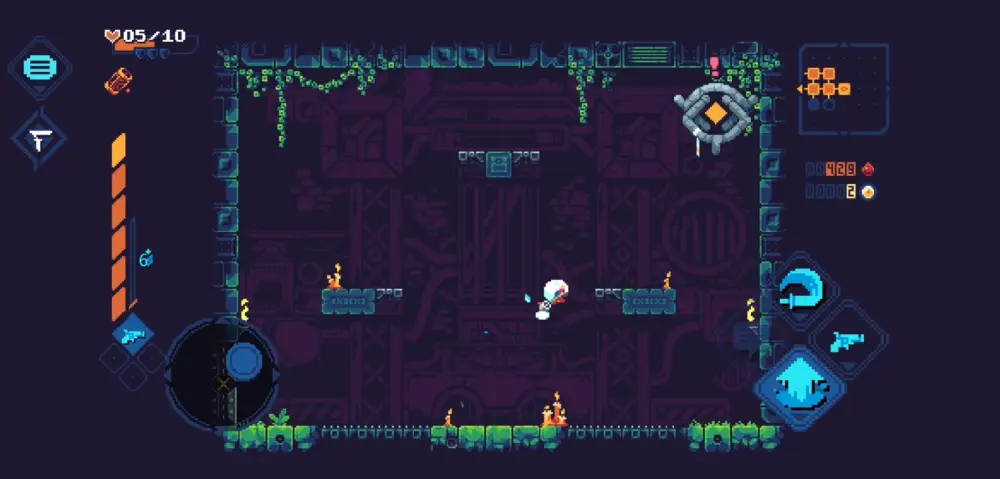
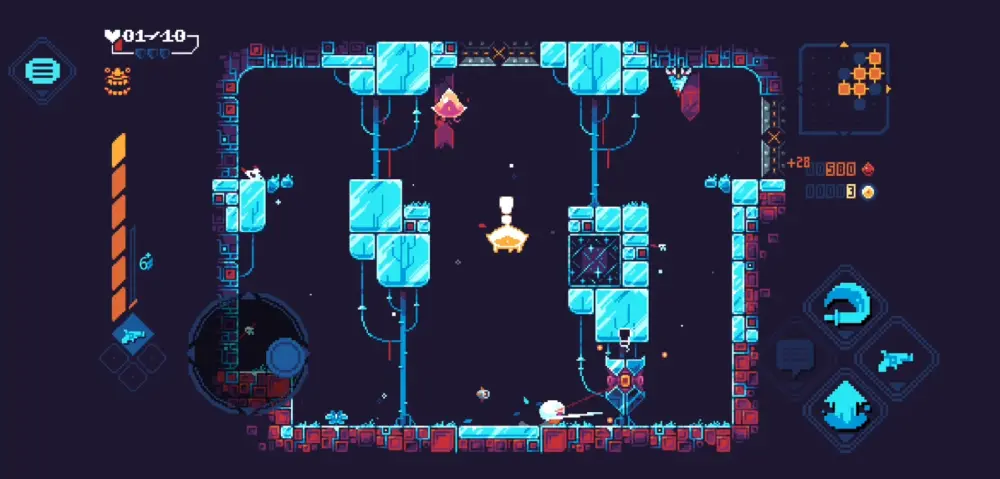
At the first touch of the controls, the player can already see that Kyhra is quick on her feet.
Dragging the joystick in any direction from the left side of the screen will make Kyhra move to your desired location. This also changes the orientation of which she will face. Naturally, this means that if you press the Jump button in the direction she is running, she will Jump in that direction.
If you jump at a wall, you may make Kyhra run up the wall by holding the Up direction on the Joystick.
2. Jumping
What’s a platformer without a Jump button?
Tapping the Jump button located on the right side of the screen will cause Kyhra to lightly hop off the ground. In most cases, this isn’t very practical, but holding down the Jump button will make her gain more air time. Doing this will allow you to cross bigger gaps, climb walls faster, or reach ceiling doors more quickly.
Additionally, Kyhra can jump a second time if you tap the Jump button a second time. Just like the first jump, you may hold the button down for a higher or farther jump. This can be followed up with a dash (more on this soon).
You will occasionally encounter thin ledges anywhere. To go down a thin ledge, drag the Joystick downward and press the Jump button.
3. Wall Jump
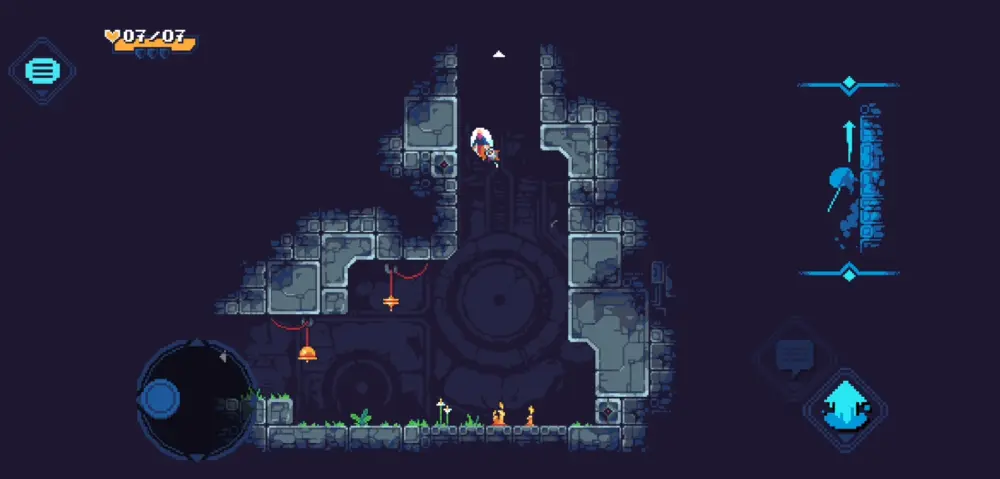
If you’ve played a Megaman X game before, you’re already one step ahead.
Having Kyhra jump at a wall will cause her to briefly cling to it and then slide down. While she is in this state, you may drag the Joystick in the opposite direction and have her jump from the wall. She can do this repeatedly, jumping from wall to wall. It’s also a great way to get around a room. Dragging the Joystick toward the wall that Kyhra is currently mounted on while pressing the Jump button will have her hop up the wall instead.
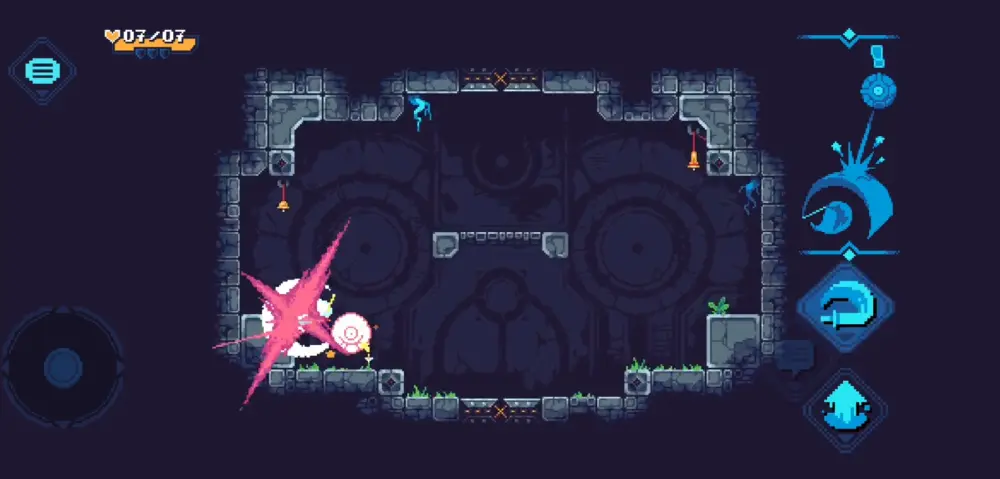
4. Dash
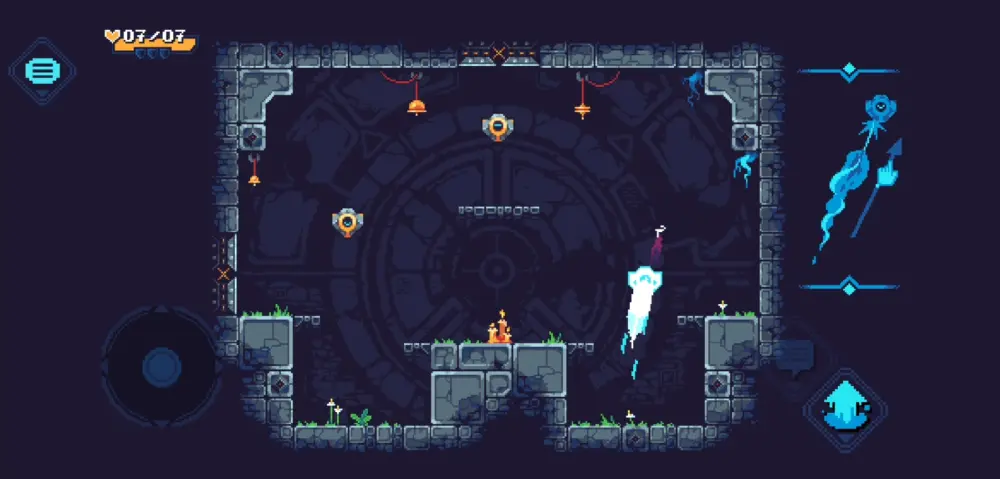
The sleekest way to the enemy’s face.
Dashing is a means for Kyhra to get up close and personal with her foes. Swiping the Joystick in your desired direction will make Kyhra zip through the air with her sword in tow. Whatever is caught in the dash will be sliced. If you see an opening in the enemy’s attack, make them hurt with this maneuver.
Conversely, dashing also provides a means for Kyhra to cover more distance in a jump. If the passage is too high or too far, her third “jump” can be a dash. If anything, dashing can also be used to dodge incoming projectiles.
Much like jumping down a thin ledge, Kyhra may also dash down from one. Simply stand on a thin ledge and swipe downward on the Joystick.
5. Attacking
Bringing Kyhra to the face of the enemy will cause her to automatically strike it with her blade.
Unless you perform other techniques such as the dash or smash, she will continue to slash at the enemy until it is dead. She will stop attacking if you distance her away from the foe. If there are multiple enemies around her, she will automatically attack the one closest to her.
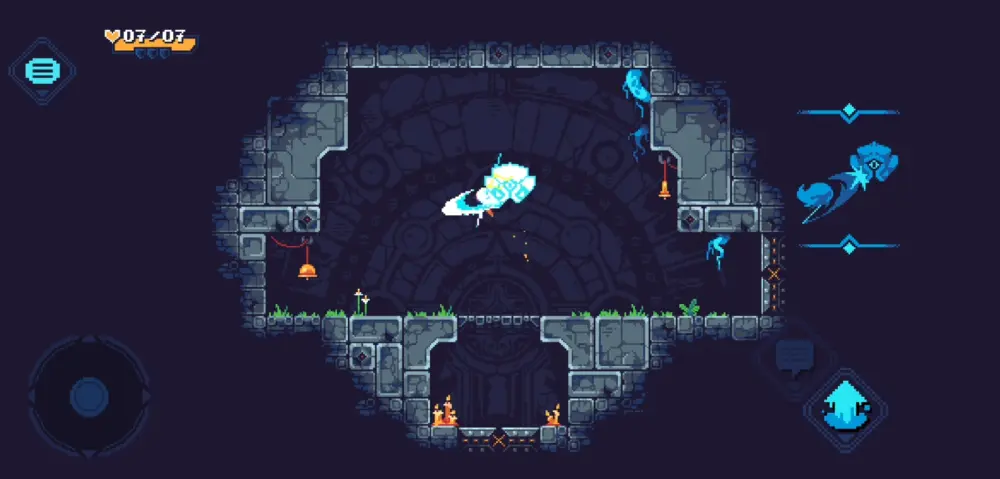
6. Smash
When push comes to shove, sometimes brute force wins.
Above the Jump button is the Smash button. Pressing this will have Kyrha perform a mighty sword stroke that pushes back enemies and stuns big ones. If the enemy is getting too close for comfort, you may use this to keep them away. Smashing enemies right before they attack will stun them and this opens them to lots of attacks. This also allows Kyhra to inflict massive damage on them through a slew of combos that may involve dash attacks.
At one point, you may upgrade the Smash so that Kyhra can reflect bullets if swung at the right moment. The reflected bullets will deal increased amounts of damage to their origin. Such an upgrade will be most useful against certain bosses.
7. Shooting
Kyhra’s blade is not alone, it works with her gun as well.
Attacking or killing enemies will refill a bar on the left of the screen. This bar is the ammunition counter of her gun, the BLAST.32. Once filled, tapping the Shoot button located to the right of the Jump button will cause our heroine to open fire at the closest enemy.
The BLAST.32 deals a hefty amount of damage, so shooting your enemies as soon as it fills will help you clear a room more quickly.
8. Interaction

Her warrioress demeanor aside, Kyhra doesn’t always need to speak with her fists.
Pressing the Interact button, which looks like a speech bubble located to the left of the Jump button, will have her speak or access whatever might be in front of her. For most NPCs, she will be able to speak to them. If, for example, she is being sold something, you will first have to bring Kyhra up to your desired object. The speech bubble will turn into a droplet as a confirmation of her transaction with the NPC (Blood is the currency, we’ll get to that later). Otherwise, if it is an object that was dropped on the floor, this speech bubble would become a hand that will allow her to pick up the said object when pressed.
NOTE: We will not spoil anything story-wise. It is important to speak to or interact with whatever Kyhra may come across if the player is interested in the lore.
If you wish to gain a better understanding of how you can move around more easily, find an empty room and try different ways you can get around it. This kind of practice might even open your eyes to tricky maneuvers that the enemy won’t see coming.
That said, the ScourgeBringer is a creature of devastation, but that doesn’t mean it doesn’t follow a set of its own rules. The next section of this guide will tell you what to expect when exploring its insides.
Rules of the ScourgeBringer
Despite being structurally sound, the ScourgeBringer changes its form with each revisit. This mysterious behavior somehow hints to the player that the very thing they are trying to conquer might be alive itself. As you explore this metal beast more and more, you’ll conclude that it has its own set of rules.
1. Anything from the Chiming Tree is Permanent
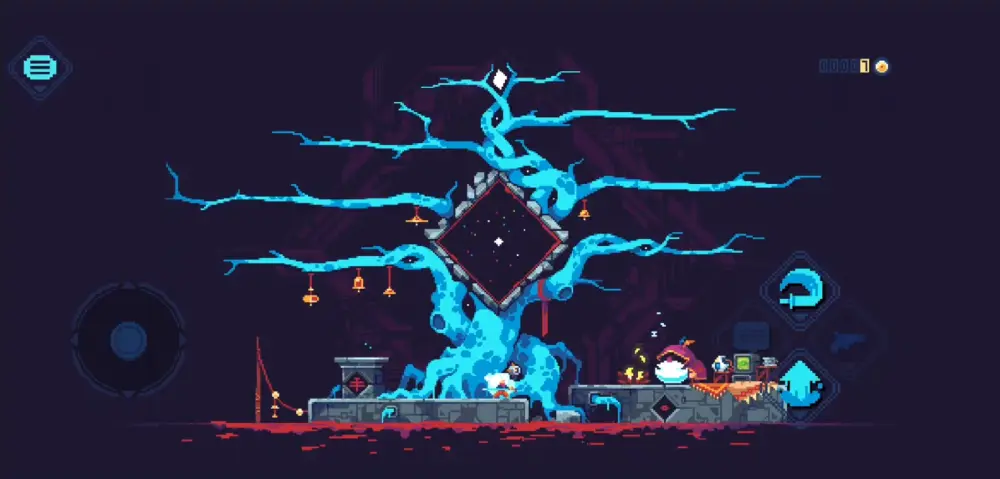
The strange yet safe Chiming Tree is a sanctuary for those who have lost their way in the ScourgeBringer.
This is where Kyhra may give up the Blood of Judges to obtain permanent techniques and perks. Without these, each run would truly be a nightmare for her. Even after she has perished, anything she gains from here will remain with her always.
2. Everything Else Isn’t
Everything else isn’t permanent. Everything.
The patterns of the Realms (the levels of the game), the items you may get from NPCs like Greed, Xi’Pos, Lefanu, and Peppy, and the locations of the Guardians, Judges, or Altars of Blood, none of these are consistent with each revisit. What remains consistent are the themes of the Realms.
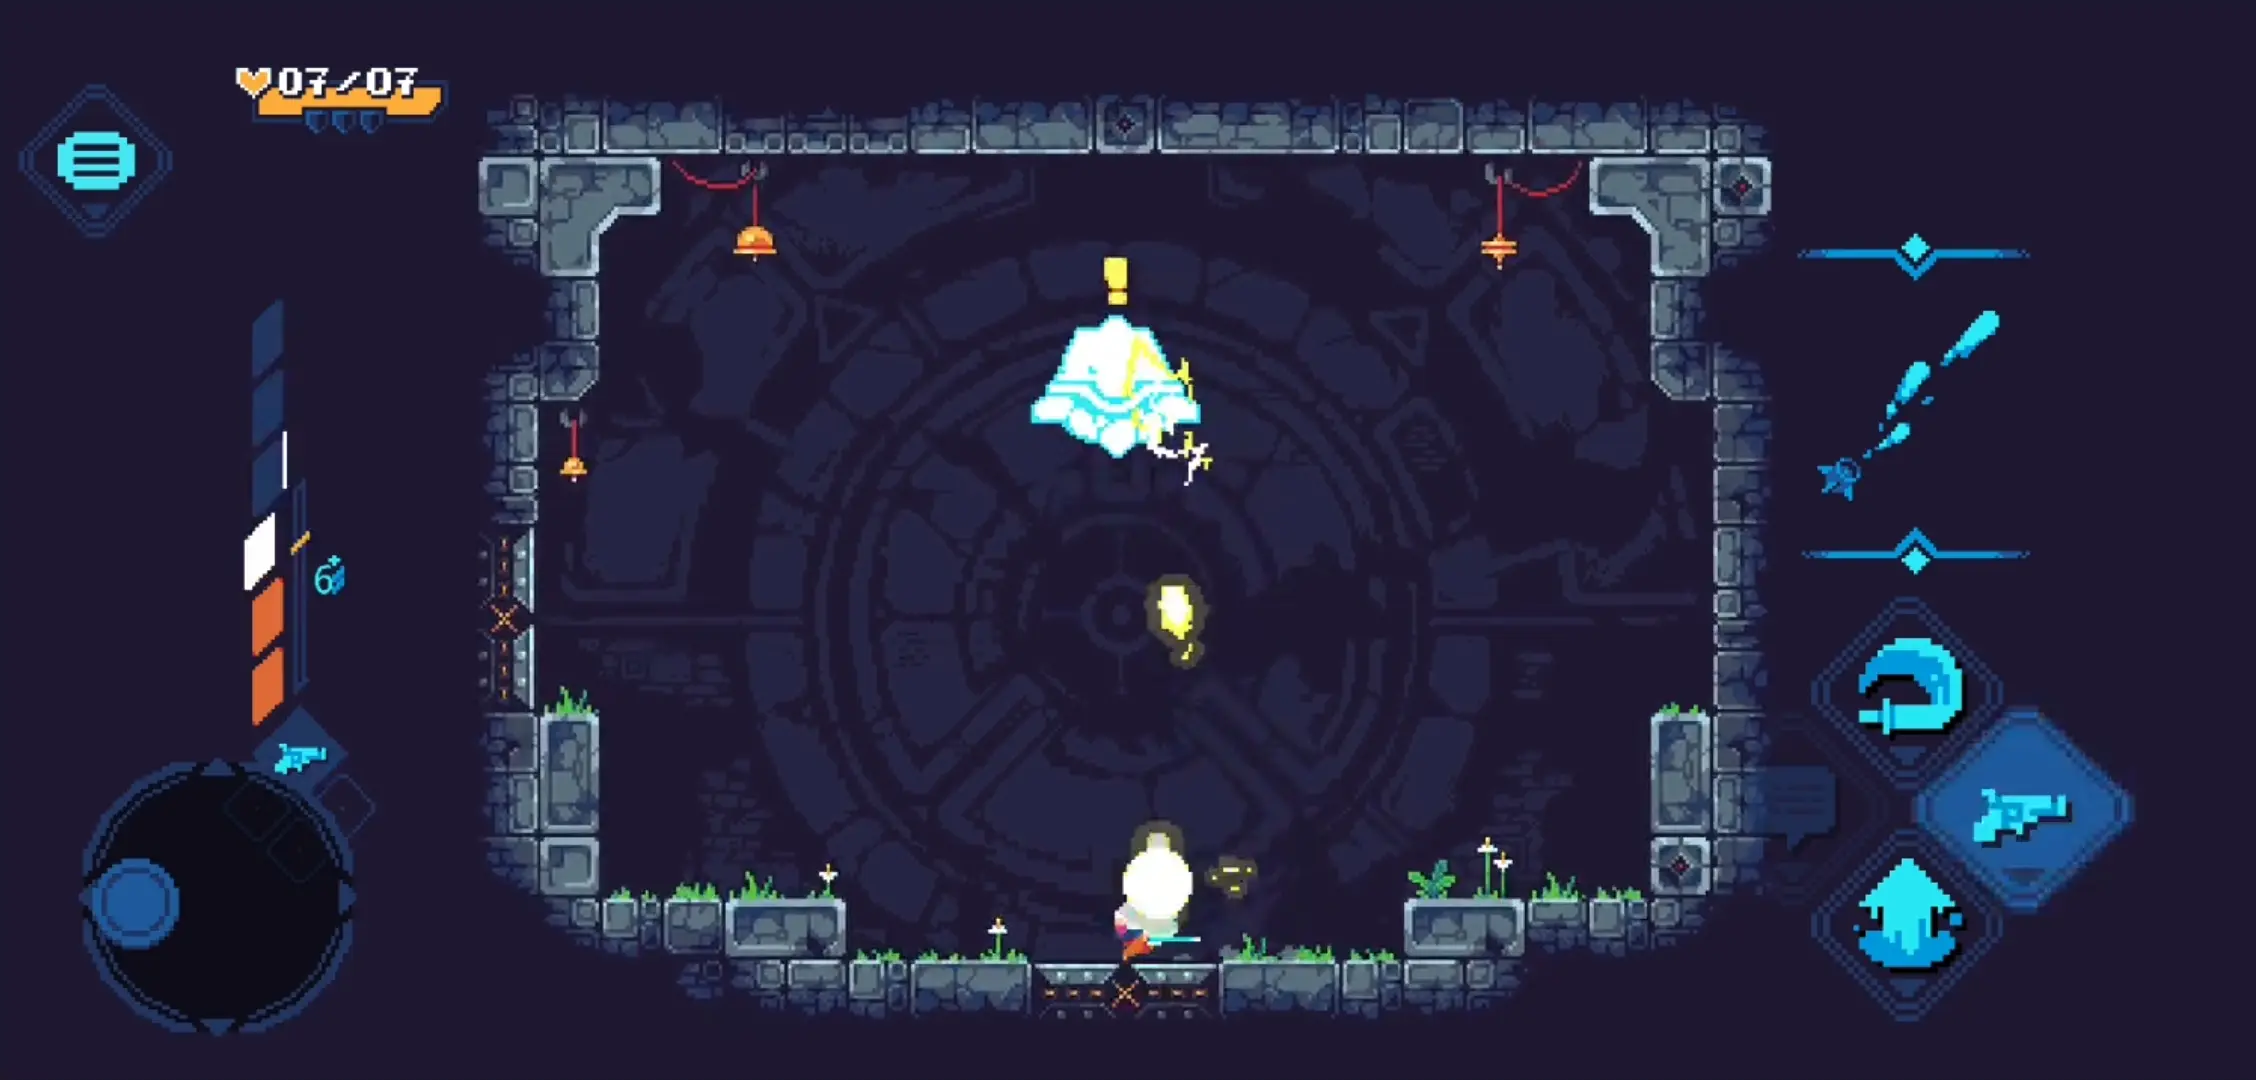
3. Guardians Protect Judges
In each Realm, you will encounter a highly dangerous enemy, bigger than the regular ones that you will face, called a Guardian.
Guardians come with their own set of attacks and none of them is anything to sneeze at. To underestimate them and attack them in a blind rage will mean suicide. Killing them, however, will open the door to the Judge’s room. You will not be able to open this door if the Guardian remains alive.
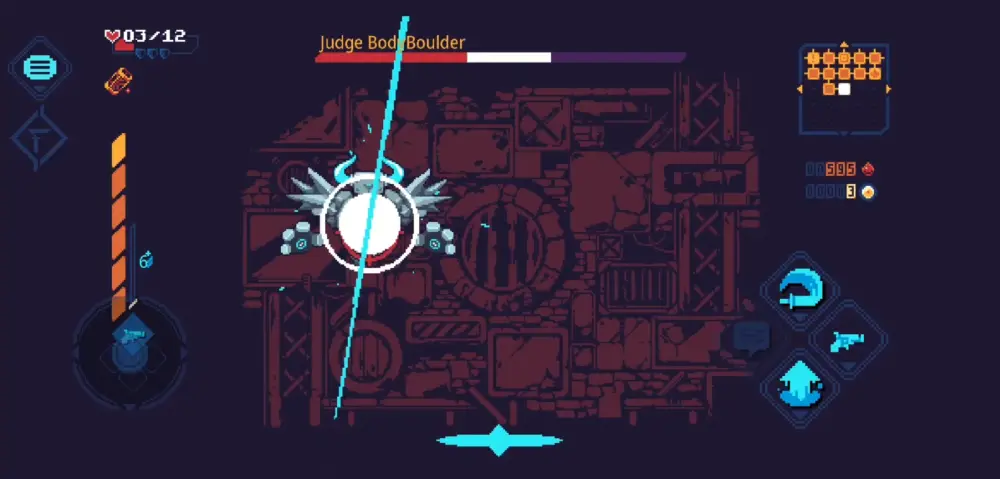
4. Judges Protect Passage
Wouldn’t you like to know what else the ScourgeBringer holds? Slay the Judges and you will find out.
Judges are almighty beings that protect the passage to the next area. In layman’s terms, they are the end boss of a Realm. Be warned that Judges fight, unlike anything you will have encountered before. Their attack patterns will not at all be familiar firsthand, but upon fighting them a few times, you will be properly acquainted with the extent of their powers. Defeating them is easier said than done, so be prepared for pain, and lots of it.
5. You Will Die

Death is everywhere.
After sustaining a certain number of hits, Kyhra’s consciousness fades and she will find herself at the Chiming Tree once again all thanks to dying.
It’s on the floor you step on, it’s in the slugs, it’s in the next purchase you make with Greed, Xi’Pos, or Lefanu, it’s in the dodge you failed, it’s in your next boss fight, it’s in your next run. No matter how skilled you are, you have to be prepared for death. Dying is a means to learn but nothing to frustrate you here. For example, clearing a room of enemies will cause all traps to cease functioning or erase most bullets on the screen. You will have your little moments of reprieve, but never forget that death is always around the corner here.
The ScourgeBringer is a merciless environment as a whole. With these 5 important reminders now in plain view, it’s time we address how you can keep Kyhra from dying too often.
General Tips for Survival
Despite the last item sounding very grim, there are many ways you can circumvent failure. While it’s easy to say that one should “get good”, it’s hard to put most of these into words since skill is a great factor that comes into play with ScourgeBringer. Instead, the list below is the best way we can outline how you can develop such a skill by putting these into practice.
1. Be Aware of Your Surroundings
Look alive, sunshine. The enemy won’t wait for you to strike, so don’t be a sitting duck.
While you move around, leap from wall to wall, and slice through the enemy horde, you might get distracted by things that might put a wrench in your gears: traps. Traps are simple mechanisms that would often trigger upon player contact. Ideally, the spike traps shouldn’t be stepped on.
When a spike trap is stepped on, it will briefly expose the tips of the spikes before coming up fully to impale Kyhra. The moment when their tips emerge won’t hurt her but the spikes stabbing outward from their holes will. This should give you enough time to move away.
If it isn’t spike traps, be sure to look out for enemy bullets. Stray bullets can be a common thing (especially in the second Realm). Most bullets travel quickly, but some of these travel quite slowly and could be a nuisance if there are lots of them all at once on-screen. If you have the Lethal Club upgrade from the Chiming Tree (which we will talk about later), this will make this problem less prominent, but it still takes some skill to deal with stray bullets.
With stray bullets being a problem, being aware of your surroundings may also apply in a defensive sense. Pay attention to the layout of the room: are there places you can hide in case the enemy sprays fire at you? Is it completely safe to step there? Find places where bullets cannot touch you.
Apart from your environment, most of the time, it’s your enemies that you’ll have to pay close attention to.
2. Observe the Enemy Before Attacking
As they say: “Keep your friends close, keep your enemies closer.”
While the saying could mean that you should treat your enemies so kindly that they wouldn’t know that they’re your enemies, it could also be interpreted as having to watch their moves in case they move against you. In this case, it’s great to watch the behavior of your enemies before diving in to slice them to pieces.
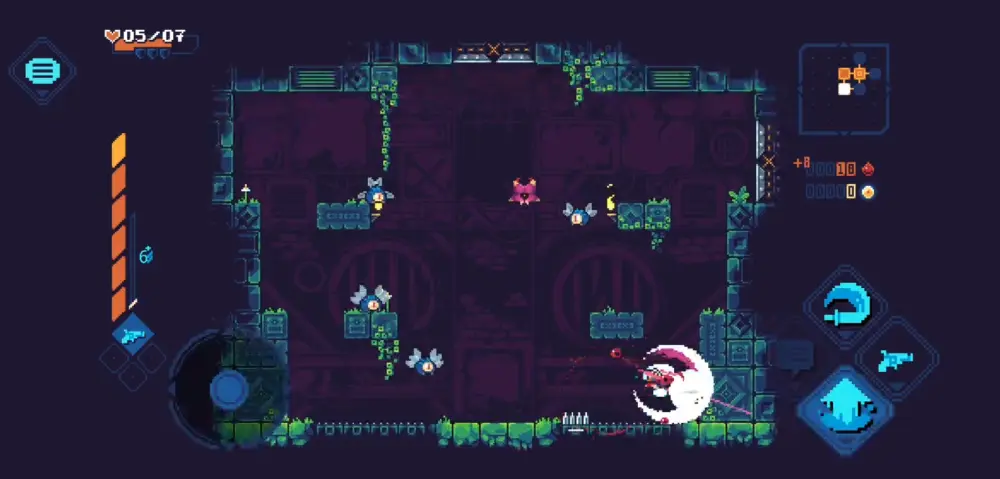
Each enemy in the ScourgeBringer has its own set of attacks. Some enemies make their attacks more apparent than others. For example, the Devil enemy will fire a salvo of 3 shots at Kyhra when she’s in their line of sight. The moment they spy her, a small exclamation point (!) appears atop them and they will proceed to fire shortly after. Now, you have two options in a situation like this if you come across one of the Devils:
a. Zip straight toward it and stagger it with a Smash before it fires
b. Let it fire and then take cover
Regardless of your actions here, your decision-making skills in the game will get quicker and quicker the more enemies you encounter, especially if they all behave differently. In the later Realms, you will encounter even more enemies that are more aggressive.
That said, such enemies should be on your watch list all the time.
3. Annihilate Potential Threats First
When you enter a room full of enemies, which enemy do you prioritize?
While it may feel satisfying to go all out swinging and bringing down one enemy at a time, it’s best to tackle your enemies as a priority. This means taking down enemies that are immediate and potential threats to you.
Let’s take this situation: in the Still Bastion (the second Realm), you will encounter a room full of Bouncy-Jellos and Fall-bots on the ceiling. Do you take out the Bouncy-Jellos first because of their slow projectile attacks or do you kill the Fall-bots first because they may catch you off-guard? We’d take out the Fall-bots first especially since they turn into projectiles when they do fall and split into two more when they make an impact. The Bouncy-Jellos themselves are fine on their own, but having them fire too many projectiles at once could make moving around the room difficult.
Here’s another scenario worth thinking of: you are in the middle of a challenge room and two Alpha Devils along with a slew of smaller enemies spawn, with the two Alpha Devils being on opposite sides of the room. Which one of these Alpha Devils will you kill first? Will you take out the small fry before assaulting them? This decision should be made before one of the Alpha Devils (or both) open fire at you. That would be catastrophic if you don’t take cover in time.
If you can’t decide and you’d like the room to be cleared, it’s time for Kyhra to lose herself in her rage… but that won’t always be effective.
4. Time Your Fury Right
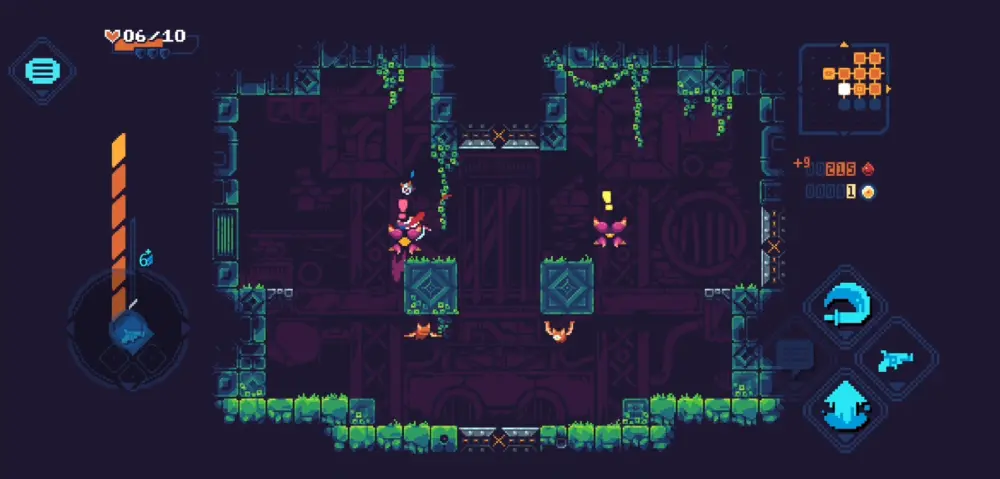
A rage constantly seethes within Kyhra. Unleashing this would spell doom for the enemy, but using it all the time wouldn’t be the best of decisions.
While unlocking upgrades on the third branch of the Chiming Tree, you should come across the upgrade called Fury. This special technique will cause Kyhra to slice and dice everything at a speed so blinding that she vanishes from the screen and appears as a series of flashes. Each enemy she passes will be cut down and enemies that seem sturdier than others will receive a continuous walloping of edged metal. Kyhra will relent her Fury after a few seconds and become visible to the enemies and the player once more. She will then have to fill this up by fighting. As powerful as this skill is, using your Fury at the right moment can make a difference.
Consider this first: Fury on its own without too many upgrades makes for a difficult skill to charge up. If anything, it takes a while for this powerful skill to fill, and even then, you might encounter the Realm’s Judge with a Fury bar half-filled if you speed through it. Try saving up your Fury for the Judge or the Guardian if you’d like to make sure that the fight stays short. If you’ve got the stones and skill for it, try saving your Fury solely for the Judge instead. Take that Guardian out with nothing but your sword and gun!
Given that this game is a roguelite, it’s best to always explore each Realm to see what it can offer you.
5. Explore Each Realm
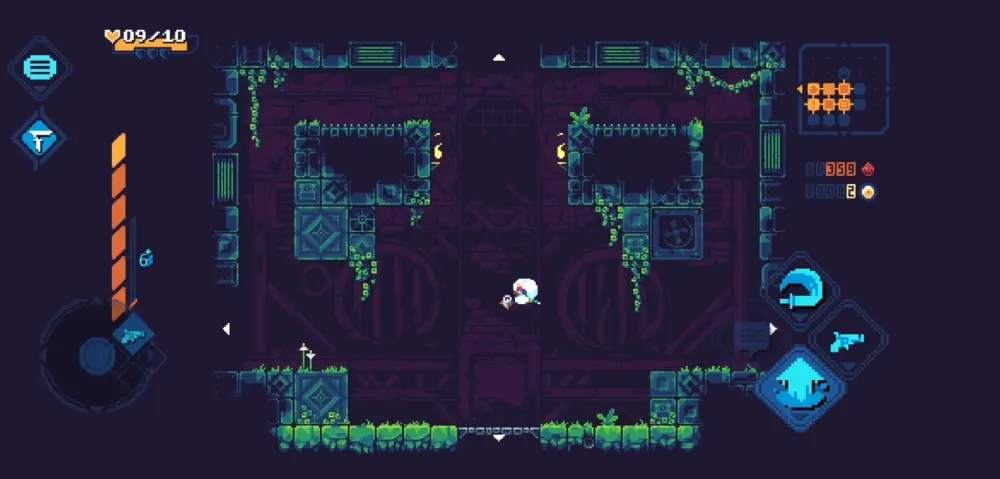
Aren’t you curious to know what secrets each Realm holds?
Exploration in the ScourgeBringer is always filled with danger since you’re more than likely going to be hit one way or another. But if you don’t explore anything and strive to solely find the Guardian and Judge of the Realm, you run the risk of making Kyhra weak. Although exploration will most likely keep you from seeing Peppy in the next Realm, it pays off most of the time.
We know, we mentioned a rule that everything else in the ScourgeBringer apart from the upgrades from the Chiming Tree isn’t permanent. Although this is all completely true, it doesn’t mean that it can’t help. Investing in the things that the merchants sell to you could help you deal more damage to your enemies and keep the fights reasonably short. Though, we won’t spoil you as to why Garo and Peppy don’t trust the likes of Greed.
Another reason why you should explore is that, apart from some enemies dropping free stuff, you gain more blood that way. Collecting as much blood as possible, especially if you unlocked the Crystallization upgrade from the Chiming Tree, will greatly help you in your runs. Again, we’ll talk about upgrades from the Chiming Tree at length quite soon.
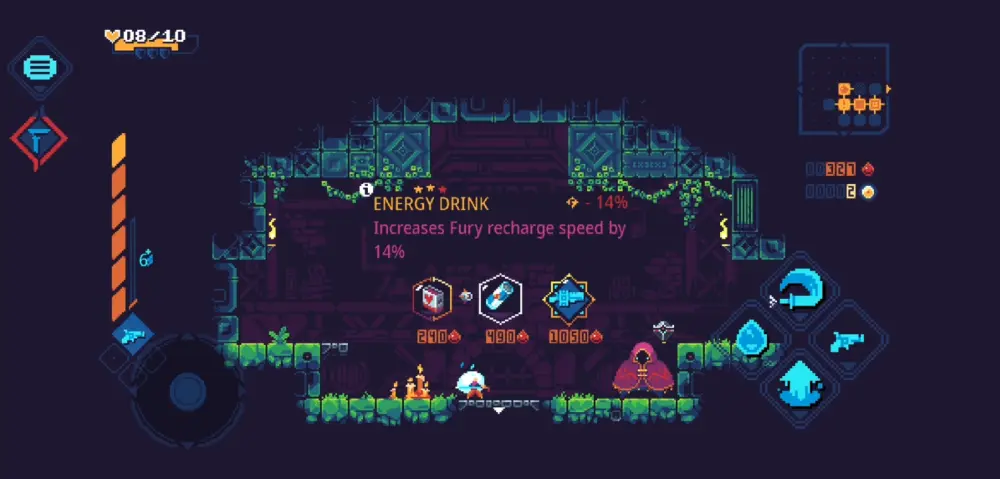
Occasionally, you will encounter an Altar of Blood whenever you explore.
6. Pick Altar Blessings that Work for You
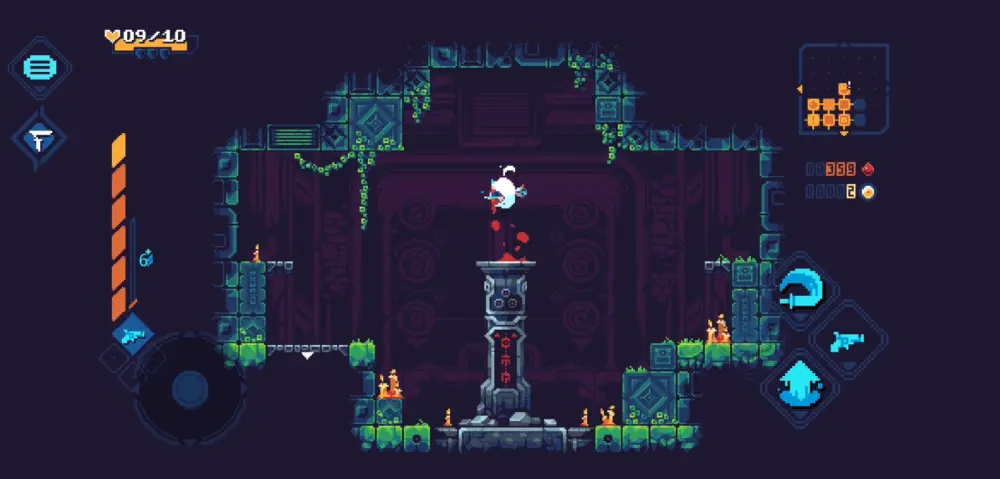
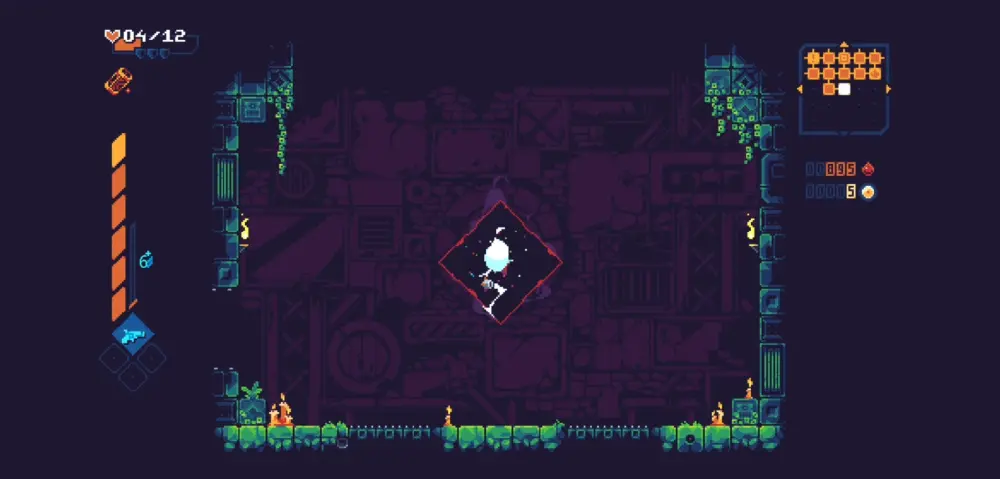
The Altar of Blood is a mysterious structure that grants power to those who come to it.
Upon stepping on the Altar of Blood, Kyhra will begin to levitate and then be given a trio of random blessings to choose from. She cannot have them all, so you will have to pick one of them wisely. The question here is, which ones do you need to pick? Our answer: any of them!
Picking a Blessing that benefits your current situation. Below are all the available blessings in-game and we will suggest when might be the perfect time to use them:
● Biting Harder — This isn’t recommended early on, but get this if you already have Bear Spirit, Numbing Field, and/or Floor is Lava.
● Bear Spirit — Feel like you wanna dance with danger? Get this one and live on the edge.
● Blood Favor — Get this only if you don’t have any shop-related blessings. Useful if you’re hoarding blood.
● Bullet Bending — Get this if you want to be more effective while deflecting bullets with the Smash. This also goes quite well with Heavy Hitter.
● Double Bleeding — Great for farming blood! Get it if you need more.
● Determination — Perfect for when Kyhra is at 1HP. This is a no-brainer.
● Faster Dragon — A must-have if you have the Dragon Punch with you.
● Floor is Lava — Requires skill to pull off, but very rewarding. Get this if you know how to kill enemies without touching the floor.
● Fusion Core — This should be a favorite if you love using the BLAST.32 or if you have it upgraded.
● Generous Altar — Get this only if you feel like your luck hasn’t been well with the last Altar visits.
● Hard Skin — Perfect to have if Kyhra hasn’t been hurt yet. Otherwise, it’s not recommended if her HP is in the pits.
● Heavy Hitter — This one is recommended if you really enjoy deflecting bullets, also if you already have Bullet Bending.
● High Confidence — This one isn’t recommended for beginners. Get this only if you’re a skilled gunner. Goes great with Fusion Core and Floor is Lava if you wanna be a total badass.
● Hot Stuff — Get this in Realms past the Entangled Ingress. If you happen to find this one early take it if you feel like you have a hard time dodging bullets.
● Instant Gift — This is recommended if you aren’t confident that you won’t be able to defeat the next Judge.
● Instant Mod — Great if you want your weapon to be stronger. Always a good option.
● Keen-Eye — Only get this one if you’re an avid shopper or if you need healing.
● Keep Rolling — This is fine if you like shuffling merchandise with the Smash. Otherwise, it isn’t very important.
● Larger Smash — Always great to have, especially if you have the likes of Bullet Bend, Heavy Hitter, and Stun-Locker.
● Last Stand — Goes perfectly with Bear Spirit, otherwise very tricky to use. Good luck!
● Lay Down Arms — Do you feel like your current weapons are slowing you down? Get this one. Great to have if you also find it early.
● Lucky Charm — This is great no matter what. This will help Kyhra get stronger quicker, especially if the rooms drop loot.
● Merciful Shop — Get this one only if you have low health. Discounted items can go a long way.
● Numbing Field — Get this if you know you get hit too often.
● Quality Looter — We recommend getting this if you already have Lucky Charm. Either way, it’s fine to have.
● Stun-Locker — This one’s always fun to have. Take this one especially if you love using Smash.
● Threat Dampener — Great to have any time. Get it when you see it.
● Top Predator — This is not recommended for beginners, but get this if you know you can kill your enemies without getting hit. Great if you have High Confidence and/or Hot Stuff.
● Turbo Loot — This is good for any occasion but gets this if you want the Judge to drop more stuff than usual.
● Ultra Combo — Getting this rewards combo greatly. If you enjoy doing lots of combos, get this one.
Whenever you find yourself at an Altar of Blood, always consider the situation you’re in. If you think that there isn’t anything great, pick the one that you most likely feel might be good for your run. Say, if you feel like luck is on your side, getting any of the loot-giving blessings should suit you nicely. There are also Cursed Blessings when you find Cursed Altars, but we’ll leave you to find that out yourself.
Now, what should we do about those pesky Judges and the next Realms they guard?
7. Fight a Judge with as Much HP as Possible
Judges, mighty creatures that act as their name implies as well as jury and most importantly, executioner.
Their attacks are terrifying and they’re quite the challenge if you aren’t prepared. But one way you can prepare yourself for a Judge is if your HP is high. That way, you have room for error. One technique that may improve your skill is restarting your run if you get hit at least 3 times.
This means that if you start a run and get hit 3 times, it’s time to pause the game and tap Return to the Tree. Sure this may sound unforgiving, but it will train you to not get hit. The rationale behind this is simple: if you reach the next Realm without incurring any damage, you’ll be prepared for whatever enemies lurk there as well as the next Judge. You may push yourself to do the same for the next Realm until you get things right.
When you fight the Judge at high health (or full health, especially if you have the Top Predator blessing), you’ll be able to make mincemeat of them if you’ve memorized their attack patterns. Apart from this, it should give you better confidence in handling the trickier blessings (and make you look cool). This is all part of practice, but making sure you fight a Judge at high health is always important. Of course, the whole repeating a run after being hit thrice is just a suggestion; you don’t have to do it, but it’s good practice regardless.
If you feel like you’re lagging behind a little, a quick trip to the shops won’t hurt as they will most definitely help you in your quest.
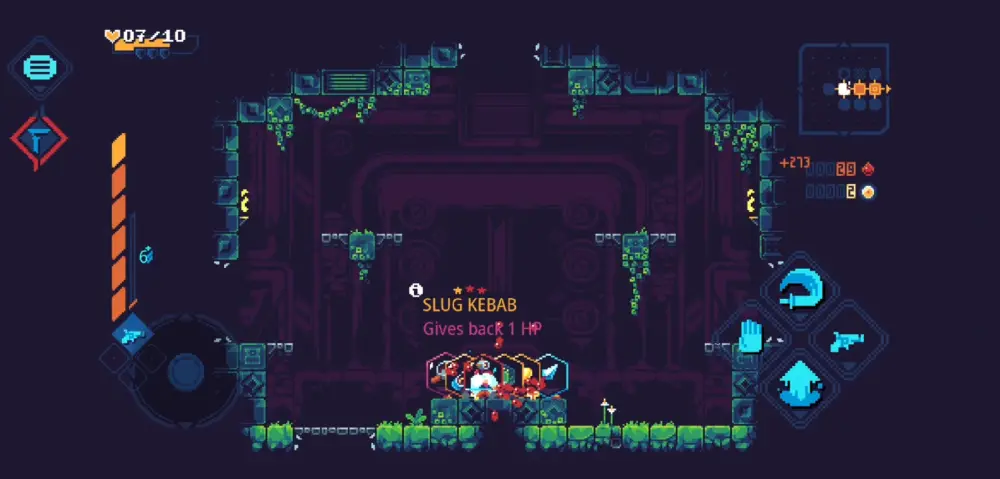
8. Spend Your Blood Wisely
A few drops of blood to Greed won’t be such a bad thing, right? … Right?
Much like in real life, earning and spending your money wisely takes some smarts to master. You have to know when to spend on things or have the foresight for when you need them. The same goes for the shops within the ScourgeBringer itself.
If Greed offers you a Slug Kebab for when your HP is more than half, don’t buy it. Instead, just save up for something more useful, like say, a Kunai or a Frying Pan. The only time you should be spending on healing items is when you’re about to die or if you know you can afford it. Otherwise, you can Smash shop items to re-roll them. Be warned that doing so will raise their prices slightly unless you have the Keep Rolling blessing.
Xi’Pos has a shop that sells slightly more expensive items, but these are more likely reserved for when you can afford these. Instead of items that directly affect Kyhra, Xi’Pos’ shop focuses on weapon upgrades and mods. Get these if you’d like to change the way your BLAST.32 behaves.
Lastly, there is one more merchant that doesn’t take blood for payment, but instead your current HP. The items in Lefanu’s store are quite practical but they can only be bought with the current amount of HP you have with you. If you think you might get some healing in the next Realm or the next few rooms, take some of his wares. Just don’t get yourself killed!
Though, whenever you get yourself killed, you will always end up at the Chiming Tree. How about we talk about this mysterious plant next?
9. Invest in Practical Chiming Tree Skills at First
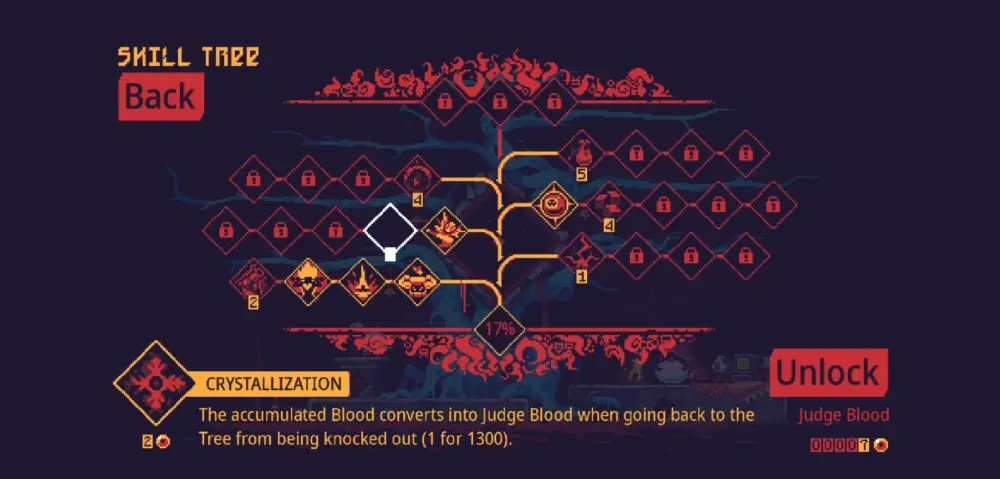
As you continue to offer up the blood of Judges to the Chiming Tree, it will continuously be adorned with all manner of bells and chimes. This is where it gets its name.
Gaining Judge blood is difficult. It only drops from Guardians and, you guessed it, Judges. Unless you buy the Crystallization upgrade (which helps you earn Judge blood faster), you’ll find that this might feel a lot like a chore.
In the beginning, the Chiming Tree won’t chime at all, but that’s where you will always start. The first few upgrades it should have available are the following:
● Oak Skin
● Lightning Travel
● Lethal Club
● Striking Smash
● Gyroscopic Compass
● Starting Package
This is where practicality should kick in. The upgrades you will need are Oak Skin, Lethal Club, and Striking Smash. Not only are these effective in any situation, but they’re also quite cheap. Buying more of these upgrades will unlock more down the line. Here are a few recommendations for what you should invest in early on:
● Oak Skin
● Lethal Club
● Striking Smash
● Resilient (unlocked after purchasing Ground Pound)
● Crystallization (unlocked after purchasing Lethal Club)
● Fury (unlocked after purchasing Crystallization)
Having these should be Kyhra’s bread and butter. Otherwise, try to aim for extremely powerful upgrades such as the Dragon Punch, or Charging Fury. They’re quite costly, so be prepared to farm for Judge blood or die trying.
If you’ve been dying and trying the whole time but can’t seem to understand why you might not be getting any better at getting to the top of the ScourgeBringer, perhaps it’s time you take a step back and see what happened.
10. Understand What Killed You and Why
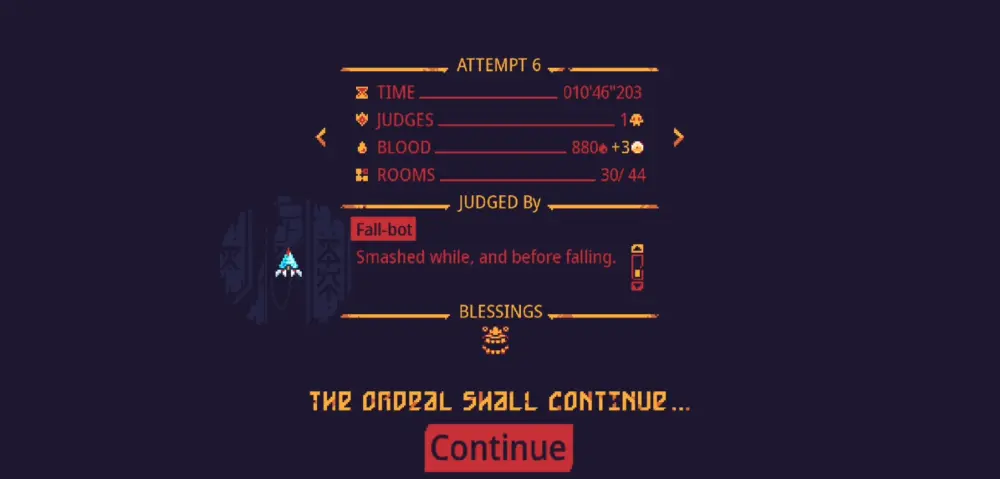
You’ve died, and you find yourself at the Chiming Tree again. Have you taken a close look at the stats page that shows up?
ScourgeBringer, as a game, is quite ruthless in its difficulty, but that doesn’t mean it doesn’t want you to succeed. The game is pretty generous in the sense that it tells you what killed you and why. Whenever Kyhra has been given judgment (that’s a lore-friendly way of saying that she was killed off), the game will show you what caused her death. Sometimes, they even explain the behavior of an enemy’s attack.
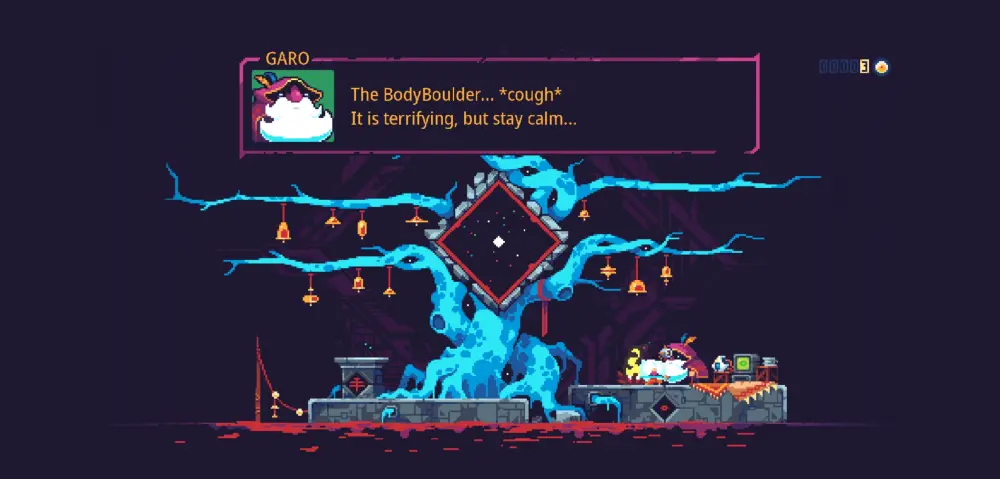
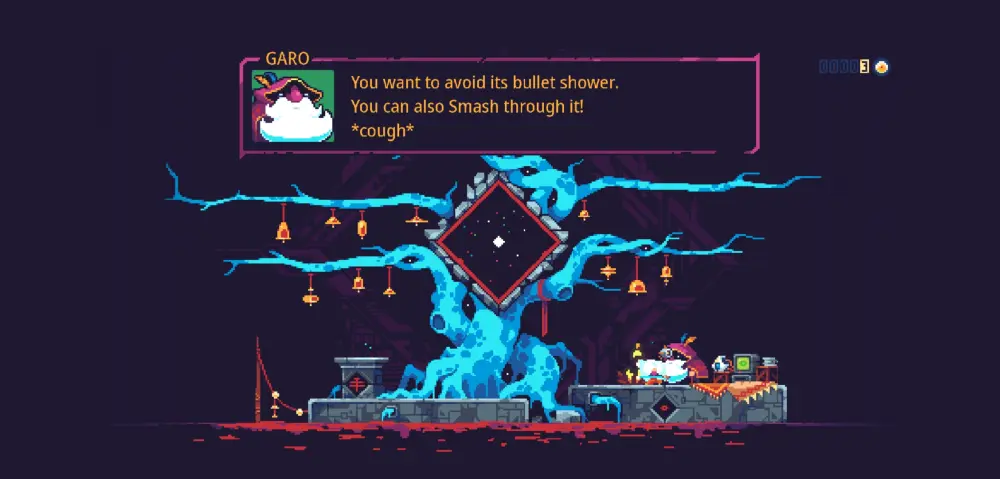
Another means of understanding this, particularly if a Judge had you killed, is by speaking to Garo, the mysterious old man that stays at the Chiming Tree. If he has an exclamation point on his head, he might give you a helpful hint about the Judge that killed you so that the next time you encounter the Judge, you’ll be more prepared.
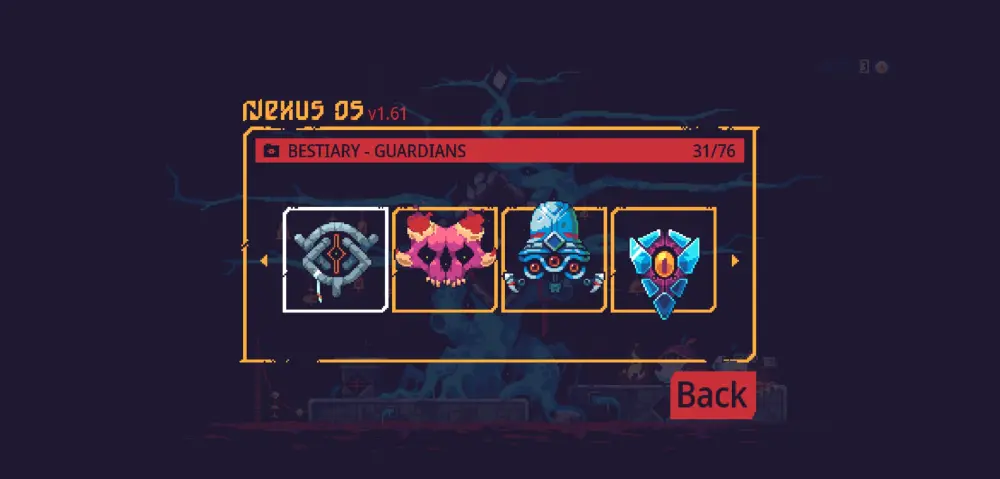
The last, surefire way of understanding your enemies, especially Guardians and Judges, is to browse the bestiary on the Nexus Computer (once you find it and have it installed at the Chiming Tree). Here, you’ll be able to study each and every enemy. Knowing their type might also help you choose your weapon mods better from Xi’Pos’ store.
For example, if Xi’Pos has a Phasing Mod for your sword, buying this will cause Kyhra to deal more damage toward the first Judge, BodyBoulder. The Phasing weapon mod allows your sword to deal increased amounts of damage toward construct-type enemies. Hit the books (or the computer, in this case) because knowledge is power.
The most important piece of advice we can give you is to not give up. Giving up and not trying to understand how the enemy behaves means half the battle is lost. Don’t do it, keep going forward and keep practicing! At least keep some of our pointers with you whenever you try again:
● Move about, but don’t sit too still, the enemy might get you first. Also, be careful of traps!
● Keep your eye on the enemy and make sure that their attacks don’t touch you.
● If there are enemies in particular that you do not like, kill them first and worry later.
● Using your Fury at the right moment makes a huge difference.
● Explore if you want to maximize the loot you get from a floor.
● There are all sorts of Altar blessings, but only pick the ones that suit your current situation.
● Train yourself to fight a Judge with a high amount of HP left in you.
● A lot of things that are for sale are pretty, but only buy the ones that matter, especially if you need them.
● Practical skills from the Chiming Tree will carry you very far.
● Study your enemies and understand their attacks through the bestiary or the stats screen when you’re killed by a particular enemy. Also, talk to Garo.
Humanity’s fate is now in your hands. Guide Kyhra true and bring the ScourgeBringer down once and for all. May your steel be ever sharp and your barrels be ever emptied into the skulls of the fiends within. Fight on!
Have you been in and out of the ScourgeBringer itself before? Do you know what true secrets lie within? Are you hungry for blood but don’t want to share with Greed or Xi’Pos? Leave your thoughts in the comment section below!