Of course, every card game has a tier list. Marvel Snap is not an exception. After all, not all cards are equal, and some are extremely niche. And then some are just so meh that it’s hard for them to find a home anywhere. While it’s technically possible to create a deck that uses specific “bad” cards, it’s equally important to recognize which cards are extremely powerful and versatile from the get-go.
Foreword
A few words before we begin this Marvel Snap Card Tier List.
- All cards in this tier list have been released and can be acquired in Marvel Snap one way or another.
- The cards are sorted by ascending cost, from 0-1 up to 6+.
- Cards are not sorted by the pool.
Finally, as with all tier lists, this one is opinionated and subjective. It’s based on my own experiences and research. It’s not the end-all, be-all, and at the end of the day, you are completely free to disagree and use your cards as well as your judgment calls.
That said, let’s begin our Marvel Snap Card Tier List!
0-1 Cost Tier List
| S | Zero, Iceman |
| A | Rocket Raccoon, Yondu, Sunspot, Deadpool, Korg, Human Torch, Elektra, Ebony Maw |
| B | Wasp*, The Hood, Agent 13, Mantis, Iron Fist, Blade, Nightcrawler, Nova, Quinjet |
| C | Yellowjacket*, Squirrel Girl, Quicksilver, Angel, Hawkeye |
| D | Uatu the Watcher, Misty Knight |
S-Tier
Zero
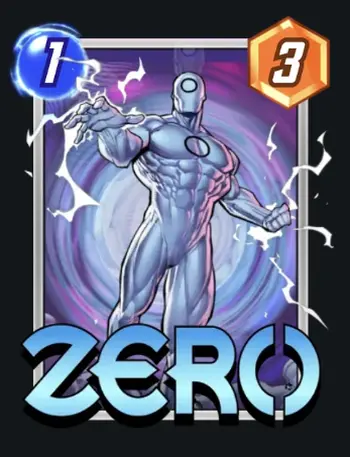
3 Power
On Reveal: Remove the abilities of the next card you play.
The idea behind Zero is that his ability is a drawback. Couple it with cards like Ebony Maw, and you do not only get a cheap, effective beatstick, but you also get Zero’s appreciable 3 Power body.
Iceman
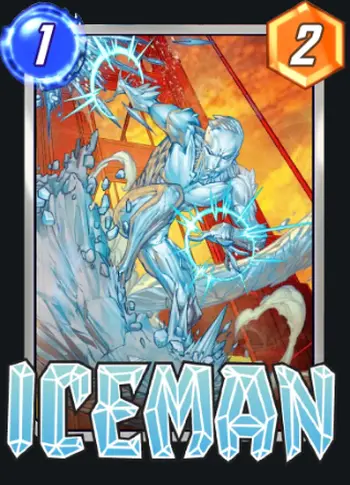
2 Power
On Reveal: Give a random card in your opponent’s hand +1 Cost (max 6).
Iceman packs great disruption in that his effect is not easy to play around with. While he does suffer from random targeting, think of it this way: you’ve potentially forced your opponent to rethink one of their turn’s strategies.
Related: Marvel Snap Beginner’s Guide: Tips, Tricks & Strategies to Dominate Matches
A-Tier
Rocket Raccoon
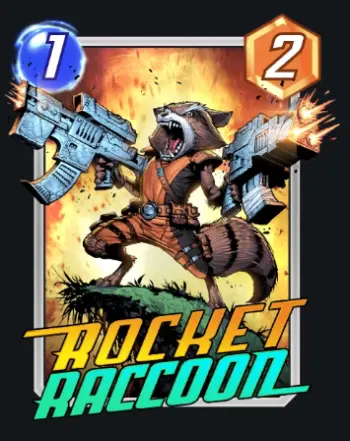
2 Power
On Reveal: If your opponent played a card here, +2 Power.
One of the two 1-cost Guardians of the Galaxy is also one of the better cards in the game. Even if you lose the gamble, you still have a decent 1/2 body on the field. And if you win? 1/4 is a big early-game threat.
Yondu
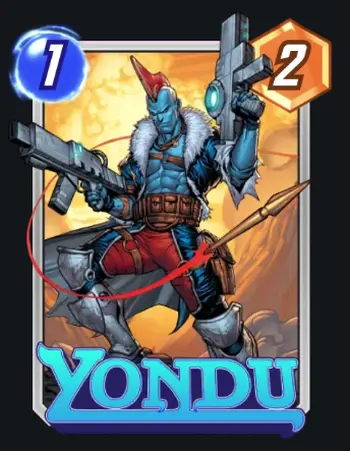
2 Power
On Reveal: Remove the top card of your opponent’s deck.
While I’m never a fan of random targeting (and removal), the effect that a single Yondu can have on a match is outstanding. The tighter the ship your opponent has to run, the more important every single card in their deck is – and Yondu, a simple 1-cost card, can throw a huge spanner in their works.
Sunspot

1 Power
At the end of each turn, +1 Power per unspent Energy.
Sunspot is 1-cost 1-2 punch. Either you pass and beef him up considerably (and yes, his Power continues to grow every turn) or you trick your opponent into thinking you’re going to power him up. This makes him a good card to pair with The Infinaut, who requires you to skip a turn.
Deadpool
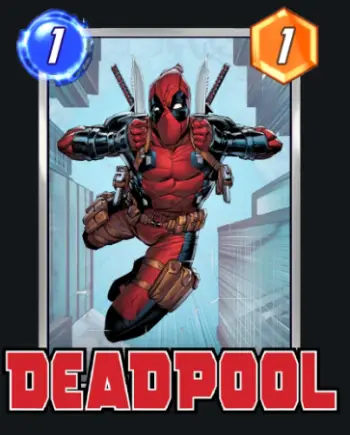
1 Power
When this is destroyed, return it to your hand with double the power.
Deadpool is a powerful card that requires a lot of investment as every time he’s destroyed, he comes back twice as strong as ever. This necessitates that you destroy him multiple times throughout a game – so use him in a deck that’s dedicated to destroying cards and pair him with characters like Carnage or Venom. While Deadpool is a strong endgame card himself, you can split push lanes with Death, who will come out a lot cheaper (or even free!) thanks to Deadpool’s constant bounces.
Related: Marvel Snap Pool 1 Decks Guide
Korg
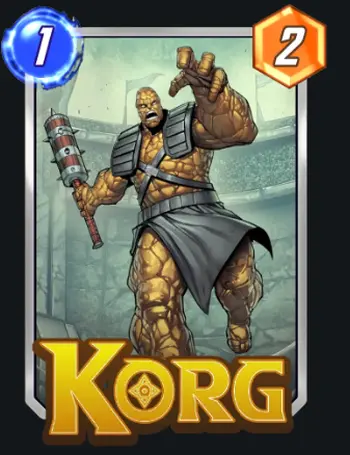
2 Power
Shuffle a Rock into your opponent’s deck.
The earlier an “add a disruption card” is played, the better. Korg does just that, potentially replacing one of your opponent’s good draws with a (mostly) useless Rock. I prefer Yondu due to his guaranteed removal, but Korg is okay too.
Human Torch
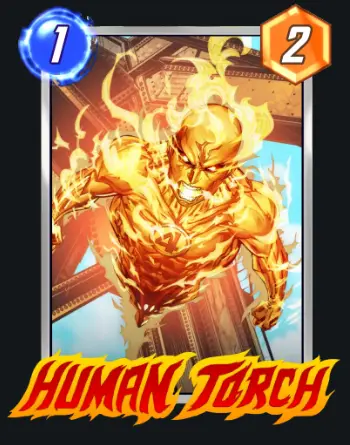
2 Power
When this moves, double its Power.
Just like Deadpool, Human Torch is a potent endgame card from the get-go. And just like Deadpool, you’ll need to invest heavily in pushing him around to maximize his potential.
Elektra
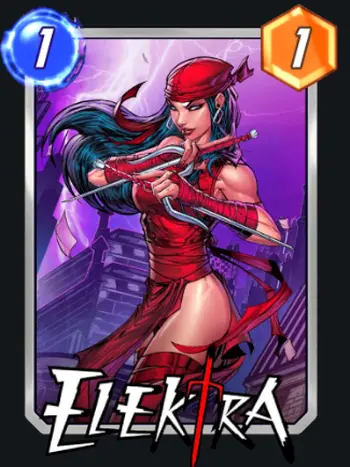
1 Power
On Reveal: Destroy a random enemy 1-cost card here.
Elektra is a cheap and easy out to cards like Sunspot and Human Torch. Just don’t use her against Deadpool.
Ebony Maw
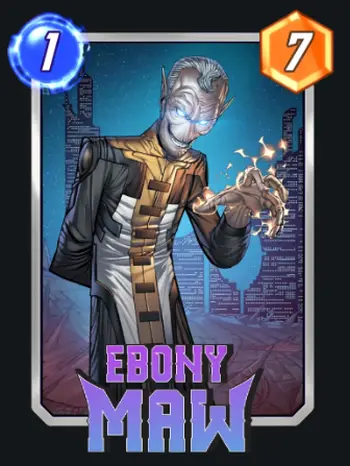
7 Power
You can’t play this after turn 3. Ongoing: You can’t play cards here.
Ebony Maw presents both an opportunity and a challenge. 1/7 is straight-up broken, but using him is a quick way to ensure you lose a board. Use him with cards like Zero to get rid of his downside, or better yet, find a way to dump him to your opponent’s side!
B-Tier
Wasp
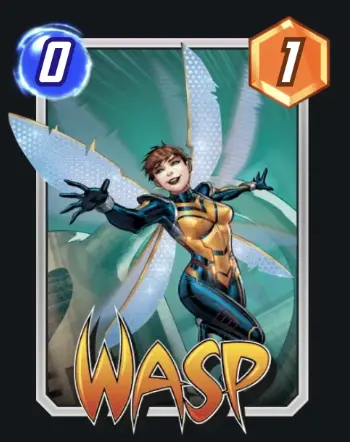
*Costs 0 Energy
1 Power
The whole point of Wasp is to work together with Lockjaw to hopefully cheat something big out of your deck. Wasp is optimal for this strategy as she costs nothing to bring out.
The Hood
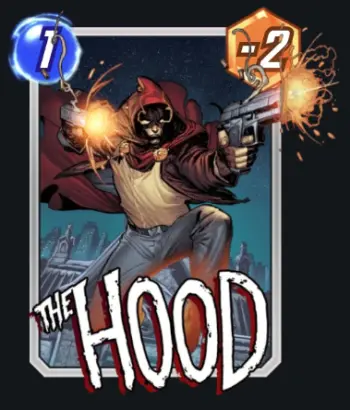
-2 Power
On Reveal: Add a 1/6 Demon to your hand.
The demon is great, but The Hood himself is not. Find a way to dispose of him, preferably by giving him to your opponent with cards like Viper.
Agent 13
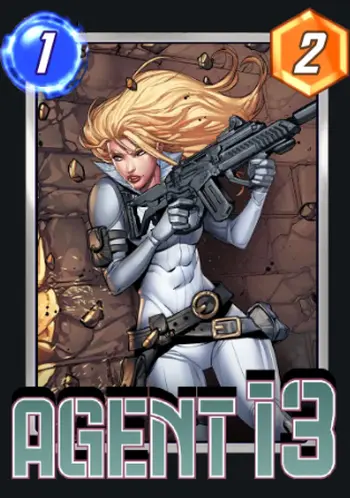
2 Power
On Reveal: Add a random card to your hand.
Agent 13 essentially replaces herself with a completely random card when she’s played. As the card you get is 100% random and not biased towards being useless in the current situation (just saying), Agent 13 tends to see more use in decks that build hand size or use The Collector for a big swing.
Mantis
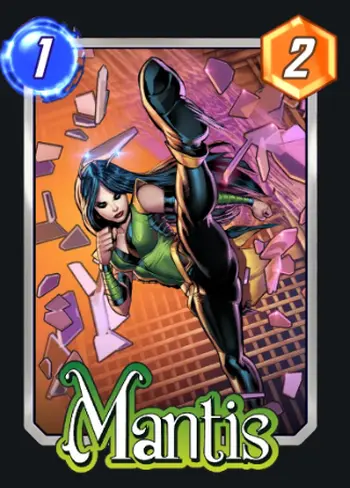
2 Power
On Reveal: If your opponent played a card here, draw a card from their deck.
Denying your opponent cards is a great effect, but stealing them is even better. Like the other Guardians of the Galaxy though, you’ll need foresight and luck to pull off a Mantis steal. Mantis also works great in The Collector decks as her effect draws from the enemy’s deck, not your own.
Iron Fist
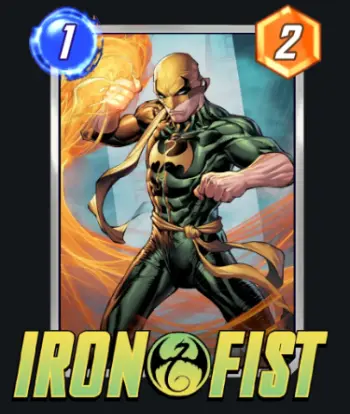
2 Power
On Reveal: Move the next card you play one location to the left before revealing it.
Iron Fist is a core member of movement decks simply because he’s cheap to play. That’s about it.
Blade
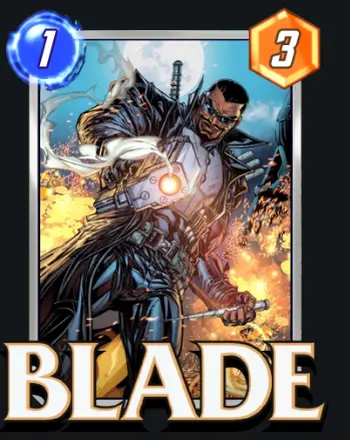
3 Power
On Reveal: Discard a card from your hand.
1/3 is okay, but I don’t think it’s worth a discard unless you’re playing a dedicated discard deck. Pair Blade with Wolverine and you instantly get a free body. Use him in any other deck and he’s meh.
Nightcrawler
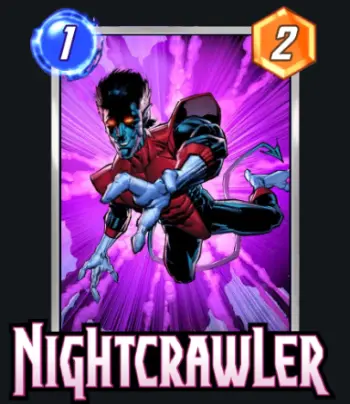
2 Power
You can move this once.
Nightcrawler is in a prime position to maximize early game board effects or to reinforce and add to arenas that prevent players from playing cards. While he’s not enough to turn boards on his own, Nightcrawler can cheese out wins by entering fields that other cards cannot, and if your opponent can’t stop you from doing so, you can snatch an easy win!
Nova
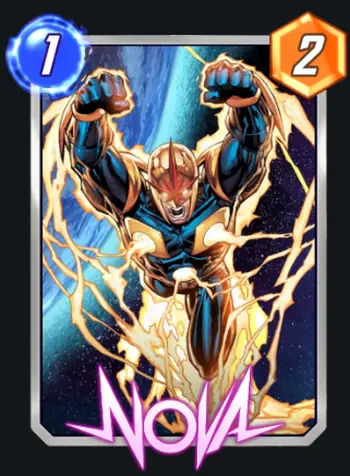
2 Power
When this is destroyed, your other cards gain +1 Power.
Nova is literally born to die. Excellent fodder for On Reveal destroy your own card effects as he not only fuels their effects but gives you a wide buff.
Quinjet
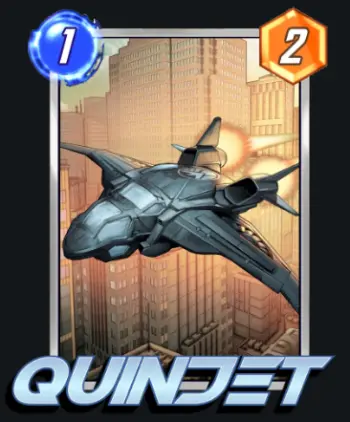
2 Power
Ongoing: Cards that didn’t start in your deck cost 1 less.
The Quinjet is a nice addition to “add to your hand” decks that run The Collector as a win condition. Cards like Cable and Mantis become even more effective when paired with this, as not only do you steal cards from your opponent, but you also get to play them for cheaper.
C-Tier
Yellowjacket

*Costs 0 Energy
2 Power
On Reveal: -1 Power to your other cards here.
Yellowjacket pretty much has the same deal as Wasp. Unlike Wasp though, he’s a lot riskier to play as the game goes on. At least Wasp has no effect at all.
Squirrel Girl

1 Power
On Reveal: Add a 1 Power Squirrel to each other location.
Most early decks I’ve fought have Squirrel Girl. Let’s be honest: your turn 1, 1-1-1 push is not going to define the game. More often than not, it’ll actively harm you as you not only have to commit a slot to Squirrel Girl but also have to give up 2 slots to her summons. Her whole shtick is that she’s a joke character that somehow always wins, but careless use of Squirrel Girl always seems to bite her user in the ass.
Arguably, the squirrels she generates are great destruction fodder for cards like Carnage or Venom. But there are better cards you should be destroying.
Quicksilver
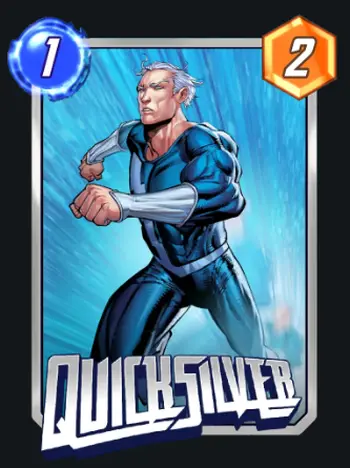
2 Power
You always draw this card in your starting hand.
Quicksilver is a new player trap – sure, he’s always in your starting hand. But is playing a 2-power card on turn 1 really that important? At the very least, he doesn’t show up later in your deck.
Angel
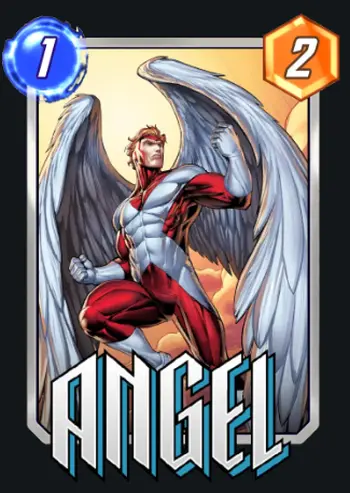
2 Power
When one of your cards is destroyed, this flies out of the deck to replace it.
Free is good, and Angel is usually free – unless he sidles into your starting hand. As his effect might suggest, he’s best in self-destruction decks where he can be seen as both destruction fodder and a way to thin out your deck. Apart from that though, Angel doesn’t see much use.
Hawkeye
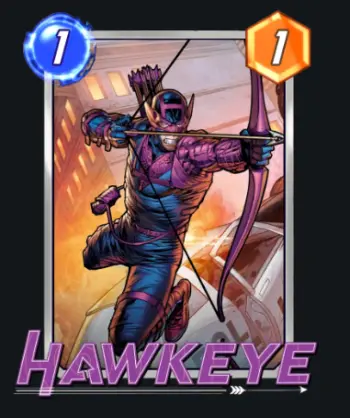
1 Power
On Reveal: If you play a card here next turn, +2 Power.
1/3 is good, but Hawkeye essentially telegraphs your next move. On the other hand, I’ve successfully used Hawkeye on later turns to bait my opponent into thinking I would play a card in his lane – but I will admit there are better ways to go about this rather than committing a 1/1 to the board.
D-Tier
Uatu the Watcher
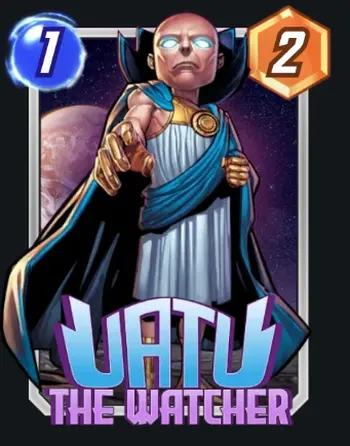
2 Power
You can see unrevealed locations when this card is added to your hand.
Knowledge is power, but in this case, it’s not enough. Advanced knowledge of the field is nice, but it’s hardly the determining factor on who will win the game. Add in the fact that this card isn’t guaranteed to show up in your starting hand, and is only useful in the early half of the match.
Misty Knight
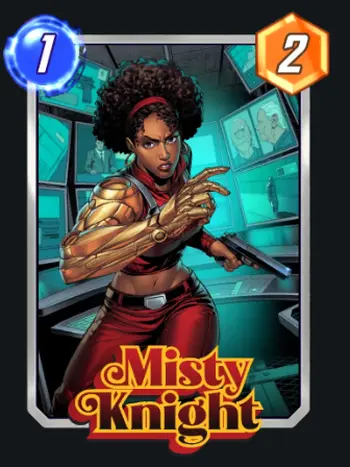
2 Power
So many interesting 1-cost cards with abilities and 2 Power, and you chose to play one that does absolutely nothing?
2 Cost Tier List
| S | Angela, Carnage, Okoye, Psylocke |
| A | Black Widow, Star Lord, Swarm, Medusa, Lizard, Mojo, Invisible Woman, Daredevil, Goose, Mysterio |
| B | Armor, Beast, Bucky Barnes, Morbius, Mister Sinister, Cloak, Forge, Wolverine, Adam Warlock, Colleen Wing, The Collector, Hit Monkey, Hazmat, Falcon, Scarlet Witch, Dagger |
| C | Kraven, Cable, Colossus, Quake, Viper, Domino, Multiple Man |
| D | Baron Mordo, Sentinel, Shocker |
S-Tier
Angela

1 Power
When you play a card here, +2 Power.
Angela has a simple yet incredibly potent ability that allows her to potentially become a 2/7. And at just 2 Energy, an early board Angela serves not only as a potent closer for a board but also as an ongoing threat that your opponent needs to keep in check.
Carnage
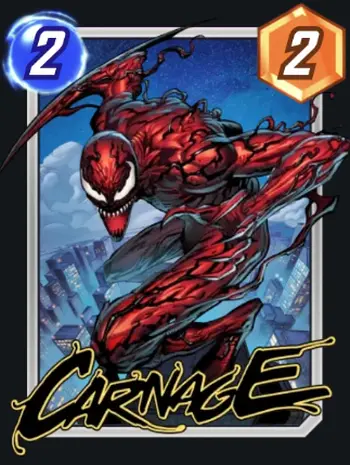
2 Power
On Reveal: Destroy your other cards here. +2 Power per card destroyed.
Yup, this is an incredible effect. Given that it’s pretty easy to have at least some cards on the board on the second turn (Ninjas, Raptors, Squirrel Girl), Carnage is all but guaranteed to hit the board with at least 4 Power. And he gets even better if you can pair him with cards that trigger on-destruction effects.
Okoye
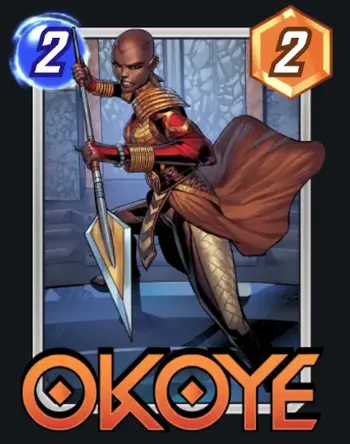
2 Power
On Reveal: Give every card in your deck +1.
Simple, effective, and far-reaching. If you play Okoye, get her on the field as fast as possible as her effect is much more potent the thicker your deck is. Also, note that she doesn’t affect cards already in your hand.
Psylocke
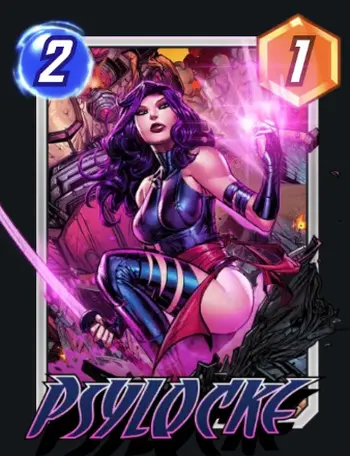
1 Power
On Reveal: Next turn, you get +1 Energy.
Taking a loss in power on turn 2 for an advantage is a good strategy. But if you do it with Psylocke though, you get 4 Energy to play with the next turn. While this can be used to set up late-game floodgates like Sandman early, nothing is stopping you from just spending the extra Energy on a big hitter.
Scorpion

2 Power
On Reveal: -1 Power to all cards in your opponent’s hand.
While Power buffs are strong, they’re relatively easy to deal with – destruction, movement, or bouncing. Gaining a +4 by giving your opponent a -4 though, is a lot harder to deal with.
A-Tier
Black Widow
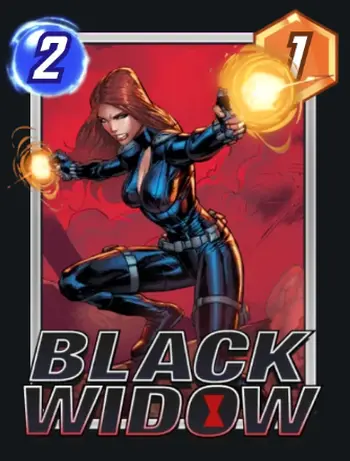
1 Power
On Reveal: Add a Widow’s Bite to your opponent’s hand.
Widow’s Bite: While this card is in your hand, you cannot draw cards from your deck.
Resource denial is a great effect, and cards that prevent your opponent from playing the game at all are especially powerful. Even if your opponent does just play the Widow’s Bite next turn, that’s one less card they get from their deck. Now imagine if you bounce Black Widow to your hand and play her over and over again.
Star-Lord
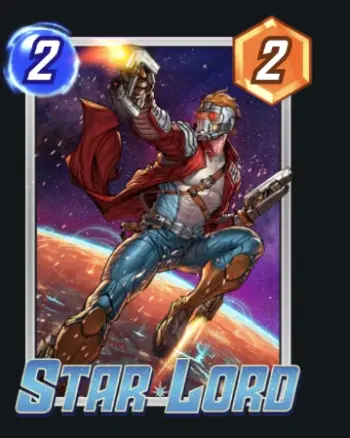
2 Power
On Reveal: If your opponent played a card here, +3 Power.
Every Guardian of the Galaxy (except Mantis) has the same gambling effect, and Star-Lord is one of the better ones with his low cost and a big payoff. Even if he duds, there are worse cards you could have played on turn 2.
Swarm
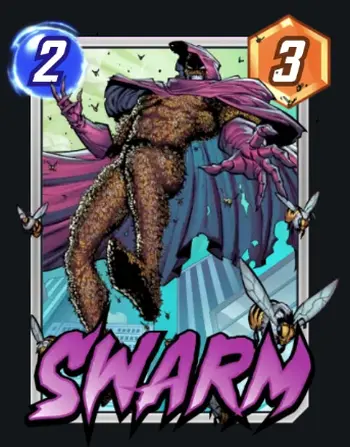
3 Power
When this is discarded, add 2 copies that cost 0 to your hand.
Discard fodder, hand-size booster. Need I say more?
Medusa
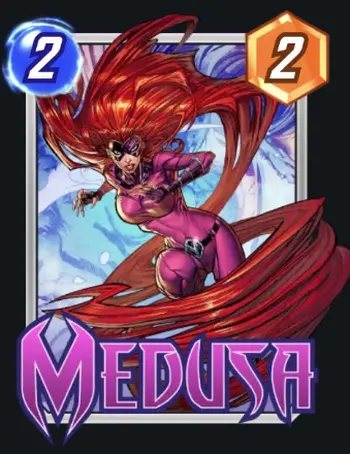
2 Power
On Reveal: If this card is in the middle location, +2 Power.
+4 is a strong push for a 2-cost card. That’s it.
Lizard
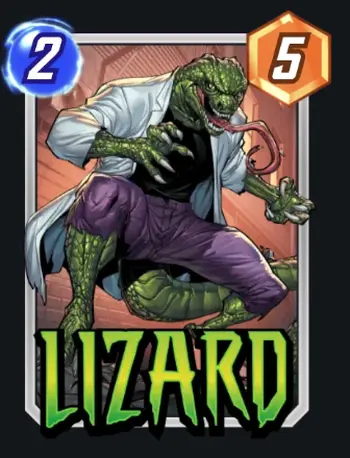
5 Power
Ongoing: -3 Power if your opponent has 4 cards here.
Hear me out: you play Lizard to lose. 2/5 is a very scary play and one that can indeed turn the tides. Unless your opponent intends to give up the lane where Lizard is (which means you’ve secured your position until the last turn), they’ll be forced to deal with him in some capacity.
Mojo
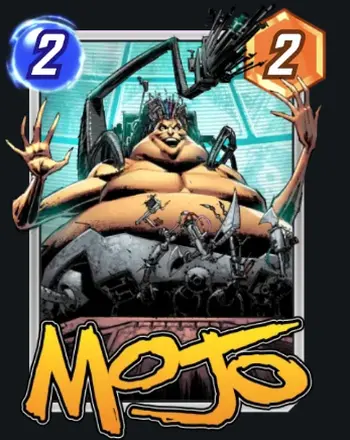
2 Power
Ongoing: +6 Power if both players have 4 cards here.
Mojo is strong yet predictable. Save him for a later turn: 2/8 is more than capable of winning a lane on its own.
Invisible Woman

2 Power
Ongoing: Cards you play here are not revealed until the game ends.
What delightful mind games shall we play today? How about not showing your cards at all? Do note that this also causes their On Reveal effects to be delayed until the end of the game – plan accordingly!
Daredevil

2 Power
On turn 5, you get to see your opponent’s actions before your own.
Daredevil provides an advantage that no other card can match. If you and your opponent are neck and neck in winning lanes, he may just give you the informational advantage you need.
Goose

2 Power
Ongoing: Nobody can play 4, 5, or 6-cost cards at this location.
Goose is a soft floodgate that works a lot better if your opponent isn’t prepared for it – meaning it’s best to save this until turn 3. Do note that it also affects you, so have an appropriate follow-up act for the arena you’re locking down.
Mysterio
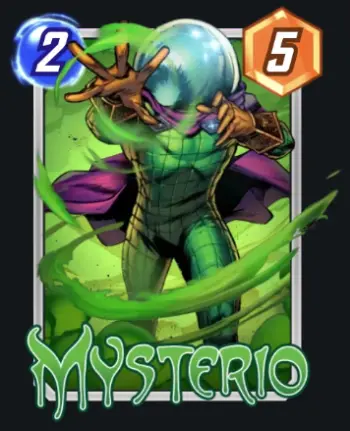
5 Power
When you play this, add a 2/0 Illusion to the two other locations. Disguise this card as an Illusion until the end of the game.
Speaking of mind games, Mysterio’s all about them. And how – he’s got an incredibly tricky ability that tasks your opponent with figuring out which are the fakes and which are the real +5 threat. I’d suggest highly piling on the trickery cards if you’re already playing Mysterio, as the more things your opponent needs to keep track of, the more likely they are to misplay.
B-Tier
Armor
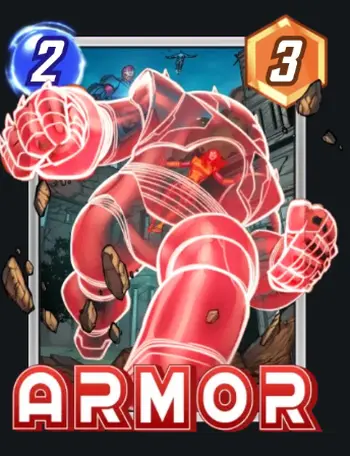
3 Power
Ongoing: Cards in this location can’t be destroyed.
2/3 is a decent stat line, and Armor also gives your cards decent protection. In case your opponent is running a self-destruction deck, Armor alone shuts down one of their lanes and prevents optimal play – though, in practice, it is better to make a proactive rather than a reactive deck.
Beast
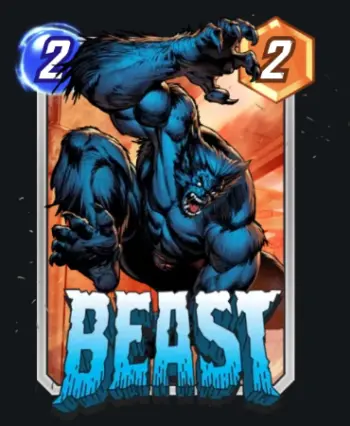
2 Power
On Reveal: Return your other cards at this location to your hand. They cost 1 less.
Beast works well if you find your opponent has counter-played your early game setup, or just want to reposition your cards – especially your 1-cost ones. His stat line is meh though.
Bucky Barnes

1 Power
When this is destroyed, create a Winter Soldier (2/6) in its place.
Bucky works great as an early card in a destruction deck, especially when partnered with cards that power themselves up such as Carnage; Carnage and Winter Soldier alone can result in a quick and easy +10 to one lane!
Morbius
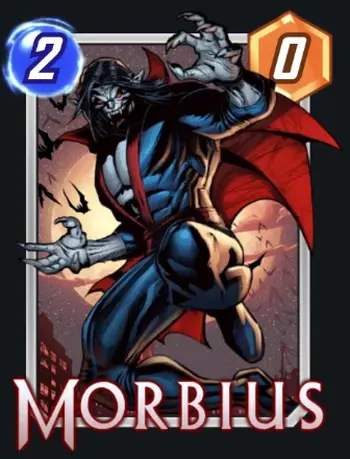
0 Power
Ongoing: +2 Power each time you discard a card in this game.
0 power is lame, but with how discard decks work, Morbius can get the morb rolling. Playing Morbius early, on the other hand, warns your opponent to stand back as you’ll likely start playing discard cards next turn.
Mister Sinister
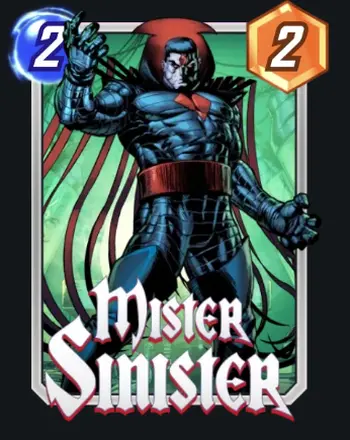
2 Power
On Reveal: Add a Sinister Clone to this location with the same Power.
+4 on one card is good, but this is actually +4 on 2 cards. If you’re willing to give up the extra slot, by all means, go ahead. Note that the clone copies Mister Sinister’s Power, so if you can buff him somehow, you’ll get a ton more mileage out of this card.
Cloak

4 Power
On Reveal: Next turn, both players can move cards to this location.
4 Power is respectable, and the movement effect is nice. Be careful though, as your opponent also gains this effect. The best use for Cloak in my experience is to use him to pretend to attack a fortified lane, thus forcing your opponent to spend more resources to defend against a non-existent threat.
Forge
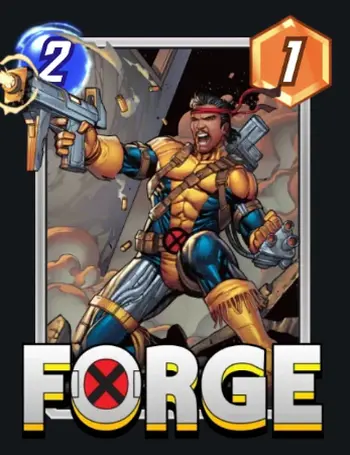
1 Power
On Reveal: Give the next card you play +2 Power.
A no-downside +2. Simple and effective.
Wolverine
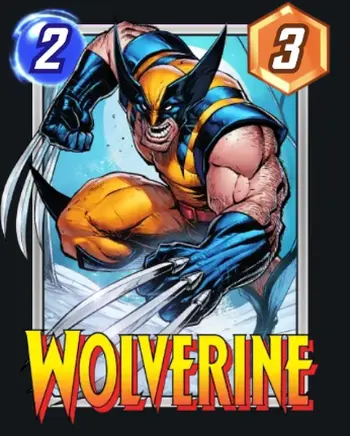
3 Power
When discard or destroyed, play this card in a random location.
Discard and destroy fodder. On the downside, he’s not quite as strong as Bucky in Winter Soldier, and the random location hurts him.
Adam Warlock
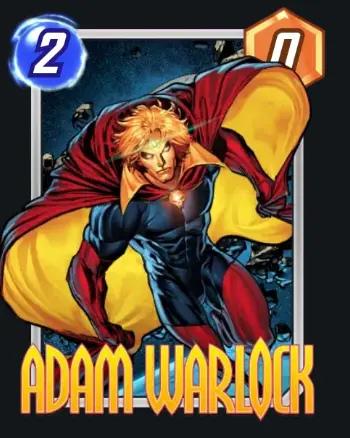
0 Power
At the start of the turn, if you are winning in this location, draw a card.
6 turns mean 6 cards, and if you can get more than that 6 card draws, you’ll be in a very good spot. The downside is Adam Warlock contributes no pushing power of his own, and he presents an immediate threat that needs to be checked. Try to read your opponent’s gameplay and decide if they’re going to contest your Adam Warlock, or if it’s better to play another card.
Colleen Wing
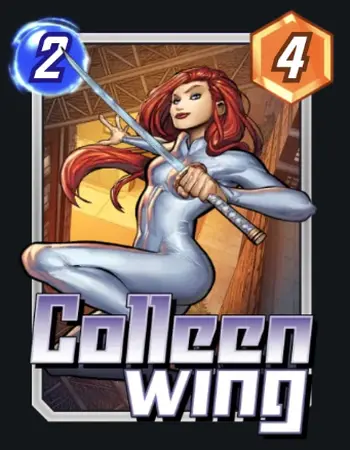
4 Power
On Reveal: Discard the lowest-cost card from your hand.
2/4 is a respectable stat line, and you can turn the discard into an advantage by tossing cards like Wolverine.
The Collector

1 Power
When a card enters your hand from anywhere except your deck, +1 Power.
You’ll already want to add cards to your hand, so the +1 Power is very nice. Note that if you’re going to use The Collector at all, you’ll want multiple sources of card generation; it’s not enough to just run one The Hood or one Moongirl.
Hit Monkey
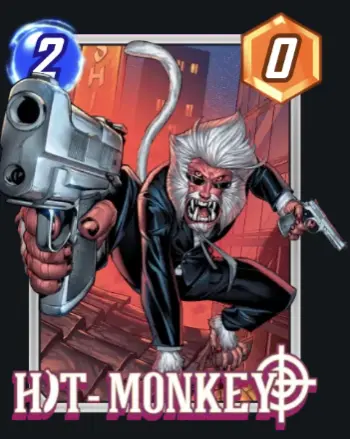
0 Power
On Reveal: +3 Power for each other card you played this turn.
Swarming, yay!
Hazmat
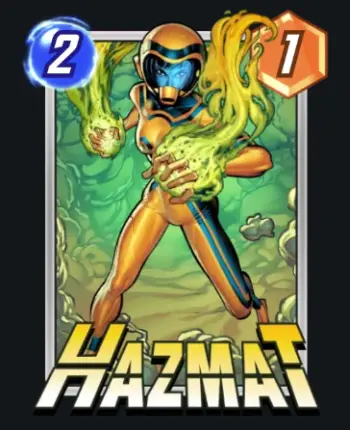
1 Power
On Reveal: -1 Power to all other cards.
Opponent swarming you with squirrels or other cheap cards? That’ll put a stop to that.
Falcon
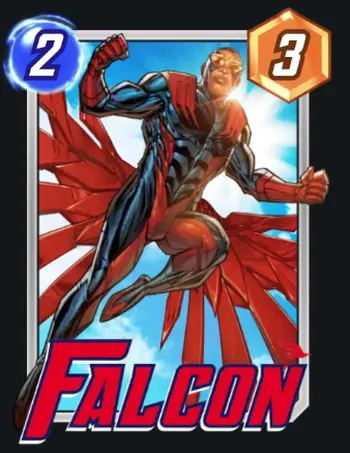
3 Power
On Reveal: Return your 1-cost cards to your hand.
1-cost cards aren’t played for their bodies, they’re usually just there to activate powerful effects. And if those are On Reveal effects, you get double the mileage out of them with Falcon.
Scarlet Witch
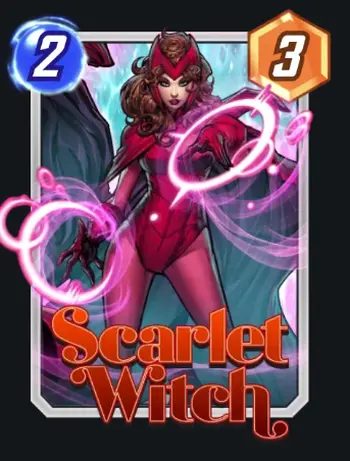
3 Power
On Reveal: Replace this location with a random one.
Scarlet Witch lets you flush out unwanted locations that present a major threat to you. The downside? You might get an even worse location!
Dagger

3 Power
When this moves to a location, +2 Power for each card your opponent has there.
And here we have a great, low-cost movement card. Note that Dagger’s effect doesn’t snapshot – it triggers every time she moves. Find a way to bounce her back and forth between populated battlefields and watch her Power surge.
C-Tier
Kraven
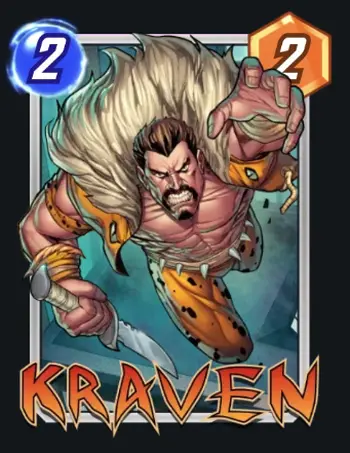
2 Power
When a card moves here, +2 Power.
He’s like Angela except he requires movement and warns your opponent away from his lane.
Cable
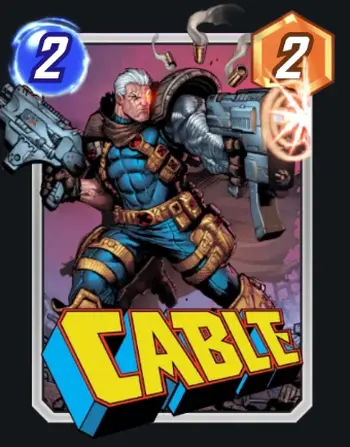
2 Power
On Reveal: Draw the bottom card of your opponent’s deck.
In most cases, your opponent wouldn’t have gotten to use the bottom card anyway. However, Cable does have a pretty good synergy with The Collector.
Colossus
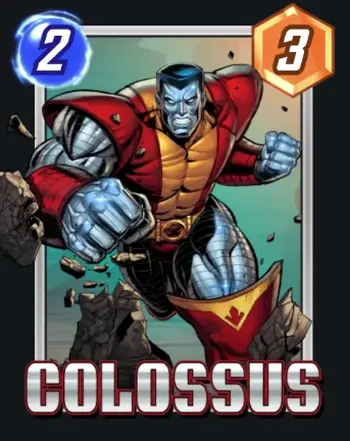
3 Power
Ongoing: Can’t be destroyed, moved, or have its power reduced.
Then your opponent just won’t deal with him. It’s not like he’s an ongoing threat.
Quake
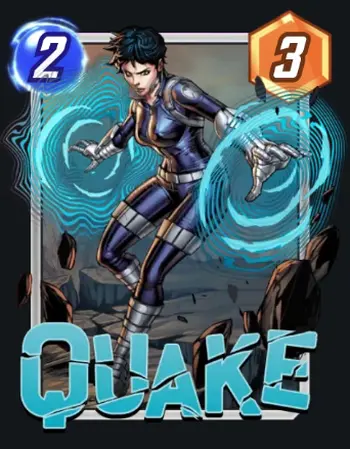
3 Power
If this is the middle location, swap the locations of each location.
Either you play this early and your opponent just plays around it, or you play it late and you risk it messing up your game plan. Pass.
Viper
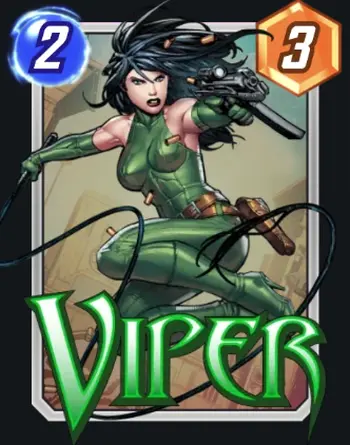
3 Power
On Reveal: Your opponent gains control of another card you control at this location.
Viper’s gimmick is throwing cards that have huge drawbacks at your opponent instead. While Viper won’t see use in every deck, she’s a very devious way of both hampering your opponent and denying them one slot in that location. You will have to get creative though.
Domino
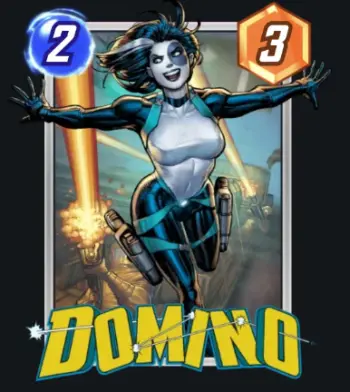
3 Power
You always draw Domino on turn 2, and not before.
Domino gets points for consistency – she’s always there if you need her. That’s about it.
Multiple Man
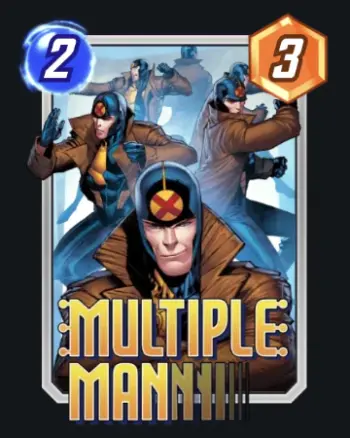
3 Power
When this card moves, create a copy of it at its previous location.
On one hand, flooding the board early puts a ton of pressure on your opponent. On the other, if you’re playing a movement deck, you’d probably want to save your resources for cards that get more bang out of the movement, like Vulture on the next turn.
D-Tier
Baron Mordo
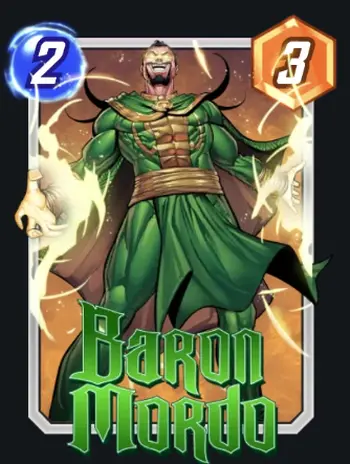
3 Power
On Reveal: Your opponent draws a card. Set its cost to 6.
If you’ve read my other guides, especially those about card games, you’ll know that I’m not a fan of gambling moves. Baron Mordo presents a lose-lose situation: even if your opponent does draw a low-cost card that becomes a 6-cost, the point is you’re letting them dig deeper into their deck, allowing them to make more consistent plays.
Sentinel
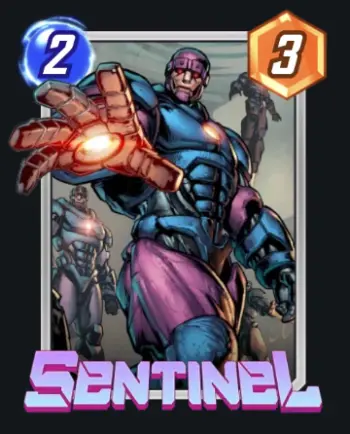
3 Power
On Reveal: Add another Sentinel to your hand.
What’s better than one crappy card? Two of them! Nothing is better than one crappy card other than removing it from your deck.
Shocker
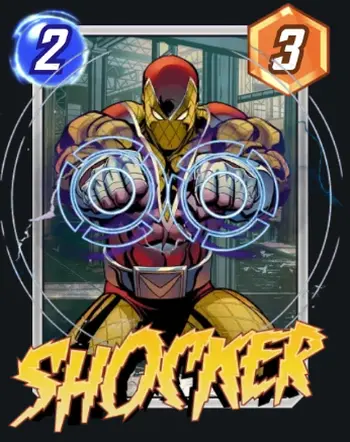
3 Power
Just Sentinel without the extra crap. Also, it’s hilarious that the game itself tells you to remove him from your deck.
3 Cost Tier List
| S | Mystique, Rogue, Storm, Wolfsbane |
| A | Nakia, Killmonger, Polaris, Rhino, The Punisher, Vulture, Captain America, Cosmo, Juggernaut, Lockjaw |
| B | Patriot, Sabretooth, Sword Master, Thor, Black Cat, Brood, Electro, Dr. Strange, Deathlok, Groot, Hulkbuster, Kingpin, Moon Knight, Mister Fantastic |
| C | Venom, Wave, Cerebro, Green Goblin, Gambit, Debrii, Ironheart, Lady Sif |
| D | Cyclops, Morph, Maximus |
S-Tier
Mystique
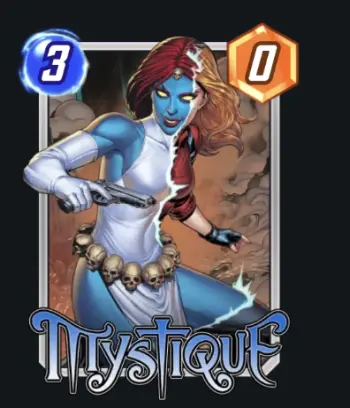
0 Power
On Reveal: If the last card you played has an Ongoing effect, this card gains it.
Mystique’s ability speaks for itself, and nobody else can do what she does. 0 Power doesn’t matter in this case.
Rogue
1 Power
On Reveal: Steal an Ongoing effect from a random enemy card at this location.
First, you copy your effects with Mystique, then you yoink your opponent’s with Rogue. Oh, and note that it steals, not negates: your opponent will now have a plain old beatstick instead of a supporting unit!
Storm
2 Power
On Reveal: Flood this location. The next turn is the last turn cards can be played here.
I think it’s safe to say that 3-Cost cards are almost exclusively the stomping grounds of the X-Men. Storm is another fantastic card that can seriously disrupt strategies if your opponent wasn’t prepared for her effect – and an unprepared foe will flounder in the face of Storm’s flood.
Wolfsbane
1 Power
Ongoing: +2 Power for each other card you have here.
Speaking of copying abilities, here’s a good one to copy. Wolfsbane packs an ongoing threat to your opponent, and she only gets stronger as the game continues. Oh, and you get Wolfsbane for free near the start of your time in Marvel Snap.
A-Tier
Nakia
1 Power
On Reveal: Give the 2 leftmost cards in your hand +2 Power.
While her Power is low, Nakia makes up for it by buffing her comrades instead. And a sizeable buff it is, for a total of +4. Nakia works best when used to ready up a split push, and sees better use when paired with cheap cards.
Killmonger
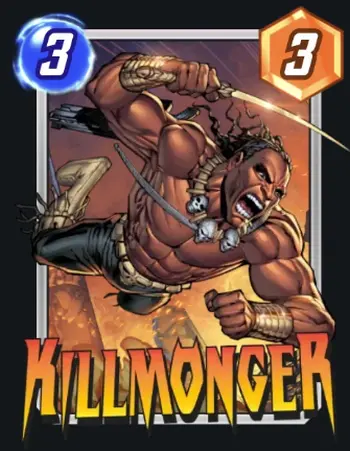
3 Power
On Reveal: Destroy all 1-Cost cards.
Does your opponent want to play swarm? Hit ‘em with Killmonger. At the very least, Killmonger can disrupt your opponent’s early plays, especially in arenas that require an ongoing card presence in them.
Polaris
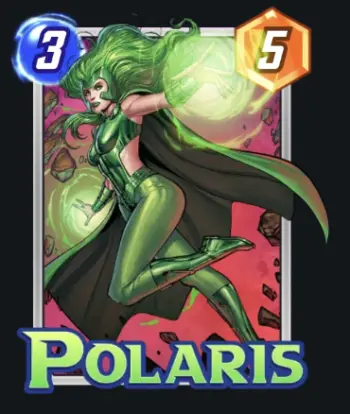
5 Power
On Reveal: Move an opposing 1 or 2-Cost card to this card’s location.
Turn 3 disruptions? Yes, please. And Polaris has a good statline at 3/5.
Rhino
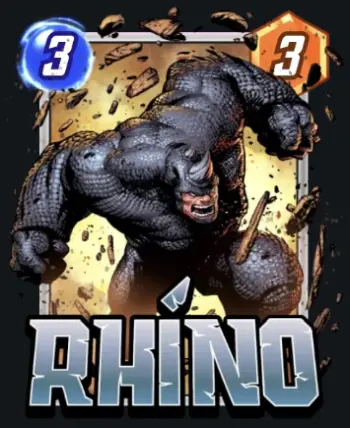
3 Power
On Reveal: Destroy this location (negate its effects).
Is arena not working out for you? Destroy it! While most decks get more mileage out of playing with an arena’s boosts, destroying it when it benefits your enemy more than you is a pretty great effect.
The Punisher
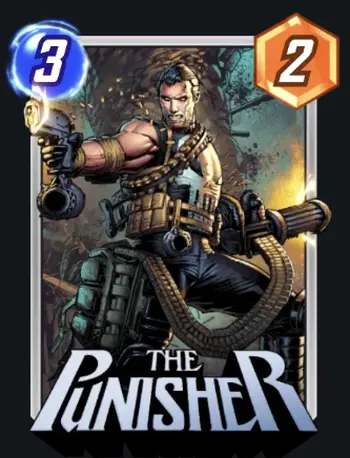
2 Power
Ongoing: +1 Power per enemy card at this location.
The Punisher is notable for his ability to remain a relevant threat up to the endgame. And just by himself, he can check enemy expansion into a new board as he constantly updates his Power to match the enemy’s.
Vulture
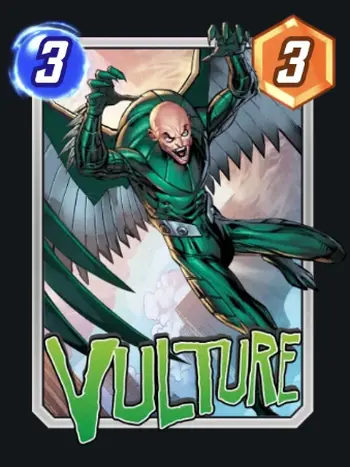
3 Power
When this card moves, +5 Power.
Vulture is really good not just because of his ability, but also because of his cost, which makes him a prime target for Aero. Or you could manually move him and take advantage of his sweet statline. Your call.
Captain America
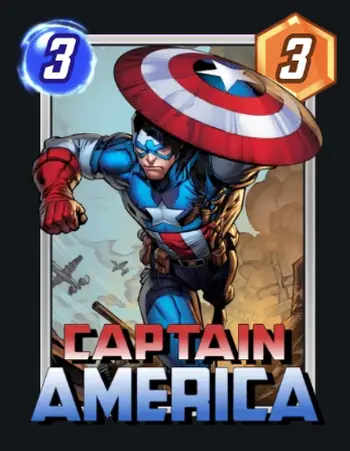
3 Power
Ongoing: Your other cards at this location have +1 Power.
Captain America’s effect is simple, yet effective. And his acceptable stat line does help quite a bit.
Cosmo
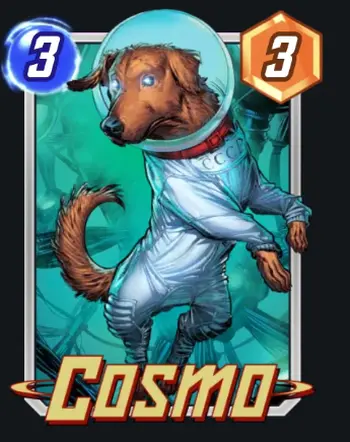
3 Power
Ongoing: On Reveal effects won’t happen at this location.
Another short and sweet card, Cosmo is great at shutting down enemy plays, instead forcing them to rely on just base power to win a location. Do note that Cosmo also shuts down your own cards!
Juggernaut
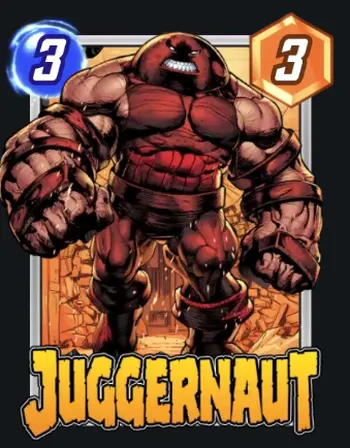
3 Power
On Reveal: If your opponent played cards at this location this turn, move them randomly.
A mid-game disruption that can blow up your opponent’s turn 3 plays. 3/3 isn’t too great, but hey, Power isn’t the reason you’re playing Juggernaut.
Lockjaw
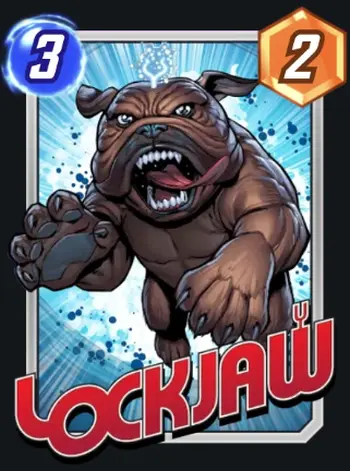
2 Power
When you play a card here, swap it with a card in your deck.
Lockjaw is a central piece for decks that capitalize on his ability to swap cards out at random. Decks like these can be surprisingly effective and are fun enough that you should make a Lockjaw deck at some point.
B-Tier
Patriot
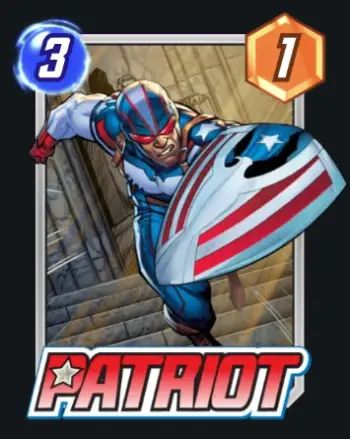
1 Power
Ongoing: Your cards with no abilities have +2 Power.
Patriot is the center of a vanilla beatdown deck, where you just cram all the cards that have no abilities – Cyclops, Abomination, Hulk – together, and just smack the crap out of your opponent. The deck is surprisingly effective, but do note that Patriot himself has a very weak stat line at 3/1.
Sabretooth
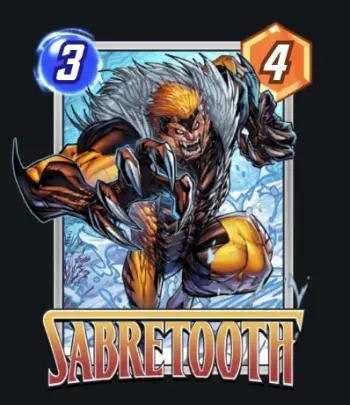
4 Power
If this card is destroyed, return it to your hand with 0 Cost.
Sabretooth works well in a self-destruction deck. A 3/4 stat line is mediocre, and a 0/4 stat line is absurd. He won’t see much use in other decks, though.
Sword Master

6 Power
On Reveal: Discard a card from your hand.
Sword Master’s cost is low enough that you can technically play him in a deck that isn’t discard-centric. However, he’ll see much better use in a deck of that type, as not only will you have a very solid turn 3 play, but you’ll also trigger the discard effects of your cards.
Thor
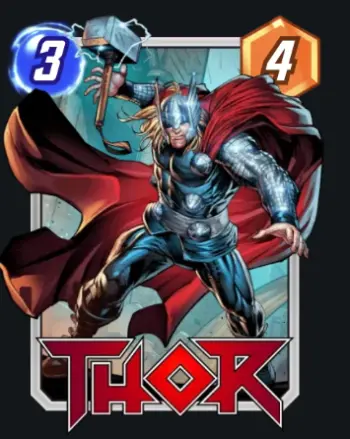
4 Power
On Reveal: Shuffle a Mjolnir into your deck.
Thor’s stat line is meh – you’re expected to play him with cards like Jane Foster who can tutor Mjolnir into your hand. Once that’s done, you have a 3/10 titan on the field. The nice thing about this strategy is that it doesn’t require an entire deck dedicated to it, though it does make your turn 5 easy to anticipate.
Black Cat
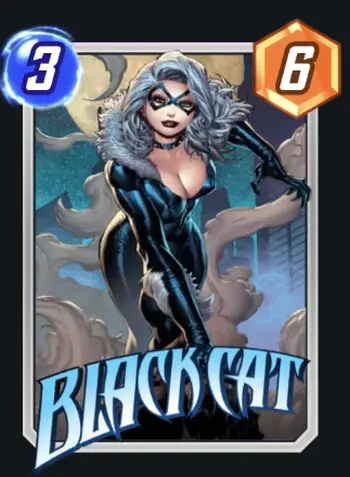
6 Power
If this card is in your hand at the end of the turn, discard it.
Black Cat’s drawback isn’t as much of a drawback as it seems: couple it with someone like Hela and you suddenly have a free 6 Power body! Alternately, you can just play her – her stat line is pretty solid though I’d prefer a more specialized turn 3 play.
Brood
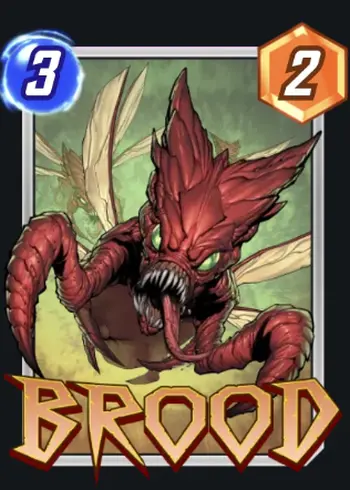
2 Power
On Reveal: Add 2 Broodlings to this location with the same power.
Brood epitomizes the swarm deck. When it hits the field, it creates 2 2-Power tokens, which is pretty big as all in all, it’s a +6 in one arena. The downside is that it eats space. Unless you’ve got a way to apply powerful board-wide buffs, use Brood carefully.
Electro
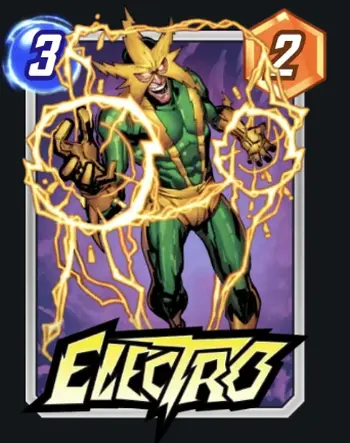
2 Power
On Reveal: +1 max Energy. Ongoing: You can only play 1 card per turn.
Where Brood is great for going wide, Electro is great for going tall. 1 more energy per turn means you can play big hitters and devastating supports quicker than your opponent, and if you’re always spending the maximum amount of energy per turn anyway, the downside won’t matter.
Dr. Strange

3 Power
On Reveal: Move your highest Power cards to this location.
Dr. Strange is an excellent card for setting up surprise sweeps, especially if you’ve dominated a lane and your opponent has given said lane up. That said, this card relies on surprise; thus, it’s best not to play it on turn 3.
Deathlok
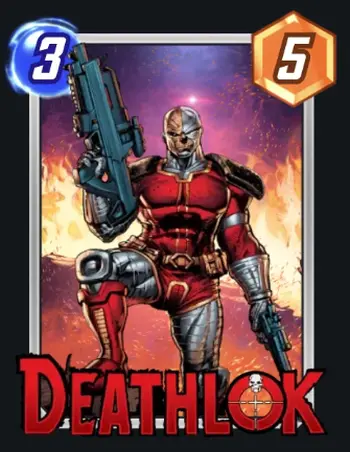
5 Power
On Reveal: Destroy your other cards at this location.
Literally Venom but better.
Groot
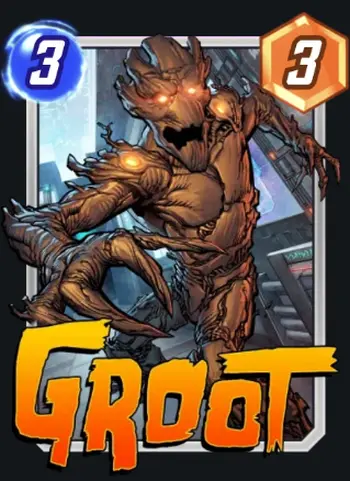
3 Power
On Reveal: If your opponent played a card at this location, +3 Power.
Groot is the last Guardian on whom I would bet, and even then, that’s iffy. Consider that there are cards like Deathlok, which can be played for no downside on an empty field, or Sword Master, which reliably gives +6 at a cost.
Hulkbuster
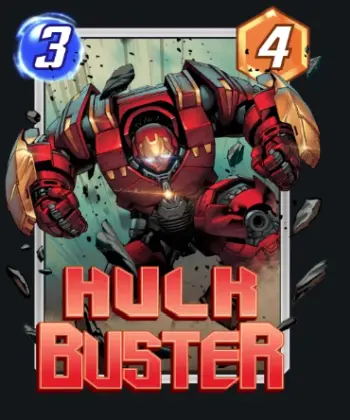
4 Power
On Reveal: Merge this card with a random friendly card at this location.
Hulkbuster does give you more space, and if your opponent was playing cards like Debrii, you can nullify its effect by reclaiming one space. The downside is that if Hulkbuster merges with a strong card and gets destroyed – you see where this is going.
Kingpin

4 Power
When a card moves here on turn 6, destroy it.
Kingpin + Magneto. That is all. Be wary – playing Kingpin early can telegraph your last turn play.
Moon Knight
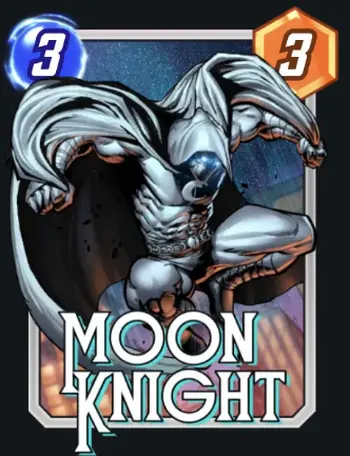
3 Power
On Reveal: Discard a card from both players’ hands.
If you’ve been playing a discard deck, you want to discard cards anyway. Your opponent might not like being forced to discard as much, though.
Mister Fantastic

2 Power
Ongoing: Adjacent locations have +2 Power.
Mister Fantastic is a decent support card that you get fairly early. There’s not much to say about him other than he provides a good mid-game push down all lanes.
C-Tier
Venom
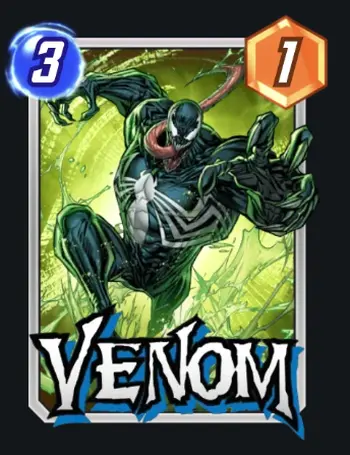
1 Power
On Reveal: Destroy your other cards at this location, then add their Power to this card.
Unless you have a solid board that relies on being destroyed, Venom is best avoided as his stat line is terrible. He also has to compete with Carnage, who uses a similar strategy but isn’t quite as blindly destructive. The irony.
Wave
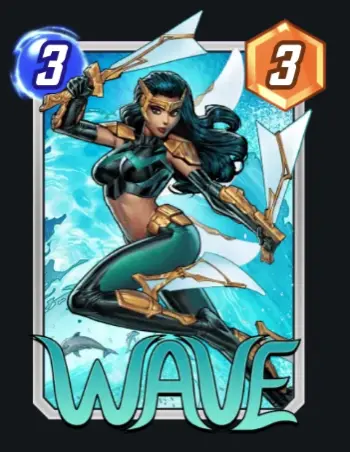
3 Power
On Reveal: Cards in both players’ hands cost 4.
Wave is in a really weird spot on this list. On one hand, she can make life easy for you by reducing your high-cost cards and denying your opponent the ability to swarm for one turn. On the other, she can just as easily mess up your strategy if your opponent benefits from her ability. Use with discretion.
Cerebro
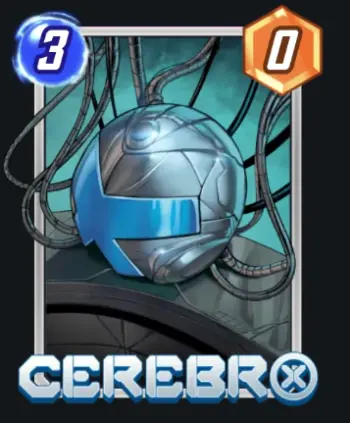
0 Power
Ongoing: Your highest Power cards have +2 Power.
At first glance, Cerebro seems like a meh card. Used properly with swarm decks where most of your cards will have the same highest power, Cerebro shines.
Green Goblin
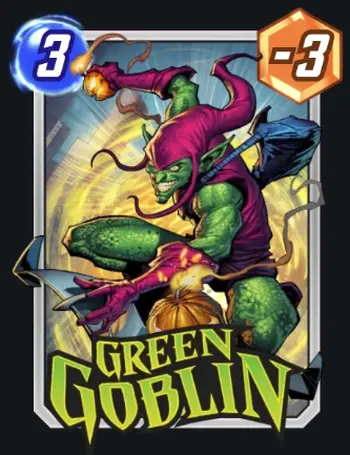
-3 Power
On Reveal: Your opponent gains control of this.
Unlike the Hobgoblin who has a similar effect, Green Goblin doesn’t offer much bang for his buck. -3 on turn 3 (or worse, later) is not a very good investment when you can get a much bigger net power boost by just playing a big card. Green Goblin also suffers from losing the element of surprise.
Gambit
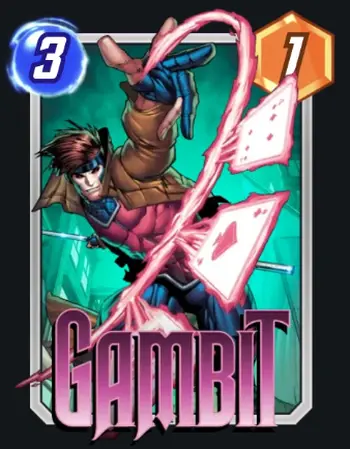
1 Power
On Reveal: Discard a card. Destroy a random enemy card.
Do you feel lucky? Probably not. About the only plus side to this is that you get to discard a card – but the random target destruction is bad. You might even help your enemy’s game plan.
Debrii
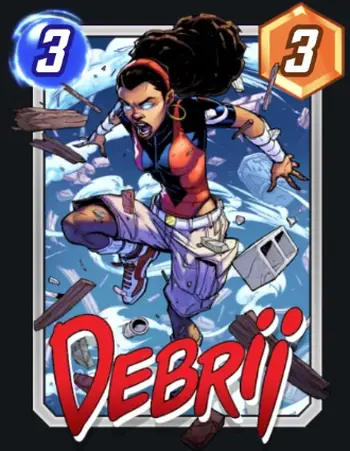
3 Power
On Reveal: Add a Rock to both player’s fields in this location.
Clogging up your enemy’s field is nice. Clogging up your field is not so nice. Consistency-wise? Not great.
Ironheart
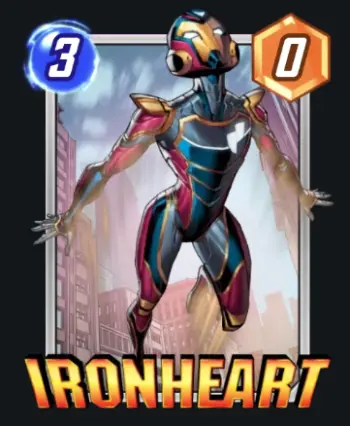
0 Power
On Reveal: Give 3 other friendly cards +2 Power.
Split push is nice. Random targeting is not. Pass.
Lady Sif
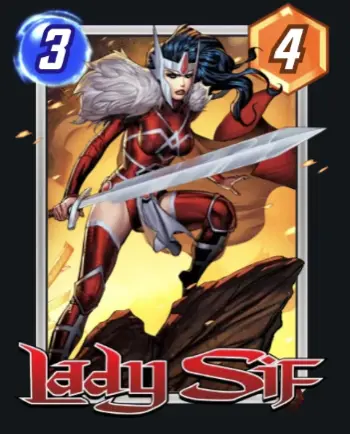
4 Power
On Reveal: Discard the highest-cost card from your hand.
Discard for a mediocre stat line. At least the discard is targeted, which can be bad if you already have Hela in your hand.
D-Tier
Cyclops
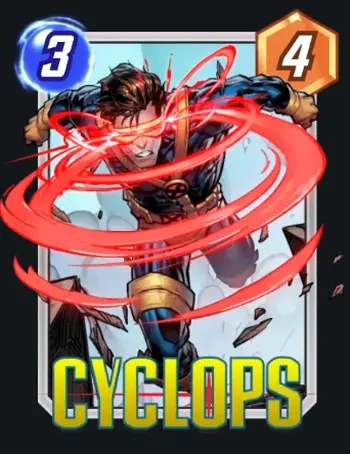
4 Power
No. Just no.
Morph
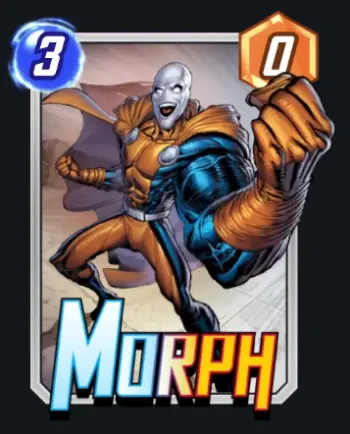
0 Power
On Reveal: Become a copy of a random card in your opponent’s hand.
In the best-case scenario, this becomes a 6-cost card with no downsides – in which case you were probably winning already due to your opponent bricking. More often than not, it becomes a cheap card that barely makes any impact or an actively detrimental high-cost card.
Maximus

7 Power
On Reveal: Your opponent draws 2 cards.
The decks in Marvel Snap are small by default, making them very consistent. So why would you give your opponent even more of a fighting chance by giving them 2 free cards?!
4 Cost Tier List
| S | Enchantress, White Queen, Wong |
| A | Crossbones, Miles Morales, Spider-Man, Shang-Chi, Sandman, Typhoid Mary |
| B | Crystal, Ghost Rider, Jessica Jones, Rescue, Jubilee, Namor, Omega Red |
| C | Hellcow, Ka-Zar, Moon Girl, Strong Guy |
| D | The Thing, Drax, Rockslide, Warpath |
| Special | Dracula, Mister Negative |
S-Tier
Enchantress
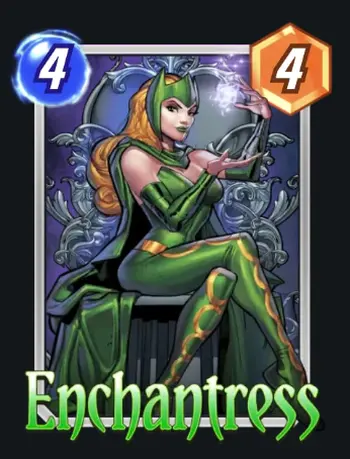
4 Power
On Reveal: Remove the abilities of all Ongoing cards at this location.
Enchantress packs an incredible ability that serves two purposes – negating both the abilities of your opponent’s cards AND stripping your own cards of negative effects. No matter what deck you’re using, you’re bound to get mileage out of Enchantress.
White Queen

6 Power
On Reveal: Draw a copy of the highest Cost card in your opponent’s hand.
4/6 is an okay body, but what sets White Queen apart is the card copy. Not only do you get a potential endgame piece, but you also get information on your opponent’s hand and can piece together what their final turn plan is!
Wong

2 Power
Ongoing: Your On Reveal abilities at this location happen twice.
Wong speaks for himself. On Reveal effects are great, but duplicating them is straight-up broken.
A-Tier
Crossbones
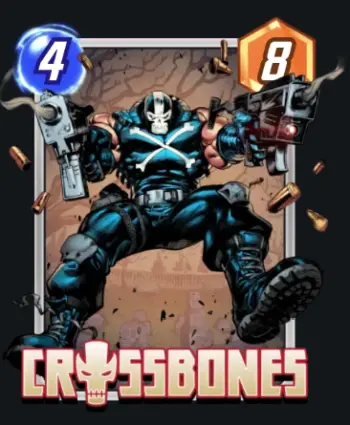
8 Power
You can only play this card in locations where you are winning.
While Crossbones may seem like a win-more card, he comes in at just the right time when you should be applying the most pressure on your opponent. By pushing a +8 at a location, you can force the other player to reconsider their options, and hopefully punish them for trying to contest that zone in the first place. And if all else fails, a +8 lead in a zone is a pretty good lead – which will force your opponent to use a very strong card if they want to swing that arena.
Miles Morales
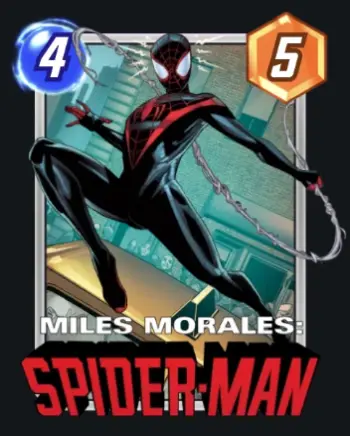
5 Power
If a card moved the last turn, this costs 1.
Miles Morales isn’t just good in movement decks – if you disrupt your opponent, you get to have your cake and eat it, too.
Spider-Man

3 Power
On Reveal: Your opponent can’t play cards here next turn.
Many arenas in Marvel Snap are defined by their abilities, and some of those abilities lock out players entirely. And now you have that power in your hands. Use it well.
No, I’m not going to say the words. Those get Uncle Ben killed.
Shang-Chi

3 Power
On Reveal: Destroy all enemy cards at this location that have 9 Power or more.
High-power cards often require setup or specific conditions. So what better way to destroy your enemy’s plan than blowing up their cards? Do note that Shang-Chi has a very weak stat line at 4/3 though.
Sandman
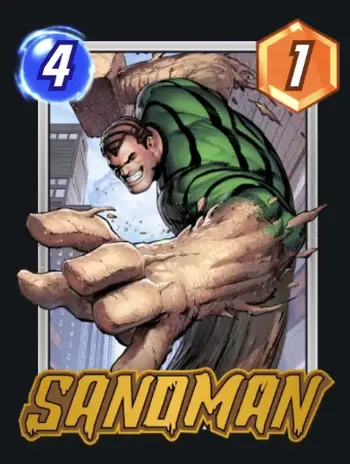
1 Power
Ongoing: Players can only play 1 card per turn.
Sandman is the closest that Marvel Snap has to a floodgate, with an incredibly powerful effect that also hits you. Off the bat, Sandman works best with decks that build tall rather than wide as his effect encourages you to spend all your energy per turn. On the downside, he has an absurdly low statline at 4/1, meaning you’ll need to have a strong follow-up play.
Typhoid Mary

10 Power
Ongoing: Your other cards have -1 Power.
Remember when I said Enchantress was a really good card? Here’s one prime target for her. 10 base Power on a 4 Cost is great – you just need to remove that Ongoing effect.
B-Tier
Crystal
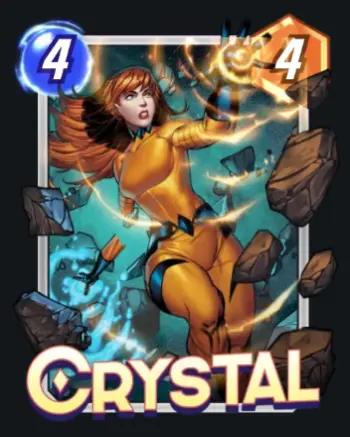
4 Power
On Reveal: If this card is at the middle location, shuffle your hand into your deck, then draw 3 cards.
More draw power? Yes, please. And note that you don’t need to have any cards at all in your hand, meaning it’s a free 3 cards if you were empty. On the downside, 4 Power is low for a 4 Energy card, and you have to play Crystal in the middle location.
Ghost Rider
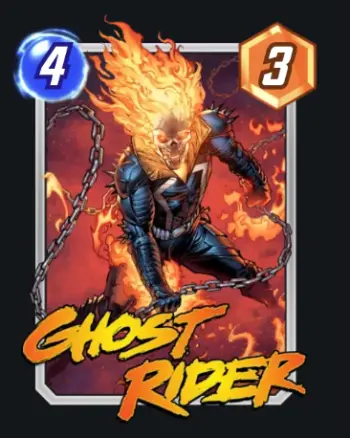
3 Power
On Reveal: Bring back one of your discarded cards to this location.
The whole point of Ghost Rider is to cheat out a card you discarded earlier on in the match. This ability works especially well if you can throw a high-power hero in the first few turns. However, be wary of Ghost Rider’s random selection!
Jessica Jones
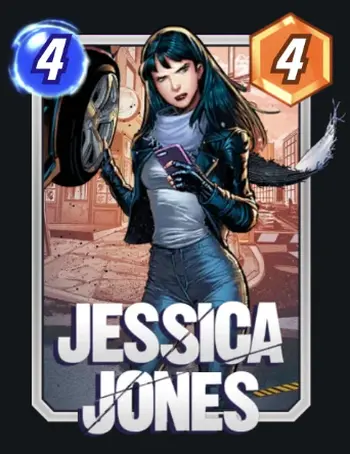
4 Power
On Reveal: If you don’t play a card in this location next turn, +4 Power.
The good: 8 Power on a 4 Cost is really good. The bad: it telegraphs your next move to your opponent. And don’t even think about playing Jessica Jones and then not activating her effect – 4/4 for a no-ability card is incredibly bad.
Rescue
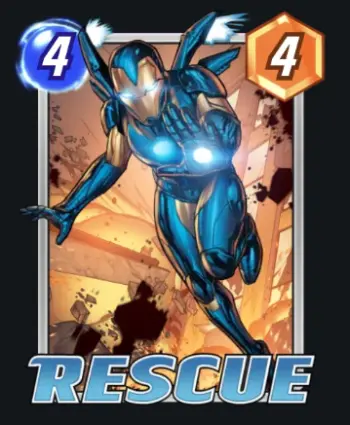
4 Power
On Reveal: If you play a card in this location next turn, +5 Power.
She’s exactly like Jessica Jones, but with 1 more point. The same caveats apply: your opponent will know you’re going to throw a card in that arena next turn.
Jubilee
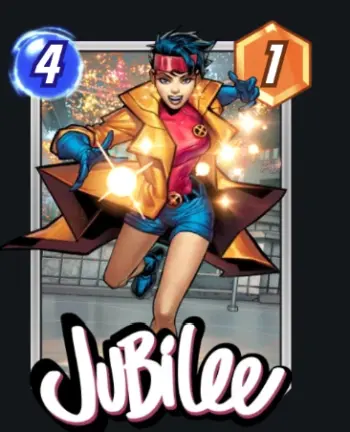
1 Power
On Reveal: Play a card from your deck at this location.
Jubilee lets you cheat out a card from your deck, which is incredibly good if you pull something like Infinaut. However…it’s random. Do you feel lucky?
Namor
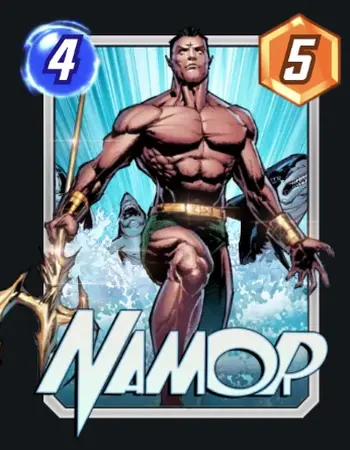
5 Power
Ongoing: +5 Power if this is your only card here.
+10 is often enough to swing a single board on its own, and for just one card? Yes, please.
Omega Red
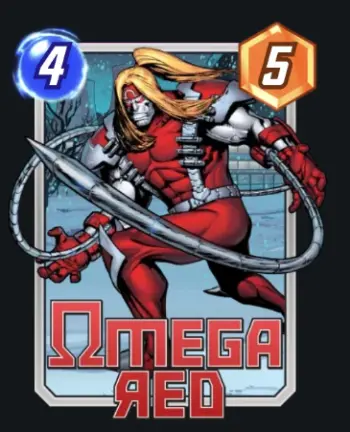
5 Power
Ongoing: If you’re ahead by 10 Power here, +4 Power to other locations.
+4 to other lanes for free is great. On the downside, you’ll have to heavily invest in Omega Red’s arena. This makes you predictable and invites a beatdown from your opponent.
C-Tier
Hellcow
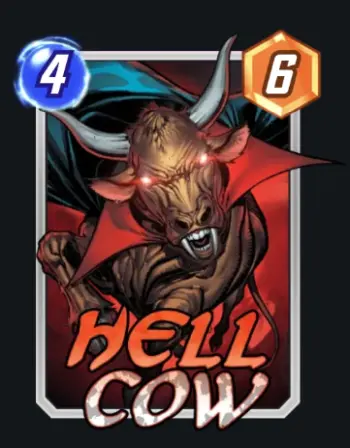
6 Power
On Reveal: Discard 2 cards from your hand.
Hellcow has a formidable statline on par with The Thing, but that’s not the reason you should be using this card. Discard decks can turn what seems to be a cost into an asset by utilizing various ways to power up cards via discards or even cheat them back on the field. Unless you’re using a discard deck though, Hellcow is straight-up worse than The Thing.
Ka-Zar

4 Power
Ongoing: Your 1 Cost cards have +1 Power.
One of the first cards you’ll get from collection ranks is Ka-Zar, and he enables your 1 Cost swarm decks. The problem with Ka-Zar is that he only affects 1 Cost cards, meaning that a single Killmonger ruins your board. Blue Marvel is just straight-up better as his buff has no condition. Still, Ka-Zar can serve as an integral part of your game plan.
Moon Girl
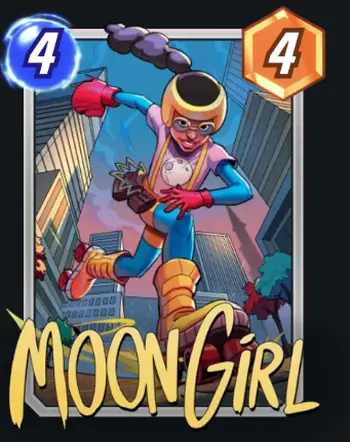
4 Power
On Reveal: Duplicate your hand.
Duplicating your hand isn’t as great as it sounds – you’re still limited by your Energy per turn. However, Moon Girl is a core card when it comes to hand-size decks: Devil Dinosaur in particular loves her.
Strong Guy
4 Power
Ongoing: If your hand is empty, +6 Power.
Strong Guy is a powerful card that requires you to build around him. In particular, you’ll need a deck that can always play all the cards it’s got in your hand. While that’s a bit of work, it does pay off. Just as with Namor, Strong Guy’s +10 can be enough to swing a board around.
D-Tier
The Thing
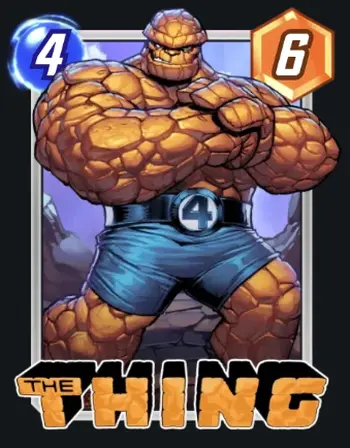
6 Power
It’s clobberin’ time alright. Time to clobber this card back into the extras. No ability and mid-level cost mean that this card is rarely if ever, going to see any play.
Drax
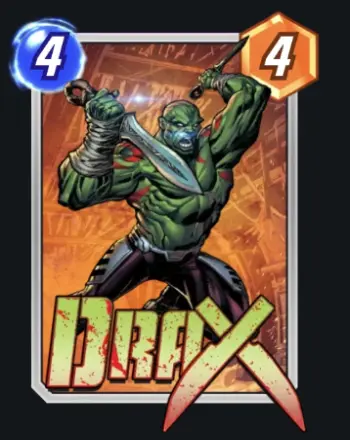
4 Power
On Reveal: If your opponent played a card in this location, +4 Power.
Hahahahaha no. I’d be willing to gamble with the Guardians in the early game, but turn 4? No way. And Drax has a pitiful 4 Power base body, meaning that if you fail to trigger his boost, you’re stuck with a 4/4 with no effect!
Rockslide

6 Power
On Reveal: Shuffle 2 Rocks into your opponent’s deck.
The random nature of whether or not Rockslide can make an impact really breaks this card. At least with cards like Jubilee, you always get something, even if that something is garbage. With Rockslide? You can’t even tell.
Warpath
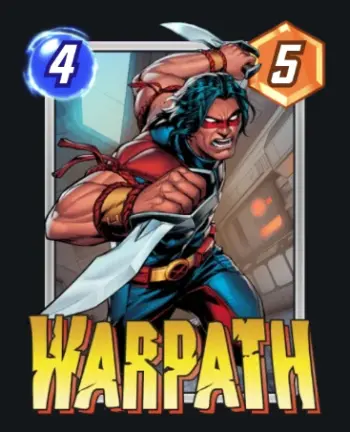
5 Power
Ongoing: If any of your locations are empty, +4 Power.
Warpath essentially declares your intention to throw an arena. And if you don’t commit to that strategy, he becomes a piddling 4/5. I suppose you could play mind games with him, but there are better 4-cost cards that can do that.
Special Tier
Dracula
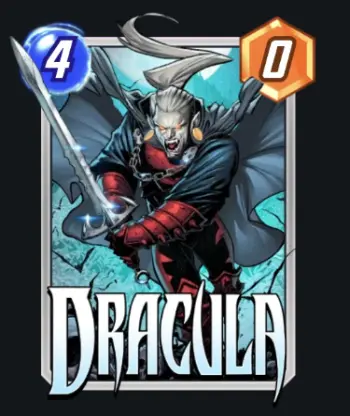
0 Power
At the end of the game, discard a card from your hand. This card has that card’s Power.
Dracula is one of those cards that you really have to make a whole build around. He doesn’t fit anywhere on this tier list because he utilizes a mechanic – end-of-game discard – as his whole gimmick. If you’re planning on playing Dracula at all, try and get him into a deck with high Power, negative effect cards and focus on draw power so you can buff Drac up before your next round.
Mister Negative
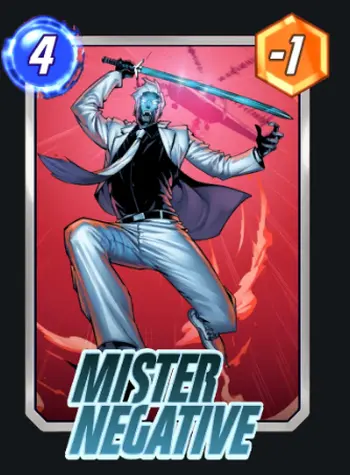
-1 Power
On Reveal: Swap the Power and Cost of all cards in your deck.
Mister Negative is another card that doesn’t fit anywhere on the tier list thanks to his unique abilities. While his effect is incredibly powerful in the right hands, you’ll essentially have to build an entire deck around maximizing his abilities. Do note that he also affects cards in your deck, not your hand.
5 Cost Tier List
| S | Iron Man, Aero, Doctor Octopus |
| A | Spider-Woman, Captain Marvel, Blue Marvel, Vision |
| B | Devil Dinosaur, Hobgoblin, Leech, Professor X, Nick Fury, Red Skull, Magik, Sera, Taskmaster, Klaw |
| C | Black Bolt, Gamora, Ronan the Accuser, White Tiger, Jane Foster |
| D | Abomination |
S-Tier
Iron Man
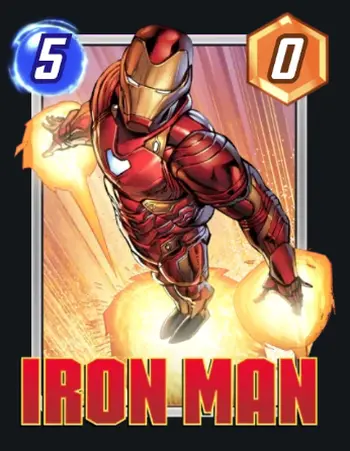
0 Power
Ongoing: Double your Power at this location.
One of the best 5-cost cards in the game is given to you from the get-go. It’s hard to match Iron Man’s power-doubling effect, and there’s a very good reason virtually everyone runs him. When using Iron Man, be careful though: sometimes adding more power to a location is better than doubling it. Don’t just treat him as an instant win – use him decisively and tactically.
Aero

8 Power
On Reveal: Move all enemy cards played this turn to this location.
Giving up a location is an integral part of Marvel Snap, and getting your opponent to waste resources on a spot you were planning to give up anyway isn’t just incredibly disruptive, it can be downright game-winning. Also, Aero is an 8 Power body, which is just the cherry on top.
Doctor Octopus
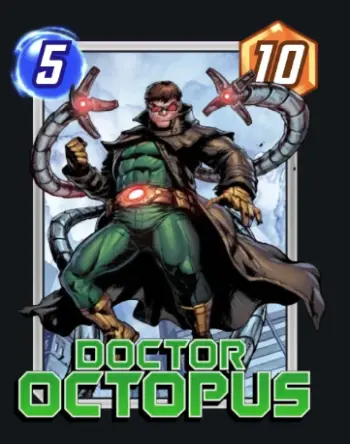
10 Power
On Reveal: Pull 4 random cards from your opponent’s hand to their side of this location.
Just like Aero, Doctor Octopus excels at disruption – this time, from your opponent’s hand. A well-placed Doc can completely ruin your opponent’s turn 6 play, especially if they needed multiple pieces in separate locations. Be careful though –
A-Tier
Spider-Woman
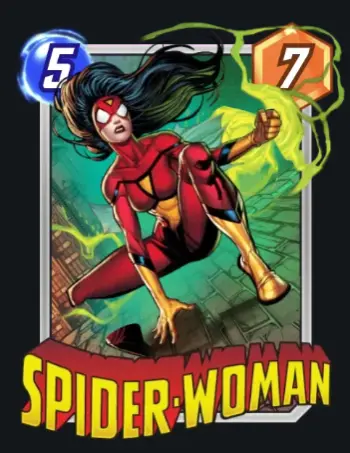
7 Power
On Reveal: -1 Power to all enemy cards at this location.
If your opponent has been building wide rather than tall, Spider-Woman can shut down their game plan by inflicting a hefty -4 to them. Couple her with cards like Odin that cause On Reveal effects to trigger again, and your opponent will suddenly have a virtually empty lane.
Captain Marvel

6 Power
At the end of the game, move this card to a location that would win you the game (if possible).
Captain Marvel has a unique ability that literally wins games. The thing is, you don’t want your opponent to see her coming as putting Captain Marvel on board on turn 5 gives your opponent way more time to plan for her end-of-game effect. She’s best used together with cards that can cheat her out: Hela says hi, by the way.
Blue Marvel

3 Power
Ongoing: Your other cards have +1 Power.
Blue Marvel is a must-have card for low-cost swarm decks. Pair him with a card like Ka-Zar and watch your tiny minions suddenly balloon into respectable threats. He kind of has to have a great effect, as his base Power is stupidly low.
Vision
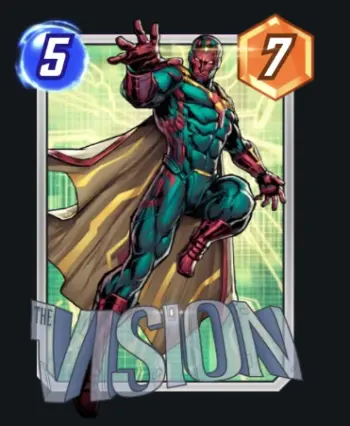
7 Power
You can move this card every turn.
Vision by himself is a passable 7 Power body. What makes him good is the potential to play mind games with him. As you can freely move Vision during your turn 6 (or earlier, if you manage to cheat him out), you can confuse your opponent and trick them into investing in boards only to pull Vision out at the last turn.
B-Tier
Devil Dinosaur
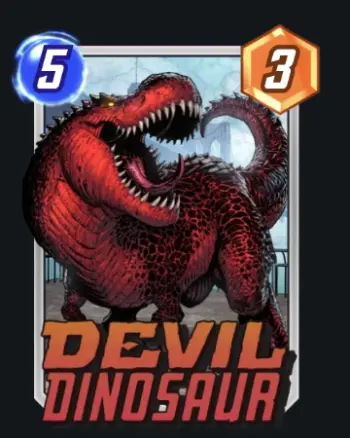
3 Power
Ongoing: +2 Power per card in your hand.
This guy may not seem like much at first glance, but if you’re a new player, you’ll be surprised at how many cards can draw from your deck, add to your hand, or even duplicate cards in your hand. Add the fact that you can potentially play 2 Devil Dinosaurs (turns 5 and 6) and you might just be able to brute force your opponent into giving up the game. The only trouble with Devil Dinosaur is consistency: if you can’t set up your draw engine or fail to get the necessary pieces, your late game completely falls apart.
Hobgoblin

-8 Power
On Reveal: Your opponent gains control of this.
Where Spider-Woman snipes wide boards, Hobgoblin can be used to ruin a tall board. Not only does he give your opponent a massive -8, but he also eats up valuable space on their board that can potentially block off their turn 6 play. On the flip side, Hobgoblin suffers due to his unique effect as unlike other On Reveals, you can’t double his effect to put two of him into play.
Leech
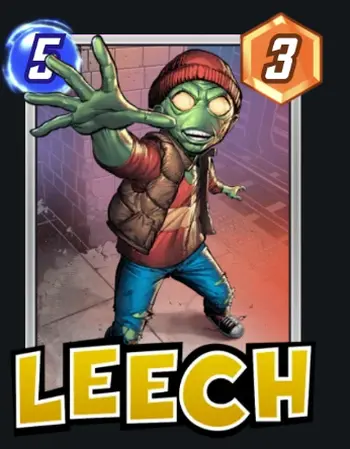
3 Power
On Reveal: Remove all abilities from all cards in your opponent’s hand.
Leech sounds like it’s a 100% good card. Look closer though: it removes –every- ability in their cards. This means that cards that normally have huge restrictions applied to them, like say, The Infinaut, suddenly lose those restrictions and allow your opponent to play them anyway. Leech is a good card, don’t get me wrong, but don’t be surprised when one day your Leech’s effect comes back to bite you in the ass.
Professor X

3 Power
Ongoing: Cards can’t be added to or removed from this location.
Xavier suffers from an incredibly low statline, but he does offer a great effect. By locking down one battlefield, you can ensure your victory on one front by denying your opponent’s comeback plays. However, you’ll need to have had a strong early game to make use of this card.
Nick Fury
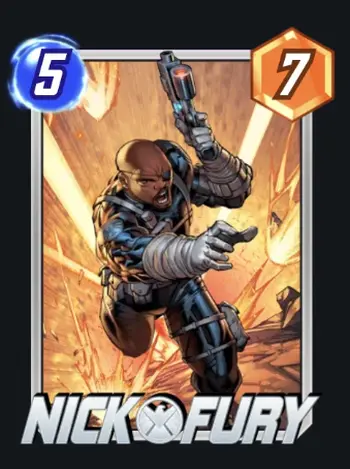
7 Power
On Reveal: Add 3 random 6-cost cards to your hand.
Nick Fury is a decent card that suffers from randomness. You might get something incredible like Doctor Doom or Magneto, or you could end up with super niche cards like Arnim Zola. Despite this randomness, he still gives you three cards, so Nick Fury can see use in decks that depend on hand size – such as Devil Dinosaur.
Red Skull
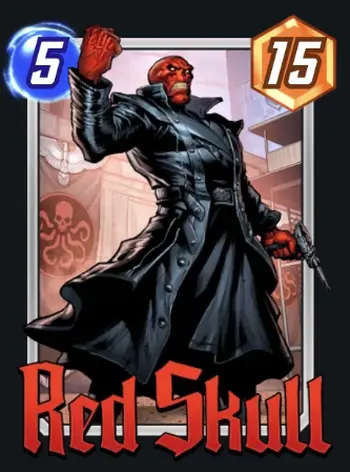
15 Power
Ongoing: Enemy cards in this location have +2 Power.
On one hand, 15 Power is very, very good. On the other, that’s quite a downside. While it won’t really help enemies who build tall over wide boards, it’s still something that can potentially cost you a match. Use Red Skull carefully, or better yet, pair him with cards like Zero that negate the abilities of cards you play.
Magik

3 Power
You can’t play Magik on turn 6. Change this location to Limbo.
On one hand, negating the effect of an arena that was helping your opponent is very, very good. On the other, you’ll need to have perfectly planned for that overtime. Magik was hit with a nerf last October, which locked her ability to be played on the last turn for major mix-ups. Since then, she’s fallen from grace, but can still be surprisingly good if you make your plays around the sudden turn 7.
Sera
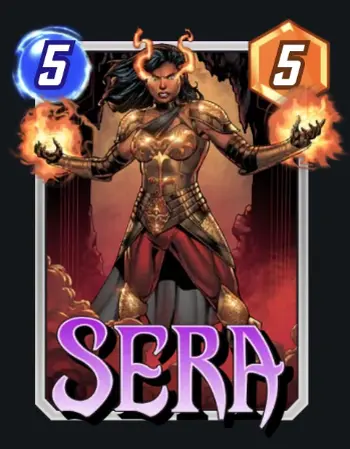
5 Power
Ongoing: Cards in your hand cost 1 less, to a minimum of 1.
Sera has a really good effect. The main problem with Sera is needing to cheat her out as soon as possible to get as much value out of her passive as possible. This also comes with the problem of playing Sera on turn 5 being pretty useless, as you’ll only have effectively gained 1 Energy from her passive. In such a case, you’d be better served to play Abomination, of all cards.
Klaw
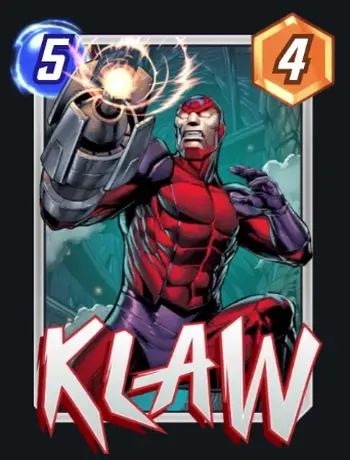
4 Power
Ongoing: The location to this card’s right has +6 Power.
Split pushing is very nice, and while there are effective split pushers in the pool of high-cost cards, Klaw strikes a good balance. He’s got a decent body on his own (though that’s still bad for a 5 cost), and a +6 to his right. Just please don’t make the mistake of playing Klaw in the rightmost arena.
Taskmaster
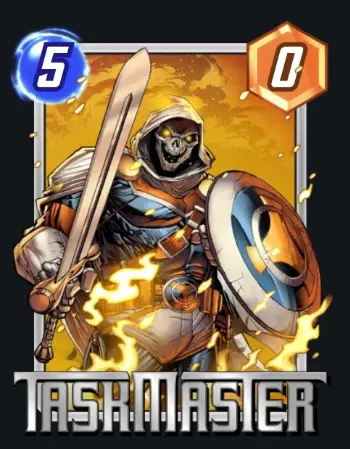
0 Power
On Reveal: Set this card’s Power equal to the Power of the last card you played.
Echoing abilities are always nice in card games, and Taskmaster is no exception. This merc really can do anything; in the case of Marvel Snap, it’s copying the fighting style of whoever you played before Taskmaster. This has both a good and bad side: Taskmaster only copies the power and has no negative effects. On the downside, Taskmaster doesn’t copy any Ongoing or On Reveal effects either. Still, if you just want to go for maximum unga bunga, Taskmaster will help you do the job.
C-Tier
Black Bolt
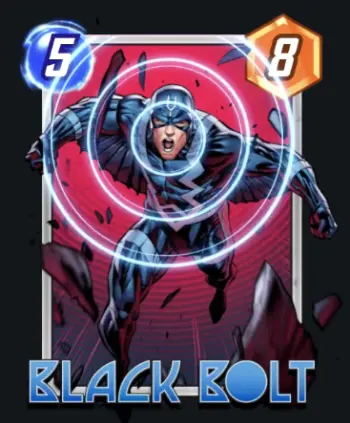
8 Power
Discarding cards from your opponent’s hand is generally a good effect – unless they’re running a discard deck. Discarding the lowest cost card on turn 5? Not so much. Unless they’ve only got 1 card left in their hand – and what are the odds that that card is something impactful? You might just end up discarding a leftover Hawkeye or any early-game counterplay your opponent decided not to use.
Gamora
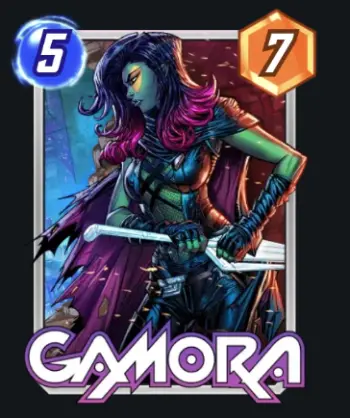
7 Power
On Reveal: If your opponent played a card at this location, +5 Power.
Like the other Guardians of the Galaxy, Gamora shares the effect of buffing herself if her opponent played a card at her location. Unlike the other Guardians, I would not risk calling a location on turn 5 unless my opponent’s plan was very, very obvious. And even if that were the case, I’d rather just run disruption like Aero or Doctor Octopus.
Ronan the Accuser
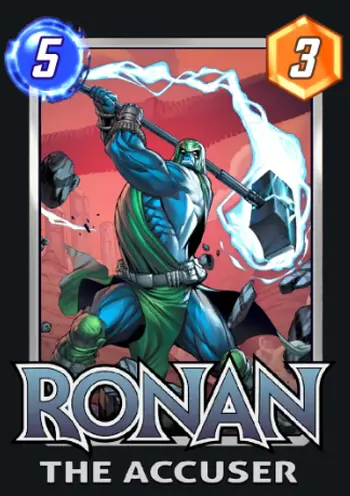
3 Power
Ongoing: +2 Power for each card in your opponent’s hand.
Ronan feels like he was made specifically to counterhand-stacking Devil Dinosaur strategies, which are not going to be in every deck you run across. On top of that, I’m not a fan of cards in any card game that have their conditions tied to your opponent’s actions rather than your own. Add to the fact that Ronan doesn’t snapshot your opponent’s hand size when played, and is rather updated constantly, and you have a card that’s niche. That said, when he ramps up, he ramps up.
White Tiger
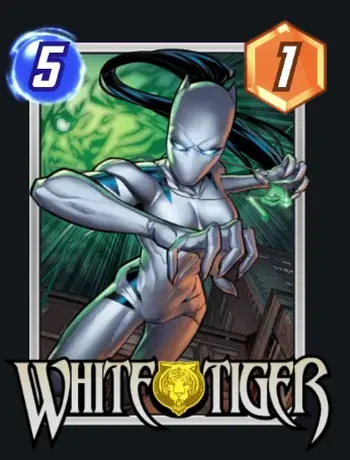
1 Power
On Reveal: Summon a 7 Power White Tiger at another location.
The 7 Power tiger is pretty good and allows you to split push lanes if you’re in a very tough spot. Do note that White Tiger herself only has 1 Power, so don’t expect her to do too much heavy lifting.
Jane Foster
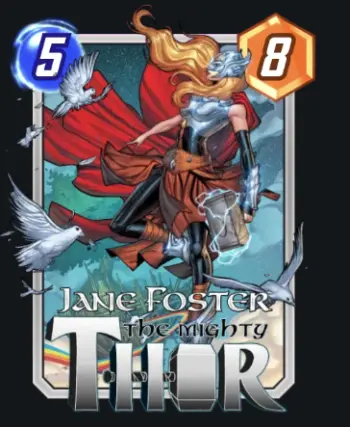
8 Power
On Reveal: Draw all cards that cost 0 from your deck.
The intended use for Jane Foster is to pair her with Thor, then use her ability to pull Mjolnir from your deck for a sudden power boost. In practice, this is a so-so strategy. The best use for Jane Foster’s ability is to redraw Wasp if you’re going for a Wasp and Lockjaw game. Outside of those cards though, she won’t see much play.
D-Tier
Abomination

9 Power
The free cards you get can’t all be gems. While you do get the incredibly powerful Iron Man, you also get…this guy. Turn 5 is when the chips fall and you lay the foundations for your last turn finish. And unlike Hulk, who comes in at the very last turn, Abomination is a turn 5, which does sort of give away your intentions to your opponent.
6 Cost Tier List
| S | Spectrum, Doctor Doom, Magneto |
| A | Apocalypse, Destroyer, Hela, Onslaught |
| B | Death*, The Infinaut, She-Hulk, America Chavez, Hulk, Leader, Odin |
| C | Ultron, Giganto, Heimdall |
| D | Arnim Zola |
| Agatha | Agatha Harkness |
S-Tier
Spectrum
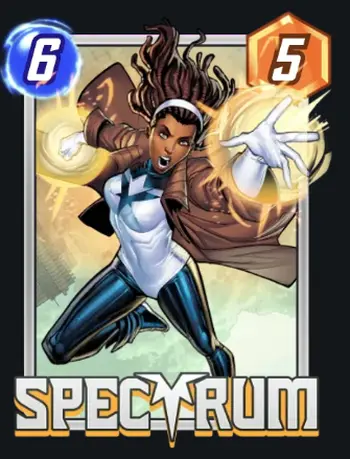
5 Power
On Reveal: Give your Ongoing cards +2 Power.
Spectrum is a very potent late-game threat, and until you’ve played with or against her a few times, it’s a little tricky to envision the impact she has. With a maximum of +8 to all arenas (and +6 in her own), Spectrum-based decks are both easy to build and easy to use.
Doctor Doom
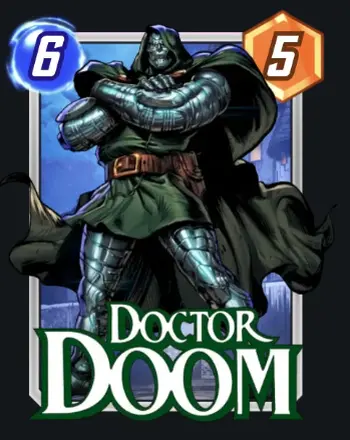
5 Power
On Reveal: Add a Doombot (5 power) to every other location.
Swinging big is a good way to close games, but swinging wide is often much better – and that’s exactly what Doctor Doom offers. While he’s hardly the biggest body in the game, he pushes all three arenas at once, and few decks are prepared for a +5 swing in every single battlefield on the last turn.
Magneto
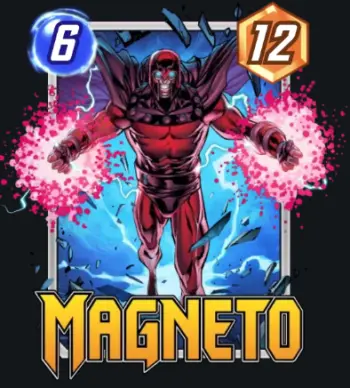
12 Power
On Reveal: Move all opposing 3 and 4-Cost cards to Magneto’s location.
The master of magnet welcomes your enemies to die with his incredible disruptive prowess. Magneto does boast a Power on par with Hulk, but really, he can yoink all of your opponent’s mid-game plays. You only have to win 2 of 3 arenas, and if Magneto destroys your opponent’s position at the cost of losing his arena, you’ll still have won.
A-Tier
Apocalypse
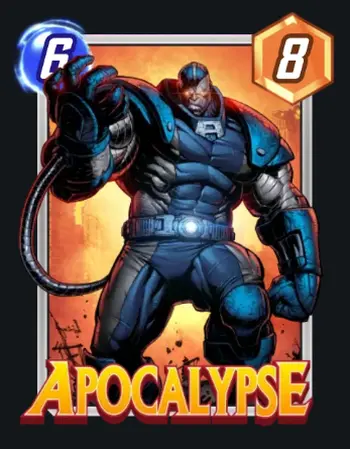
8 Power
When you discard Apocalypse from your hand, put him back in your hand and give him +4 Power.
8 Power is low, but Apocalypse can quickly and easily ramp up in strength until he becomes a nigh-unstoppable force when he finally drops on turn 6. Oh, and did I mention he comes back every time he’s discarded? Yu-Gi-Oh players would have a fit.
Destroyer
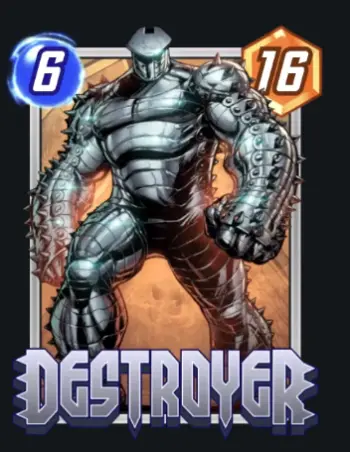
16 Power
On Reveal: Destroy your other cards.
Destroyer is the heart and soul of a self-destruction deck, which as its name implies, focuses on destroying their cards to gain an advantage. Destroyer is particularly potent as it comes with a hefty 16 Power, which is often more than enough to tip a highly contested board. At the same time, pair Destroyer with cards that summon more cards when destroyed, like Bucky Barnes – this way, you not only get a big body on the field, but you also essentially transform your pre-existing cards.
Hela
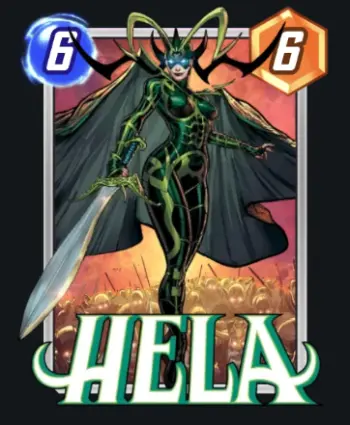
6 Power
1-to-1 Power to Energy cost is bad, but that’s not why you’re playing Hela. The queen of the dead is an incredible finisher to any battle if you’ve been running a discard deck, easily being able to swing entire locations on her own. The only thing that hurts Hela is her random targeting, but that’s usually not too much of an issue
Onslaught
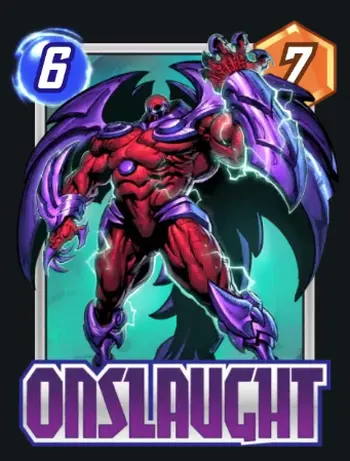
7 Power
Ongoing: Double all your other Ongoing effects at this location.
What’s worse than one Ongoing effect? Two of them! And that’s exactly what Onslaught has to offer. And while he may be all evil in the comics, in Marvel Snap he’s an incredible support card that can allow you to tip the odds on almost any arena – so long as you’ve got wide-sweeping Ongoing effects.
B-Tier
Death

*Costs 9 Energy
12 Power
Costs 1 less per card destroyed in this game.
Death is in a weird spot, and not just because she technically doesn’t cost 9 Energy (and it wouldn’t be fair to put her in her own bracket). Death does have a solid stat line but isn’t worth too much outside of self-destruction decks. Coincidentally enough, the same deck type makes Deadpool work.
The Infinaut
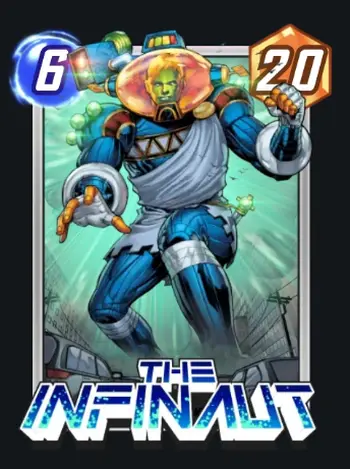
20 Power
If you played a card last turn, you can’t play this.
Like Hulk, The Infinaut is a good tech option for when you need a big swing to close the game. Unlike Hulk, this card comes with the cost of having to pass your turn 5 – which you probably don’t want to do unless the game was already won. Or, you could run a deck that purposely skips turns, in which case Sunspot is a great card to have.
She-Hulk
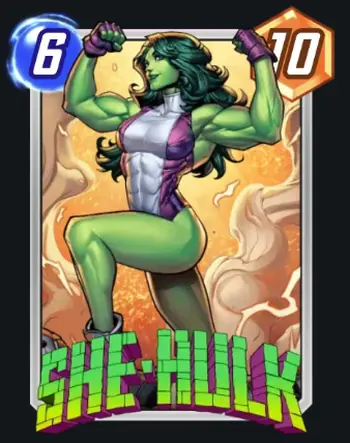
10 Power
Costs 1 less for each unspent Energy last turn.
And now we have a card like Infinaut that provides late-game swing but is a lot more maneuverable. The energy reduction is very nice and can allow you to bring this card out unexpectedly. However, you’ll rarely want to skip your turn 5 just to play this card. She-Hulk is a good fit for decks that specialize in 2-3-4 energy, as with the way those decks play, you’ll still be able to get a respectable discount on her cost.
America Chavez
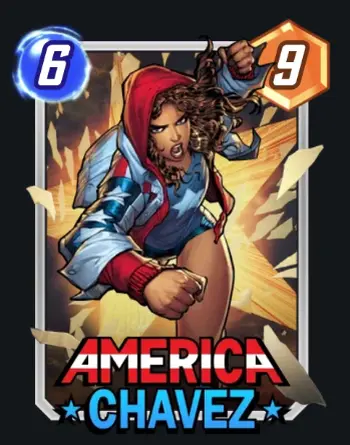
9 Power
You always draw America Chavez on turn 6, and not before.
While America Chavez has a lower stat line than other turn 6 cards, and not a very notable ability to boot, what she does have is consistency. You will never brick into America Chavez in the early turns, and when turn 6 comes up, she’ll be there for you. While there are better cards than her, you get reliability if you throw America Chavez into your deck, and sometimes that’s enough.
Hulk
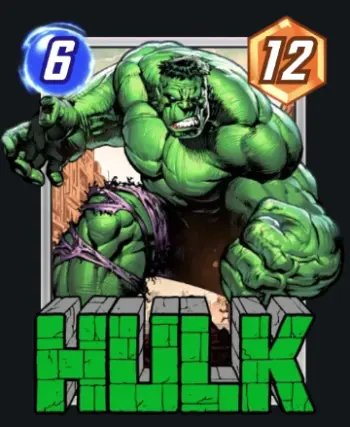
12 Power
Hulk is Hulk. He doesn’t do much but smash. While this may make him seem unappealing – he’s got no abilities to speak of – he does have a very respectable 12 Power and is easy to splash into any deck.
Leader
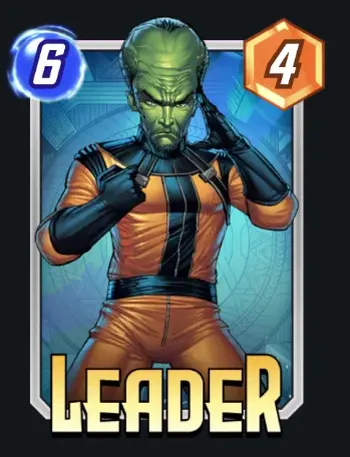
4 Power
On Reveal: Copy all cards played on your opponent’s turn, but place them on your side of the field.
Want to secure your lead? Leader’s got your back. While his Power is nothing to speak of, he essentially forces your opponent to tie on turn 6 by creating a copy of every card they play – except they fight for you.
Odin
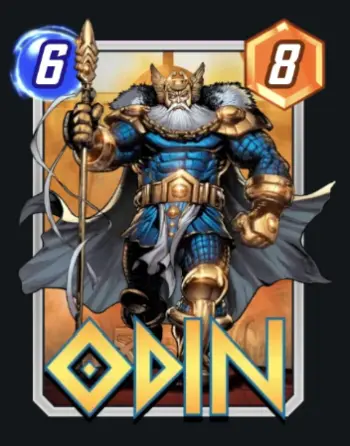
8 Power
On Reveal: Activate the On Reveal effects of all your other cards at this location.
On Reveal abilities are a very active threat, and you should be wary of anyone packing Odin as he essentially causes them to play themselves again (without the Power of the card). This is especially devastating when paired with disruptive On Reveal effects that destroy or move enemy cards.
C-Tier
Ultron
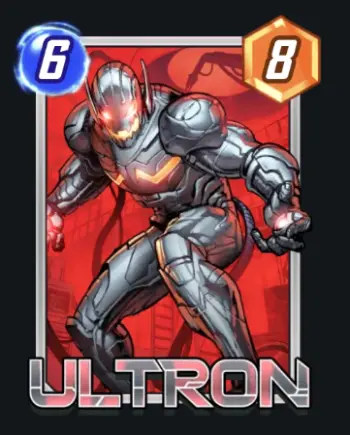
8 Power
On Reveal: Create 4 Drones with 1 Power at every other location.
Yes, because I was completely not contesting the other locations. Also, Doctor Doom exists, so why would you play Ultron?
Giganto
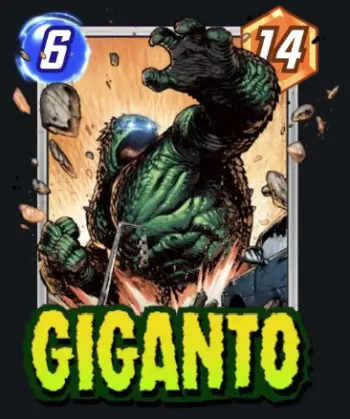
14 Power
Can only be played at the left location.
14 power is good, but the restriction is not. It’s a toss-up whether you can really use Giganto or not.
Heimdall
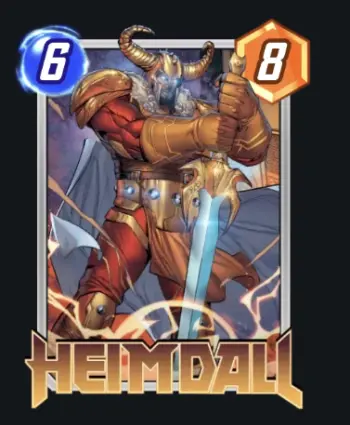
8 Power
On Reveal: Move all of your other cards to one location to the left.
I will admit, I’m not a fan of movement decks. Still, Heimdall can pull off surprise comebacks in the late game. But overall, I’d prefer a more consistent card.
D-Tier
Arnim Zola
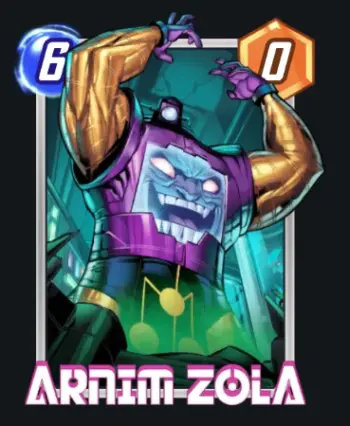
0 Power
On Reveal: Destroy a random friendly card here. Add copies of it to the other two locations.
Arnim Zola, by itself, is a really bad card. However, its effect can honestly lead to some insane interactions that shouldn’t be possible – think of the possibilities two copies of a high plus Power ongoing could do. And that’s just the beginning. However, I’d advise against using Arnim Zola unless you have a really solid game plan, as well as a way to enact that strategy.
Agatha-Tier
Agatha Harkness
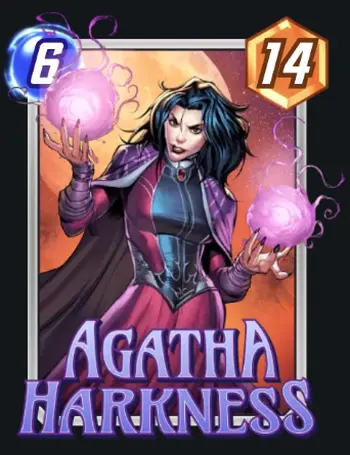
14 Power
Agatha starts in your hand and plays your cards for you.
If for some reason, you want to play Marvel Snap without playing Marvel Snap, I have got the card for you. Agatha Harkness will literally let you AFK the entire game. The downside is that her AI is dumber than a bag of bricks. I guess if you want to rank down for some reason, you can run Agatha.
Play Who You Want to Play
At the end of the day, only you can decide which heroes fit your deck the most. And don’t worry: Marvel Snap is a game that rewards innovation and creativity. With enough time, patience, and a willingness to learn and experiment, you’ll be able to find a use for every hero in the game!
That concludes my Marvel Snap tier list, and I hope you were able to pick up some ideas on who to use and who to exclude from your new decks. If you have any comments, suggestions, or tips of your own, make yourself heard in the comments below!