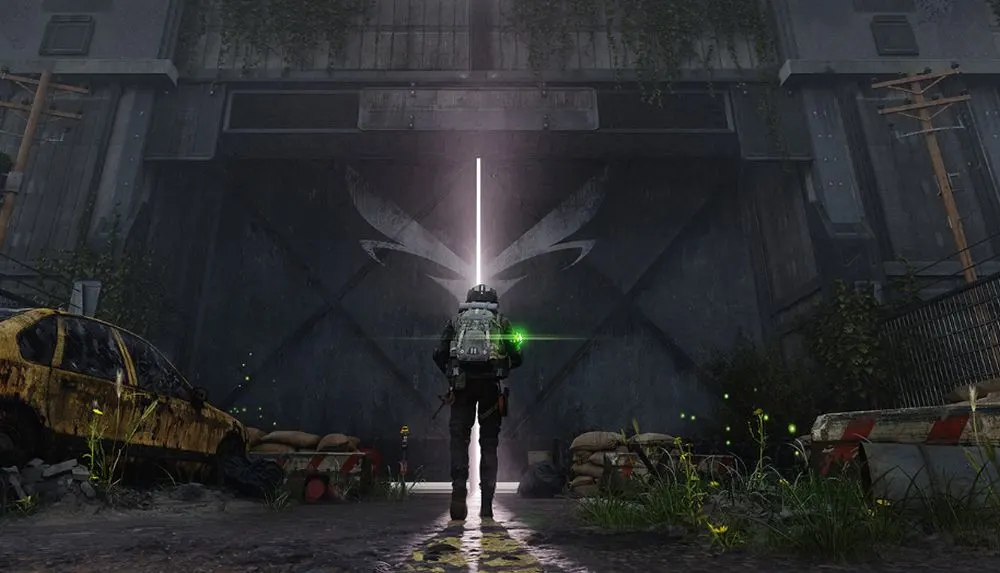
Lost Light is a PvPvE extraction shooter from renowned developer, NetEase. In this game, you’ll square off against both human players and bots in a world devastated by calamities, fighting not only to stay alive, but to thrive.
As an FPS game, I highly recommend playing it on Steam instead – which I’ll be using as it’s far faster and more stable on a PC. If you’re willing to stick with the mobile version, you’ll be happy to know that there is aim assist in this game (and you can turn it off, if you want) though it’s available to both PC and mobile players. For the purposes of this guide, I’ll be using the PC client.
While you definitely need FPS skills to survive in Lost Light, you’ll also need to play smart to ensure that you stay alive, and most importantly, wealthy. For players new to the extraction genre, or who want to get a leg up on the game’s systems, read on and check out our Lost Light guide!
The Quest for Loot
Killing guys is all well and good, but remember: you’re here to make a profit. Thus, your ultimate objective should be getting as much loot as possible while being sure to extract safely and before the round time runs out.
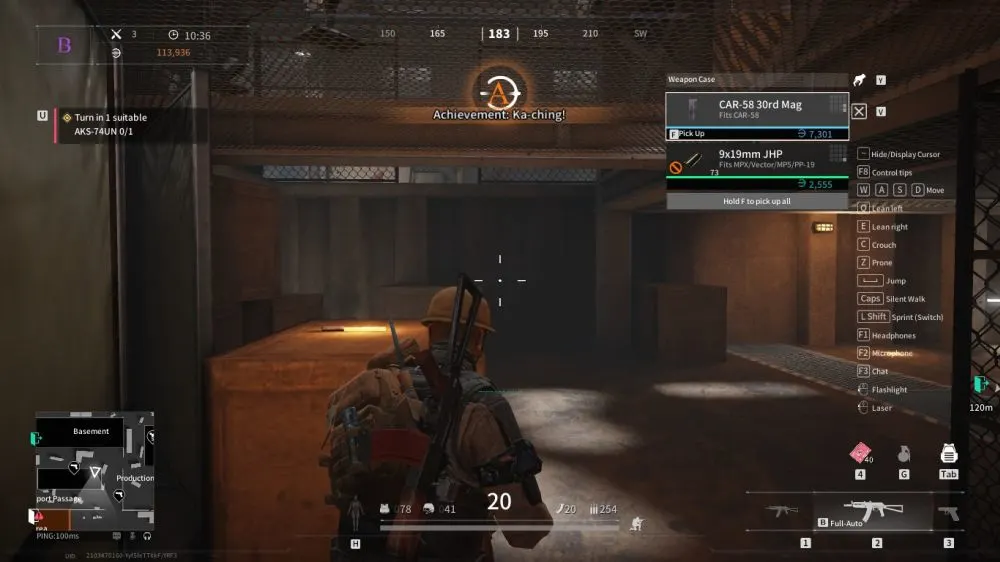
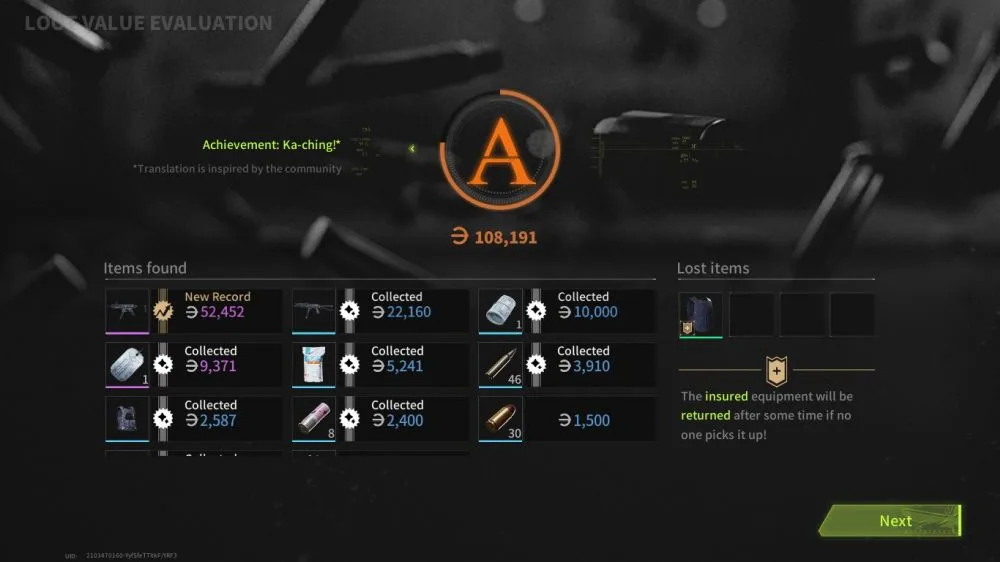
You can tell how well you’re doing based on the letter grade you receive as you loot. The bigger your potential payout, the higher the letter grade, and it works in ascending order (C -> A, and so on). Once you’re satisfied, get your butt to extraction and leave so that you can enjoy the fruits of your labors.
As themost important thing to do in Lost Light is getting out alive with all your goodies, every other human player will be wanting to do the same thing. This is where extraction comes in. And yes, this means everything on you at the moment. Failure to extract will cause you to lose all the stuff you had, including the gear you brought in!
Extraction
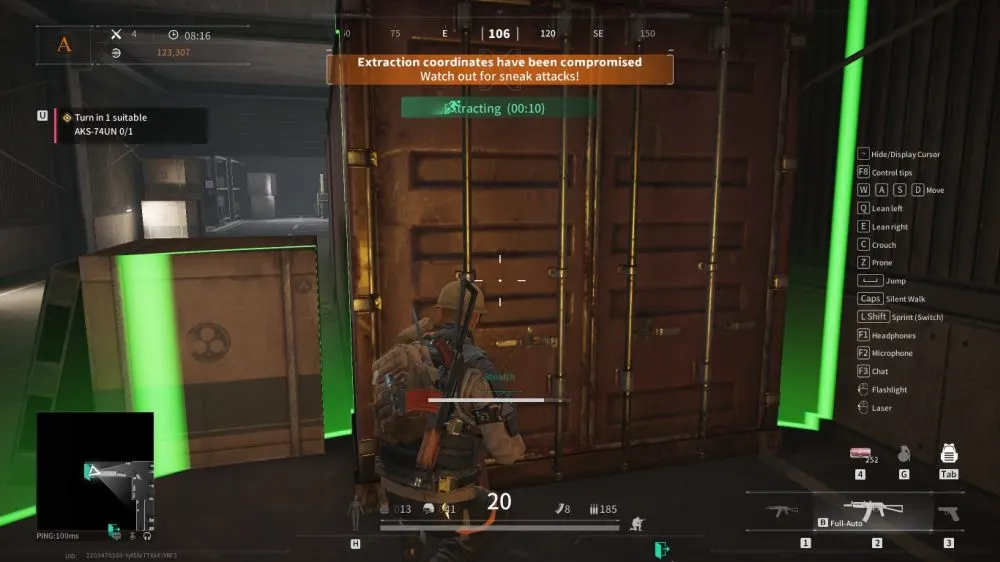
At the beginning of a round, an area will be designated as the extraction point. Once your greed is sated, or if you’re finding your rivals a bit too tough, you can make your way to the extraction point. While you’re standing in this point, a countdown will begin – at the end of which you’ll safely leave the level with all your stuff in tow.
However, the game isn’t exactly going to just let you walk out of there. When a player is attempting extraction, a notification is going to pop up, alerting everyone that someone is trying to leave – and that someone is almost certainly loaded with goodies, or else why would they want to leave safely? As the game puts it, be wary of sneak attacks while extracting, and play defensively; you “only” need to survive inside the extraction point until the timer runs down.
Getting Your Stuff Back
You’re not entirely at the mercy of RNG and other players. Before you embark on a mission, you can choose several options to help you extract more safely and hopefully keep your stuff.
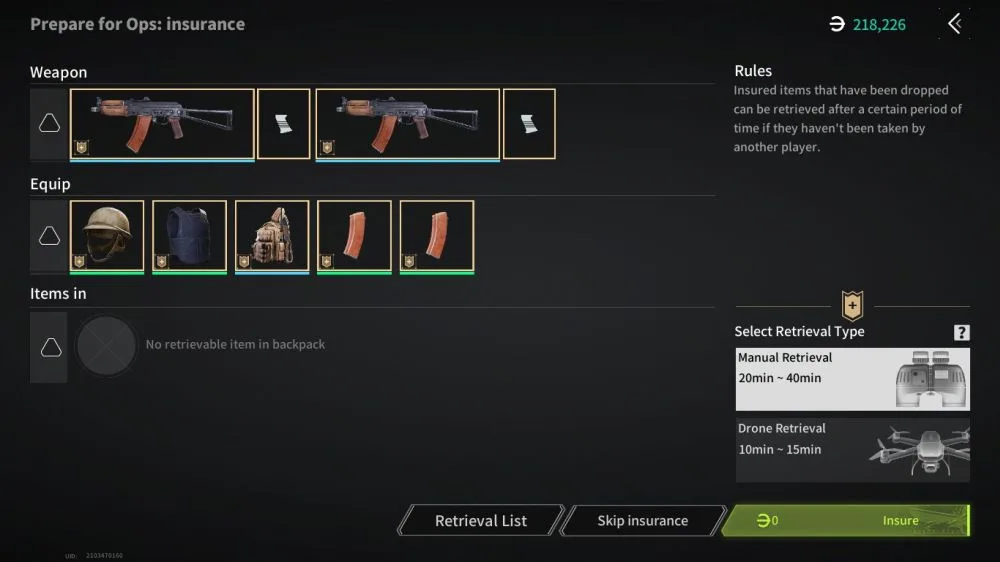
If you’re worried about losing your stuff, you can optionally choose to buy insurance before you start. You can choose between two modes of (gear) extraction: manual, and drone, with drone extraction being more expensive but faster.
These extraction teams will get back the stuff you’ve dropped IF AND ONLY IF you both bought insurance and nobody successfully extracted with the loot they got from your dead body. The stuff you’ve dropped also needs to survive long enough for the extraction team to pick it up, so you’d better pray that no one gets it – which is also why a faster extraction method is better.
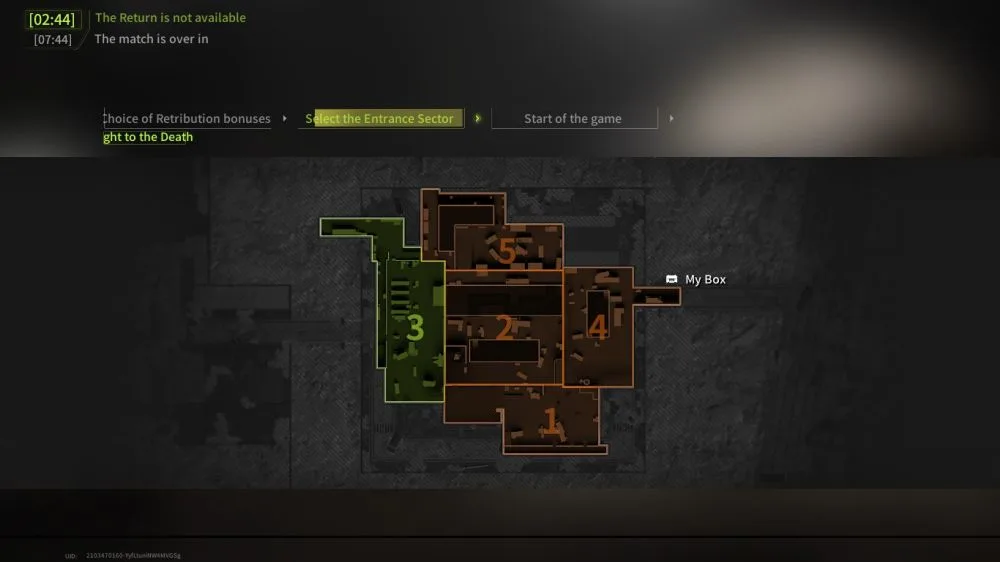
If you’d like to take a more proactive approach in getting your stuff back, you can respawn after you’ve been downed. In team games, a teammate can resurrect you, but in early games you can pretty much just hit the surrender button. This will bring up the respawn screen, which will both mark where your deathbox is and prompt you to select a respawn zone. Be wary: multiple players respawning at the same time can cause havoc, and if you respawn, you’ll be armed with nothing but a pistol!
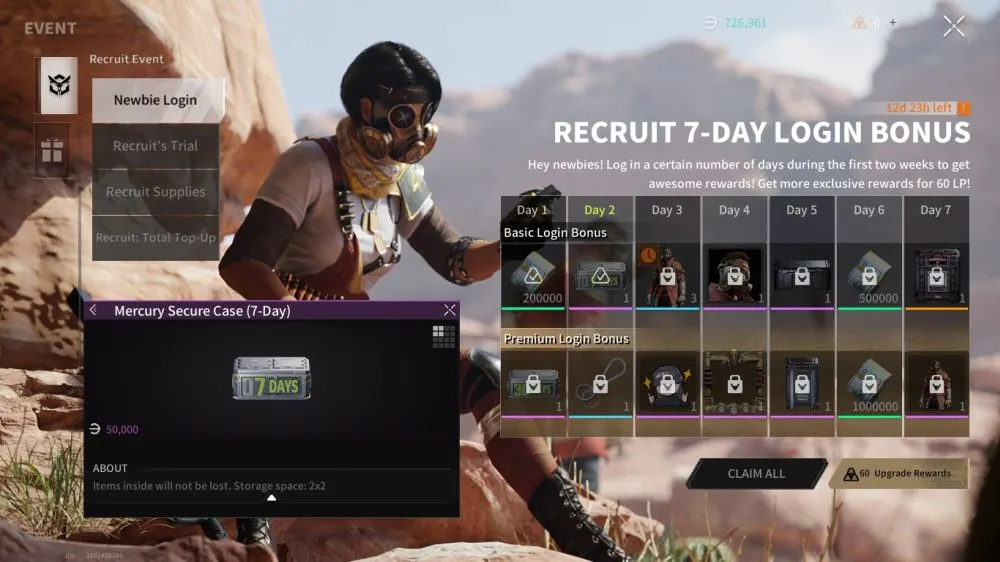
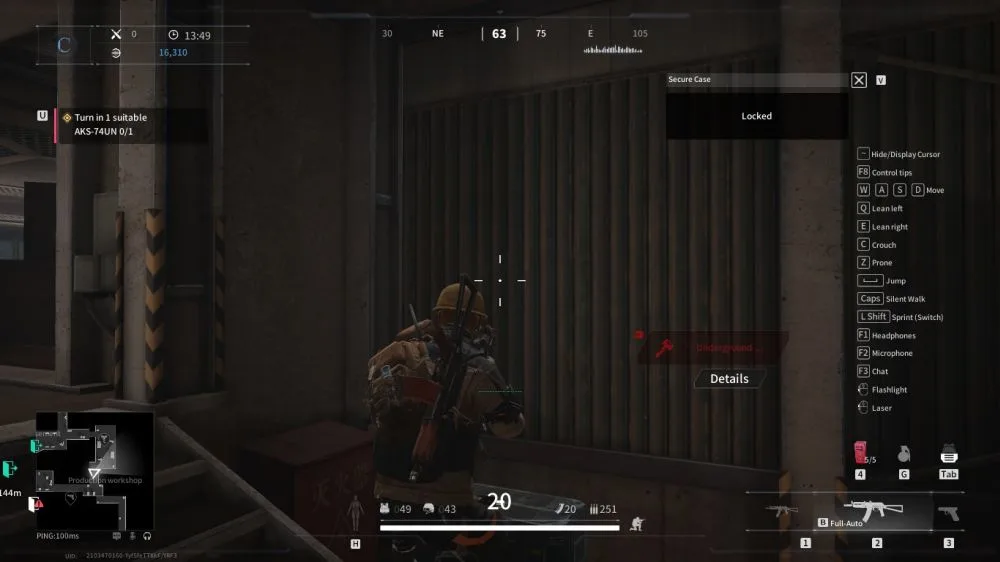
Finally, you can use your secure case to select which items you want to save 100%. This container has very limited space, but the stuff in it is completely safe. While your beginner case has only 2 item slots, you can nab a 7-day 4 slot case from the beginner login event.
And if you’re willing to shell out cash, you can get a 30 day version from the same menu.
Take Care of Your Injuries
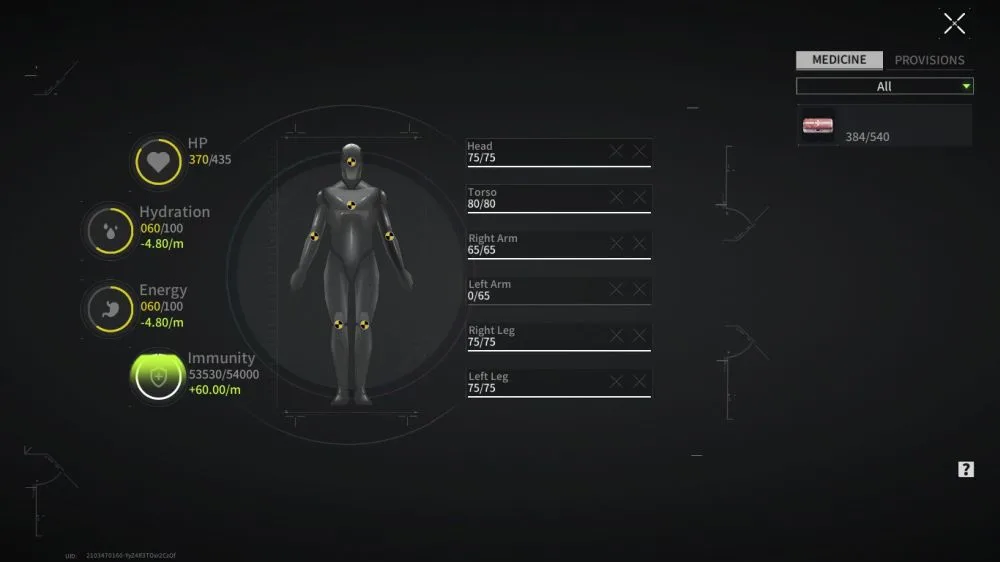
Lost Light uses locational damage to determine your health. Each of your body parts has health, and dealing enough damage to a body part will cause injuries that can seriously debilitate you and lead to your demise.
You can capitalize on this system to inflict the same injuries to opponents: hit their legs enough and they’ll suffer fractures that will prevent them from running or crouching, or go for their arms to reduce their fighting capabilities. And of course, headshots are universally fatal.
Treating injuries is relatively simple. All you need to do is use a health kit. Health kits vary greatly in the amount of health that they heal, but applying them is as easy as tapping the icon on the left side of your health for mobile, or pressing 4 for PC.
If you need to budget your health packs, you can open the health HUD and select which body parts to treat – this is especially important for treating leg injuries as losing your mobility greatly limits your options for both offense and defense. If you want to use a specific health item, you can tap hold on the health icon, or hold 4 if you’re on PC.
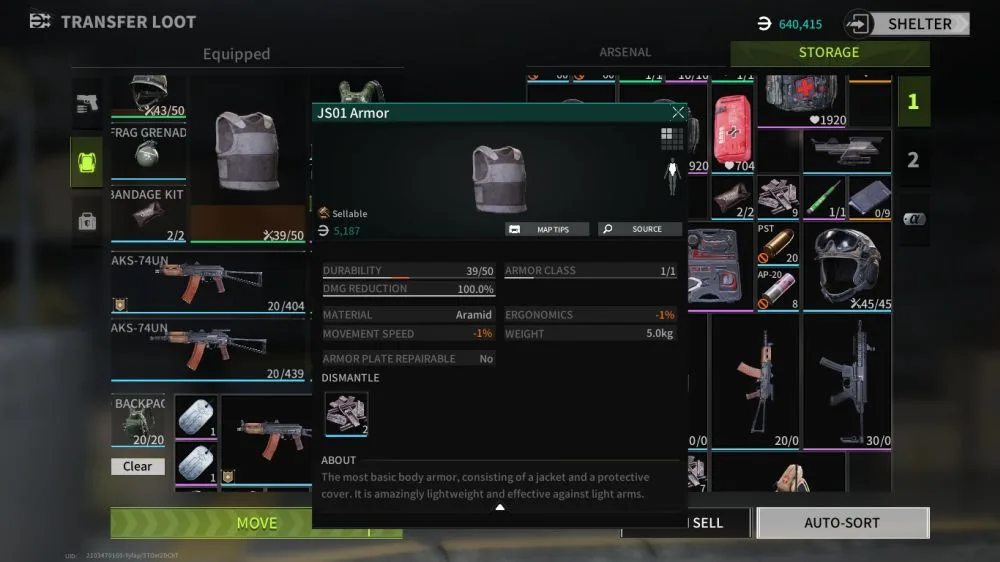
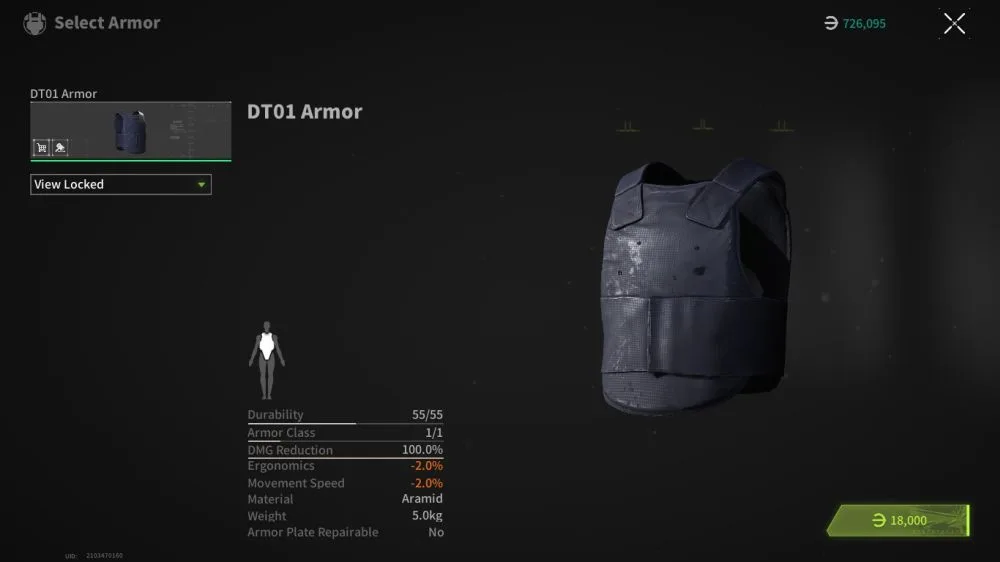
To help mitigate damage to your body and your health bar, you can equip armor that has health of its own. This armor will protect you from damage, but can be subverted by using armor-piercing rounds: the higher the level of AP ammo, the more armor it punches through. Note that there are two separate pieces of armor: one for your body (that is to say, everything but your head), and a helmet for protecting you from headshots, though God knows how.
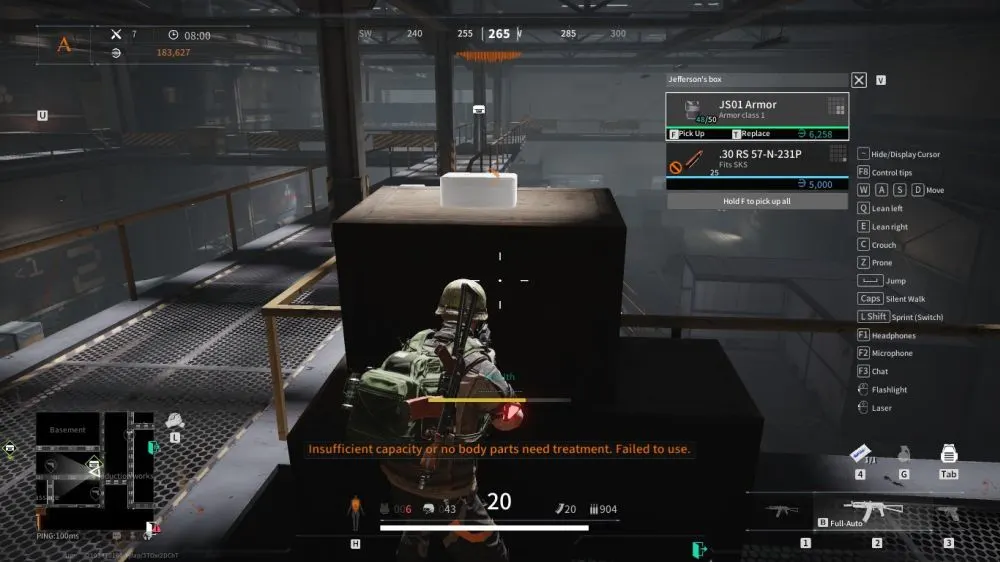
If you need a quick readout of your current armor’s health, take a look above your health bar, on the left side. If you need better armor, look out for green numbers in its health as you loot stuff – a green number means it’s got more health than what you’re currently wearing.
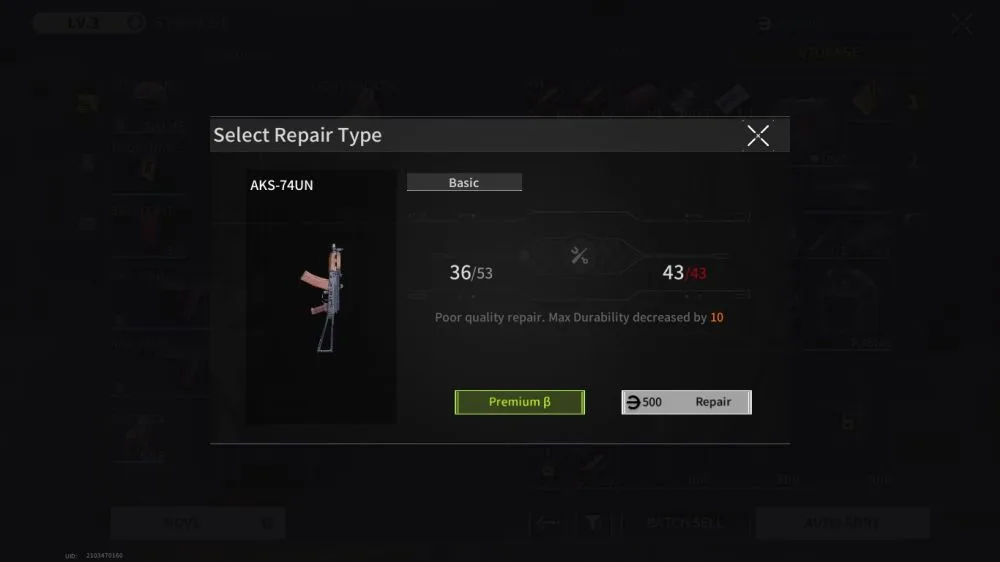
Don’t forget to repair your armor back at base – though naturally, no armor lasts forever. While you can repair an armor’s health, using the non-premium service to do this (read: paying Luna) can decrease maximum durability.
Manage Your Inventory Well
You don’t want to get caught playing inventory management in the middle of a gunfight. With that in mind, try not to bring any more items than are strictly necessary. Remember: everything costs space, and if your pockets are always full, you’ll not only take much longer to loot stuff on the field, but you’ll also probably put your killer in a far better position thanks to all that stuff on you. Don’t worry too much about basic supplies, either, as you can easily buy those from your shelter before a match starts.
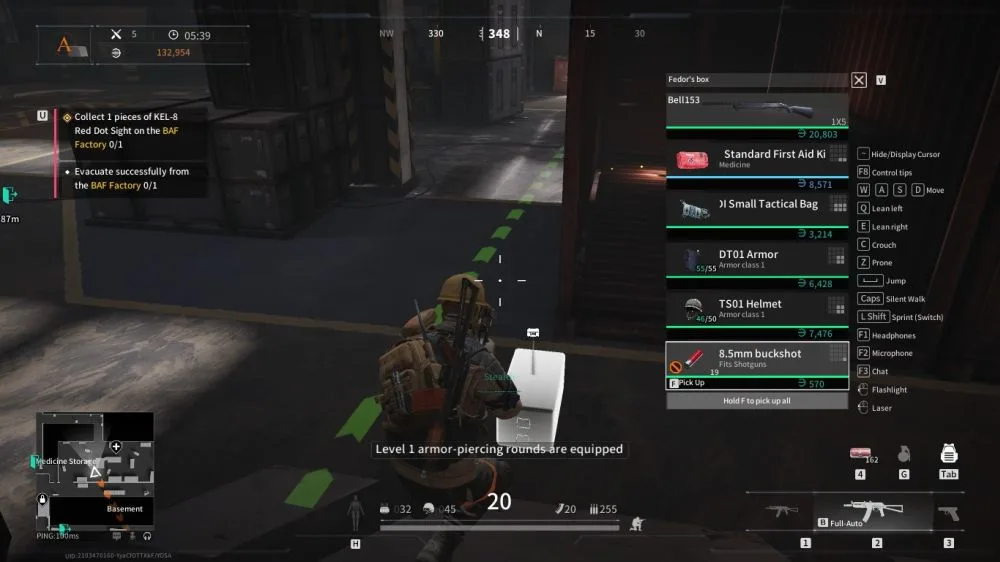
Alongside this, it’s smart to remember what kind of ammo your guns use. This way, you won’t be weighed down by bullets that you don’t need, giving you more space for the stuff you actually do need. Luckily, you don’t need to memorize all the ammo types if you’re not familiar with them as they’re pretty evidently sorted into several calibers – and you can also tap on the ammo itself to show what guns they’re fed into.
On the flipside, the amount of money you make is directly correlated to how much loot you can safely extract. It’s a generally good idea to weigh the space to value ratio of items. Guns, for example, can net upwards of 10,000 Luna per sale, but occupy a lot of space.
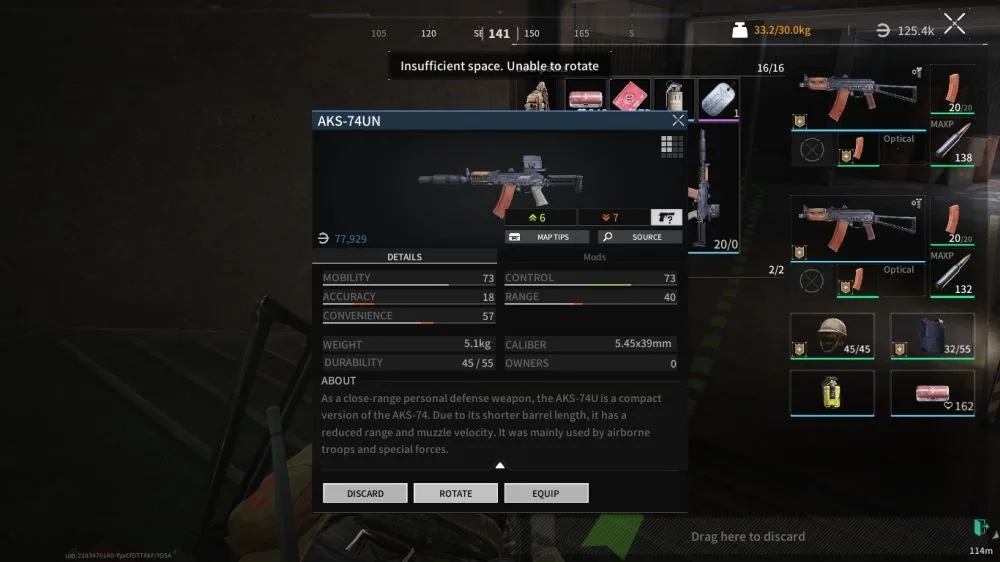
Dogtags, on the other hand, are compact (only taking 1×1 of your inventory grid) and sell for a hefty price – if you can get them at all. To help you bring more loot home, you can rotate items in your backpack a la Resident Evil. To rotate an item, tap on it, then select rotate. Note that you must have enough space to rotate the item in the first place to select this option!
Your Weapons
Understanding the many weapons available to you in Lost Light is key to success. There are several types of guns in the game, and each one of these firearms has a specific role to play. From submachine guns to shotguns and rifles, you’ll always want a loadout that compliments your fighting style.
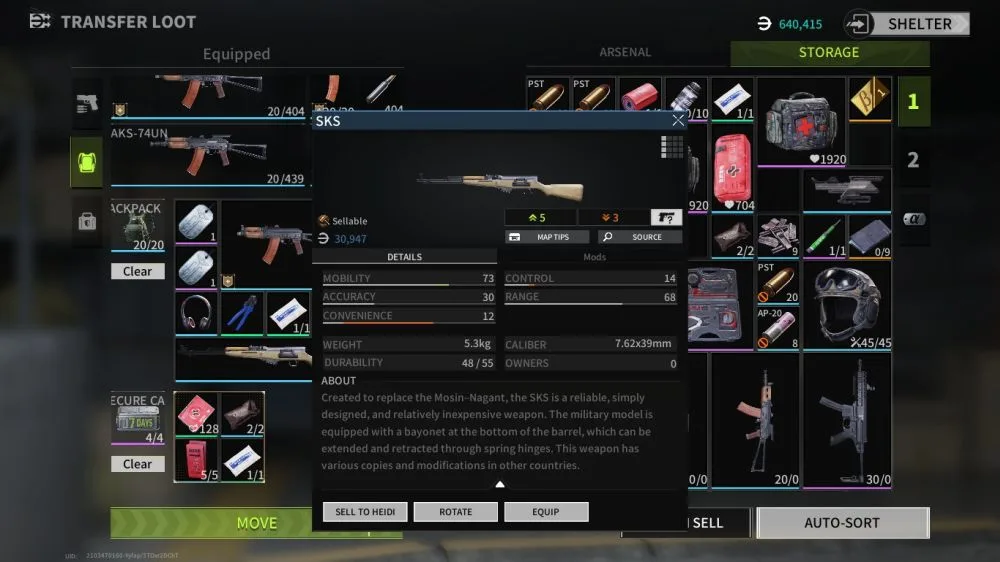
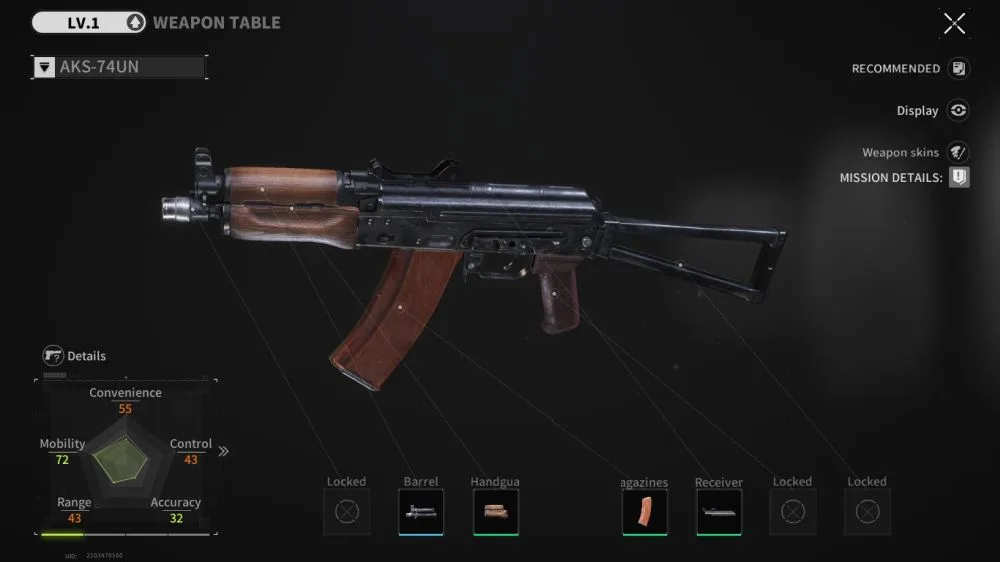
Each weapon has 5 stats:
- Mobility: How light the weapon is. Weapons high in mobility allow you to move faster and not spend as much stamina when running, while letting you recover stamina faster.
- Control: Guns with better control have less vertical and horizontal recoil. Control also helps with the random movement when getting hit, with high control guns moving around a lot less.
- Accuracy: Accuracy affects the deviation of bullets from their intended flight path, and also helps maintain steady aim for longer when aiming down sights.
- Range: Guns with a higher range can deal damage from further away, and suffer less damage dropoff from distance.
- Convenience: Convenience affects many factors: how quickly you can aim down sights, how quickly you can reload, and how long it takes before you can fire again after reloading.
Keep these stats in mind as you loot, choose, and yes, modify guns.
You can loot weapons from fallen enemies and from the environment, but be wary – there’s no truly safe place as even respawning players will spawn with a pistol, and you can only carry so much. On the other hand, weapons are worth a lot so always try to bring some trophies back. Be on the lookout for higher rarity weapons from both bots and players – you’ll run into a lot of blue weapons that easily sell for 20,000 – 30,000 Luna, but a single purple SMG can be sold in the 50k range.
When it comes to combat, I’m going to fall back on some old wisdom here, namely “Remember – switching to your pistol is always faster than reloading”. This may sound obvious, but I’ve won a lot of firefights (not just in this game) by switching to a secondary or even tertiary weapon rather than ducking and reloading. Reloading takes away precious time that could be spent attacking, so make a habit of reloading your mags outside of fights and only using it as a last resort.
It’s also very important to take cover. Remember: Lost Light is a free-for-all between either solo players or teams, so you don’t want to be caught in the middle of a brawl. Don’t rely entirely on cover though, as there’s a plethora of grenades – frags, gas, flashbangs, smoke – that can be used to flush out fortified positions.
Just as your armor needs tending, so do your weapons. And of course, they too can lose max durability.
Coming In Hot
While you can fall back on your stashed-away arms and armor, you can always buy basic equipment if you’re in a tight spot or just don’t feel like risking your actual good gear.
To buy gear, tap on Prepare for Ops, then tap on the relevant equipment slots to bring up a list of gear that’s both in your stash or that’s purchasable. The higher your level, the more gear you can buy. I’d personally suggest getting a slightly bigger backpack for 36,000 Luna as soon as you can, to maximize the efficiency of your excursions.
Stealth and Ambush
Lost Light relies heavily on noise and stealth mechanics, and getting used to these is very important.
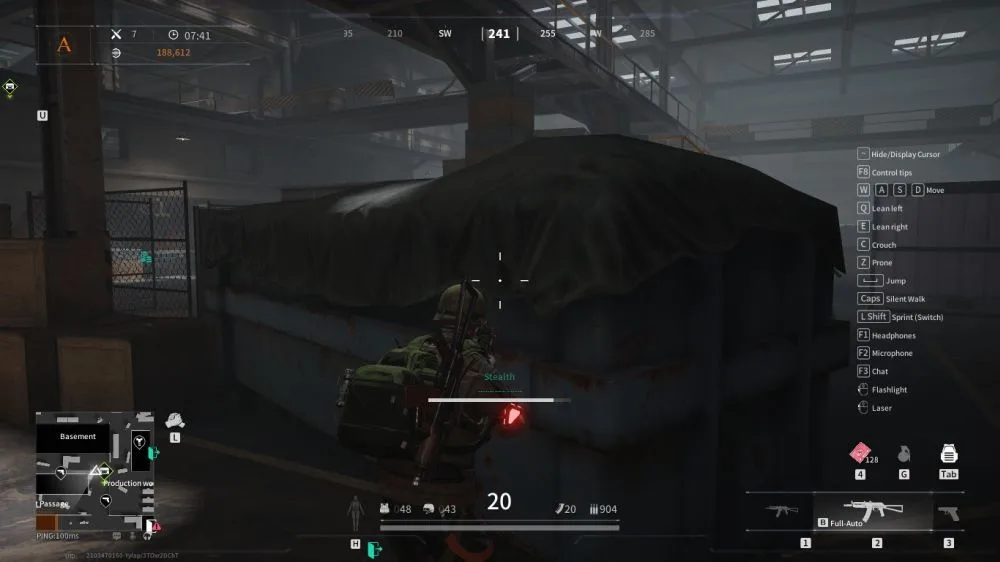
At the top of your screen is your radar, which reads 360 degrees around you. Any time anyone makes a loud enough noise – running, looting, shooting – it’ll show up on your radar as a waveform, which allows you to plan and react accordingly. That said, any noise you make will also show up on nearby players’ radars, so be careful!
To help you maneuver more stealthily, you can opt to either crouch or lie prone. If you’re on mobile, these movement options can be accessed by tapping on the icons to the right side. This also has the advantage of making you harder to spot.
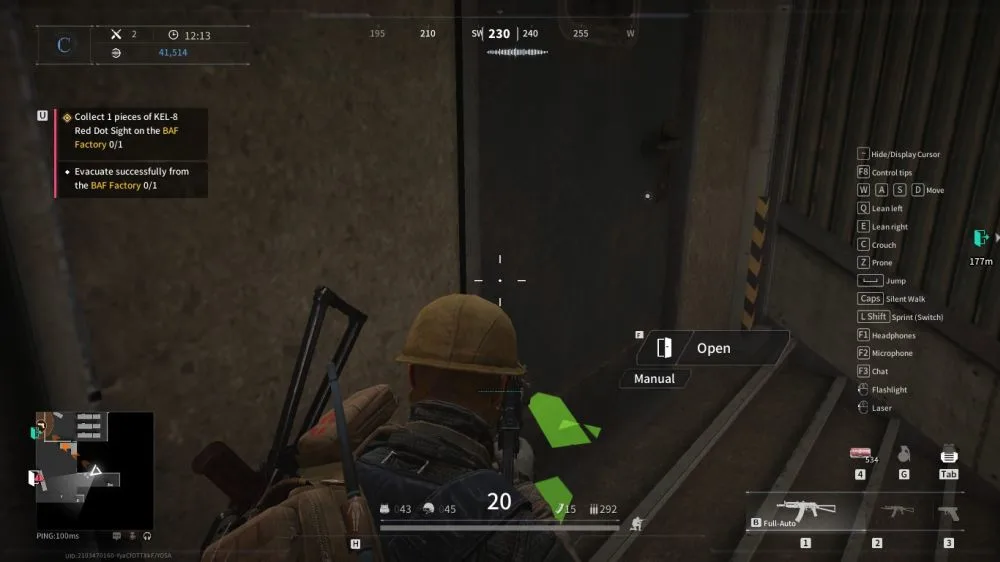
That said, lying in ambush can be a very viable tactic for getting the upper hand over your enemies. Skulk around and find places that are often overlooked, such as behind doors. Firefights can be decided in a matter of seconds, so seize every opportunity you can find!
Ranked Mode
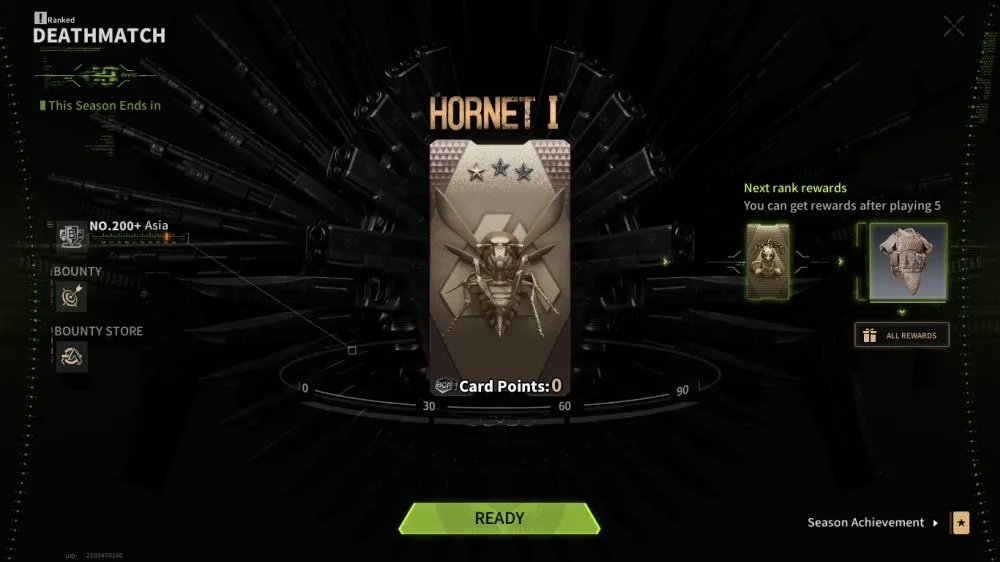
Ranked Mode becomes available at level 5, and is where you’ll find most players.
Ranked Mode is much the same as regular mode, except the main difference is that you need to acquire a certain amount of points (loot) before safe extraction is enabled. You get points in the form of Battle Cards by killing both bots (marauders) and other players and acquiring loot.
Once you’ve got enough points, you can make your way to the final extraction zone and call for extraction. Get ready though – Ranked Mode is a lot more difficult, so expect to have to fight your way out of your final extraction!
For those who find themselves lagging behind, they can forfeit by taking the conditional extraction condition. This won’t win you as much glory as a full extraction, but any time you get to live to see another day without losing your stuff and getting at least a few points is a victory in my book.
Party Up!
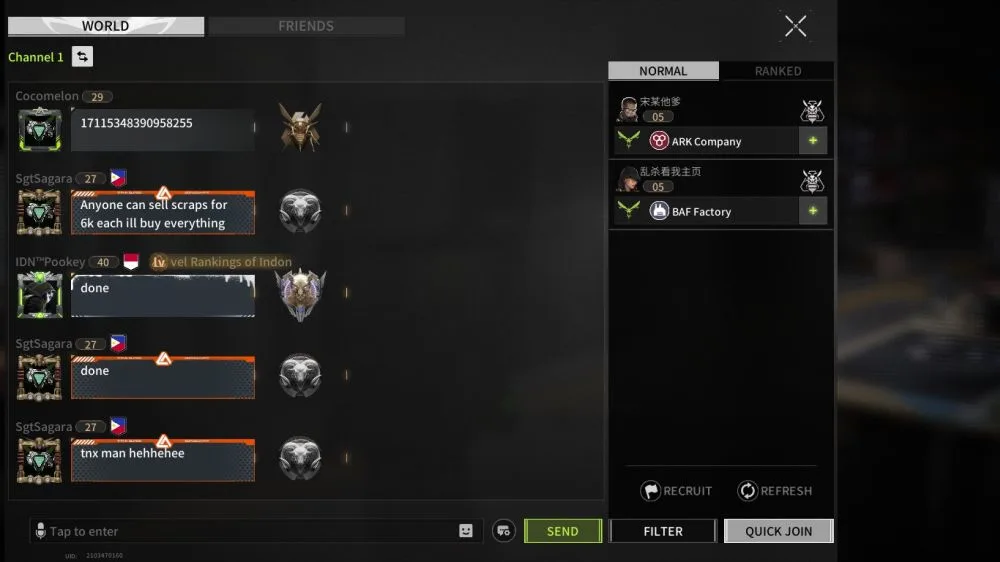
While Lost Light can be played as a free-for-all, it doesn’t always have to be. You can party up with other players in both normal and ranked modes. Party mode is always available for duos, but there’s also a 4-man party that’s available at limited times of the day.
The best way I’ve found for partying up is by using the chat system to either recruit other players or join an ongoing party.
Preparing for Success at Your Shelter
Your shelter is where you stay during your downtime and essentially serves as the crafting and preparation hub for all your operations. In here, you’ll be able to manage your loot and upgrade your stuff to have a better chance at success.
Upgrading Your Facilities
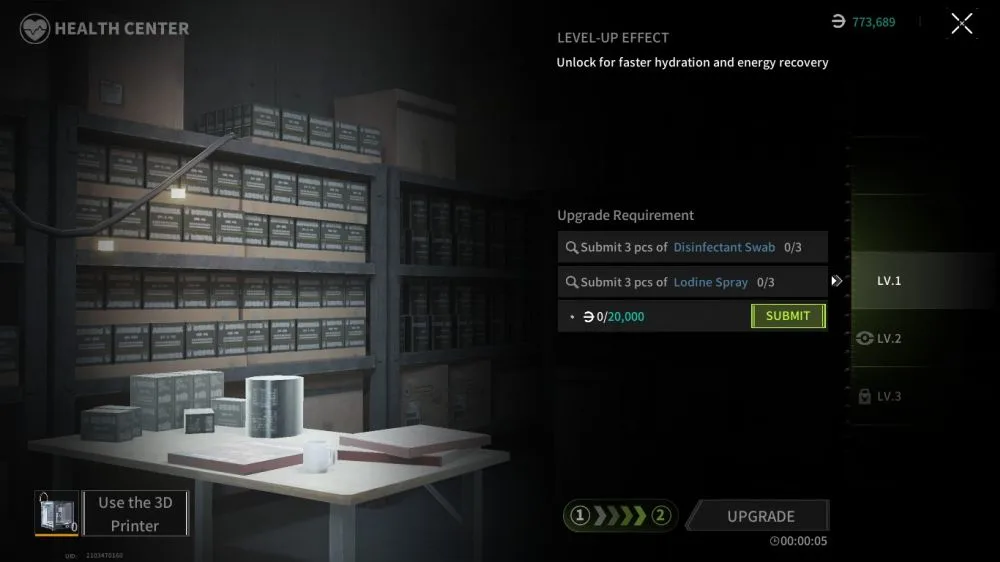
Almost all facilities in your shelter can be upgraded. To do this, tap on the up arrow on the upper left of the screen when interacting with a facility.
Upgrading a facility requires you to submit materials you find during your expeditions as well as a lump sum of Luna, which you can see when you tap the upgrade option for any facility. While this can be a pain in the butt, upgrading is well worth it as better facilities mean reduced costs or even more crafting options.
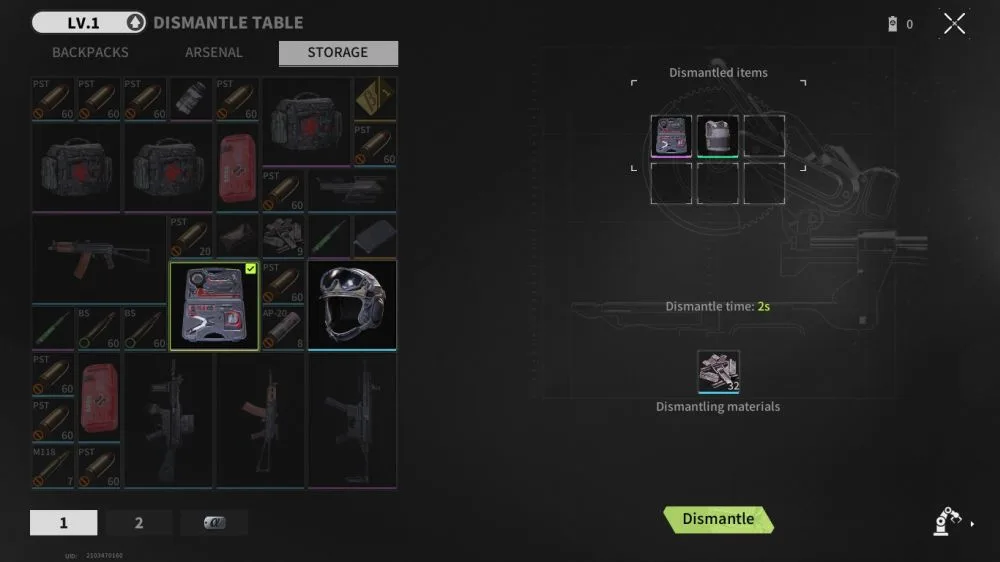
If you’re in dire need of scrap, you can dismantle certain items – just tap on them and choose the dismantle option. No, you can’t dismantle guns, because that would be too easy.
The Trading Center
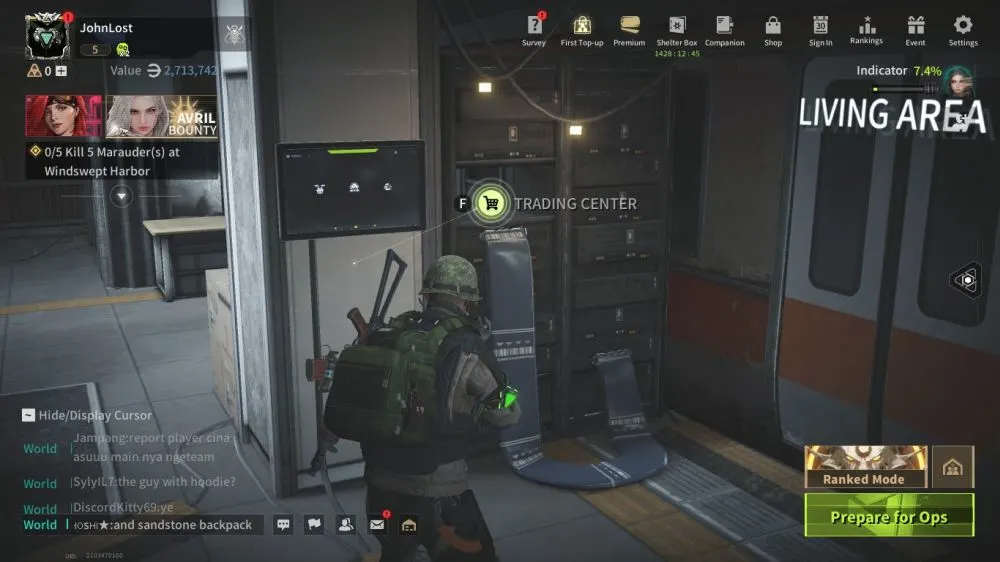
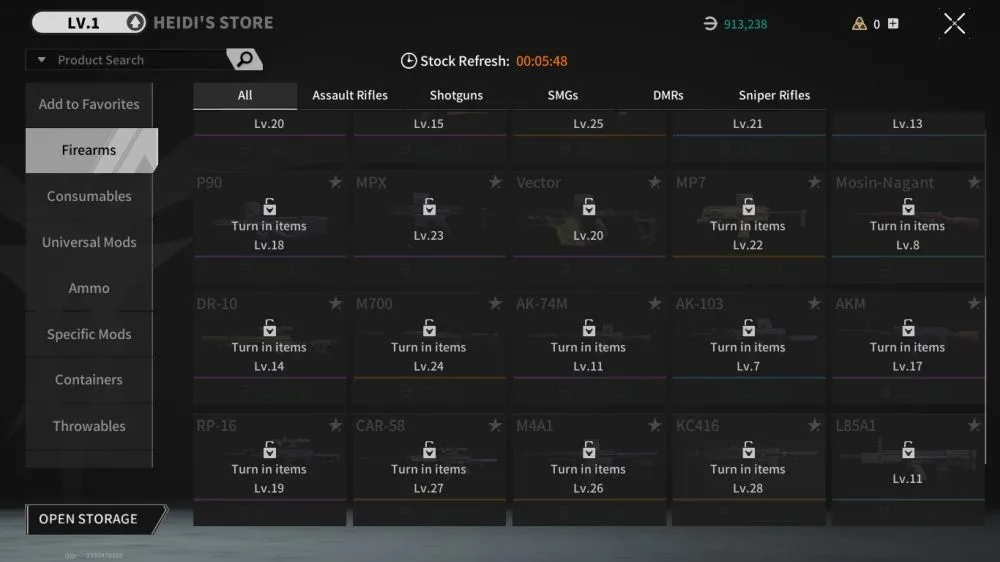
Heidi’s Trading Center deserves special mention as it’s here that you can both give items to her to unlock more gear and avail of her special deals.
As a general rule, if you want Heidi to make an item available on her store, you’ll need to first give her a copy of it. That includes guns, so if you find a new gun that you like, it may be worth giving it to Heidi so that you can reliably get multiple copies of it. Heidi also manufactures ammo, weapon mods, consumables, armor – basically anything you’ll want with you in a combat zone.
There are certain caveats to the items you can submit. The main one you should look out for is that you can’t submit any item that you got as a reward – this includes your beginner logins or from the Companion battle pass, or from events. To submit an item, you’ll need to earn it fair and square, either by looting it from a battlefield (or ripping it from a dead guy’s hands, we’re not judging here) AND extracting it properly, or by crafting it on the workbench.
Just like your other facilities, you can upgrade the Trading Center to get discounts off your purchases, increase its stock, and unlock new items for submission.
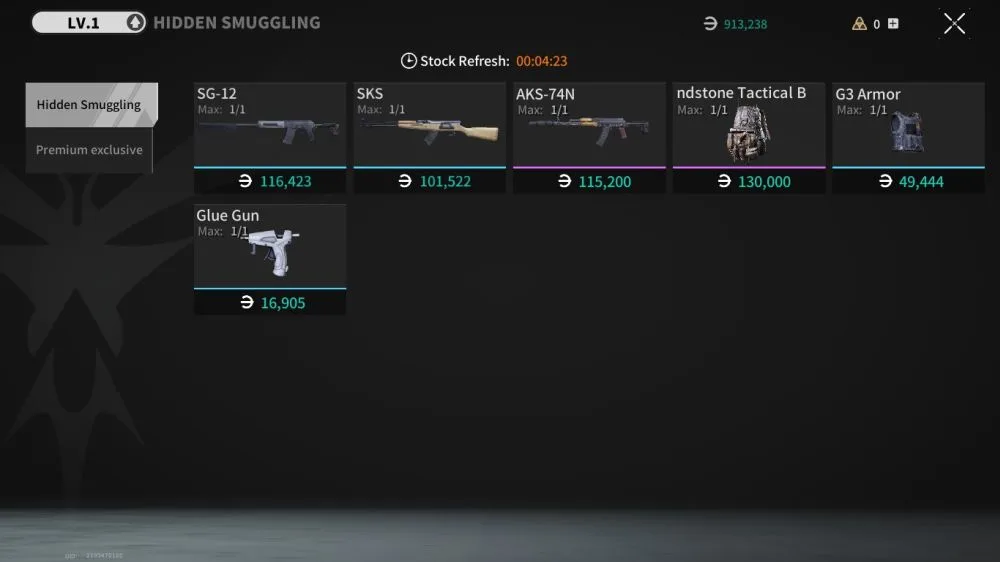
Heidi also sells a limited stock of special items available via the Hidden Smuggling tab. These items are only up for a short amount of time, so if you see something you really want, be sure to nab it. As I discussed earlier, you can’t turn these items in to unlock them, because that would be too easy. There’s also a second, larger stock of items that’s only available to players that avail of the Premium Service (aka buy a monthly membership).
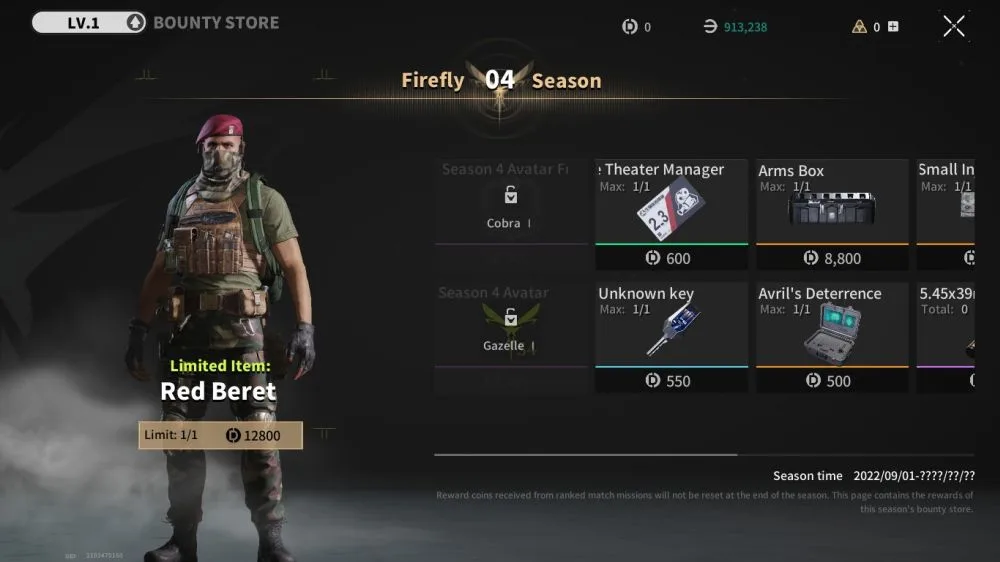
Finally, the Trading Center also allows you to turn in badges from Ranked Mode for very potent items. You can also buy a neat cosmetic for an exorbitant price, if that’s your thing.
Crafting Items
Crafting your own items is a great way to save on money and get better gear without running the risk of death.
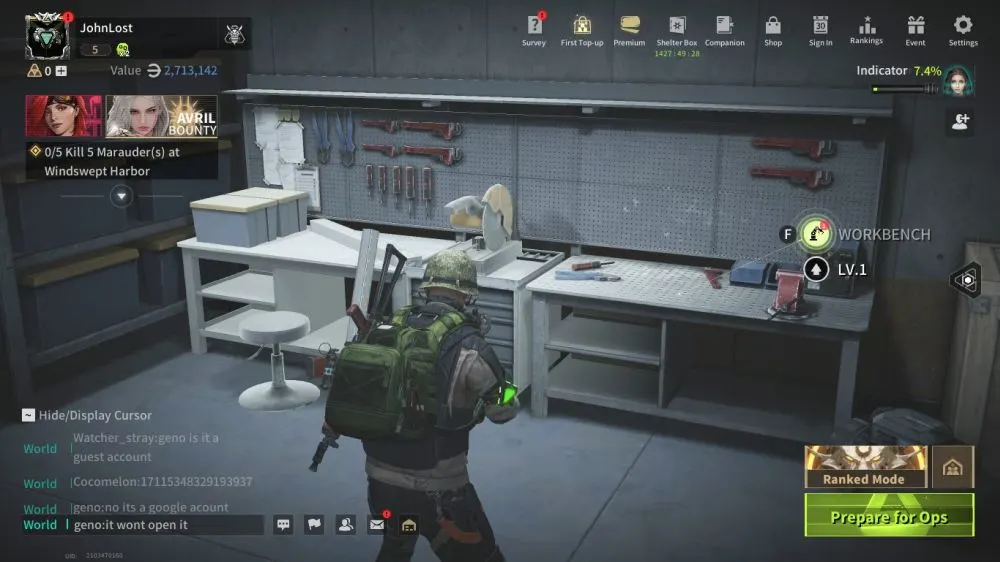
To craft items, all you really need is to have the required ingredients either in your backpack or in your storage (which is safer) then tap the craft button and wait the timer. Note that each crafting process uses up some fuel, which can be seen in the upper right. Fuel replenishes over time.
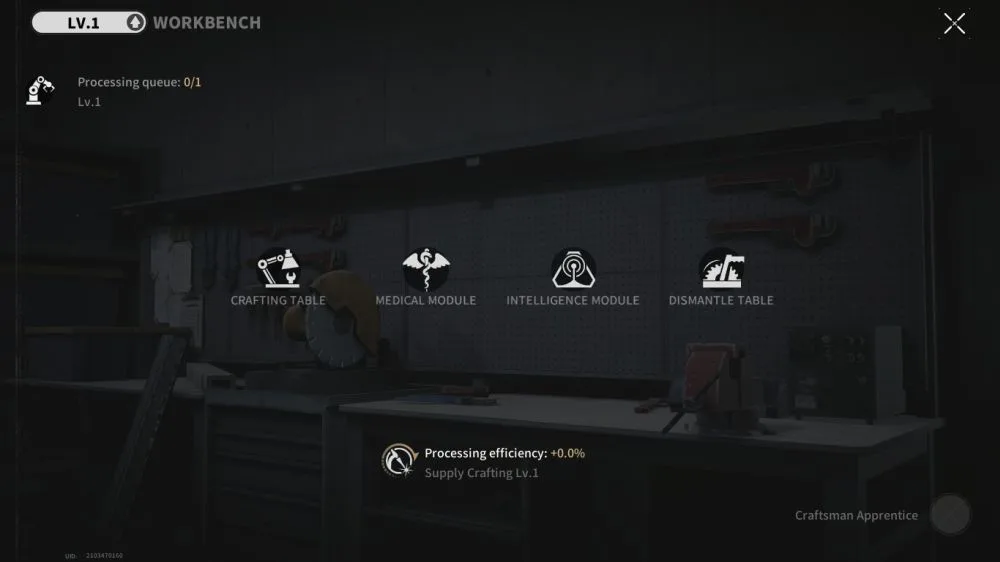
Take note of the multiple modules that are presented to you when opening the crafting table menu. Each of these contain their own items for easy sorting, with ammo, armor, and so on in the “Crafting Table” option, healing items in the “Medical Module” option, and so on. Additionally, if you’d like to open the dismantle menu manually, you can do so from this screen.
Modifying Your Weapons
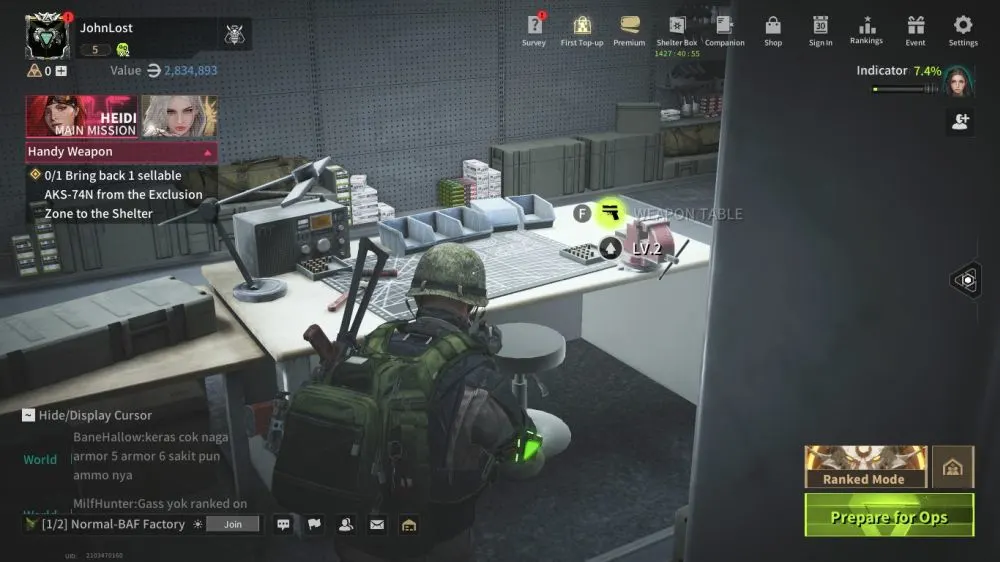
You can modify your weapons by adding various attachments to them at the Weapon Table.]
At the Weapon Table, you can attach and detach the various mods you can either find or craft to your arsenal of guns. Note that each gun has its own modifiable parts, and that weapon mods can only be attached to specific guns. Also, you may need to upgrade the Weapon Table before you’re allowed to modify certain aspects; for example, foregrip modification for SMGs requires a level 3 table.
For those who’d rather their weapons be modded quickly, you can tap on the Recommended weapon on the upper right. This will bring up a list of weapon archetypes you can choose from, such as light, close-combat mods, and so on.
If you’ve also got any snazzy weapon skins that you’d like to show off, you can also equip them in this menu.
Improve Your Passive Skills
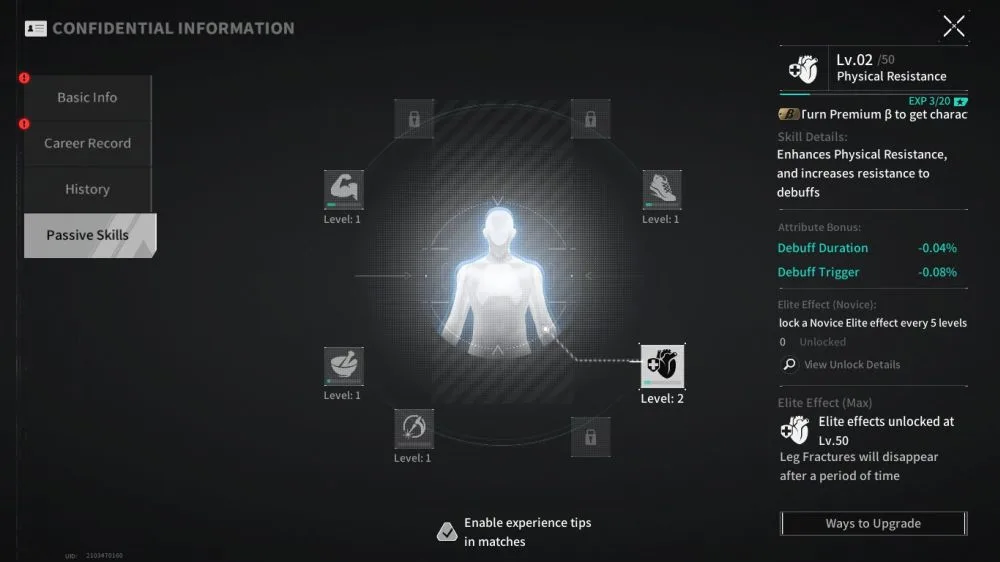
Surprisingly, Lost Light has a fair amount of passive skills to make your life easier.
Passive skills range from helping reduce your water/food consumption and damage taken to just plain making crafting more efficient. These passive skills are trained on their own and don’t need any special input from you to level them up. To see your passive skills, as well as view how to upgrade them, tap on your profile (your icon in the upper left) then go to Passive Skills.
Grab Quests, Get Paid
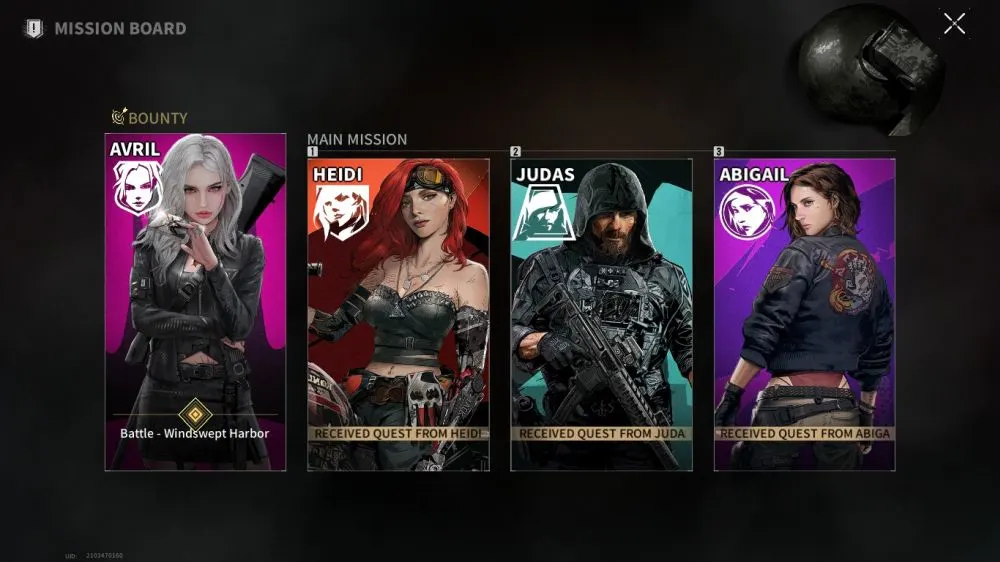
Even the post-apocalypse need go-getters. To view the many quests that are available to you, tap on the upper right button, with the picture of Heidi. This will also bring you to the quest menu (if your level is high enough) where you can take quests from other NPCs for even more rewards.
And while they’re not strictly quests, I highly encourage you to check out the Companion menu (battle pass) and the New Player Events by tapping Companion and Event in the shelter menu, respectively.
And So The Battle Begins!
Only you can determine how your matches will go in Lost Light. Bravery, or caution? Daring, or prudence? Find how you play best, and give it your all.
That concludes my beginner’s guide to Lost Light, and I hope I was able to be of some service to you. If I missed anything, or if you have any tips of your own, be sure to drop us a line in the comment area!

