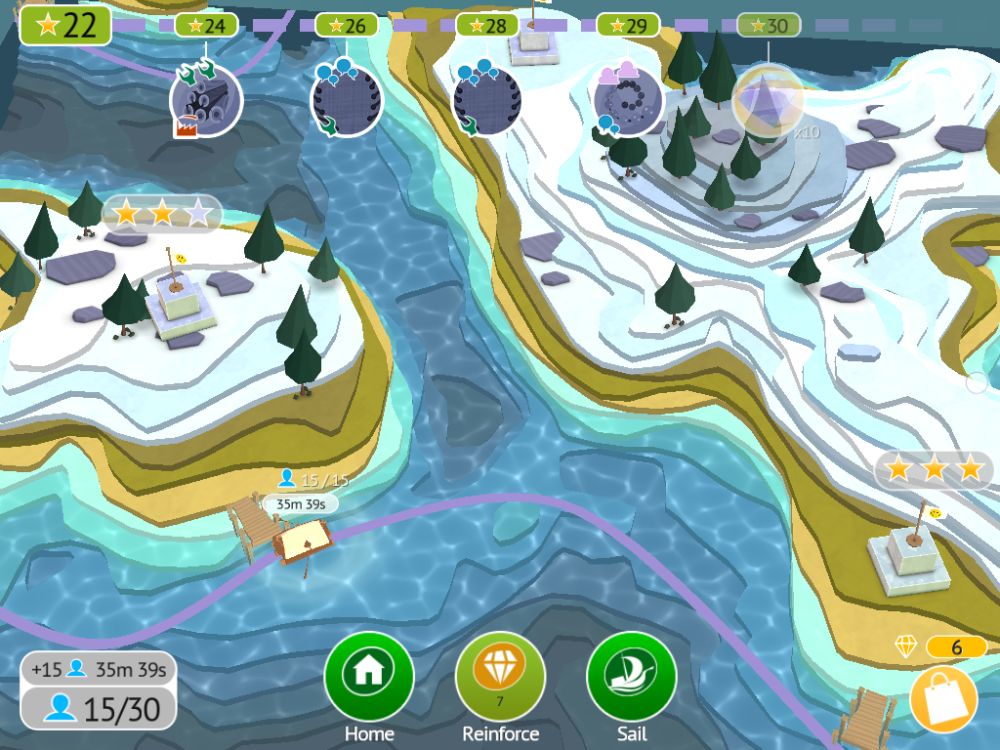
Godus is a sandbox simulator from 22Cans, where you play as an otherworldly being with the power to sculpt the land. After saving a pair of people from drowning by sculpting a beach next to them, they start worshipping you as their god. Whether you like it or not, they’re your problem now! Your people’s goal is to light the Beacons, reach the Ark and unlock the land of Weyworld, where you will do more of the same as you do in Homeworld. Except with some restrictions on settlement construction, and granite preventing you from sculpting in certain areas.
Meanwhile, the first inhabitants of Homeworld, the Astari, torment your people, starting with childish mockery and escalating into real violence. Will you deal with them by poisoning their land, burning their homes and raining fiery death from the sky? Or will you make your people happy enough to shrug off the Astari’s insults and arrows, and eventually make these masked ones one with your own people? Either way, it’s gonna be hilarious, and we’re here to help.
Stay with us and check out our Godus beginner’s guide for a bunch of useful tips, tricks and strategies to sculpt a beautiful world!
MOVEMENT AND EXPANSION
Your primary form of “movement” in Godus is expanding your people’s control of the terrain. A lot of what you’ll be doing is some sort of tradeoff between speed vs efficient land use. Speed being building loads of small houses to get as much construction range as possible, or leashing to get to areas faster, and efficient land use being construction of larger housing and forgoing leashing early on and relying on house-hopping to reach areas.
Leashing: Speed Vs Cost-Efficiency
Leashing is an ability you get early in the game that allows you to directly command your followers. This will be a lot more useful later on, but early in the game you want to use this minimally, as you don’t really have much Belief generation by the time you unlock it. Use it sparingly, and for very important tasks like repairing landmark structures and lighting the Beacons, and only when you aren’t planning to do any heavy sculpting jobs.
Even after getting a good Belief income, using Leashing can be a bit risky since the AI’s pathing ability leaves much to be desired. Before using it, make sure you carve a very clear path to where they want to go, since if they get stuck, they may very well just go back home, with the Belief you just spent completely wasted.
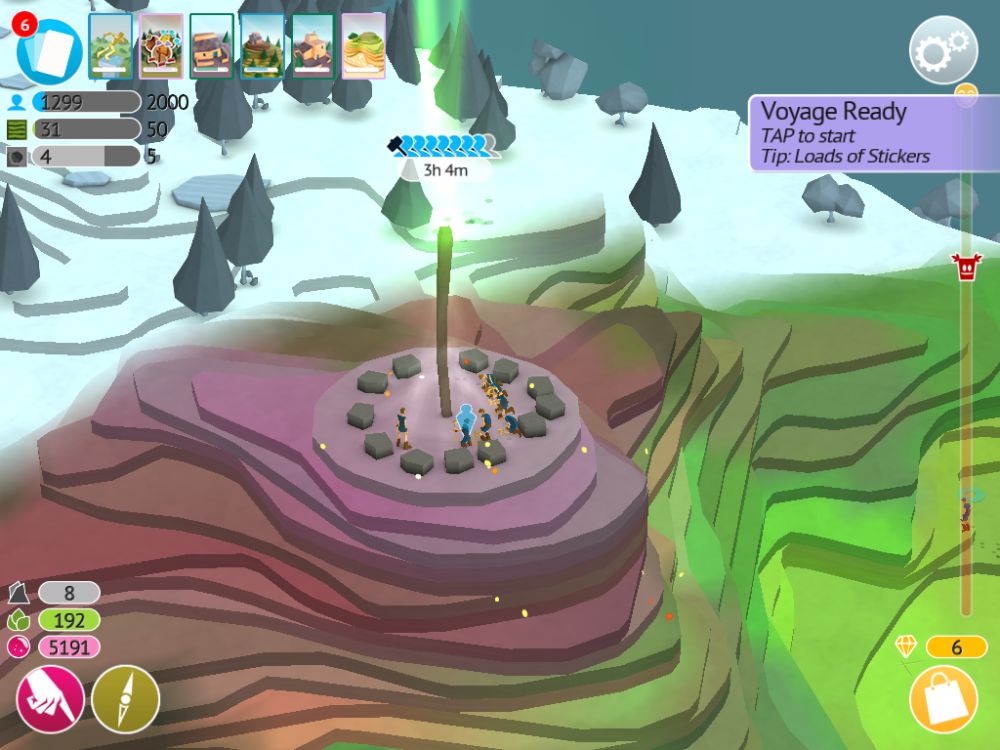
When do you know leashing is readily available? Once you’re able to consistently have about 2000 Belief in safe reserve, by which time you have also unlocked areas where Leashing is most badly needed: Mountainous terrain. You’ll generally need to leash your Builders if you want them to light Beacons on top of mountains, or even simply to build homes and start a town all the way up there. As long as you make a stairway easily accessible to them (and clear out the blight in the area), your followers should be fine.
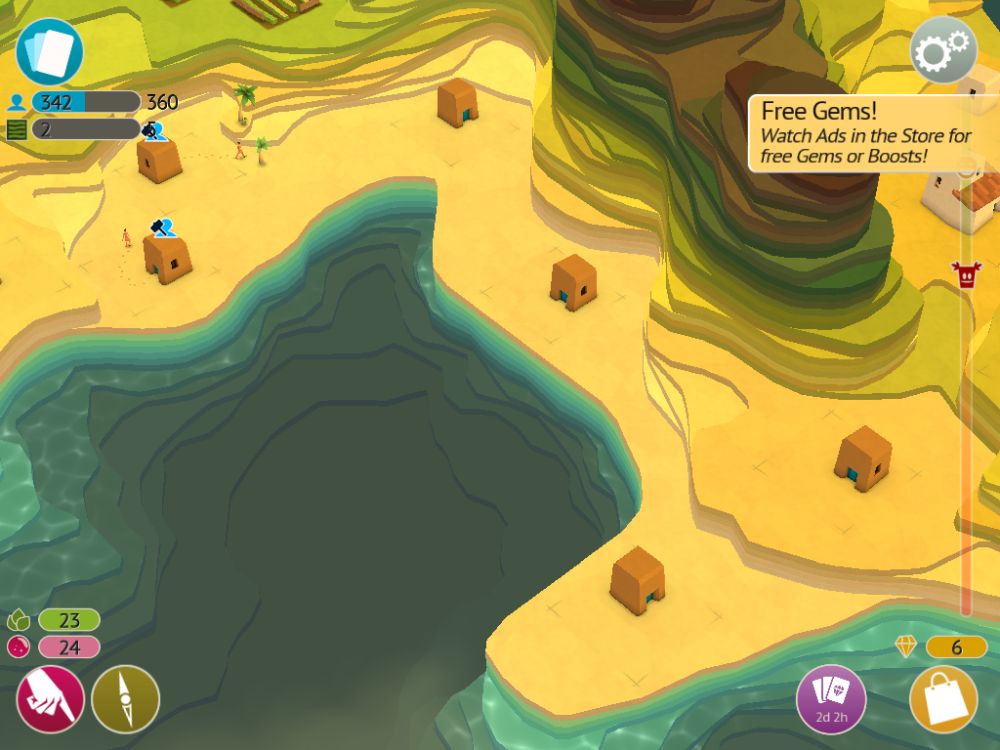
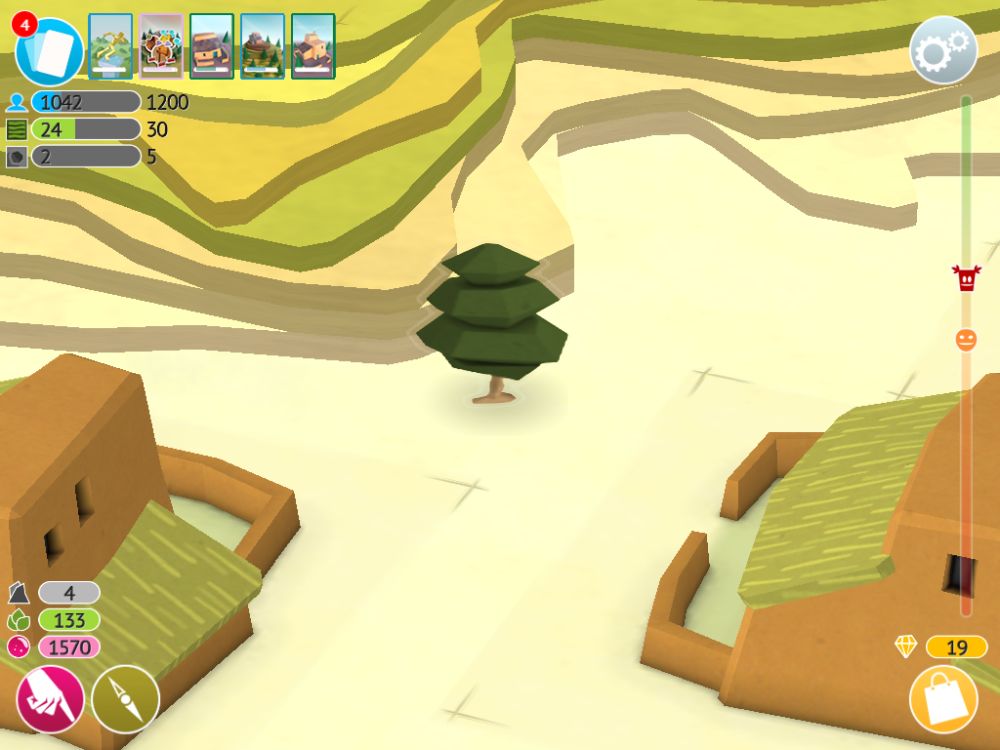
Seeing Jumping Circles? Dig It Up
Jumping circles in the map mark treasure chests hidden underground. To get them, you sculpt the land to reveal them. Make sure you don’t build over it instead, or else you’re gonna have to demolish a house just to get the loot. Early on, you’ll need to save your Belief to dig these up, which is why Leashing is generally ill-advised early in the game before you have strong Belief generation.
House-To-House Hopping, And Altitude Shenanigans
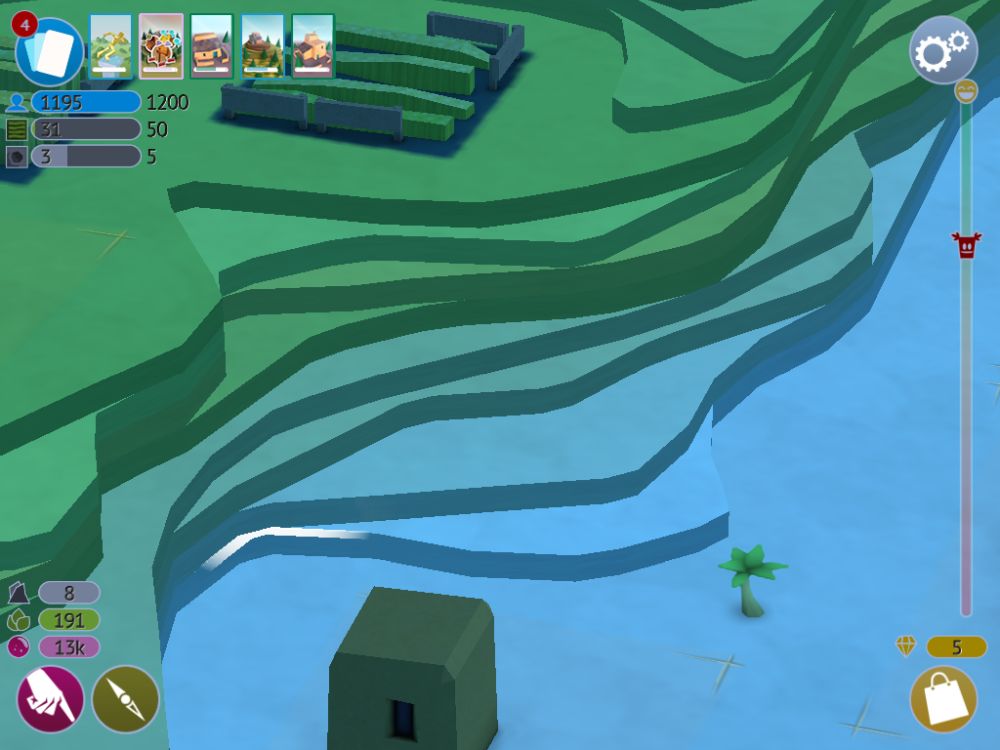
One technique you can use to cover a greater distance is to build near the shore and on desert. As while houses built at lower altitudes give less of a Belief bonus (early in the game, they give the same Belief as any home, but later on you unlock a card that increases Belief generation depending on altitude), they do build very fast, especially the small huts.
On top of this, sand is free to sculpt until a certain depth and altitude. If you see a nice clear desert path leading to an opening, you can use the desert or beach path to rush to the clearing using small housing (Huts, the smallest type of house, have a much wider build range than bigger houses like Lodges or Cabins, and only take a few seconds to build), then once you arrive at the main location you want to take, raise the altitude or expand the area so the houses built there are of higher quality, or just plain bigger even if they’re still on the low sands.
GENERAL TIPS AND TRICKS
There are a few things to keep in mind, particularly what to prioritize with gem spending and certain things that get harder as the game progresses. Here they are so you can watch out for them.
Houses Only Stay Free Early
In the very earlygame, you can build Huts for free. Once you unlock Farming settlements though, houses cost Grain to build. Early on, you might want to take advantage of free housing by expanding, though eventually you WILL need several farms to unlock the highly important Beautify power, to prevent your followers from dying everytime they have to walk through a swamp or blighted land.
20 Starter Gems? Spend It On A Party!
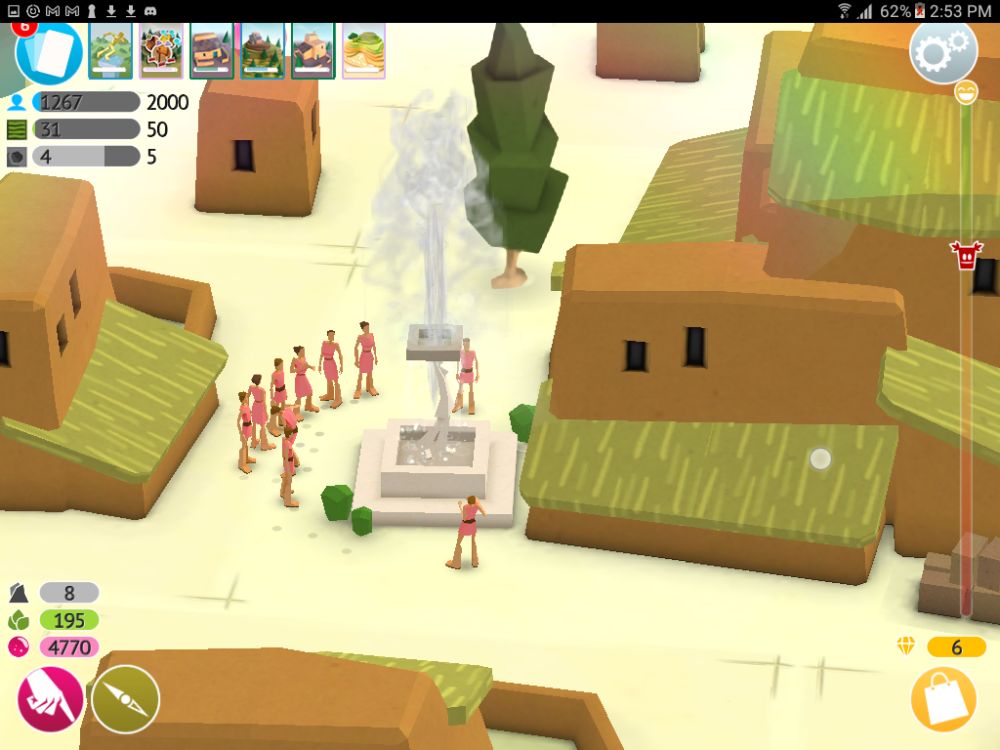
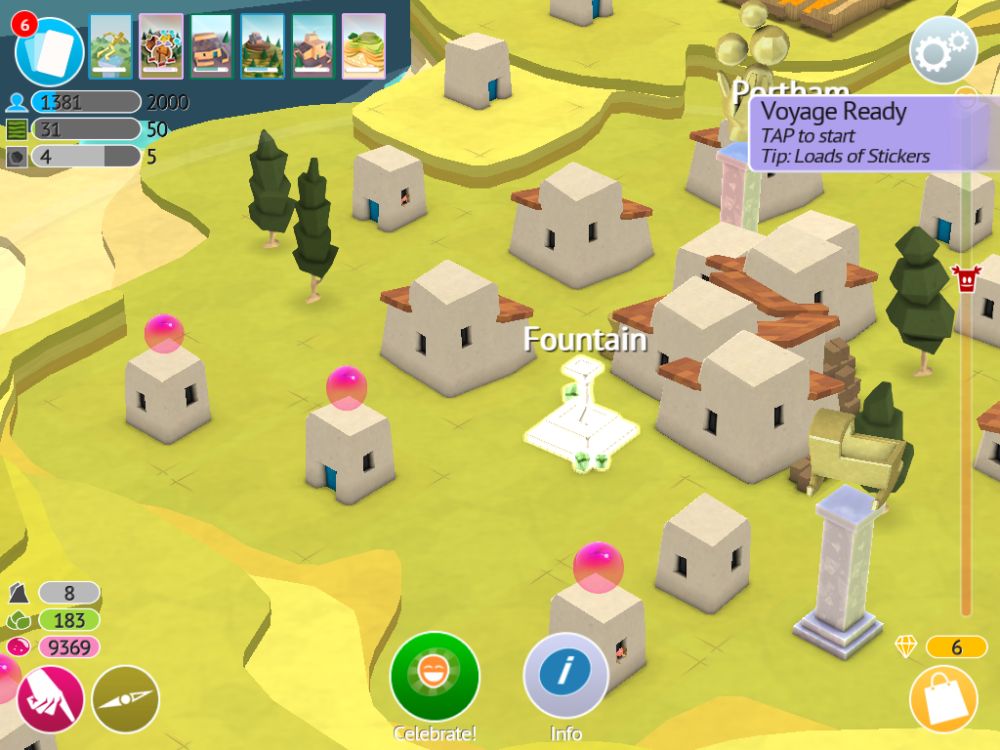
You have a couple of good options to spend your first 20 gems on, if you don’t want to watch a ton of ads to get more. You can get two powerful things: Your first Fountain, and an upgrade to Beautify that makes its effects last 8 hours longer. These will help keep your people’s happiness up, since you might need your first Fountain early so you can prevent the Astari from converting your followers in their first festival.
Meanwhile, Beautify is the absolute fastest way to raise Happiness, in spite of its 400 Belief per second cost. Getting the second upgrade for Beautify makes its effects permanent, so you can watch ads for that instead after the first upgrade.
Holy Heck Not The Holy Forest!
Just a heads up, you CAN accidentally flatten your own Holy Trees after you spawn them in with the
Holy Forest power. Be careful where you drag your finger so you don’t accidentally shoot your own Belief generation in the foot!
Speaking of trees, normal trees also give a small boost of Belief generation to nearby houses, but less than that of Holy Trees. Not to mention a new home will still give more Belief than a ton of trees clogging up the same area.
Zoom In For Precision
Precision sculpting is generally difficult from a distance, and this only gets worse once you unlock the 3x Sculpting Power card. If you want to sculpt small stairs and such, you’ll need to zoom in really hard to make sure you don’t waste Belief accidentally cutting a huge swathe with a small finger movement.
Also, keep this in mind when planning sculpts: Try to plan out paths involving big cuts, since precision is generally difficult either way and is a great way to accidentally waste Belief. Thankfully, you don’t get the x3 Sculpt Power in Expeditions, since precision sculpting gets pretty important there later on. That being said, don’t skip out on unlocking the 3x and 5x Sculpting Power cards either: While it makes stairs harder to make, it makes expanding build areas much, much easier.
When Out Of Options, Watch Ads Or Take A Break

Sometimes, you’ll just find yourself out of rocks to break, out of Belief to sculpt, and out of Followers to explore from the Docks, and your Followers are taking their sweet time generating Belief. Not to mention you’ve built over every possible plot in the area and it’ll take your builders several hours to light the next beacon.
Since you’ve got nothing better to do, you have two options: Leave the game and go do something else, or watch some ads for Gems. There’s no limit to how many ads you can watch a day, and each one gives you a free Gem. It’s worth watching enough of them perhaps for that final Beautify upgrade, or merely to get Sticker Packs if you’re having a rough time with the Voyage of Discovery mode (it gets particularly merciless if you’re running on an older, slower tablet, because precision sculpting, a need for speed, and framerate lag do not mix).
Play Slowly…
Speaking of taking breaks, the slow recharge of Belief mixed with its fast usage means you should take your time playing this game. Instead of sitting there eagerly waiting for pink bubbles to come out, you could go do something else like catch up on work. Once you come back maybe half an hour later, you can collect Belief then enact your plans for the next couple of minutes.
… But Play Often
Your people love you, and get unhappy when you leave for extended periods of time. No joke, the happiness meter drops very slowly when you don’t play for too long. Not even two days off and the next Astari party might start attracting converts, even if you have that fancy fountain or a nice Holy Forest installed.
If you wish to play this game long term, you should at least check on your followers once or twice a day to keep them happy. The best time to do this is around when you’d expect the Astari Festival to occur, so you can spam Beautify for a timely Happiness boost.
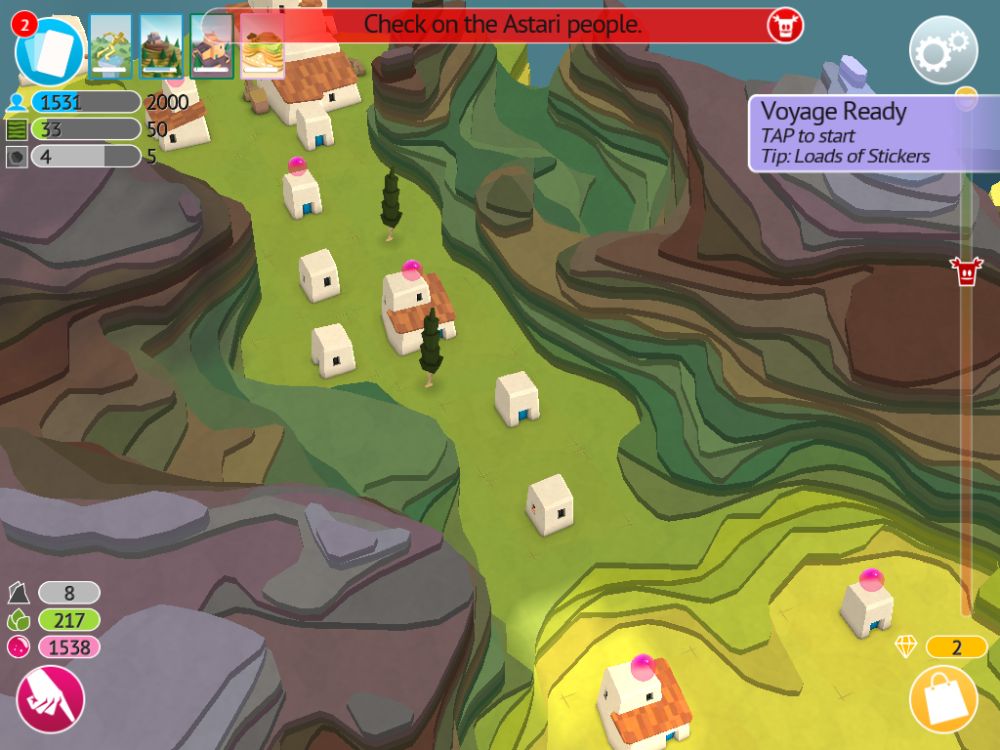
THE ASTARI: TODAY’S ENEMIES, TOMORROW’S FRIENDS, UNLESS YOU KILL THEM ALL
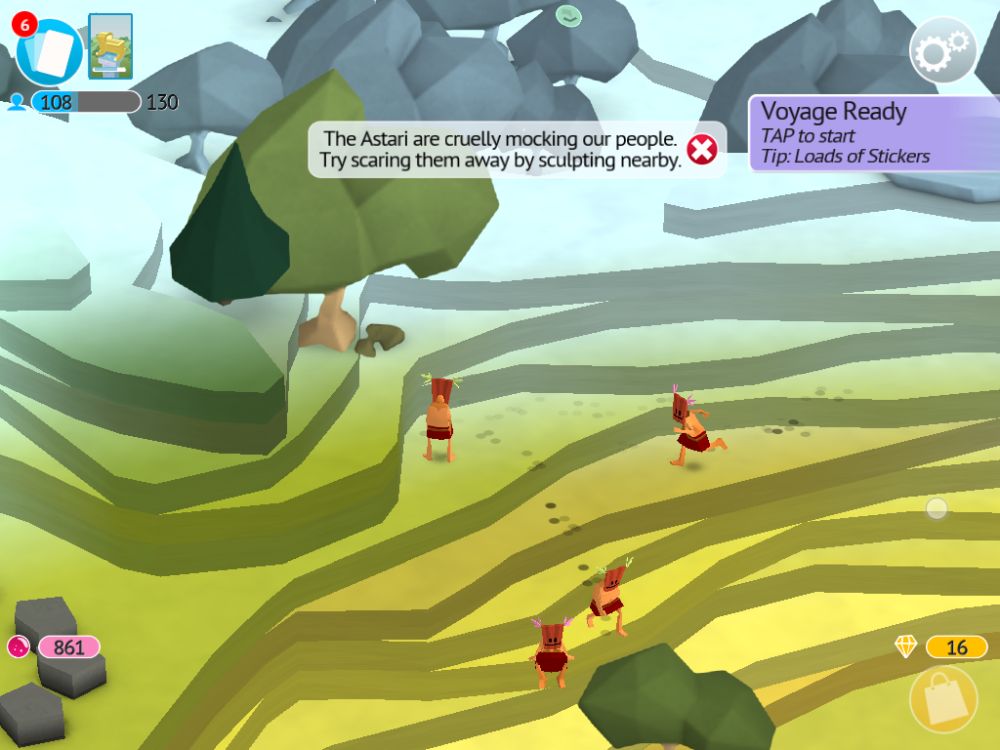
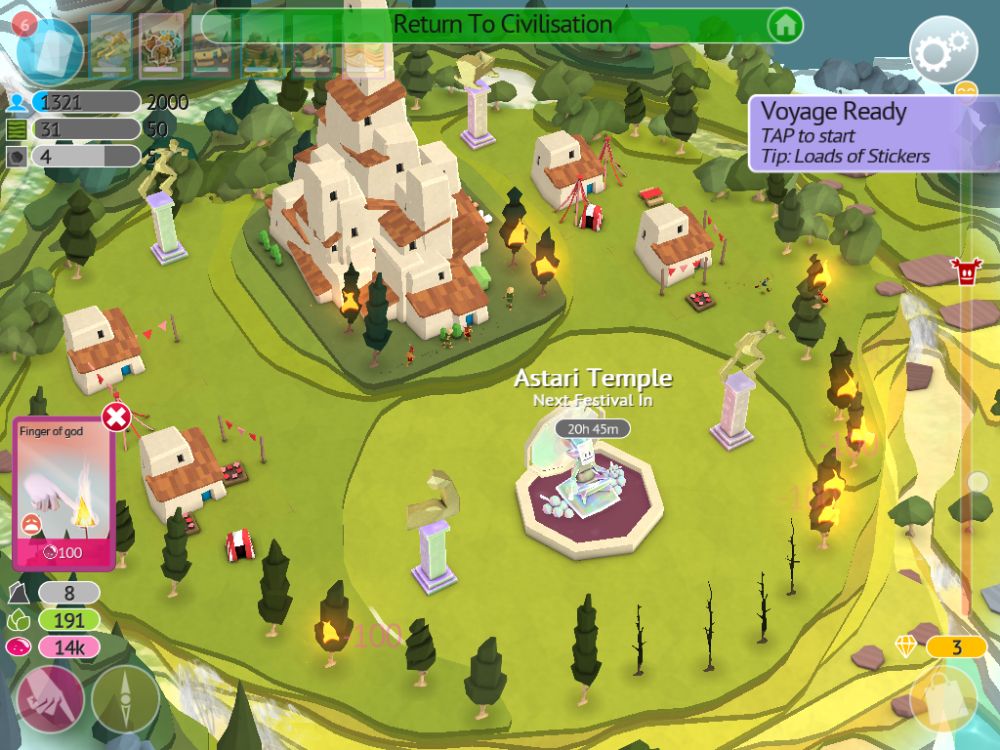
Those little mask-wearing jerks constantly making fun of your Followers everytime you log in are the Astari. They don’t believe in you, having built a temple to their own deity in the center of their village.
They are also far stronger than your people, able to swim and climb terrain more effectively, though they have about the same amount of brains. Which is to say, not much. It may be satisfying to crush, smite and strike them down, but perhaps they may be reasoned with? Here are the three ways to deal with the Astari.
Violence!
The most obvious, wasteful and fun way to deal with the Astari is to drop a meteor on or splat them with the Finger of God power, or plant a swamp in their village. Note how their town, Astariville, isn’t obscured by the Grey (ie the fog of war): While you can’t sculpt over their land, even with meteors, you can set their trees on fire, splat the ones that come out to douse it, or even annihilate their homes with aforementioned meteors.
Killing them all and destroying their town allows you to take control of that little spot their village occupies, though if you haven’t cleared the Grey around it by lighting the Beacons, you can’t actually send Followers there to repopulate and rebuild the place.
Plain Old Normal Progression
By progressing the game normally and lighting the beacons leading to their village, you will eventually be able to send a Follower to Astariville and convert them to follow you. While perhaps your people aren’t as happy as theirs because of your people’s overwork-er-industrial efficiency, seeing your massive amount of territory and population probably scares them into saying yes.
While this won’t stop Astari raids from attacking you later in the game (rather than coming from their village, they’re spawned in as a random event), you do get control of their main village and a lot of Astari, who act as normal builders or Breeders when under your control.
Party Harder
Astari Festivals will typically convert your followers to their faith if your followers’ happiness is below the Astari’s. But if YOUR people are happier, their festivals become a liability, allowing your hard partying people to convert them instead! This is your main nonviolent way to deal with the Astari early on, and any followers you lost will be the first ones to convert back if you’ve fixed your Happiness meter, usually by spamming Beautify all over town or activating the Fountains you have installed.
Afterwards, the Astari people themselves will join up, though you will still need to reduce Astariville’s population to zero (through force or by lighting all the beacons) before they do anything other than make homes for themselves in your village. Initially, converted Astari are unable to join Settlements or generate Belief or construct new structures for others. Once you take Astariville though, they become normal Builders and Breeders in function, and sadly lose their ability to traverse terrain effectively.
PHENOMENAL COSMIC POWERS
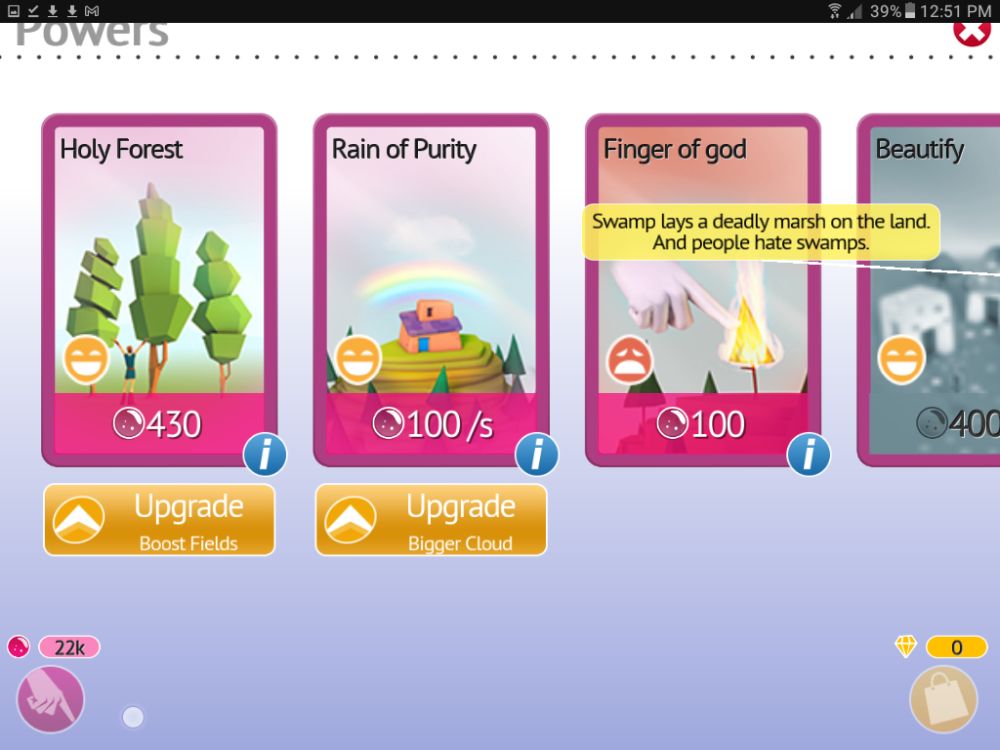
As the god of your people, you will eventually unlock new powers, not through your own strength, but the strength of your little followers’ faith in you. Unfortunately for them, some of these powers are extremely dangerous and destructive. Or just plain annoying to them. And while they don’t get a say on how you use them, they DO get a say on whether or not they want to stay with you after you do so!
Environmentalist’s Dream
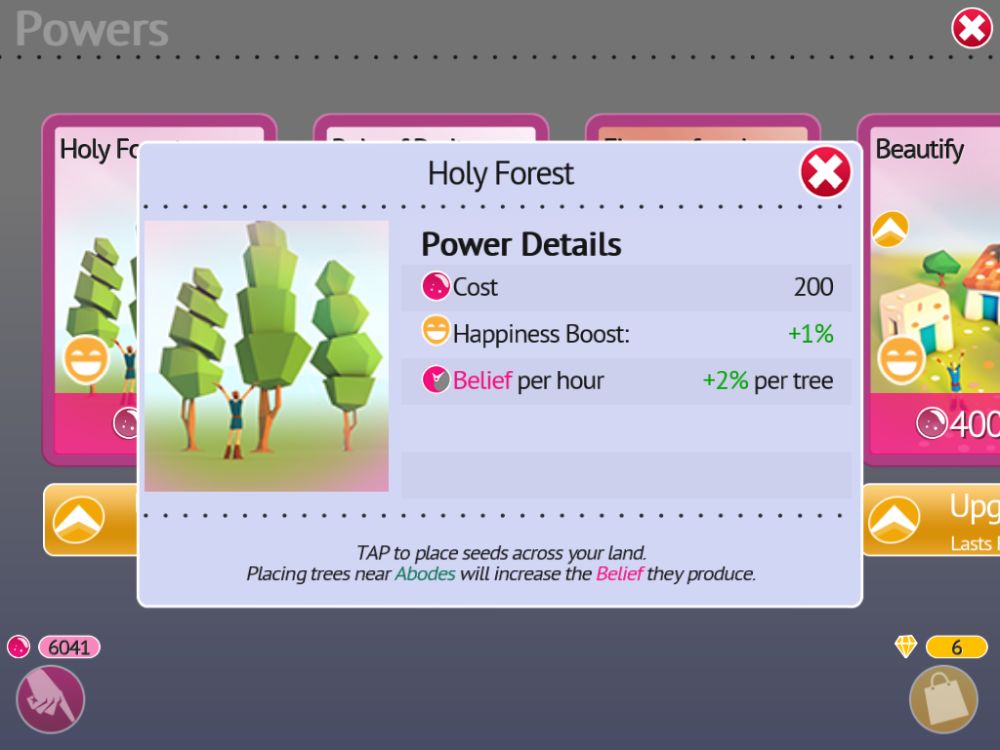
The Holy Forest power is the first one you get, an initially cheap power that gets more expensive in Belief the more you use it. It plants a tree where you point, and any nearby Settlements and Abodes get a small buff to both their Happiness and Belief generation. Even when its expensive, it is still worth doing, as it eventually sprouts more Holy trees nearby on its own, making the buff stronger.
The only bad thing about this is that Holy Trees can occasionally catch fire during thunderstorms, just like any other perfectly average tree. A problem since they’re most effective when placed in the middle of your only moderately flammable housing zones.
Precision Karmic Comedy
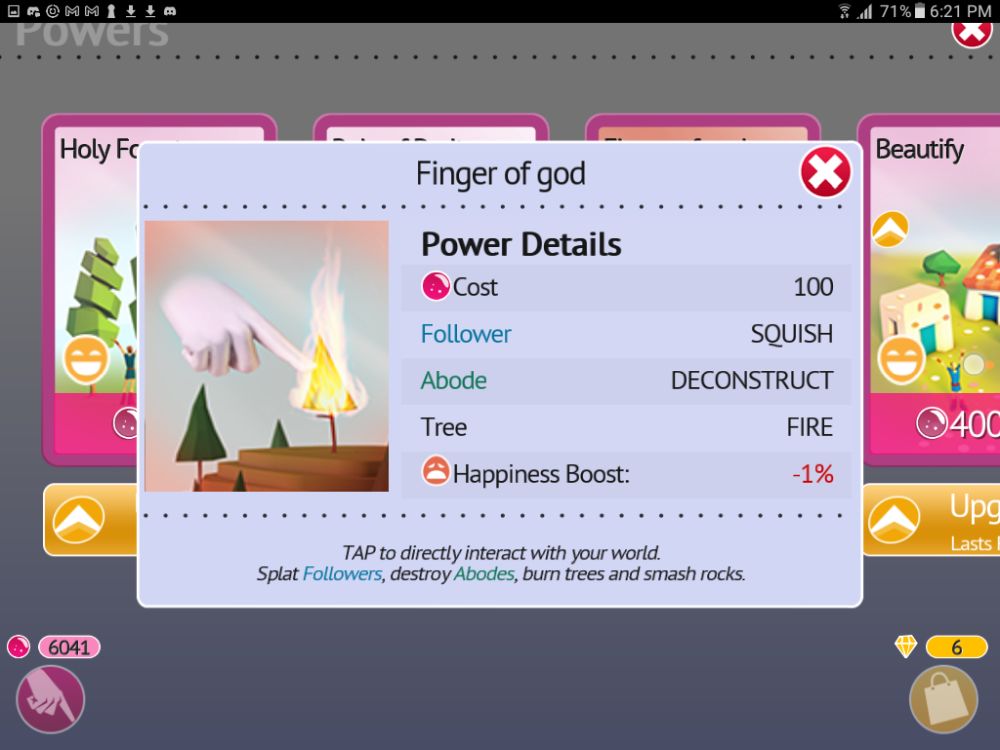
Eventually, you will unlock the Finger of god (That’s how it’s written in the game) ability. You can use this to splat your Followers like a jerk, smite enemies who wish to harm your people, or most boringly but importantly, demolish any homes you don’t want anymore. This becomes especially useful everytime you unlock some new form of housing: For the space taken up by 2-3 Huts, you can usually place a larger structure with better space-to-population efficiency.
Usually, your first target for this would be your old starter Shelters, the tents your people built during the tutorial. Keep note though: You will end up with homeless Followers, who very slowly lower your Happiness meter over time, on top of that initial Happiness penalty you incurred from, you know, destroying their homes in front of them.
Make sure you build homes for them nearby using that space you just freed up, and order them into such homes or empty construction plots using Leash in case they’re too dumb to take the hint. The happiness penalty also occurs even if you’re using it to defend your people from attackers: Watching someone get utterly flattened out of nowhere scares the heck out of anybody watching, even the guy you just rescued.
It’s The End Of The World As We Know It, And I Don’t Feel Fine At All!
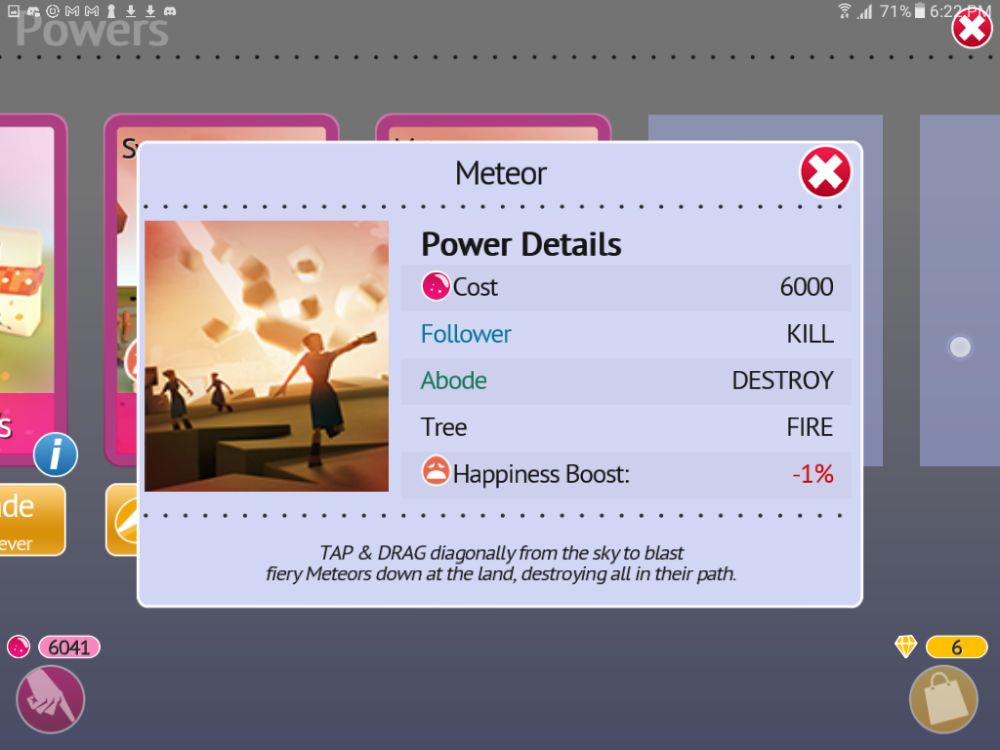
The Meteor Strike power is your most destructive and costly, costing a whopping 6000 Belief and incurring a Happiness penalty for its use. It lets you drag your finger around the screen, determining the direction of a meteor; This craters terrain, destroys homes and people, sets fire to anything not lined with asbestos, and leaves a slight spread of blight in the impact zone.
It has a much wider fire radius than it does a terrain destruction radius, making it poor for land flattening jobs near your peoples’ homes. You must use this only in the direst of emergencies as it is expensive, devastating and will generally have your people seeing you as less of a deity and more of a terrible apocalyptic demon. Even if you WERE using it to save them!
Swampy Stinky Agonizing Death
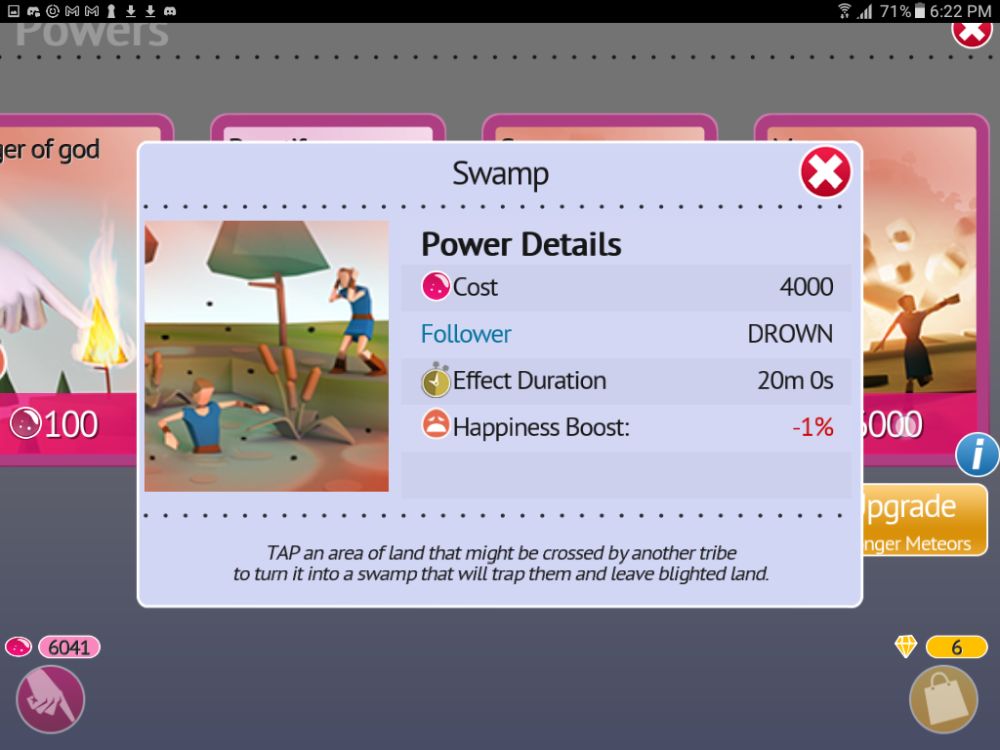
The Swamp power generates exactly what it says on the tin, a blighted swamp. Swamps slow down, drown, and can lethally poison anyone walking through it, whether it be invaders or your own followers. While it can be used to protect your towns from the more violent Astari raiders and other bad guys, it smells bad and generally leaves a foul taste in the mouths of anyone nearby, incurring a Happiness penalty while it’s active.
A Calm Rainy Day
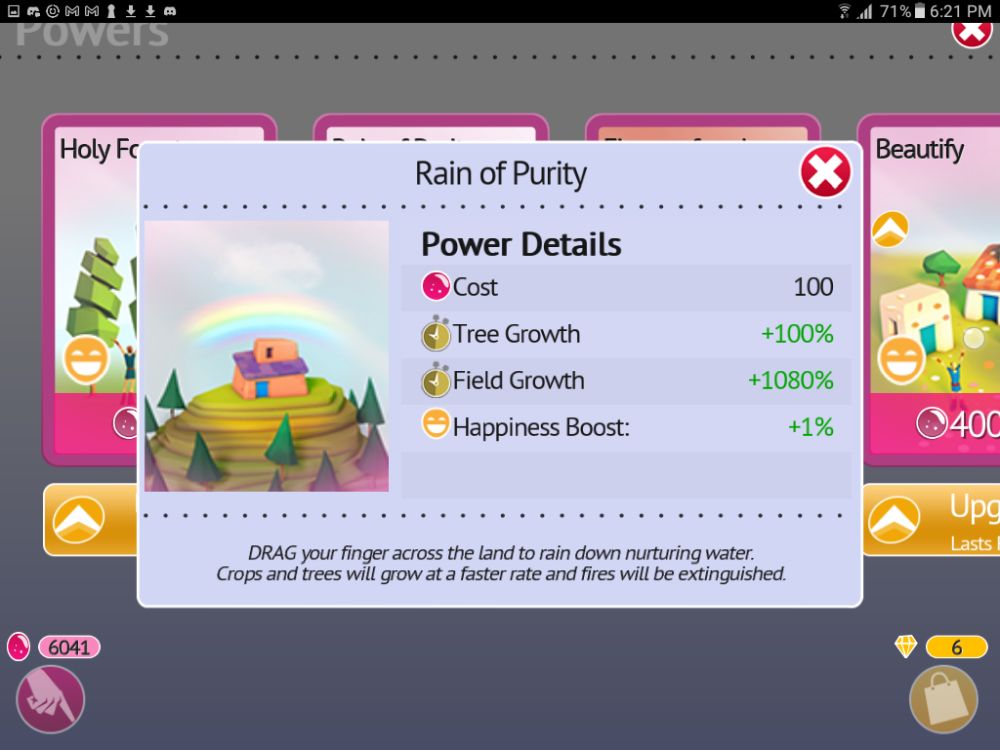
The Rain of Purity power allows you to summon a raincloud, costing 100 Belief for every second it’s active while it follows your finger across the screen. This is an important upgrade to get early on, since it allows you to water Farms to make them grow faster, and lets you put out fires. Always save some Belief for a rainy day, or else you might have a burny day instead.
Prettiest Town Award
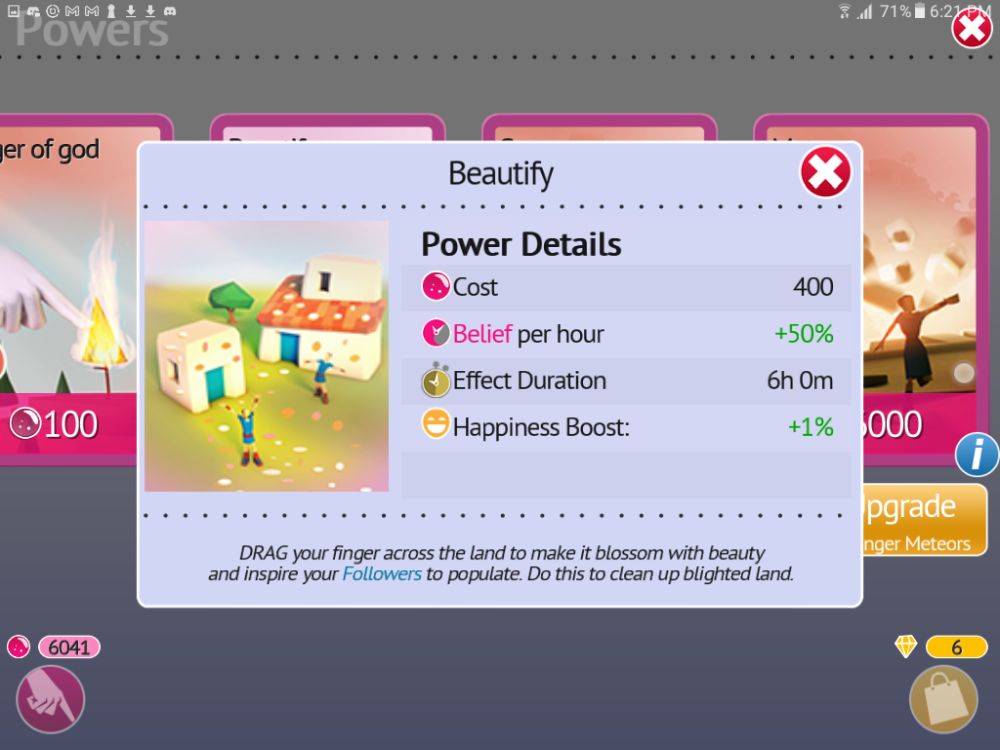
The rather busted Beautify power allows you to pretty up a place. In in-game terms, this means permanently removing Blight from an area while temporarily raising Happiness when used around peoples’ homes. At 400 Belief per second, this is costly, but the happiness boost is so huge that saving a couple thousand Belief then using it right before the Astari Festival is generally worth it, especially if you drop it over a heavily populated area.
The more people see the prettiness, the more effective it is for its cost. The best part? Its gem upgrades are very powerful, with the first 10 gem upgrade making its effect last 6 hours rather than a measely 30 minutes. And the second upgrade, if you have the patience to watch another 20 ads after the first 10, making the prettification effect (and therefore the happiness boost) permanent.
SHRINES TO YOUR GLORY, OR MISERY THROUGH OVERWORK?

Shrines are structures that typically give a buff to an area’s productivity, usually at a small cost to Happiness. The happiness penalty is small enough that you can easily solve it with Beautify once you’ve got it, so don’t worry too much about placing them down. There are many of them, but some of them aren’t particularly important for normal play.
Overpopulation Time

The Shrine of Capacity adds 1 extra space (only in in-game terms, apparently this is just the people cramming together in disgraceful disregard for social distancing) to all the structures within its area of effect. Naturally, this makes the people affected by it unhappy, because now there’s less personal space to go around.
This can be useful when placed next to special Settlements, since this allows them to generate one extra Miner or Farmer for an initially (yeah the Belief price rises everytime you use this) cheaper amount of Belief compared to constructing a new Settlement. Considering how its effect is determined by house and not by population percentage, it’s best placed in areas with lots of small houses rather than larger homes.
Shrine Of Speed
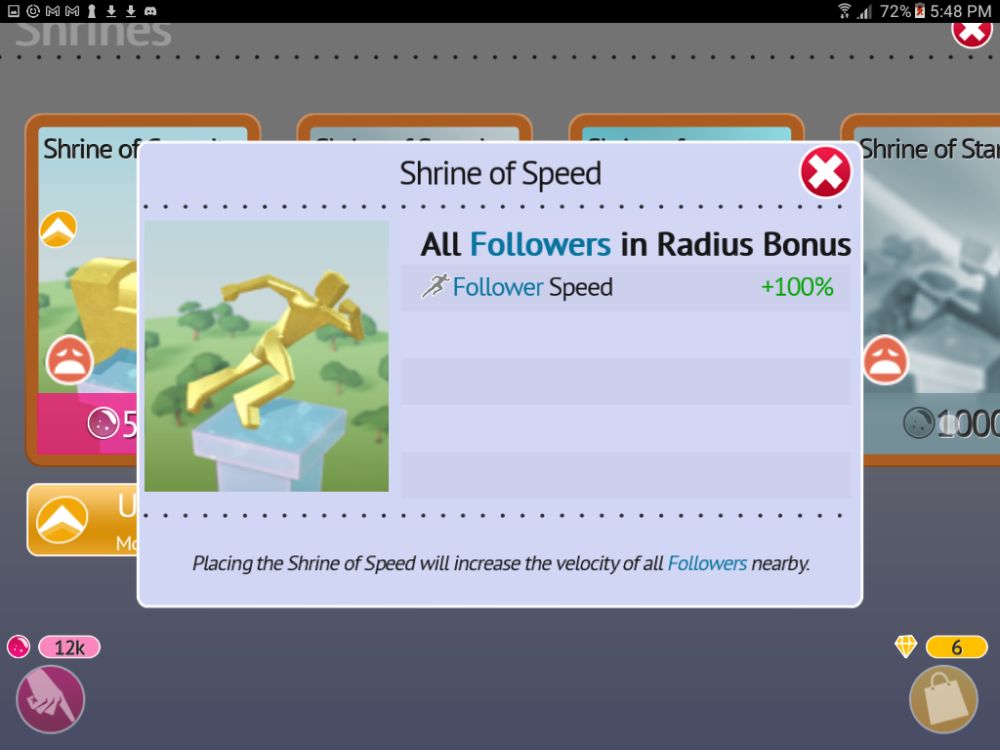
A useful shrine to have around Farms and Mines, but less useful around normal towns and Builder settlements. The Shrine of Speed not only increases everyone’s movement speed within its area of influence, it also makes them work faster, cutting down time on tasks like mining, gathering wheat and construction.
It’s less useful near Builder setlements since Farming and Mining are repeat tasks: Once you build a house, you’re done with it unless you splat it with your finger or drop space rocks on it. You will occasionally have access to this power during Voyages. Keep in mind, being pushed to work overtime generally makes everyone around this shrine a little bit less happy.
Shrine Of Collection
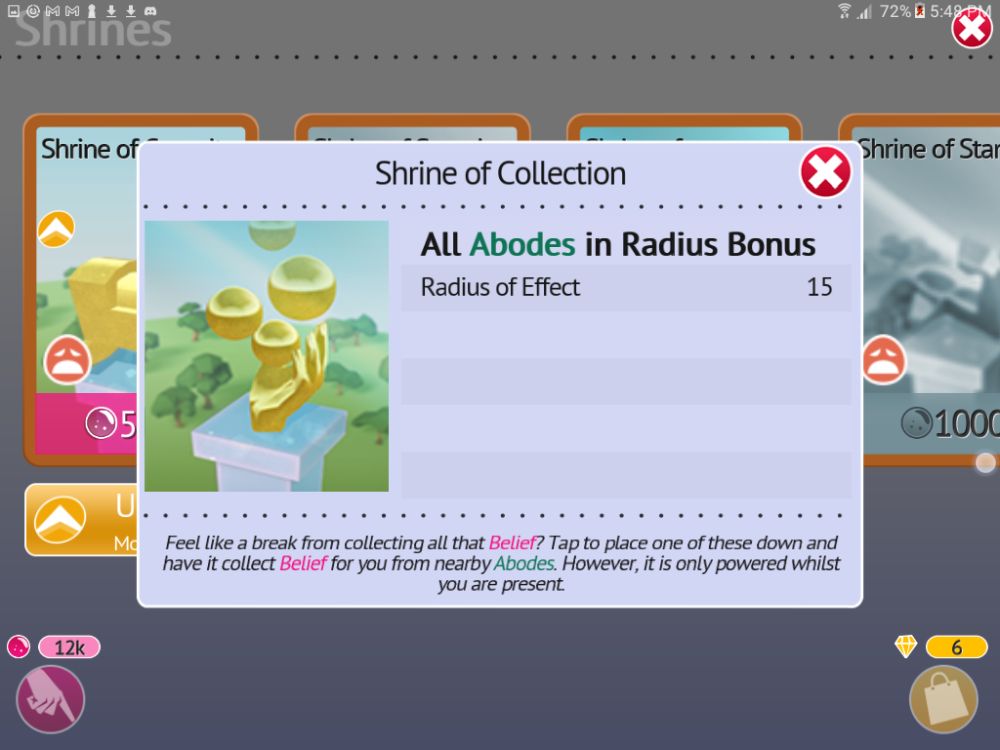
A shrine that costs 5 gems instead of thousands of Belief, the Shrine of Collection automatically collects any Belief within its area of influence, from a maximum of 15 homes. You’ll usually want to plonk this down first next to Builder settlements, since between the three Settlement types, they generate the most Belief. Constructing it does not cost any Happiness, though unlocking it does. It only autocollects when you’re online though, so you can’t just leave for 10 days then come back to a bajillion Belief in your coffers.
Shrine Of Stamina
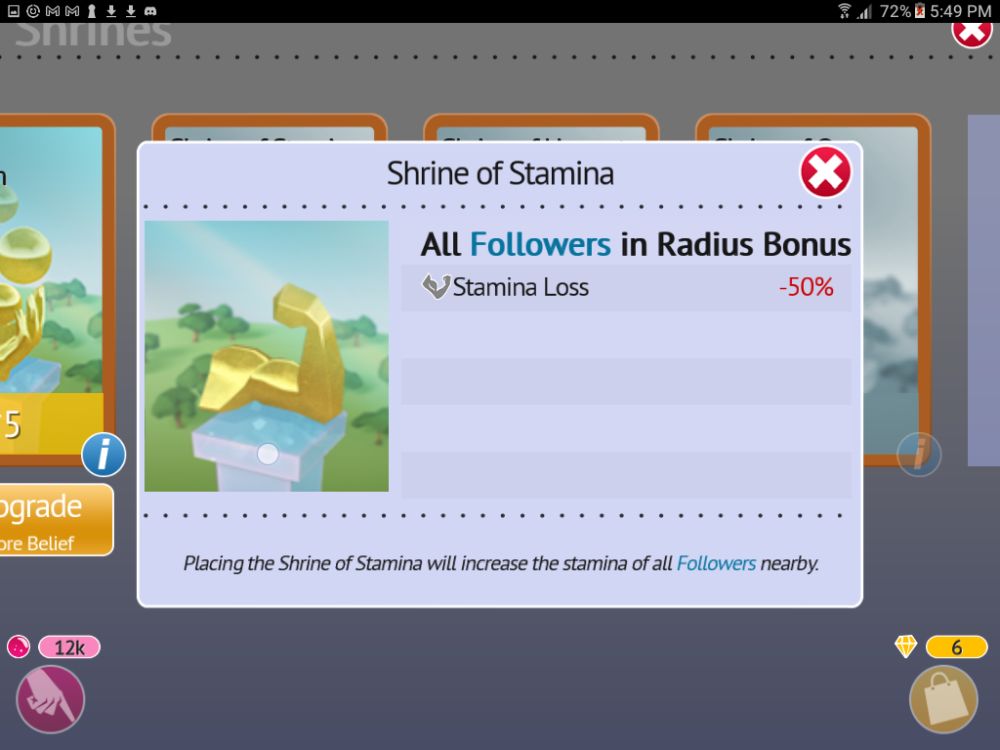
Possibly the least useful shrine, unless you plan to make the people under it walk long distances. The Shrine of Stamina raises the stamina level of all within its influence, allowing them to work for longer at the cost of Happiness. If you’ve got the people within not really doing much, like say they’re from a Builder settlement, this is generally not the best thing to build considering its cost and penalties.
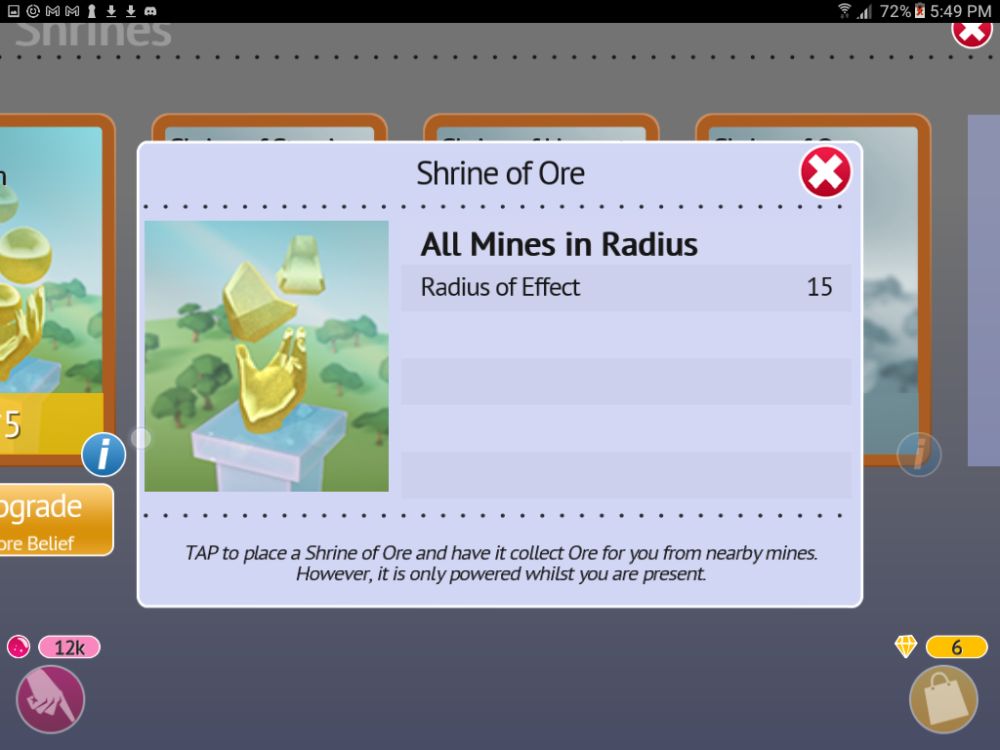
Shrine Of Harvest, Shrine Of Ore
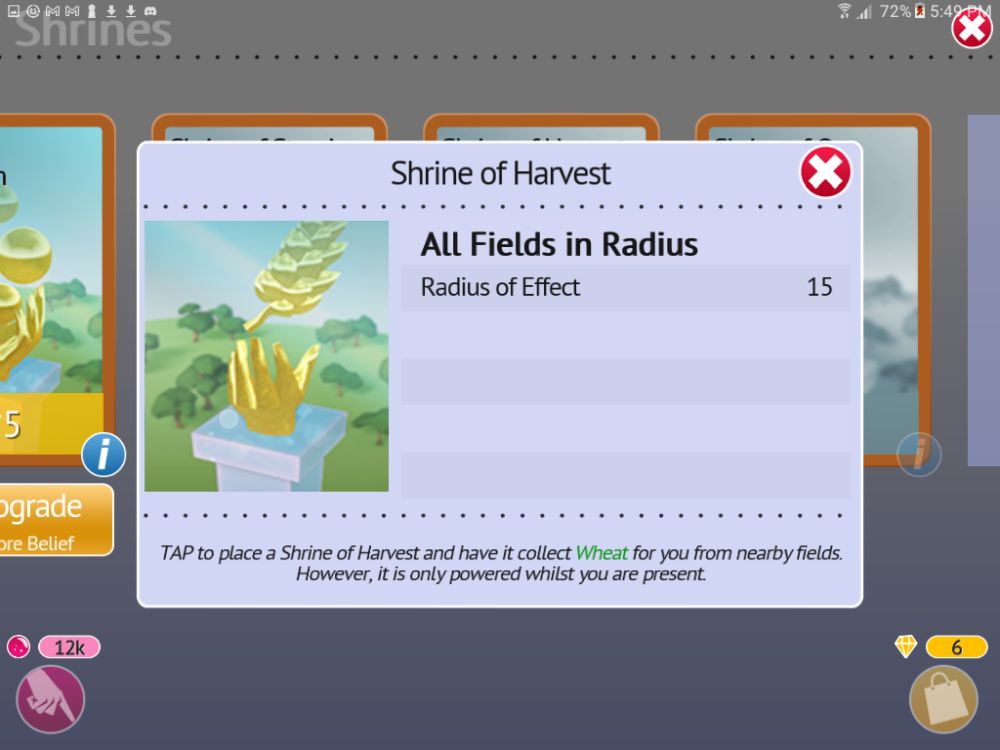
Much like the Shrine of Collection with Belief, the Shrine of Harvest and Shrine of Ore autocollects Wheat and Ore nearby when they’re ready and you happen to be online. Putting these near farms and mines will be useful later on once you’ve already set up a lot of them and can’t be botherd to run around the map collecting manually.
SETTLEMENT TYPES
Settlement construction is an ability you unlock later on, allowing you to squish a town into a single structure, freeing up space while maintaining the population count of an area. This also increases Happiness, unlike clearing space the violent way using Finger of God or Meteor Strike.
There are several types, each of which do a different sort of job. If any existing Settlement is within range of the Settlement creation circle, then smaller structures within will get added to the existing Settlement rather than creating a new one. Keep in mind that they get more expensive the more you make them.
Make note that it is more difficult to construct farms and mines in Weyworld: You can only build them in terrain of certain colors (Farms in lush green land, Mines in bluish-grey terrain), so place your Settlements wisely there.
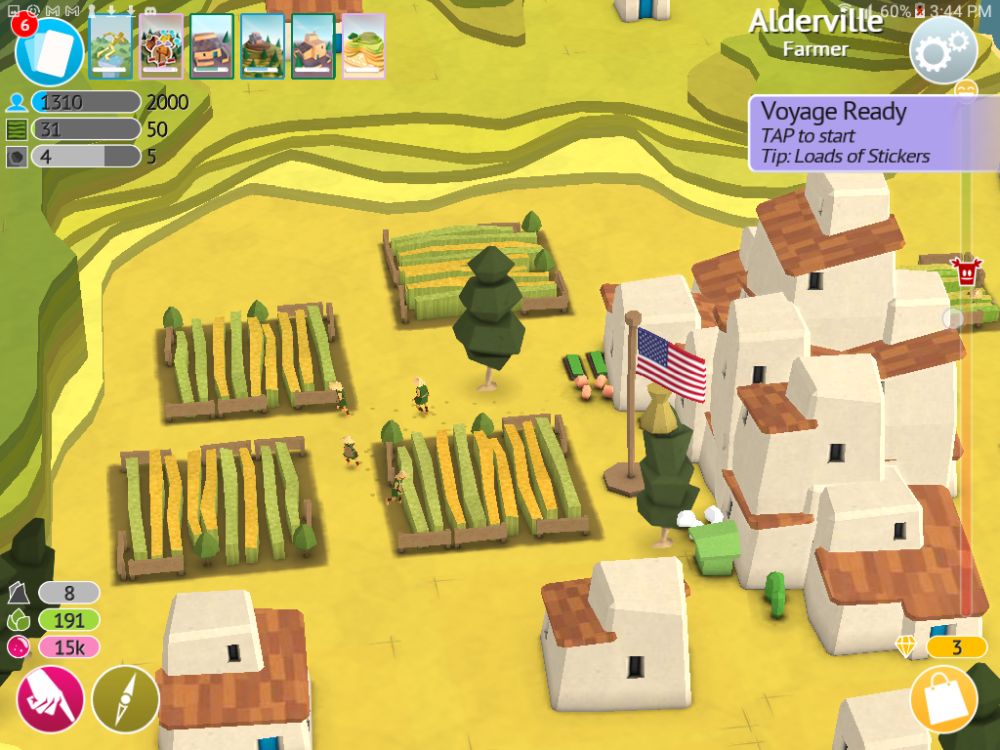
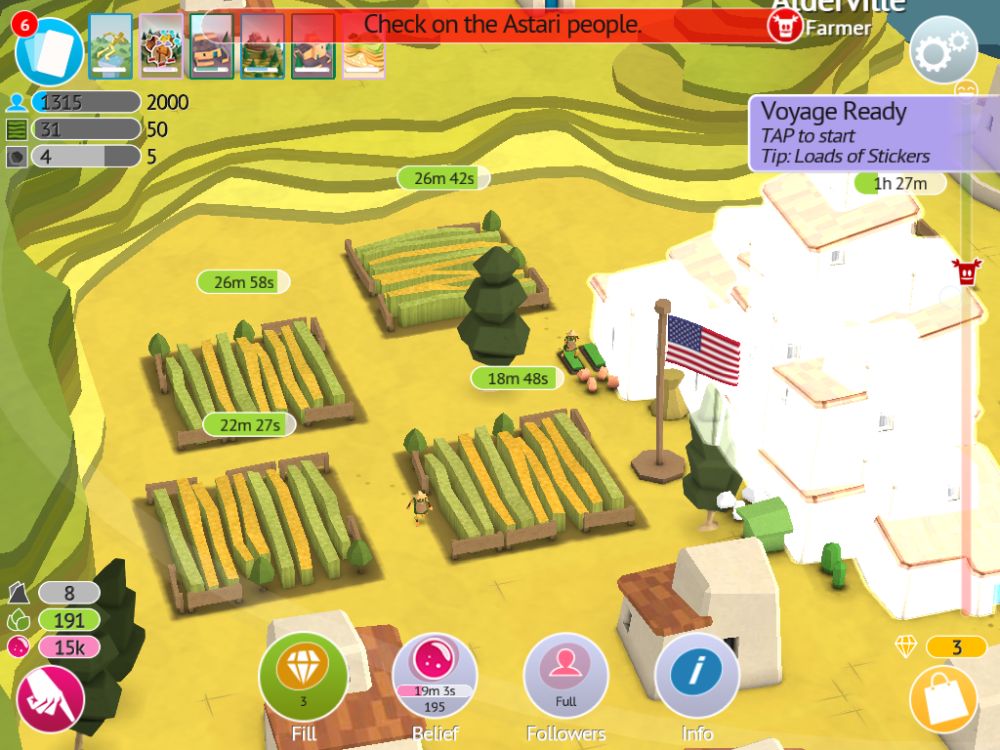
Agriculture!
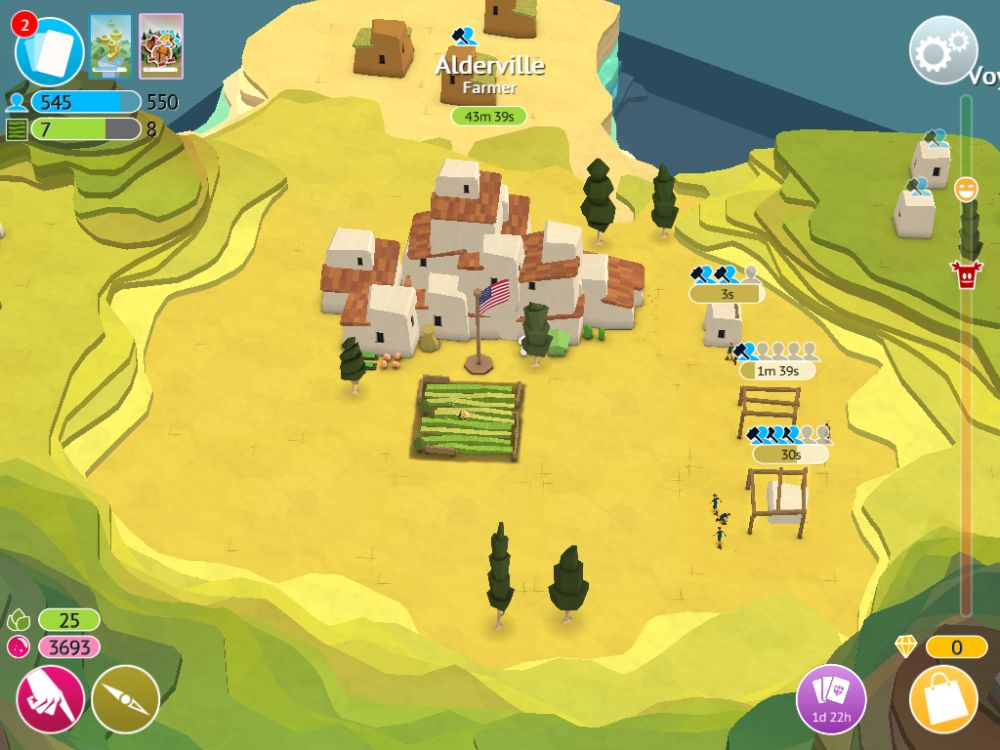
The first settlement you unlock is the Farming settlement. It crams a town into a large structure which generates Farmers, 1 farmer for every 10 Breeders within the settlement without upgrades or buffs. Farmers can construct Fields which make Grain, needed for constructing buildings or boosting follower speed, with each Field being worked by a farmer counting toward a separate progression bar that also unlocks cards, much like your Population bar does.
Once you make a Farming settlement, this frees up space and you’ll notice the builder structures nearby that weren’t part of the squish will be ready to build. Don’t build with them! Instead wait for the farmers to generate (It looks long, but you can spend a fraction of the time by watching ads then just rushing the farmers out with a few gems) and make Fields instead, if you want actual agriculture to be done. Early on, even after you unlock the other settlements, focus on making Farming settlements first to get the Beautify power, since you may run into Beacons surrounded by deadly swamps and blight.
Basic Second
The second settlement you unlock, but oddly enough the most basic of them, is the Builder settlement. This essentially counts as a huge normal building, as it generates Builders and Breeders just like your average house. Except it’s bigger. This time there is no worry about taking other builders nearby to help fill the spaces it freed up, as this settlement’s main purpose is generating Belief via efficient use of housing space.
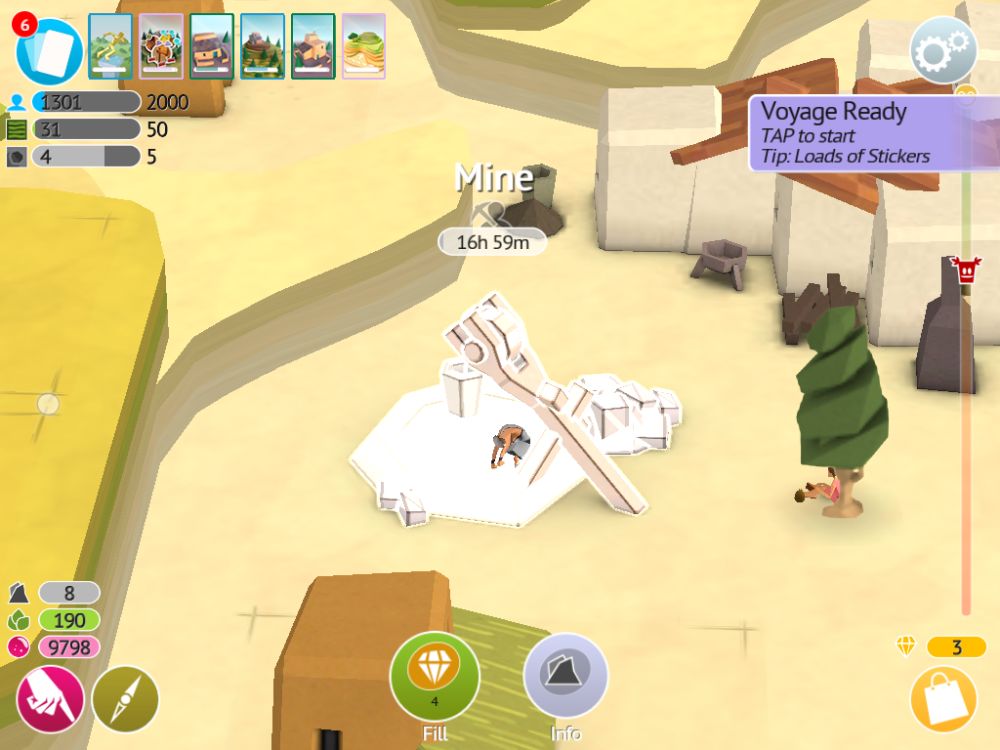
Heavy Metal
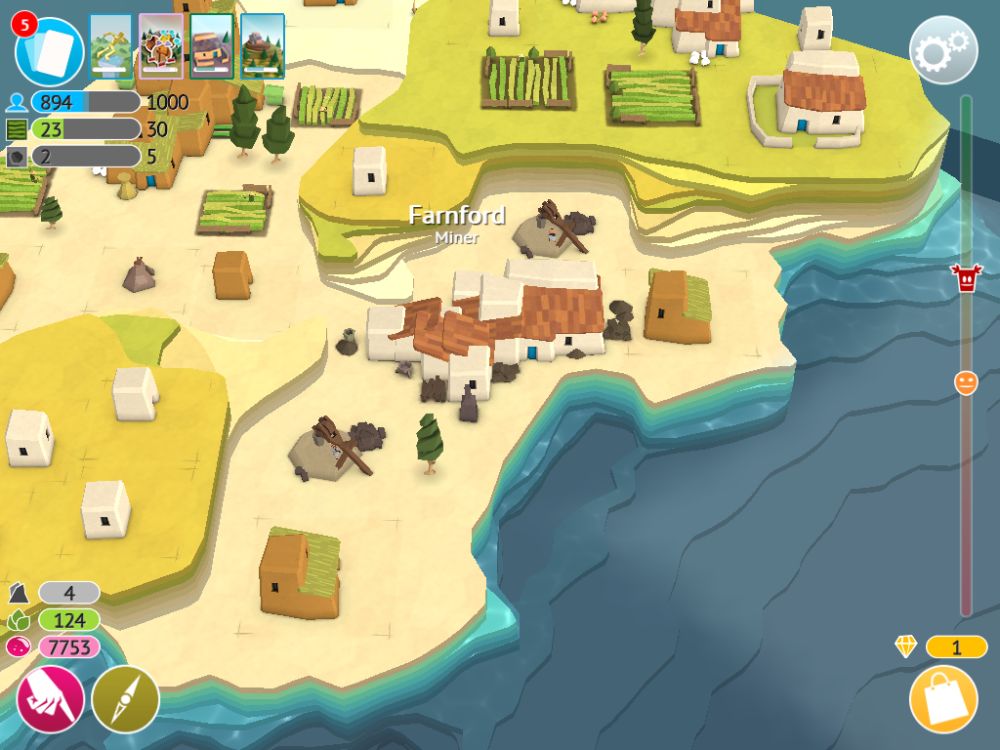
Mining Settlements are the last you unlock, very soon after Builder settlements. They act much like Farming settlements, except instead of grain and farms, Miners build Mines and mine Ore., and both add a progression bar for new cards. They are very expensive, starting at 7500 Belief compared to other settlements which start at 3000.
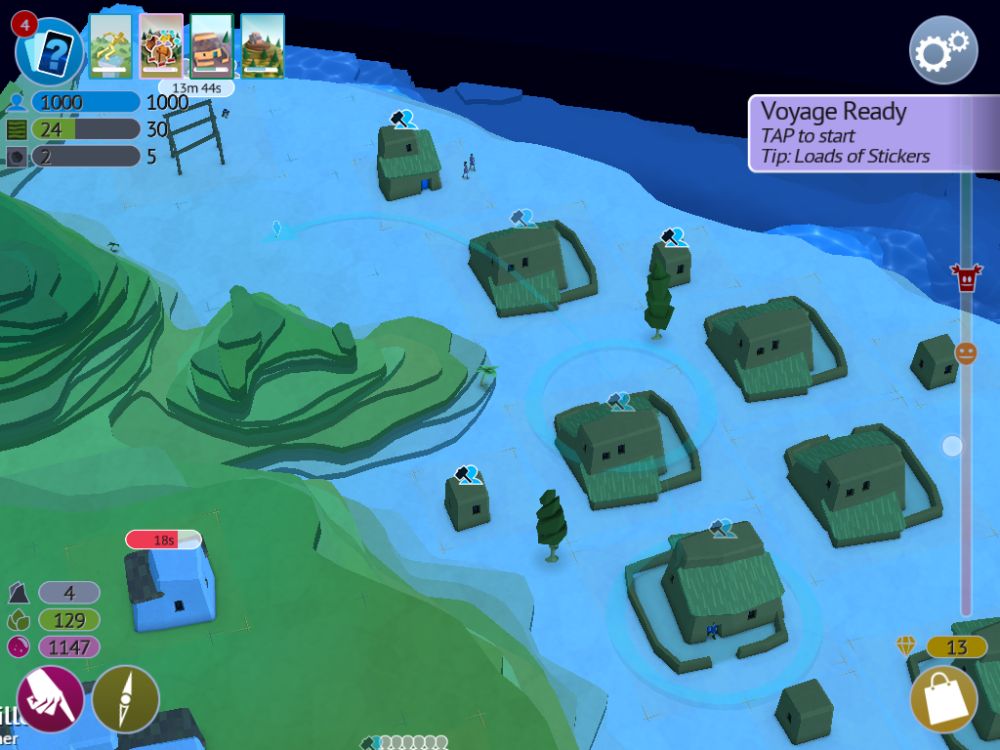
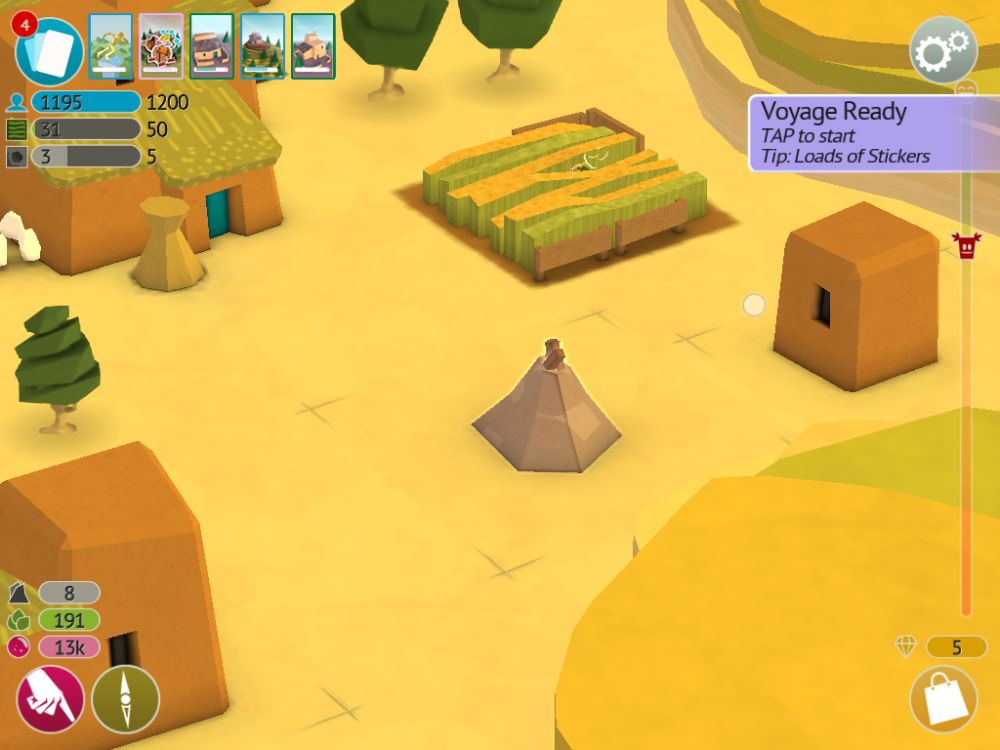
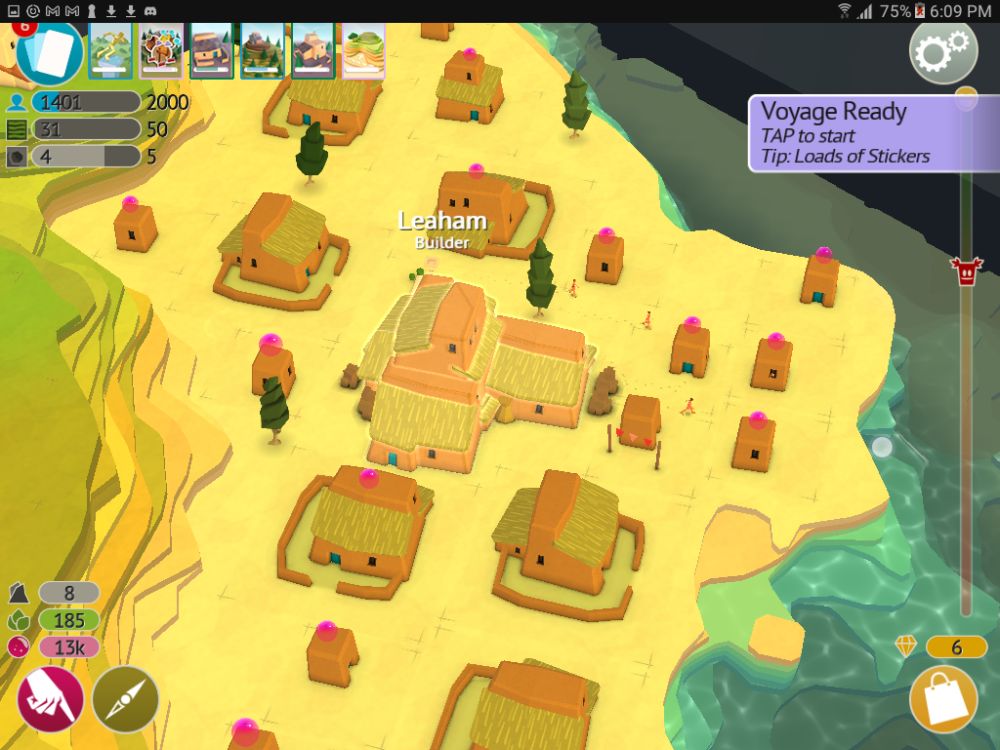
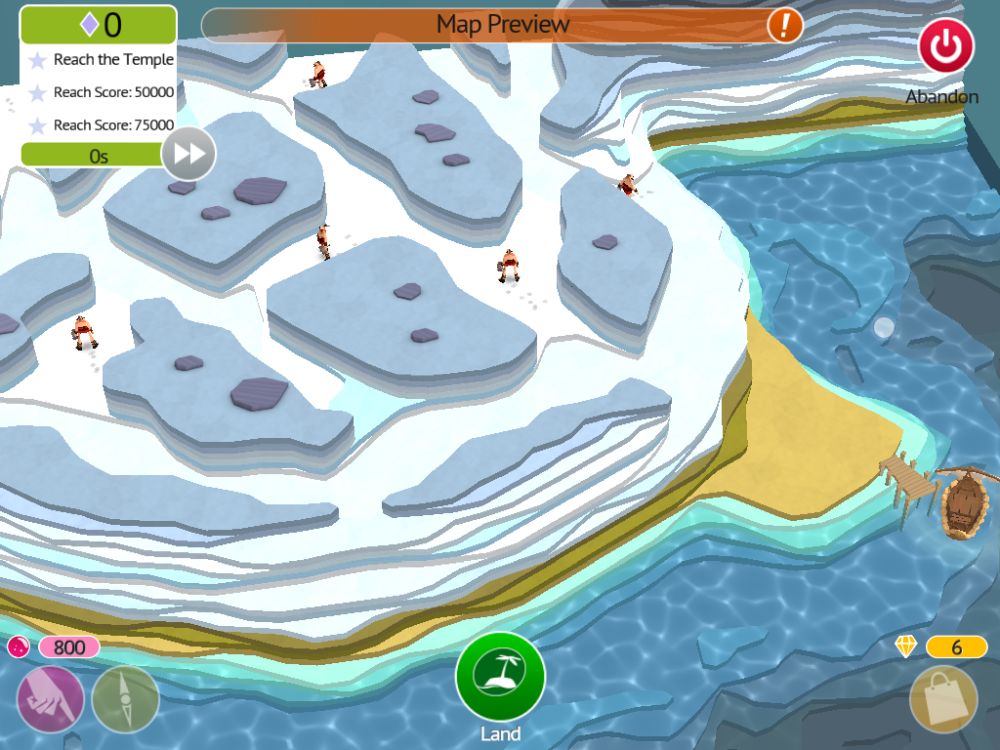
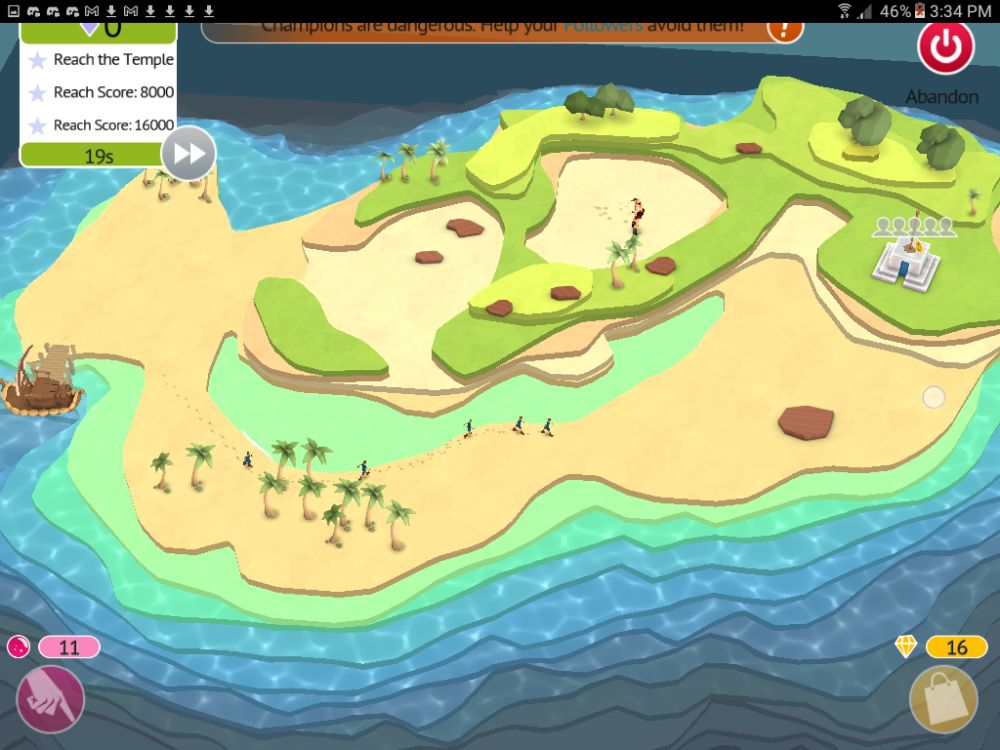
VOYAGE OF DISCOVERY
Voyage of Discovery unlocks once you’ve found and repaired the Docks. It is your primary source of Stickers other than hunting down Chests. It’s a puzzle-like game mode where you must create the fastest path possible for your explorers to reach the Outpost and raise their flag. Here are a few tips to get things done.
Plan Ahead
Always check the entirety of the map and plan out a route before starting, and plan out the order in which you sculpt the land. Later on, the maps get big enough to necessitate scrolling the screen, so be thorough about this.
Take into account your Belief count at the start too, and how many rocks and trees there are in the area. That way, you know whether it might be worth trying to force your way through a particularly steep hill to make it to the Outpost quickly. Though it generally never is.
Speedrunning Life
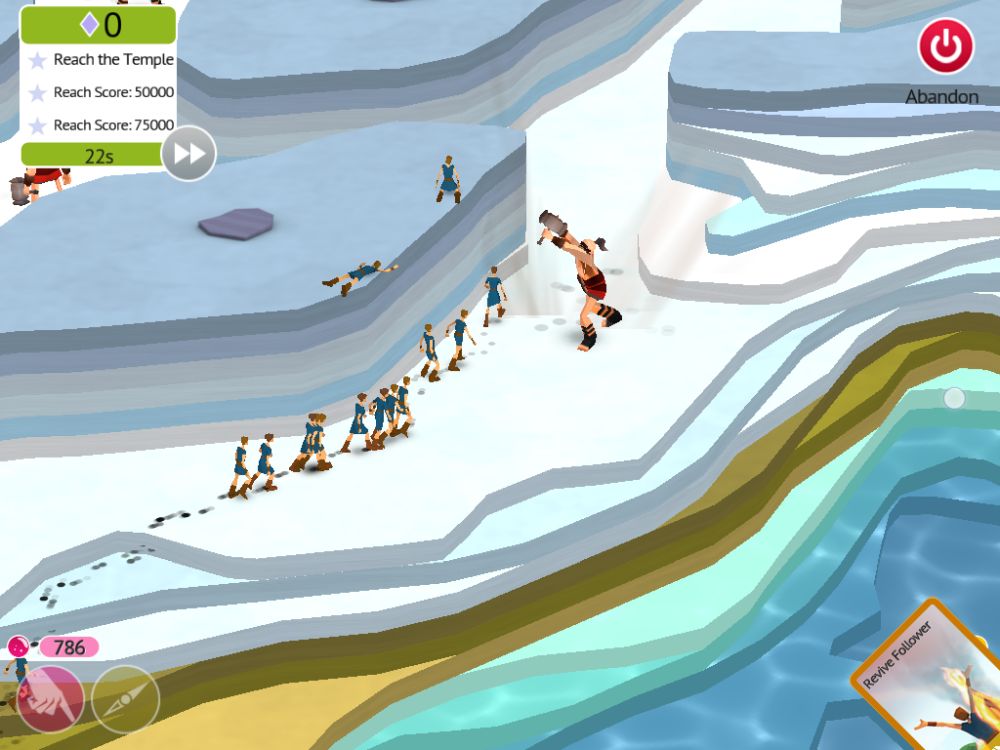
Your followers are complete suicidal morons, and they will happily run into a Champion’s club if they think it’ll shave 2 seconds off their time to the Outpost. The only solution to this is to wall them off from Champions and dangerous paths, so they take the safe route to the finish. At least this means they’re less likely to get lost once you DO have a path laid out for them.
Not So Phenomenal Cosmic Powers
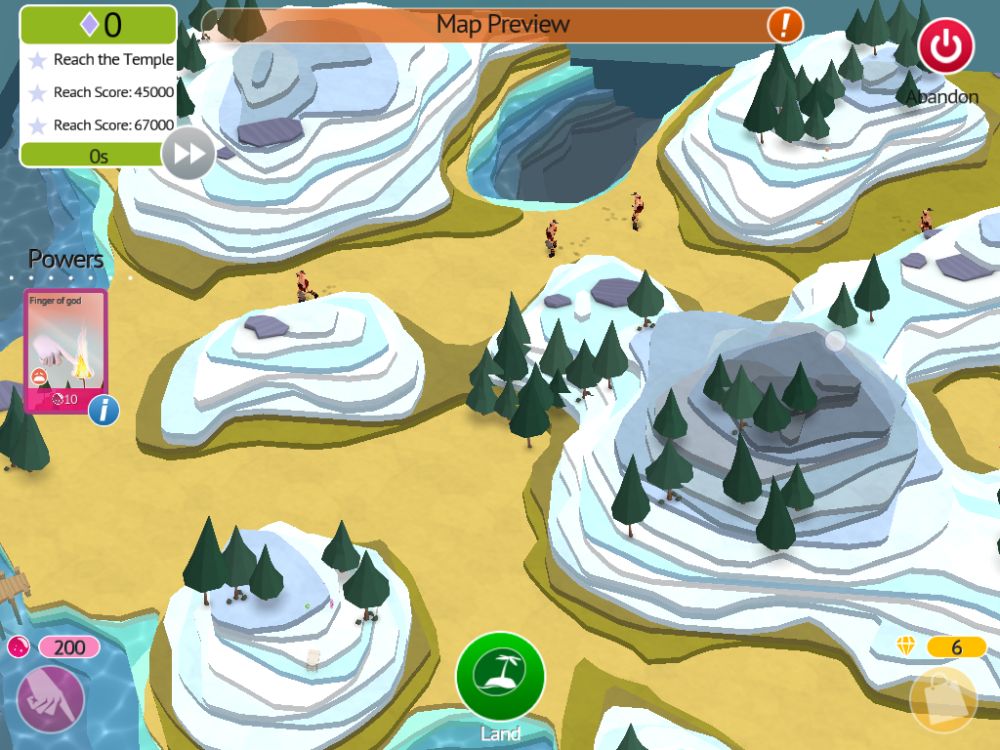
Your powers are limited in Voyage of Discovery missions. You will typically be given one power to use tactically (though not necessarily sparingly, missions like these occasionally give you lots of Belief to start with), and if you’ve been used to the 3x or 5x Sculpting Power card, you won’t have it here. This means you have to be a bit more thorough when it comes to making walls to keep your followers away from Champions.
Whistling Little People
The whistling your followers make isn’t just cosmetic. It’s an indicator that they have found a clear path to the objective, whether it be a Beacon or the Outpost. If they’re blocked, they stop whistling and walk around aimlessly. Them whistling isn’t always a good thing, as their idea of “clear path” doesn’t take Blight and Champions into account. Though in a map with no deadly obstacles, whistling is generally a good sign that you’ve solved the puzzle. Now that you figured out the solution, go back in there and three-star it!
And this is the end of our Godus beginner’s guide. We hope this helps, and if you have any of your own tips to share, leave them in the comment section below!